i am finally writing about this, even though we inoculated our mushroom logs a few weekends ago. if you’ve read my other posts about selecting our mushroom varieties and about cutting our mushroom logs, you already have some idea about our plan. since these posts, though, our plans have changed slightly. we are still using 50 mushroom logs this season, but we are only inoculating with shiitake mushroom spore. this is for three reasons:
- shiitake mushrooms are the only gourmet grow-it-yourself mushroom and variety that i have tasted and i am confident in their deliciousness!
- shiittake saw dust spawn was cheaper to obtain than shiitake plus a few other varieties.
- shiitake is a mushroom that my father has experience growing and the other mushroom contenders had different, more difficult traits (i.e. maitake sometimes won’t fruit for years and some people say that reishi tastes not-the-best).
so, we decided to go with the trusty shiitake for our first year’s mushroom experimentation!
we ordered both our spawn and our inoculator tool from fungi perfecti and once we got our bags of spawn in the mail, we promptly stuck them in the fridge.
once the big day arrived, we enlisted the help of my parents. it turned out that jason and my dad did most of the hole drilling, i did most of the inoculating, and my mom did most of the waxing of the holes. even with all this extra help, jason and i still had to continue the process for 2 days after the “family work day.”
here’s how the experience went:
first of all, i set up 3 stations in our basement (one for each of the big steps in the inoculating process). the first station, where the logs were drilled by jason and my dad, is where the each log’s journey began. both of them toted in the logs in batches from where they were stacked outside the back door. they shared a palette that was on a table and used the palette to hold the logs that they were drilling in place. they used 7/16″ drill bits (the standard size for sawdust spawn… plugs are different) and went in 1″ deep (the depth of our inoculation tool). in drilling to a certain depth, we found that marking the drill bit with lots of tape worked better than stoppers (these slipped too often). jason and my dad spaced the holes in a diamond pattern, with 2 1/2″ between holes running perpendicular to the length of the log and 6″ between holes running parallel with the log. each row of holes down the log was staggered so that a diamond-shaped pattern was the result.
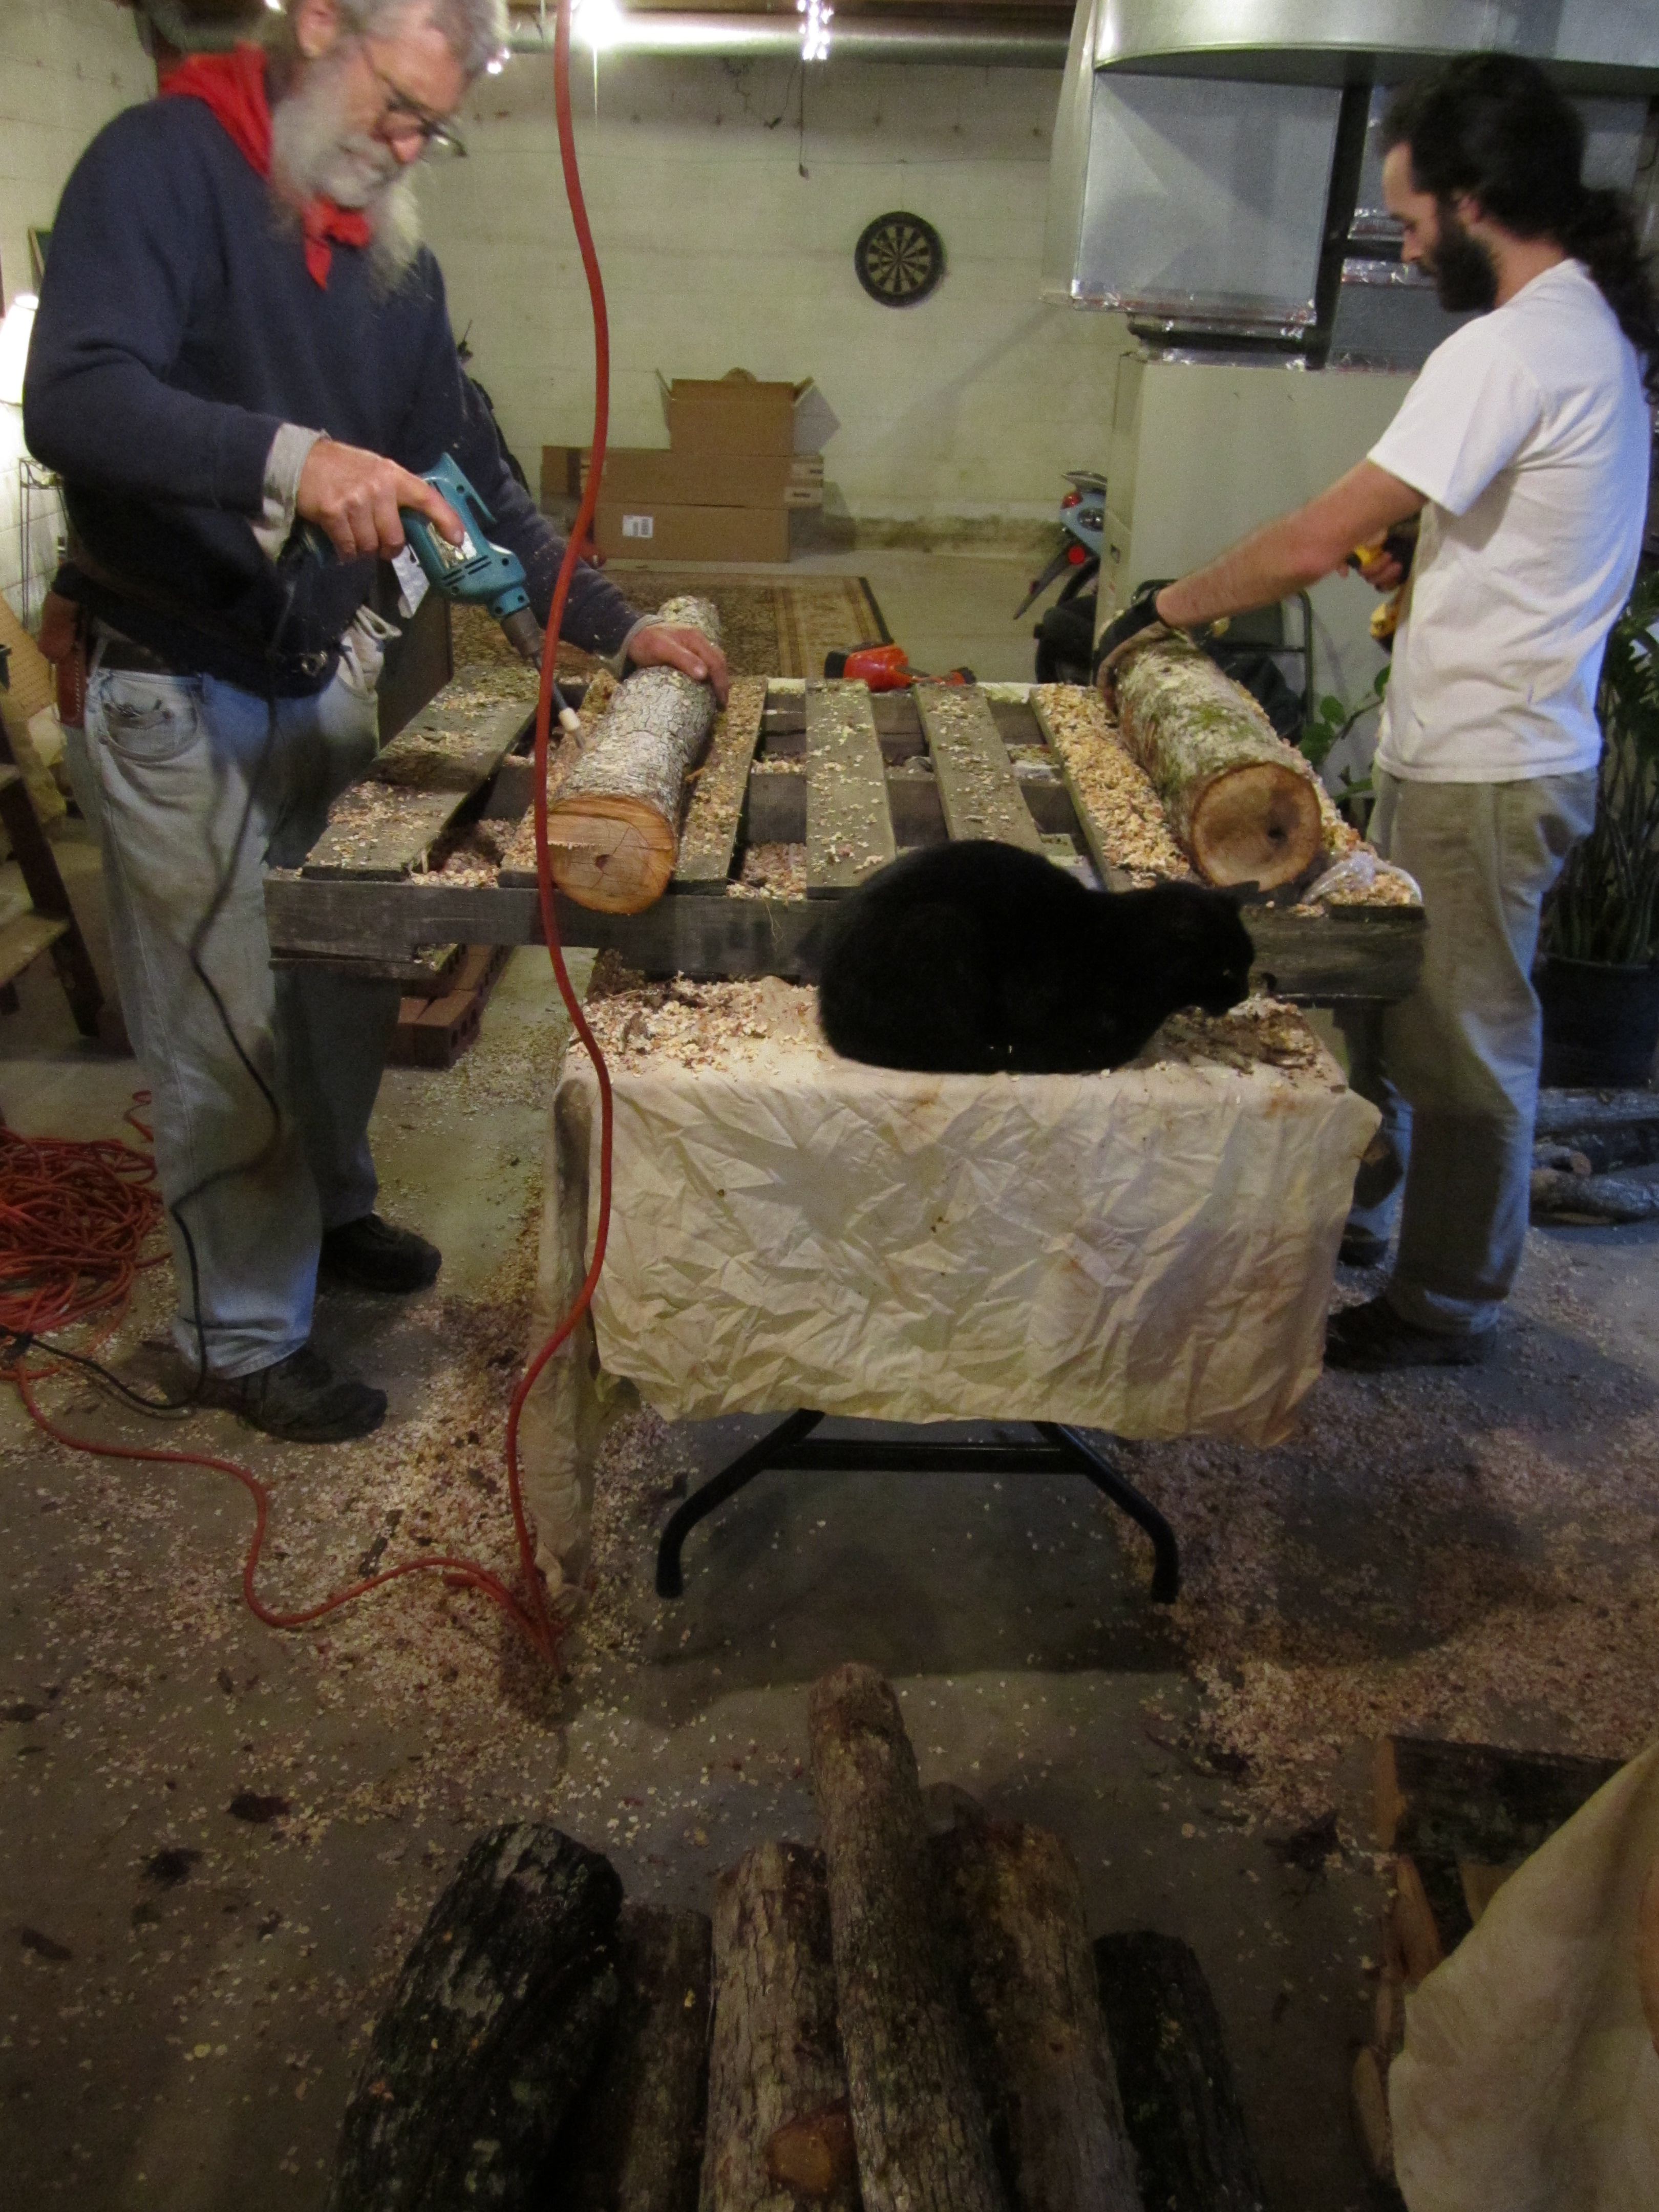
jason and my dad drilling 1″ holes in the logs. dodger oversees the process.
the second station was my own, where i was set up with the saw dust spawn and the inoculation tool. once i got the hang of it, it was quite simple and fun, really (although my hand did start hurting). in order to make sure that i got enough spawn inside the cavity of the tool each time, i brought it down hard 5 times in the bag of spawn before placing the tool over the hole and rapidly and forcefully hitting (either with open palm or closed side-fist) the handle of the tool 6-7 times. once you do this a few times you’ll be able to feel and hear once the inoculator cavity has been fully emptied into the log, and you’ll be able to judge how many “taps” you need for each hole.
positioning the inoculator tool over a hole.
later in this process i used cinder blocks to raise the level of the log (it was beginning to hurt my lower back bending over so much) and to hold it in place and keep it from rolling when using the tool. my mom also helped hold some of the more wiggly logs in place. to make sure that you’re doing your job right, check to make sure that the spore is almost as hard as the wood itself. if so, then you know you got it packed in there well enough.
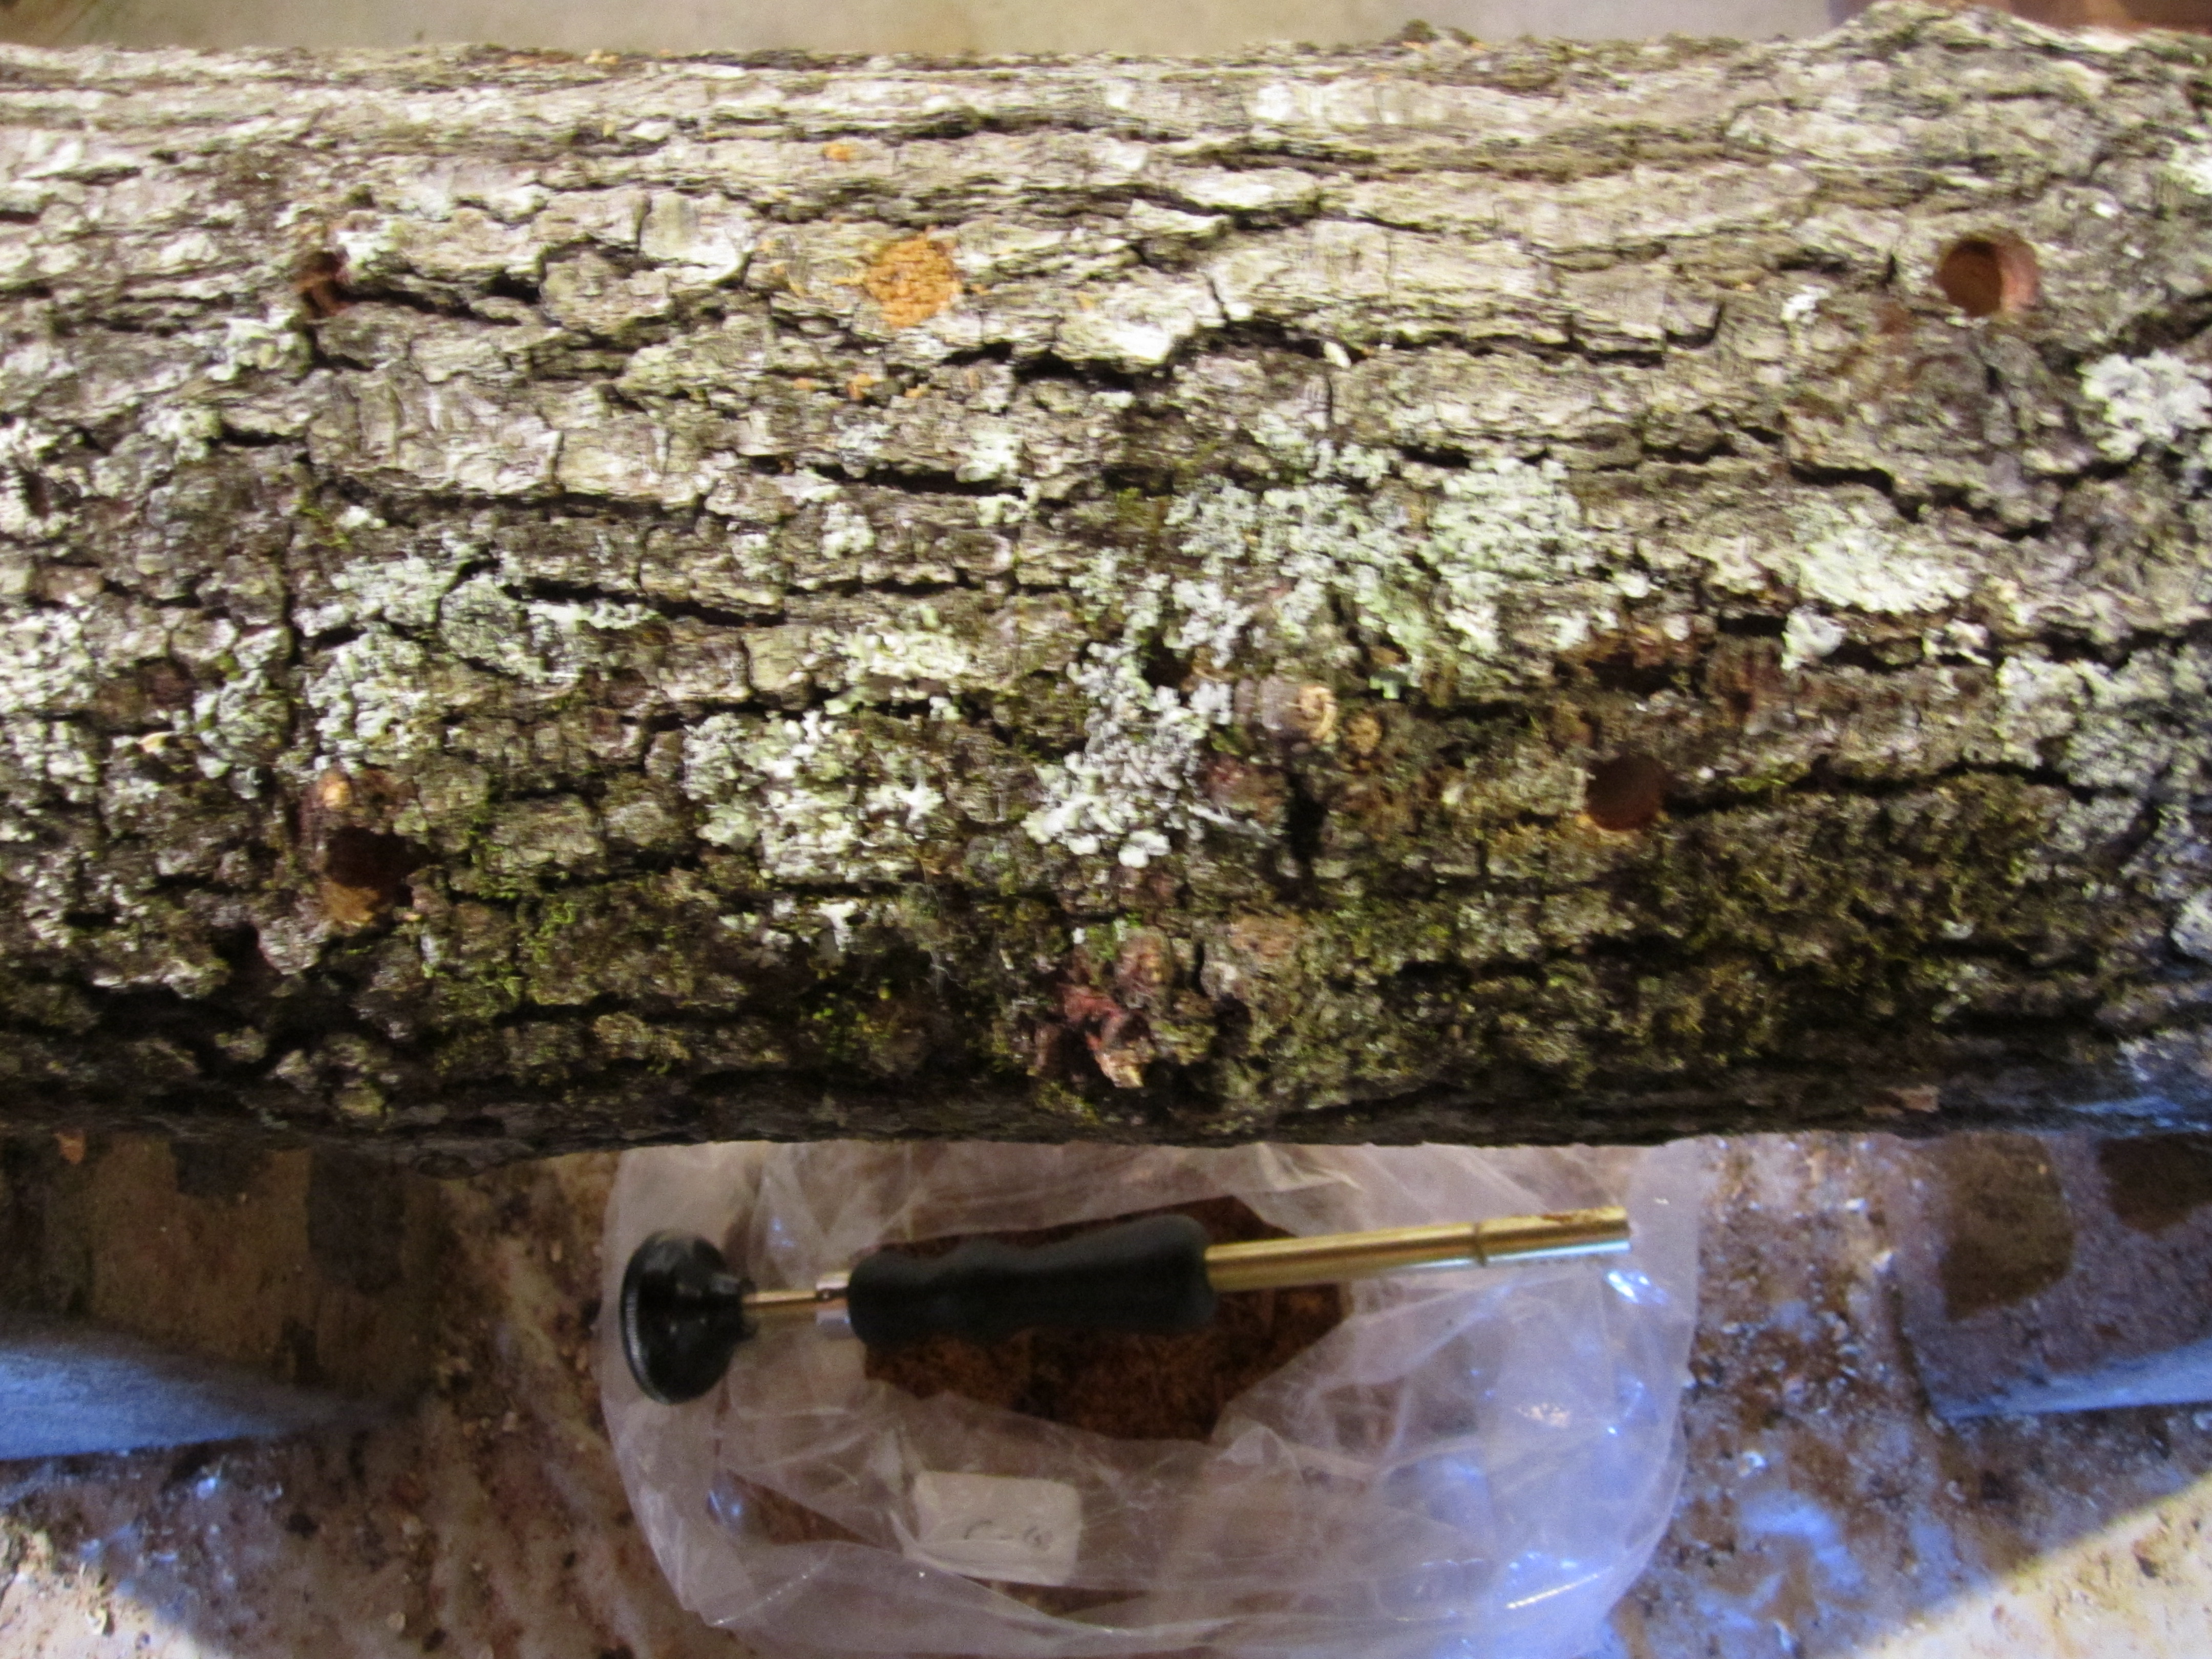
the hole near the upper center of the photograph has been filled with spawn, whereas the hole toward the top right has not.
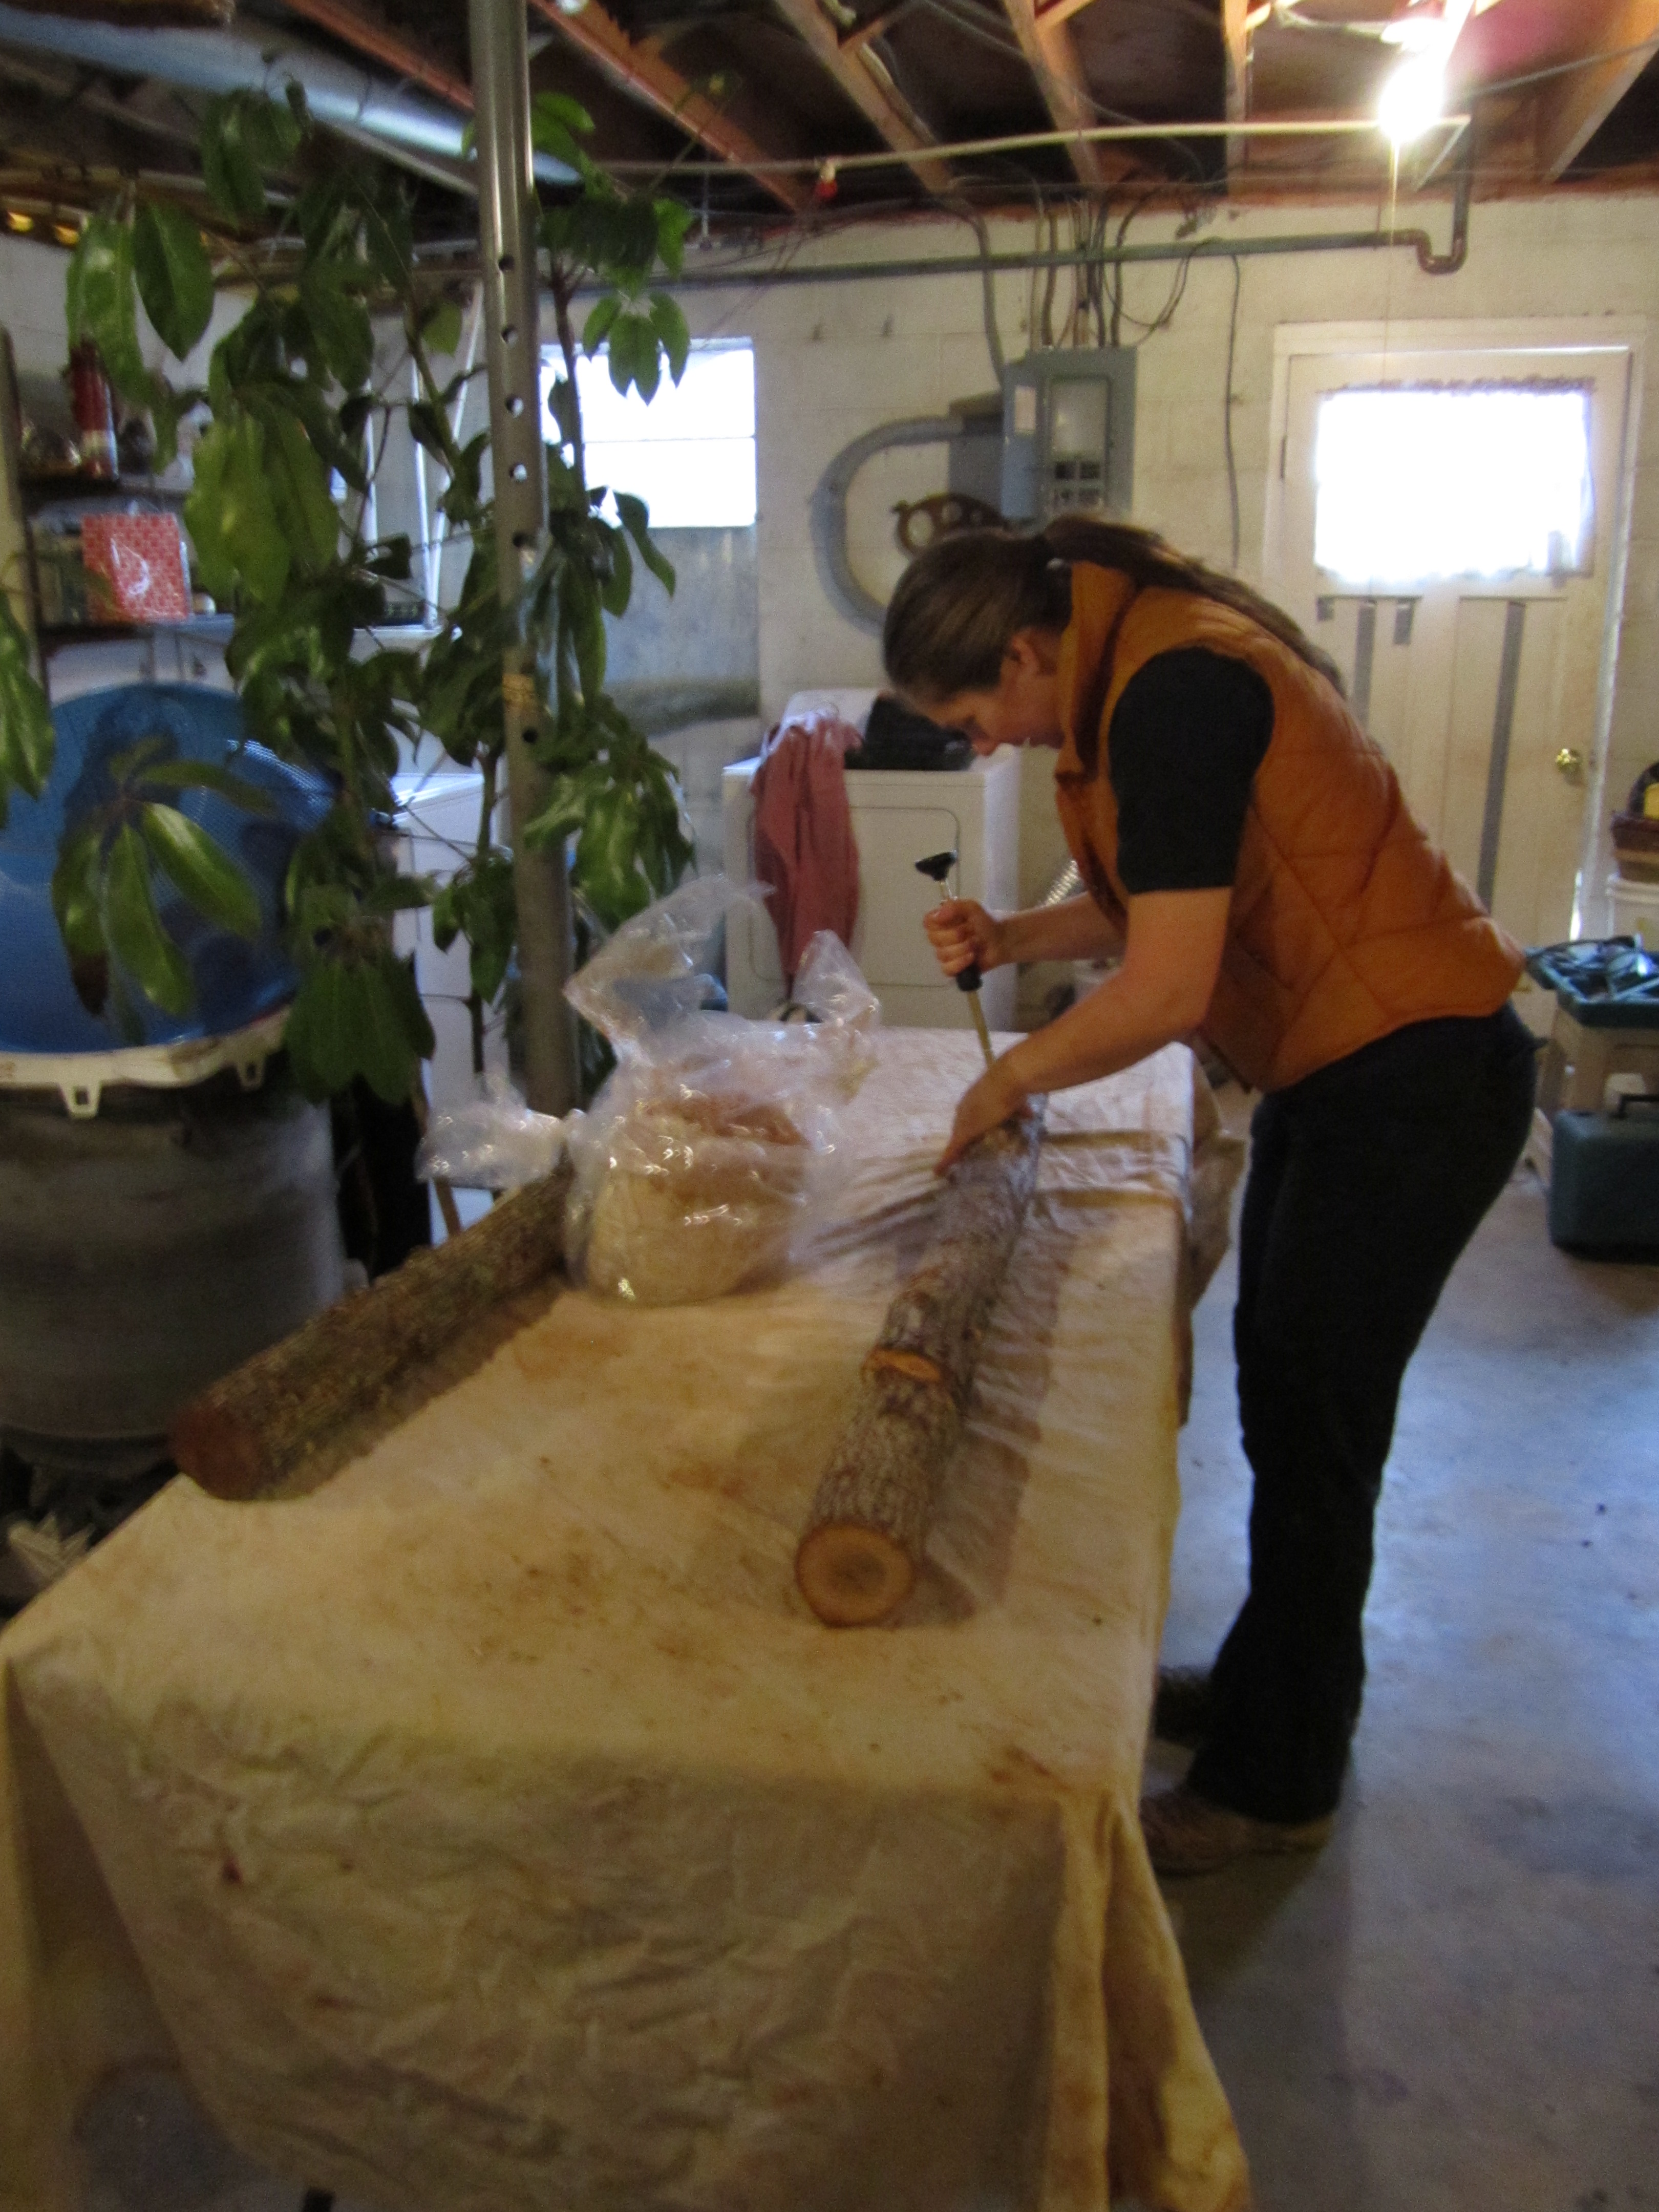
station three was where my mom was camped out, and she “painted” over the holes with wax (we used the cheapest, white wax you can find on the baking/canning aisle of the grocery store). we used an old crock pot specifically for melting the wax, cutting it on “low” to melt the wax and then on “keep warm” once it was all melted (we do not plan to use the crock pot for anything else except wax in the future). the brush we used was a 1″ natural fiber brush, the cheapest that could be found at the hardware store. when my mom waxed each hole, she was heavy-handed to make sure that all sawdust was sealed inside… this is important because you don’t want to give any other fungi the chance to colonize the log through the open hole too.
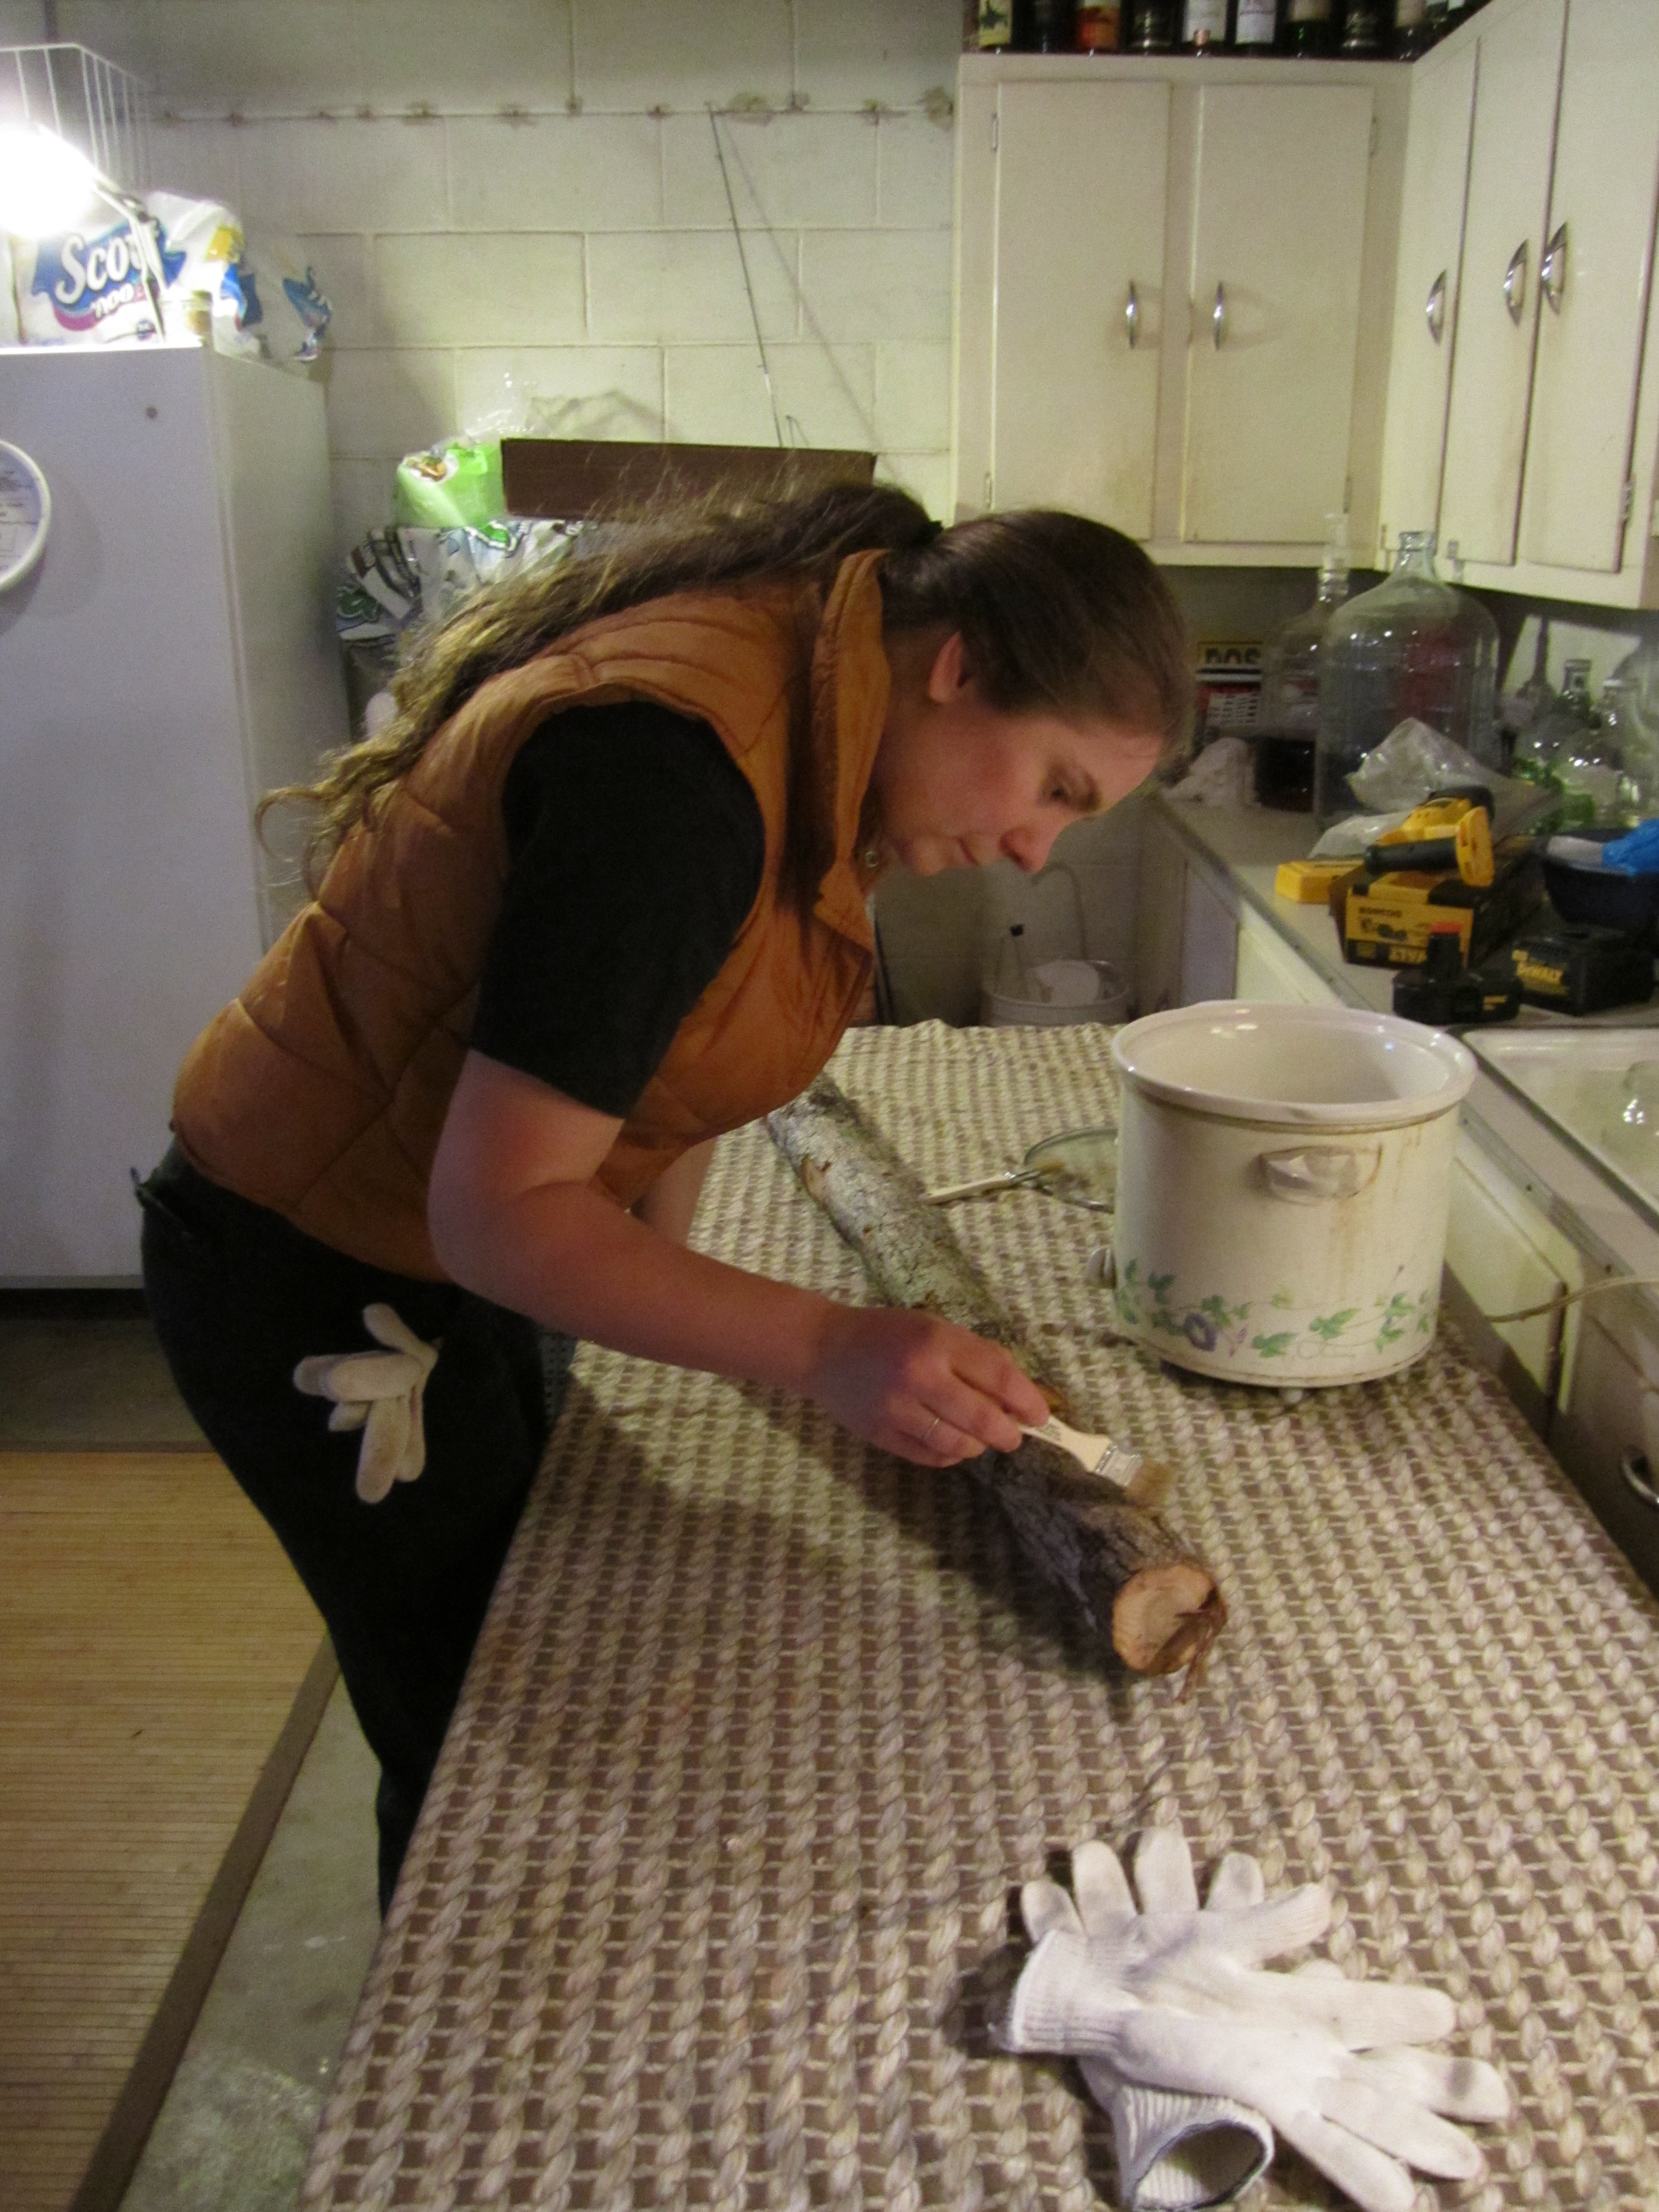
i demonstrate the waxing process.
once the logs had dried a bit, someone who had a break would move the completed logs back outside to be stacked and await their future soaking!
overall, the experience was exciting! i can’t wait to see how everything turns out months from now. for now, all the logs have been soaked and moved to their permanent location, to await fruiting. we’ll talk more about this process in future posts… hopefully coming very soon!
a video explanation and demonstration of these steps will be posted shortly!
.:.