KW Homestead

Pasture Raised Poultry & Edible Landscaping Plants Since 2013

Month: May 2014 (page 2 of 2)

A Rainy Day on the Homestead

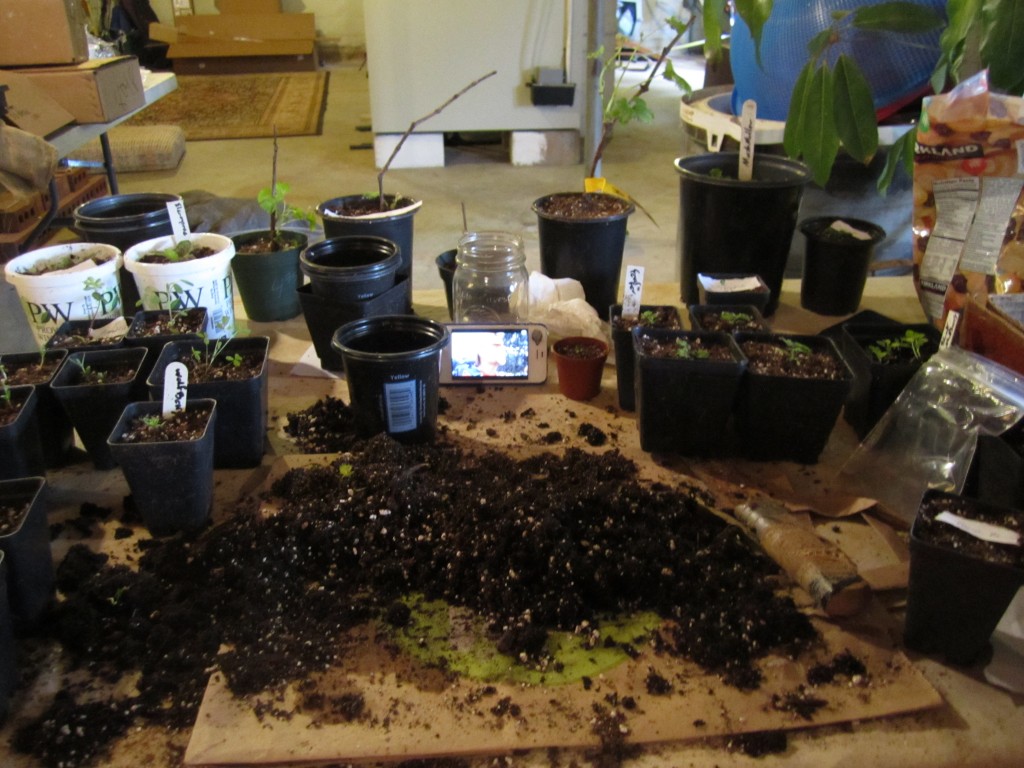
We got some much needed rain today here at Kuska Wiñasun Homestead, more than an inch and it’s still coming. Rain plays a role in the type of chores you can get done on a homestead, and today I spent most, but not all, of the time indoors, starting some more plants from seed, and potting up some small seedlings that germinated a while ago.

potting station

My planting station in the basement; potting soil, containers, root knife, and an iPhone for watching documentaries on Youtube.

Many of the perennial herbs that were planted in the middle of March (elecampane, marshmallow, and feverfew to name a few) were a bit crowded in the small pots they germinated in and so I transplanted them into larger containers so as not to stunt their growth. I noticed that while these plants were slow to germinate, they had well developed root systems much larger than I expected for seedlings that looked so tiny. I also planted a few things from seed that we are very excited about growing: Monkey Puzzle Pine, St. John’s Wort, Ashwaganda, Blue Bean, and Lovage.

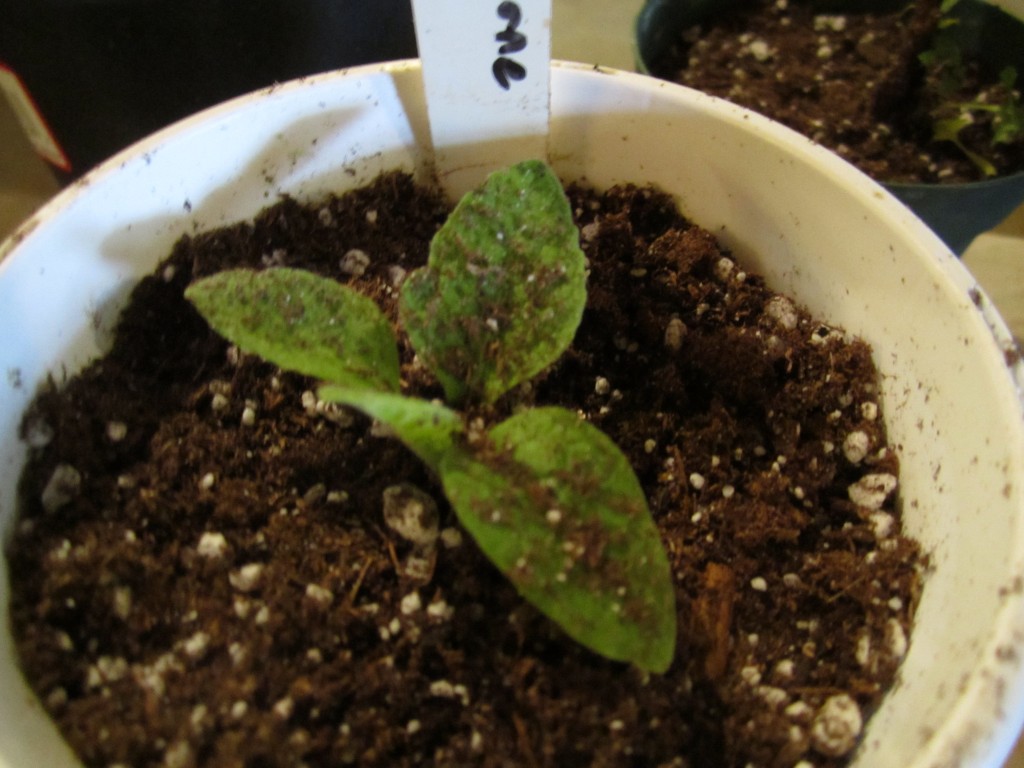
elecampane seedling

A healthy elecampane seedling, a great medicinal herb for lung and digestive problems.

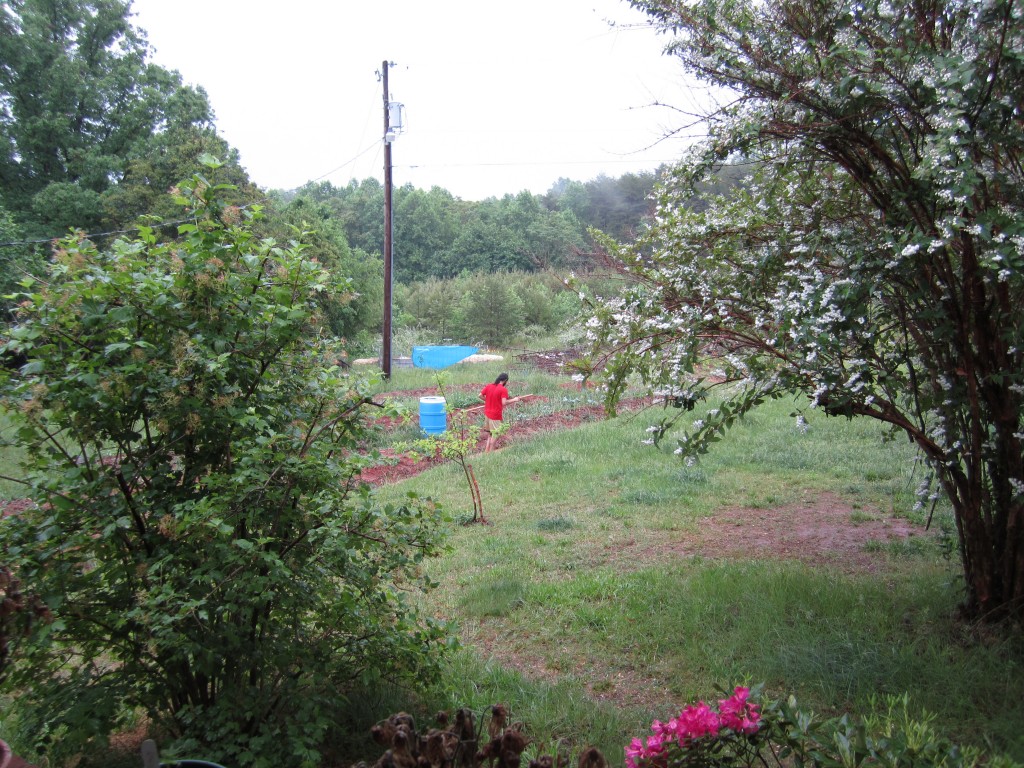
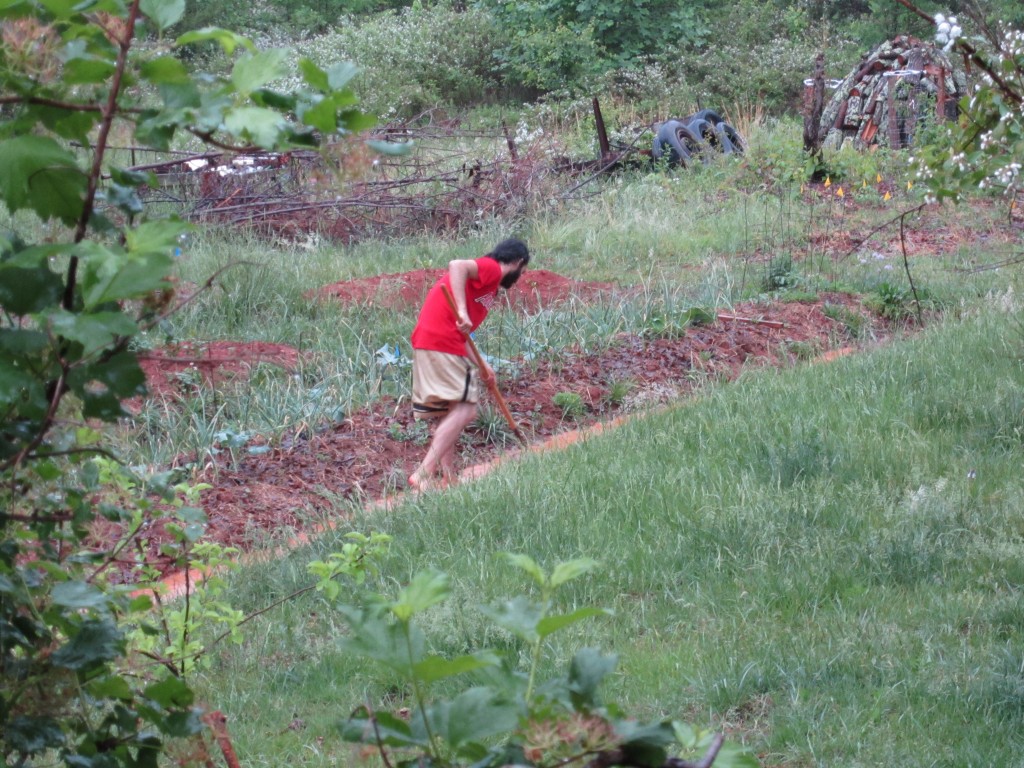
By this point it had been raining for a while, and our garden swales were starting to fill up. I noticed that they weren’t filling up evenly, and figured that it was a great time to get the hoe out and start leveling the contour paths. The small amount of water, about an inch or two, made it easy to find the high spots and then scrape that soil to the low spots. Then it was just walking up and down the swale, seeing how deep the water was at different spots and filling in with clay as needed.

garden swales

Taking advantage of some summer rain to work on the garden swales.

This was pretty fun work in the rain, and I felt like a rice farmer in China working on his paddies. The combination of a steady, rhythmic rain, and the watching the water slowly creep along the swale as it became level was very relaxing.

garden swales permaculture

So today was a rainy day not wasted. Some inside chores, and then some outside ones made easier with the help of the rain. We can also thank the rain for watering in our garden, filling up our ponds, keeping our shiitake mushroom logs moist, and charging up our forests with a much needed soak.

broody chickens, bald chickens, and roosters who attack!

beginning a few months ago, we noticed that about 5 or so of our standard hens were starting to go bald in very concentrated spots on their backs between their wings. my first thought was that the hens were picking at each other and eating those feathers, but after watching them i realized that i hadn’t seen a single hen pick at the feathers of another (except once when a hen got mad and chased another one, grabbing at her tail feathers). i also didn’t see how the chickens would be interested in eating each others’ feathers since they receive great supplements in their food that should prevent them from wanting dine on feathers.

so, i decided to look into the issue a little more and learned that the bald spots were the fault of the rooster, rex! once i read this, it made sense, of course!

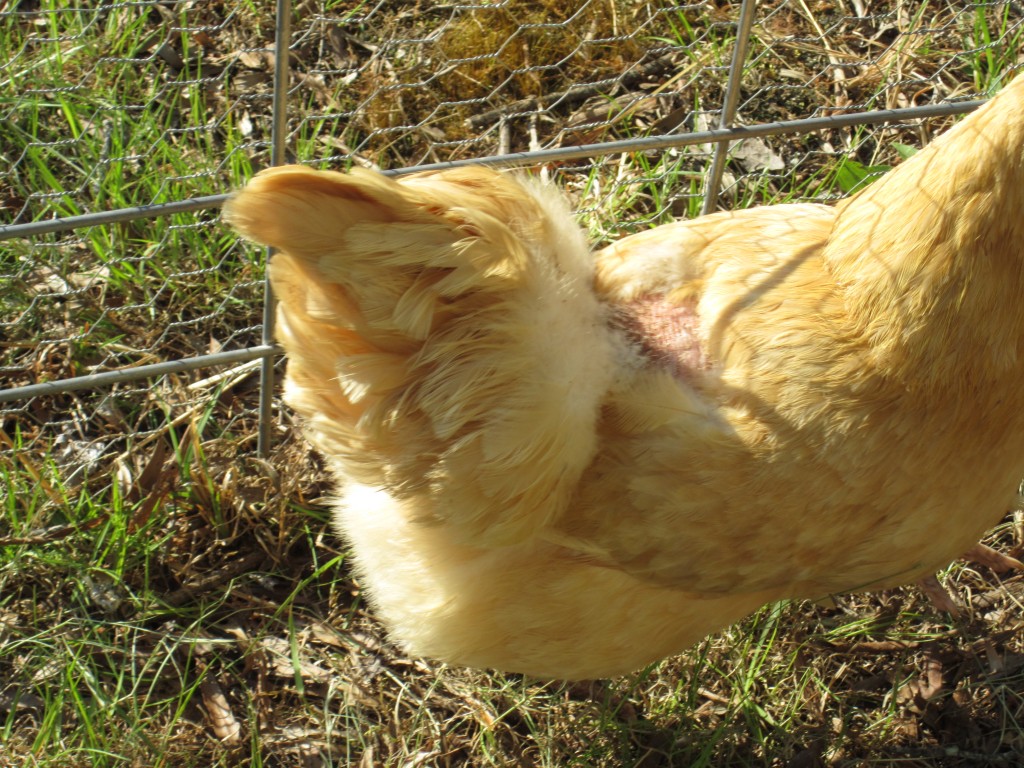
IMG_1739

one of rex’s favorite ladies–do you see the pink bald spot between her wings?

apparently, when young roosters get close to reaching full maturity, they pick out a couple hens that are their favorites and shower them with attention (you know what i mean, ya’ll). as they get older, they start to spread their attentions out over the whole flock so no hens are losing all of their feathers or getting too scratched up, but when they are young there is a risk that if their spurs are too sharp they can actually cut up the hens they really like.

after reading this, i made sure to look closely at the balding hens to see if they were cut at all… and they were not. but still, some were a little raw looking, which made up 1/2 of my mind when later…

rex actually attacked me with his spurs!

this happened about a week ago when i was feeding everyone. i noticed that rex had been a little bit more “pushy” and “prancey” lately but thought that if i didn’t get in his space too much he would leave me alone. untrue. once i turned my back and was walking to the back of the chicken pen where i dump out their food scraps from my school kids, he jumped up in the air and spurred me in both legs, right around the knees. he didn’t get through my pants to my left leg, but he did with my right. his spur didn’t go in very deep but it went through the pants, punctured my skin, and made me bleed.

of course i felt like killing him/crying after that but only managed to yell at him and throw the food scraps all over him in revenge, which he ended up liking very much.

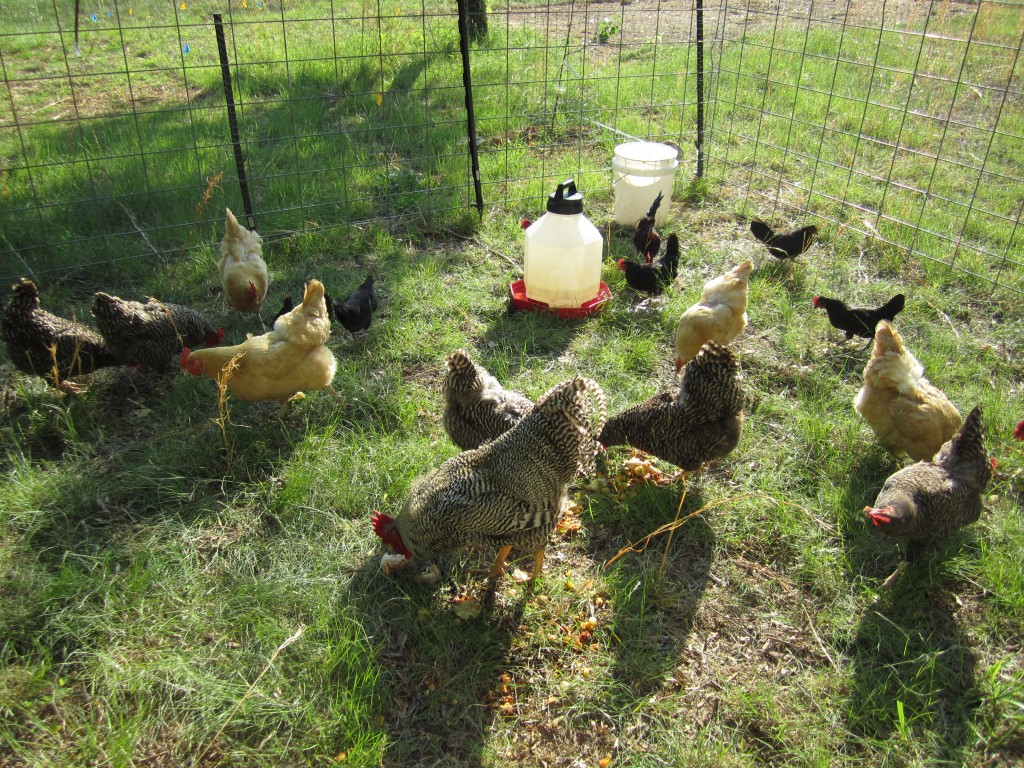
the flock enjoying their new spot in the grass. rex is in the foreground, keeping himself between me and his hens.

the flock enjoying their new spot in the grass. rex is in the foreground, keeping himself between me and his hens.

since then, i’ve decided that as soon as we hatch out some more roosters i’m going to eat rex in a soup. in the meantime, we’ve clipped rex’s spurs. this is the choice that was easier to make since noticing the bald spots on some of the hens. i pinned down rex in a net (and felt awesome doing it!) and my dad nipped off the sharp ends of his spurs with handheld hedge nippers. he didn’t make any noises of pain (since the spur is a bone and the process didn’t hurt) and the end of the spur only bled a tiny bit and then quickly dried. now he can’t actually puncture me if he jumps me again and he shouldn’t scratch up the hens as much.

which leads me to the third type of chicken i want to talk about: a broody chicken! we have three hens who are trying to sit on nests/eggs right now and a few days ago we officially labeled their eggs (marking them with pencil) and let them stay on their nests! one standard is sitting on 7 standard sized eggs, one bantam is sitting on 2 bantam eggs, and another bantam is sitting on 2 standard eggs and 1 bantam egg. i’ve placed a piece of cardboard behind their nest boxes so that the sun doesn’t shine in on them and make them too hot.

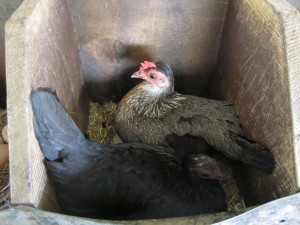
two bantams sitting on eggs.

two bantams sitting on eggs.

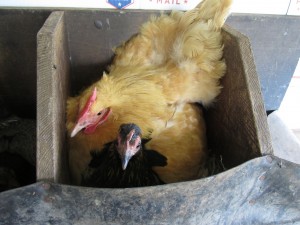
an unlikely duo: a bantam and a standard.

an unlikely duo: a bantam and a standard.

everyday i’ve collected the fresh eggs out from under the three hens (much to their chagrin) but left the eggs they’ve been sitting on. we hope they will remain broody and vigilant! if all goes well, we might be meeting up to 12 baby chicks as early as the 26th of may. cross your fingers for us!

.:.

The Value of a Fruit Tree Investment

I wrote yesterday on how to plant fruit trees and it got me thinking about the potential value and return on investment that a food forest, or even just 1 fruit tree can provide. Today I want to look at what an apple tree can yield during it’s lifespan, and maybe try and persuade you that planting one just may be the best investment opportunity around.

value of an apple tree

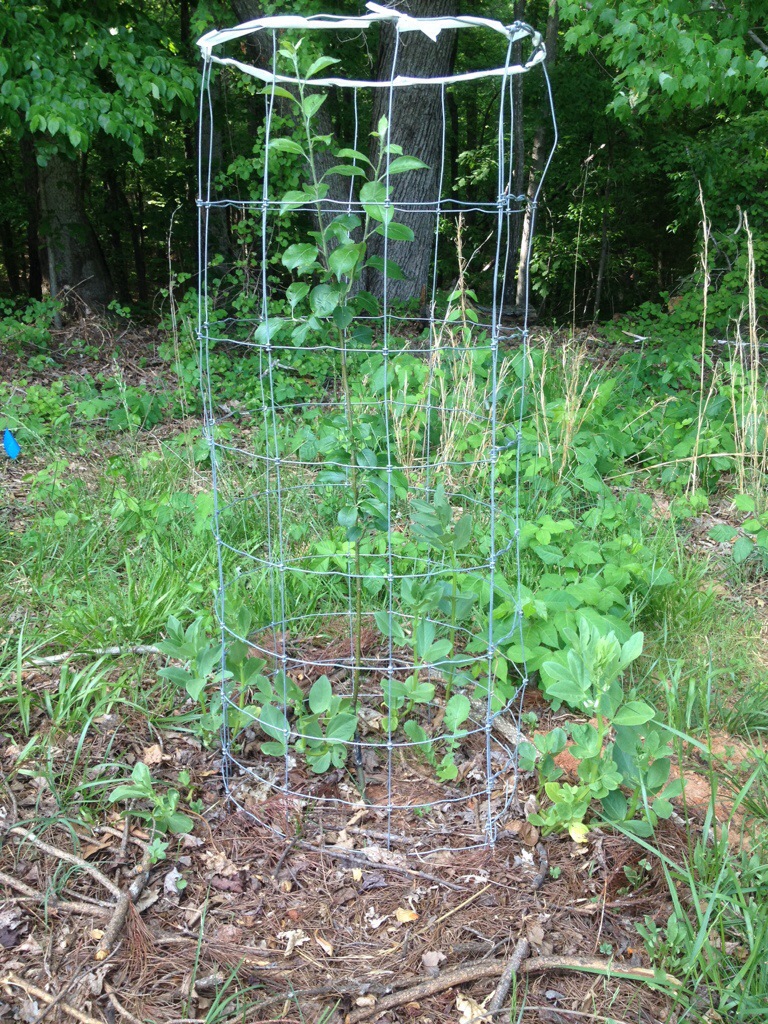
One of our heritage apple trees with a tomato cage to protect from deer, and fava beans planted around it to produce mulch and fix nitrogen.

Okay. Let’s look at a semi-dwarf apple tree, like the William’s Favorite apple that I showed in the pictures of yesterday’s post. A semi-dwarf apple tree will cost anywhere from 15-40 dollars and you can definitely find a high quality, heritage variety for under 30 dollars. After planting, you can expect some yield in 2 years, but 3-5 years is when this tree will really hit it’s stride.

How much does a semi-dwarf apple tree produce? Around 4-7 bushels of apples per year. A bushel of apples is about 45 pounds, so that makes 180-325 pounds of apples every year. That’s a lot of apples. It’s actually 500-880 medium-sized apples, and would likely satisfy your “apple a day”.

How much are these apples worth? Well, first off, go down to a store and try to buy a beyond organic, no spray William’s Favorite apple. How much is it? It doesn’t exist. You can’t buy it at a store, but we’ll substitute organic apples for our calculations. So, organic apples run anywhere from 1.99/lb. to 3.99/lb., but I’ll use the lower number to be on the safe side. So, at 2 dollars per pound, 1 tree will produce $360-650 worth of apples per year.

But what can you do with hundreds of pounds of apples? Well, you could make homemade apple pie, 60 -100 pies per tree actually.

What about cider? Did you know that President John Adams would drink a tankard of hard cider every morning to prevent gas? Well, your mature apple tree can produce enough apples to make 12-24 gallons of cider per year. That’s 128-256 bottles, or 21-42 6 packs of craft cider. If you’re not a cider drinker, I’ll tell you that a 6 pack of quality cider costs about 10 bucks, and most of these are made from the rejects of the fresh fruit market.

Now, for how long can you expect this investment to return? While standard apple trees, those grown on full size rootstocks, can easily live 100 years, semi-dwarf apples typically live from 20-25 years. So your $30 apple tree will produce around 5000 pounds of apples, enough to make 1500 apple pies, or 600 6 packs of apple cider. And thanks to inflation, who knows how much these will cost in the next 25 years.

I’d say that’s a pretty good deal. And after the first year, once the tree is established, it will require very little maintenance. Now if this 1 tree is surrounded by support species plants that fix nitrogen, attract pollinators, and provide mulch and predatory insect habitat, and maybe a small swale to hydrate the soil and reduce water needs, then this 1 tree becomes a self-supporting, and highly valuable aspect of your property.

And while you can drive out right now and buy a 2-3 year old apple tree to plant, you cannot buy a 10 year old tree that is in full production, with a root system 20 feet deep and capable of surviving drought like no corn field or garden can. All of these, and many more, are reasons to consider planting a fruit tree or two on your property. It’s not that hard, and can be an extremely profitable investment.

Planting Trees: A Quick How To

As we wrap up the initial planting of our backyard food forest, I thought it made sense to put together a post on how exactly we plant our fruit trees. We already uploaded a video about protecting fruit with tomato cages, so check that out if you haven’t already, but today I’m going to give a quick how to on planting bare-root fruit trees.

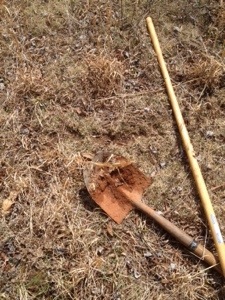
apple tree location

This spot in the front yard is just out from the dripline of a big oak tree and should get plenty of sun.

First off, decide where the best place to plant your fruit tree is. Some things to consider are the directions of your primary winds, how much sun the tree will get, what sort of shade the surrounding trees or structures may provide, and also how much shade your tiny fruit tree will provide when it is mature. It’s also nice to be near a source of water for both irrigation and planting if you can.

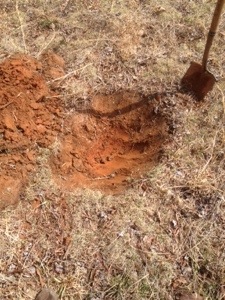
Next, I like to scratch off the top layer of sod or leaf litter, depending on where I’m planting, with either a mattock or shovel. This makes it easier to break ground, and also disrupts weed and grass growth in the area right around the young tree. Now it’s time to start digging. I like to dig a hole that is bowl shaped, with gently sloping sides, and a little deeper than the root ball on the dormant tree. For most of the trees we planted this year, this turned out to be a hole that was two and a half to three feet wide, and 18 to 24 inches deep.

fruit tree hole

Make sure your hole is big enough and you don’t cram the roots in!

After the hole is dug, I like to rough up the sides and bottom a little to make sure the tree roots can grow out into the native soil. I now backfill the hole a bit, and place the root ball of the tree on a small pile of dirt and see if the depth is right.

I try to plant the tree at the same level is was planted at in the nursery, a couple inches below the graft union. This is important because if you accidentally plant the graft union below ground, the tree will grow as a full size tree and you will lose any semi-dwarfing or dwarfing effects. Now this isn’t necessarily a bad thing, but if you spend money on a dwarf apple tree that only gets 6 ft. tall, you probably won’t be happy when it ends up being 60 ft. tall.

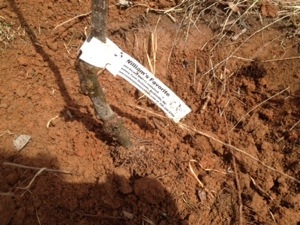
planting apple tree

Start packing in the dirt around the roots, making sure to bust up any big clumps.

Once I have the right depth, I pack dirt around the roots of the tree, being careful to try and break up any large clumps of our beautiful, red Carolina Clay. At this point, I may add a handful of our native forest soil, in order to inoculate the young tree’s roots with mature soil bacteria and beneficial fungal mycelium to help with the uptake and cycle of nutrients.

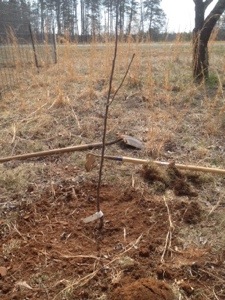
heirloom apple tree planting

Fill in the rest of the hole and water deeply to remove any air pockets.

After that, I fill the hole in completely, and perform any grading or minor earth shaping to channel runoff and rain water. Ideally, now is when you would plant a few support species next to the tree, to help it grow. It’s also the best time to add a thick layer of mulch around the base of the tree, and then give it a good long drink to water it in.

And that’s pretty much it. All in all, after you get a few under your belt, it takes about 15-25 minutes per tree, depending on the size of the roots. Not too bad when you consider the value of a mature fruit tree, and how much food security it provides.

happy birthday, bolt!

today is bolt’s first birthday.

we’ve started the celebration by:

  • spraying bolt with the “jet” setting on the hose while he runs around loving it and avoiding it all at once
  • filling up a little pool for him to jump in to cool off (which he didn’t want to get in and only drank out of)
  • laying in the shade
  • feeding him lots of breakfast, including some chicken eggs
  • giving him a venison bone to chew on, complete with lots of attached meat. he’s already devoured the meat and had been carrying the bone all around the yard, trying to find a good place to bury it and changing his mind about the best location every time he sees you looking at him

the video below is just a simple video showing bolt enjoying his special day in the some of the ways listed above. bolt’s big birthday present coming later today is… his very own goose egg! he’s going to love it!

happy birthday best friend and son, bolt!

.:.

meet the homestead’s happy seedlings!

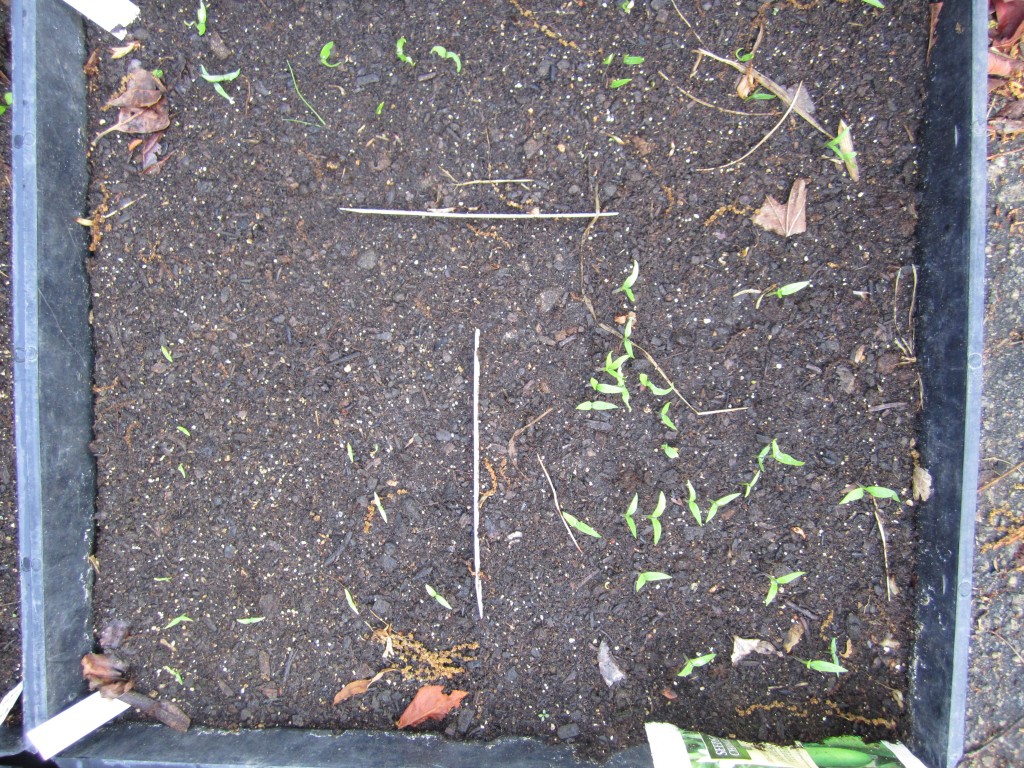
i recently wrote about all of the plants we started from seeds in pans and trays. i wanted to provide an update about how some of these guys are doing and show you what some of our plants look like in their infancy:

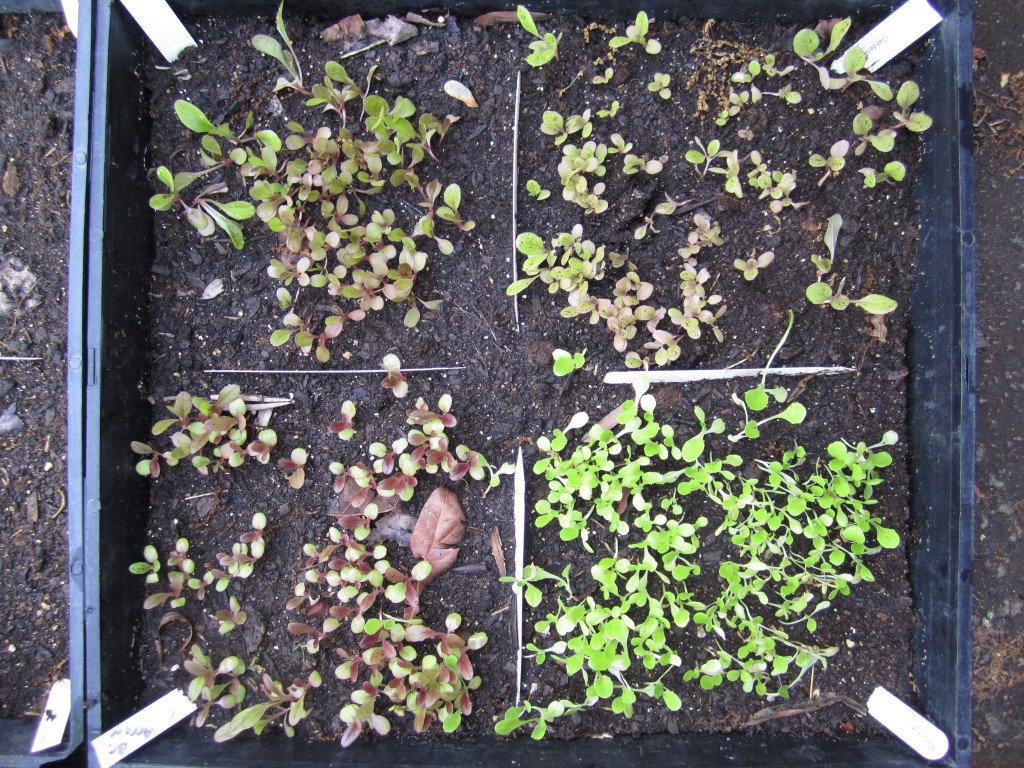
lettuce

the four lettuce varieties that we chose this year: speckled bibb, anuenue, bronze arrow, and sweet valentine.

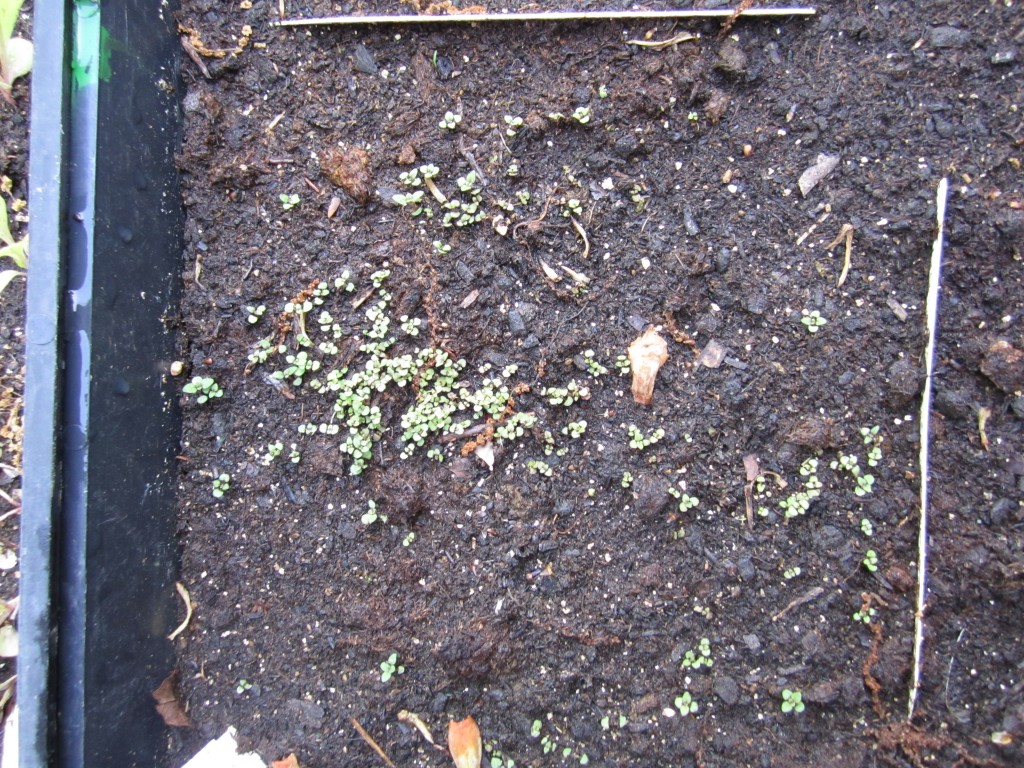
sage

baby sage plants!

thyme

“thyme” for growing!

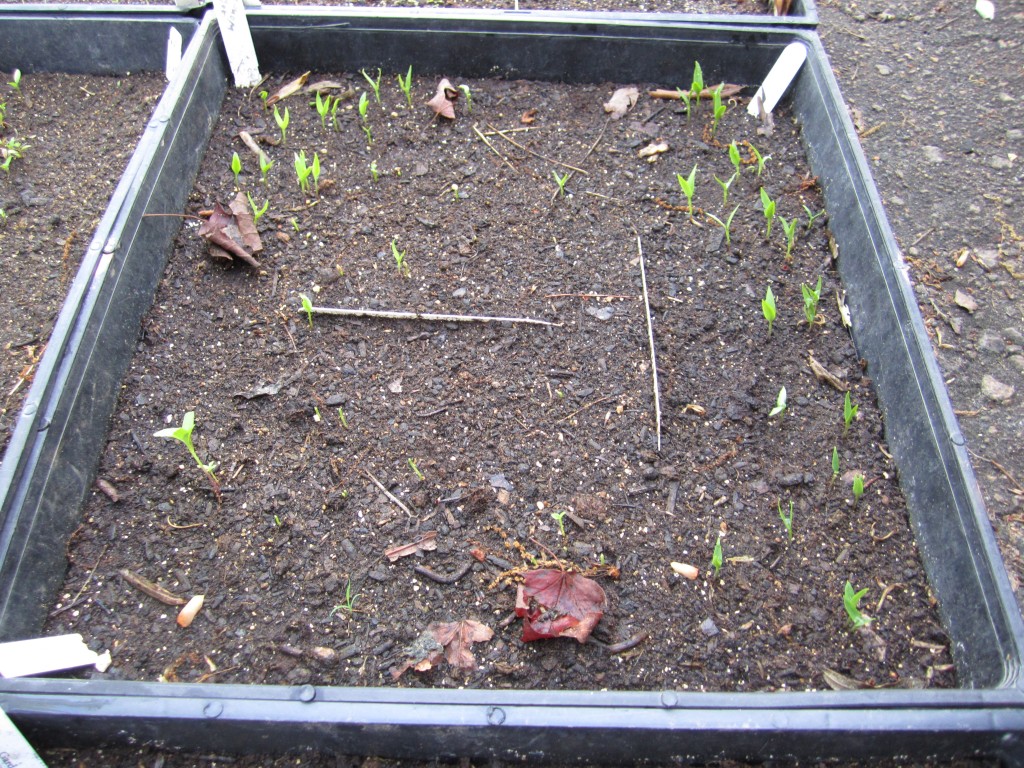
peppers

three delicious treats: jupiter red bell peppers, golden california yellow peppers, and tomatillos.

peppers

our spicy pepper tray: jalapeno, cayenne, and aji.

tomato

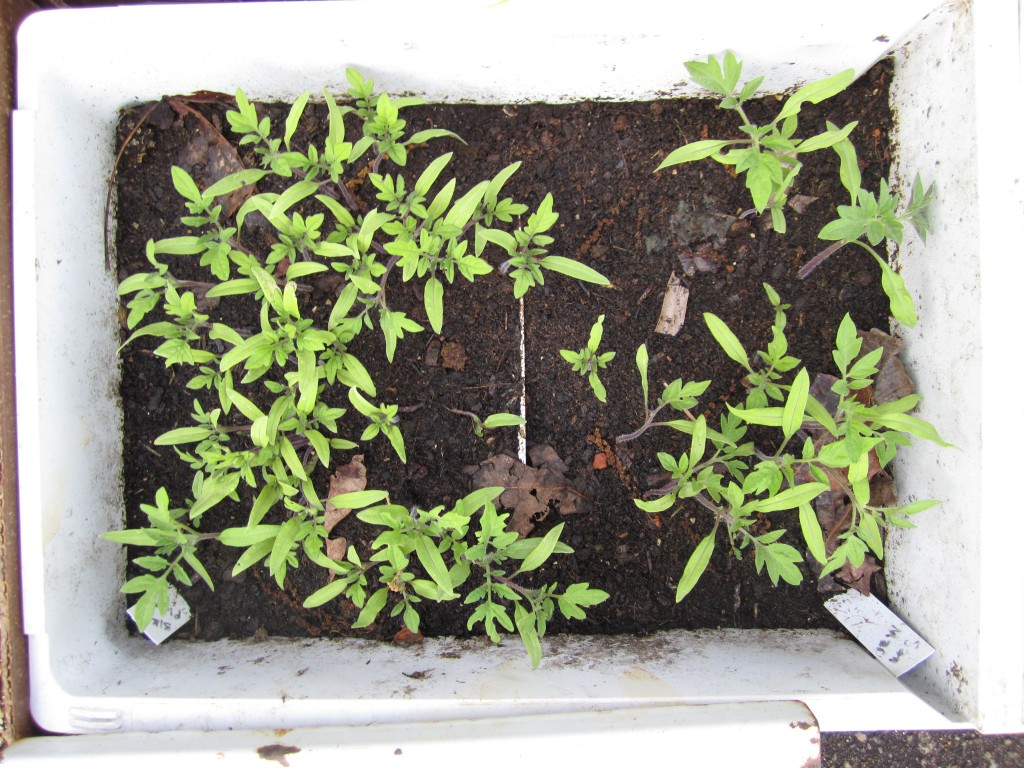
thriving paste tomatoes: black plum and san marzano. anyone ready for homemade tomato sauce?

tomato

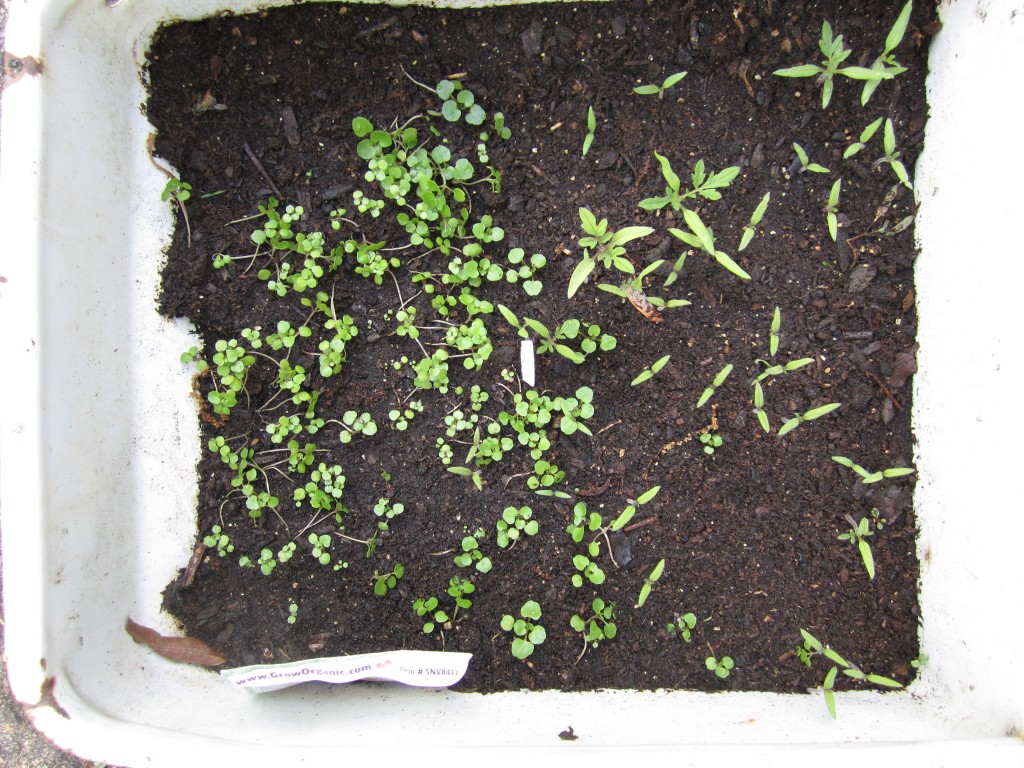
black cherry tomatoes (right) and watercress (left). watercress is so cool… it can be grown in running water, i.e. a stream!

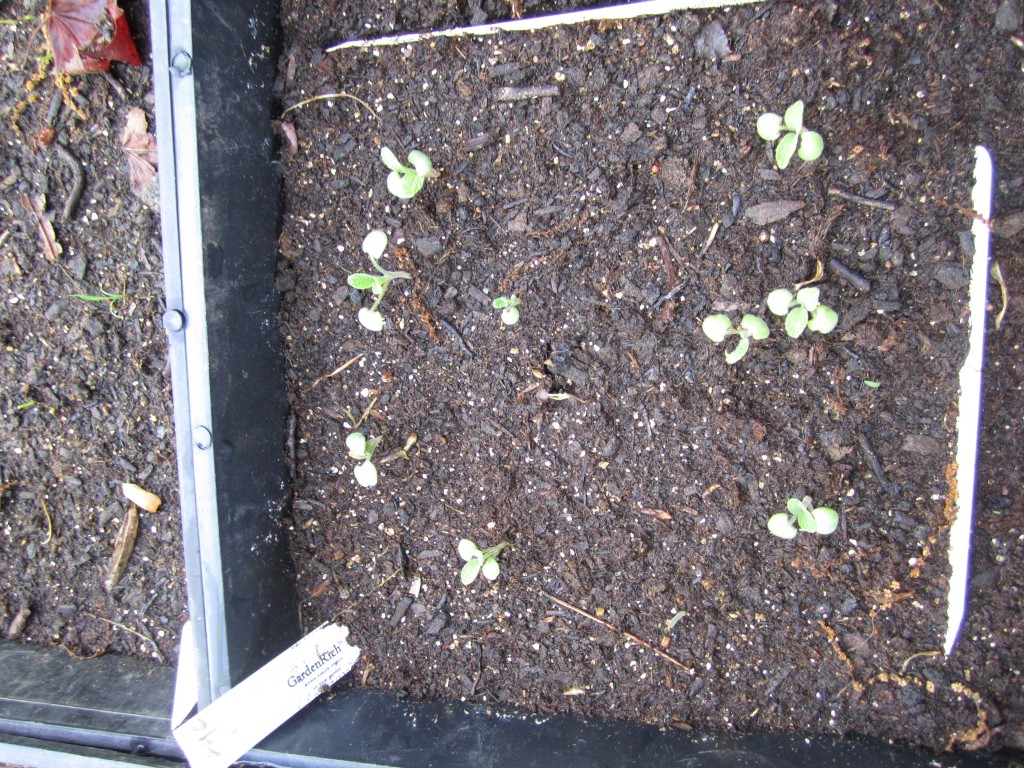
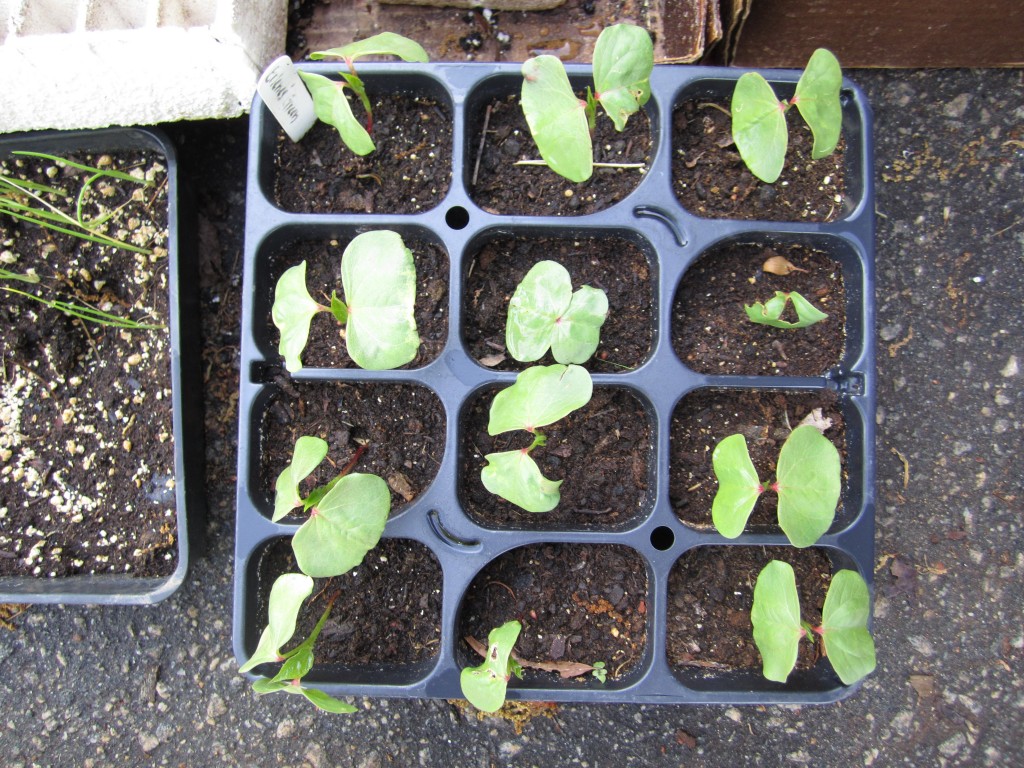
and the star of this season's seeds... erlene's green cotton plants.

and the star of this season’s seeds… erlene’s green cotton plants.

i’m not really sure yet what i’ll do with the cotton once/if the plants are fruitful but i am so excited to have green cotton! wow!

the lettuce and the cotton need to be transplanted into the ground soon, while the tomatoes and peppers will be transplanted into larger and deeper pans so they can grow a little tougher and larger before we put them in the ground.

and the other seedlings needs a little more time to grow in their current locations before they graduate up the “food chain.” just thinking about it is making me hungry!

.:.


Unique and Rare Potato Varieties for 2014

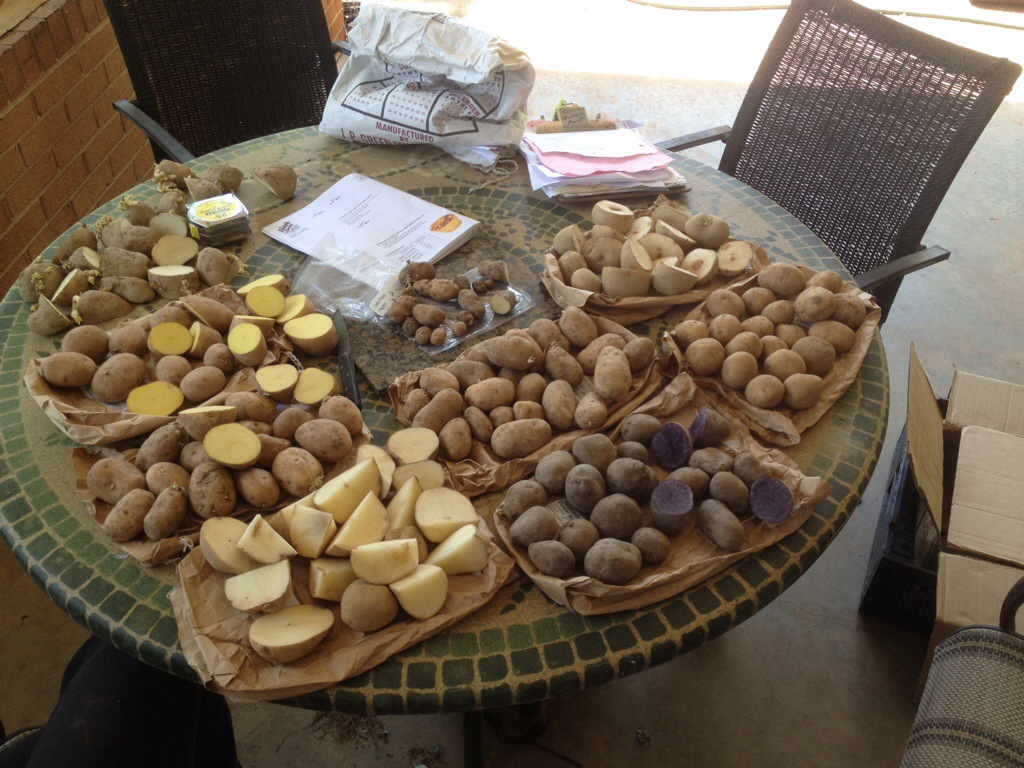
The seed potatoes that we were waiting on arrived the other day, and within 48 hours we had them in the garden. In total, we planted 9 varieties and we’ll buy 1 more type at the supply store soon to make 10.

We tried to keep the number of plants relatively even, so that we can compare yields among varieties, in addition to flavor, store-ability, and disease resistance. We did this by cutting larger seed potato pieces into smaller pieces, but making sure that each piece still had at least 1 nice eye to grow from. Seed pieces the size of an egg, a chicken egg that is, we planted whole. We ended up planting 176 seed potato pieces, which in a perfect word would make 176 plants. We’ll see….

heirloom seed potatoes

Seed Potatoes ready to be planted in the garden.

Most of the varieties we planted are either rare heirloom potato varieties, or delicious gourmet varieties. Here’s a brief rundown on what went in the ground.

Of the early potatoes, we planted Early Ohio, an heirloom from Vermont grown since 1871 with a nutty flavor, and Cobbler, another heirloom from the 1800’s that is said to have been discovered by an Irish shoe maker.

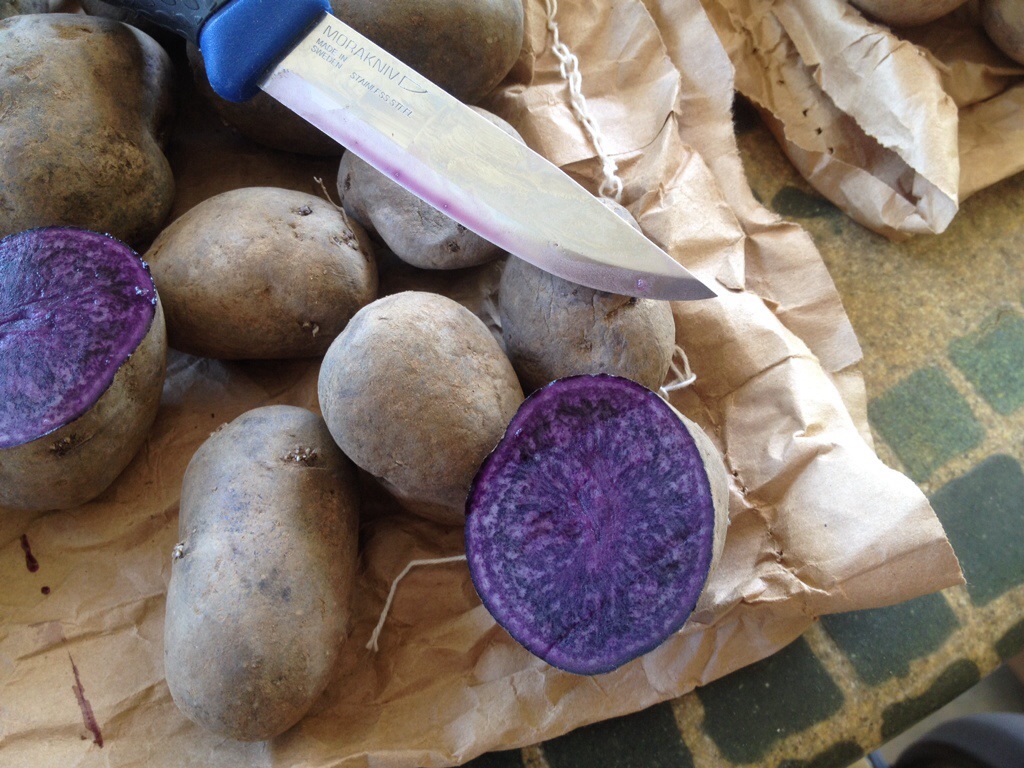
We planted a few mid-season varieties, including Carola, a German potato with a creamy yellow flesh, Kennebec, a popular and high yielding variety grown all over the country, and Purple Majesty, a beautiful purple skinned and fleshed variety high in anthocyanins, an antioxidant found in blueberries, currants, and aronia.

Purple Majesty Seed Potatoes

Purple Majesty seed potatoes. Check out that color!

The late season varieties were Bintje, a Dutch potato from 1910, German Butterball, a delicious yellow fleshed gourmet type, Katahdin, a high yielding and long keeping variety from 1932, and Red Pontiac, the red potato we grew last year that knocked our socks off and made us potato snobs.

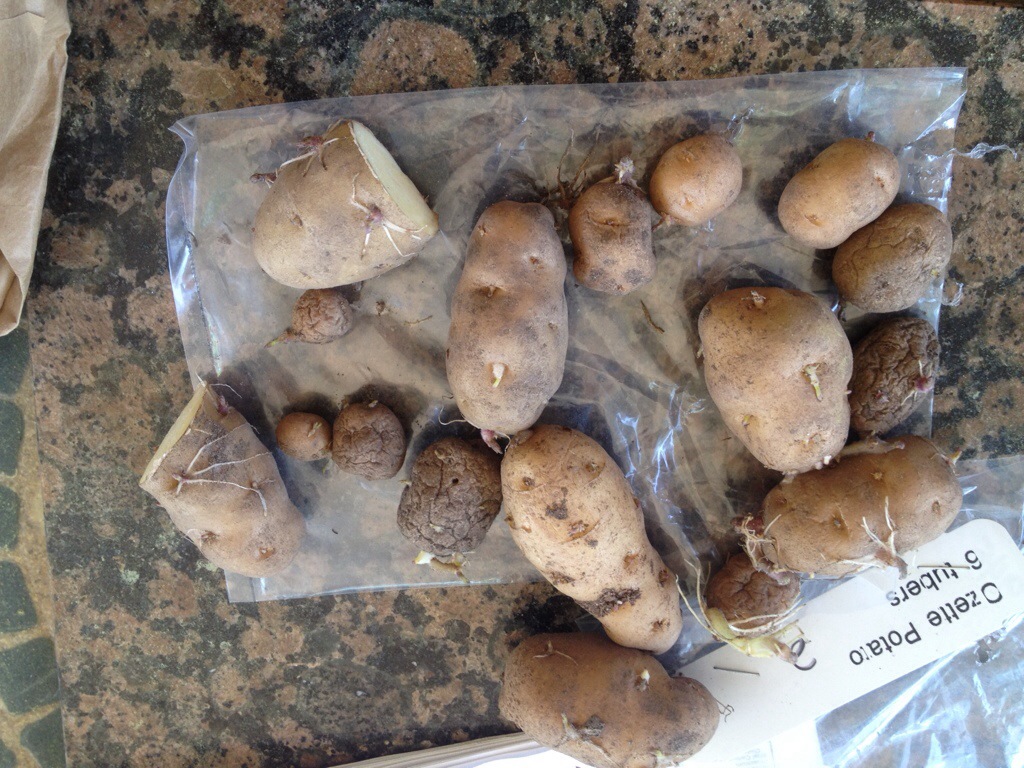
We also planted a fingerling variety named Ozette. This potato has the best backstory of all the potatoes we planted this year. The Ozette potato, unlike every other potato grown in the US came directly from South America by Spanish Explorers in 1791. They brought it with them form the Andes, and it was planted in a small garden outside of a fort in the Pacific Northwest. When the Spaniards abandoned the fort, the Native Makah people found the Ozette Fingerling potato, and have planted, and relied on it as part of their diet every year since.

ozette seed potatoes

Ozette seed potatoes. This Andean heirloom has a story behind it that matches it’s amazing flavor.

All other potatoes were first taken to Europe, where the Irish, Prussians, and the rest of the Continent developed new varieties, and then brought these varieties to North America when they immigrated centuries later. The Ozette potato is said to be one of the tastiest potatoes around, and having tasted more than a few Peruvian potatoes myself, I can’t wait.

a variety of bird eggs!

since we recently got geese, we’ve had our share of exciting egg sightings! at first, the large goose eggs were extreme-sized, but now they seem normal to us and our chicken eggs seem tiny. this got me thinking about all of the birds that we see everyday and their lovely eggs.

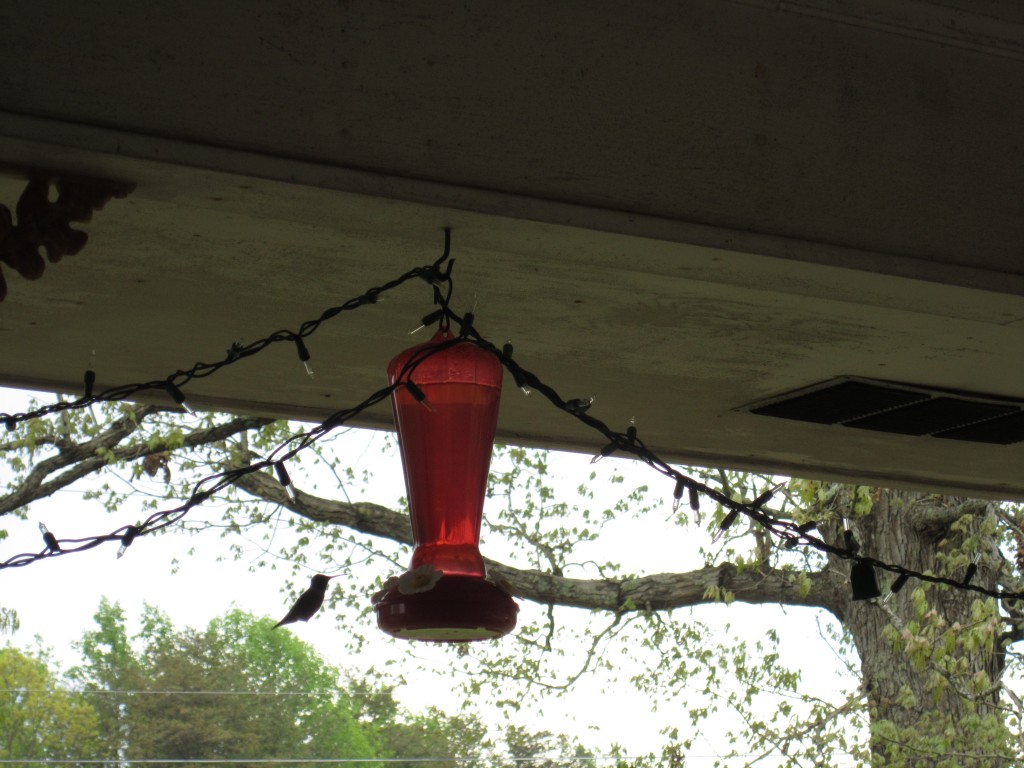
of course we see our geese, standard chickens, and bantam chickens everyday and get to check out and collect their eggs first hand, but we’ve also had other bird visitors this spring. the jenny wren has come back to take up residence in the same geranium plant that they used last year and our hummingbird feeder has become a busy place! chickadees thought about building a nest on our hammock support, but have hopefully decided against it. i couldn’t resist checking out the jenny wren nest for comparison purposes!

a goose egg (left) and a wren egg (right). look at the size difference!

a goose egg (left) and a wren egg (right). look at the difference! The wren egg is even smaller than the wind egg!

birds are amazing creatures! and even more amazing are the different sizes that the different species can be (and their differently sized eggs too!).

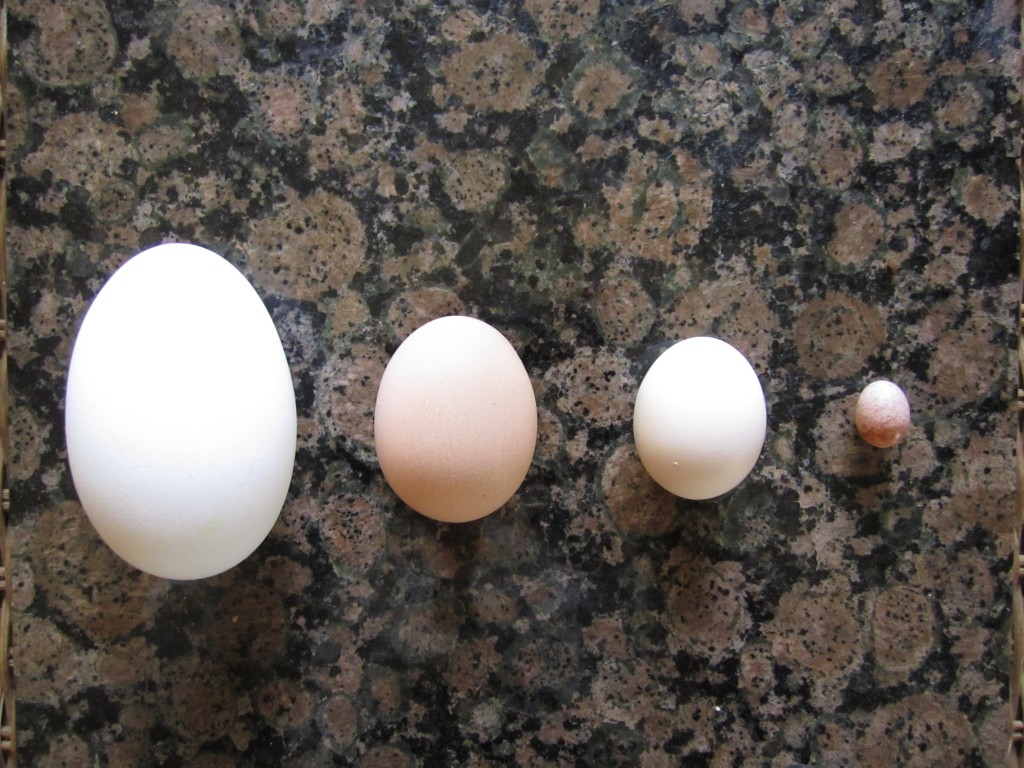
from left to right: goose egg, standard chicken egg, bantam chicken egg, wren egg.

from left to right: goose egg, standard chicken egg, bantam chicken egg, wren egg.

one of our hummingbird visitors, coming out for a meal!

one of our hummingbird visitors, coming out for a meal!

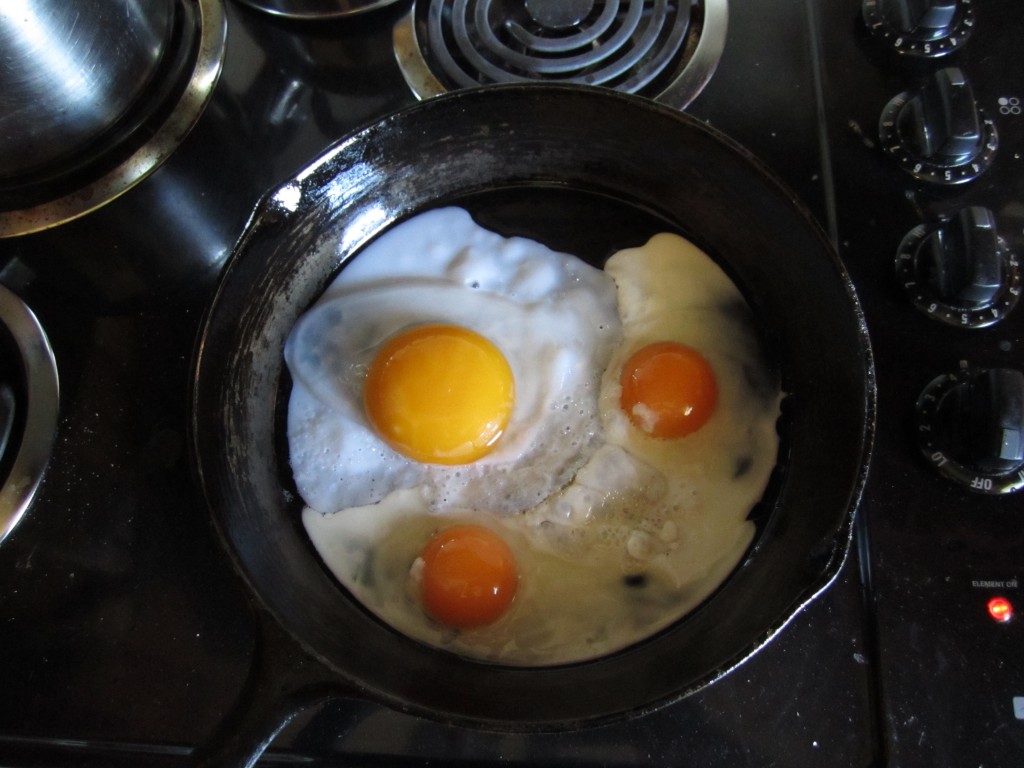
check out the size of this goose egg; the other eggs a re standard chicken eggs!

check out the size of this goose egg; the other eggs are standard chicken eggs!

i’m gaining even more respect for birds than before… just look at the amazing variety of eggs they lay!

and don’t forget to check out our post on how to use eggs, from boiling and spaetzle-making to craft-making and deviled eggs.

.:.

Grazing and Herding Geese is Simple, Easy, and Productive

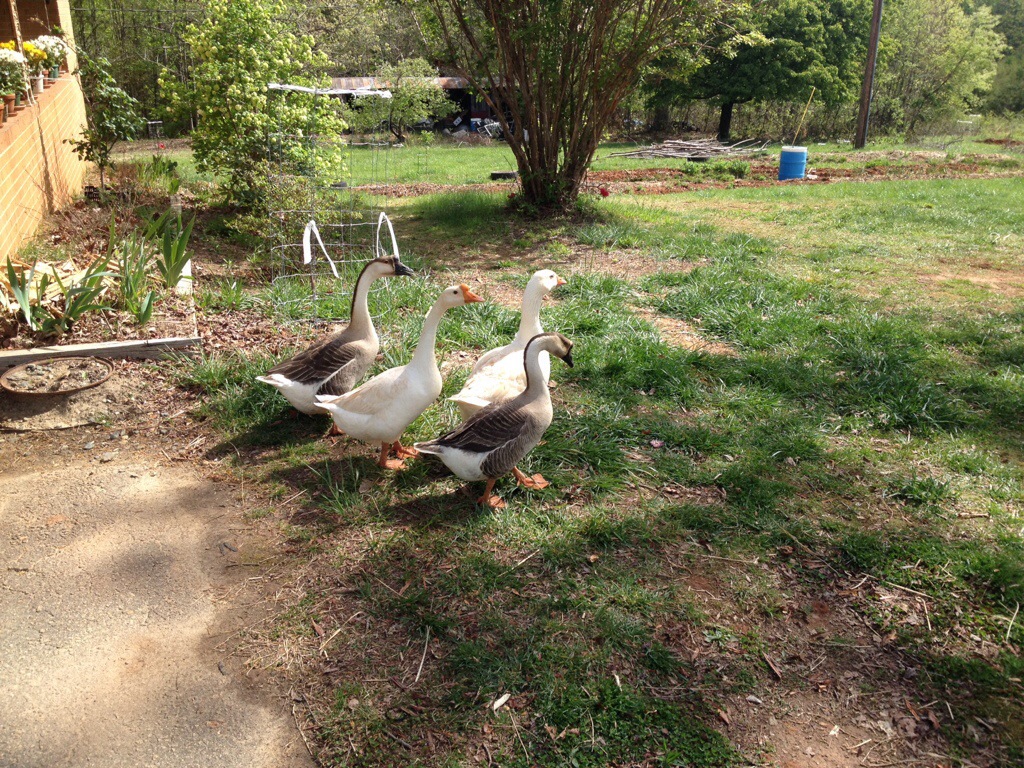
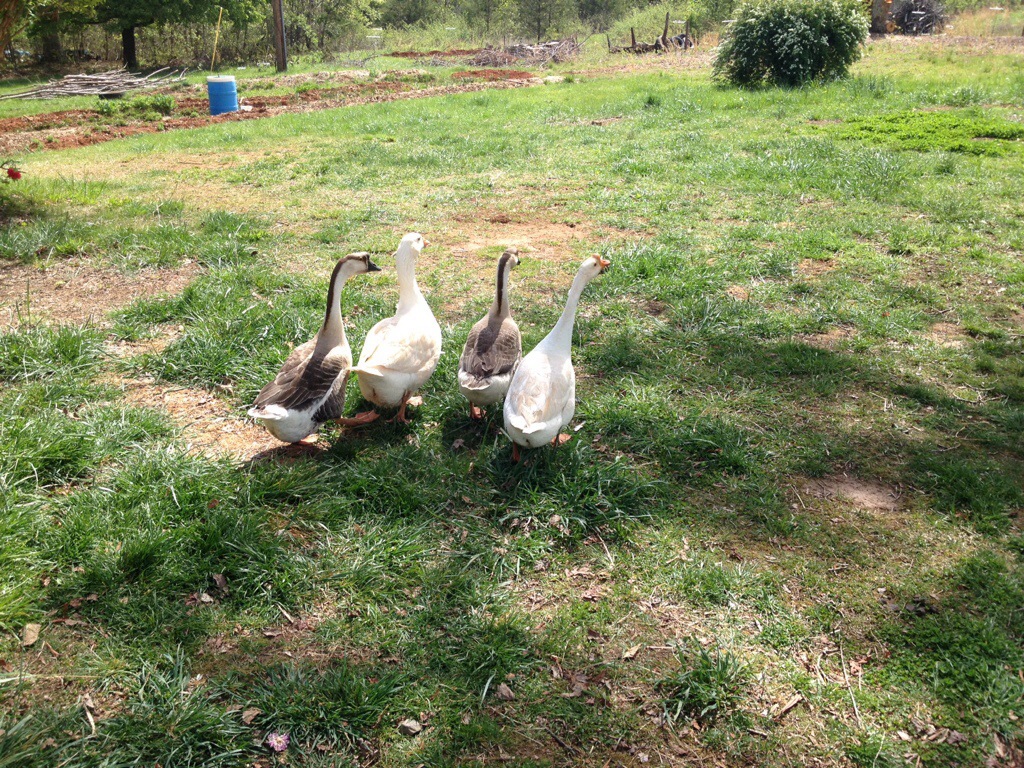
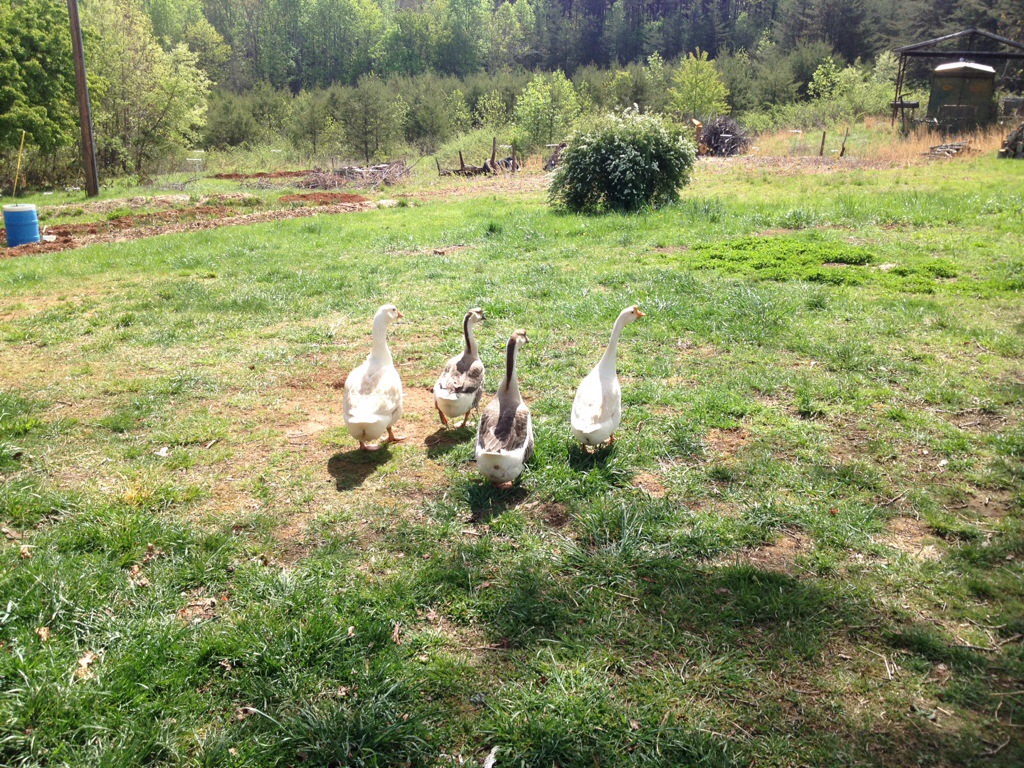
Our new flock/gaggle/herd of homestead geese has been a ton of fun to watch and interact with. Compared to chickens (standards or bantams), the geese have way more to offer in terms of personality, and I find myself honking with them in excitement more often than not. They are also more self sufficient than chickens, and are obtaining a good deal of their nutrition from pasture and grass. Geese prefer the tender new growth of vegetation, so we need to protect our new seedlings and young vegetables from their grazing.

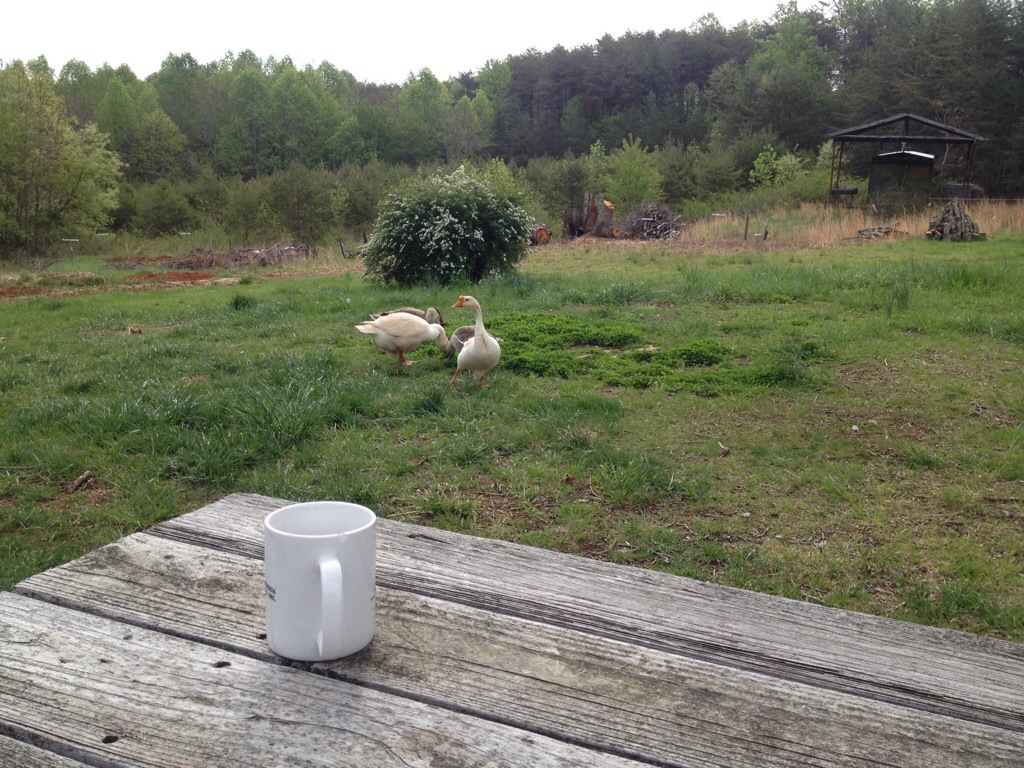
grazing geese

Nothing like hanging out with the geese and enjoying a nice cup of coffee

Apart from this, managing a goose herd is pretty easy. We have them in a cattle panel paddock that we move every day or two. When we are at work, they stay in there, and graze the pasture/lawn, and swim in a kiddie pool/pond. On days when we are home and working outside, we let them wander a bit more freely and fence them out of areas we’d like to protect. If they ever wander too far, they are extremely easy to herd back to where you want them, and by just walking behind them 1 person can easily direct them anywhere they please.

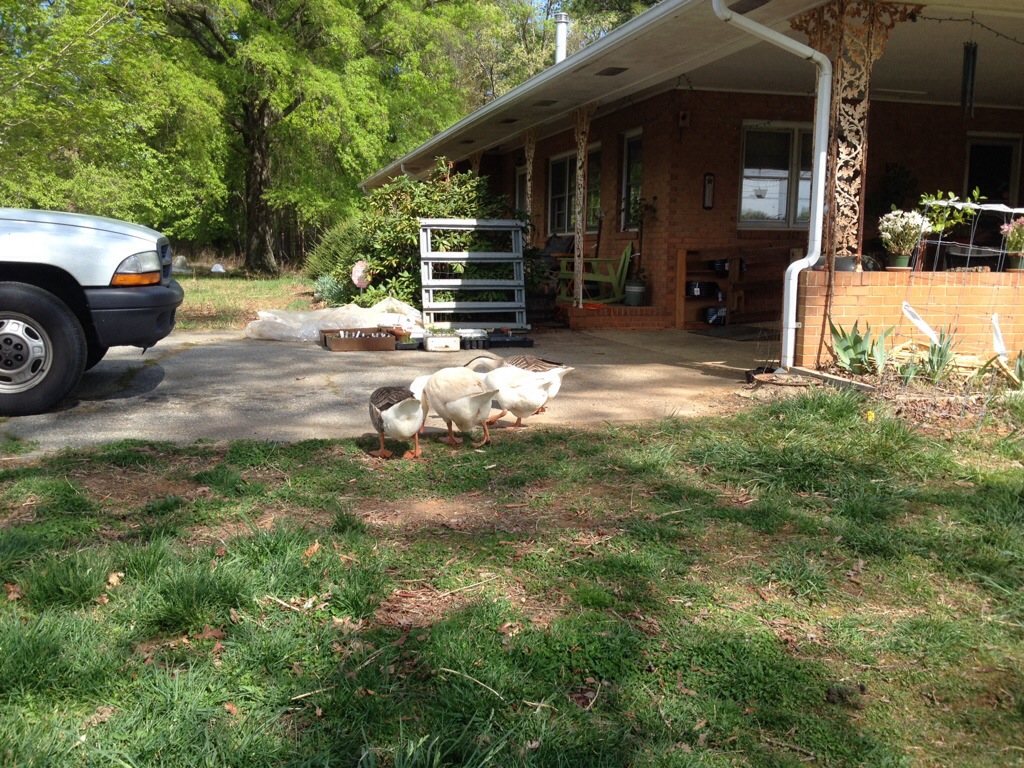
homestead geese

The geese seem to want to stay close to us, but if they wander too far…

herding geese

It’s very easy to herd them back to where you want them to be

herding geese

They then resume grazing on clover, grass, and lawn weeds

I have been messing around with different portable fencing ideas, using both bird netting and chicken wire in combination with step in posts, and Emma and I have decided that we prefer 3 foot tall chicken wire with white step in posts. This combo is the best for visibility, and is also tops at keeping the geese in/out. The chicken wire easily clips to the posts, so there is no need to worry about zip ties or carbiners, and the system is easily put up or taken down.

This system of portable fencing should help us to better focus the energy of our goose herd, and allow us to practice our own form of intensive rotational grazing. If we add chickens, or even pigs, than we are well on our way to a sort of Salatin or Savory multi-species grazing system. This, in combination with our mineral supplement mix, will increase the fertility and soil life on our land, and make our entire homestead more efficient and productive.

20140502-204101.jpg

This makes geese a great livestock option for the small farm or homestead

don’t be a diva, try the diva cup: a female-parts post

readers not interested in reading about specifically female body parts, stop reading now and wait until tomorrow’s post to check back in with us…

other readers who are interested in learning for the sake of learning (whether male or female) and who don’t get squeamish about female body parts and women’s health, read on…

diva cup

an image of the diva cup (left) and the keeper (right). photo courtesy Greencolander.

do you know what the above is a picture of?

it is a picture of two popular menstrual cups on the market today! the first menstrual cup popped up in the 1930s and was created by a midwifery group, but they did not become very popular until the 1980s. they can currently be purchased in a variety of colors, firmness levels, and sizes (usually based on whether or not you have given birth vaginally). some are made from rubber, but most are made from silicone.

i have used a vaginal cup for my periods for the last 5 years (maybe even longer… i can’t remember…). i use the diva cup, pictured above on the left, and came across it through the recommendation of one of my good friends.

some reasons why i would absolutely, without-a-doubt, recommend using the diva cup for your periods, and FAQ about menstrual cups:

how much does it cost?

the cost of a menstrual cup is a one time thing. when i bought my diva cup it cost about $40 or $50. i have been using it for at least 5 years, which means that a menstrual cup is a much less expensive option for dealing with menstruation.

how long can you use a diva cup?

most menstrual cup manufacturers recommend buying a new one every 5-10 years, depending on your cup’s current state and based on the type of cup you have. mine is still going strong and looking much the same as when i purchased it (except the color is no longer clear–having been slowly dyed red/brown over the months). after your period every month, you boil your cup (i boil mine for a few minutes) in water and dry it and put it away until the next month. this is a very easy process and it is important that you do this… this ensures that the cup is fully cleaned and no infections occur.

how do you use one?

it’s a rather interesting science experiment, actually, and much more “hands on” than using a tampon or pad. the cup is rubbery, flexible, yet firm. you squeeze the top of the cup together so that it is flat and then fold it in half. this folded end is the end you insert part of the way. once partially inserted, you spin the cup in both directions to be sure that the folded portion has opened back up to its circular shape (otherwise you’ll have a leak!). once you’ve done this, you push it further inside until no part is outside. now, don’t panic about this part… one of my friends told me that she was actually worried that it would get lost and she would never find it again! it barely moves once inserted and is super easy to remove once you have a few months of practice. once you remove it, you empty it and reinsert (i also rinse mine between insertions).

is it as safe to use as a tampon?

yes! from everything i’ve read, seen, and experienced, it is! unlike tampons, TSS is not associated with its use and it can be worn up to 12 hours.

does it hurt to insert or remove?

once inserted the diva cup is as invisible to you as tampons (more so actually, since there is no string), but yes, the first month of use it did hurt to use it. it hurt a lot, in fact! so much that i almost gave up… thinking, “this can’t be right!!!” but after speaking with my friend, who told me that the next month it would be pain-free, i decided to stay the course. she was right! from the second month on, it has been a pain-free process. my guess about why it was so painful the first month is because of the fact that your hands have to get more involved in the process than with tampons.

important fact #1:

there is no waste or trash associated with the cup! this is the main reason, actually, that i decided to try it! i was super frustrated with how much trash tampons leave behind and determined to find a less wasteful way to be a woman today.

important fact #2:

diva cups are great for traveling! you don’t have to pack anything except the cup… no extra tampons just in case. they are awesome for car trips, too, since you simply empty them out, reinsert, and keep on truckin’.

important fact #3:

for those of you who are interested in knowing more about your body than before, i highly recommend a menstrual cup! using the diva cup and actually being able to see what’s going on down there (in liquid form) has made me much more aware and in tune with my natural self. the actual insertion and removal process adds to this understanding.

important fact #4:

if you’re curious to know your partner’s true feelings about all aspects of your female self, you’ll certainly get some insight into that when they see your cup sitting out by the bathroom sink to dry. chances are, it will give them a little bit of pause, but soon after i bet they’ll shrug their shoulders and keep on with what they were doing. :)

if you have any other questions about the diva cup, let me know! i love to discuss this topic!

.:.
Newer posts

© 2024 KW Homestead

Theme by Anders NorenUp ↑