yesterday i finally finished our bantam chicken tractor! very exciting!
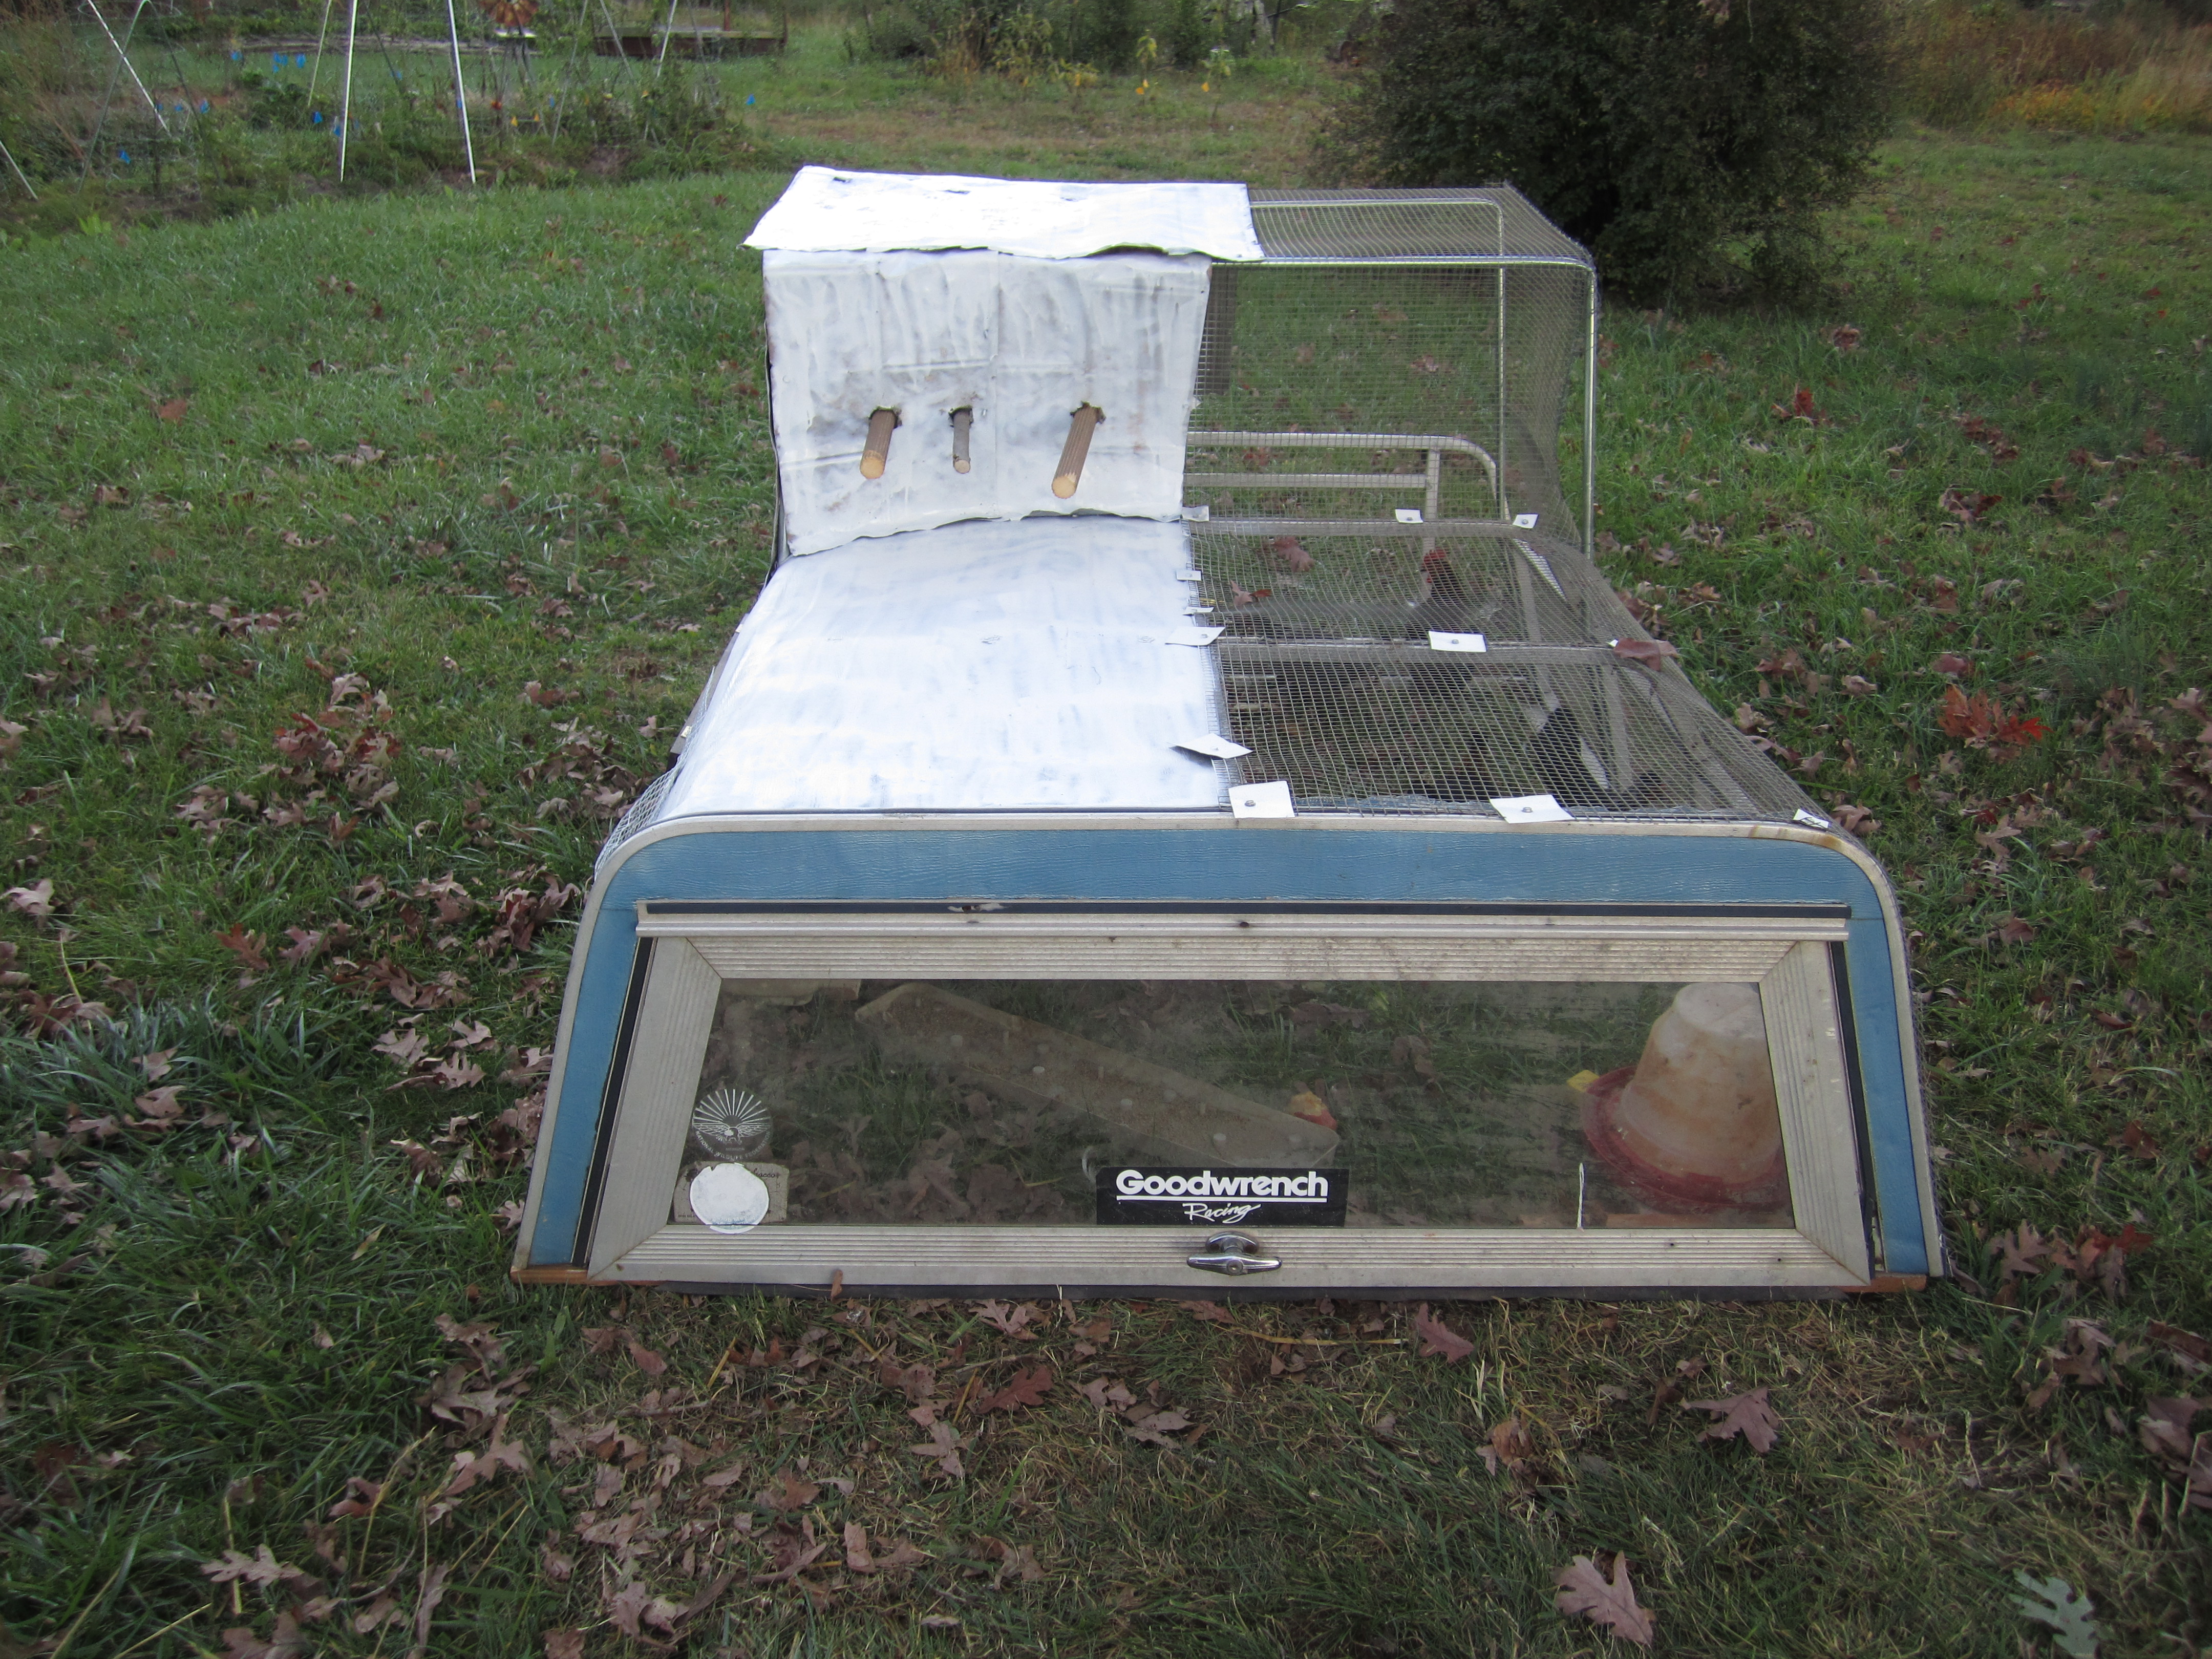
it all started with an old truck camper with 1/2 of the roof removed.
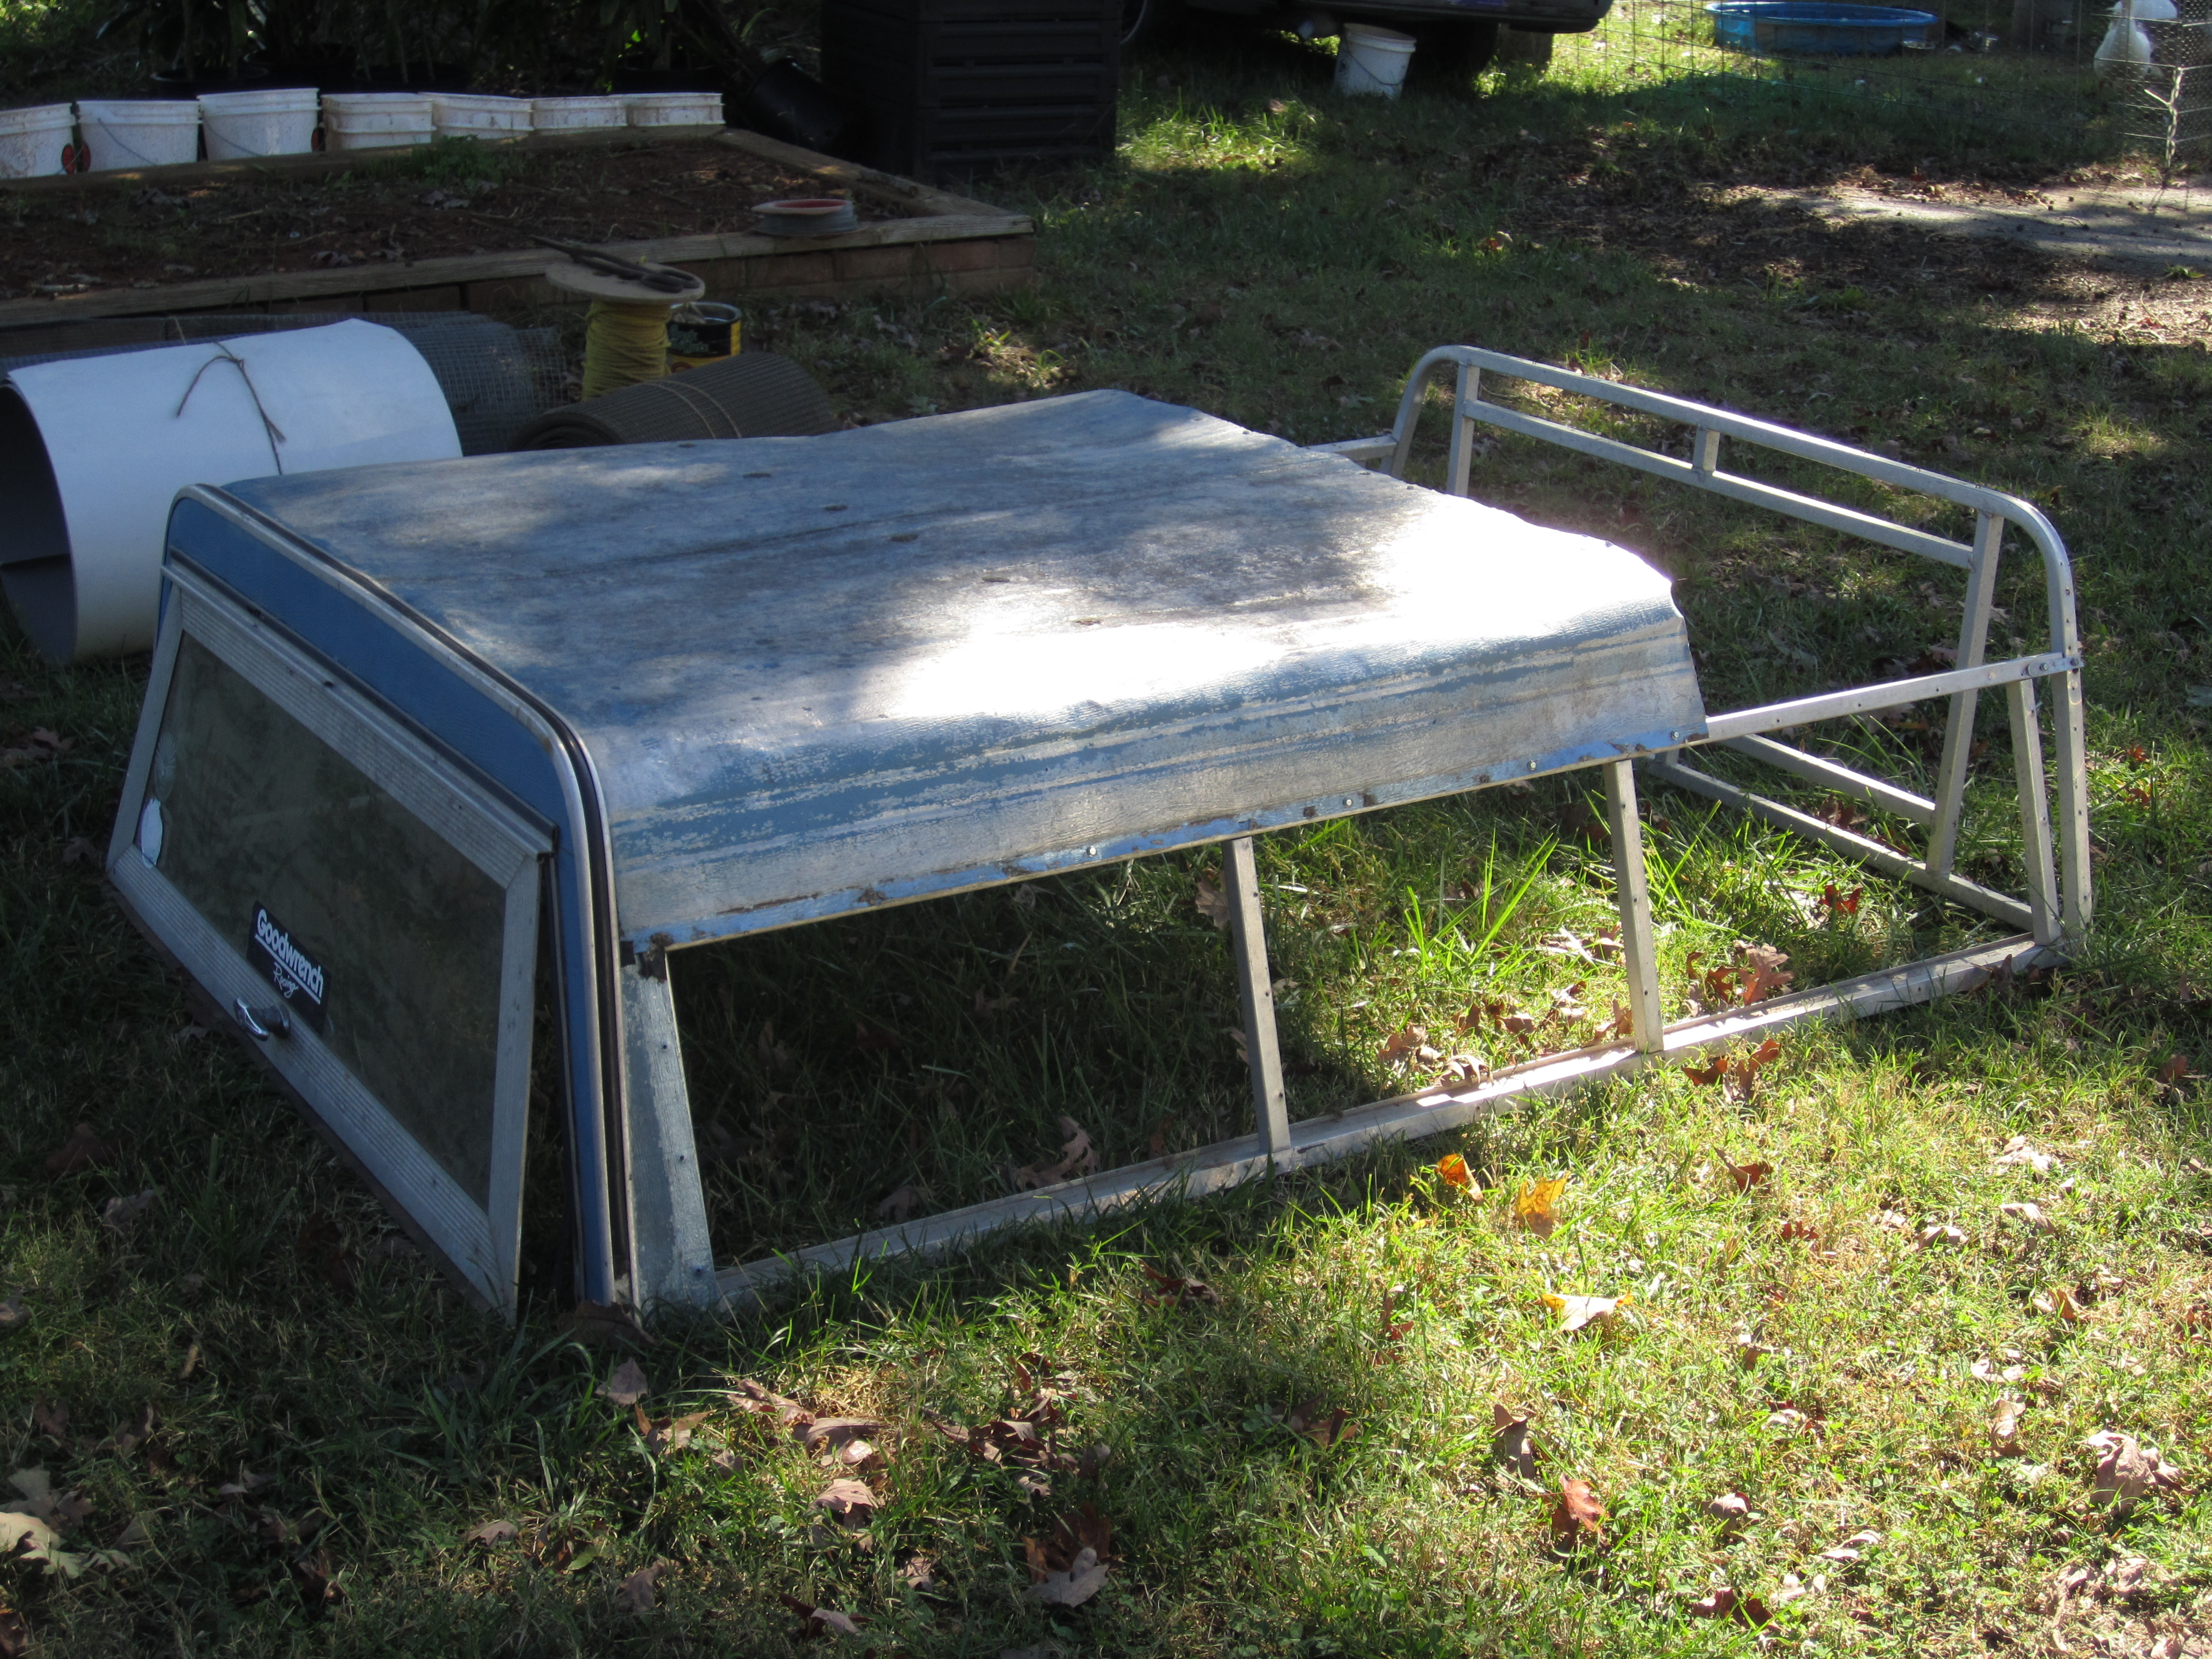
the old truck camper, about to get re-purposed!
it took a little while for me to decide what design would be best for our new birds (bred by my father), and i thought about it a while. ultimately, i determined that having two “stories” to the structure would be the way to go, so that they could roost higher off the ground and not have roost bars on the lower level getting in their way as they spent the day grazing around the grass inside the tractor.
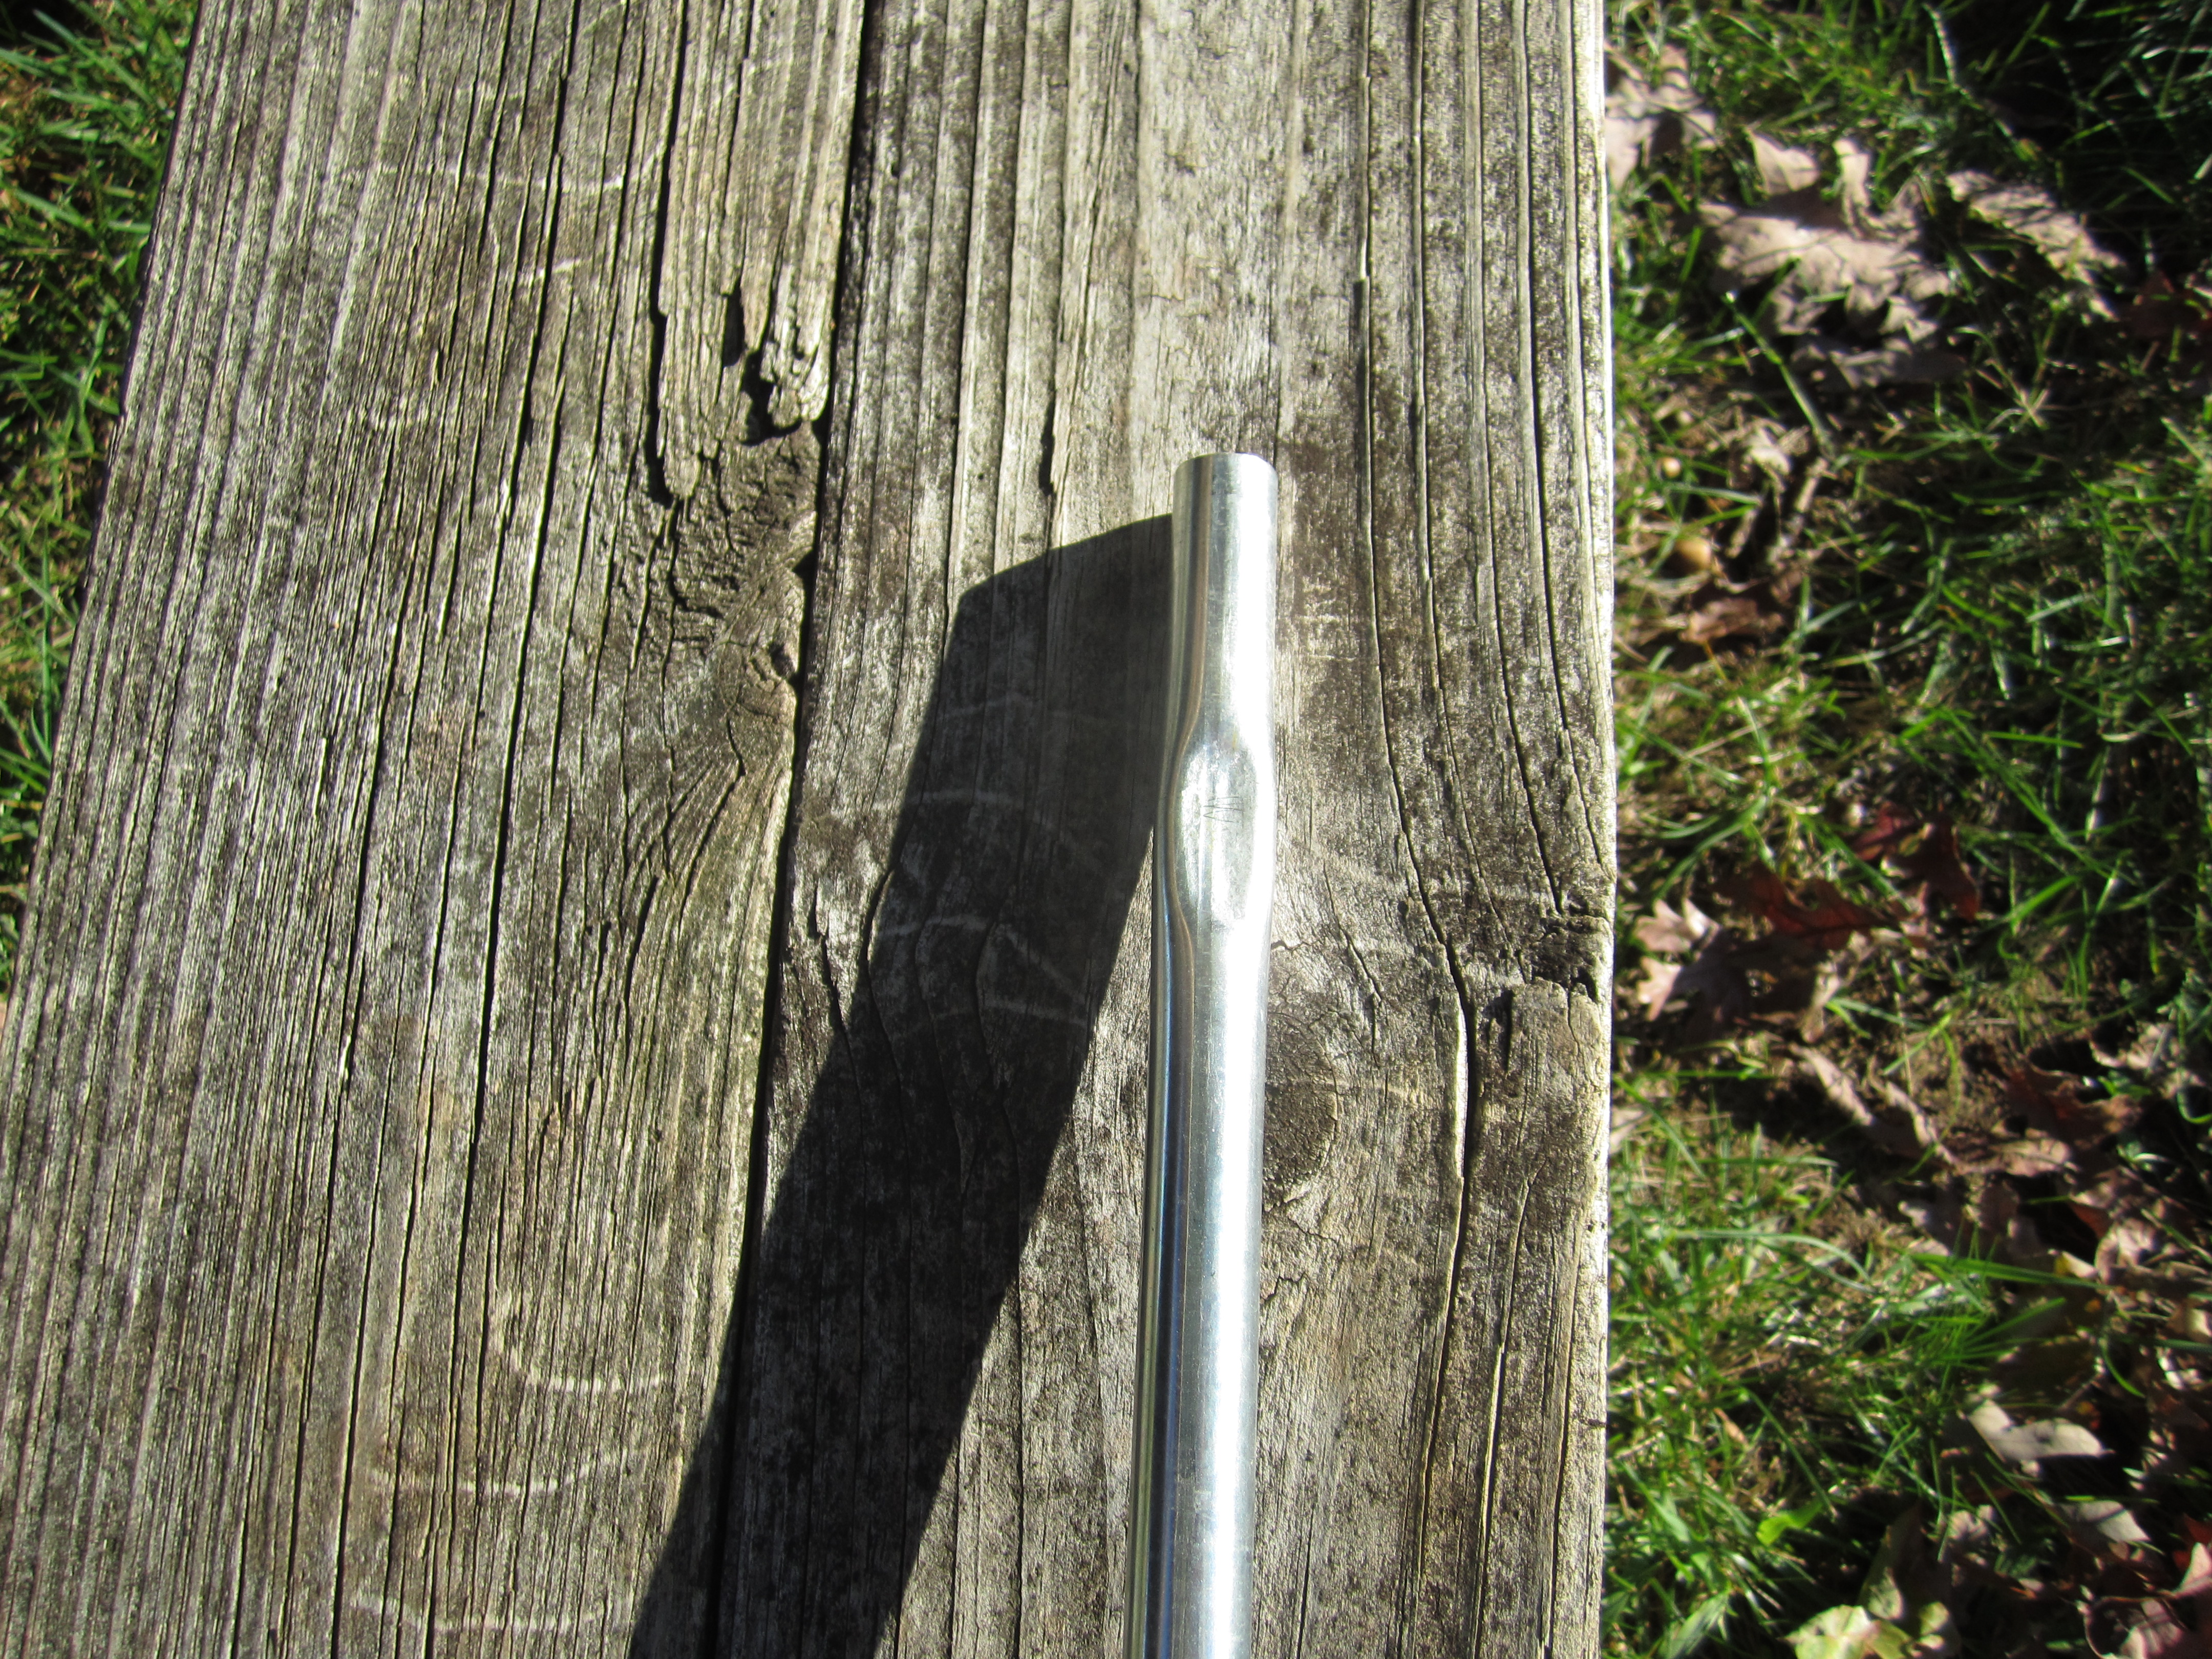
in order to make the second story, i added bent and molded electrical conduit which, once screwed together with self-tapping screws, was very sturdy.
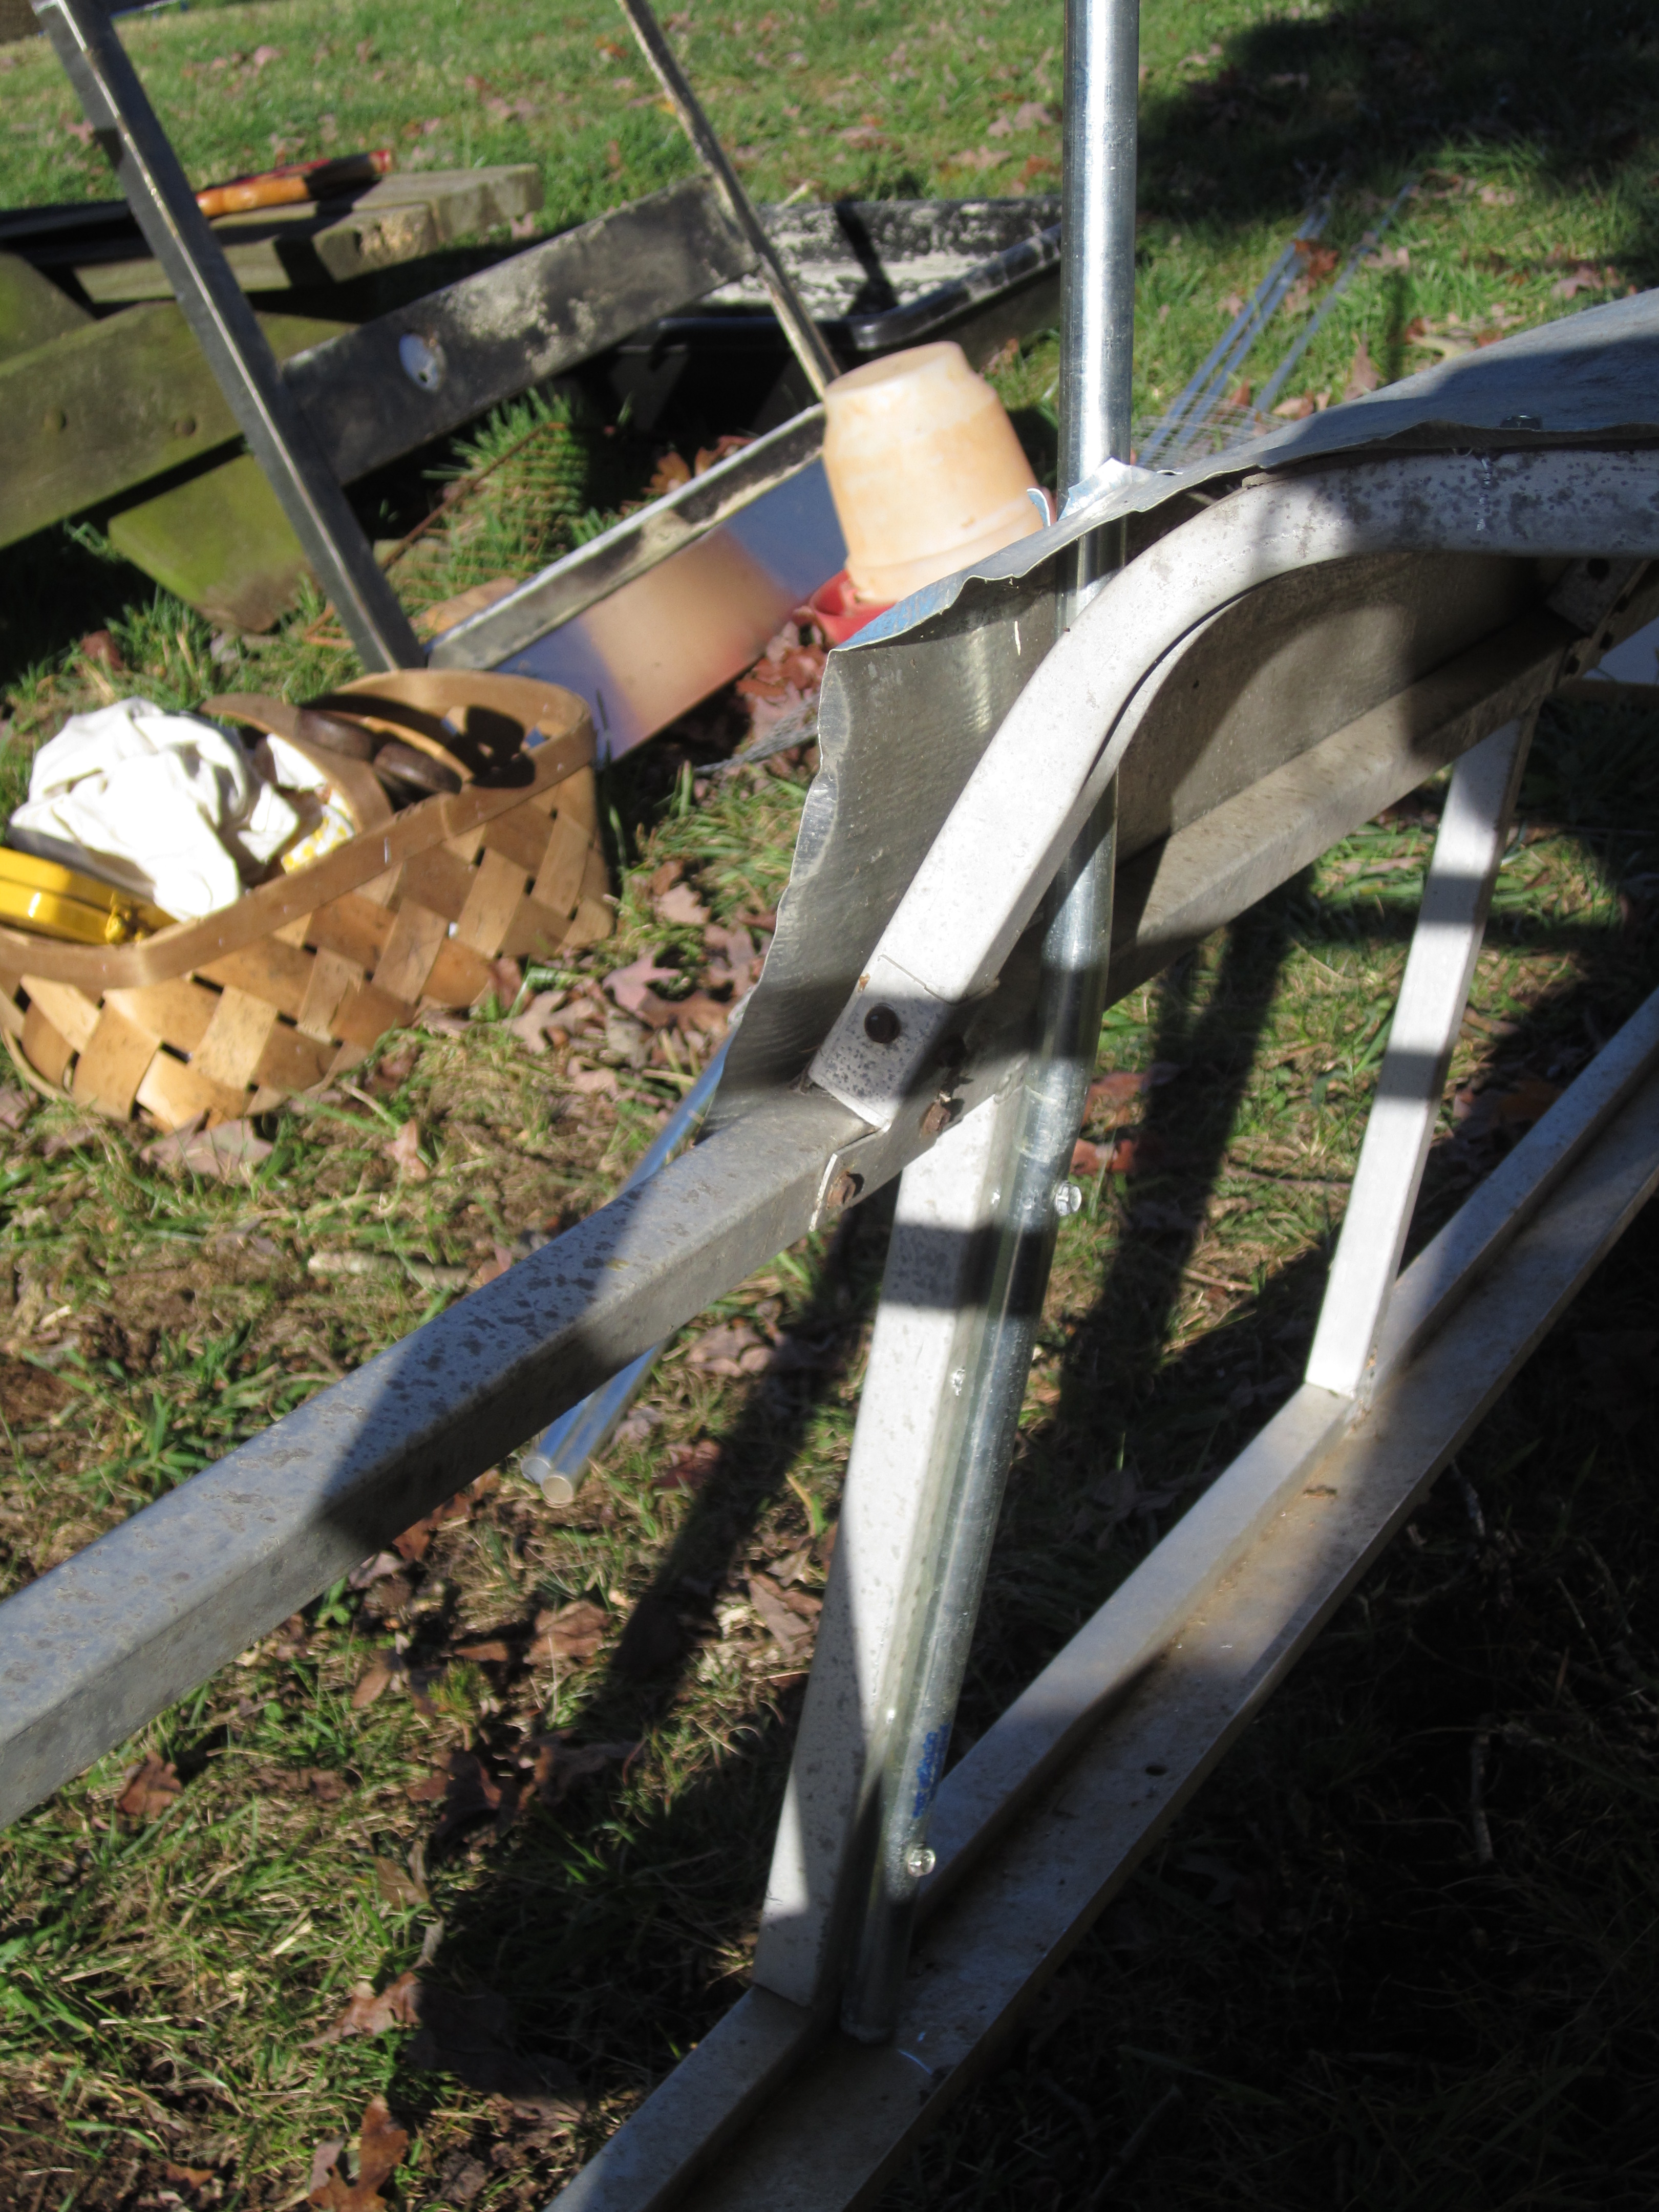
screwing in the bent electrical conduit as a frame… tedious and exacting!
this process took the longest of all, since i had to hammer out certain portions of the conduit so that it was flatter and easier to drill into, and i also had to clamp the conduit to the camper framing so they it wouldn’t slide about while drilling (which it still wanted to do anyway!).
hammered out electrical conduit… flatter is always easier to drill into!
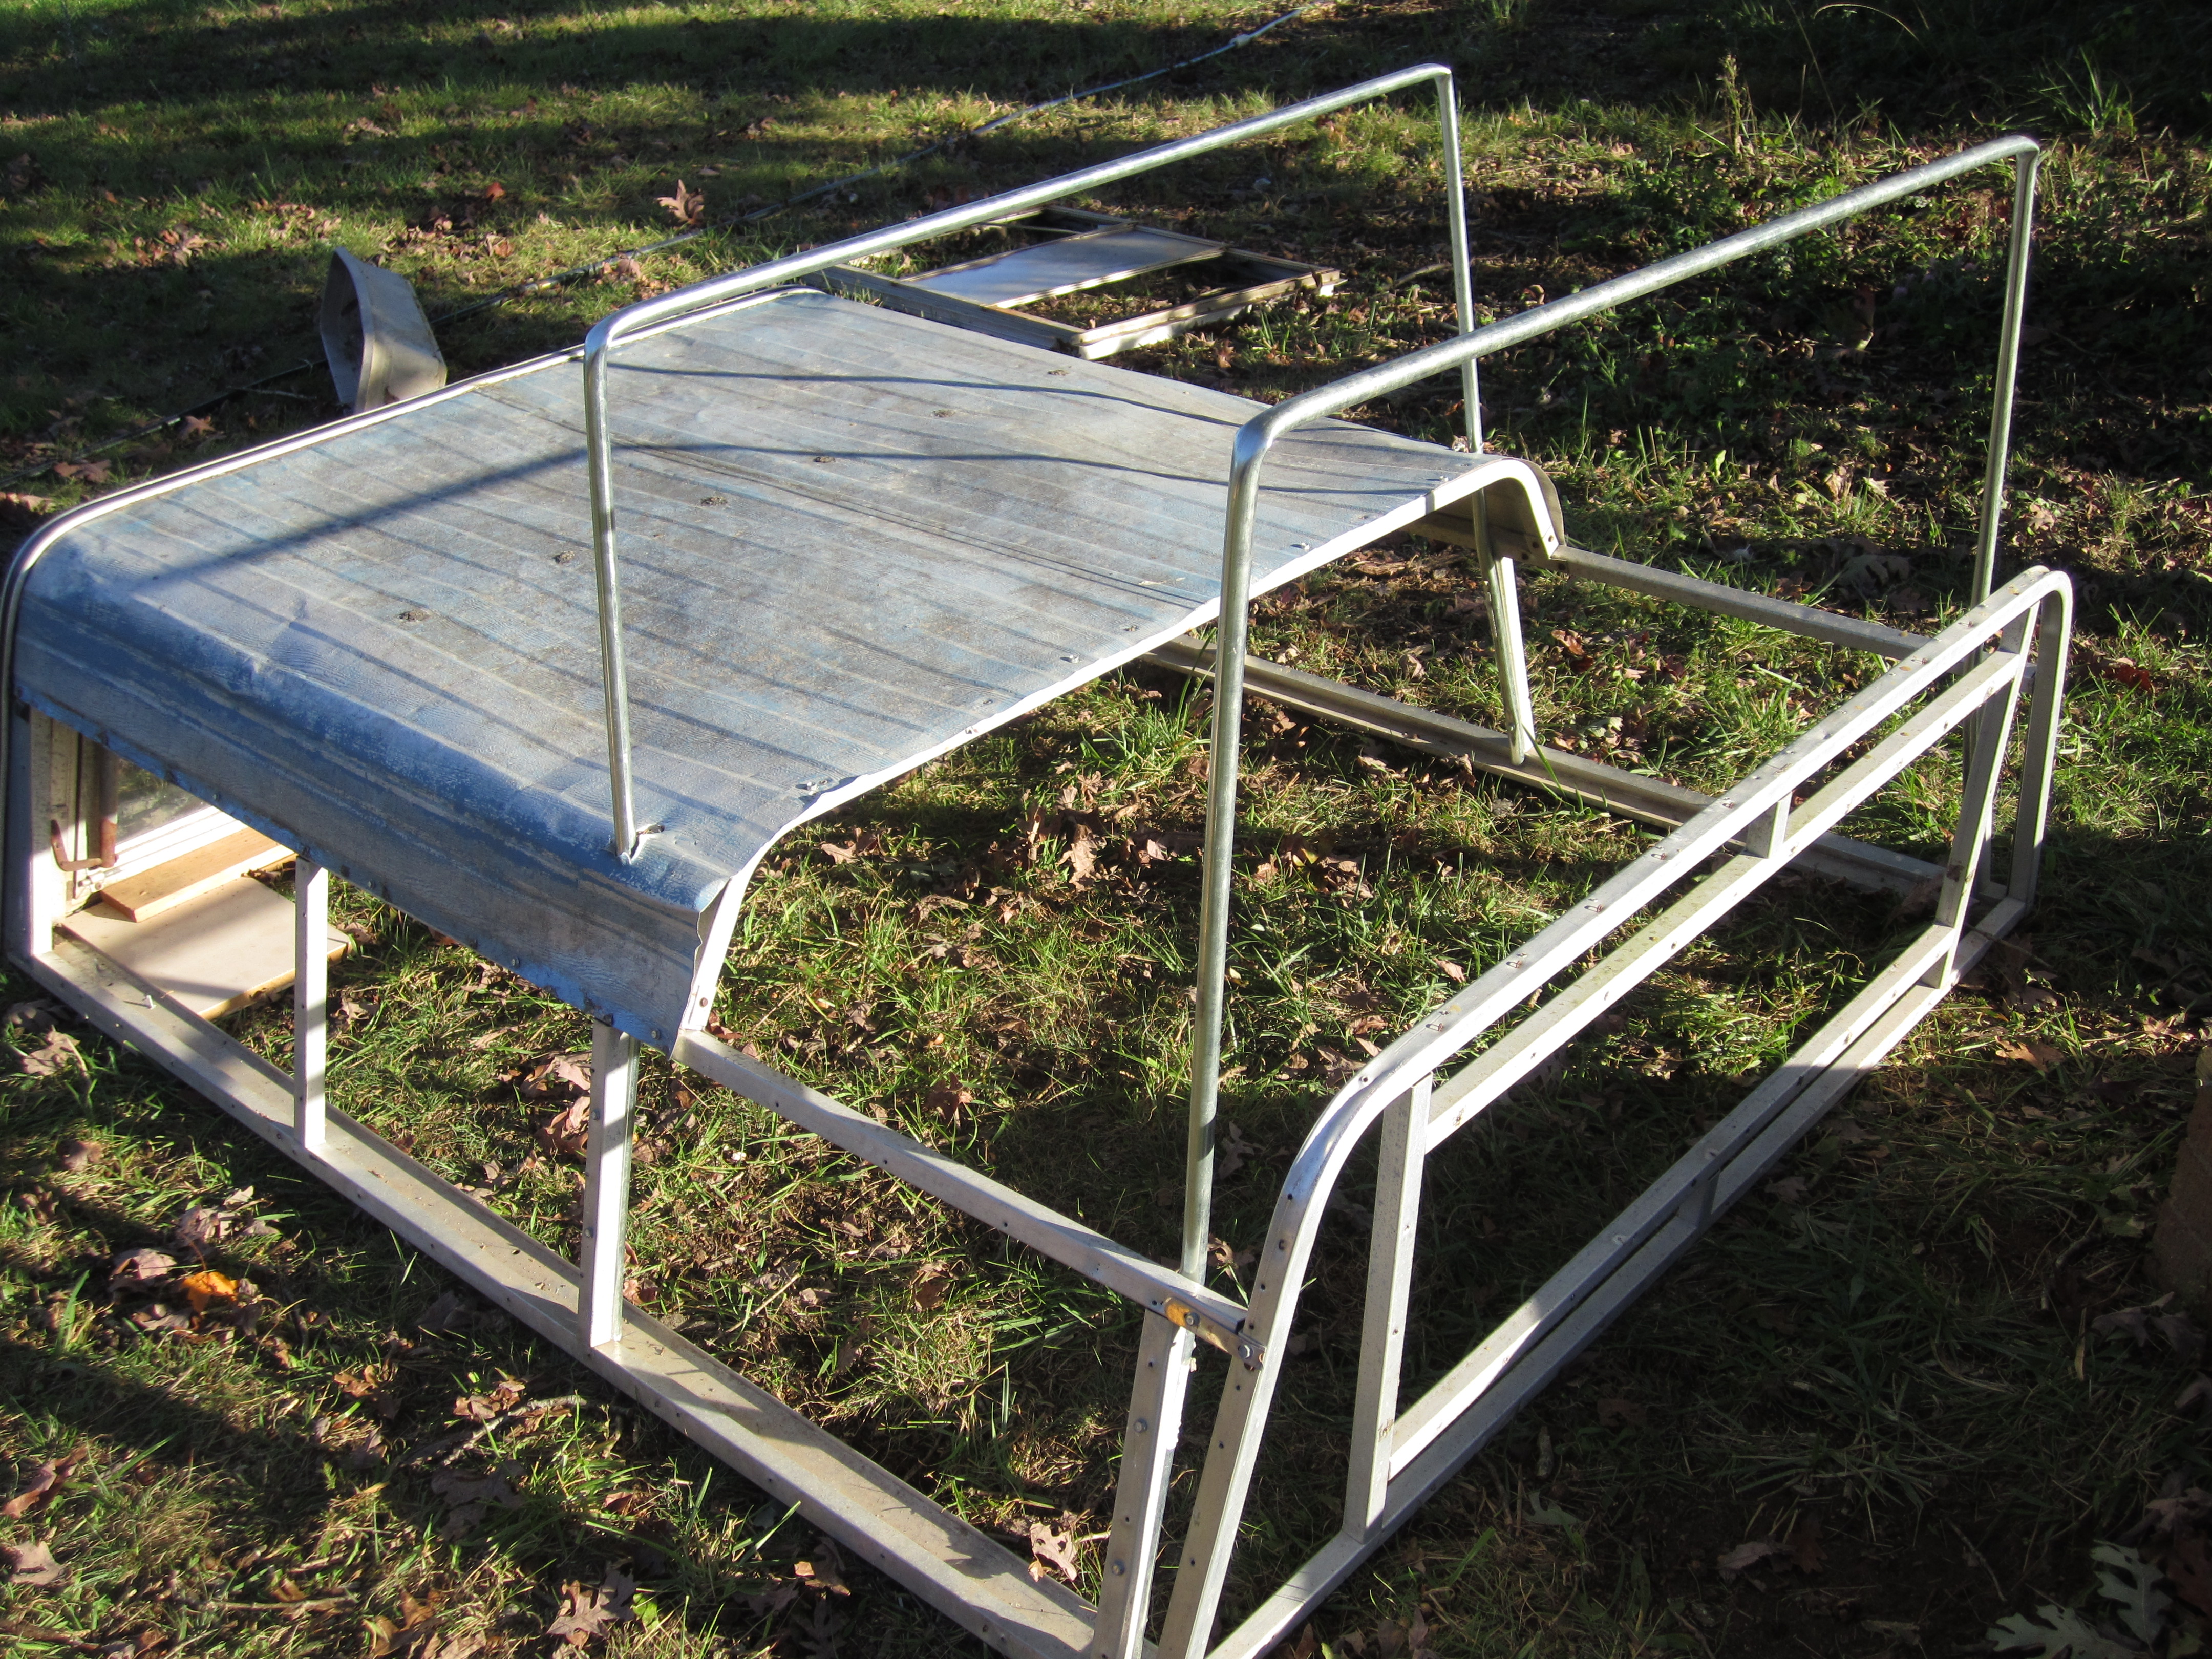
whew! the frame is finally done!
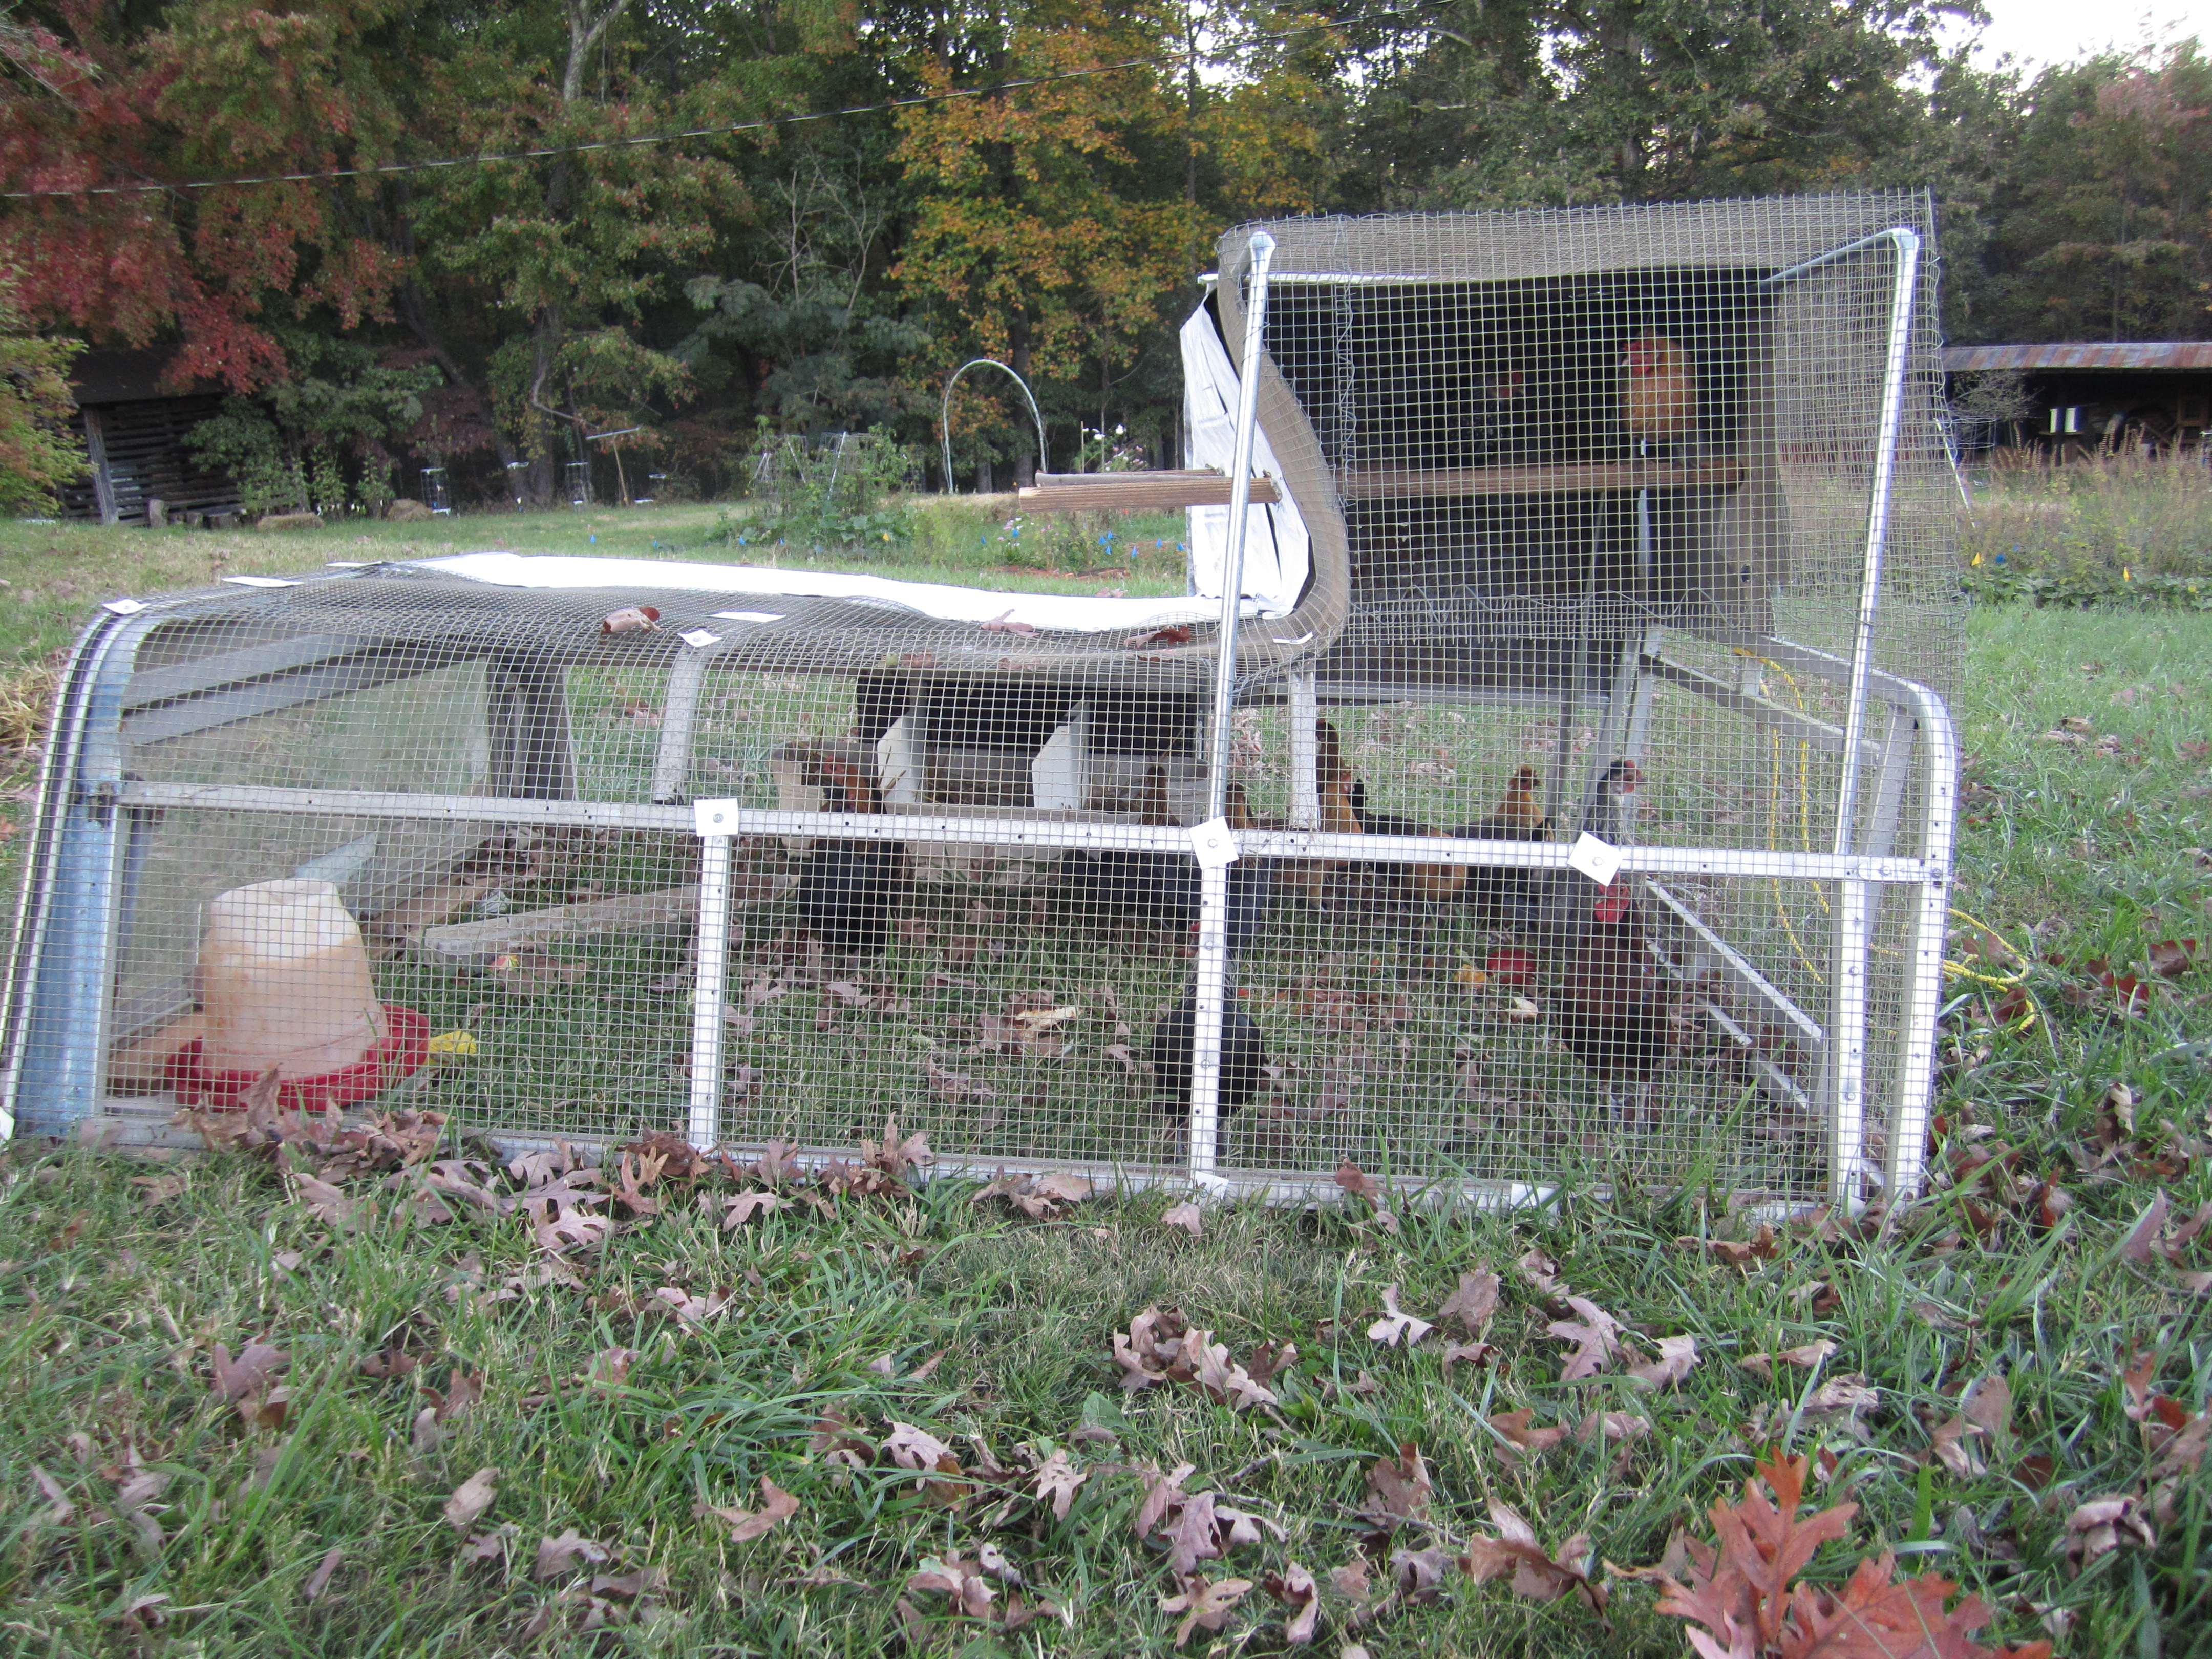
once the two conduits were attached, we decided that removing another 1/2 of the roof (3/4 now in total removed) would allow for more sun and fresh air to reach the bantams. the nest boxes (3 of them, made out of an old plastic planter) are attached to the tractor itself so that when the device moves, the egg box does too! we applied the same concept to the platform that holds their waterer.
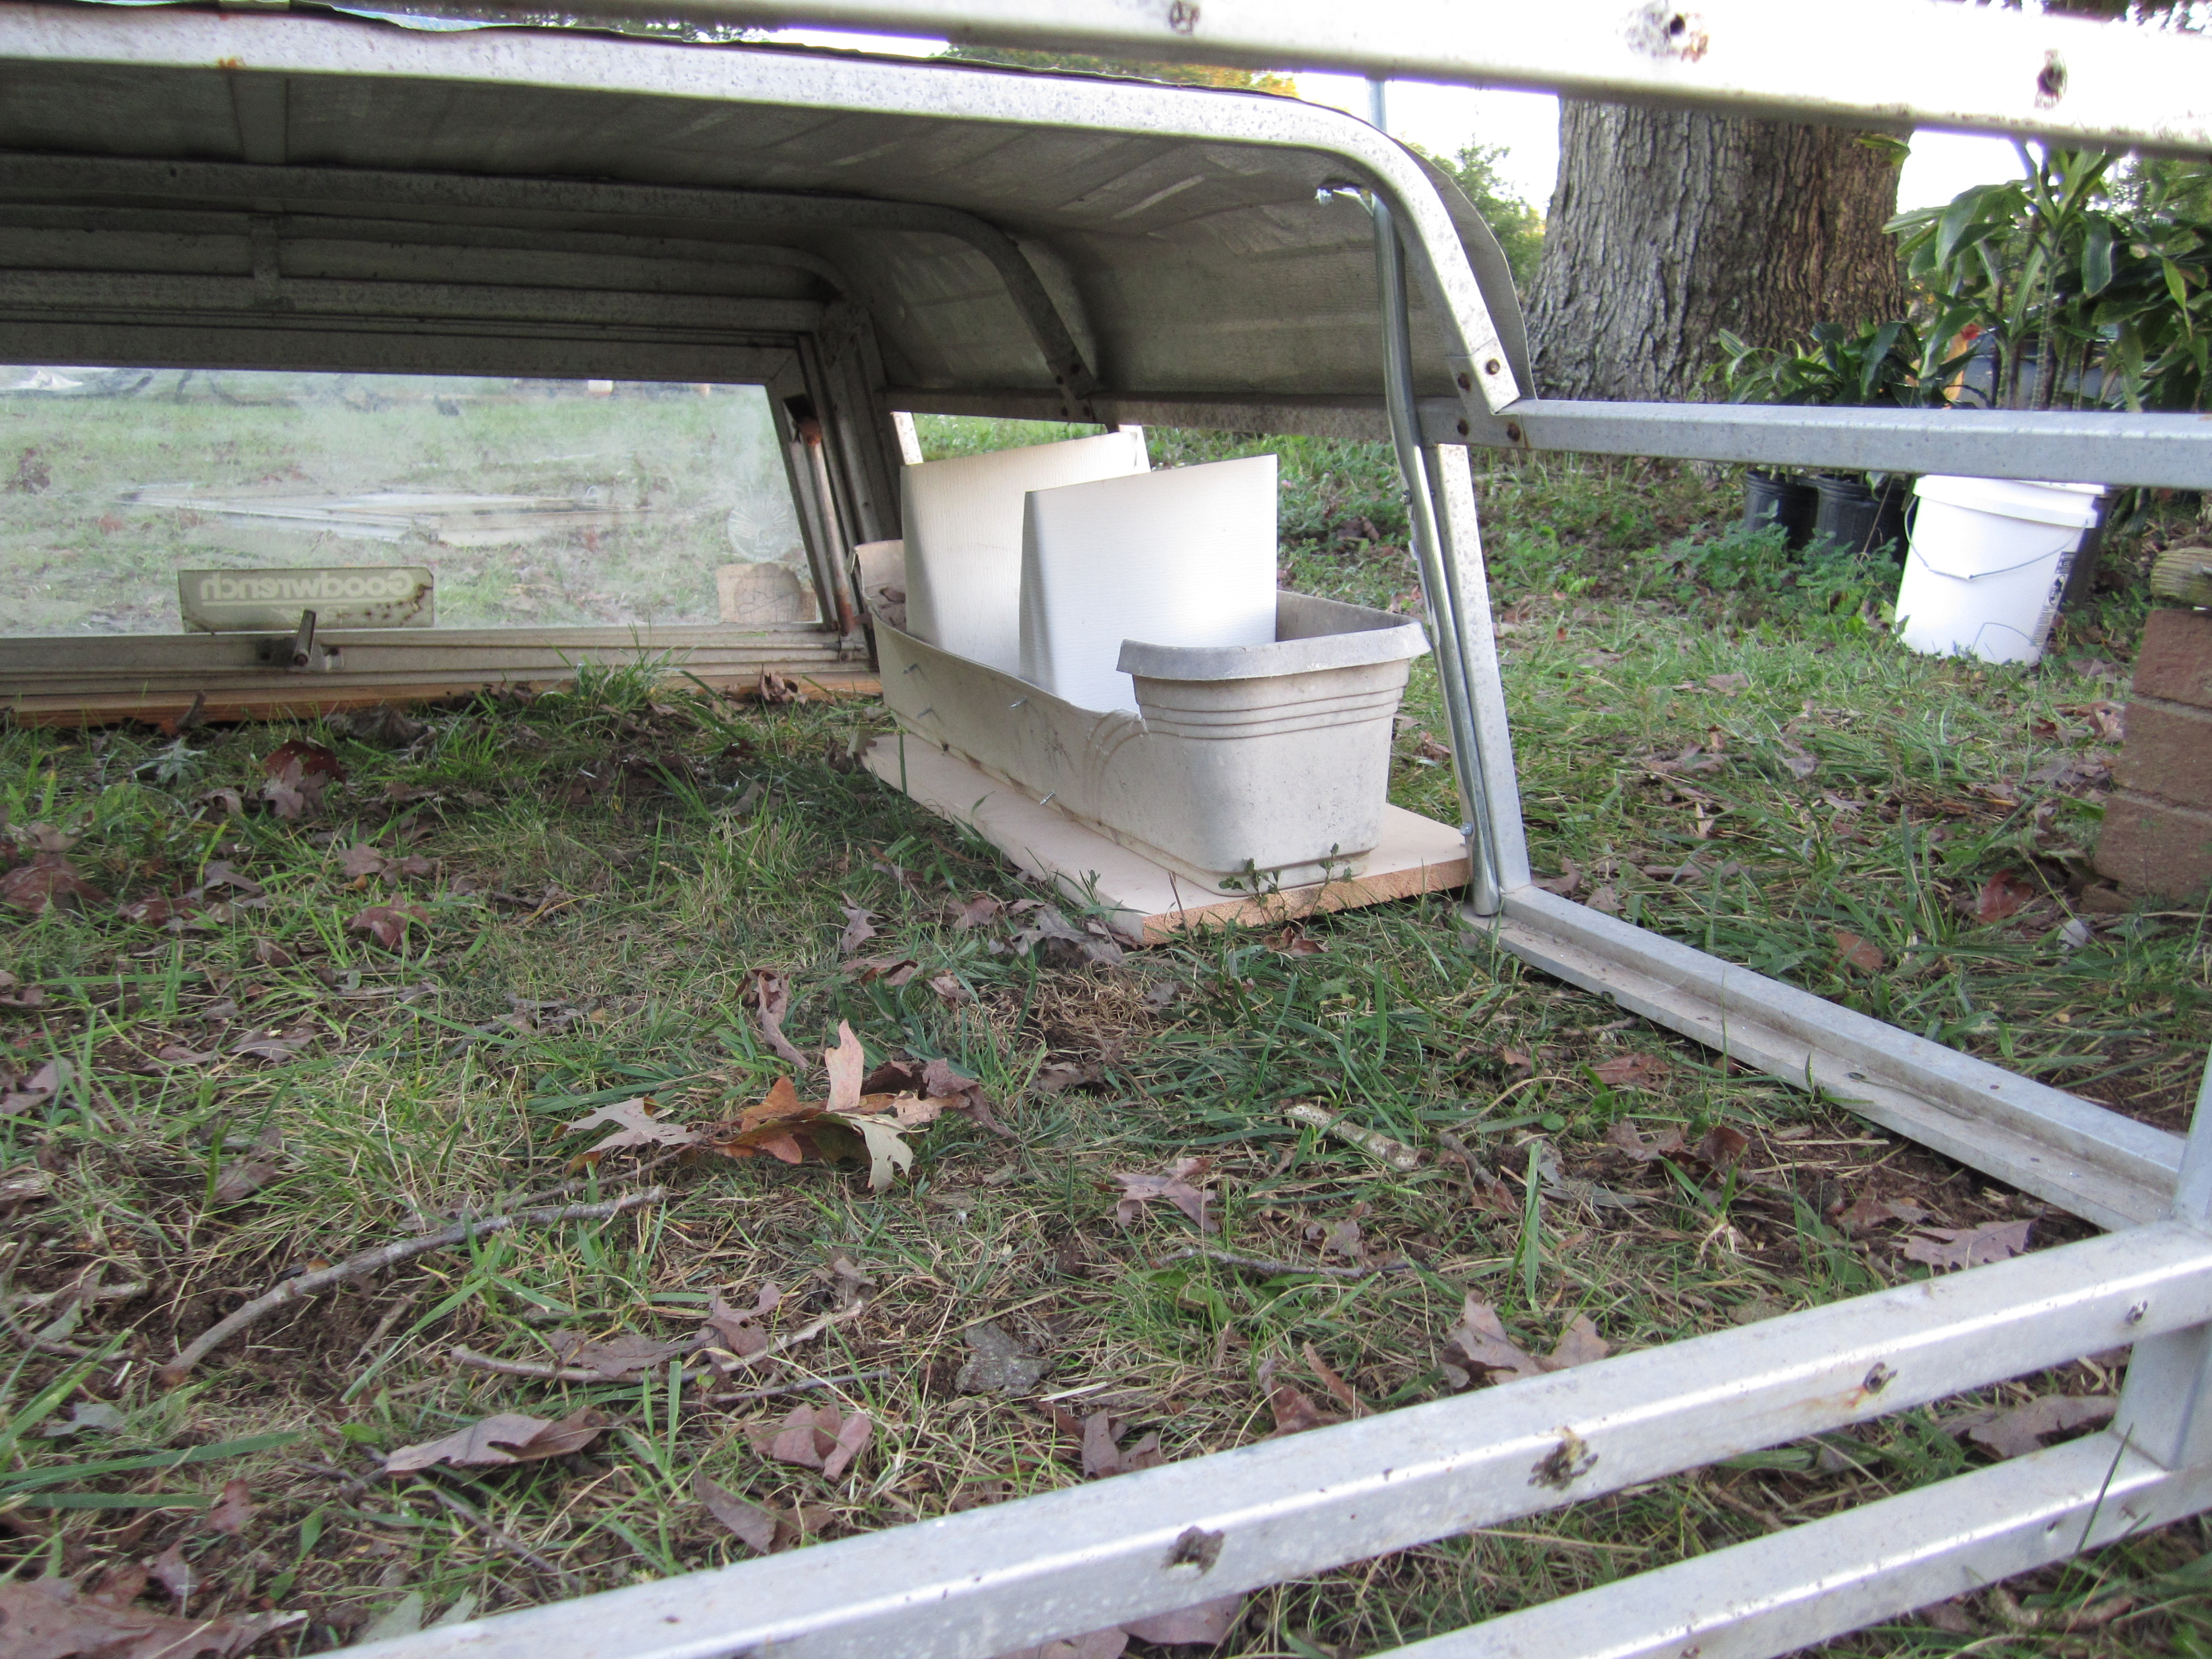
now the egg box is firmly attached…
once these were secured, i started attaching hardware cloth to the open sides and open roof on the half of the tractor with just one story.
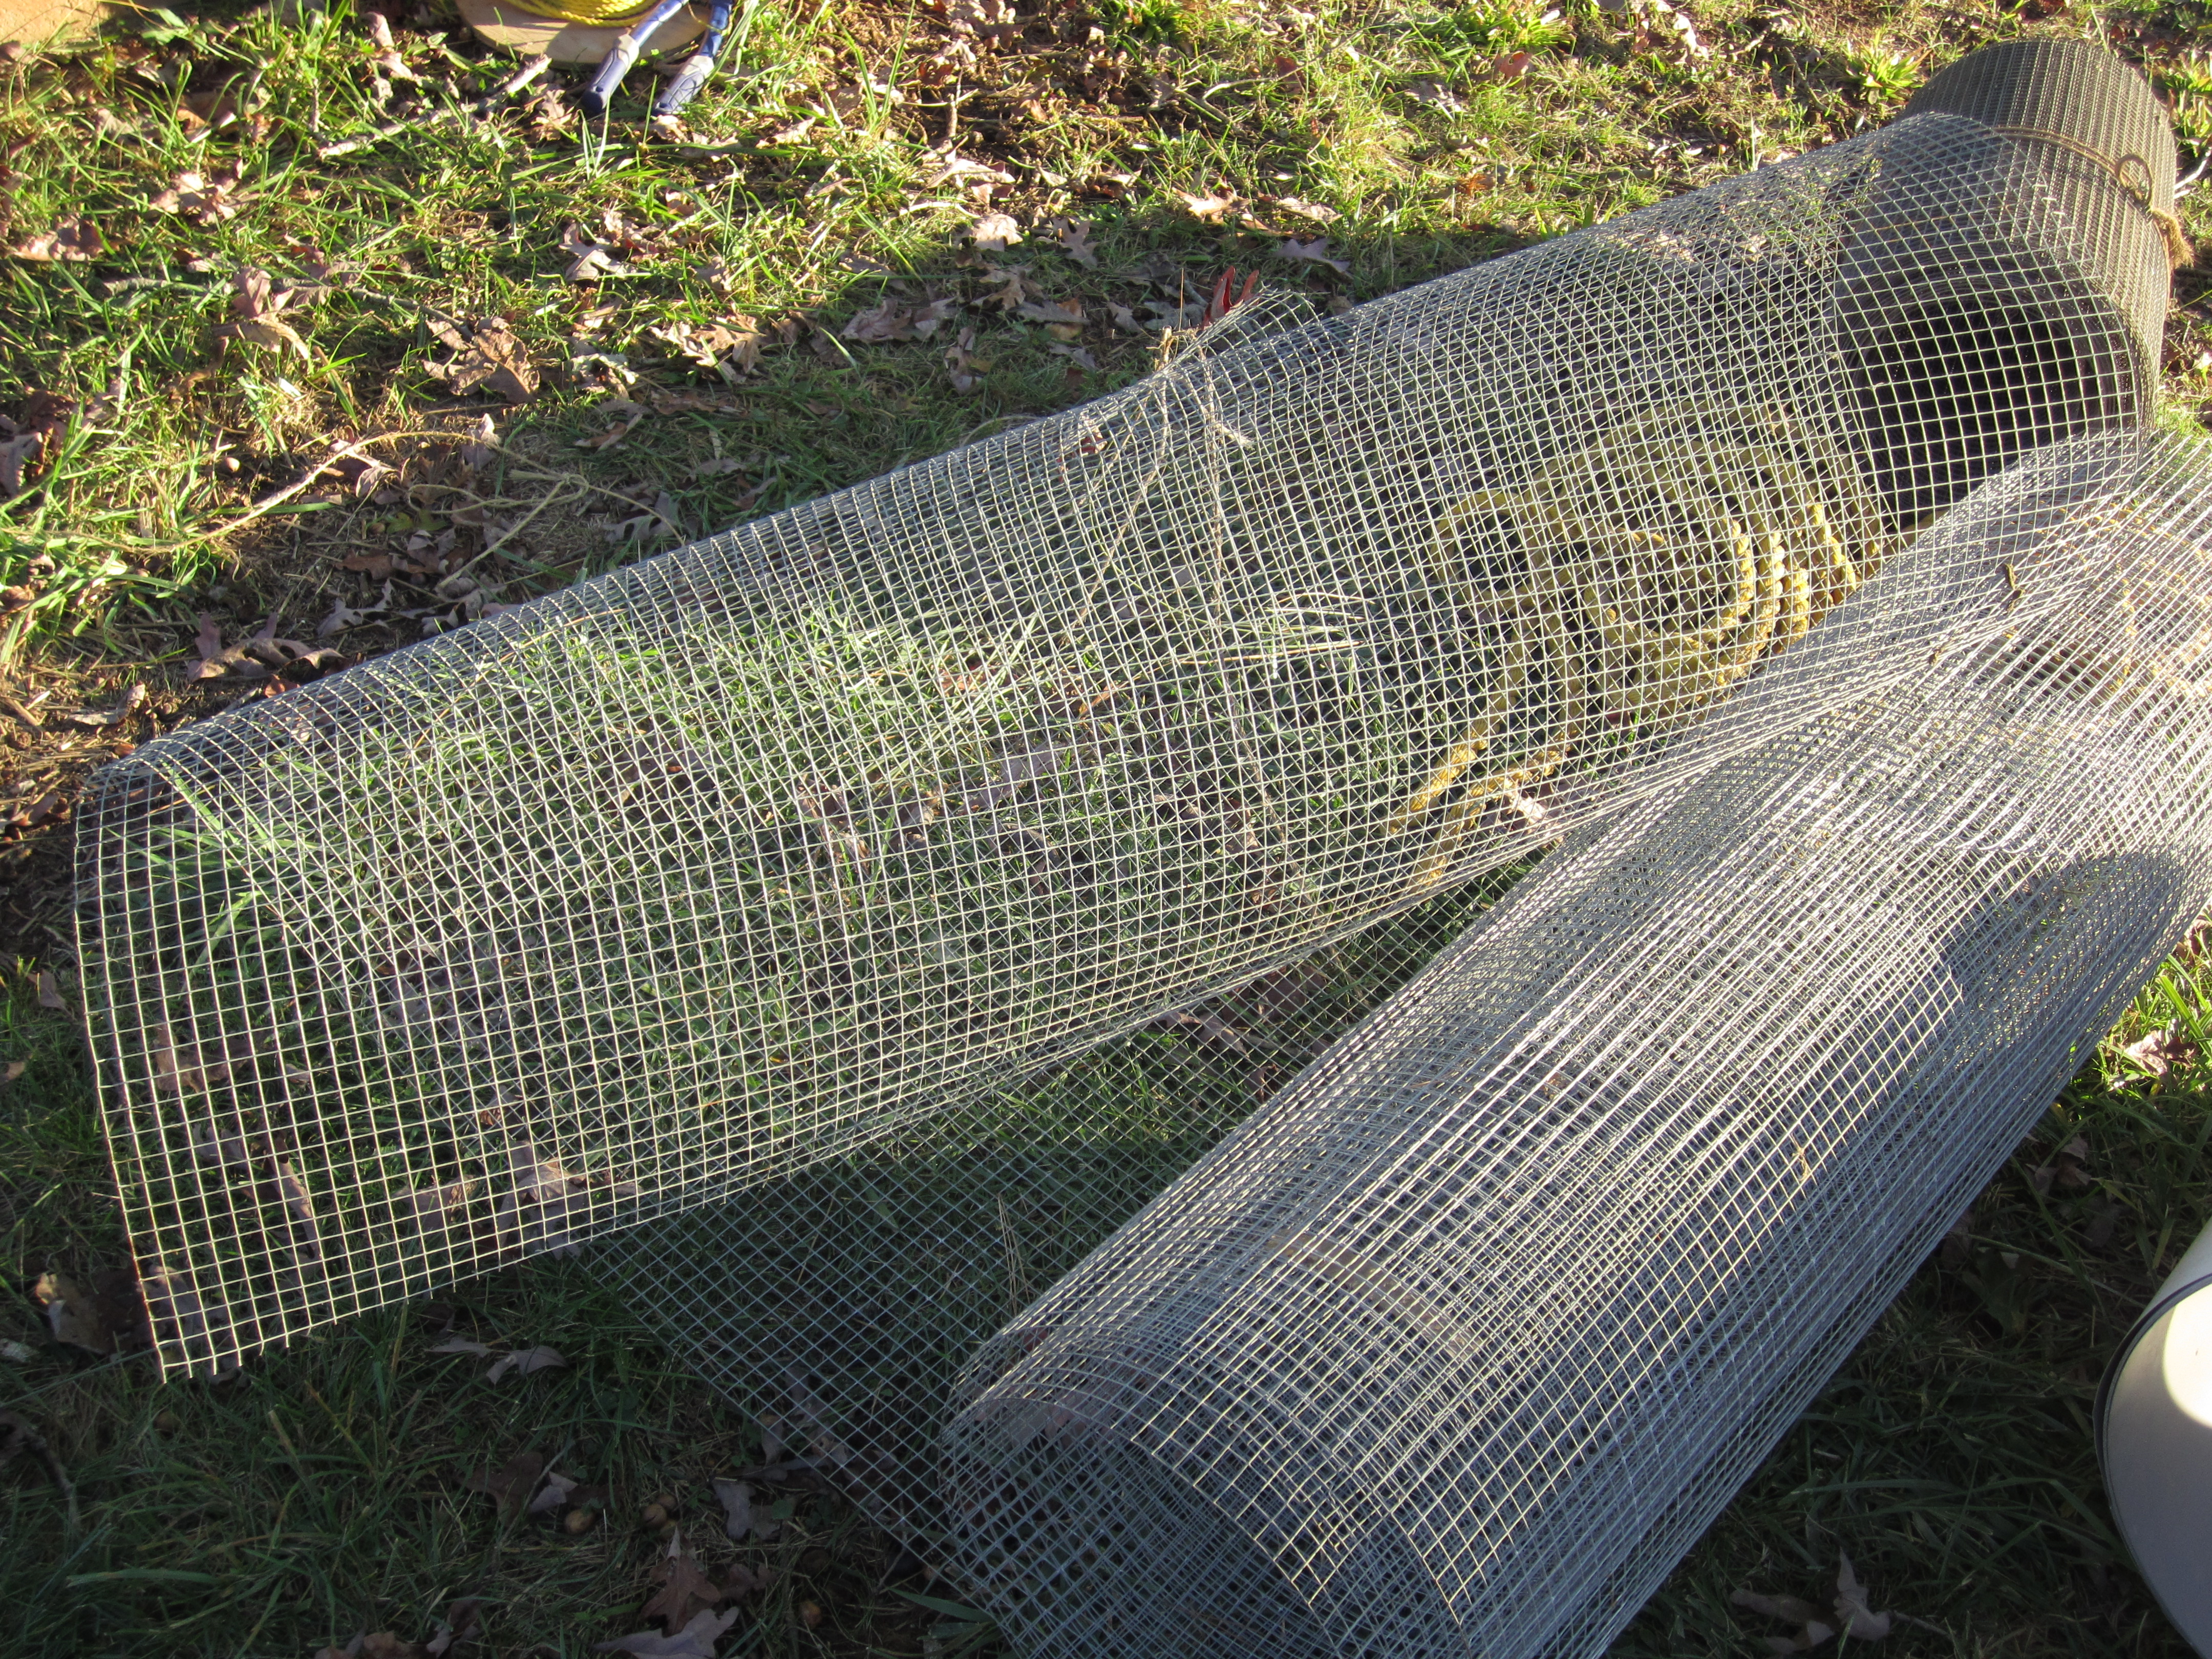
hardware cloth… be sure to wear gloves!
attaching the hardware cloth…
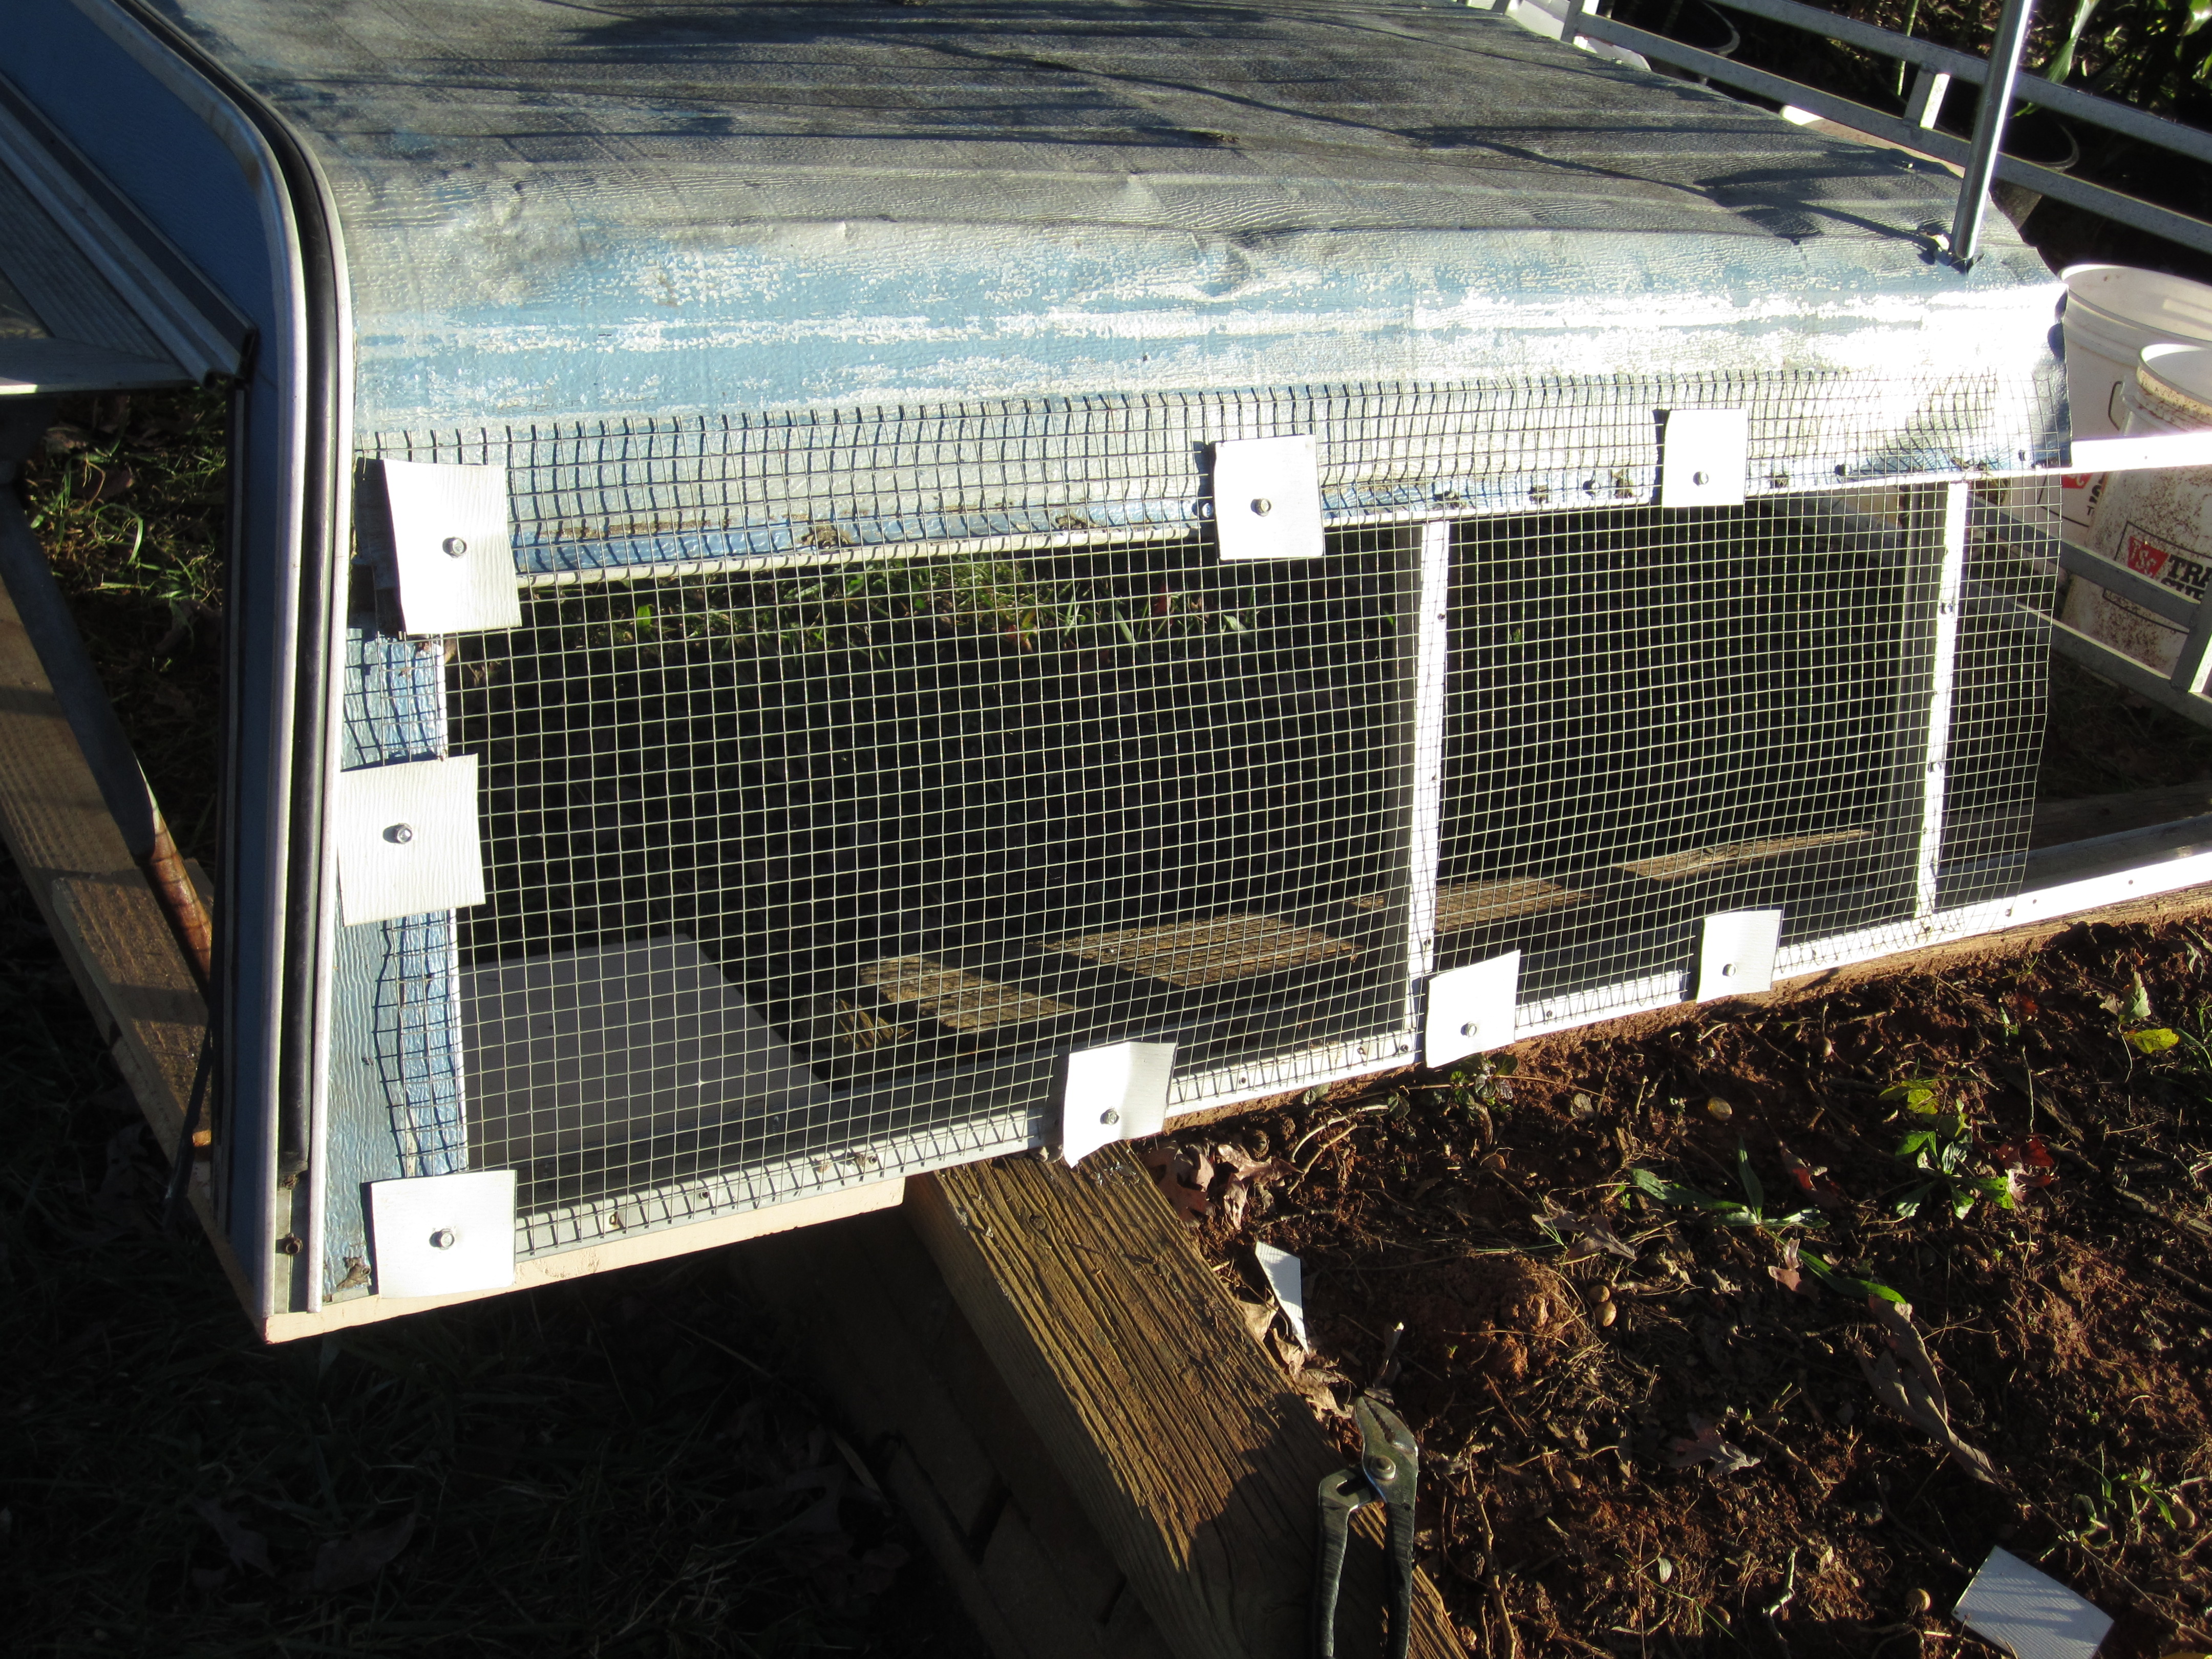
then i attached hardware cloth to a portion of the roof of the second story, leaving space for most of the second story to be covered in the sheet metal i removed from the camper. i added more sheet metal (that we found while cleaning out our woods) as the sides to the second story and finished level 2 off with some more hardware cloth that was woven to the top piece with electric fence wire.
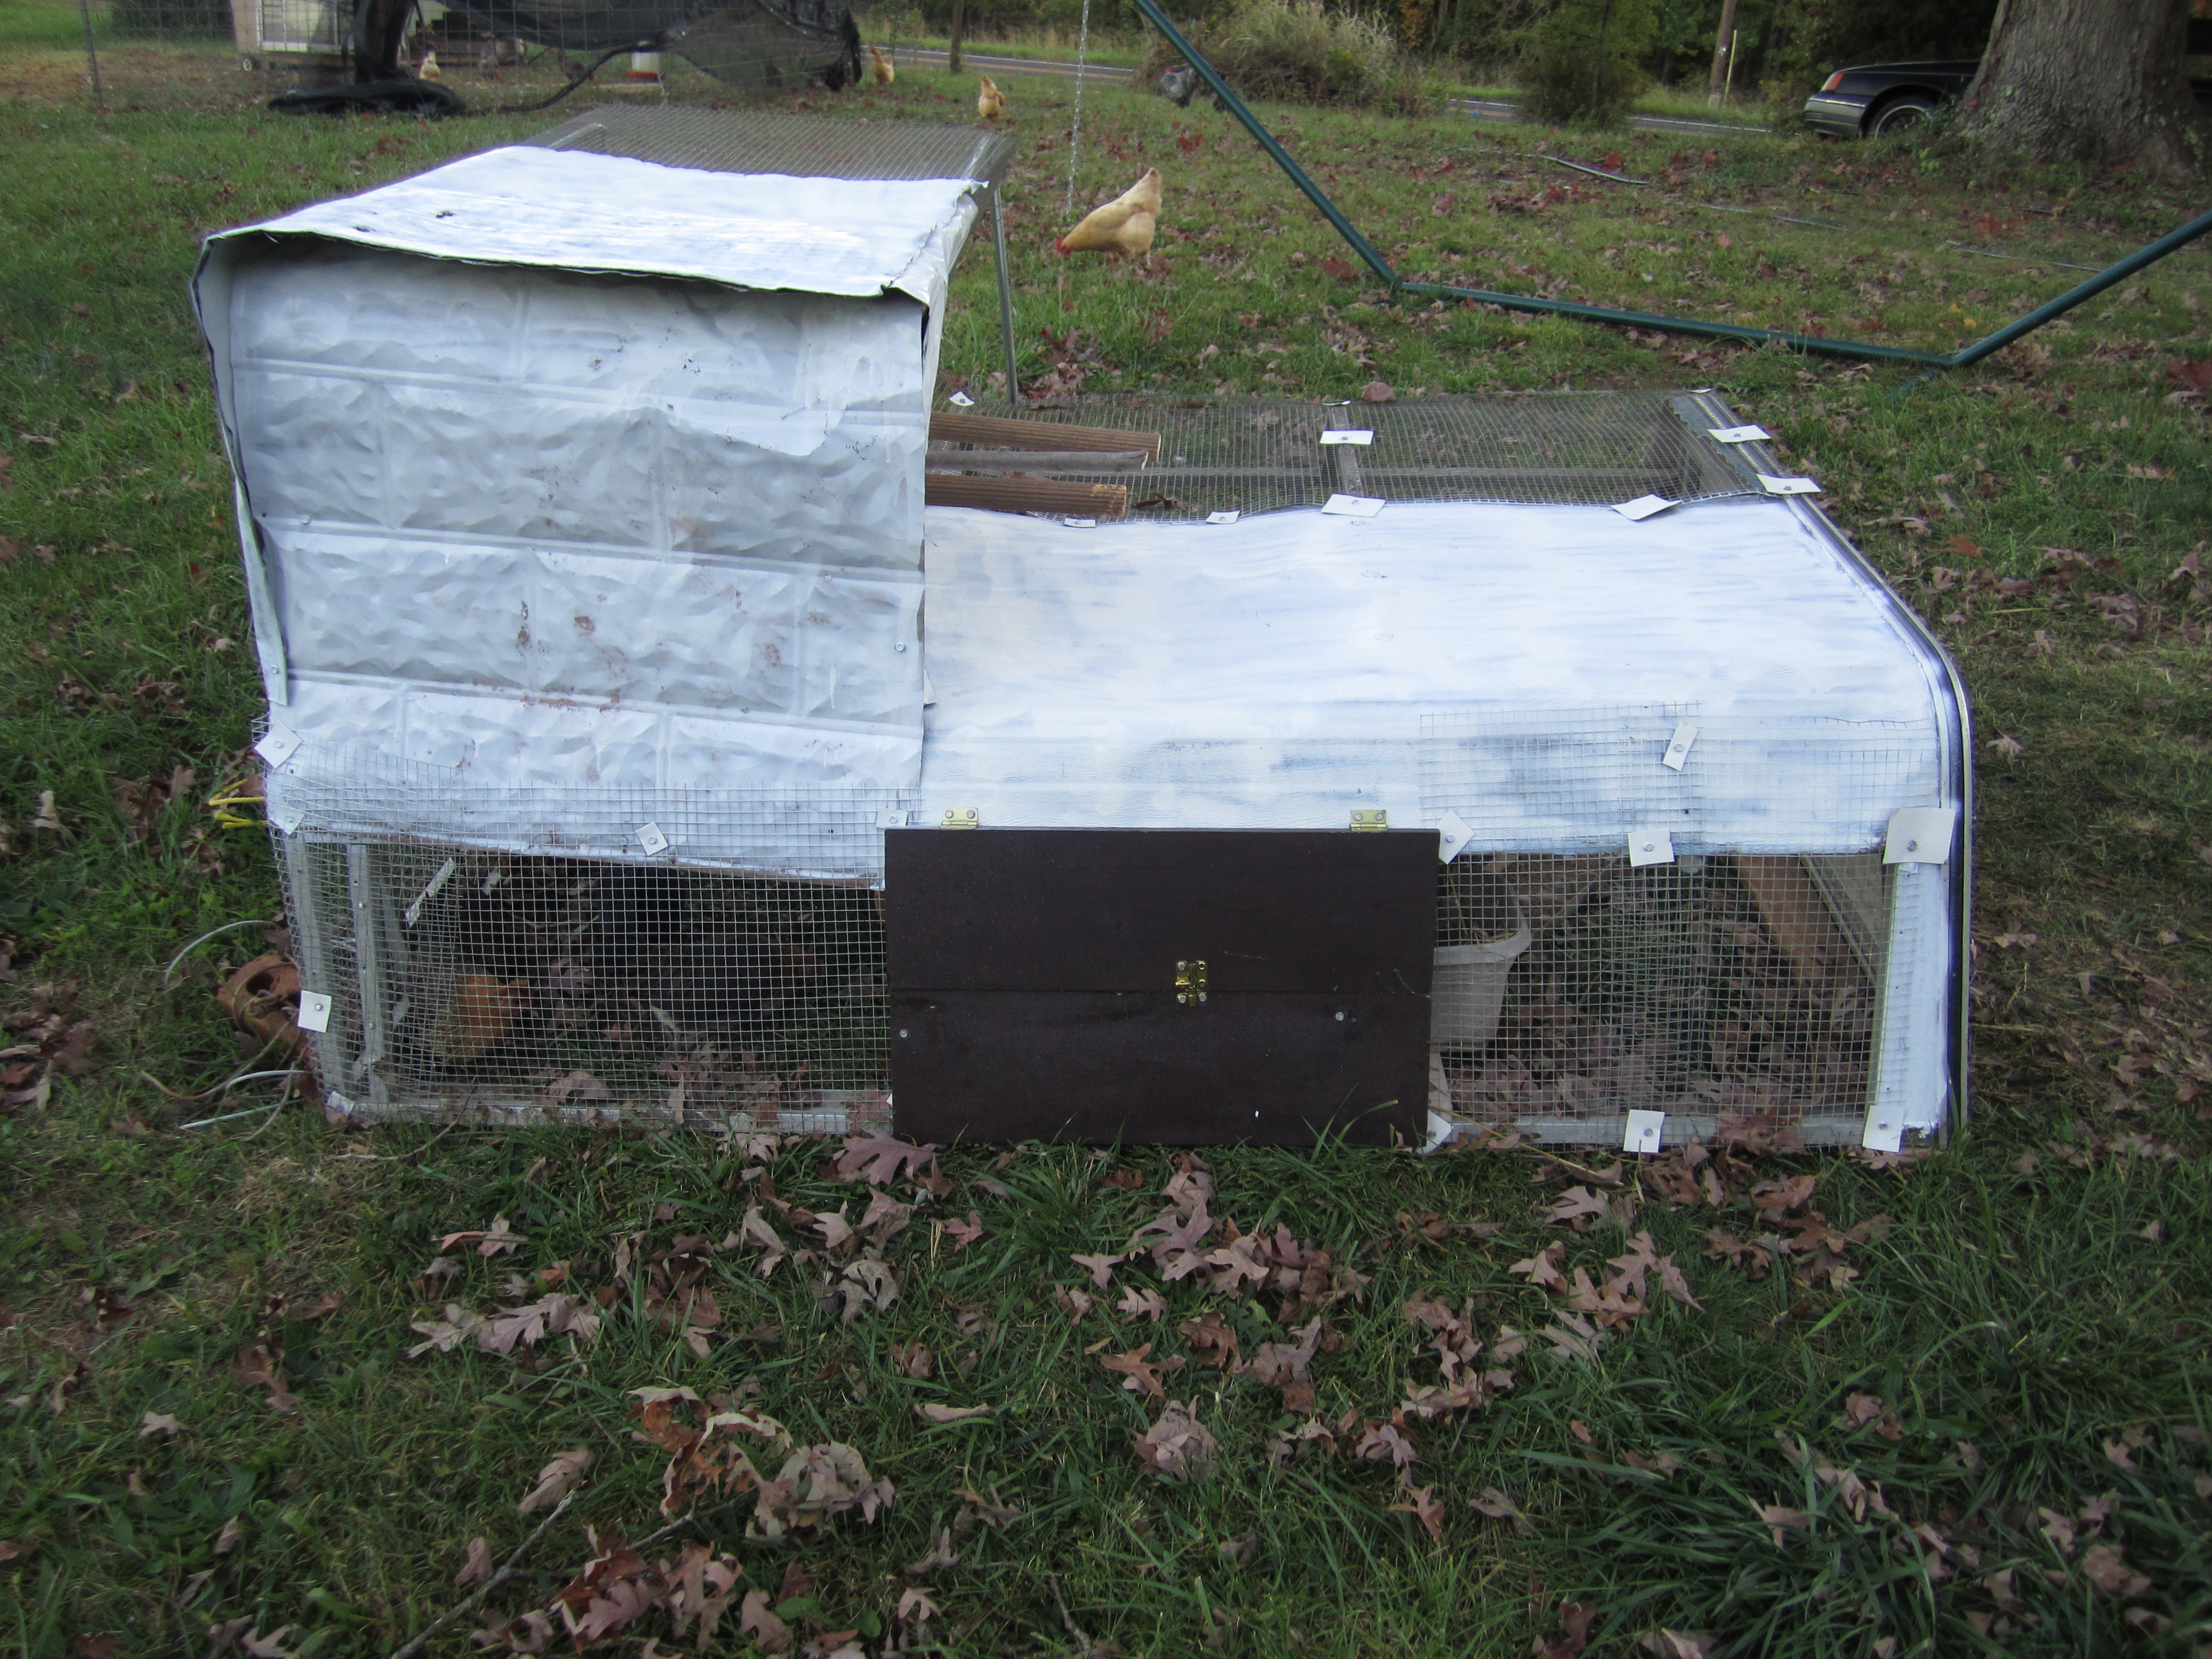
i added hinged doors to the side with the nest box, so that we can open them up and get the eggs without any trouble. this also has a latch that locks so that if any clever raccoons get brave, they shouldn’t be able to get inside. we spray painted the whole contraption white and drilled holes in the sides of level 2 to slide in three nest bars. i added a rope to the front of the tractor so that we could easily slide it along to a fresh grass spot each day.
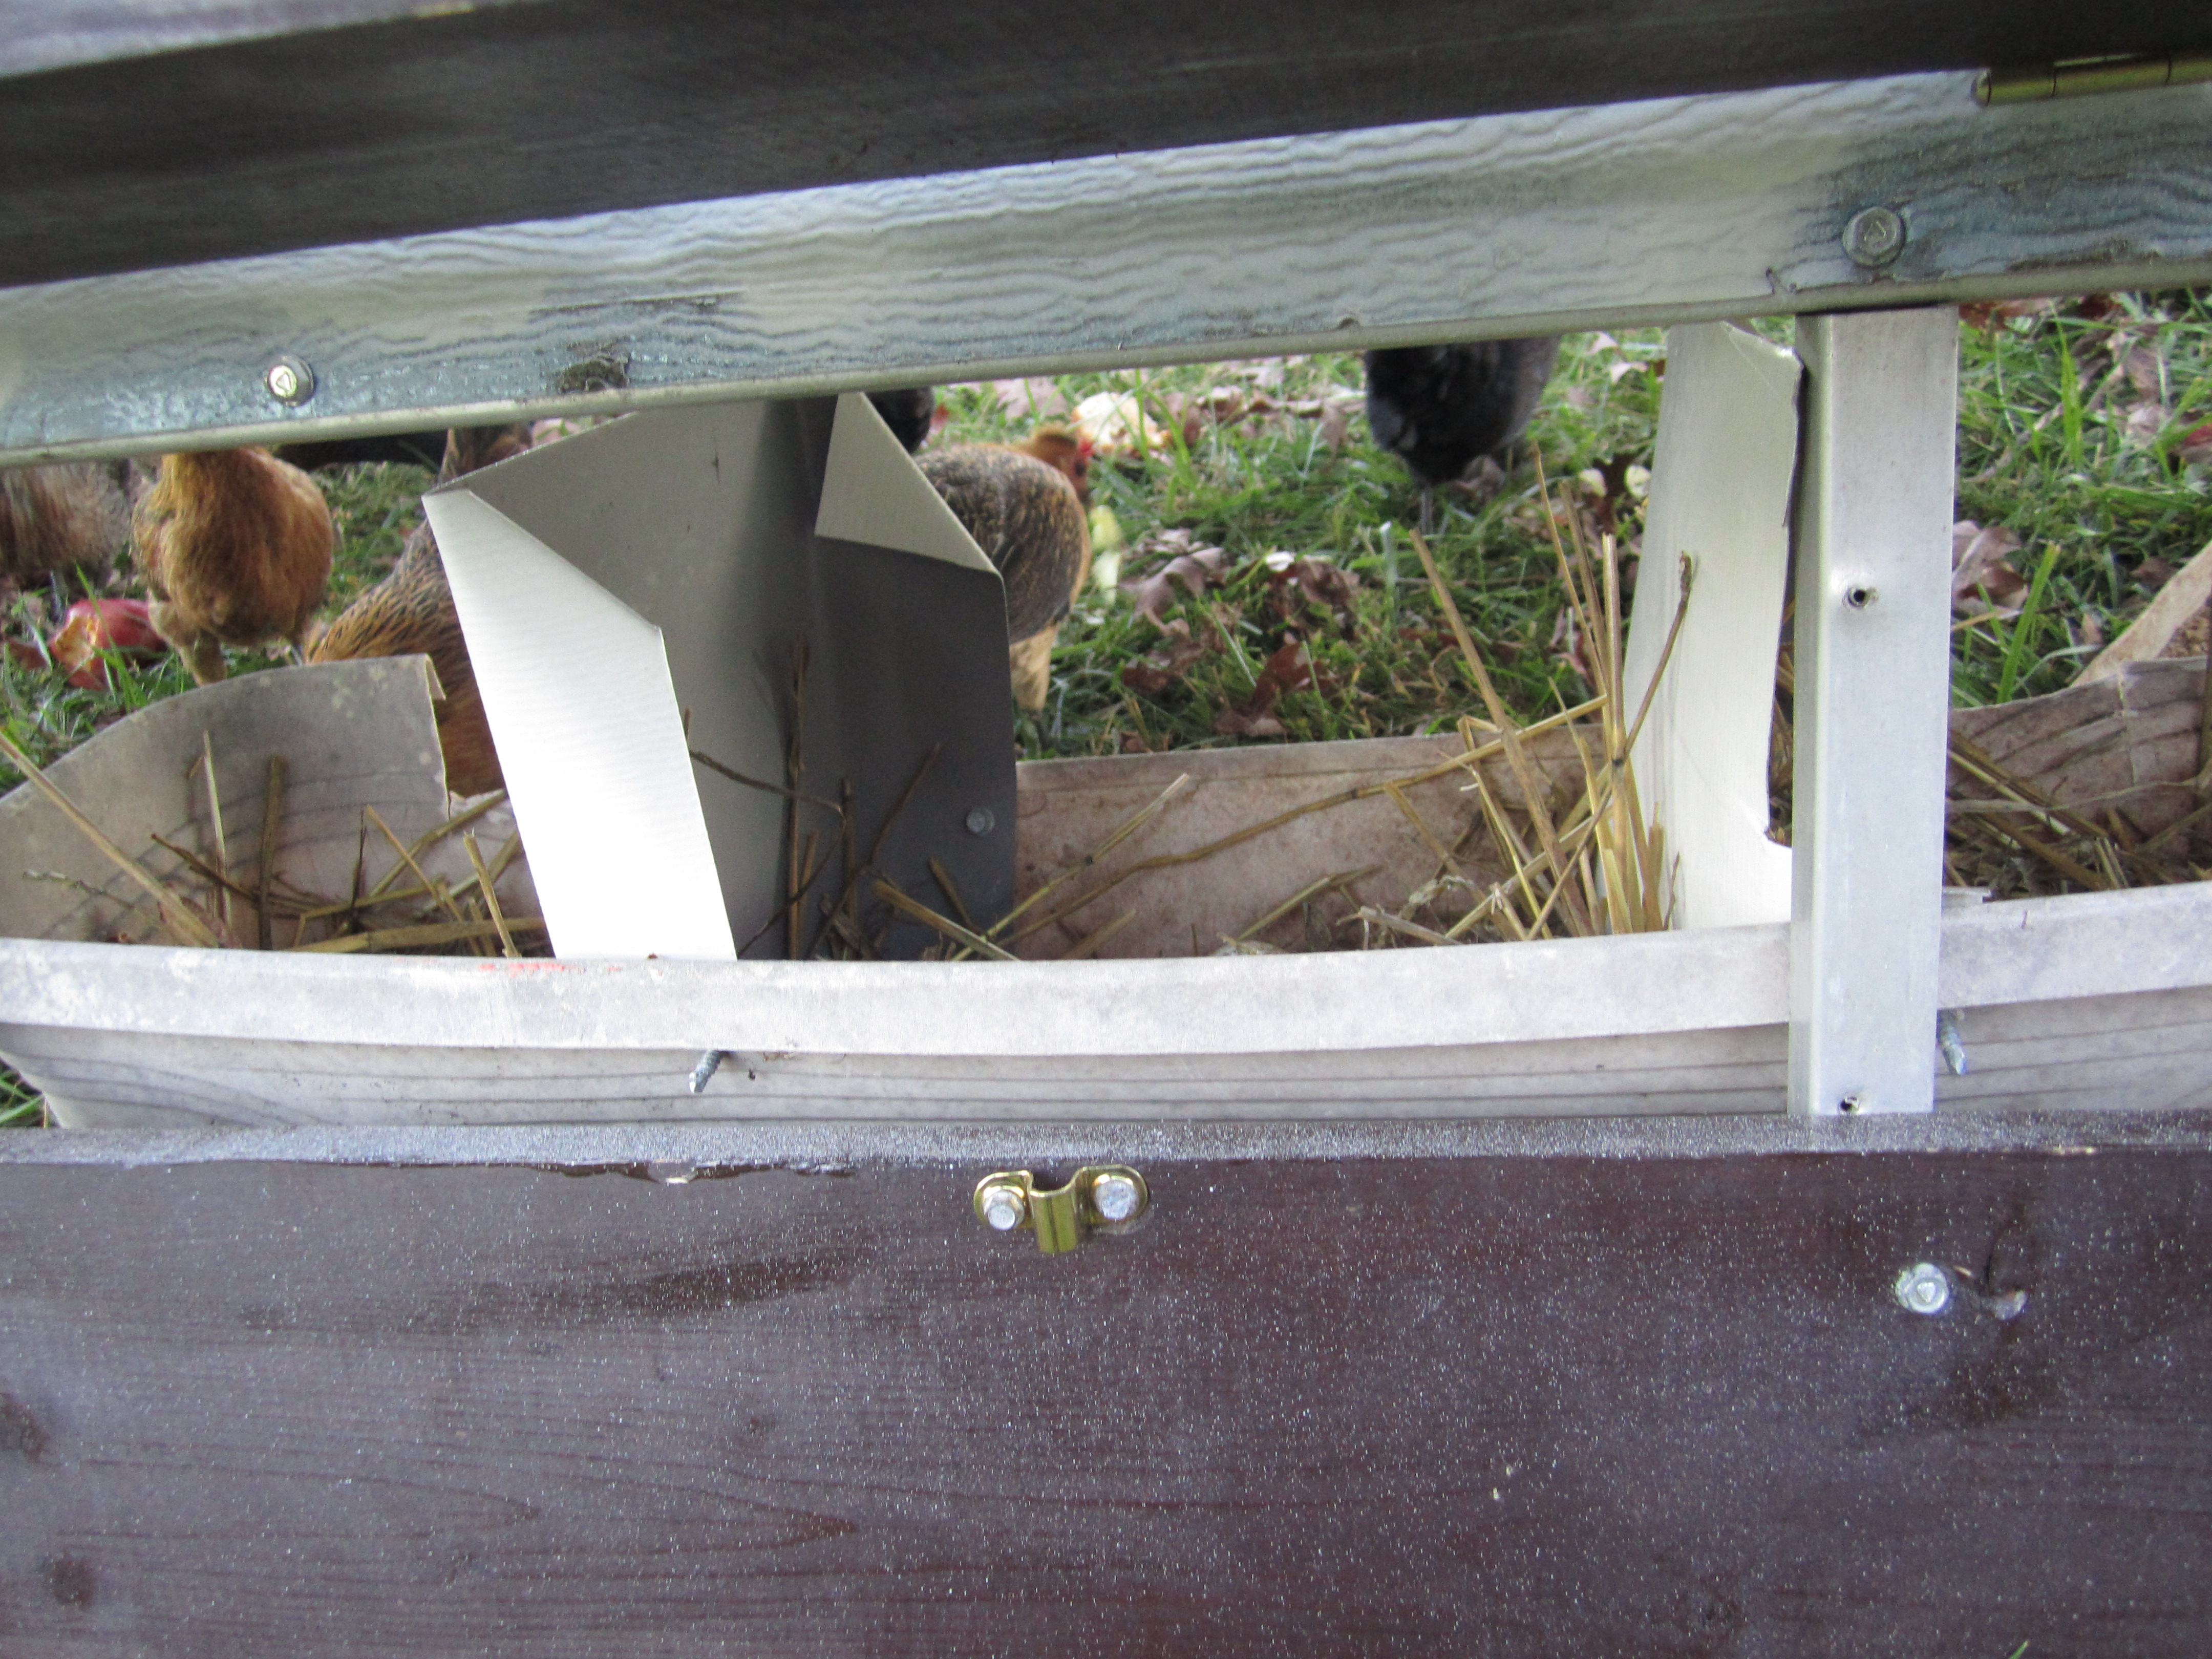
opening the nest box door to collect eggs!
and that was it! it was a three day project, but it was fun to make. we’re proud of our “chicken hotel,” and now all we have to do is convince all of the hens that they should roost instead of giving up and sleeping in the nest boxes. at least roosty will enjoy having his own flock without having to worry about rex bullying him!
 .:.
.:.