Our chicks are growing fast, and as they get more and more energetic and active they end up messing up their water more frequently. They kick up their pine shavings and poop in their mason jar waterers which necessitates constant dumping, cleaning and changing on our part to ensure that they have access to clean water.
Chicken nipples (get your head out of the gutter!), use gravity and simple mechanics to keep their water clean and their bedding dry. We eventually want to transition our entire chicken operation to nipple waterers, but we decided to start first with the chicks.
Installing chicken nipples is simple. We got a pack of 25 that screws into a pre-drilled hole in your container. Easy.
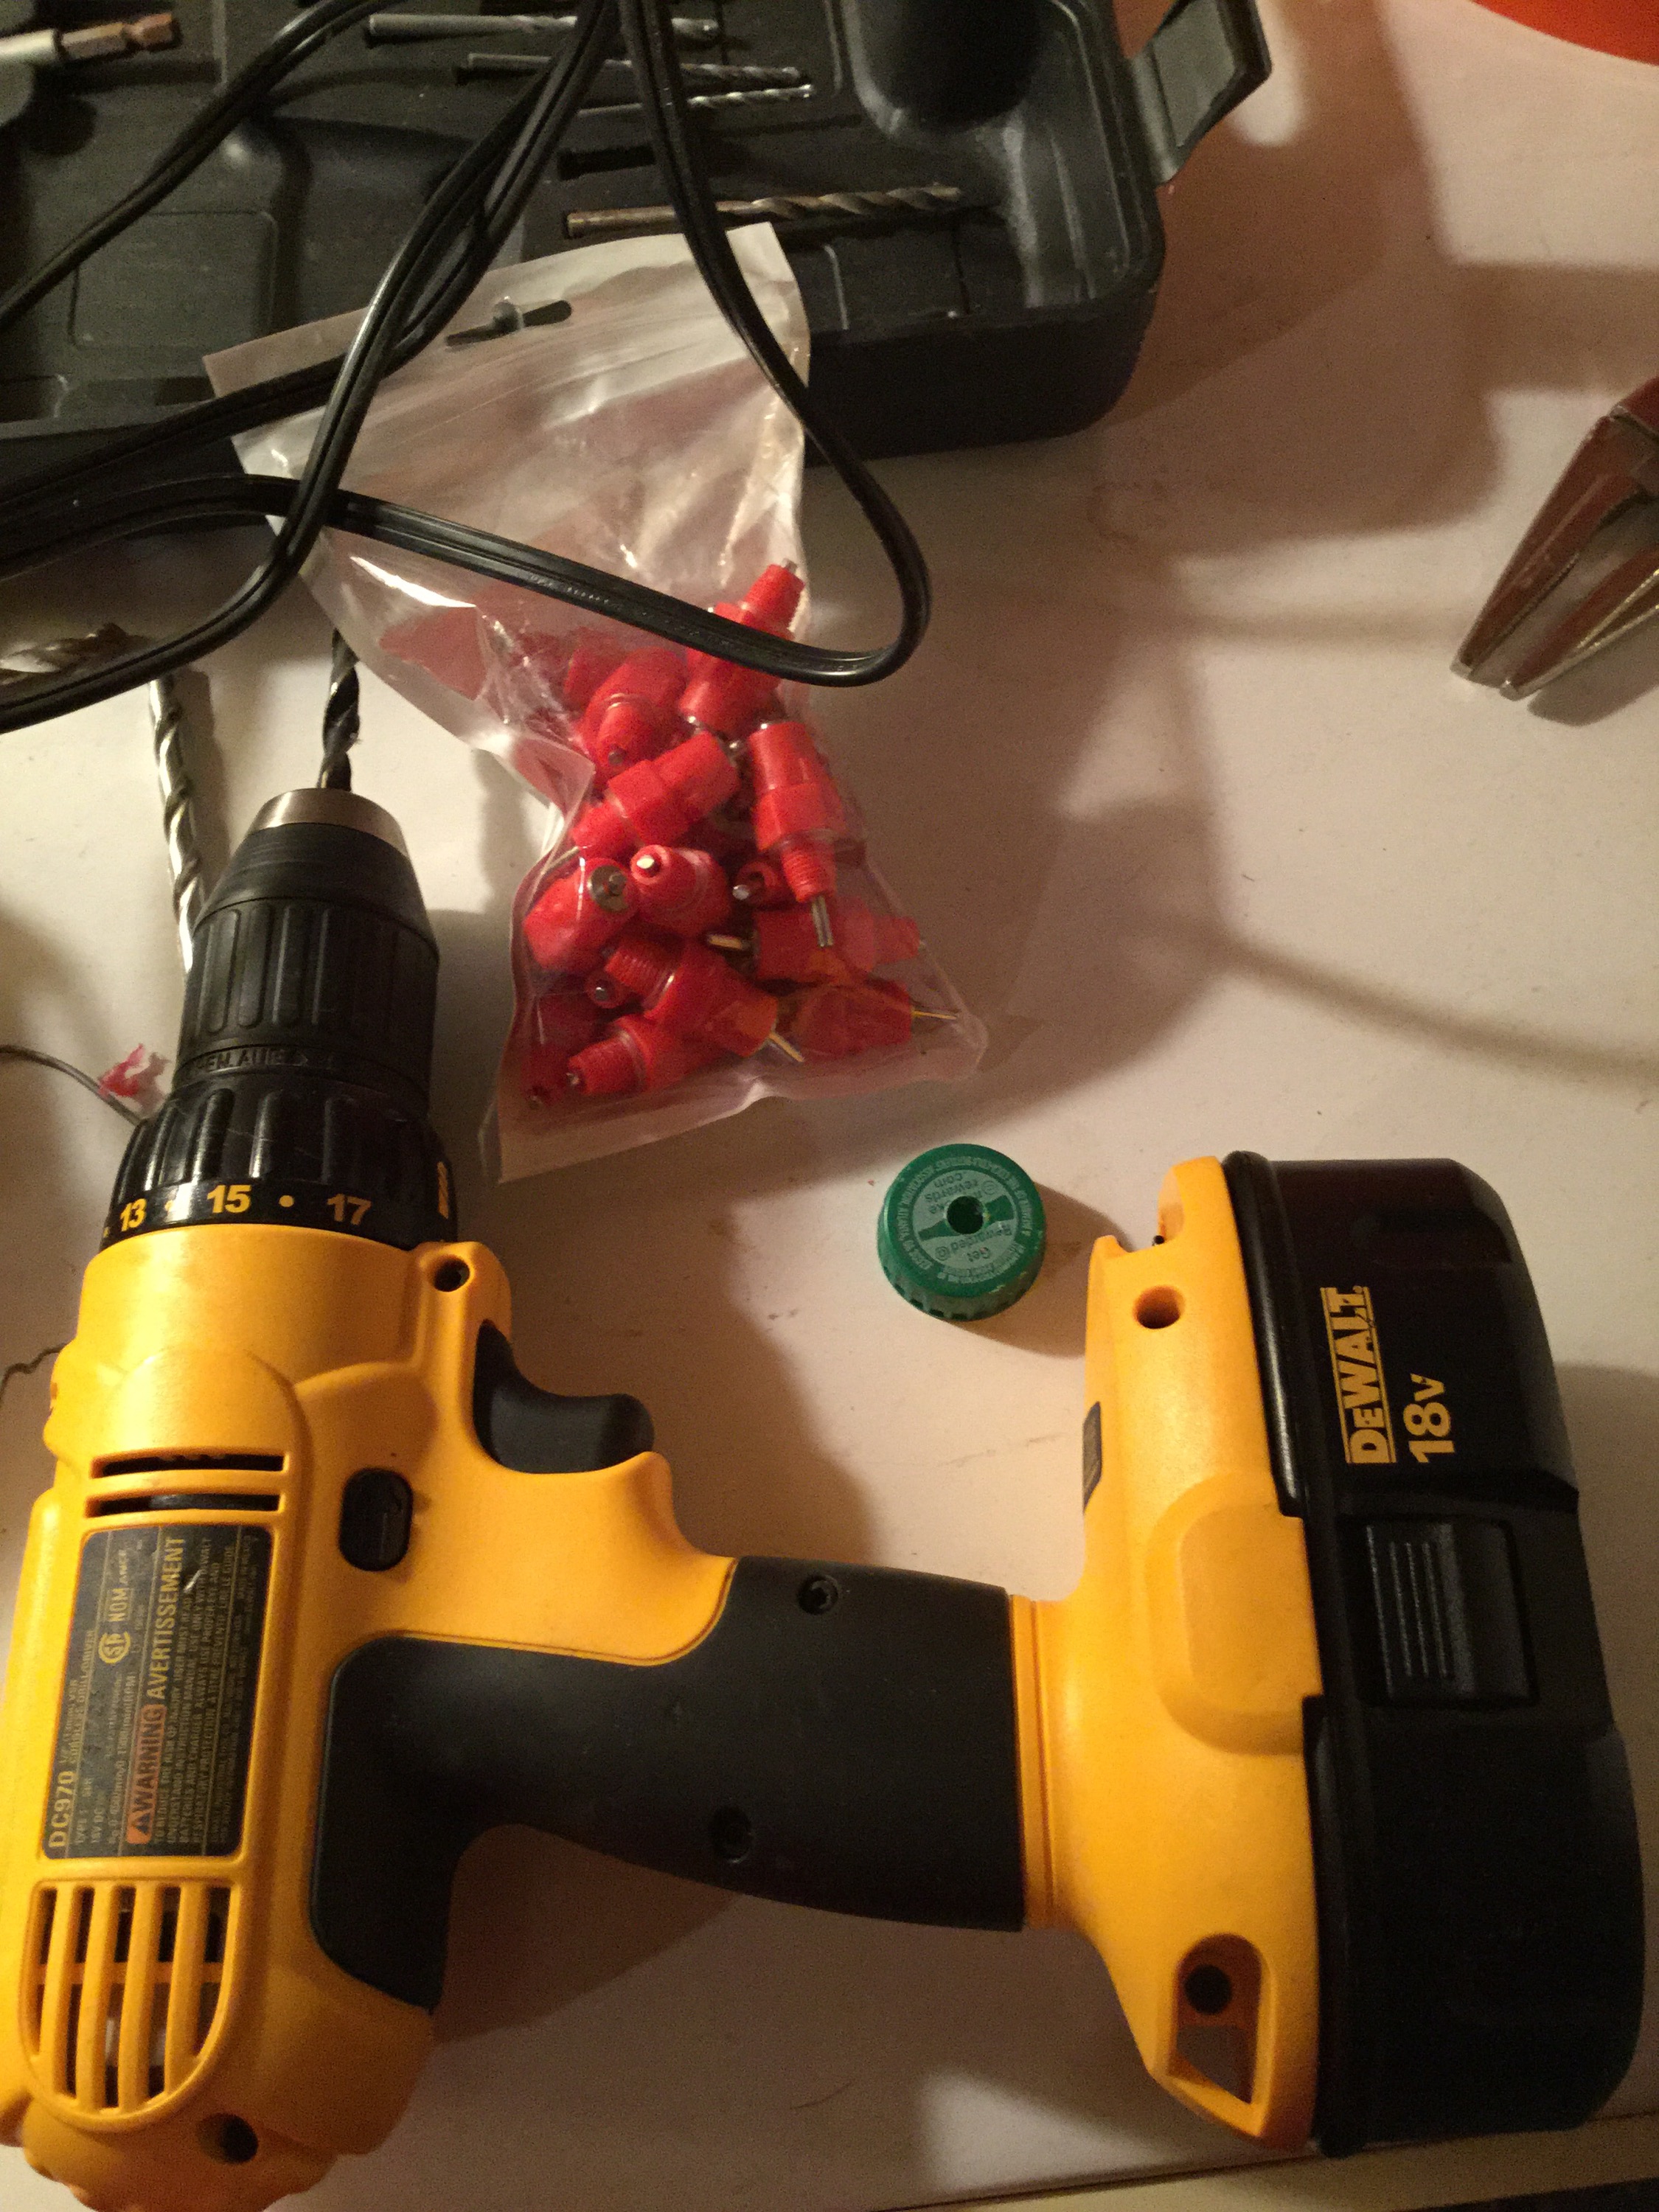
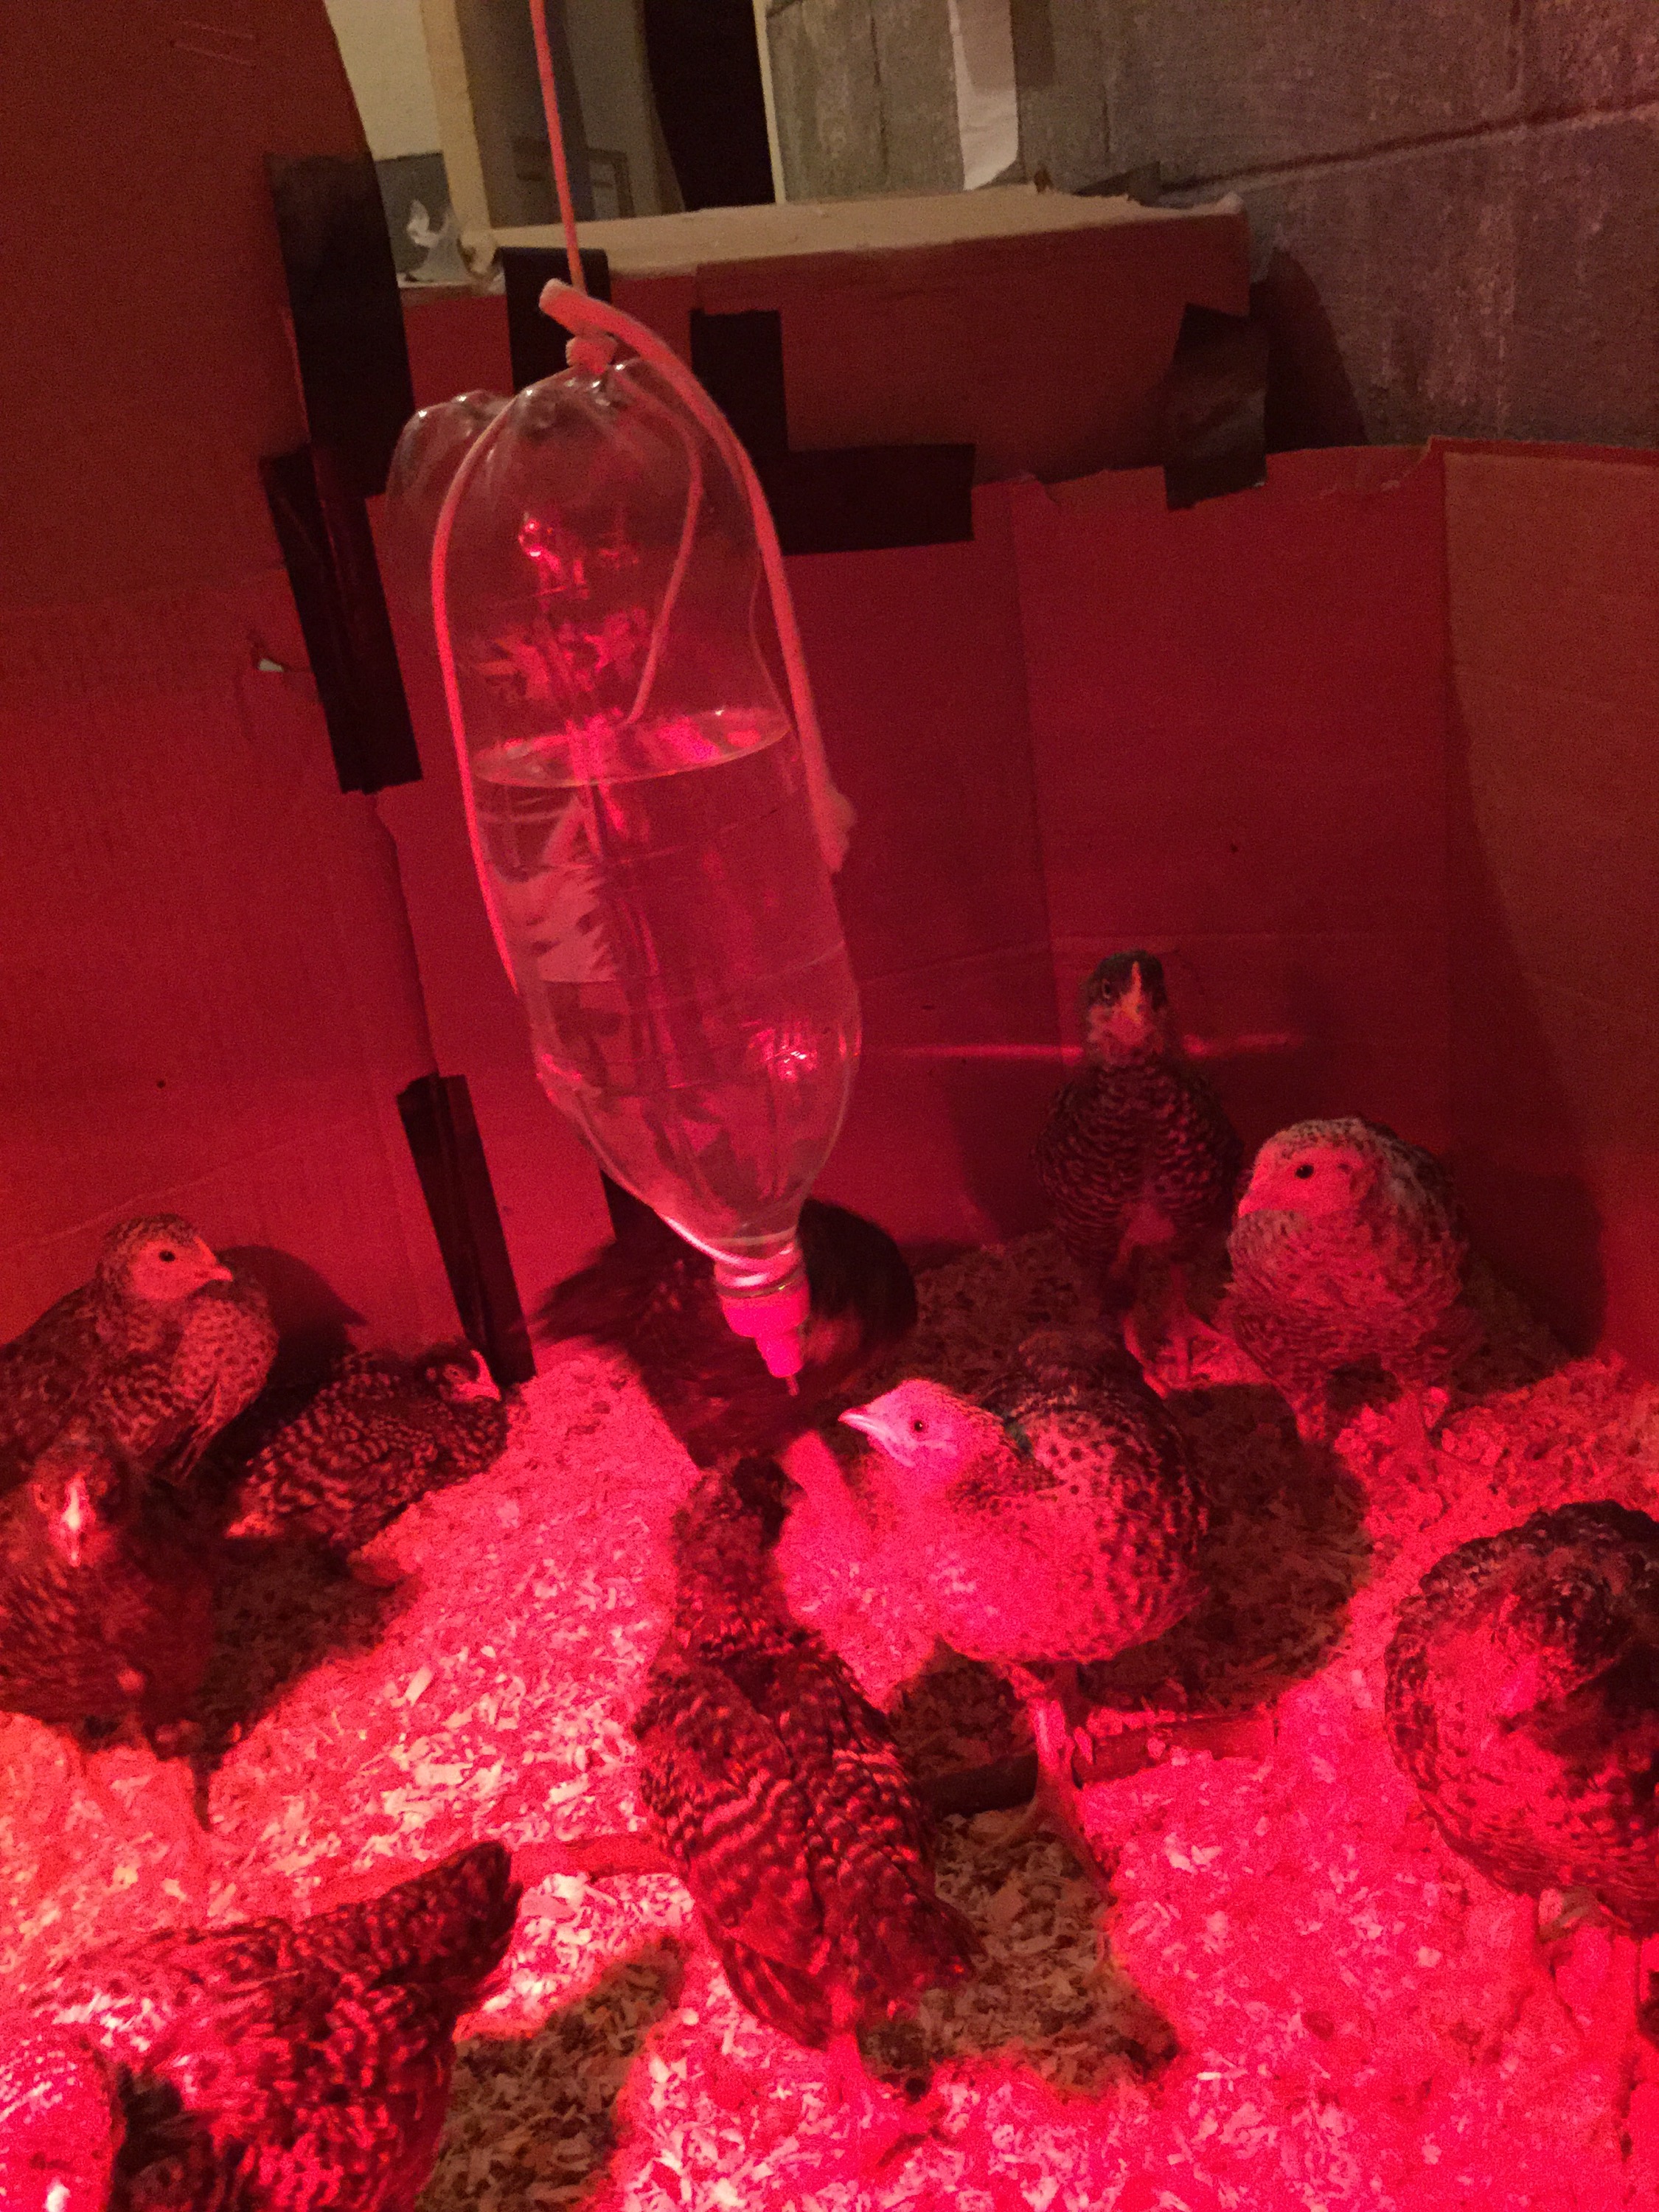
We hope to use 5 gallon buckets outside, but decided to first try a 2 liter soda bottle or the chicks. 1 hole with a 5/16 bit in the cap, a quick tightening with a pair of pliers, and a few loops on a piece of rope and our soda bottle nipple Waterer was ready for action.
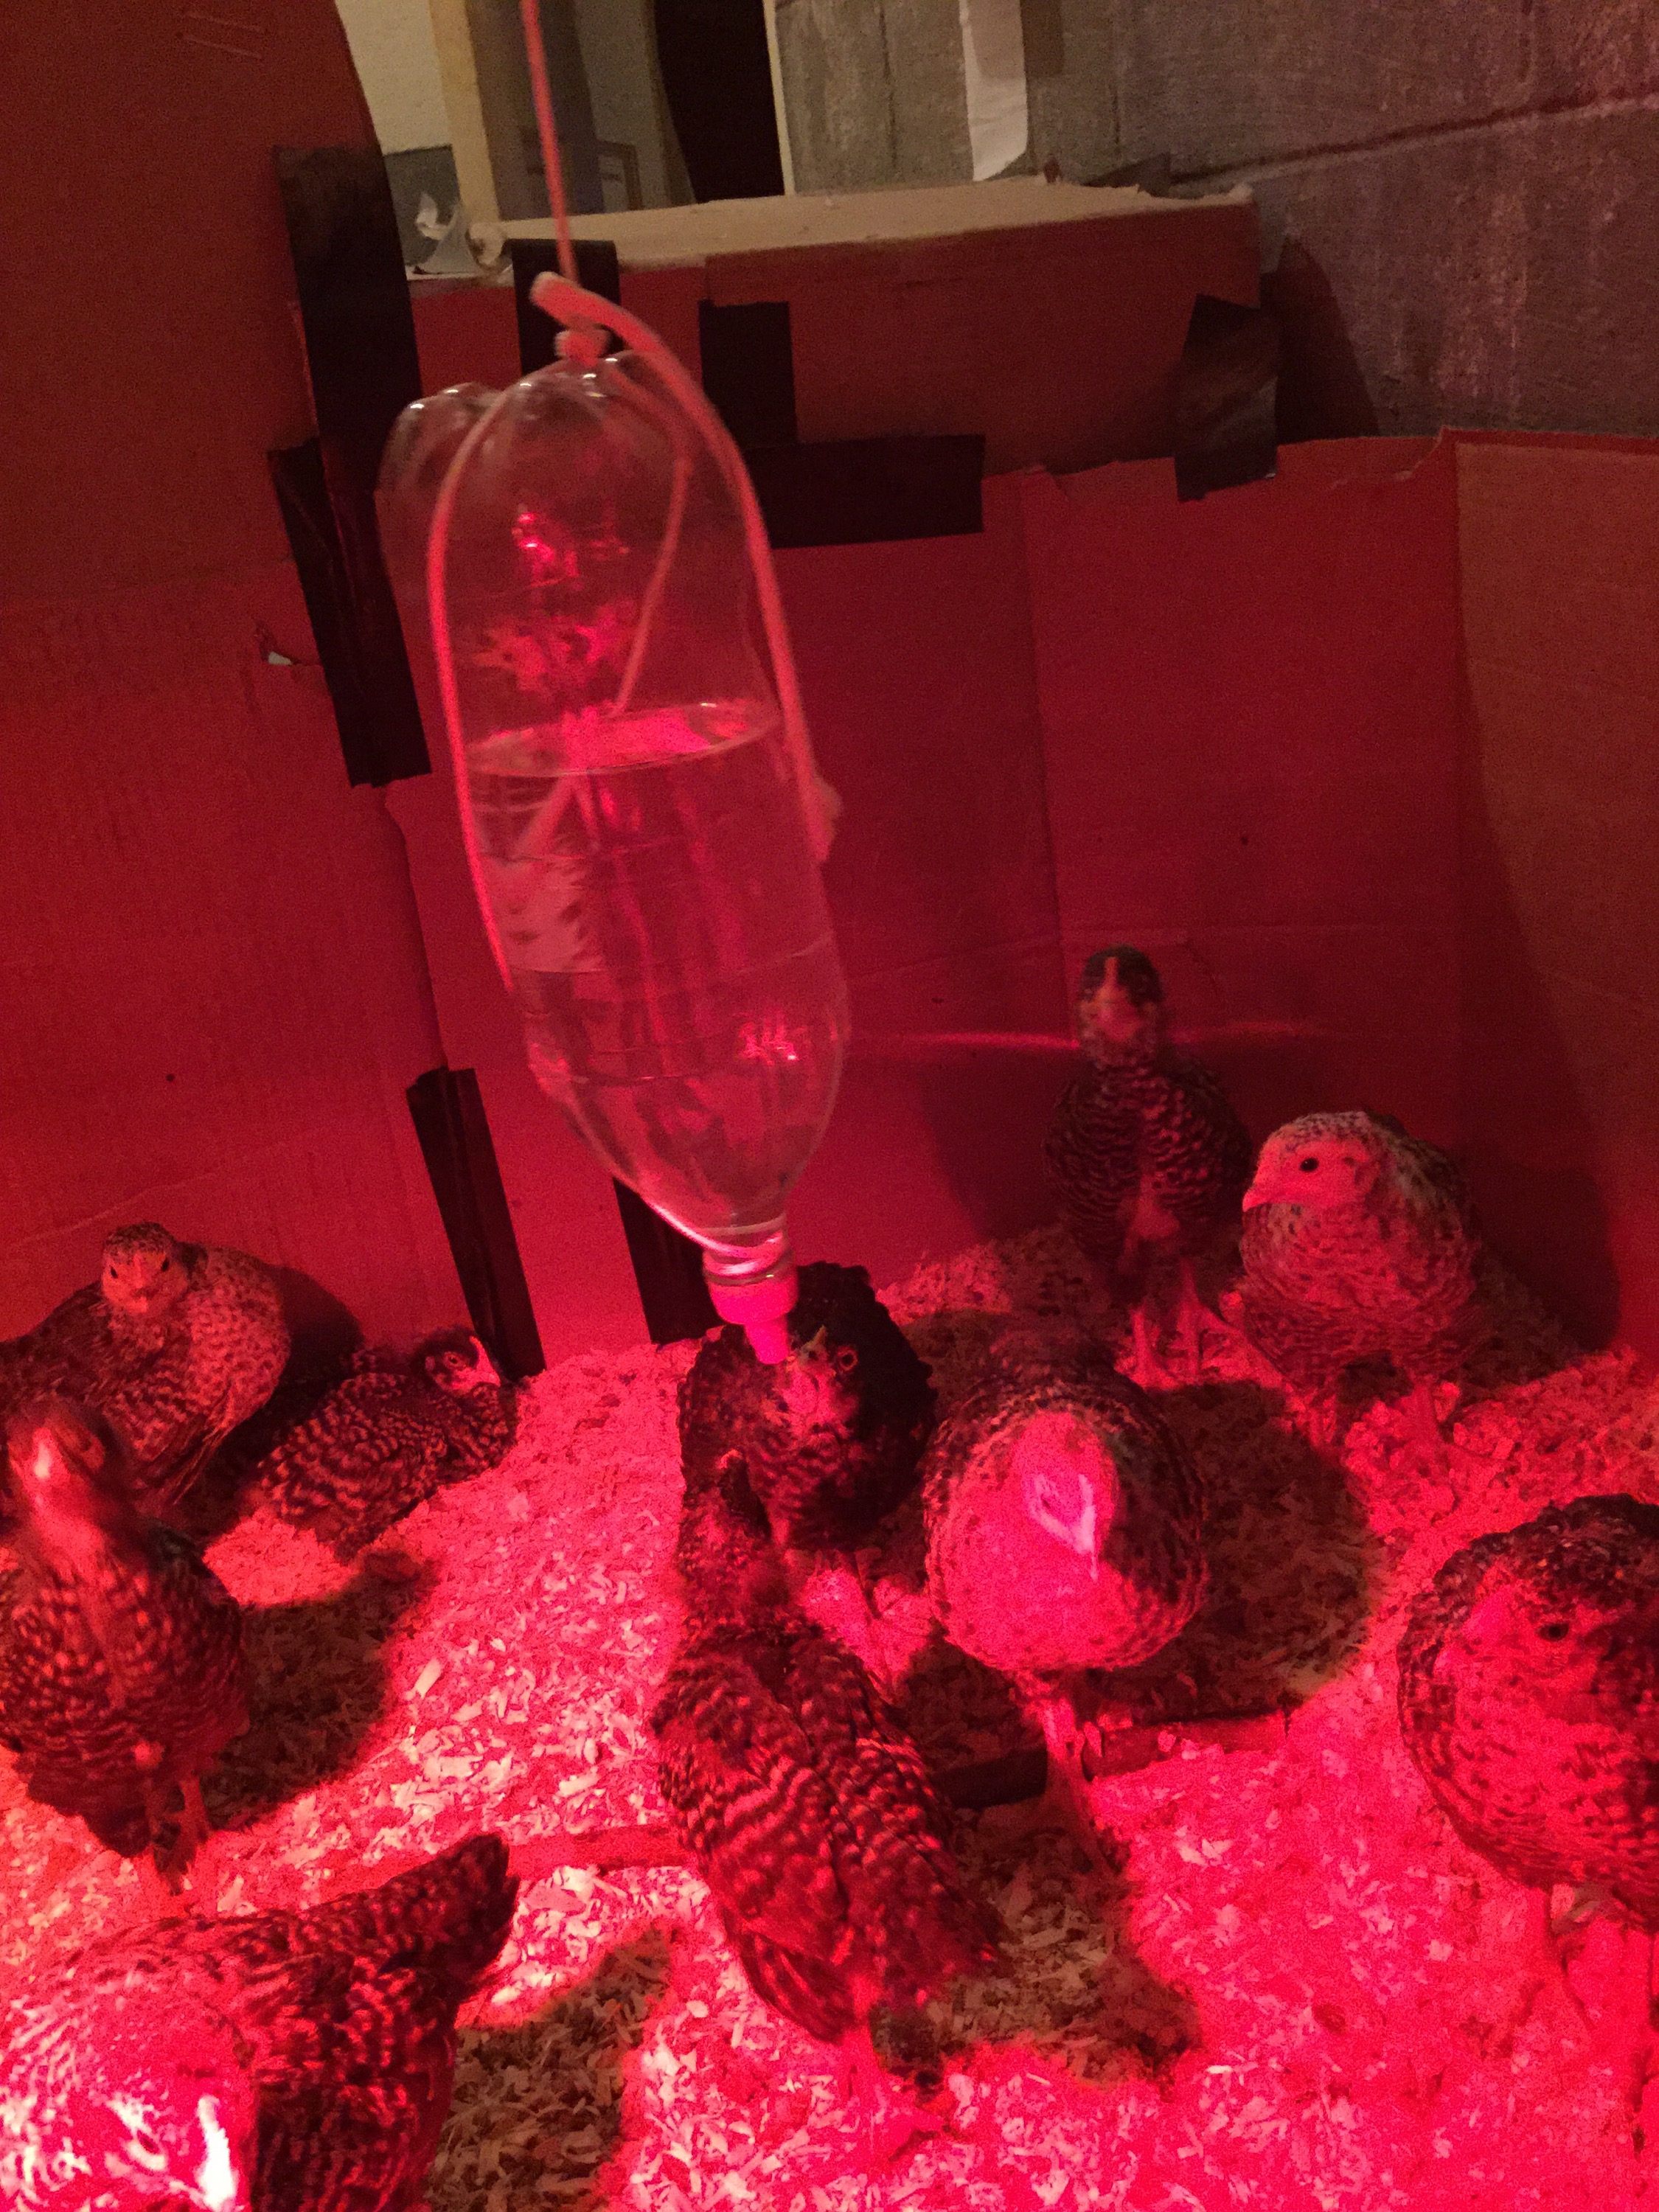
The nipples are red, which apparently attracts the eye of chickens, and within seconds of adjusting the Waterer to eye level the first few brave chicks were pecking at the nipple and drinking water. Success!
One quick note, it’s important to make sure that you avoid creating a vacuum inside of the waterer. With a bucket, just leave the lid a little bit cracked to break the vaccuum. Our solution with the soda bottles is to just poke a tiny hole in the base by where it hangs. This is enough to break the vacuum and ensure that the water flows freely out of the nipple when the birds peck it.
Right now we have just the one nipple Waterer, in addition to the two mason jar waterers but I want to build at least two more. It seems that most people use 1 nipple for anywhere from 5-10 birds, so 2 or 3 should be fine for us.
I’ve seen some creative designs using pvc, barrels, and hoses, and I’m sure we’ll set up something pretty cool for our Banty tractor, the standards, and any other fowl we add next spring!