our incubating eggs are almost done and the chick hatch is scheduled for so soon… saturday! i originally thought it was sunday, but i forgot to count the first day that the eggs started incubating as day 1 (which you are supposed to do if you started the eggs in the incubator before noon of that day).
needless to say, we’re getting really excited around here, even though we haven’t really checked out the eggs since my day 15 incubating chicks update.
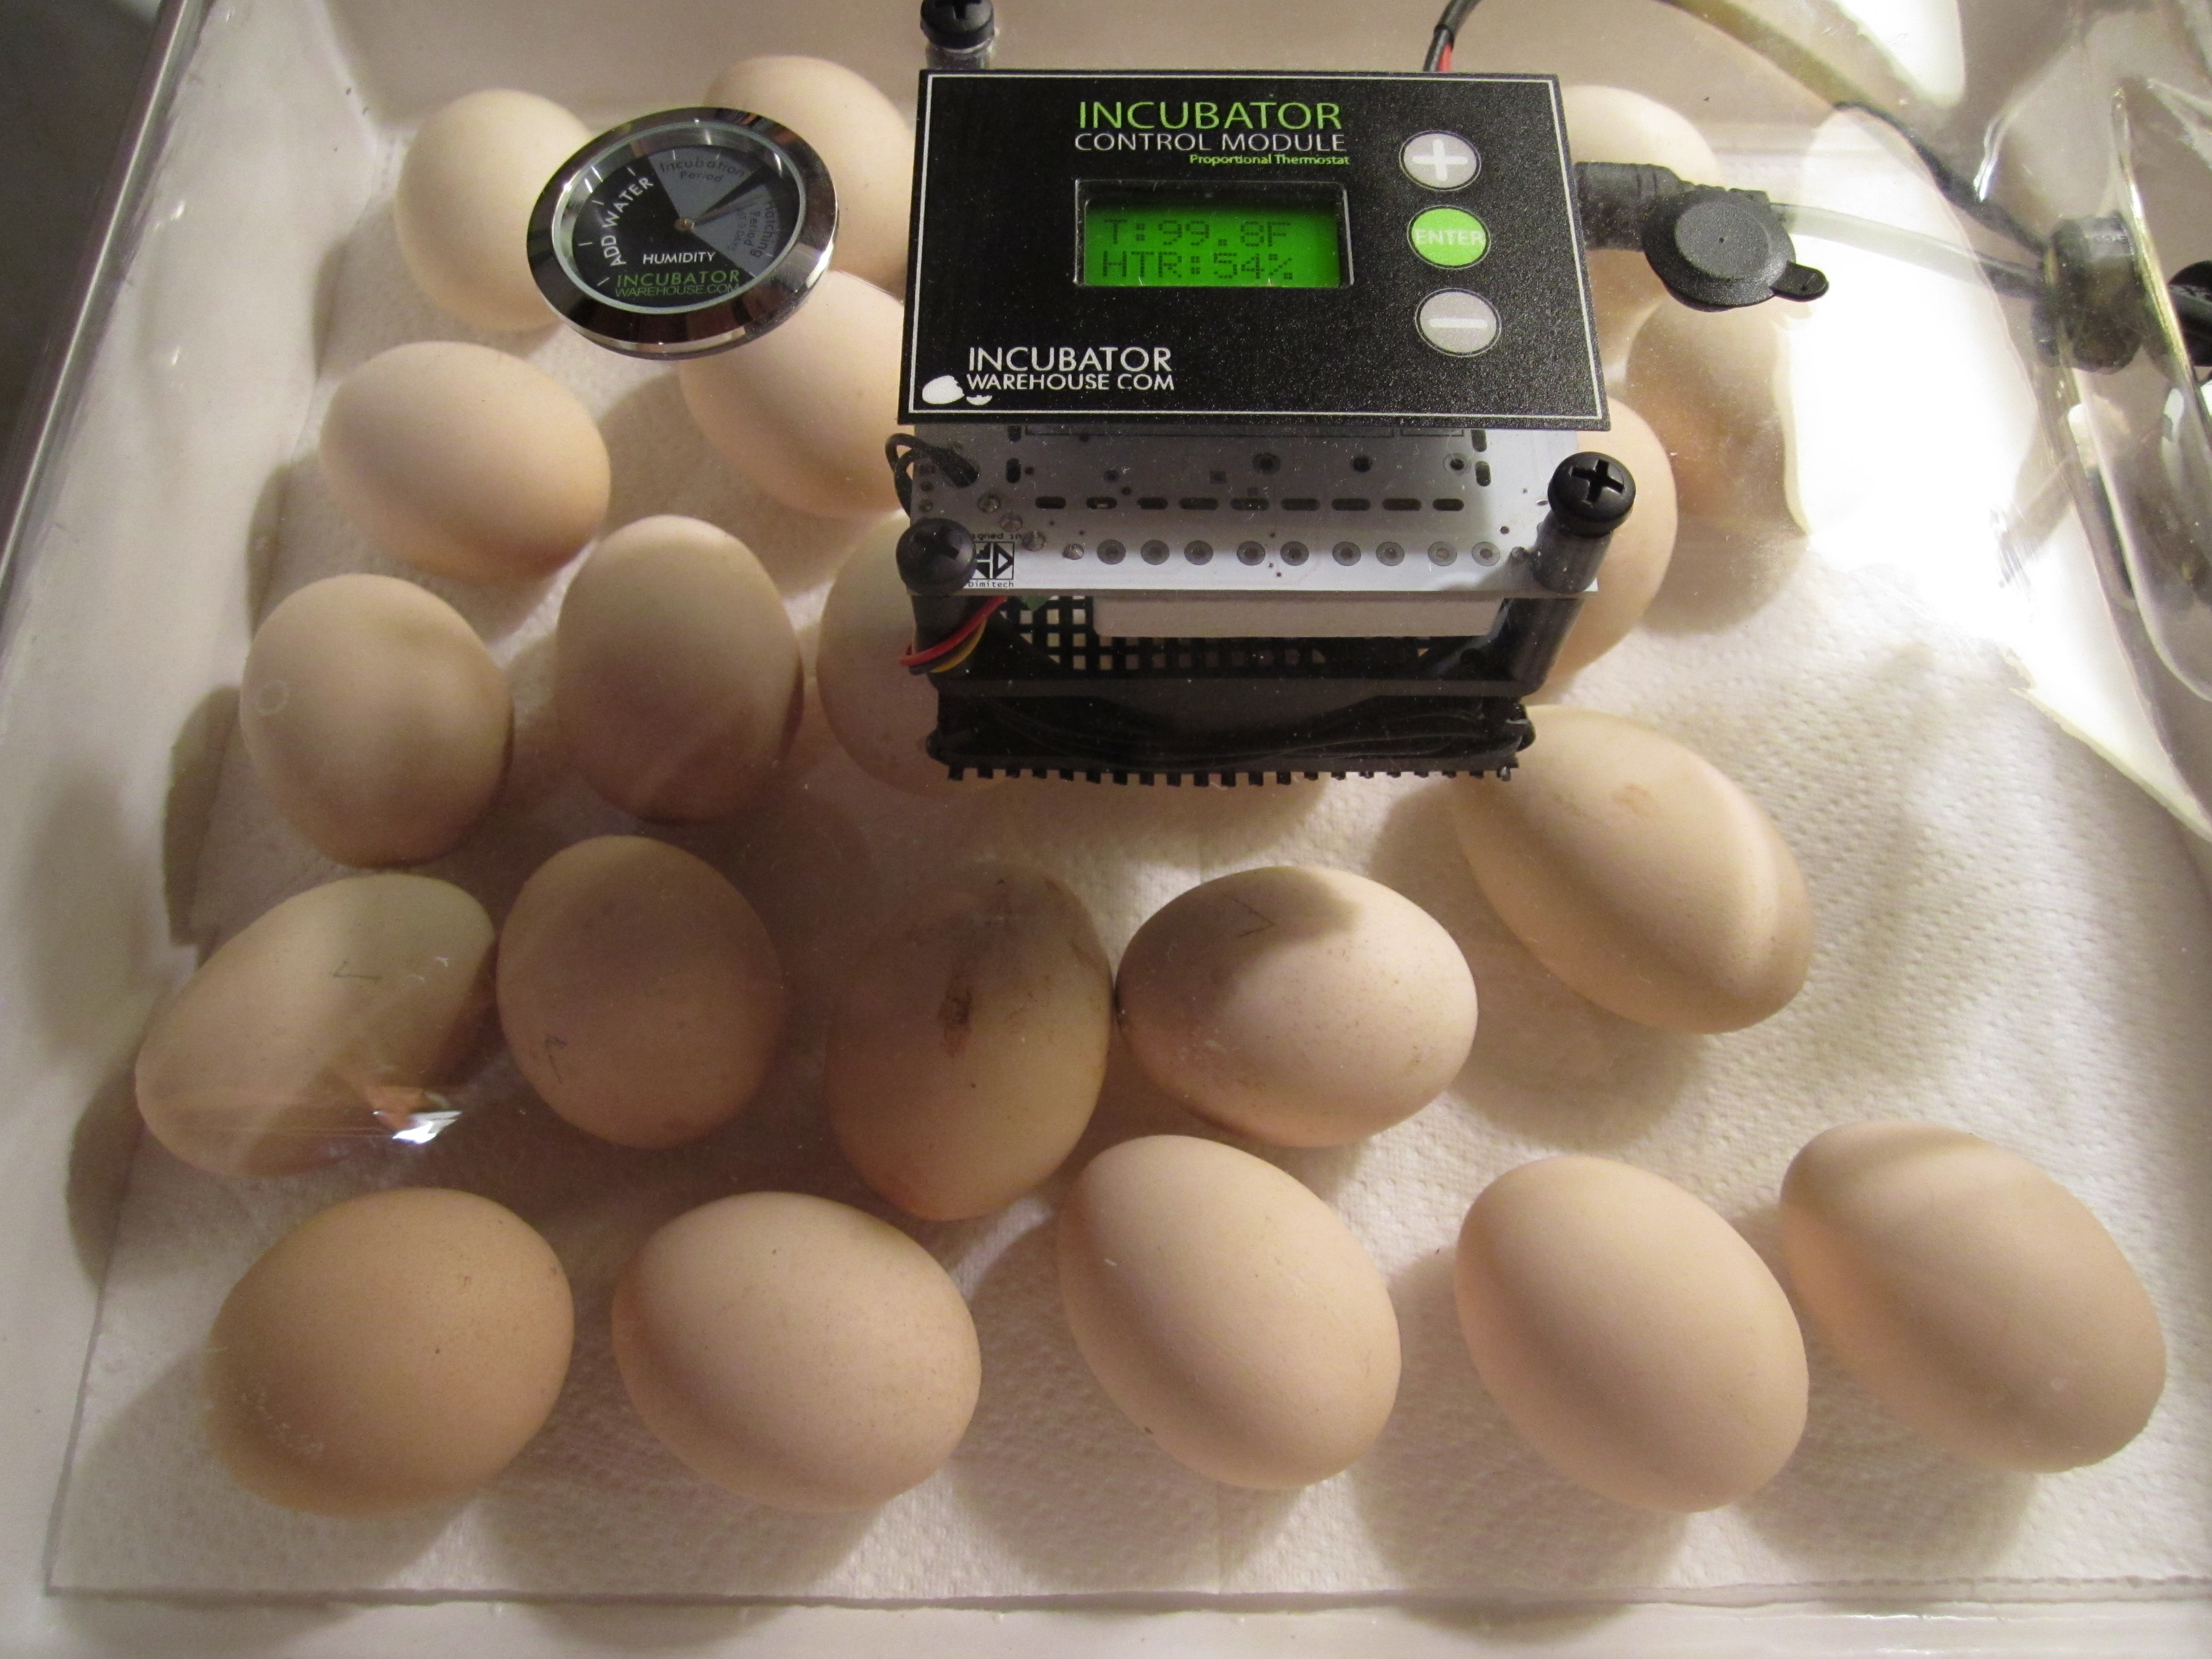
today i removed the turning tray from the incubator and cut the turning motor off. i also added more water to the device so that the humidity will be higher when the chicks are hatching in a few days. this keeps them from getting stuck to their shell as they’re busting into the world! now that the eggs are on paper towels and without the turning try, the chicks will have more room to break free when the time comes.
almost time!
once i moved them back into the incubator after removing the tray, a couple of the eggs started to move, as if to say “hey, i ‘ll see you soon (and quit moving me around!)”
i also set up their first little home that will be theirs for the first weeks of their life. i used opened wine boxes, taped end to end. these were just the right height if i left the flaps on the bottom folded out to help support the rest of the cardboard. i taped more wine boxes together than i needed, which means that when i need to expand their home to give them more space as they grow, i can simply untape one portion of the cardboard circle and make the circle bigger, then retape it into another circular shape. rounded edges are important because chicks can get stuck in corners if other chicks are pressing against them, and they can be smothered and die.
you can see in the pictures below that in addition to folding out the bottom flaps of cardboard, i also taped them to a sheet of plastic underneath (in this case, an old shower curtain) to keep the circle from buckling or becoming malformed. this sheet of plastic should also help with cleanup once the chickens move outside later in the year. in the next day or two, we’ll be adding wood shavings to the floor of the little pen/house to absorb the poop and spilled water and to make the chicks more comfortable.
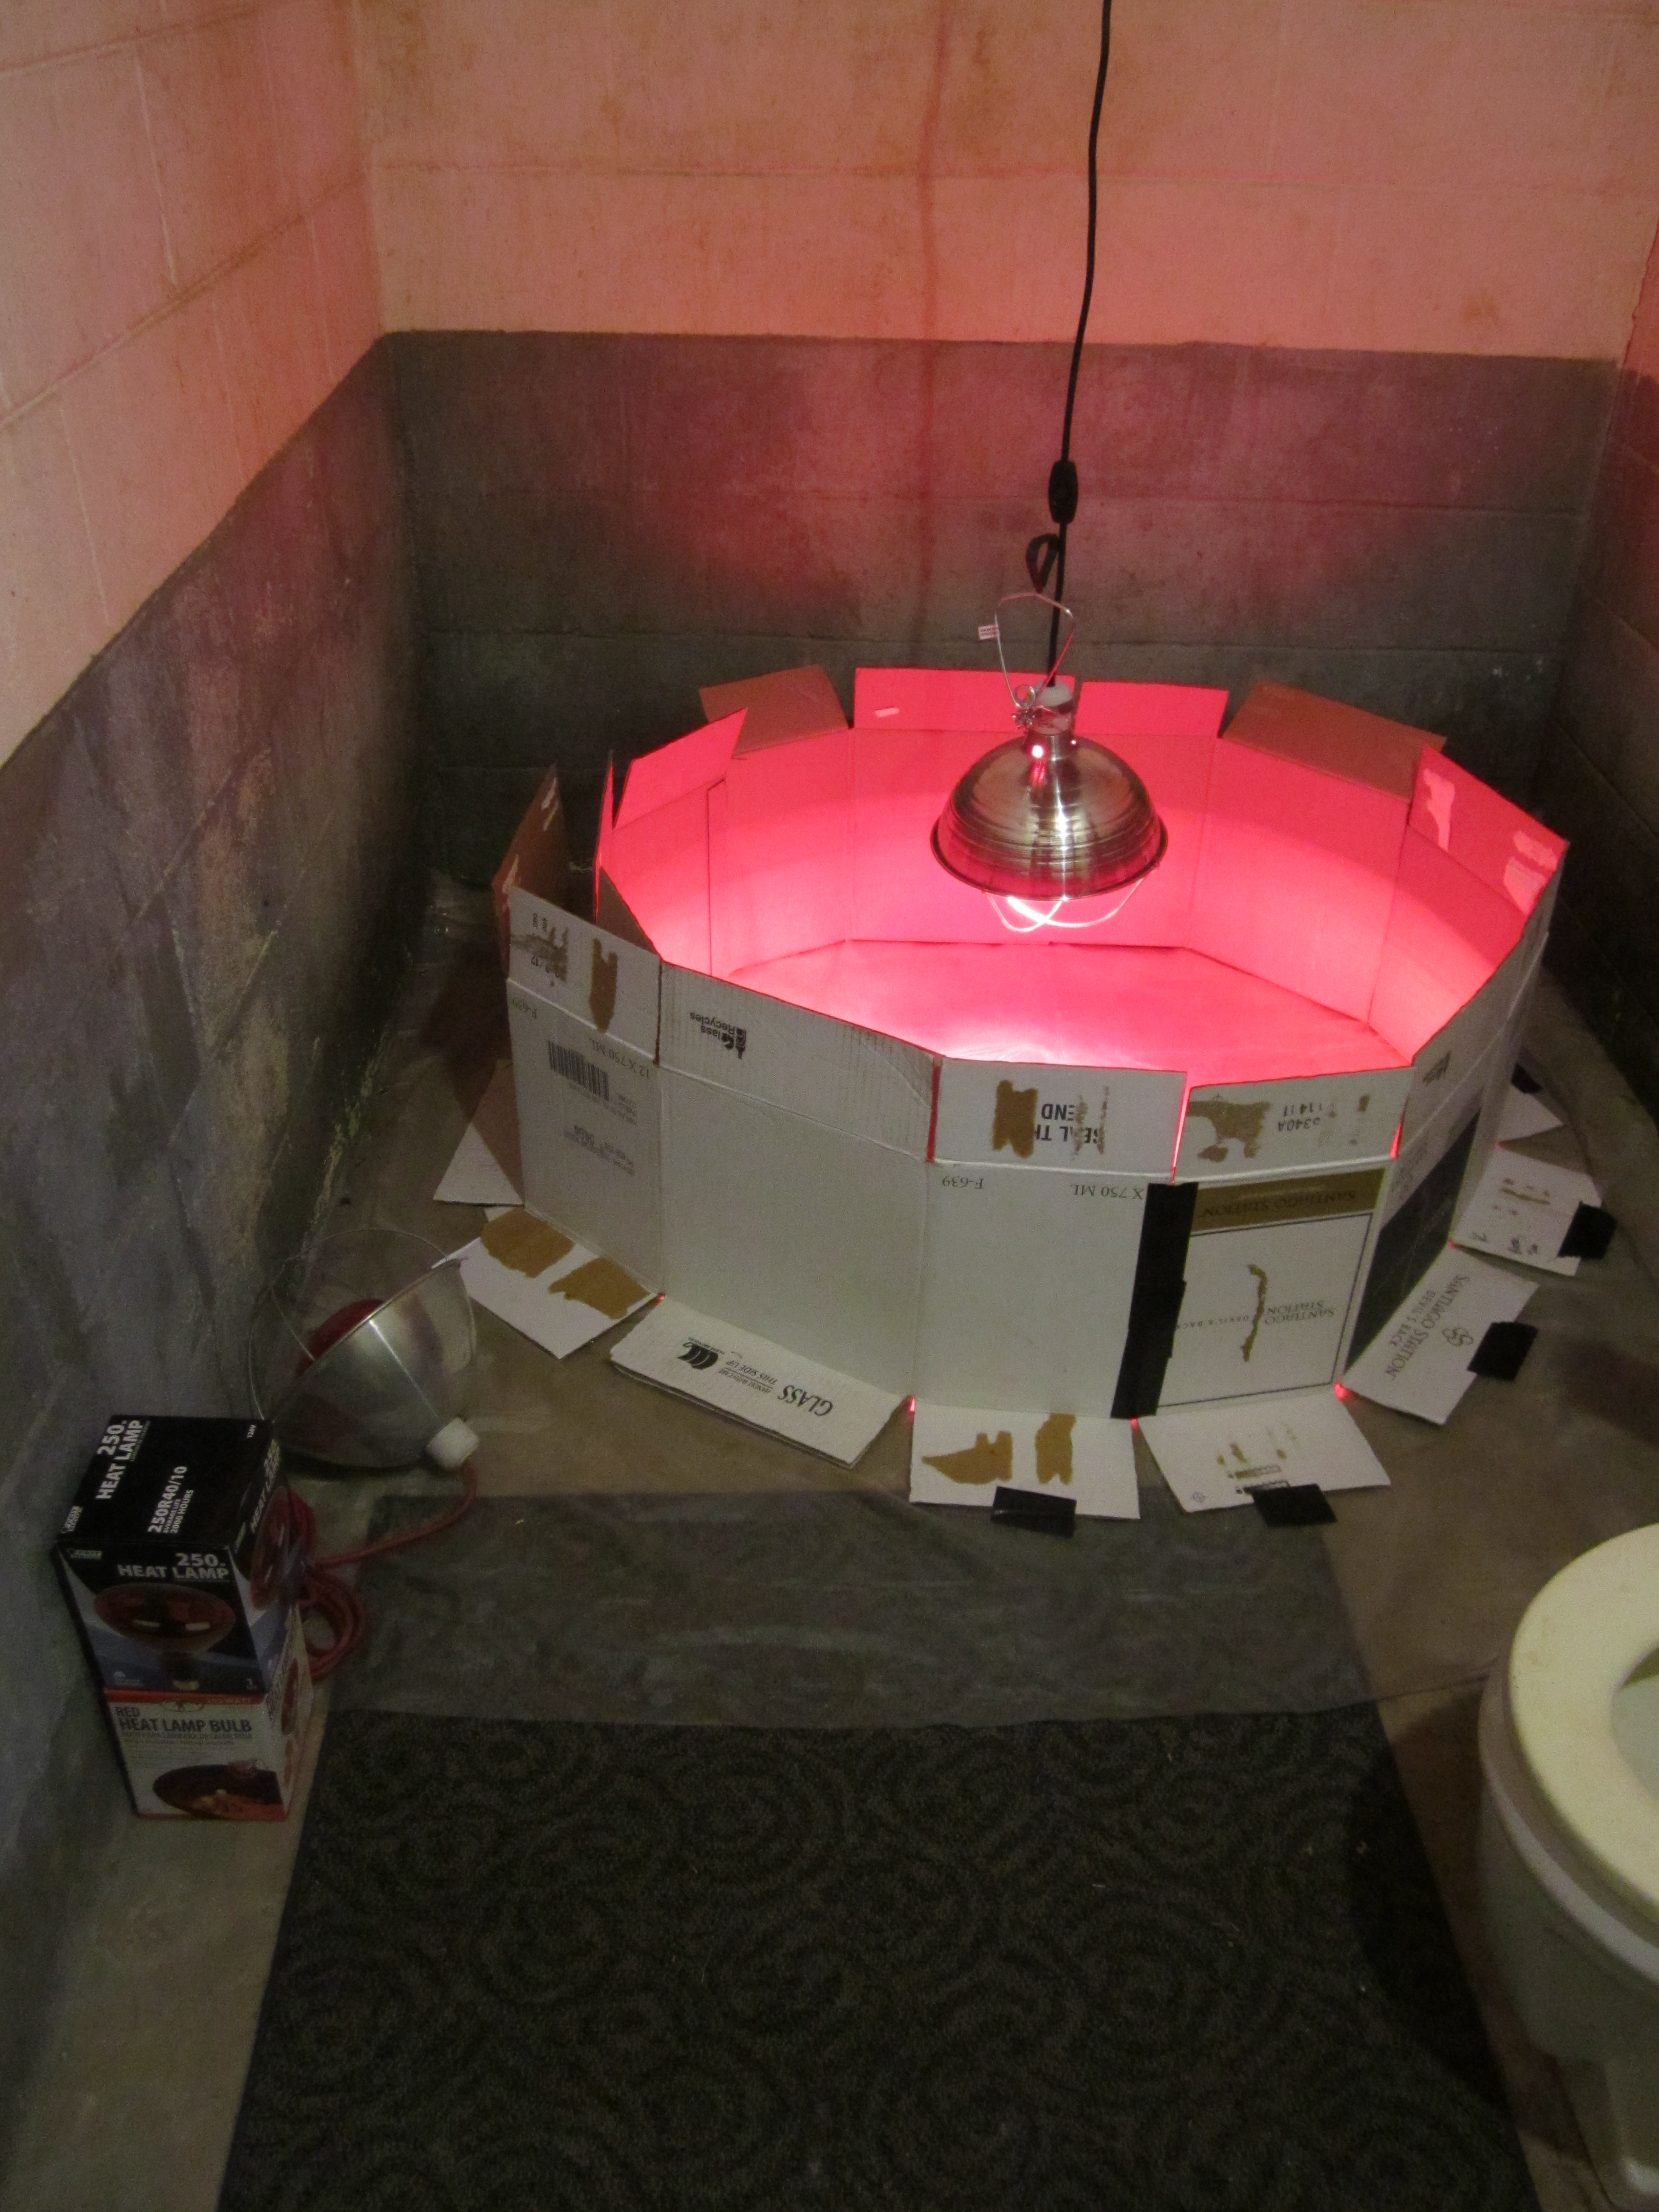
our quick and easy chick house!
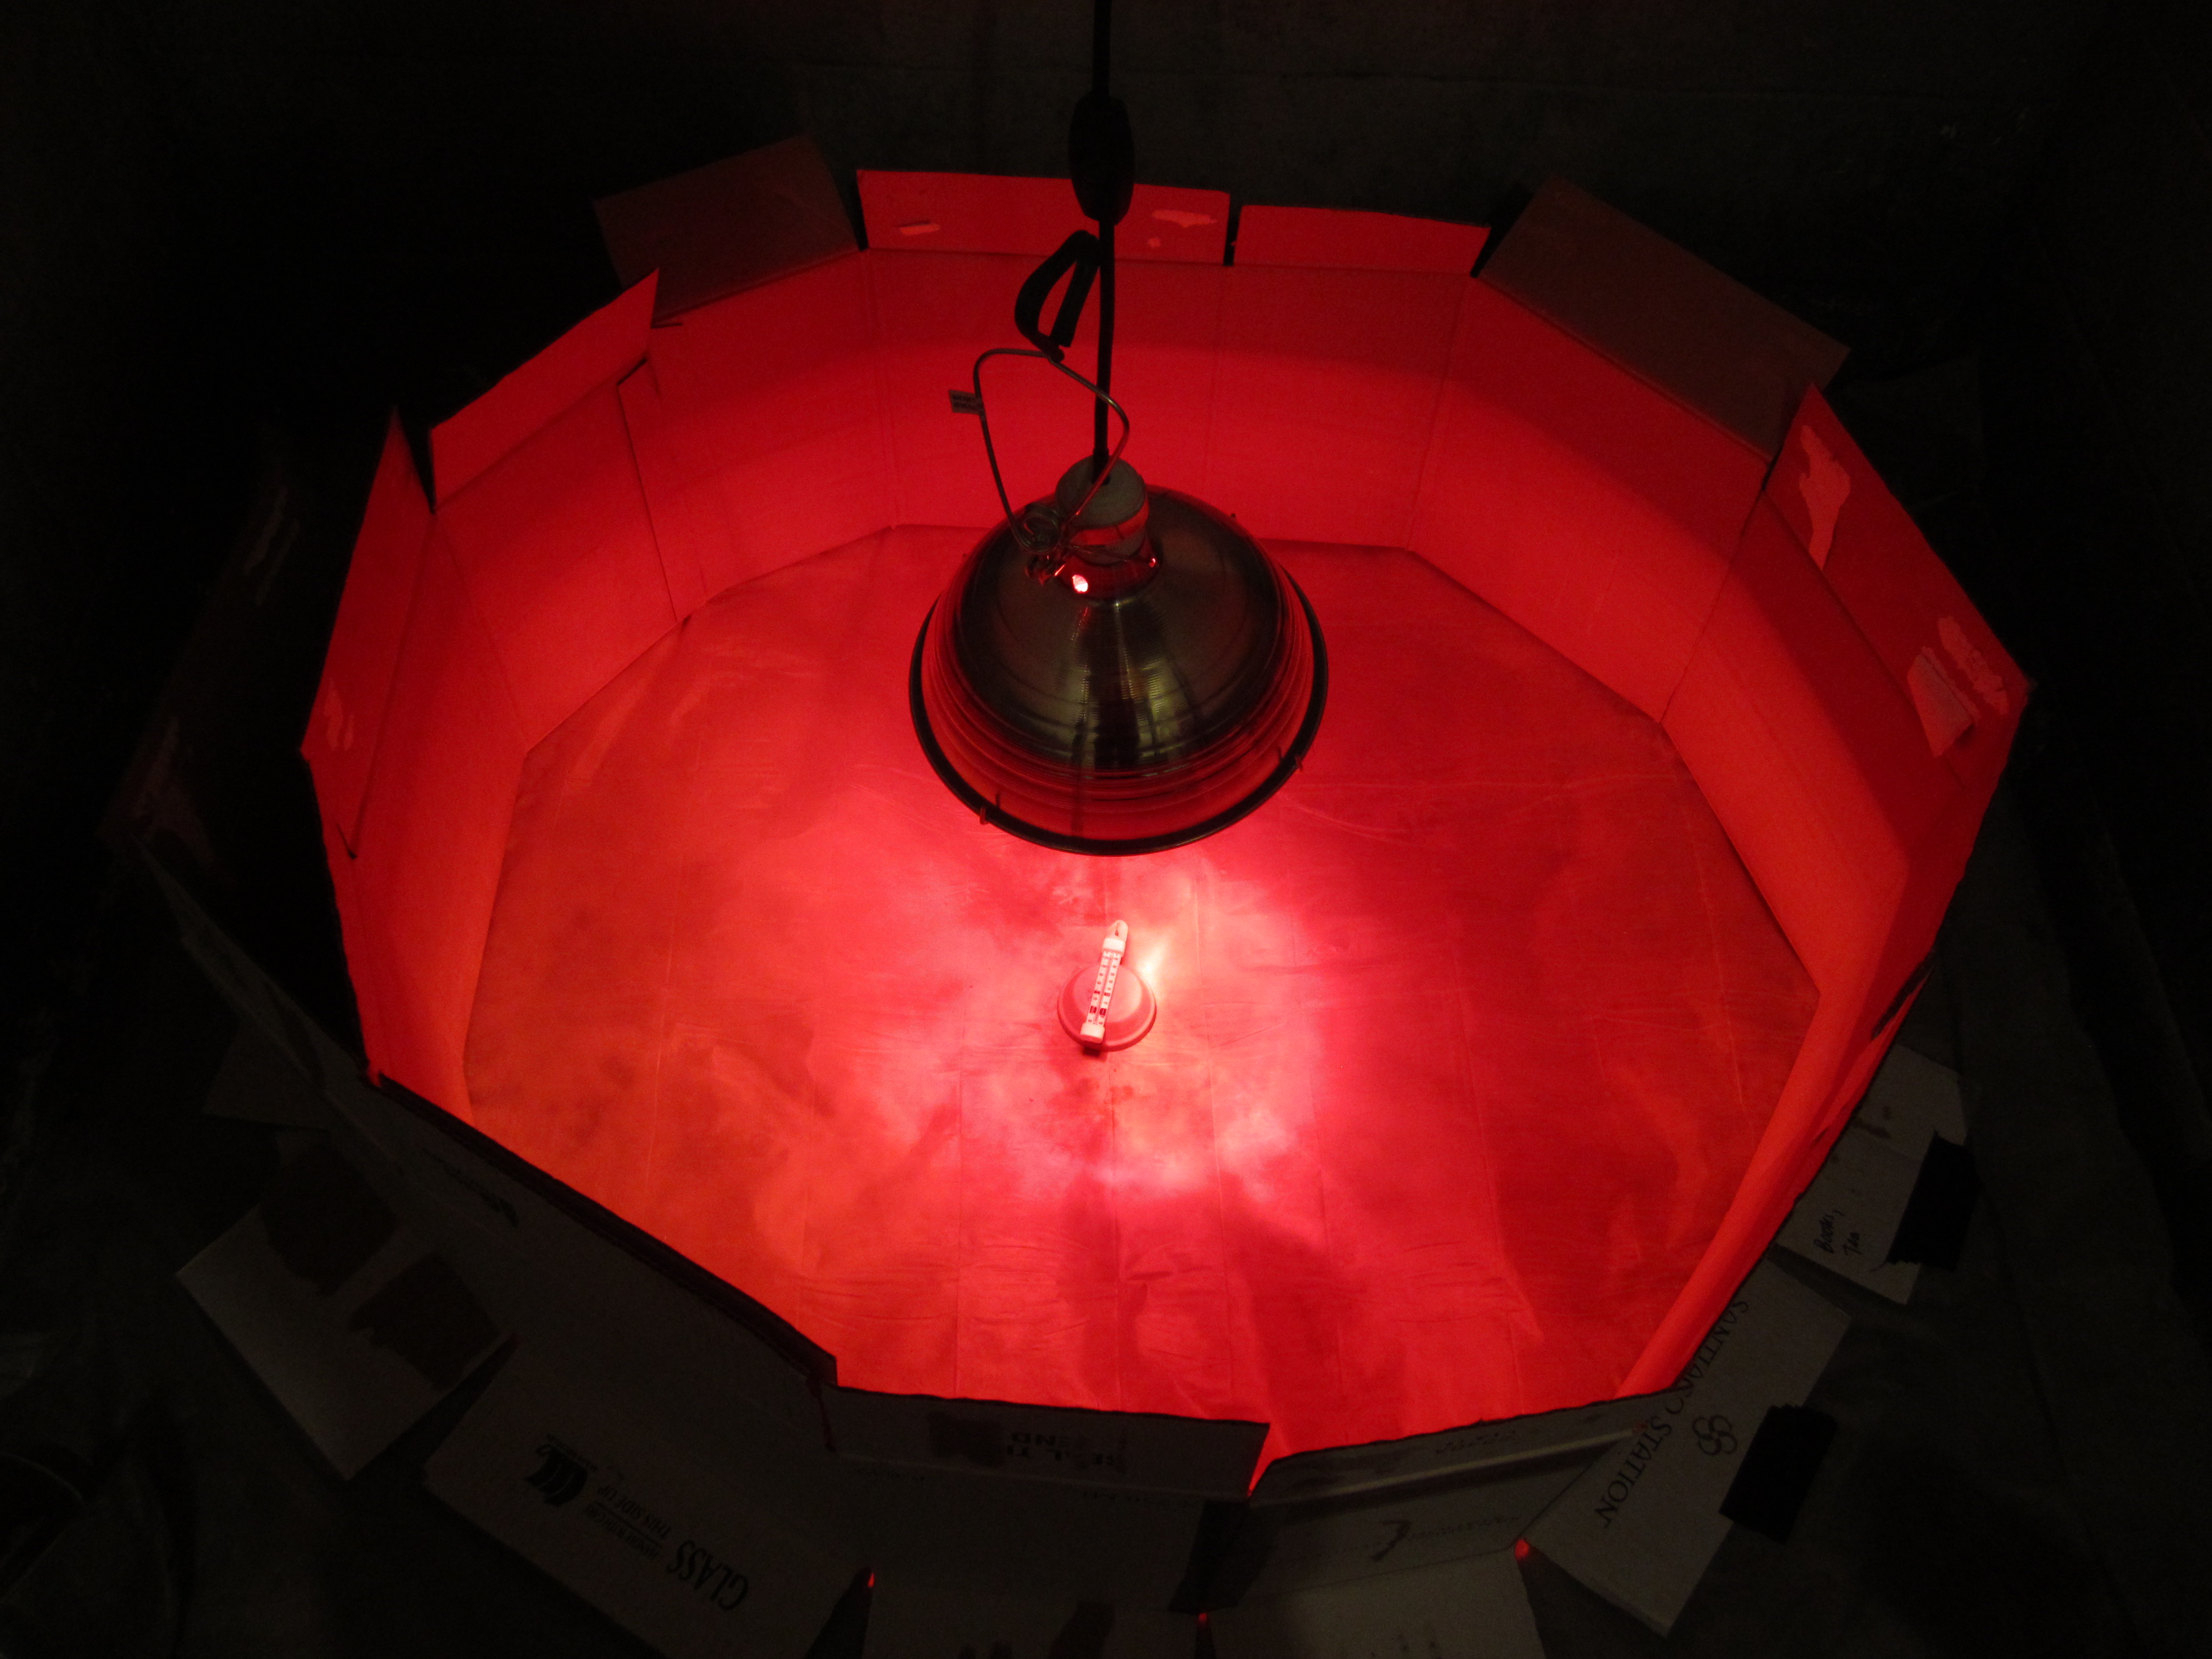
the heat lamp really gets the space nice and toasty. the thermometer reads 96 degrees! perfect for day 1!
the red lamp is a heat lamp, and will keep areas of the house 95 degrees, the ideal starting temperature for little baby chickens. each week we’ll raise the lamp so that the temperature directly below the lamp drops by 5 degrees each week. this allows for the chicks to acclimate to cooler temperatures over time. in the meantime, the light will warm them and the red tint helps them from picking at each other (which can cause open sores and lead to a sick or dead chick).
their water and food dishes will be in the house near the warm, center area and we’ll leave the regular overhead light bulb on in their space so that they thrive and feel safer.
so exciting! only 3 days to go!
.:.