KW Homestead

Pasture Raised Poultry & Edible Landscaping Plants Since 2013

Tag: basil

Farm Food Friday: Rooster, Potato, and Tomato Soup!

The great thing about this soup, is that we raised almost all of the the ingredients!

Let me start by saying that the photographs do not do it justice… And you are going to need either a huge pot or two pots!

Ingredients:

  • Bones and the partial meat of 3 teenage roosters
  • Lots of sweet potatoes
  • Lots of Irish potatoes
  • About 25 garlic cloves
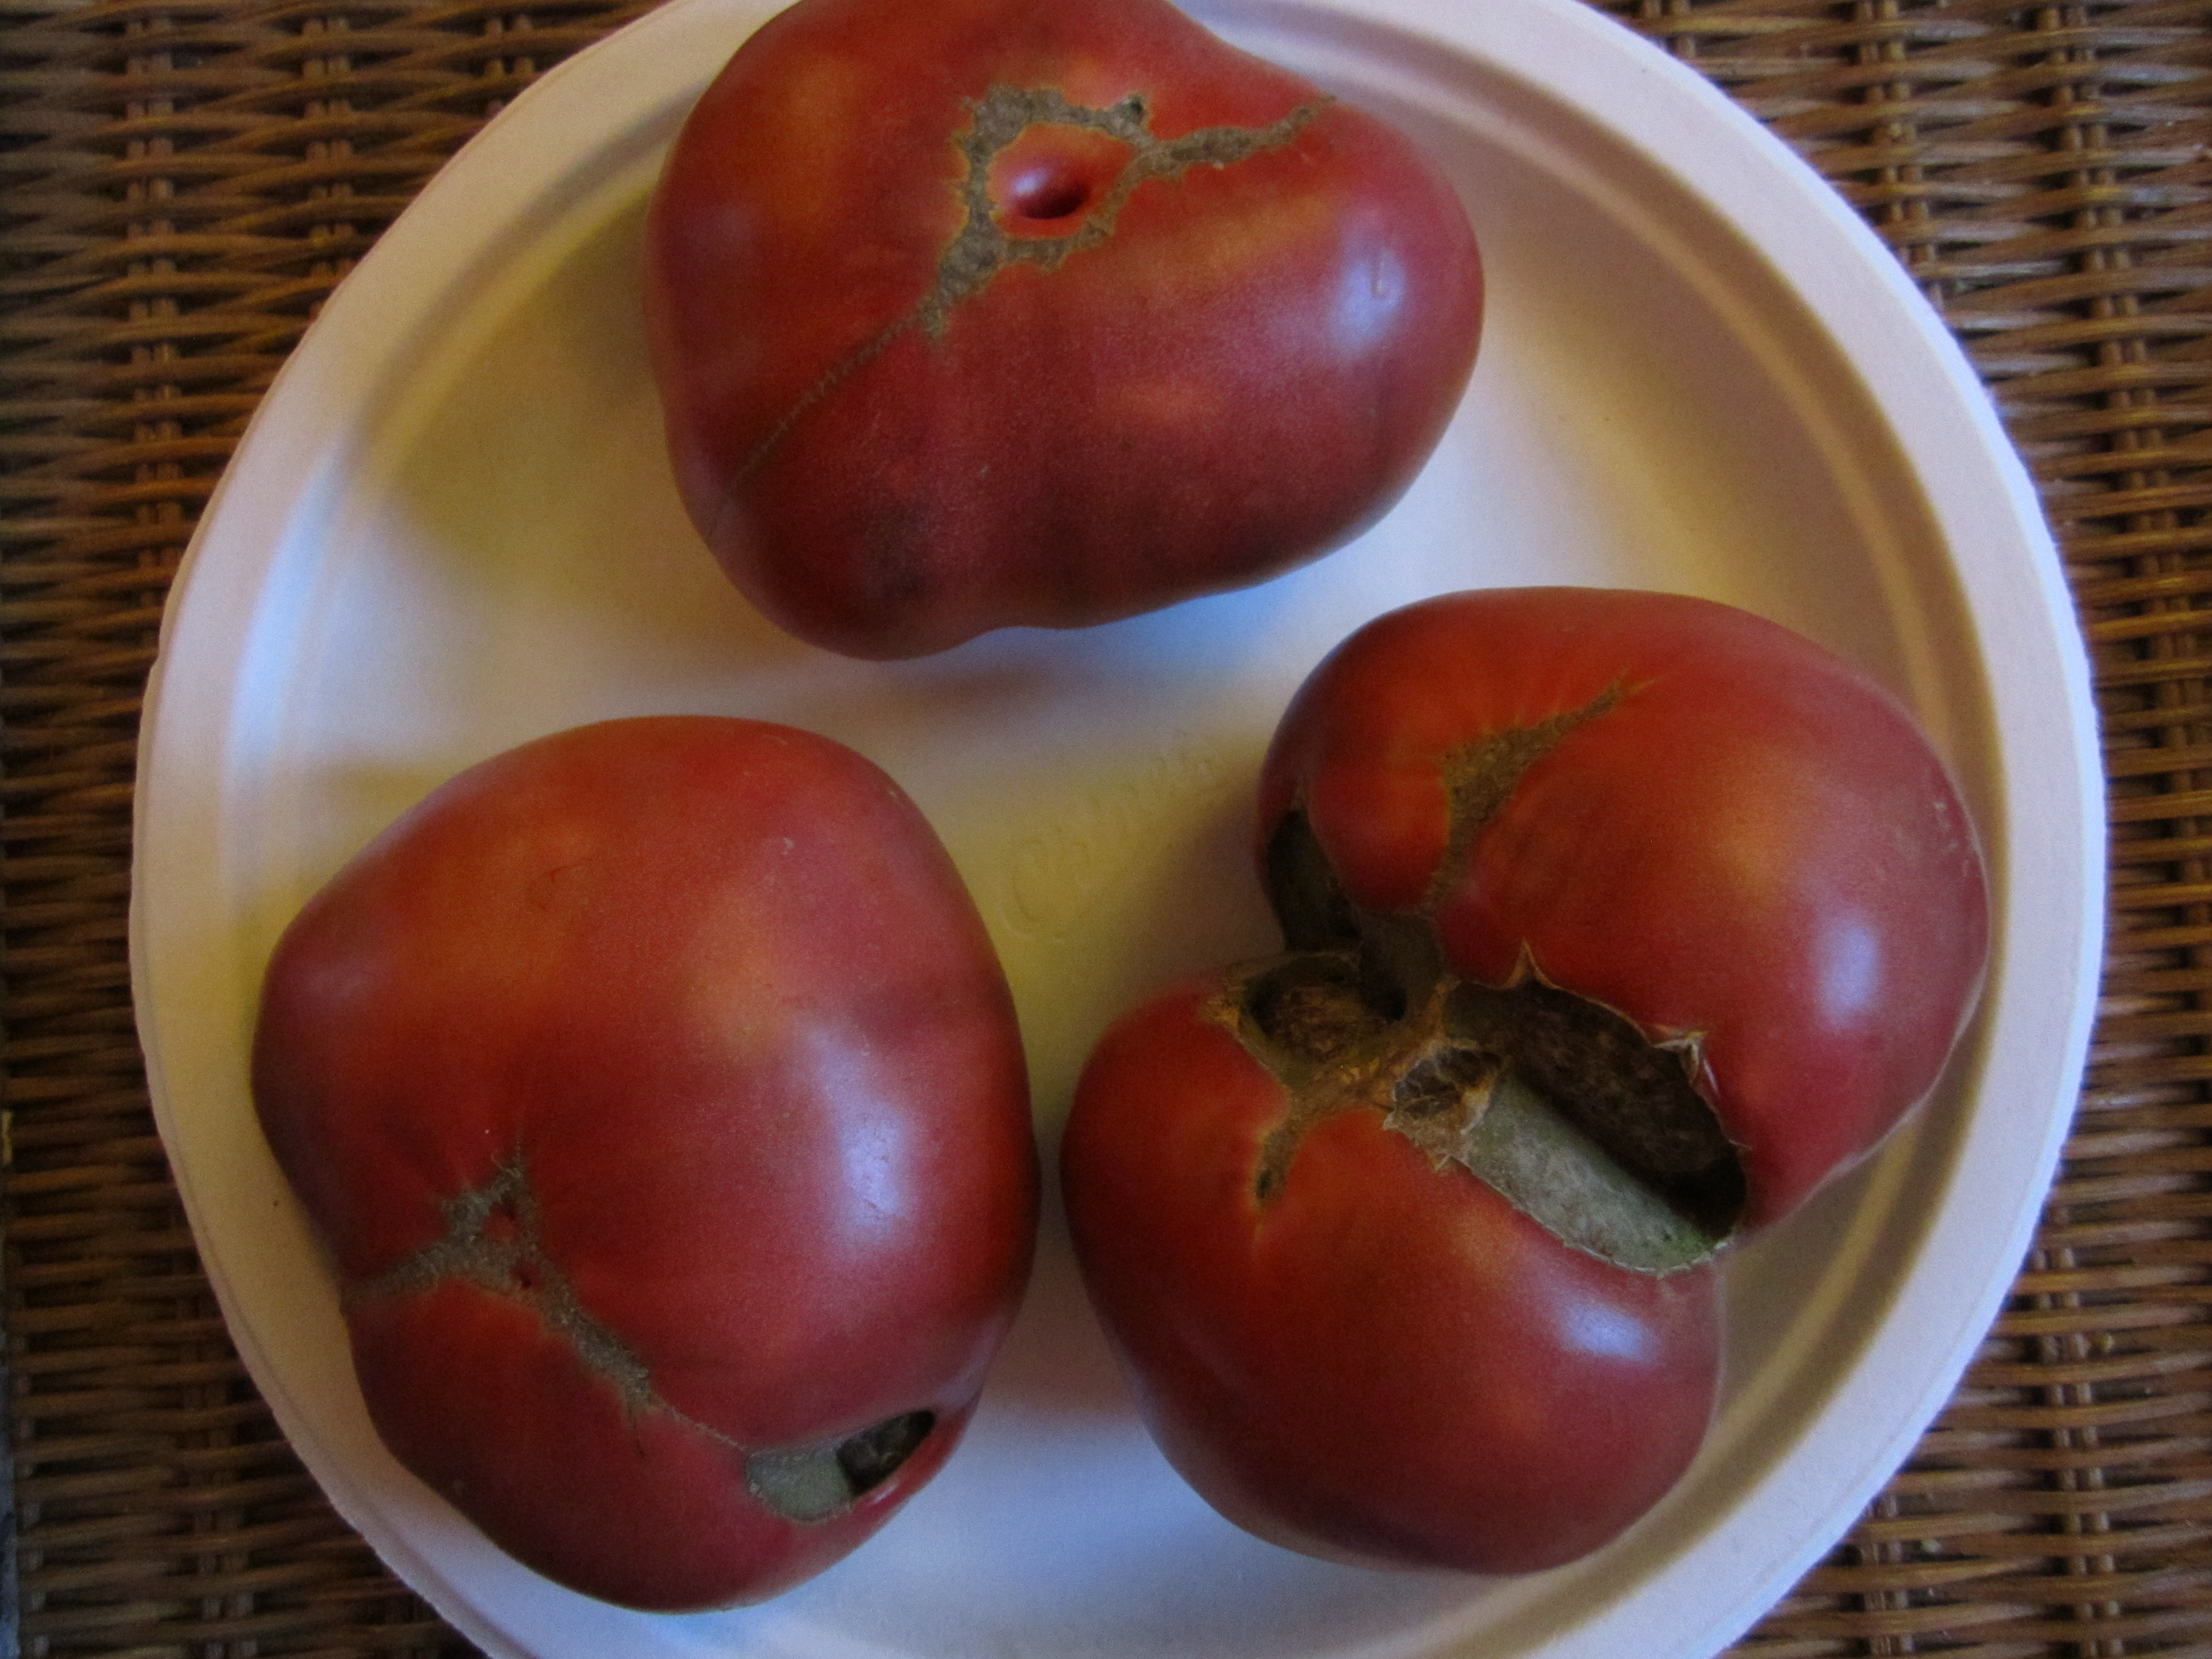
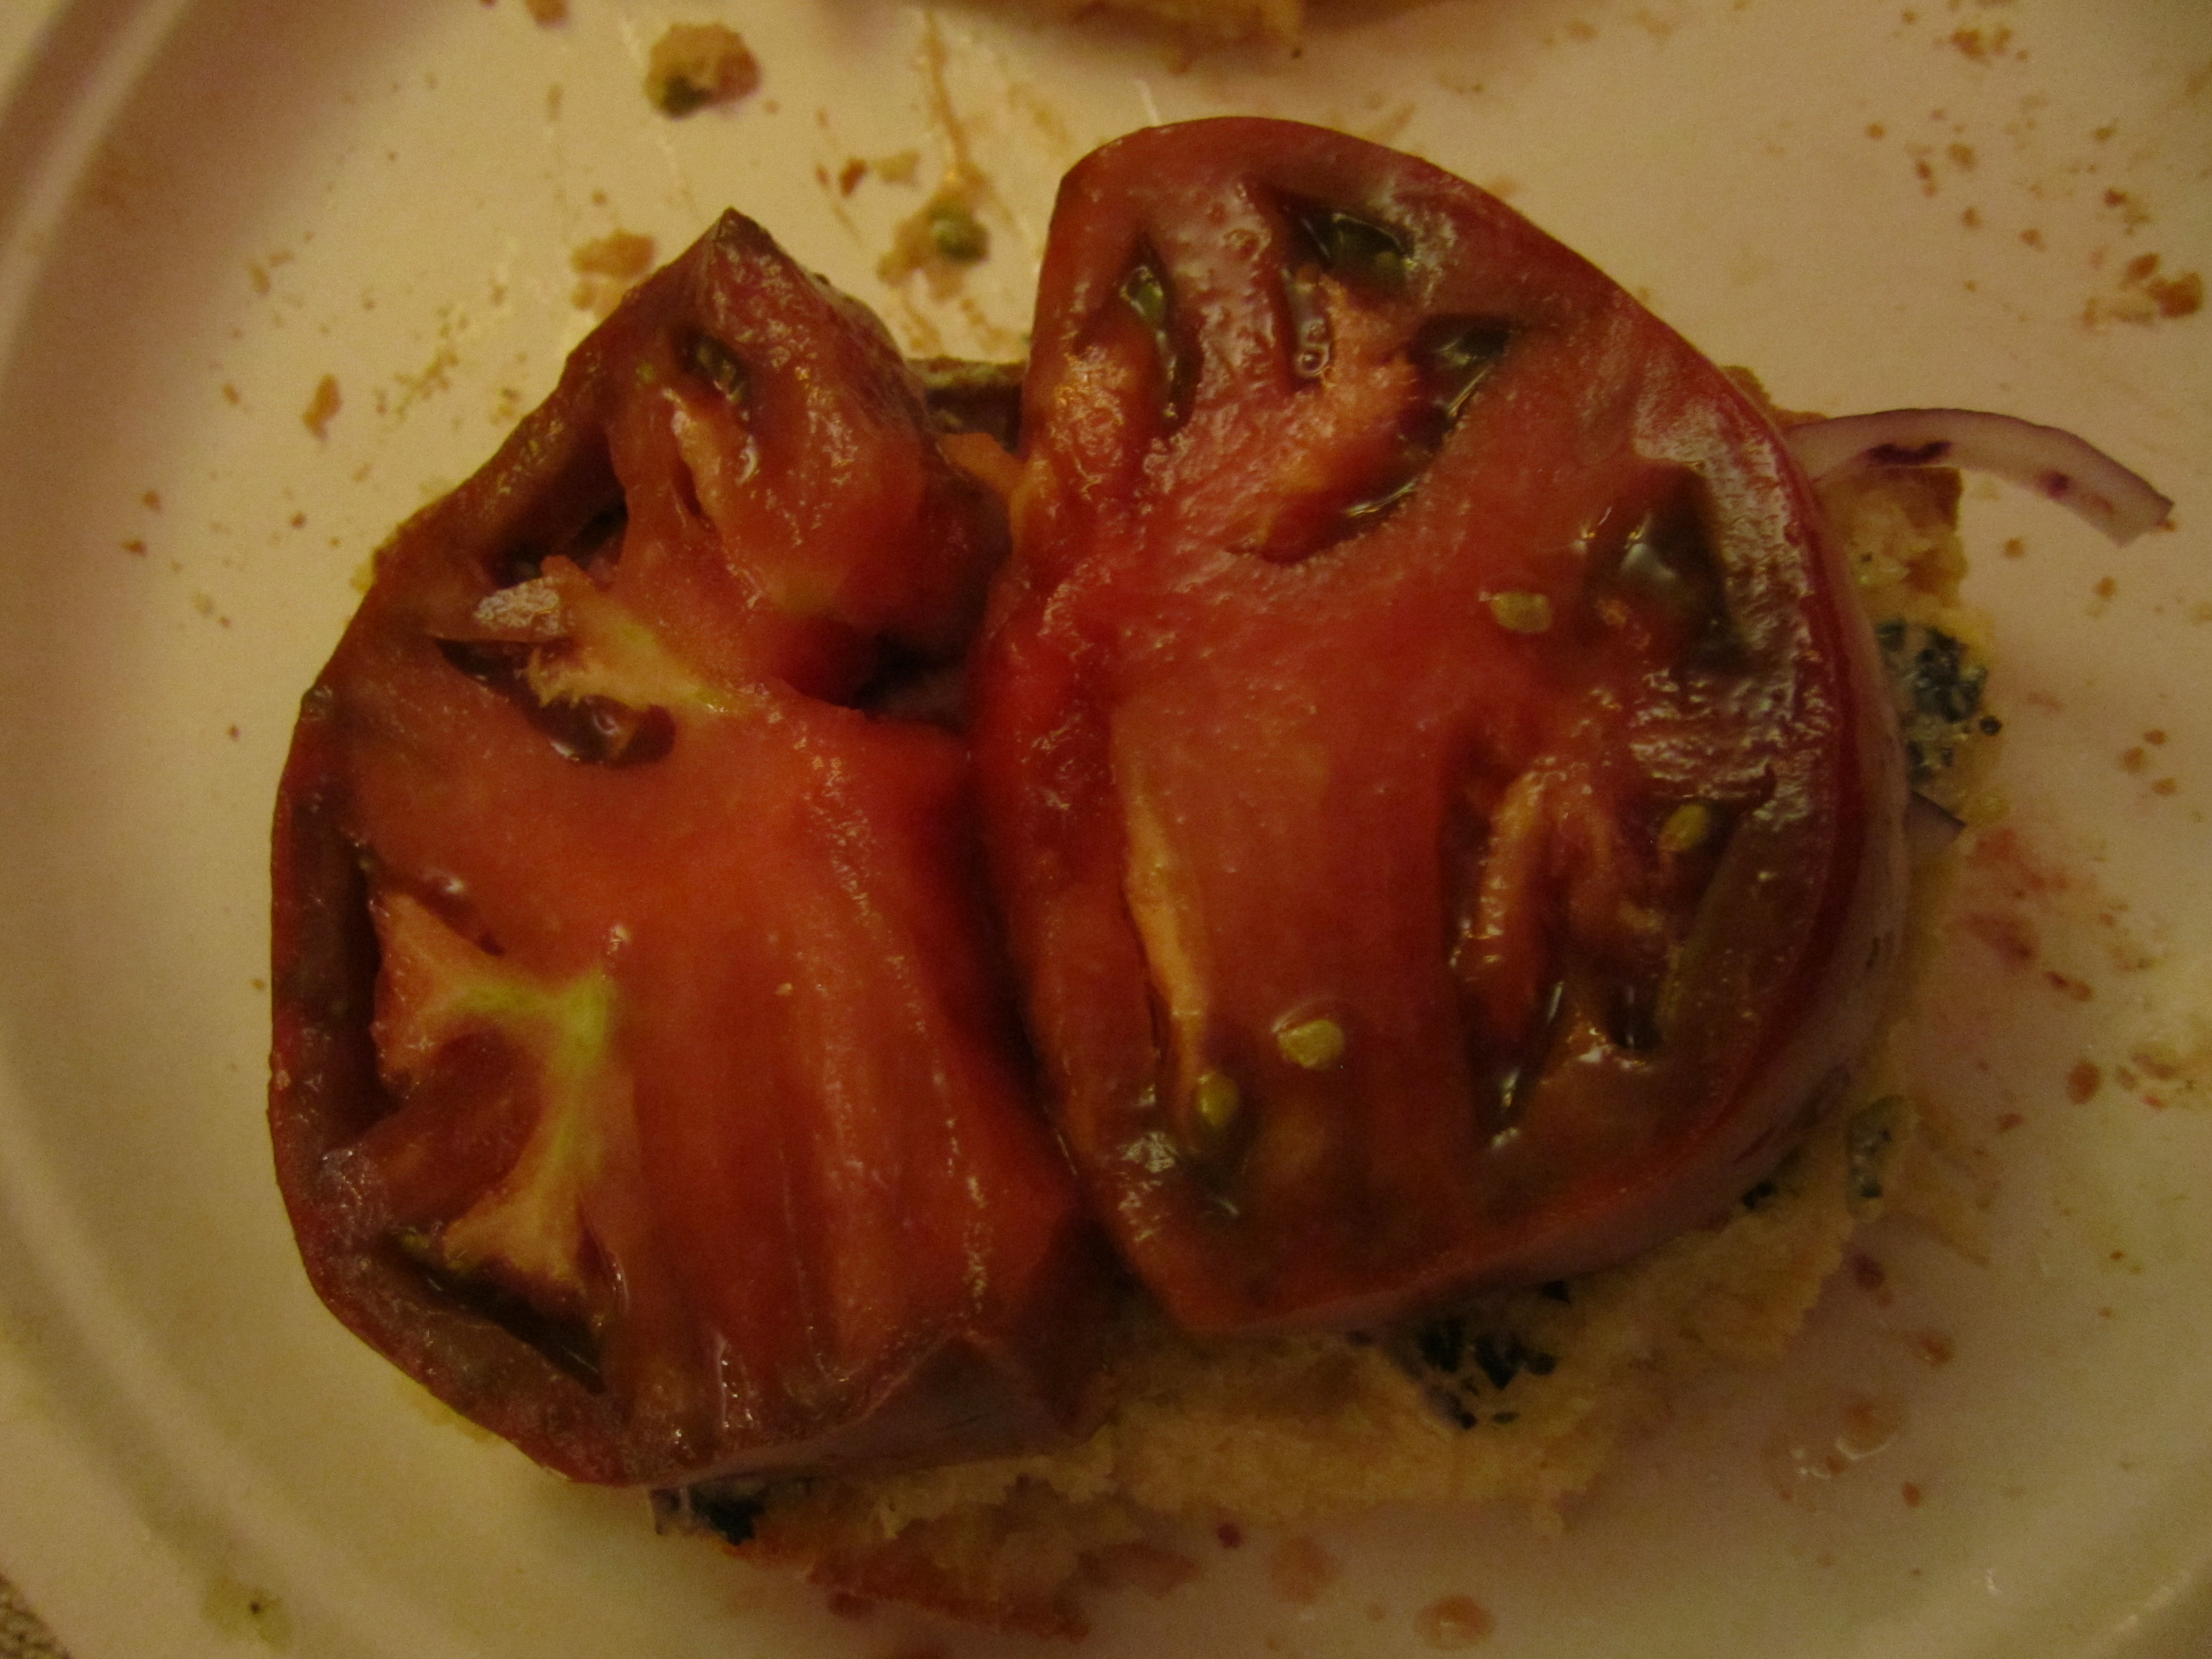
  • 2 quarts of cubed tomatoes
  • 2 Large onions
  • Celery
  • 1 pint of corn
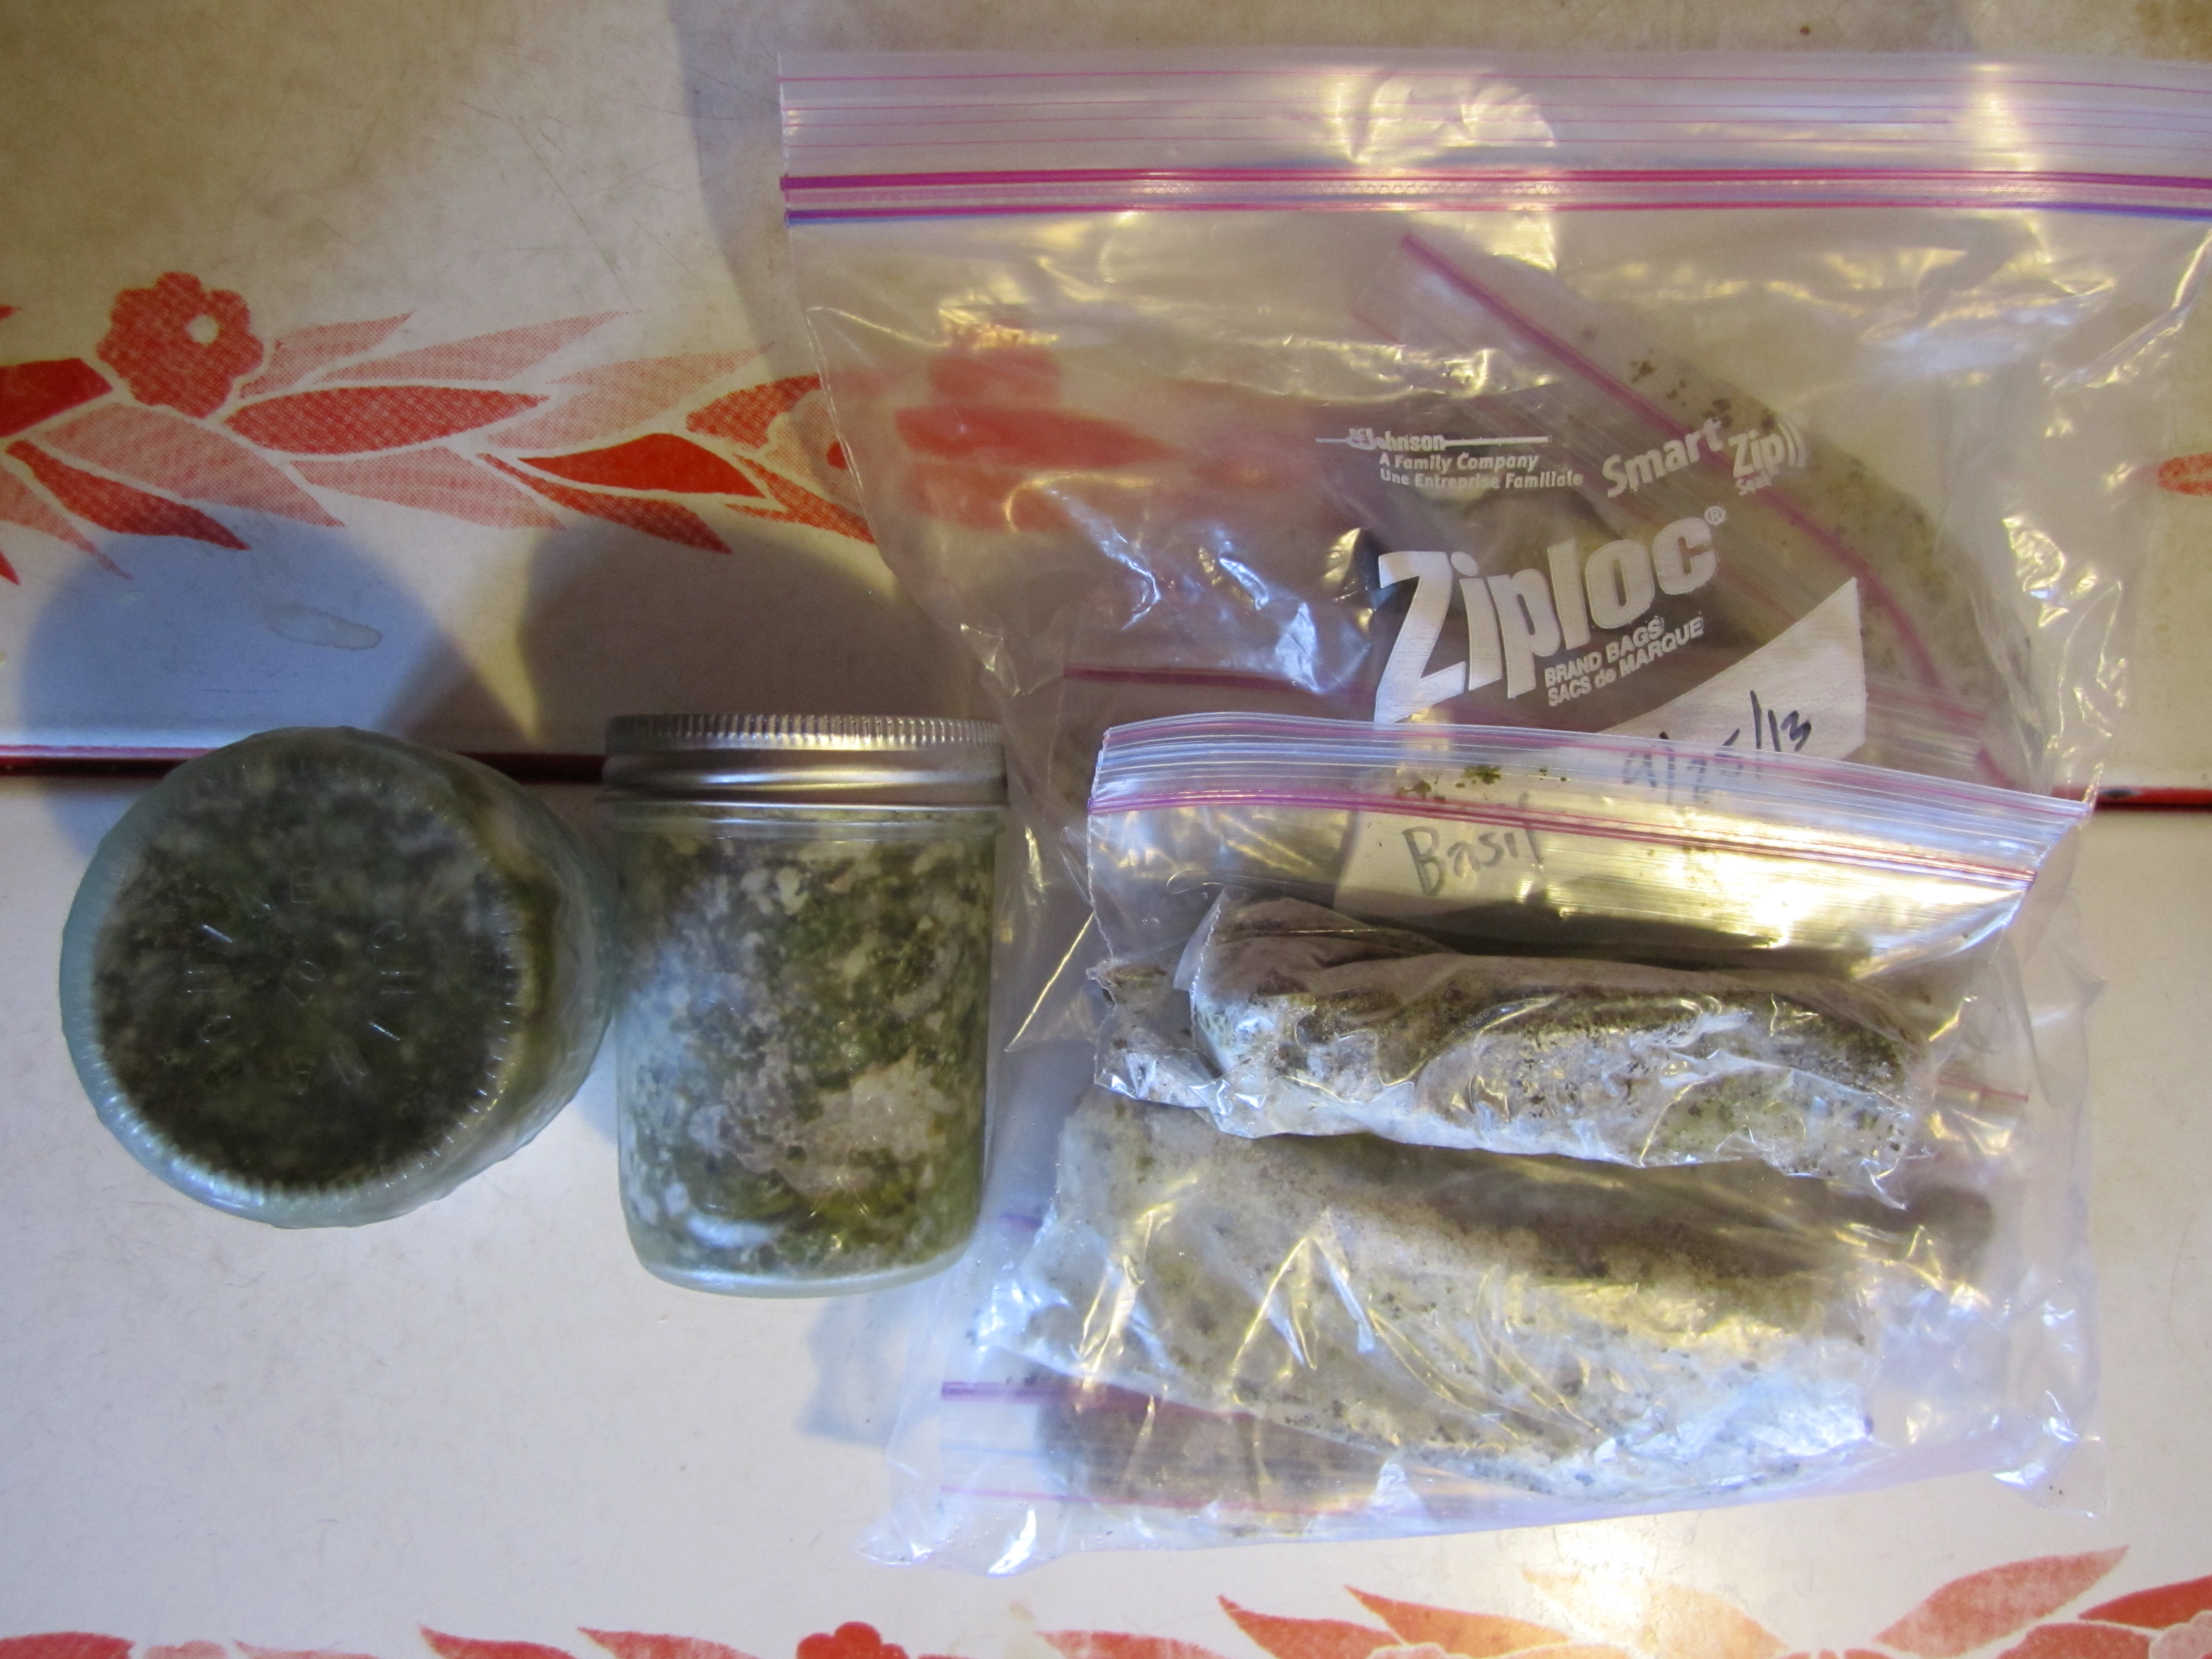
  • Basil, parsley, oregano, garlic powder, jalapeños

Directions:

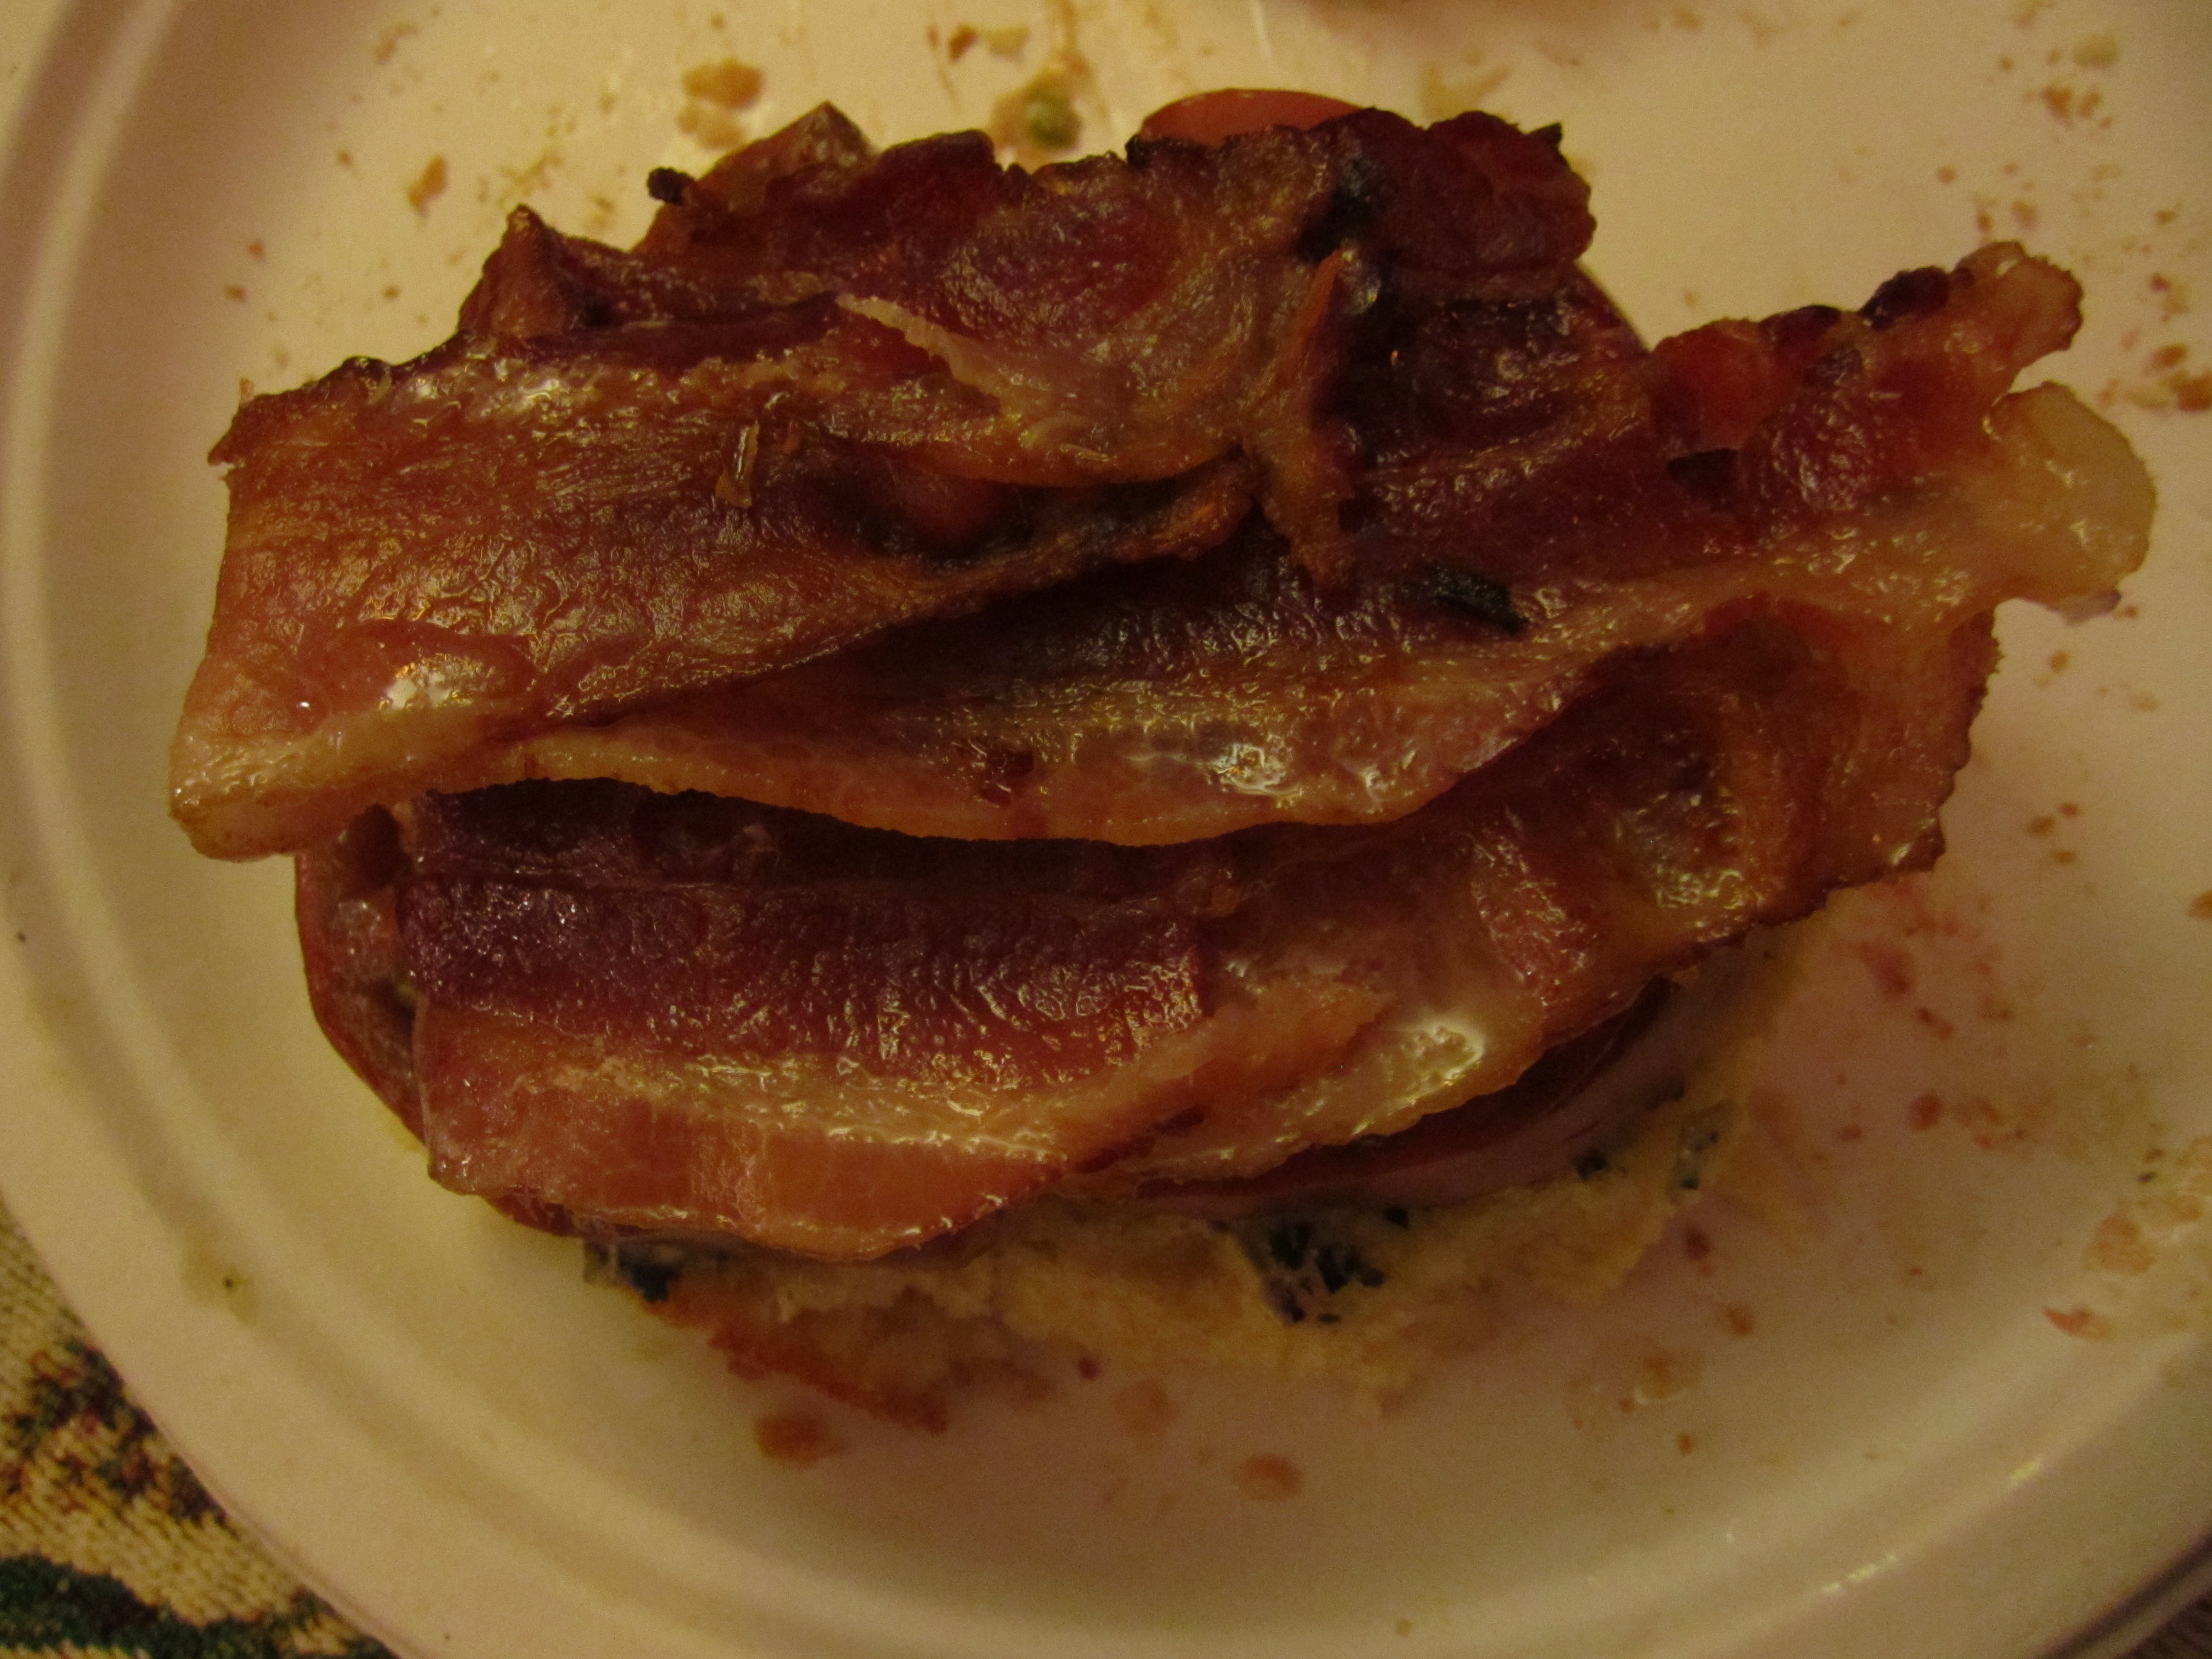
The first thing we did was butcher our roosters, and since that would take forever to explain, we’ll save that story for another time. We roasted and ate some of the roosters and left part of the meat on the bones for our soup.

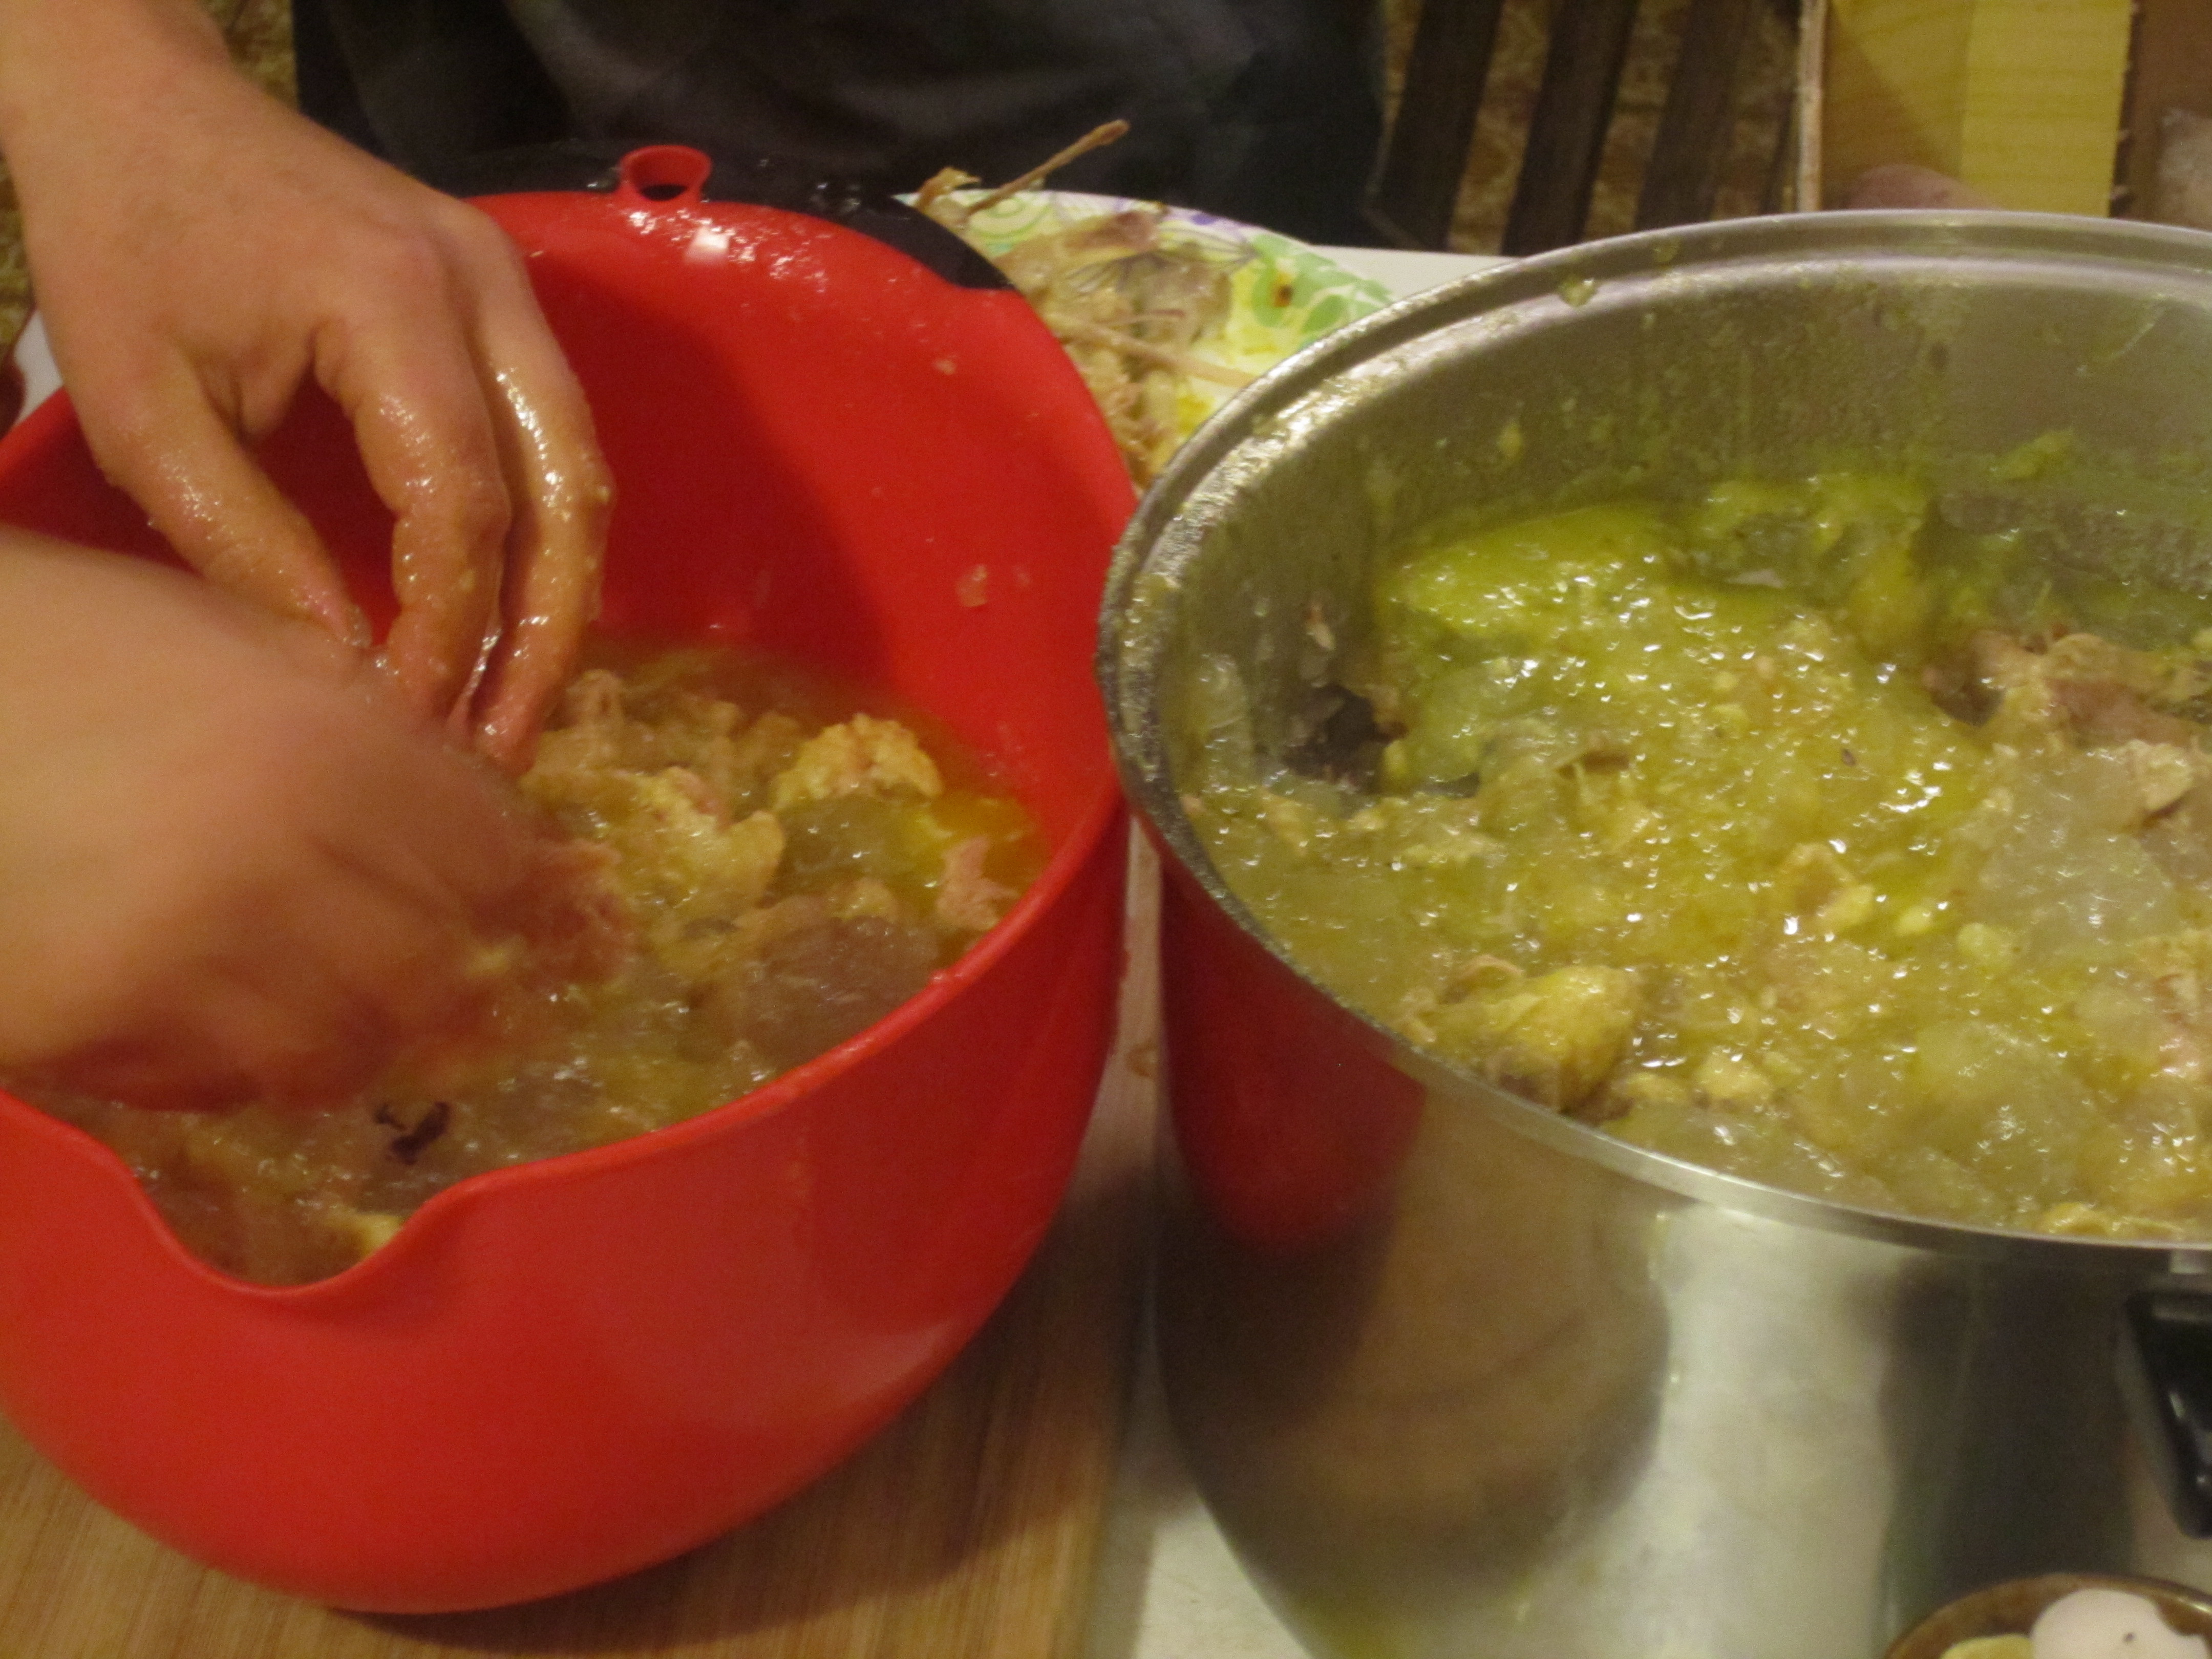
We cooked the roosters in a large pot with water and a little salt to make the broth. We included all of the bones, even the feet (which had already been peeled). The next day is when we had planned to start the soup, and when we removed the pot from the fridge to de-bone the meat, we found that the entire concoction was gelatinous! Talk about good, healthy, fat! Even though these roosters were not fully matured and they are not a breed that is bred just for their meat, they had so much delicious fat on them!

soup

Yummy, fatty, chicken!
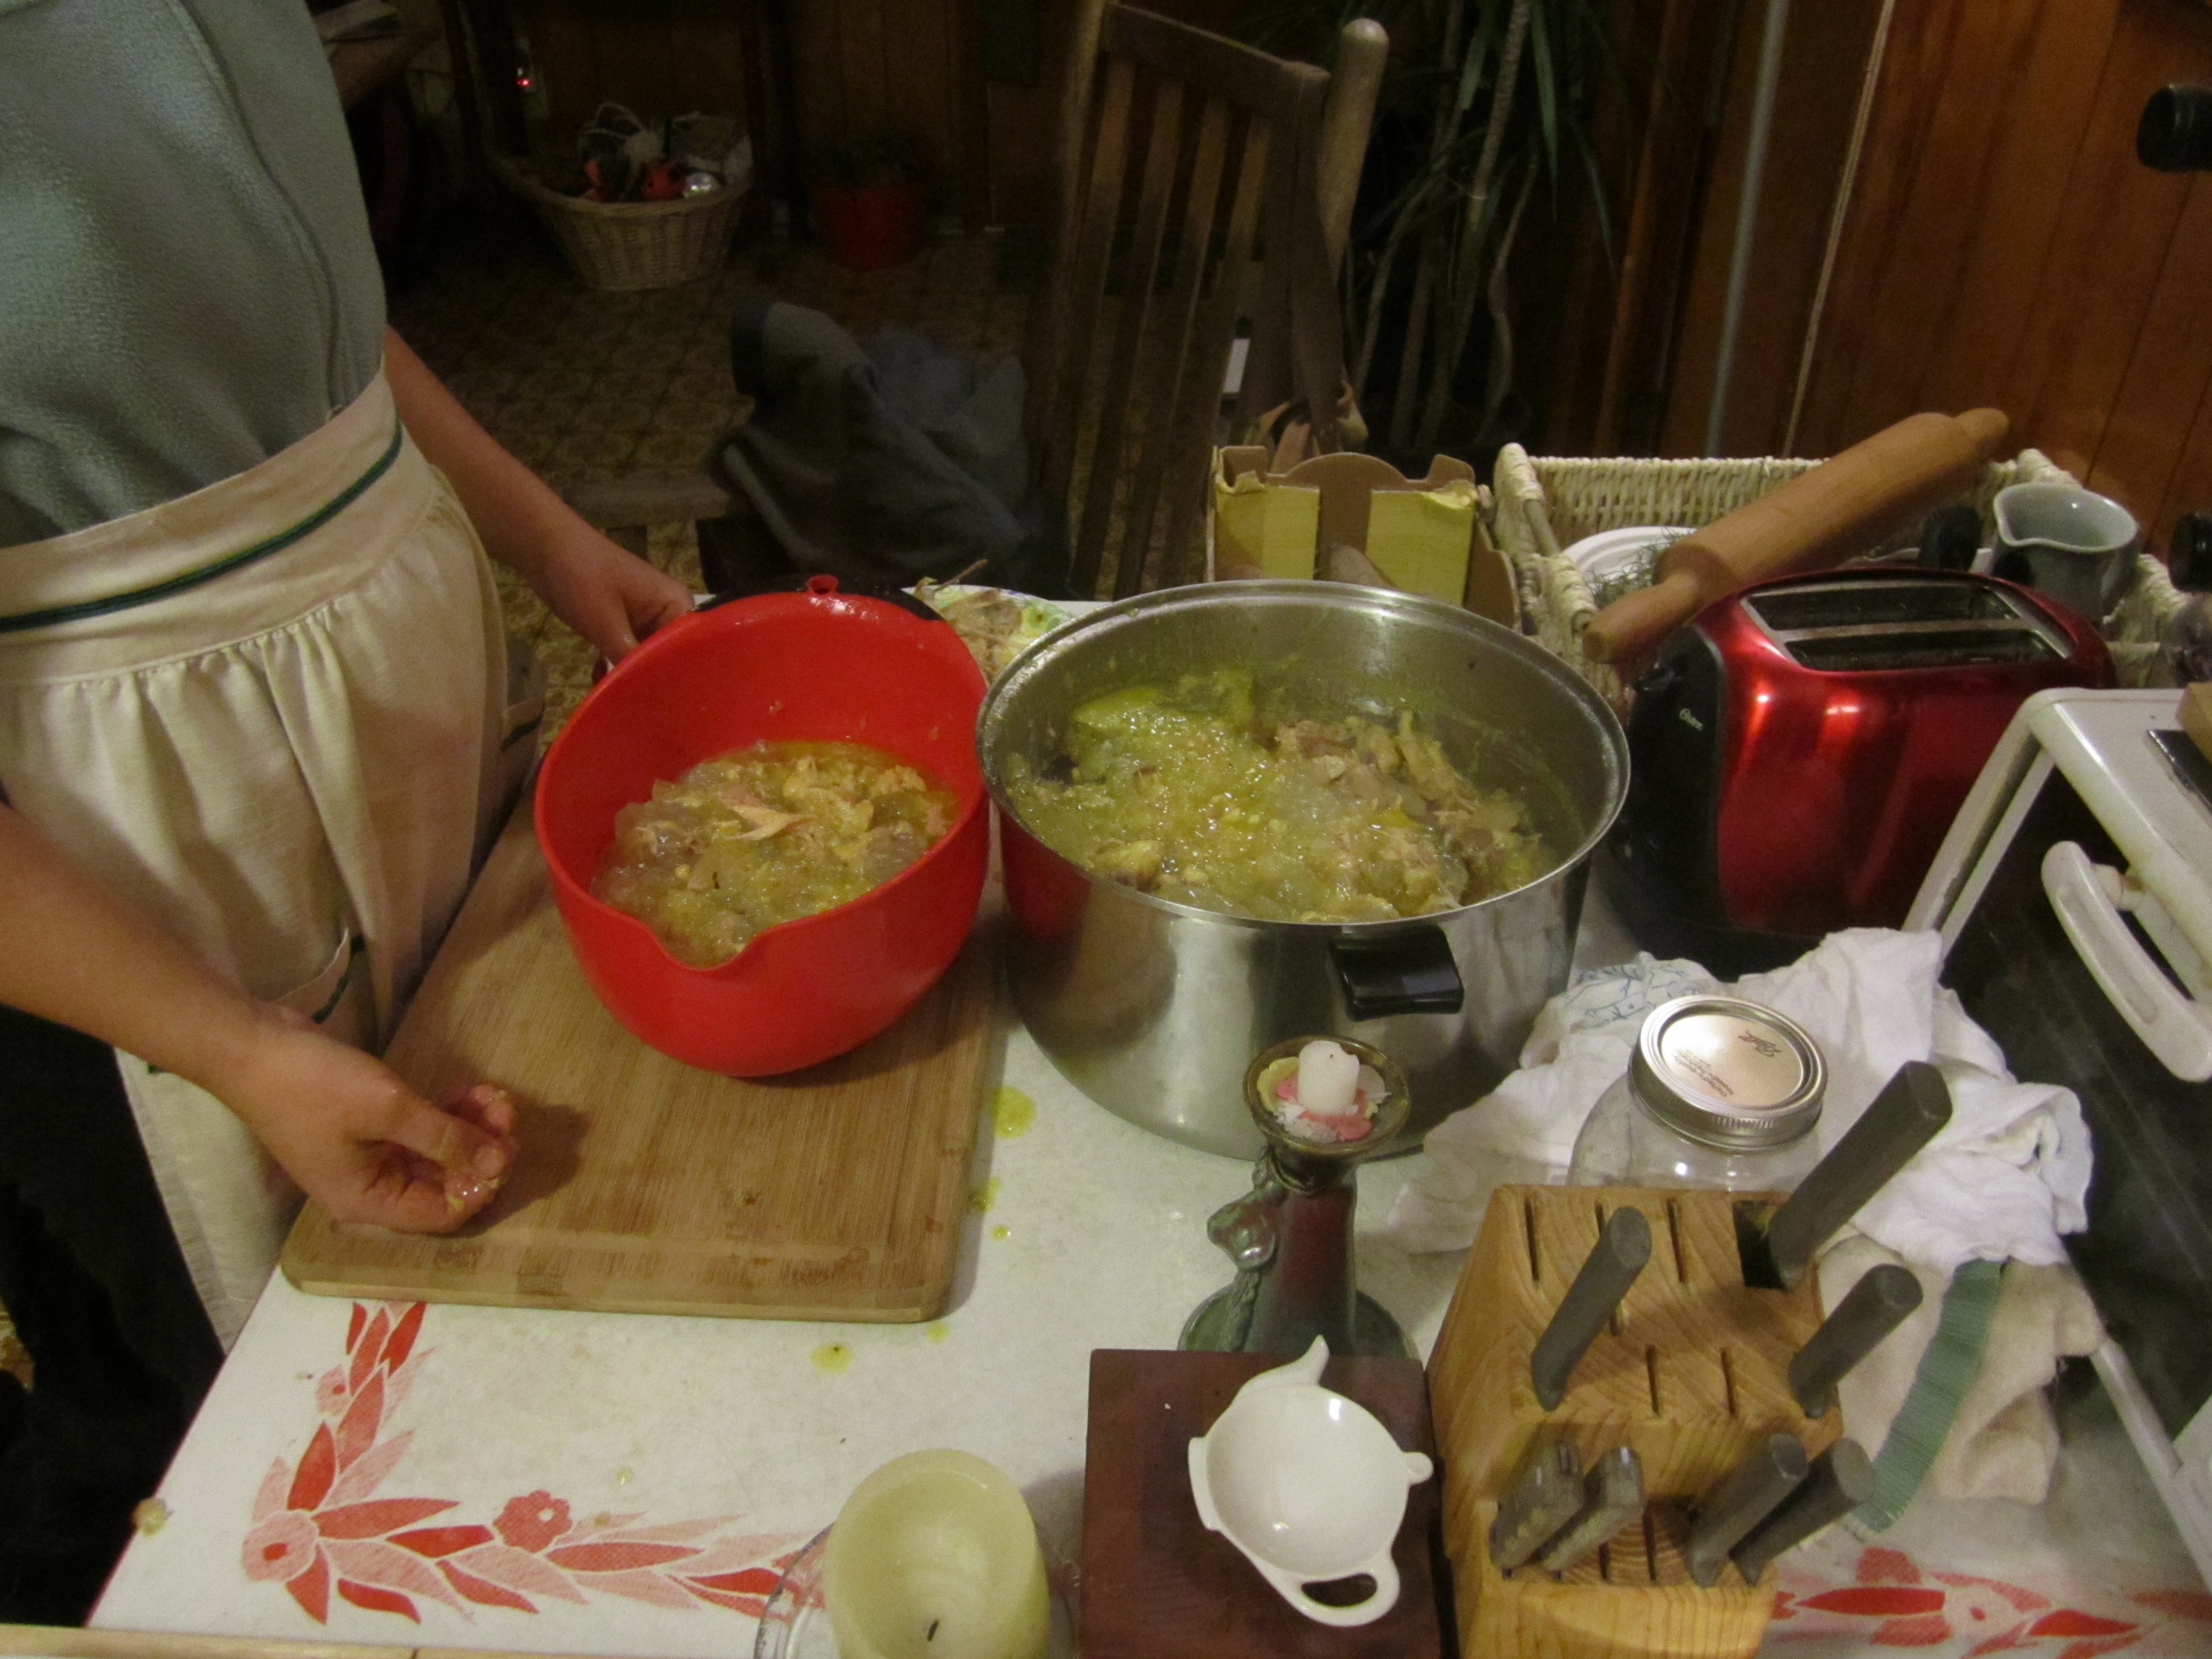
 

broth

Best broth ever!

I de-boned the meat and placed the bones in the crockpot so we could cook these down further and make bone broth.

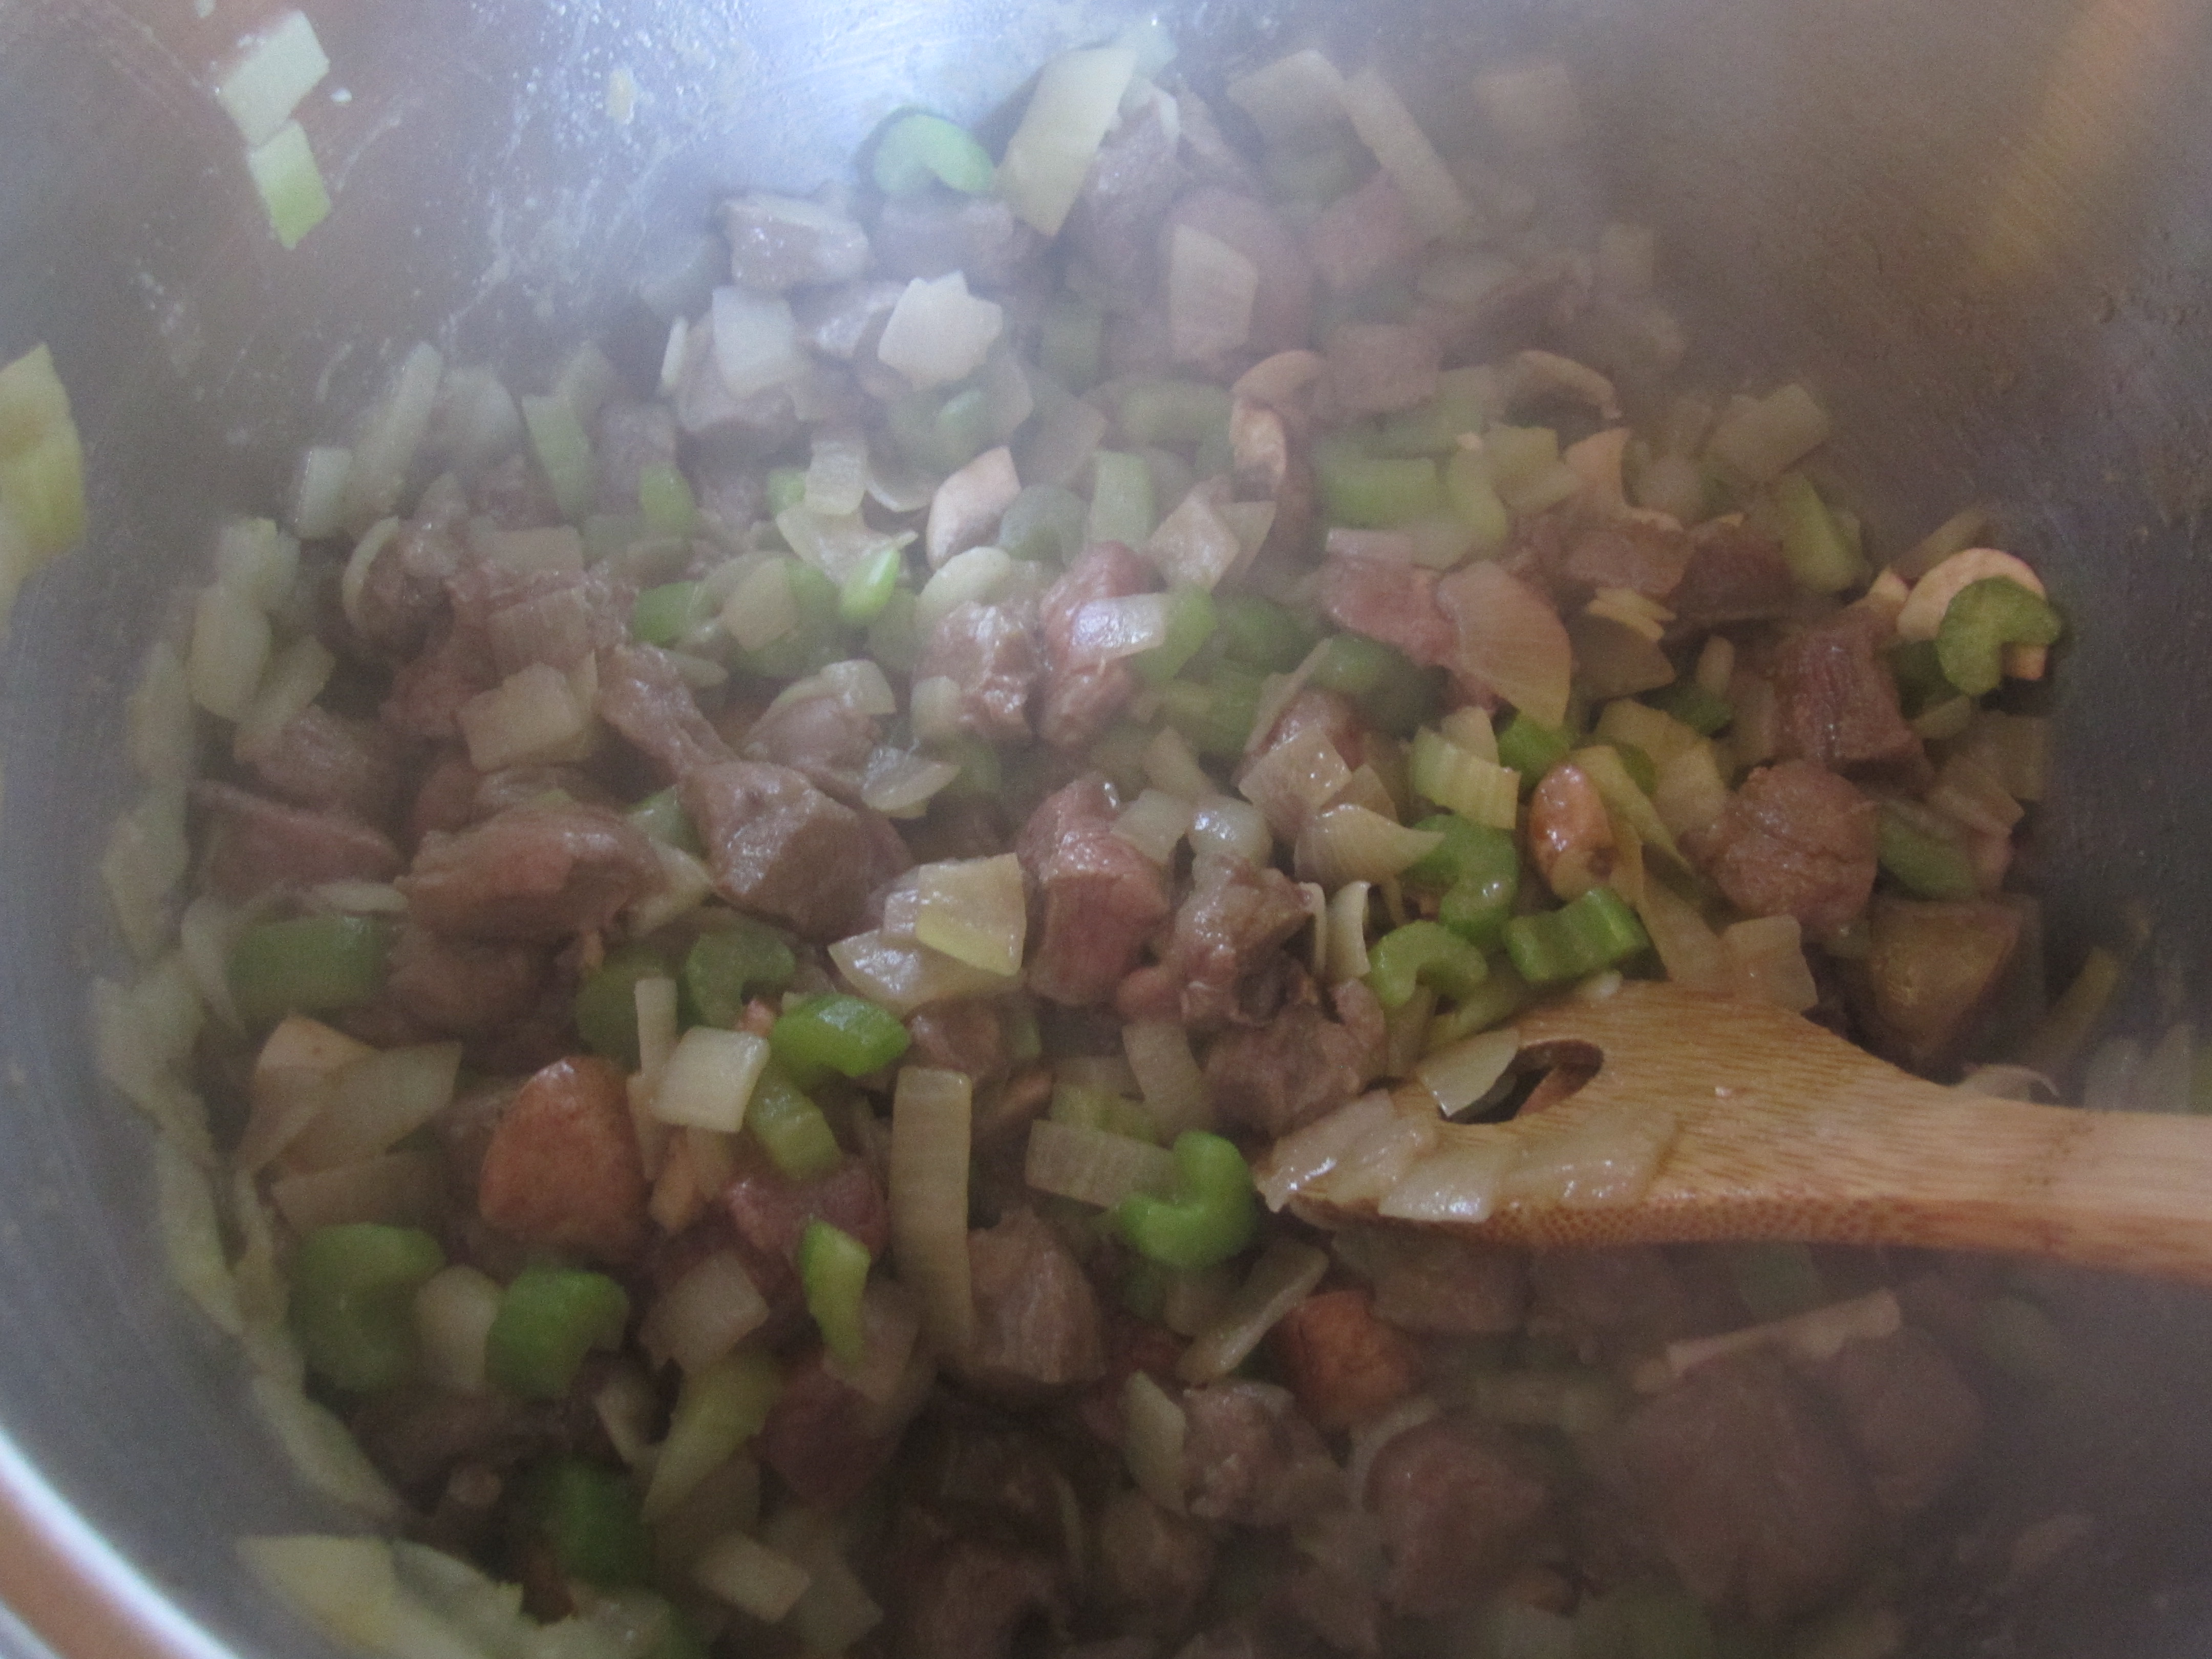
Then we sauteed diced onions, the garlic cloves, and celery in some of the fat. The onions and the garlics were from my dad’s garden!

The rest of the fat/meat/broth jelly was added to the pot and it started to melt and become true broth again. We added some of our diced and frozen basil, parsley, and jalapeño from the garden and let this melt and mix together.

Next in was  the corn.

potatoes

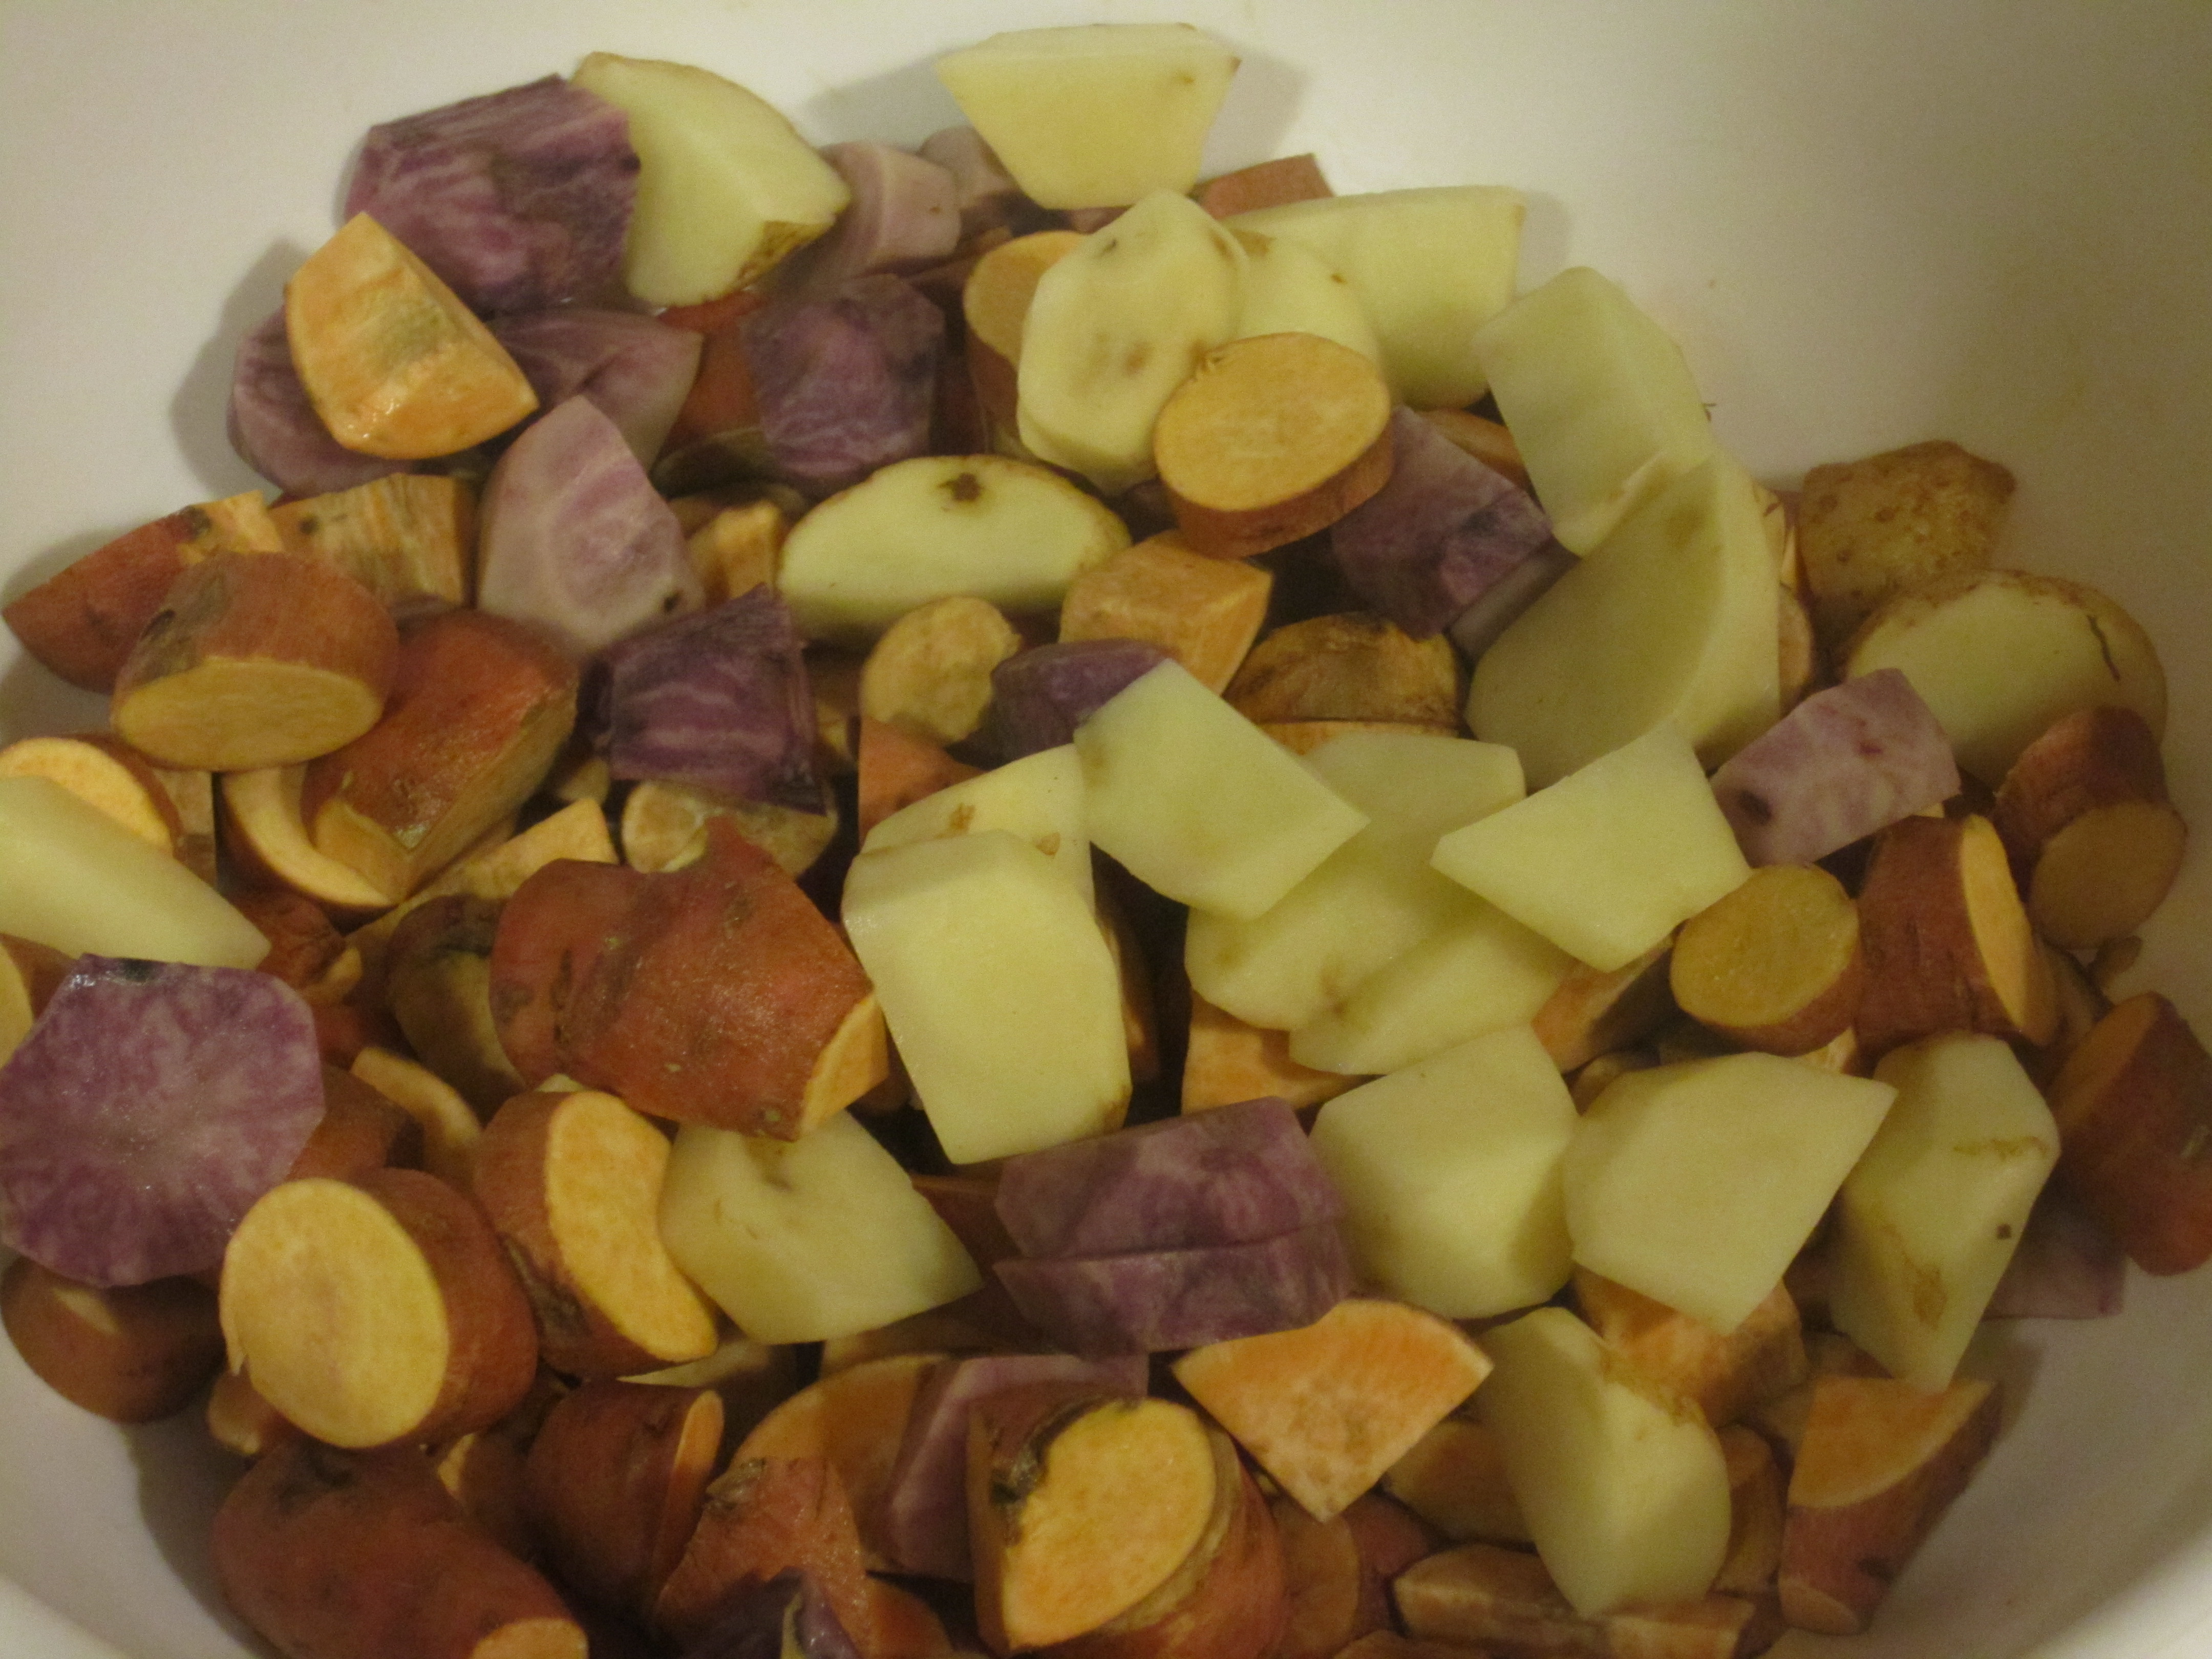
A lovely potato medley!

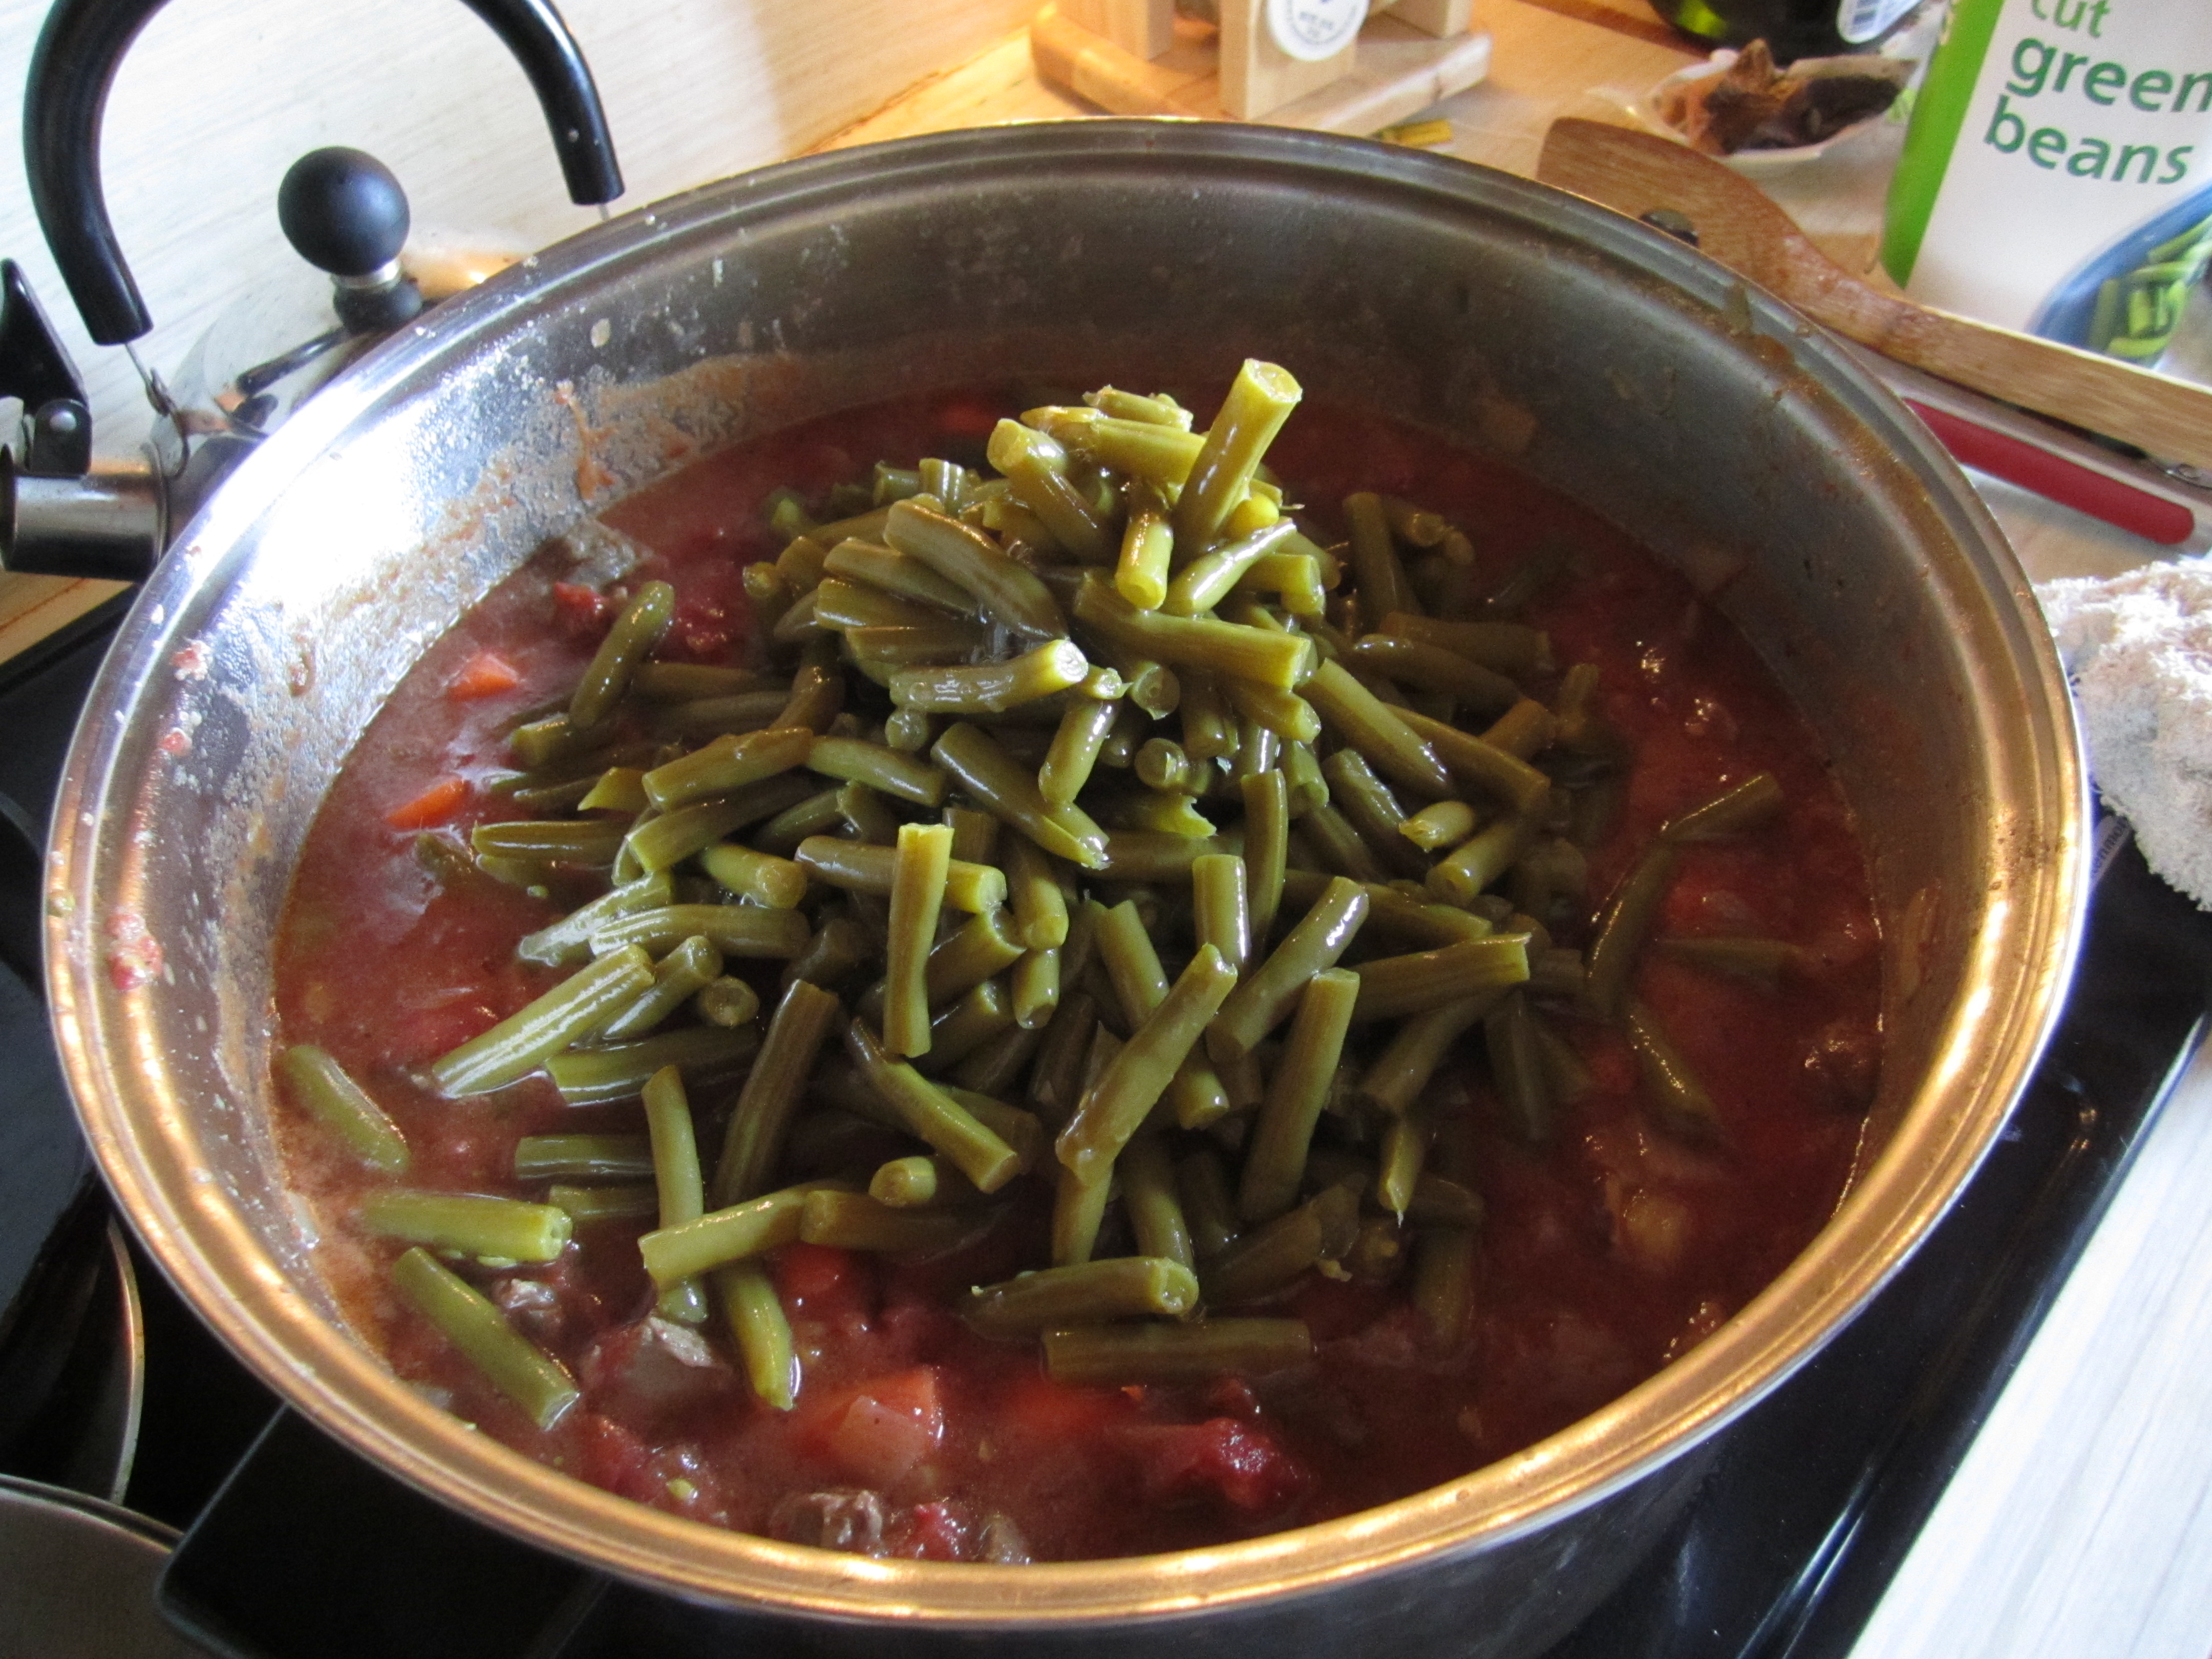
Then we added the potatoes (all from our garden) and once the soup was up to temperature again, we added the tomatoes. The tomato mix we used was a frozen bunch of cubed Cherokee Purples, San Marzanos, and Black Plums.

Then we added more basil, some oregano,salt, and garlic powder and continued to let it cook until the potatoes proved to be done!

soup

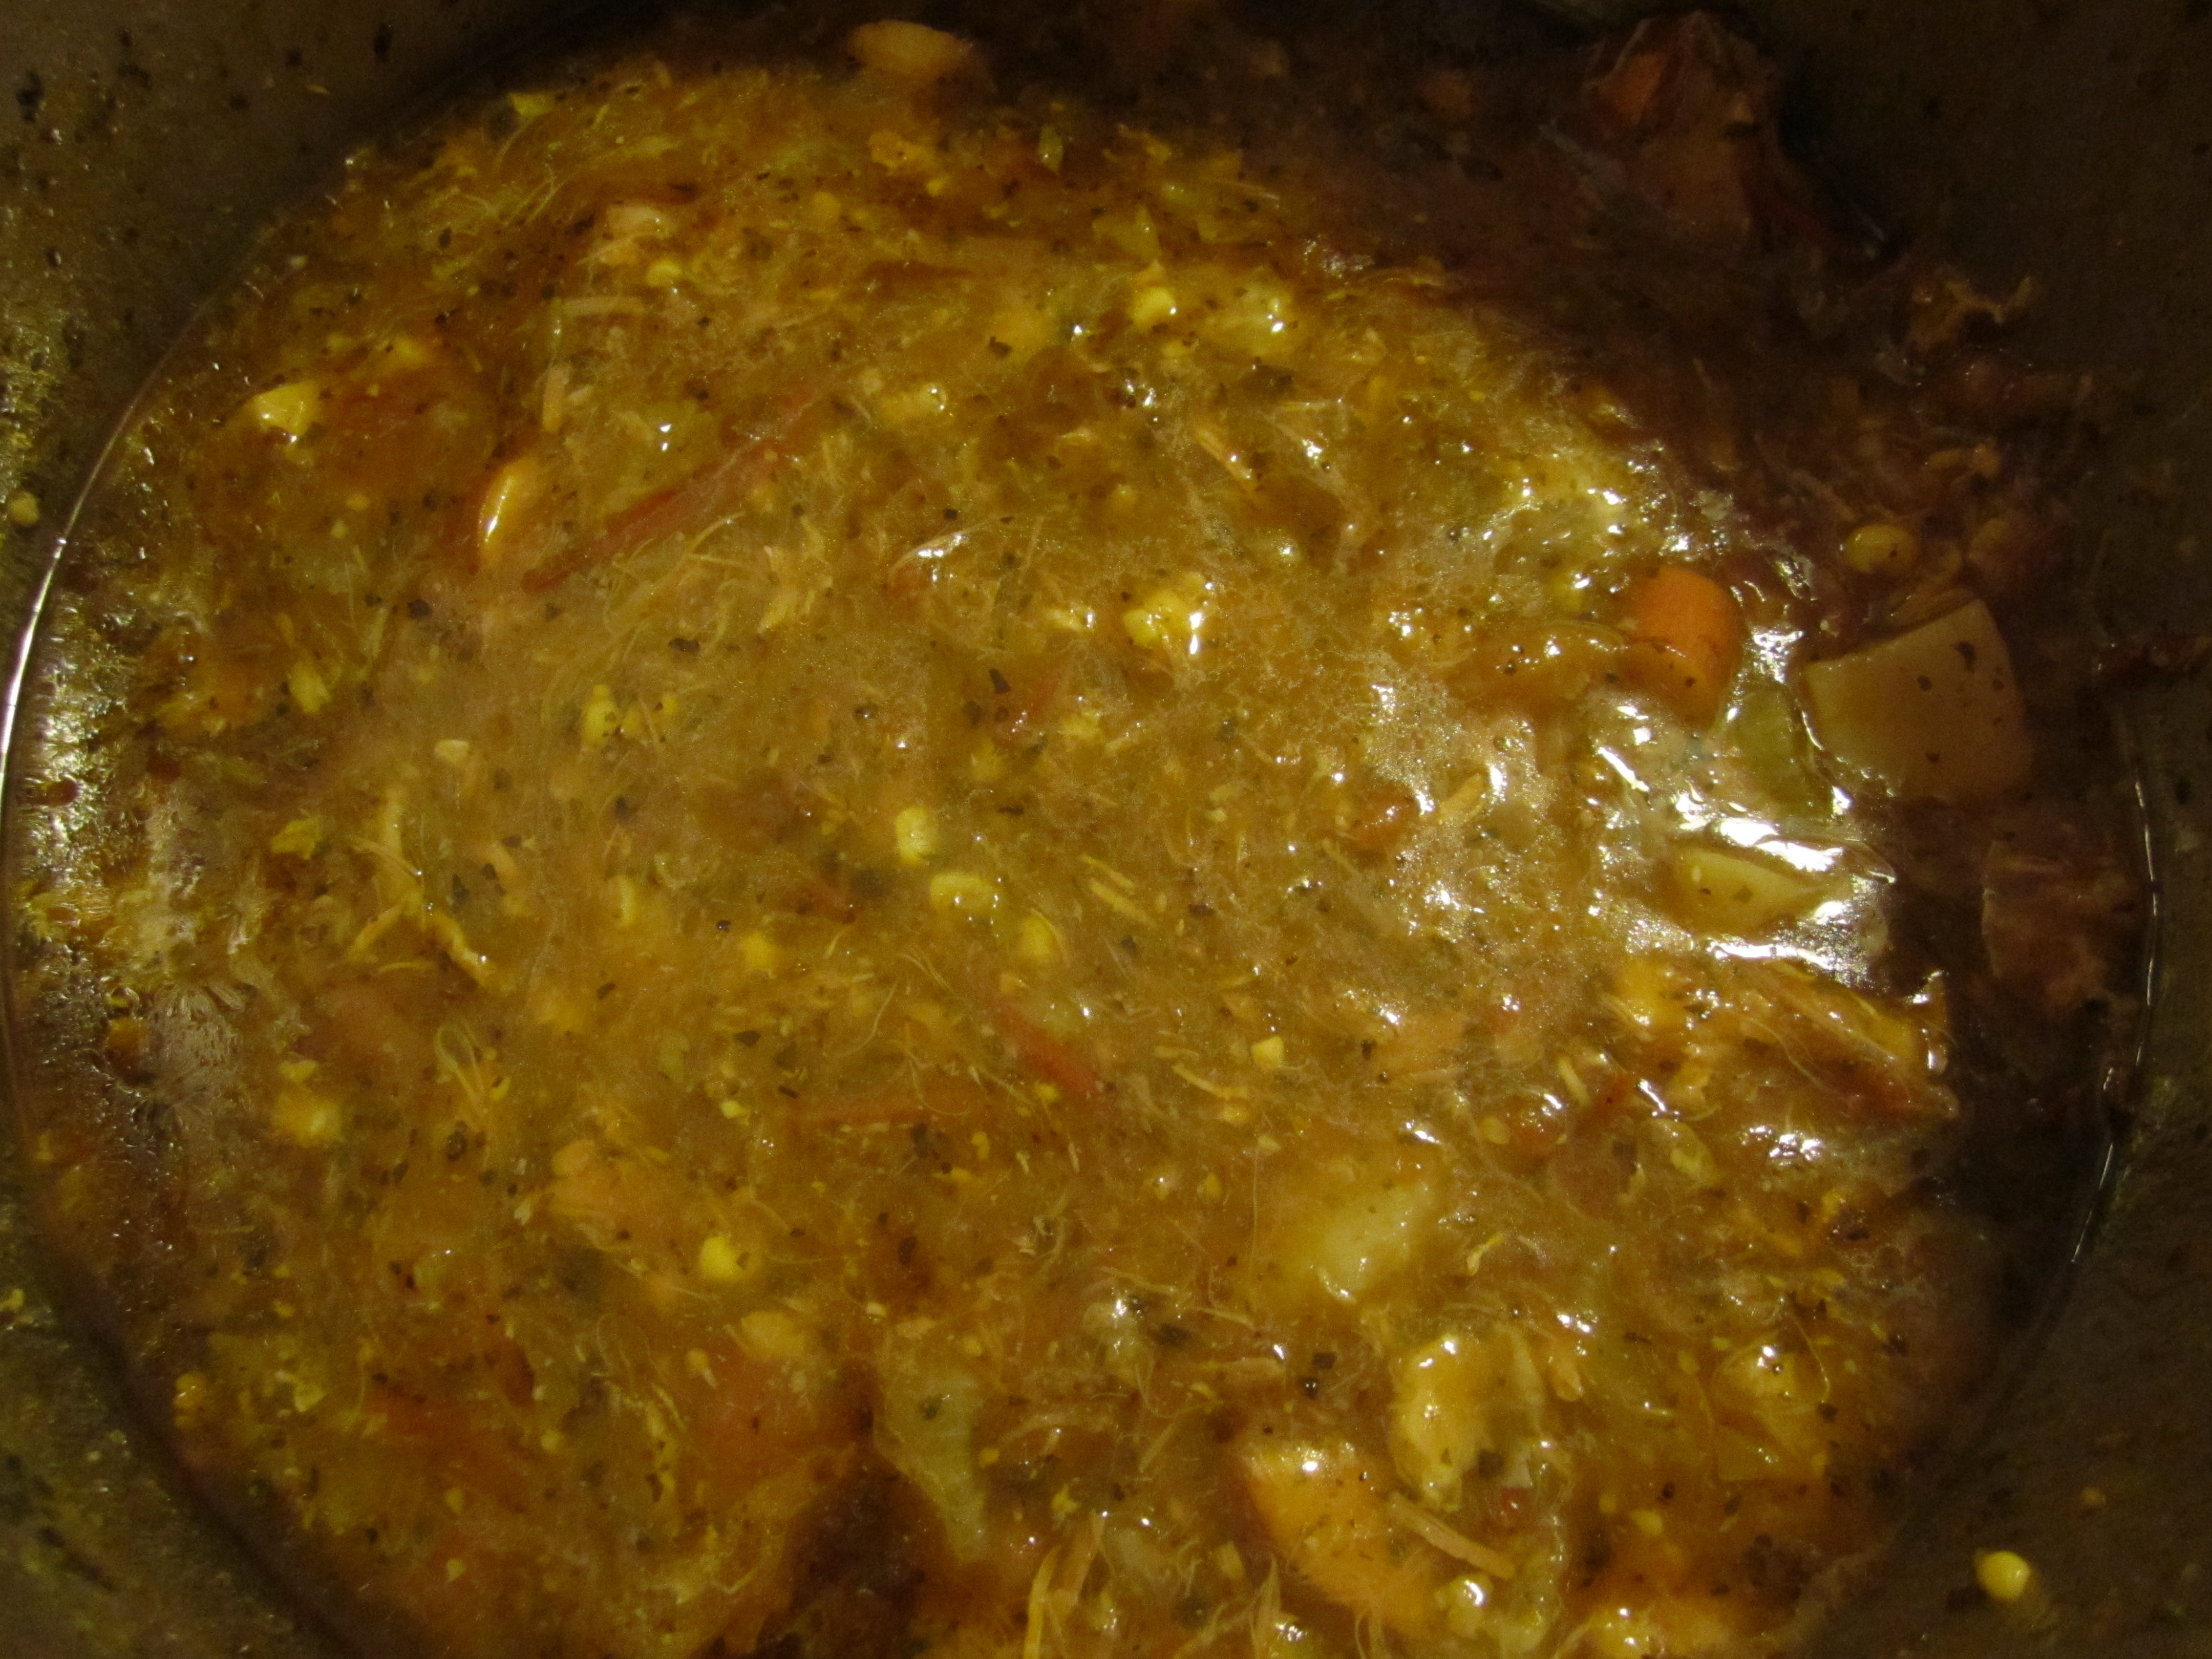
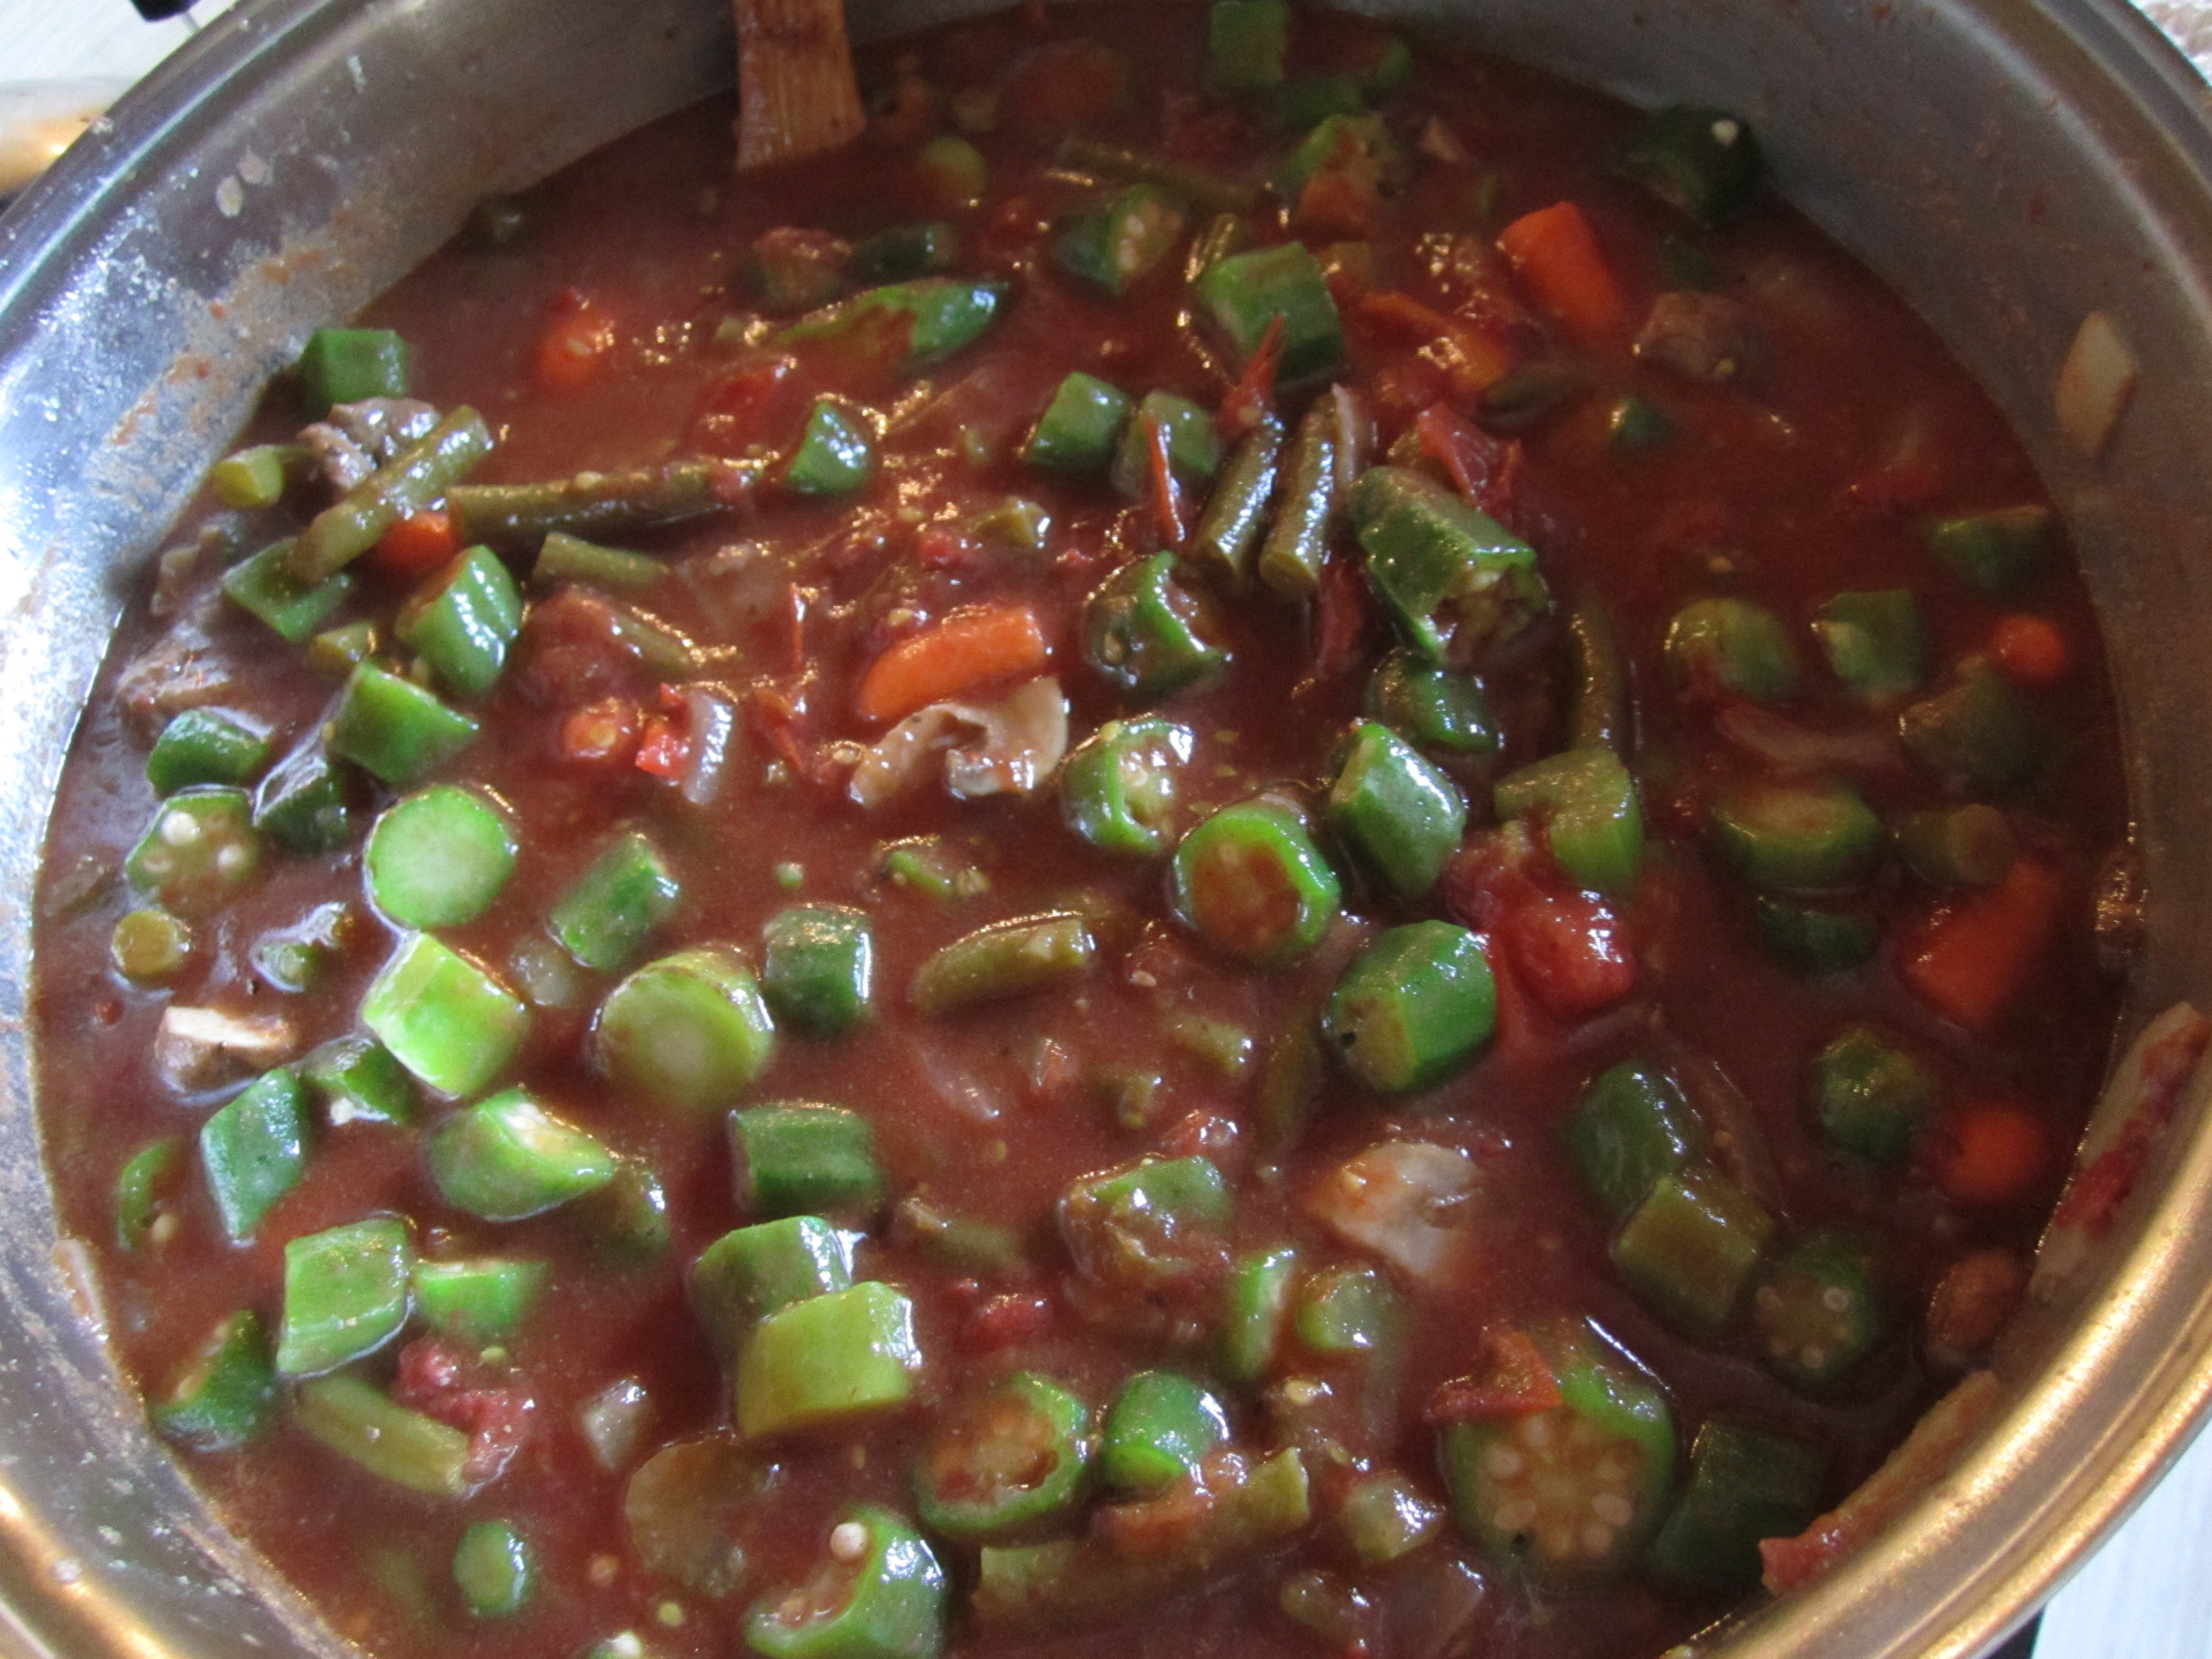
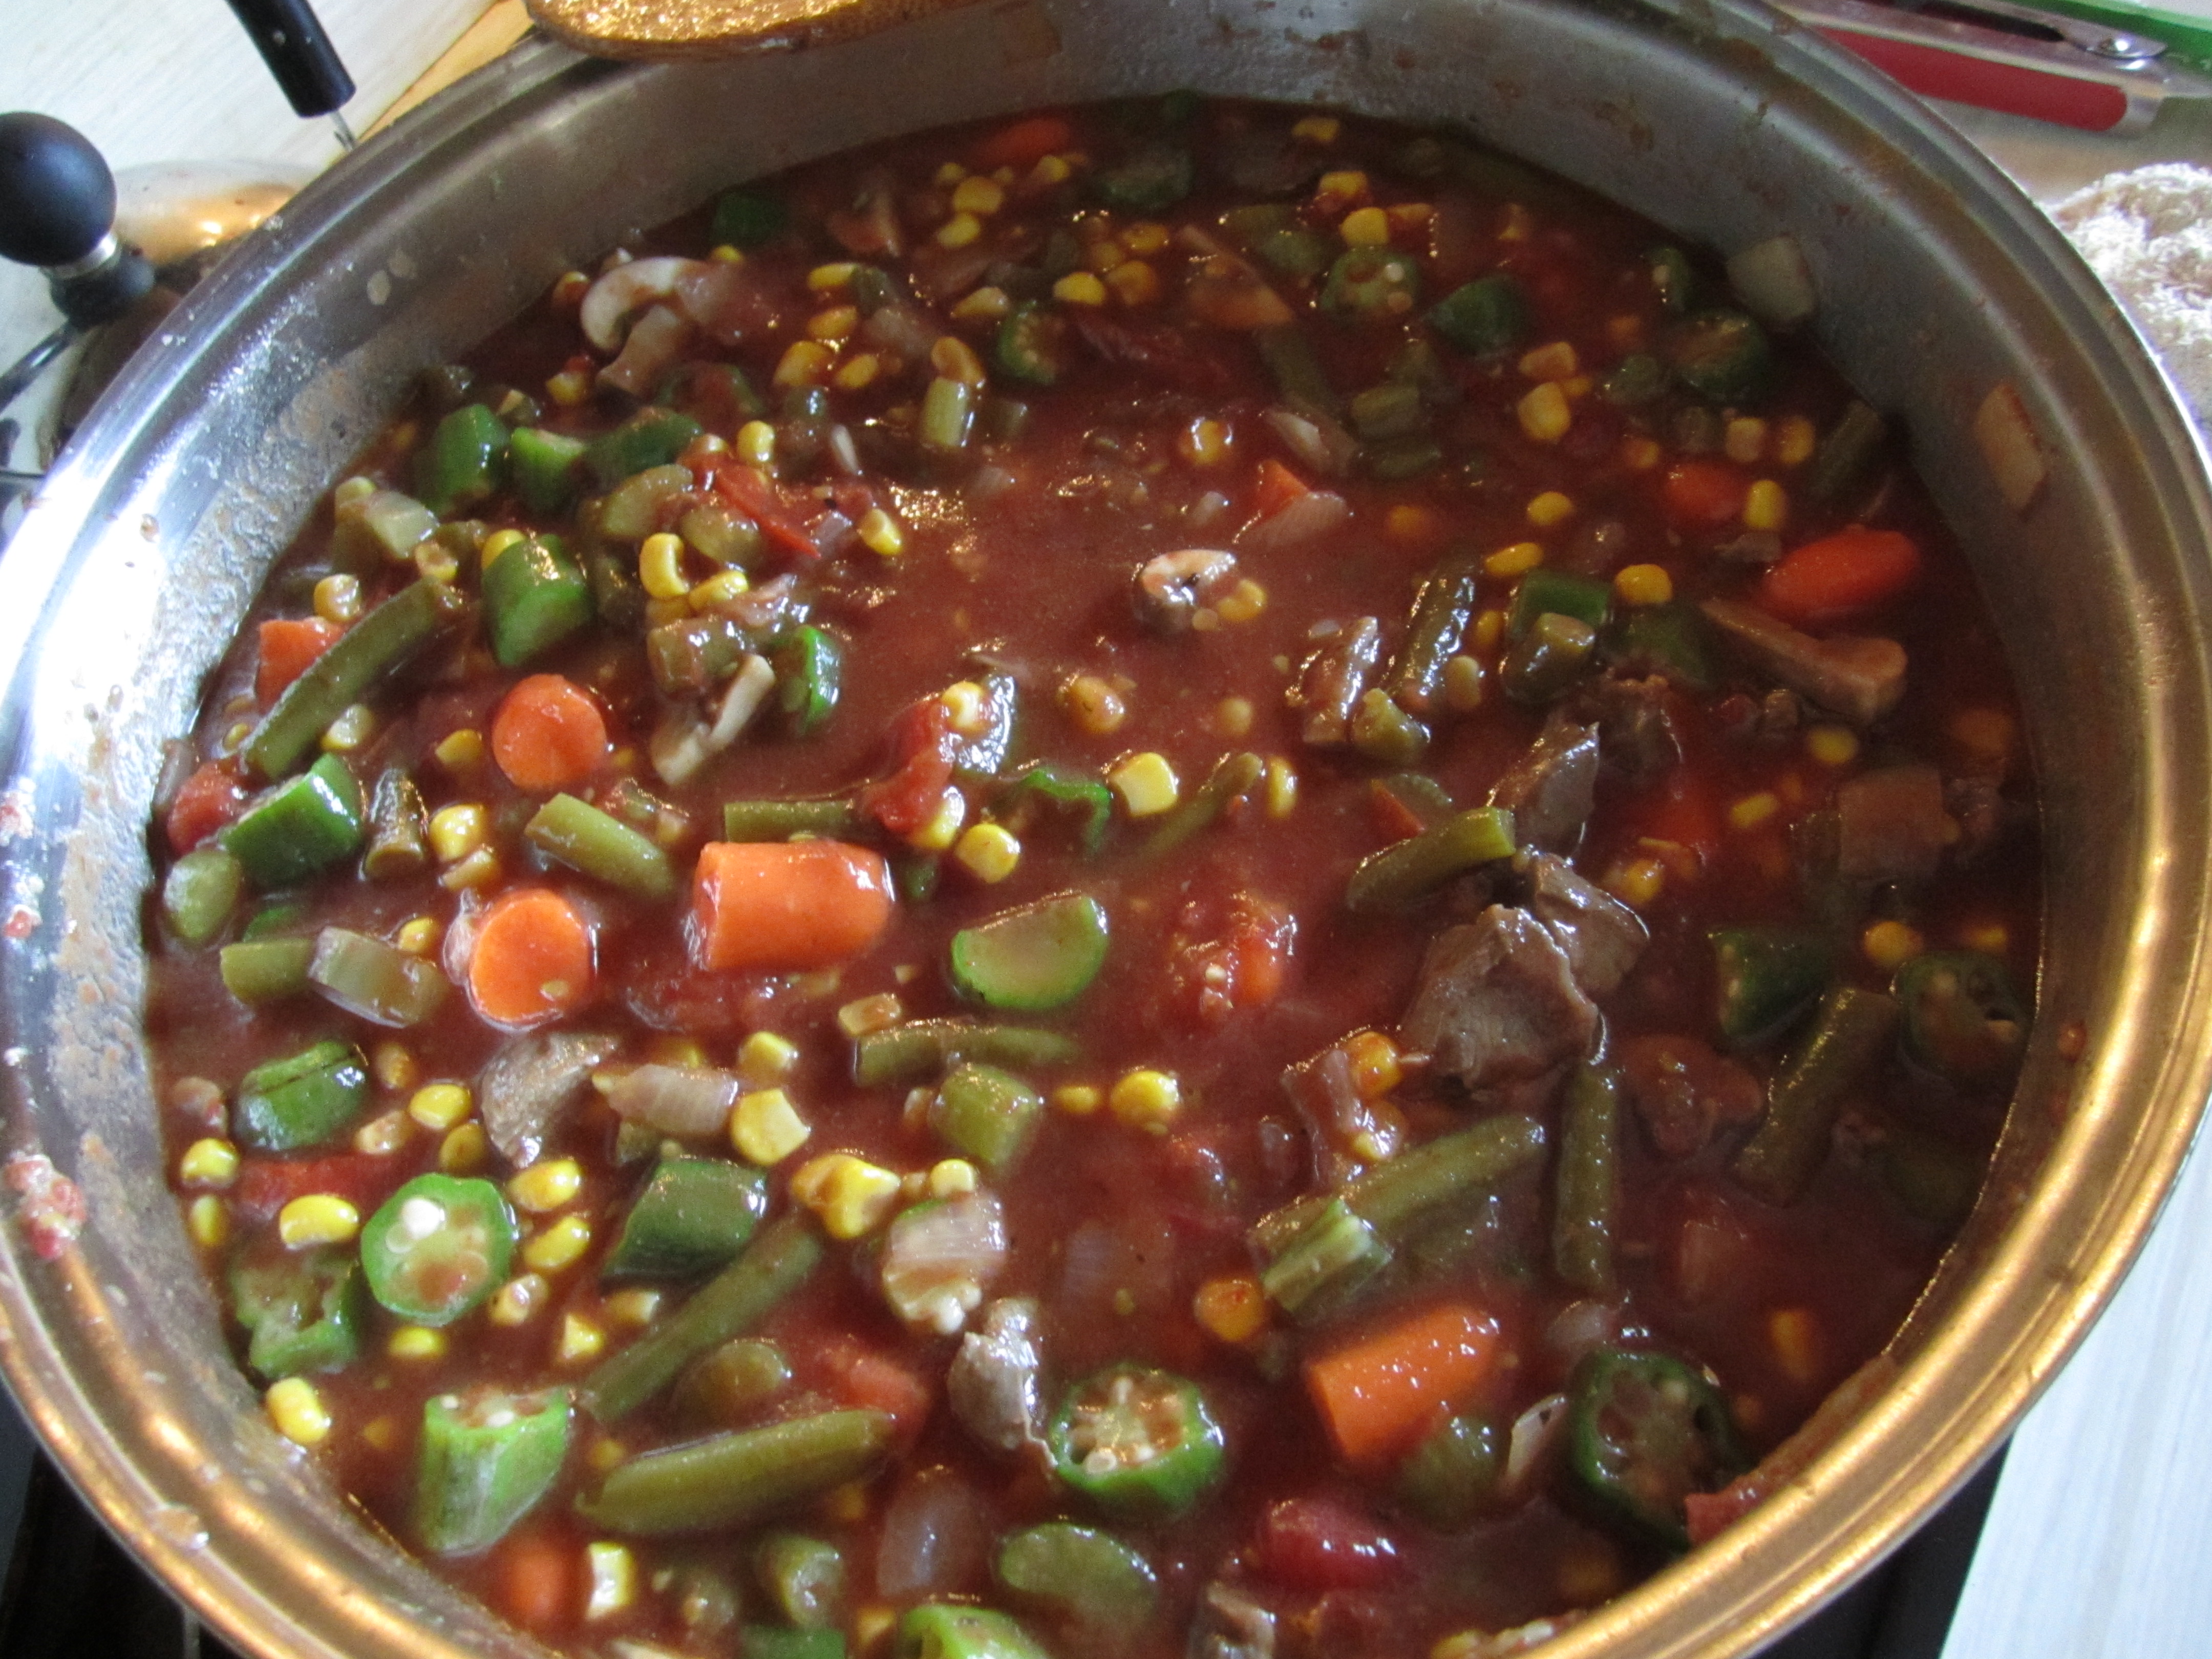
The finished product!

And then we ate it! Last night for dinner and today for lunch and tonight for dinner… This soups is one of our favorites so far!

.:.

Farm Food Friday: Vegetable Venison Soup

This recipe is one of my favorites… Because it is basically my mom’s vegetable soup recipe with venison added! Yummy!

I recommend using your biggest pot for this one. You can see how big the one we used is:

pot

What a big pot (with a medium-sized tea kettle for scale)!

1.  Begin by adding olive oil to your pot and cutting it on medium-low.

2.  Chop up 3 or 4 onions and approximately 1 head of celery. Add these to the pot with some salt and garlic powder and stir periodically while they saute.

3.  Chop your venison steaks up into small cubes and add them to the pot. Stir often.

soup

Onions, celery, and venison sauteing in the pot with olive oil, garlic, and salt.

4.  Slice 8 ounces of fresh mushrooms and add them to the pot. Also add more salt and garlic powder.

5.  Add tomatoes. We used frozen tomatoes from our garden last year, mostly Cherokee Purples, San Marzano, and Black Plum paste tomatoes, but a few cherry tomatoes found their way in there too! If you are using tomatoes from the store, I would use 2 large cans of crushed tomatoes.

6.  Add 1 small can of tomato paste.

7.  Now add a spoonful or two of honey and some sprinkles of cocoa powder (all of this is to taste). This minimizes the acidic taste from the tomatoes and adds a creamy darkness.

8.  Add spices: paprika, basil,and oregano, and of course more salt and garlic powder!

9.  As the dish begins to simmer, add carrots (I used a little less than 2 pounds of halved baby carrots).

10.  Add 1 large can of greenbeans (we didn’t have any of our own greenbeans left over from last fall).

soup

Adding greenbeans to the pot.

11.  I also like to add even more veggies… Frozen okra and frozen Lima beans (small bags of each) can also go in the pot now.

soup

Adding okra to the pot.

12.  Add 2 small cans of corn.

soup

Corn has been added!

13.  Cook the soup on medium-low for about an hour-and-a-half, and make sure to stir it frequently since this is a very dense soup and can stick to the bottom of the pot if you’re not keeping an eye on it!

14.  Check your soup and add more spices, if needed, and a little bit of soy sauce. Check to see how well softened the Lima beans and carrots are, and if you are satisfied with how done they are (and the spices), add 1 small bag of frozen peas. Stir them in and let the soup cook for about 15 minutes longer.

15.  Check your spices again… And if you like it, then it’s done!!! If not, add more spices!!!

soup

All done! Yummy!

.:.


BOT: tomato sandwiches!

the time has come for tomato sandwiches!

we’ve grown cherokee purples as our only slicing tomato variety this year, and man, they sure are the best. an heirloom variety, they have a purple/red/brown color and at first glance might be overlooked. this makes them all the more delicious!

cherokee purple tomatoes!

cherokee purple tomatoes!

tonight we had our first tomato sandwiches of the year. here’s how it went:

  1. first, sometime around mid-afternoon i started working on baking a loaf of bread for what i knew would be a super special meal! jason had 2 open-faced sandwiches and i had one open-faced and one regular sandwich. the slices were delicious!

    a slice of my homemade bread

    a slice of my homemade bread

  2. i mixed up some of our basil mayonnaise with blended and frozen basil from last year’s crop.

    basil mayonnaise added to the bread

    basil mayonnaise added to the bread

  3. we sliced up a spicy red onion from my dad’s garden this year.

    and now the red onions...

    and now the red onions…

  4. then we cut up 3 cherokee purple tomatoes into large, thick slices… like big hamburger patties!

    cherokee purple slices go on next

    cherokee purple slices go on next

  5. of course we salted the tomatoes and then added some crispy bacon to the top.
and bacon to top it all off!

and bacon to top it all off!

this sandwich is a big hit in our house during the summer months! we call it the BOT (bacon, onion, and tomato), since we think onions are a much more important part of sandwich-making than lettuce.

.:.


from plant to pesto: basil and its promises

basil, basil, basil!

rare is the person who doesn’t use basil in their cooking! jason and i use basil in heavy quantities, especially in soups, beer breads, pesto pasta salads, and most especially fresh in stir fries during the summer and fall!

basil

photo courtesy of bethcoll

although we may think of basil as an italian herb, it originates from india! there are different sorts of basil, of course; the variety that we grow and that most people use in italian cooking is called “sweet basil.” the specific “sweet basil” variety that we planted in 2013 and plan to plant again this year is called genovese.

basil also has health benefits (of course!). the essential oils found in basil have been found to be antiviral, antimicrobial, antifungal, and might even fight cancer. exciting! it certainly is delicious, and basil and its sibling species are cultivated by people all over the world.

the time is nearing for us to plant another round of basil “bushes,” and we still have a good bit left of our harvest from last year! this is because our processing and storing of last year’s crop was simple and not time consuming. therefore we were able to store it all without wasting any.

my mother taught me how to make pesto many years ago, and making pesto can be a great way to store basil (she uses walnuts instead of pine nuts), but she also taught me an even simpler and more long-term versatile way to “keep” our basil for months and months. this way doesn’t require that you purchase parmesan, nuts, or other important pesto ingredients.

easy = basil + olive oil & put it in the freezer!

most of our basil is stored this way, with a few bags of dried basil (which is also super easy!) still left.

to freeze your basil, all you need to do is wash the leaves and pull them from the stems. jason and i prune our basil bushes periodically and process a little as we go through the growing season, but at the end we simply cut the entire basil bush and wash the whole bush with our shower’s spray nozzle. we have a huge colander (3 feet in diameter) that works great for when we are spraying the bushes down. then we set to pulling all of the leaves off by hand. the plus side: your fingers smell like delicious basil for days!

after we have gallons of loose basil leaves, we put them in our cuisinart food processor with some olive oil and blend away, making sure to add enough oil so that the mixture is a little bit slushy. this helps the basil freeze better and staves off any freezer burn that might happen after months in the ice box.

basil

last september’s frozen basil: bagged and jarred

last september, after the big, last harvest, we stored the basil paste in two different ways: in small glass jars and in small ziploc bags (rolled and sealed to be sure all of the air was pushed out). out of these two storage methods, i much prefer the ziploc bags. here’s why: when i’m making a soup, pasta, or stir fry, all i have to do is get one of the bags out of the freezer, break off as mush basil-paste-ice-cube as i want, and put the rest away. this means i don’t have to thaw the paste before use, as i do with the paste that’s in the little glass jars. so convenient!

currently, we are trying to consume all of our stored basil before the fresh basil comes in. because, one thing is for certain: no matter how easy and versatile frozen or dried basil may be, the best is always fresh!

.:.

© 2024 KW Homestead

Theme by Anders NorenUp ↑