beginning a few months ago, we noticed that about 5 or so of our standard hens were starting to go bald in very concentrated spots on their backs between their wings. my first thought was that the hens were picking at each other and eating those feathers, but after watching them i realized that i hadn’t seen a single hen pick at the feathers of another (except once when a hen got mad and chased another one, grabbing at her tail feathers). i also didn’t see how the chickens would be interested in eating each others’ feathers since they receive great supplements in their food that should prevent them from wanting dine on feathers.
so, i decided to look into the issue a little more and learned that the bald spots were the fault of the rooster, rex! once i read this, it made sense, of course!
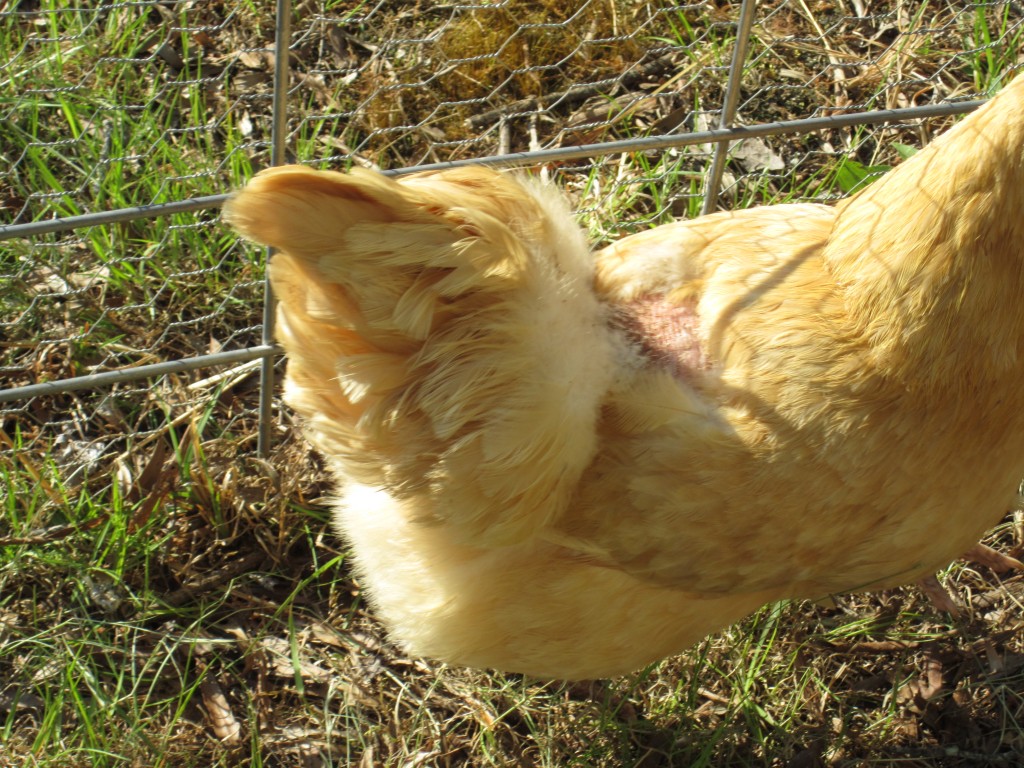
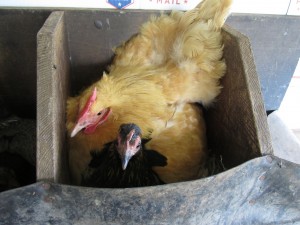
one of rex’s favorite ladies–do you see the pink bald spot between her wings?
apparently, when young roosters get close to reaching full maturity, they pick out a couple hens that are their favorites and shower them with attention (you know what i mean, ya’ll). as they get older, they start to spread their attentions out over the whole flock so no hens are losing all of their feathers or getting too scratched up, but when they are young there is a risk that if their spurs are too sharp they can actually cut up the hens they really like.
after reading this, i made sure to look closely at the balding hens to see if they were cut at all… and they were not. but still, some were a little raw looking, which made up 1/2 of my mind when later…
rex actually attacked me with his spurs!
this happened about a week ago when i was feeding everyone. i noticed that rex had been a little bit more “pushy” and “prancey” lately but thought that if i didn’t get in his space too much he would leave me alone. untrue. once i turned my back and was walking to the back of the chicken pen where i dump out their food scraps from my school kids, he jumped up in the air and spurred me in both legs, right around the knees. he didn’t get through my pants to my left leg, but he did with my right. his spur didn’t go in very deep but it went through the pants, punctured my skin, and made me bleed.
of course i felt like killing him/crying after that but only managed to yell at him and throw the food scraps all over him in revenge, which he ended up liking very much.
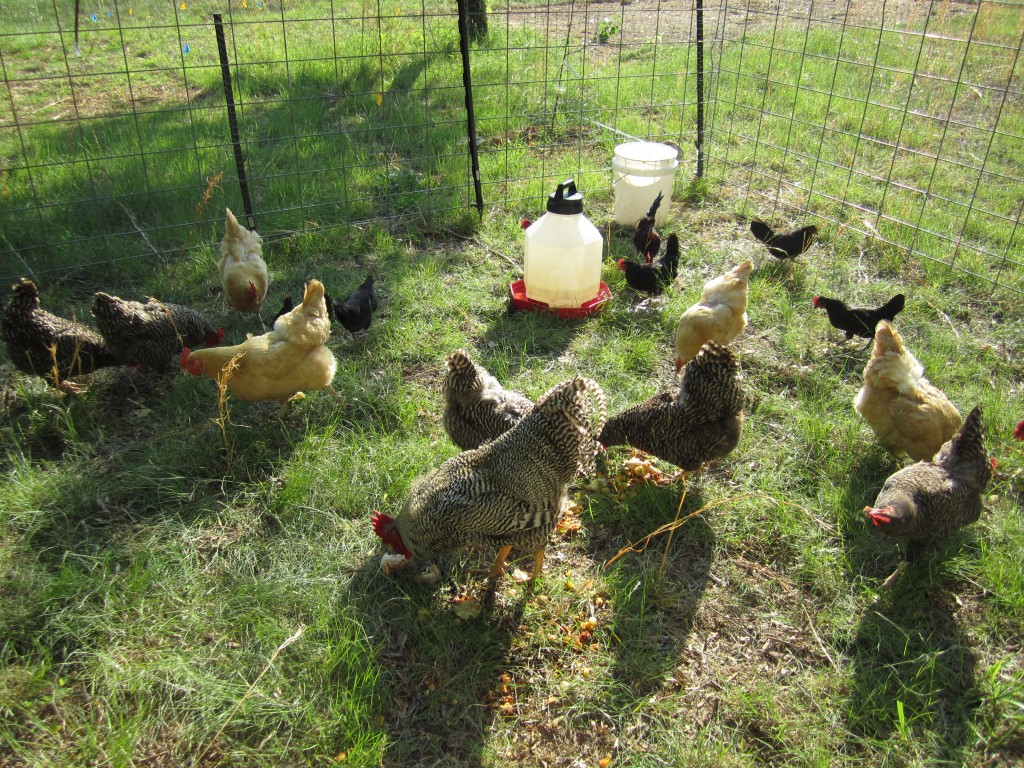
the flock enjoying their new spot in the grass. rex is in the foreground, keeping himself between me and his hens.
since then, i’ve decided that as soon as we hatch out some more roosters i’m going to eat rex in a soup. in the meantime, we’ve clipped rex’s spurs. this is the choice that was easier to make since noticing the bald spots on some of the hens. i pinned down rex in a net (and felt awesome doing it!) and my dad nipped off the sharp ends of his spurs with handheld hedge nippers. he didn’t make any noises of pain (since the spur is a bone and the process didn’t hurt) and the end of the spur only bled a tiny bit and then quickly dried. now he can’t actually puncture me if he jumps me again and he shouldn’t scratch up the hens as much.
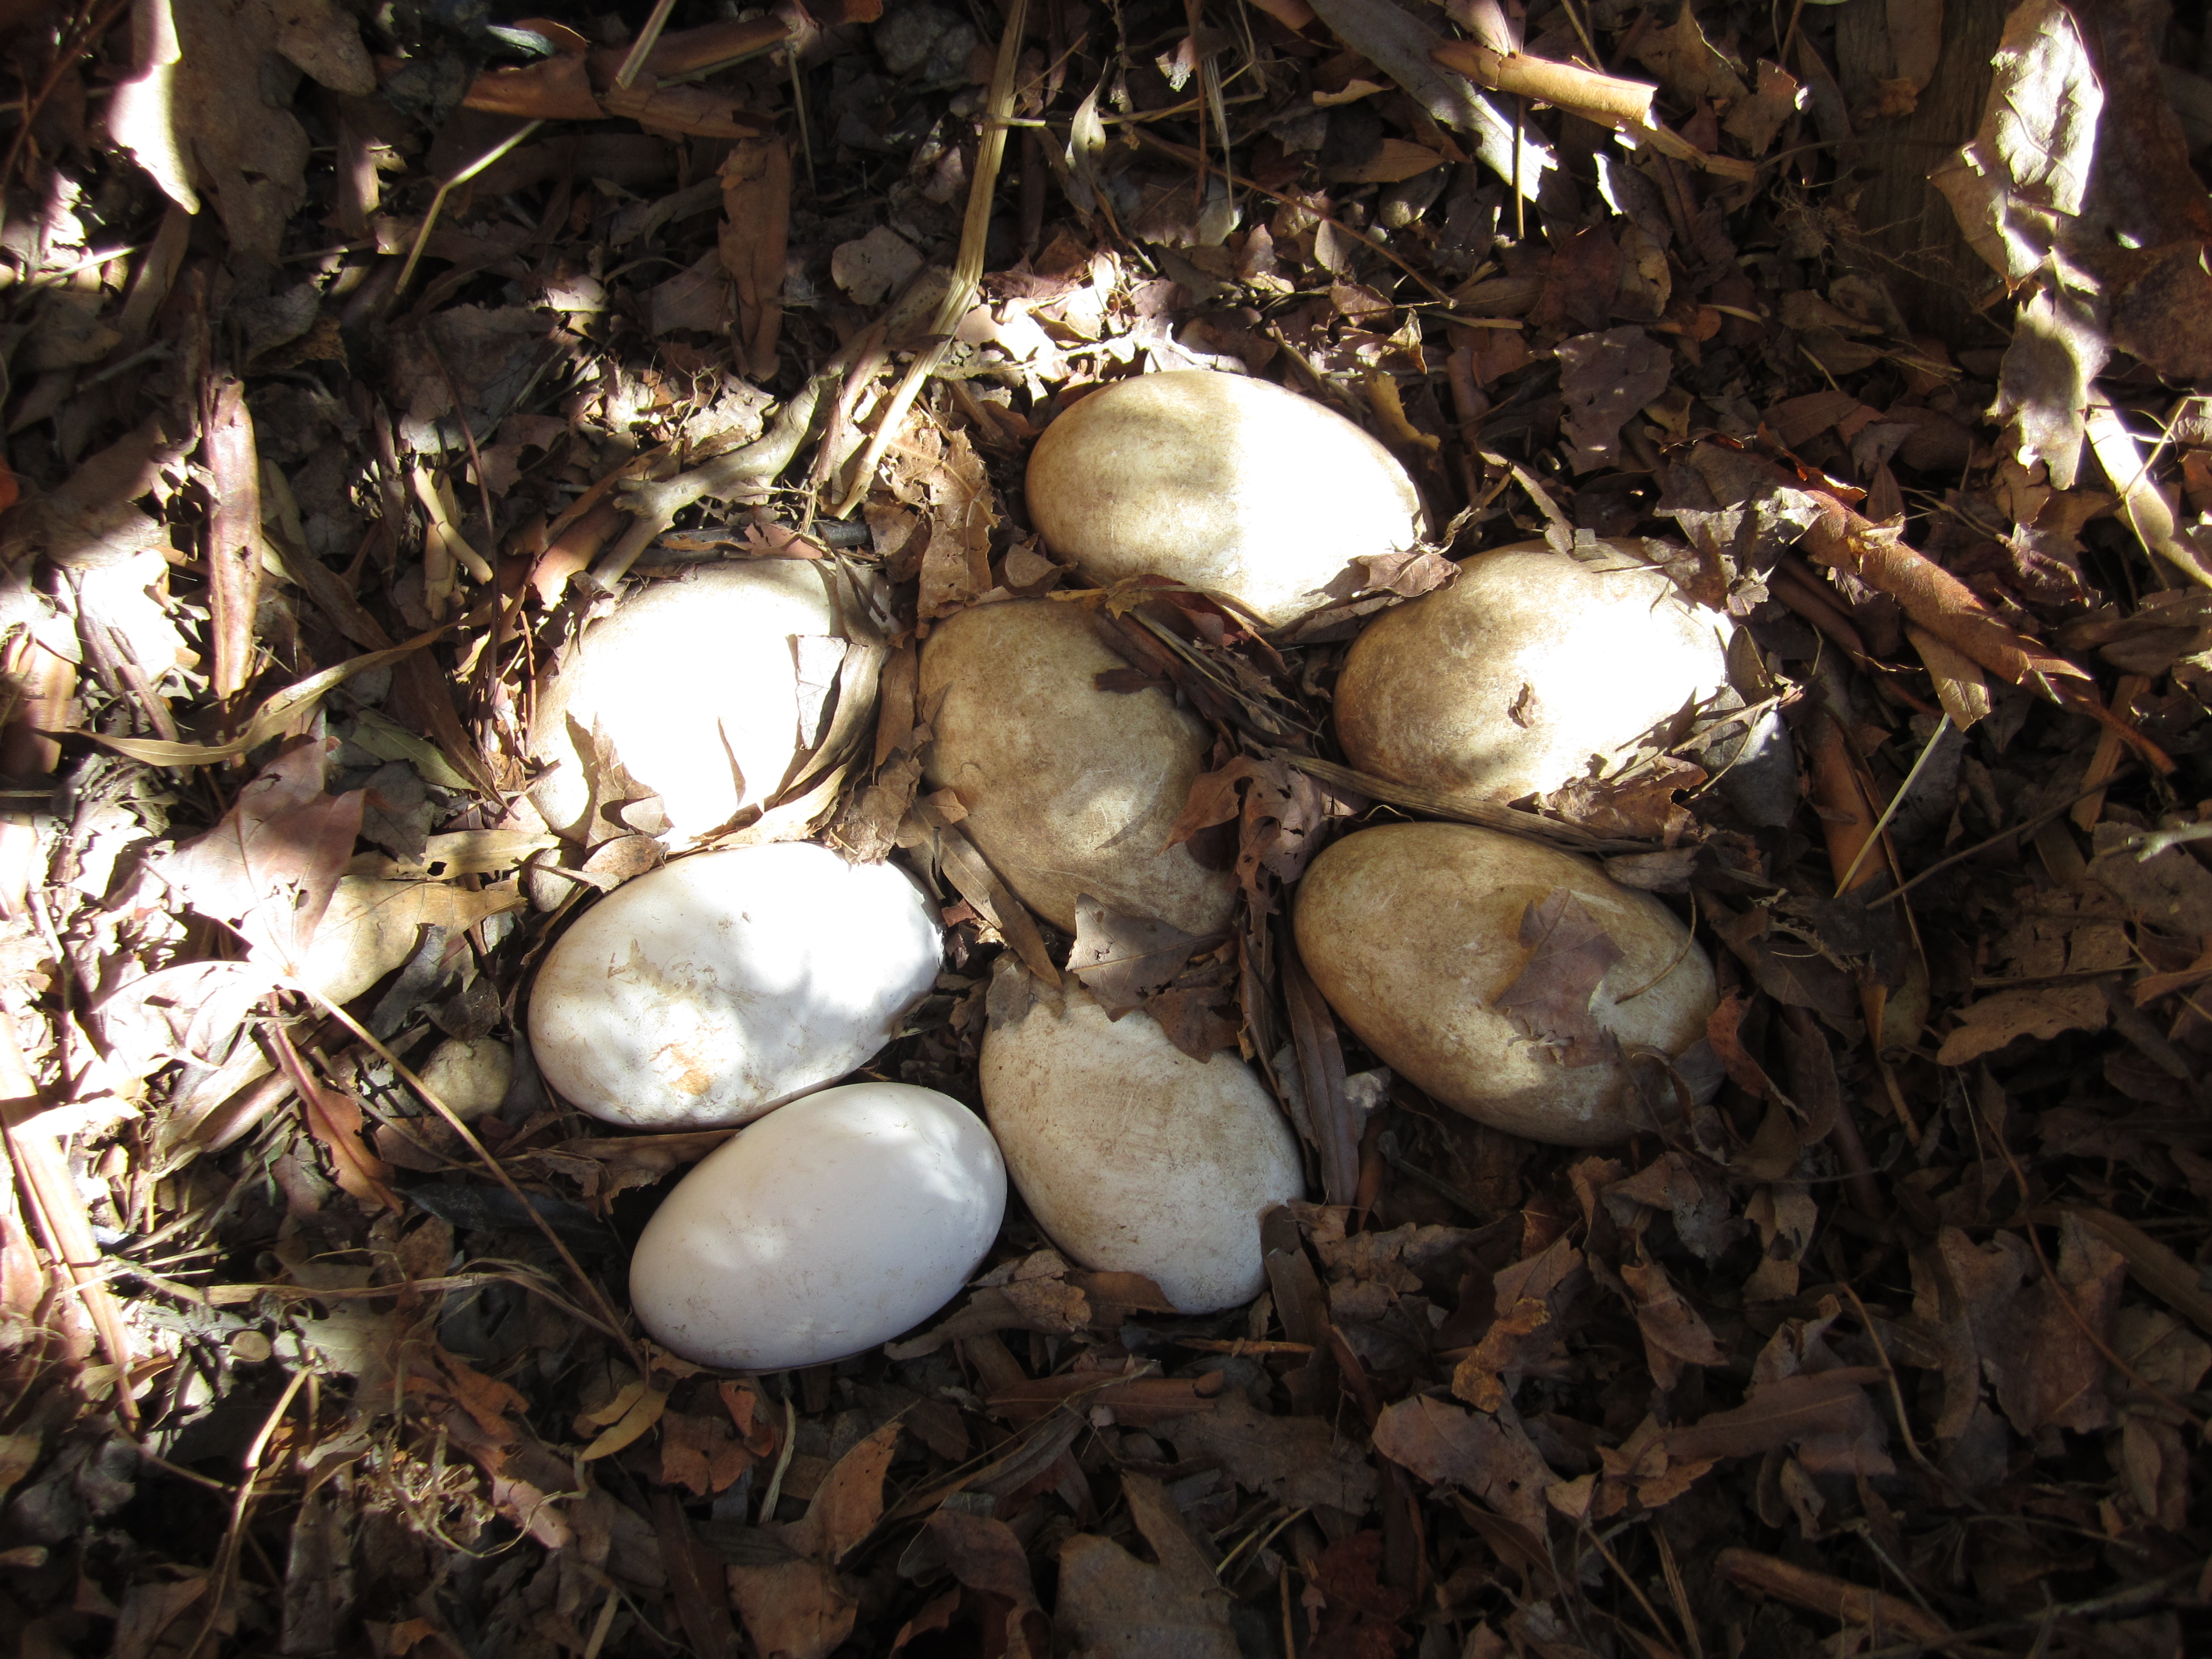
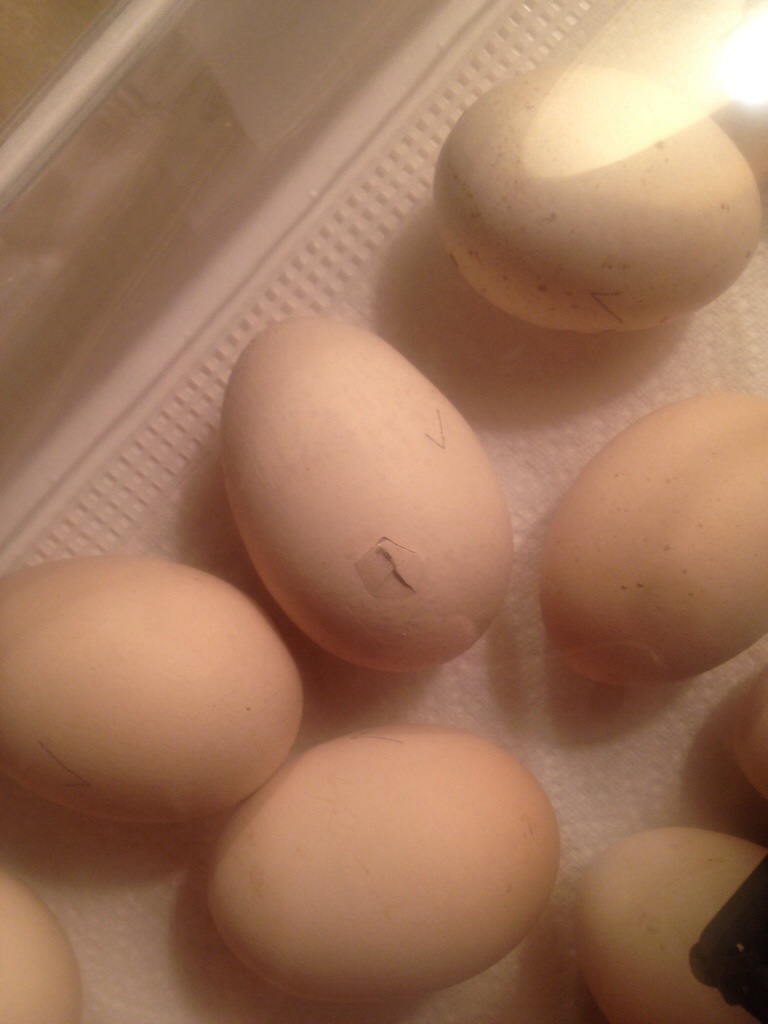
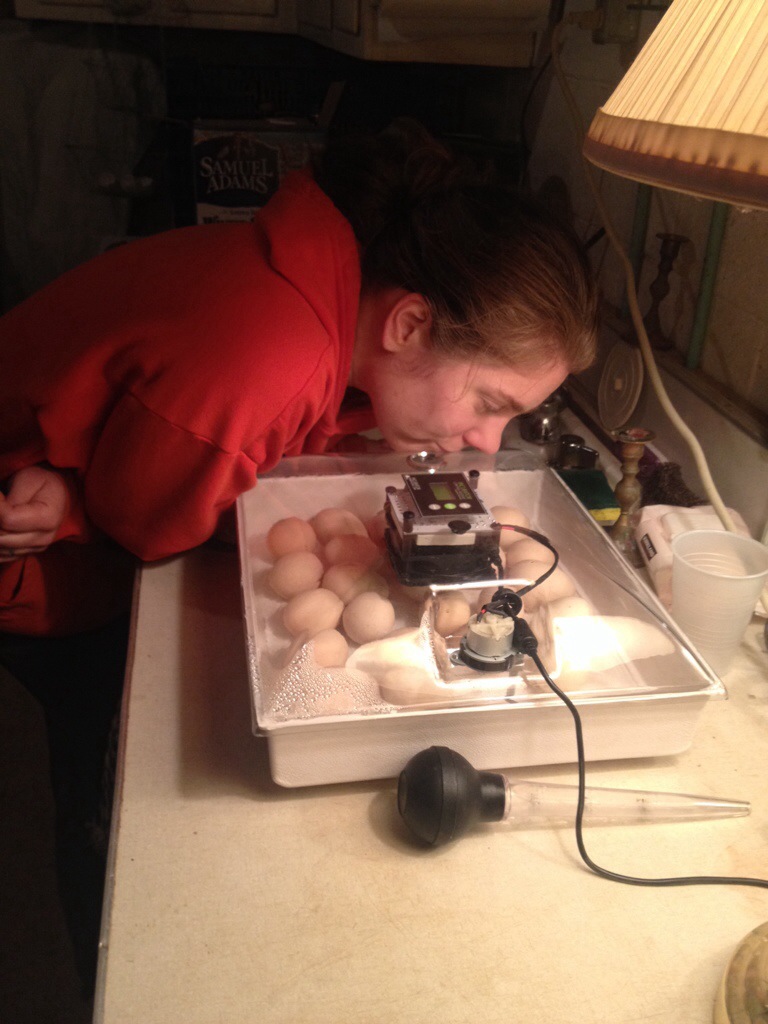
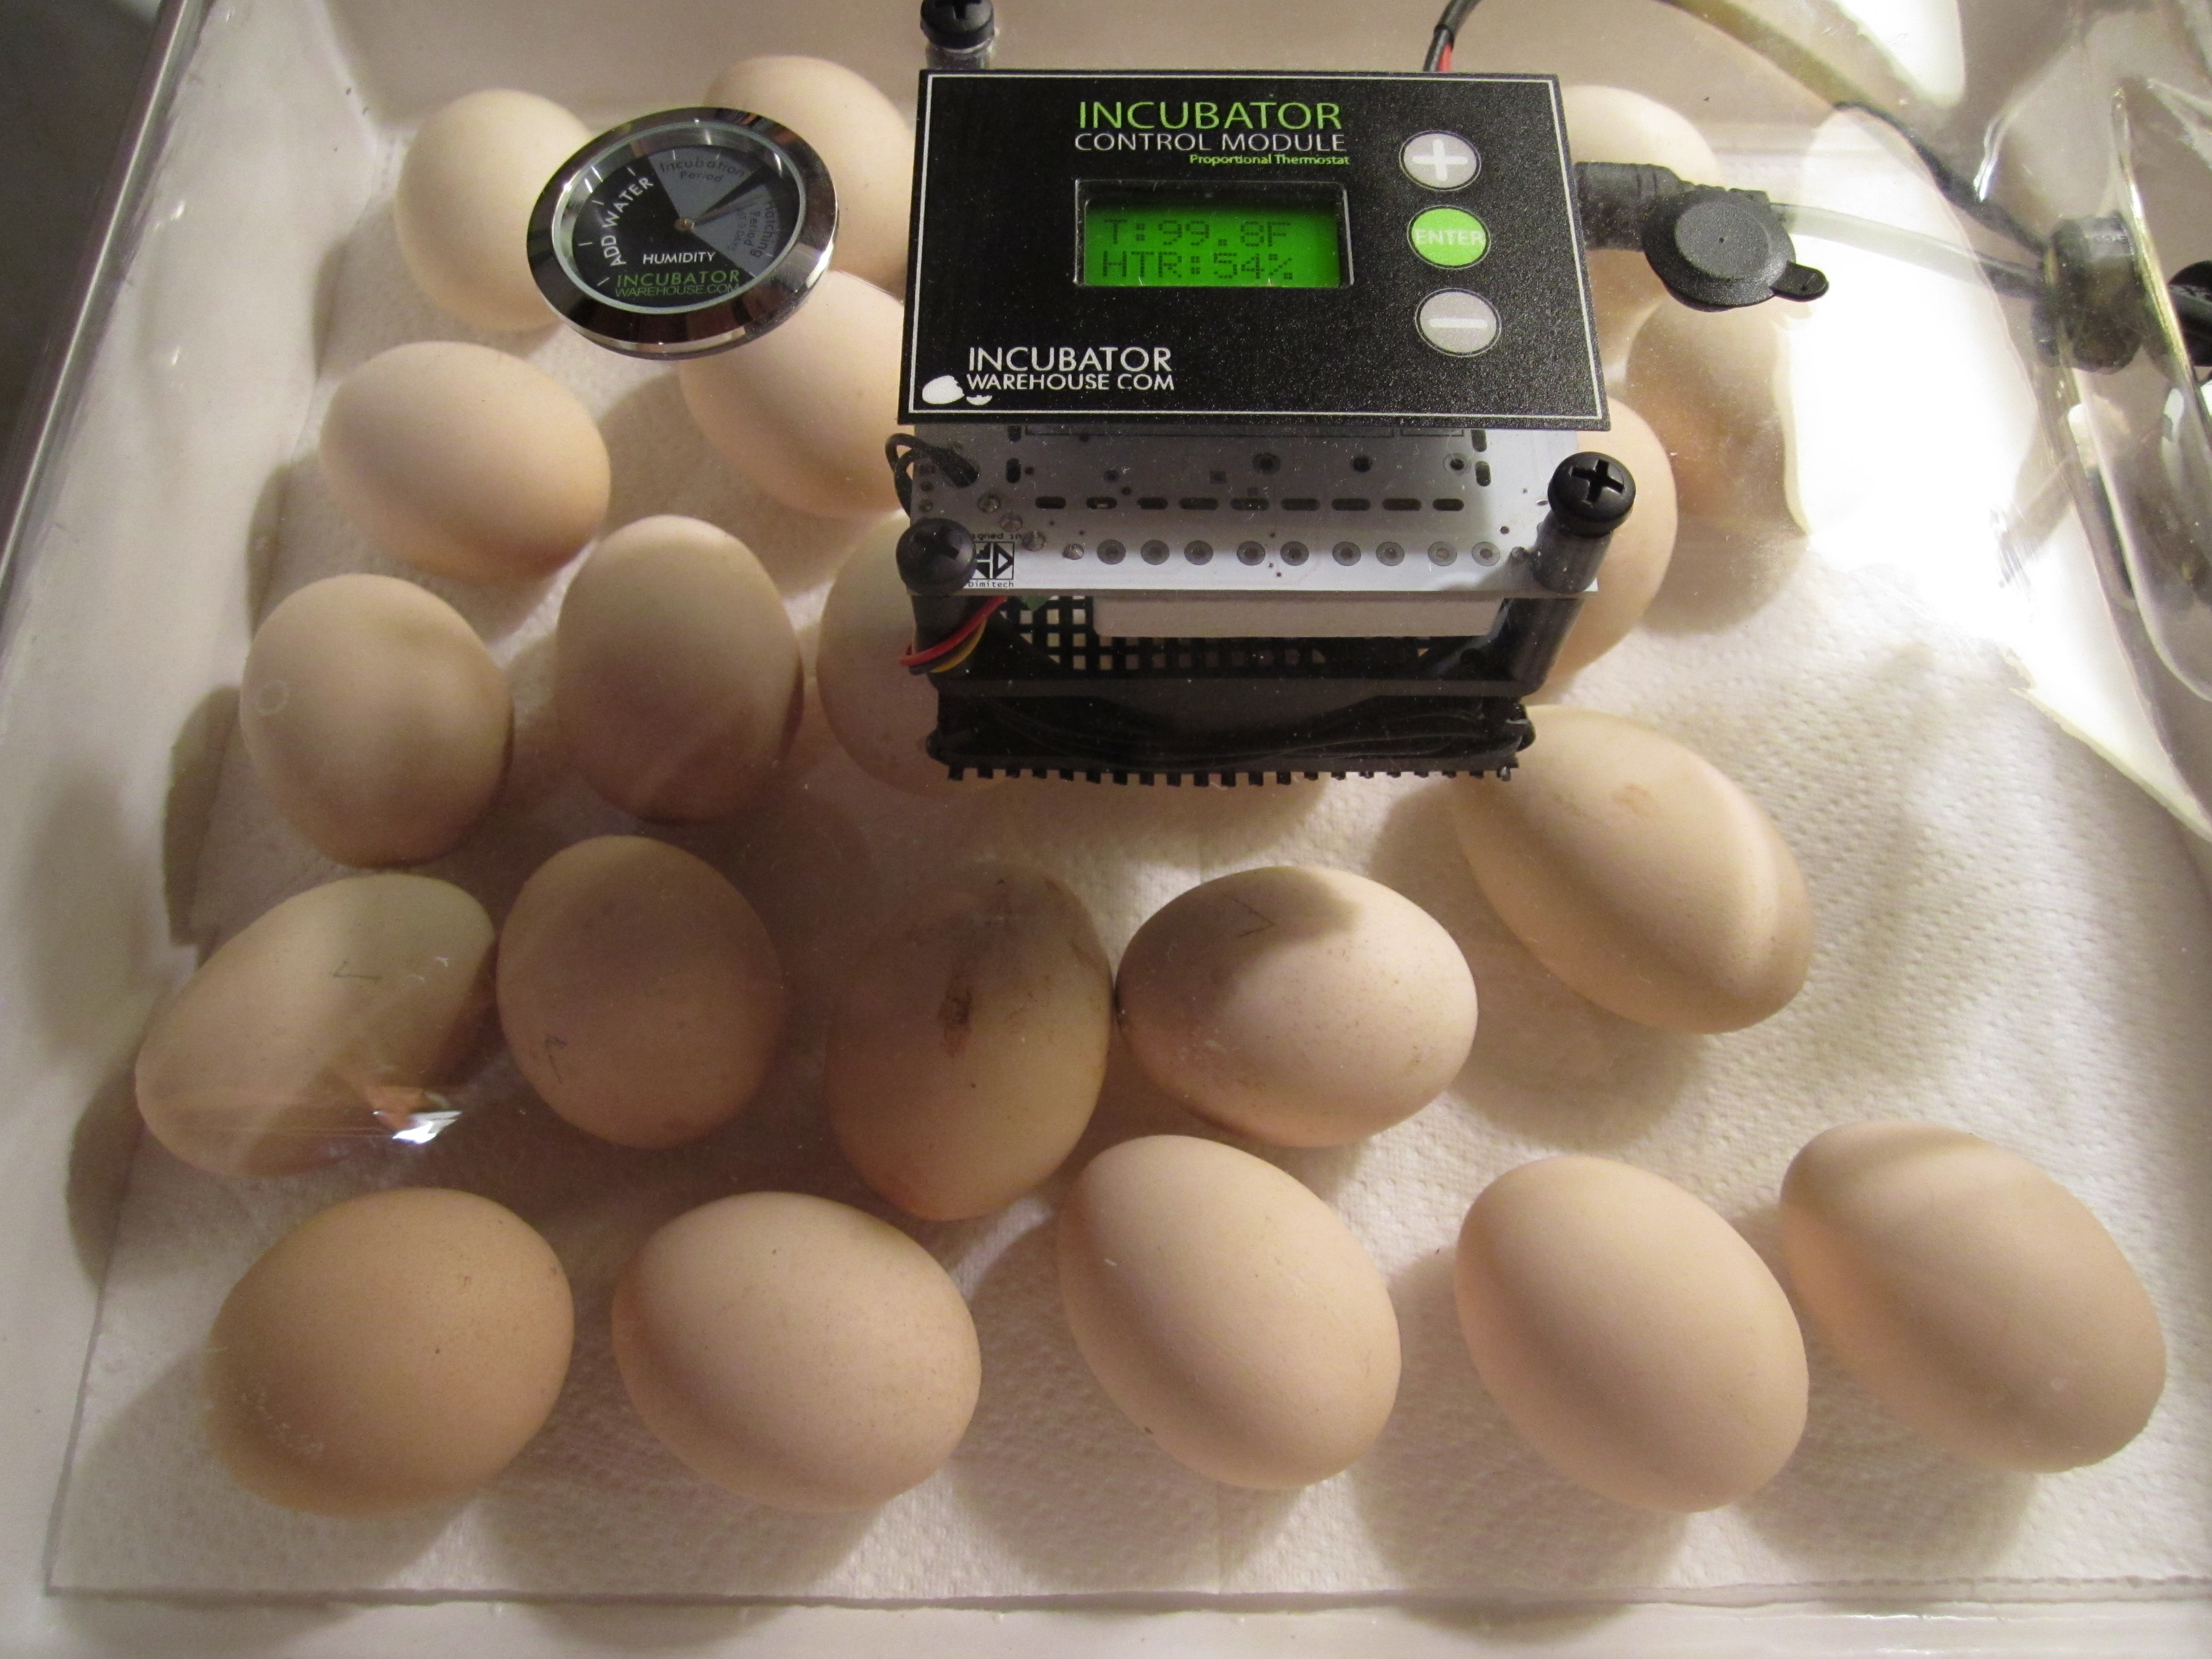
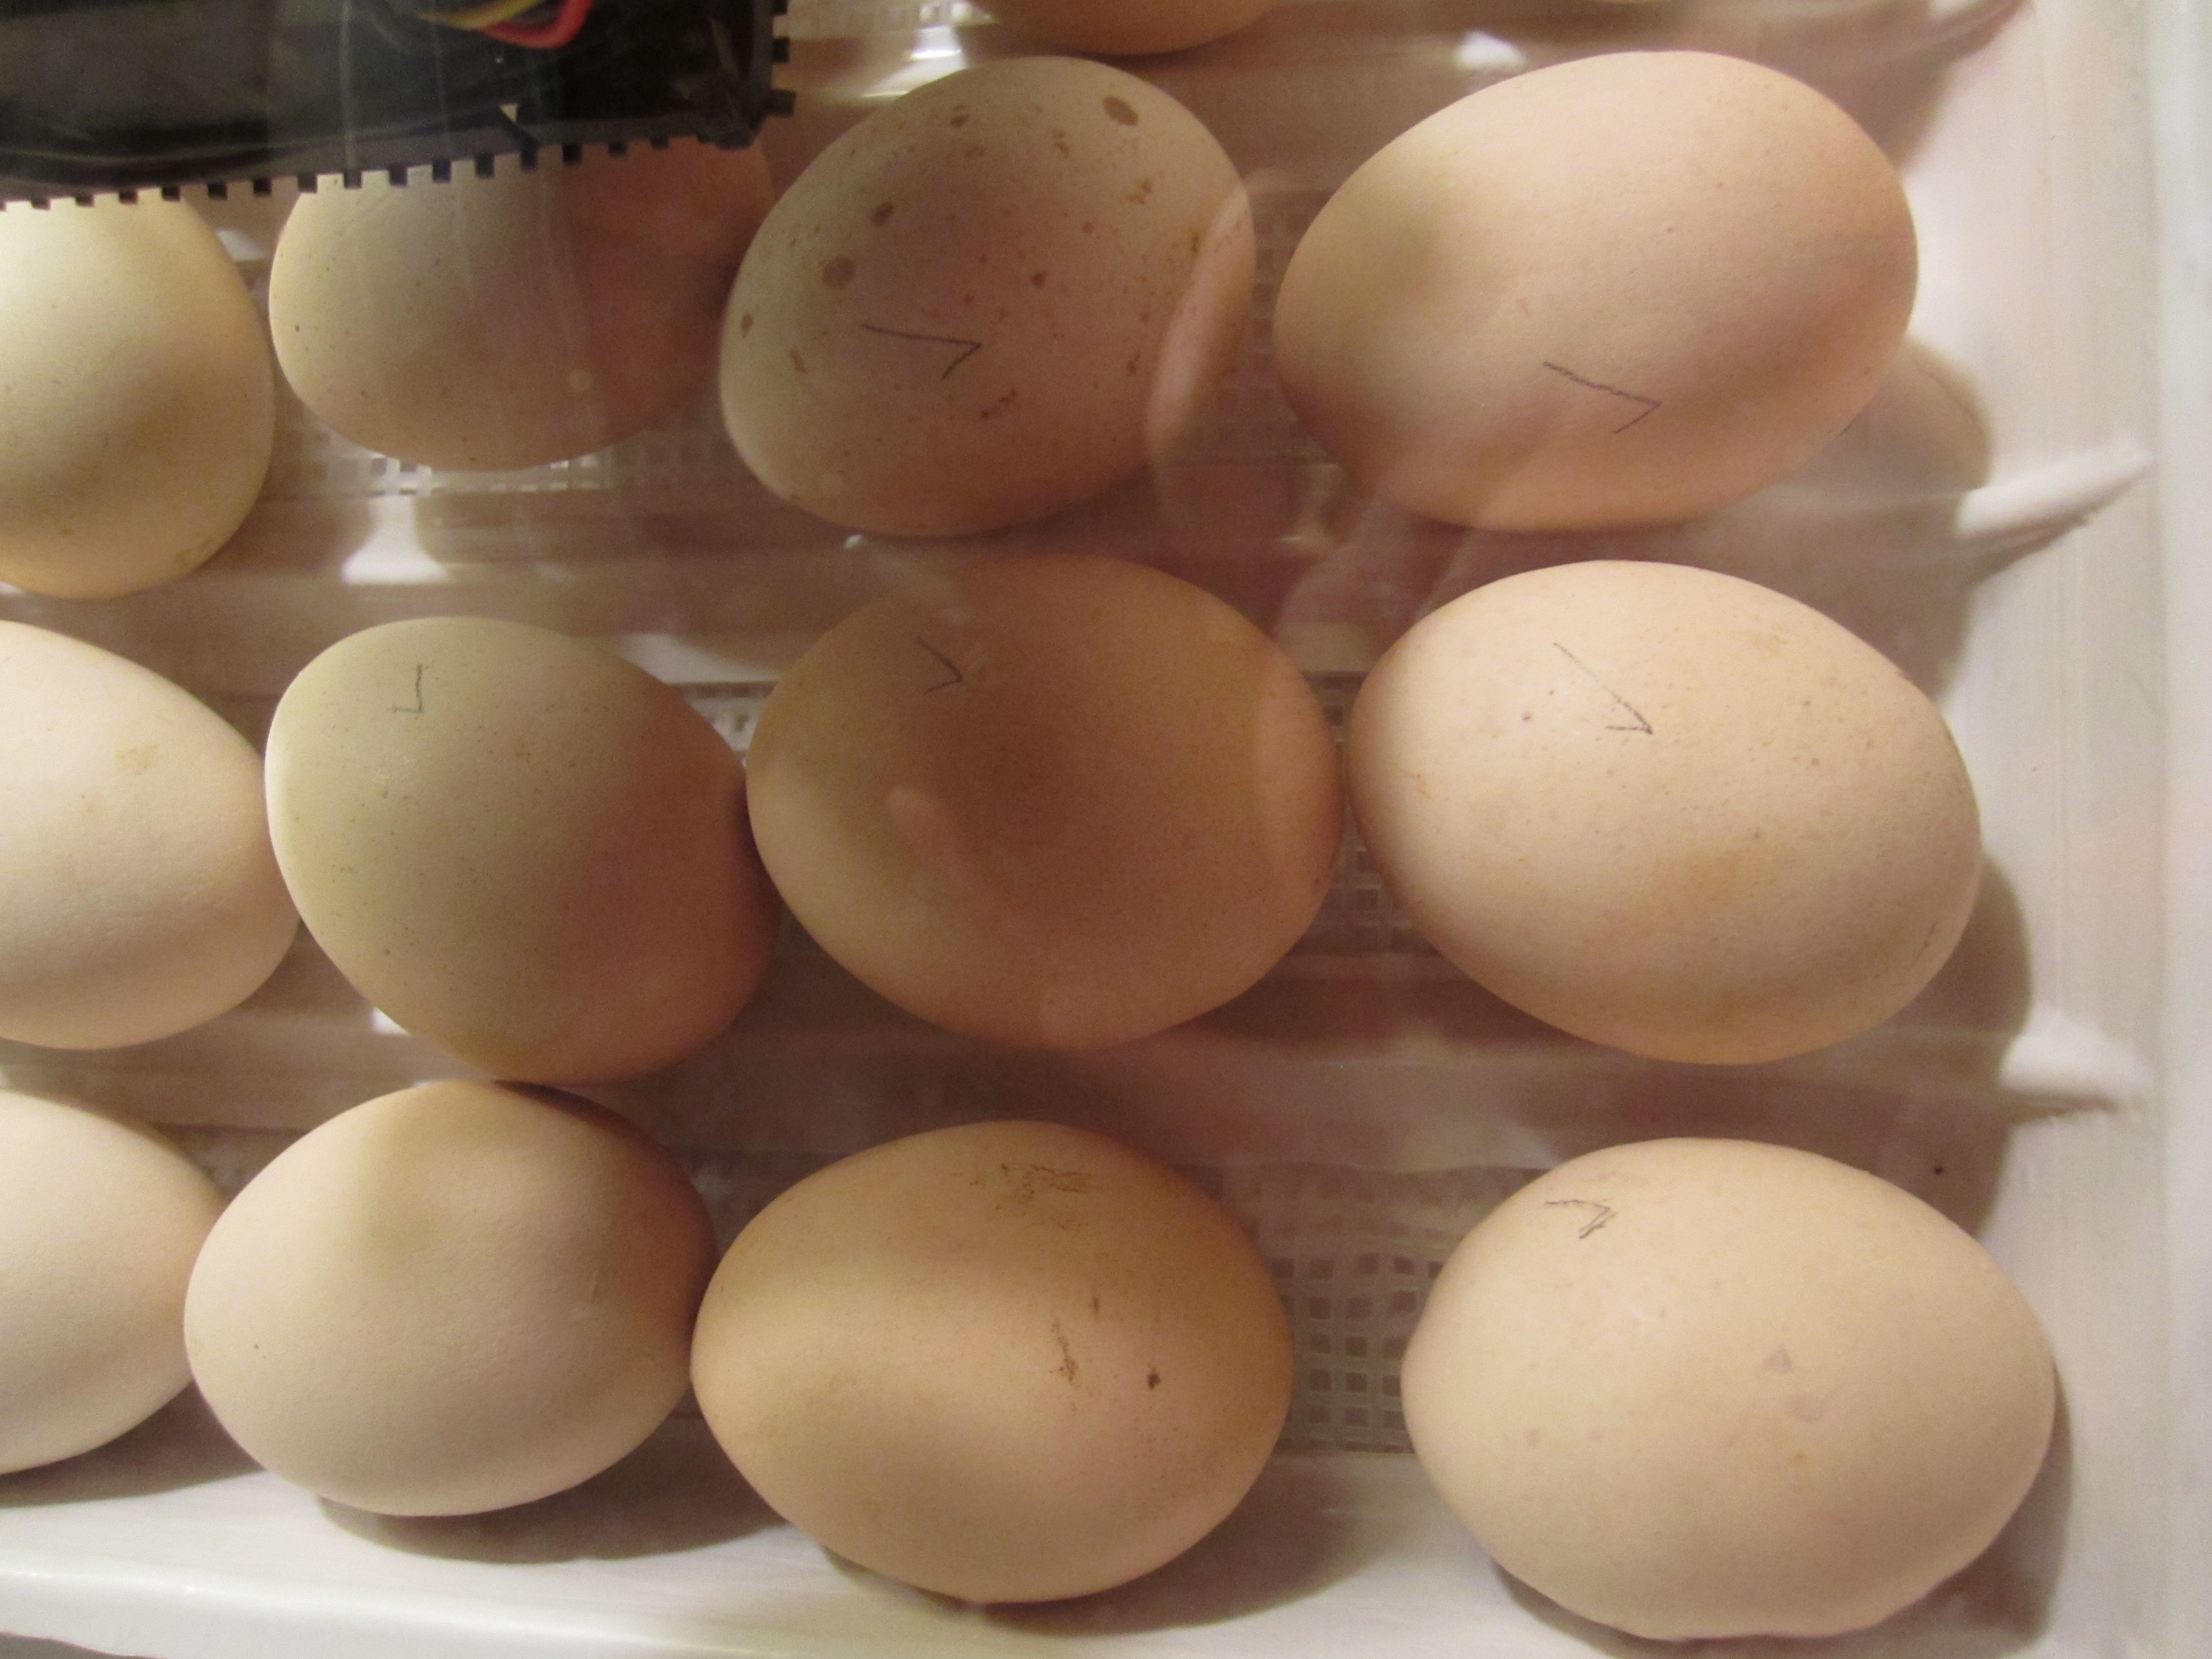
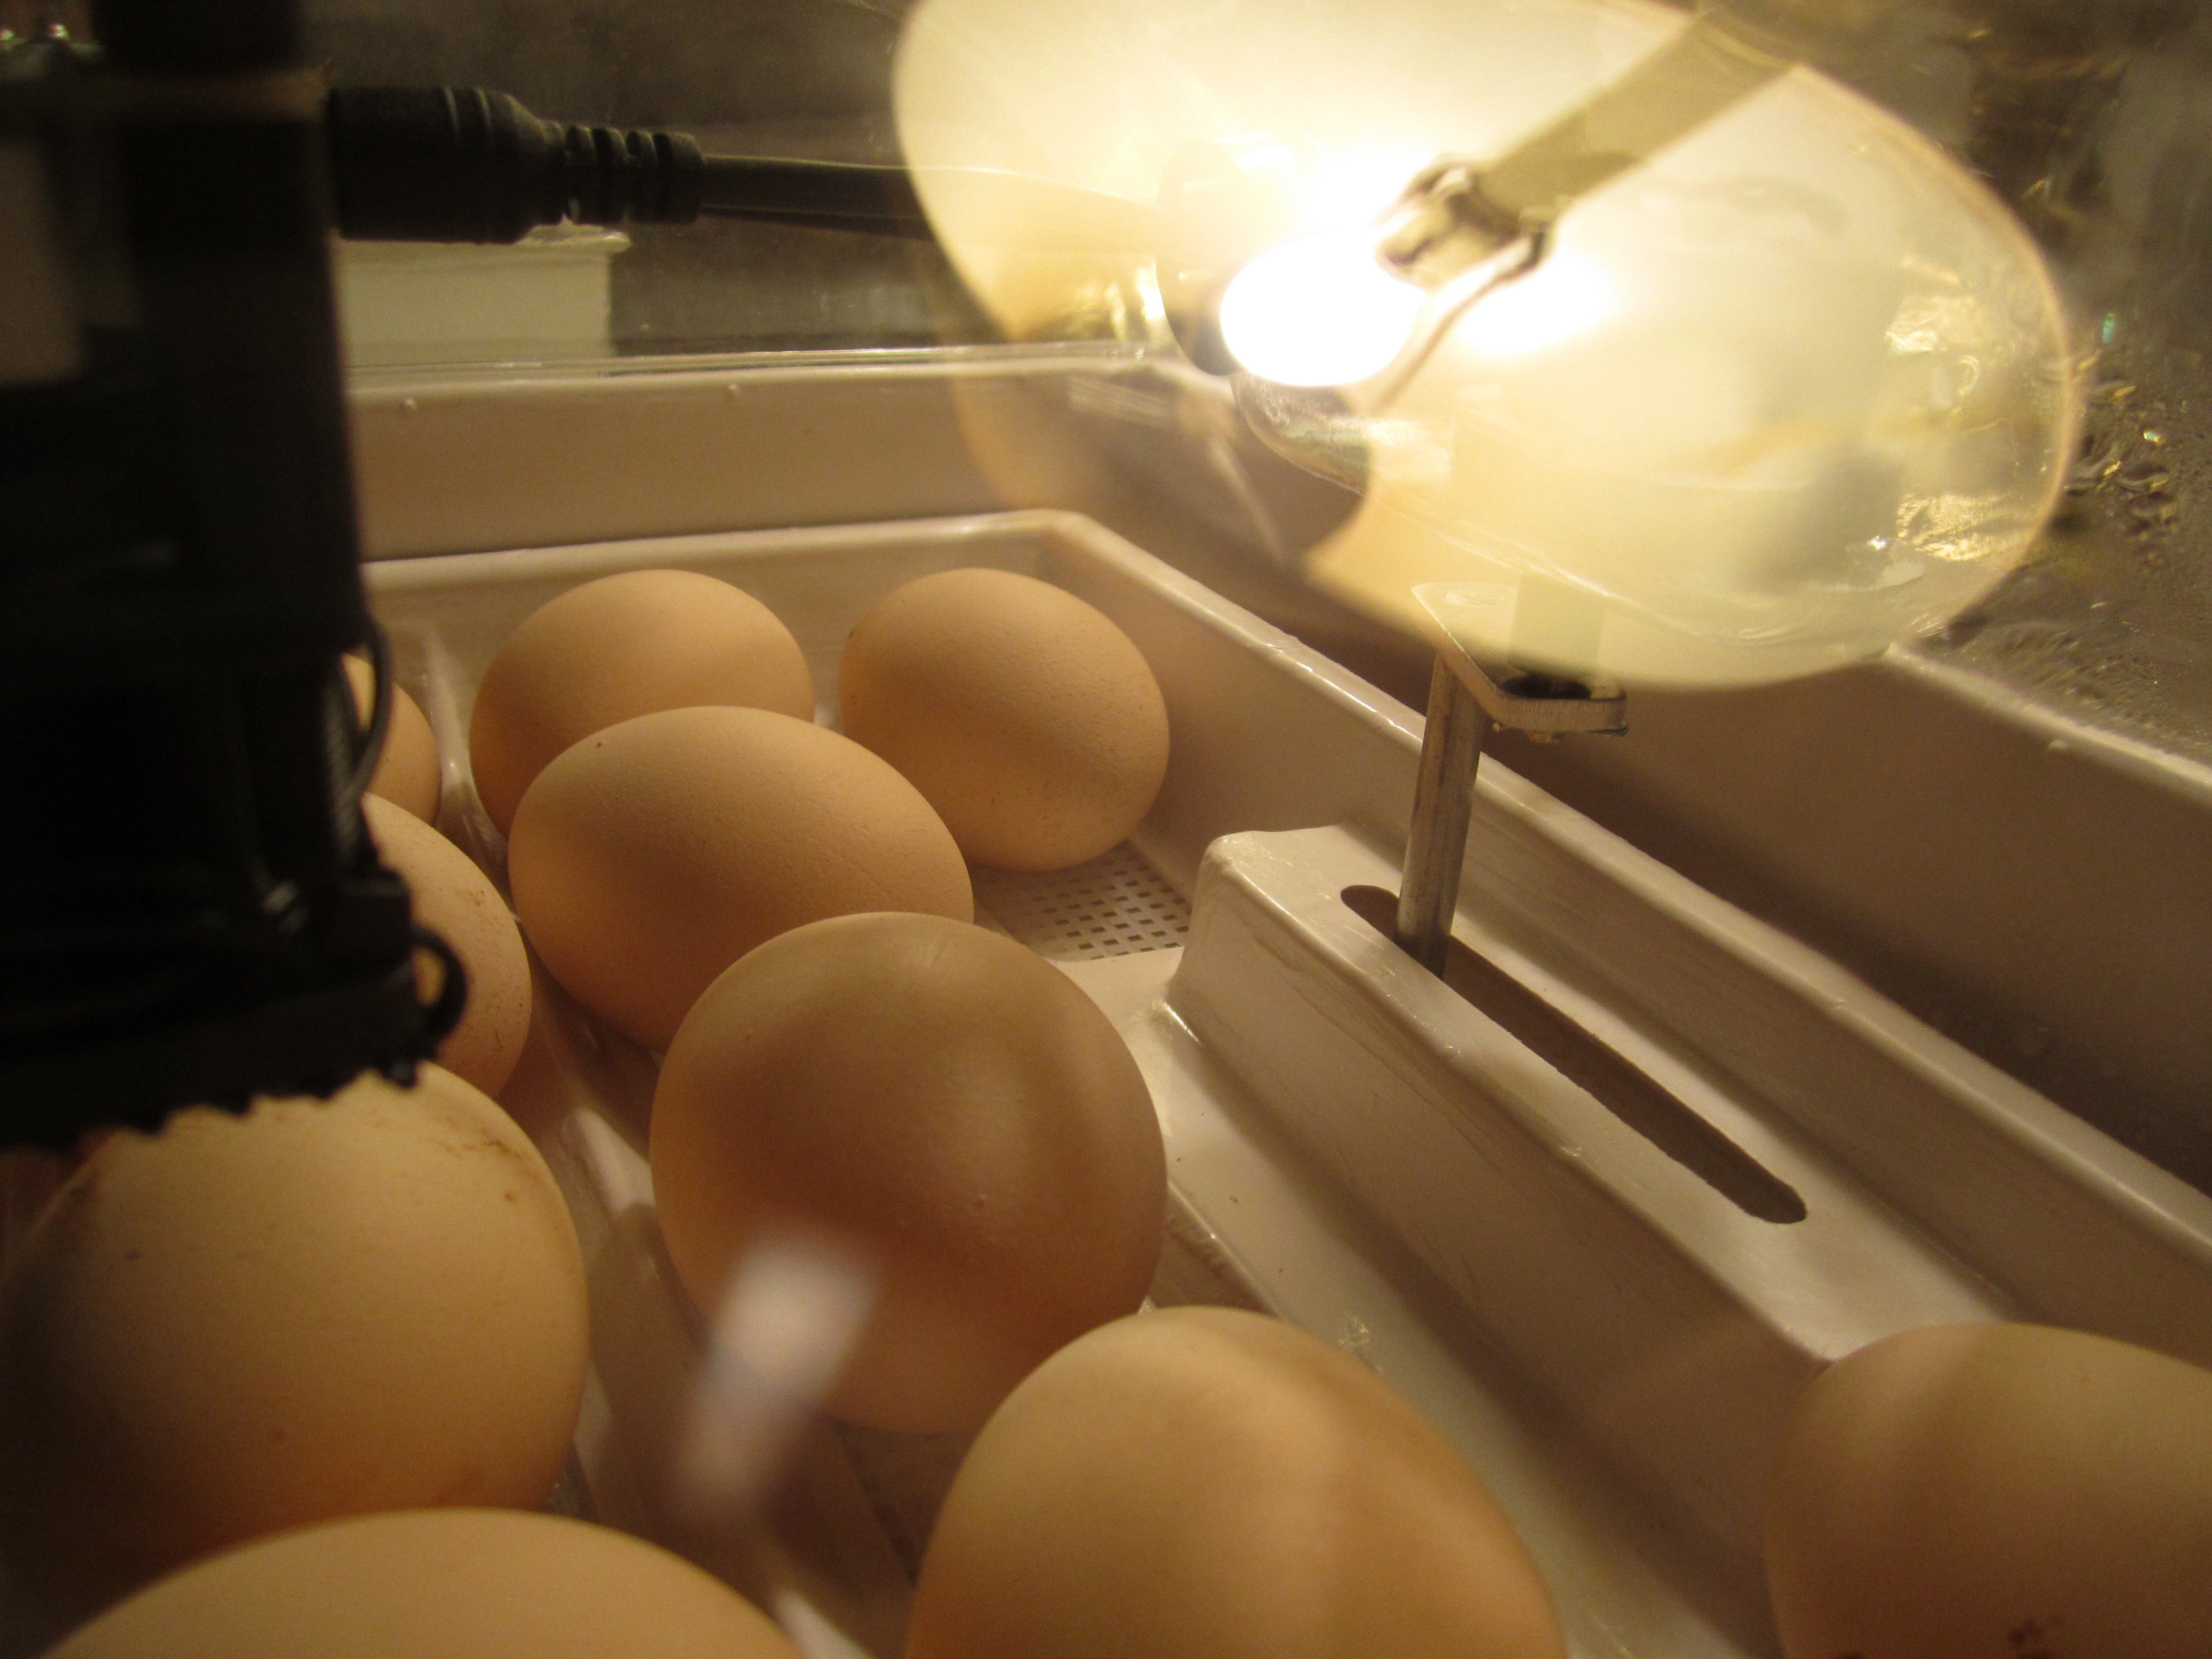
which leads me to the third type of chicken i want to talk about: a broody chicken! we have three hens who are trying to sit on nests/eggs right now and a few days ago we officially labeled their eggs (marking them with pencil) and let them stay on their nests! one standard is sitting on 7 standard sized eggs, one bantam is sitting on 2 bantam eggs, and another bantam is sitting on 2 standard eggs and 1 bantam egg. i’ve placed a piece of cardboard behind their nest boxes so that the sun doesn’t shine in on them and make them too hot.
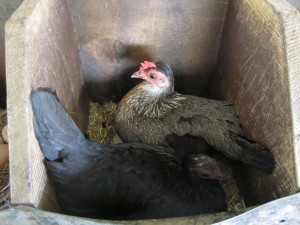
two bantams sitting on eggs.
an unlikely duo: a bantam and a standard.
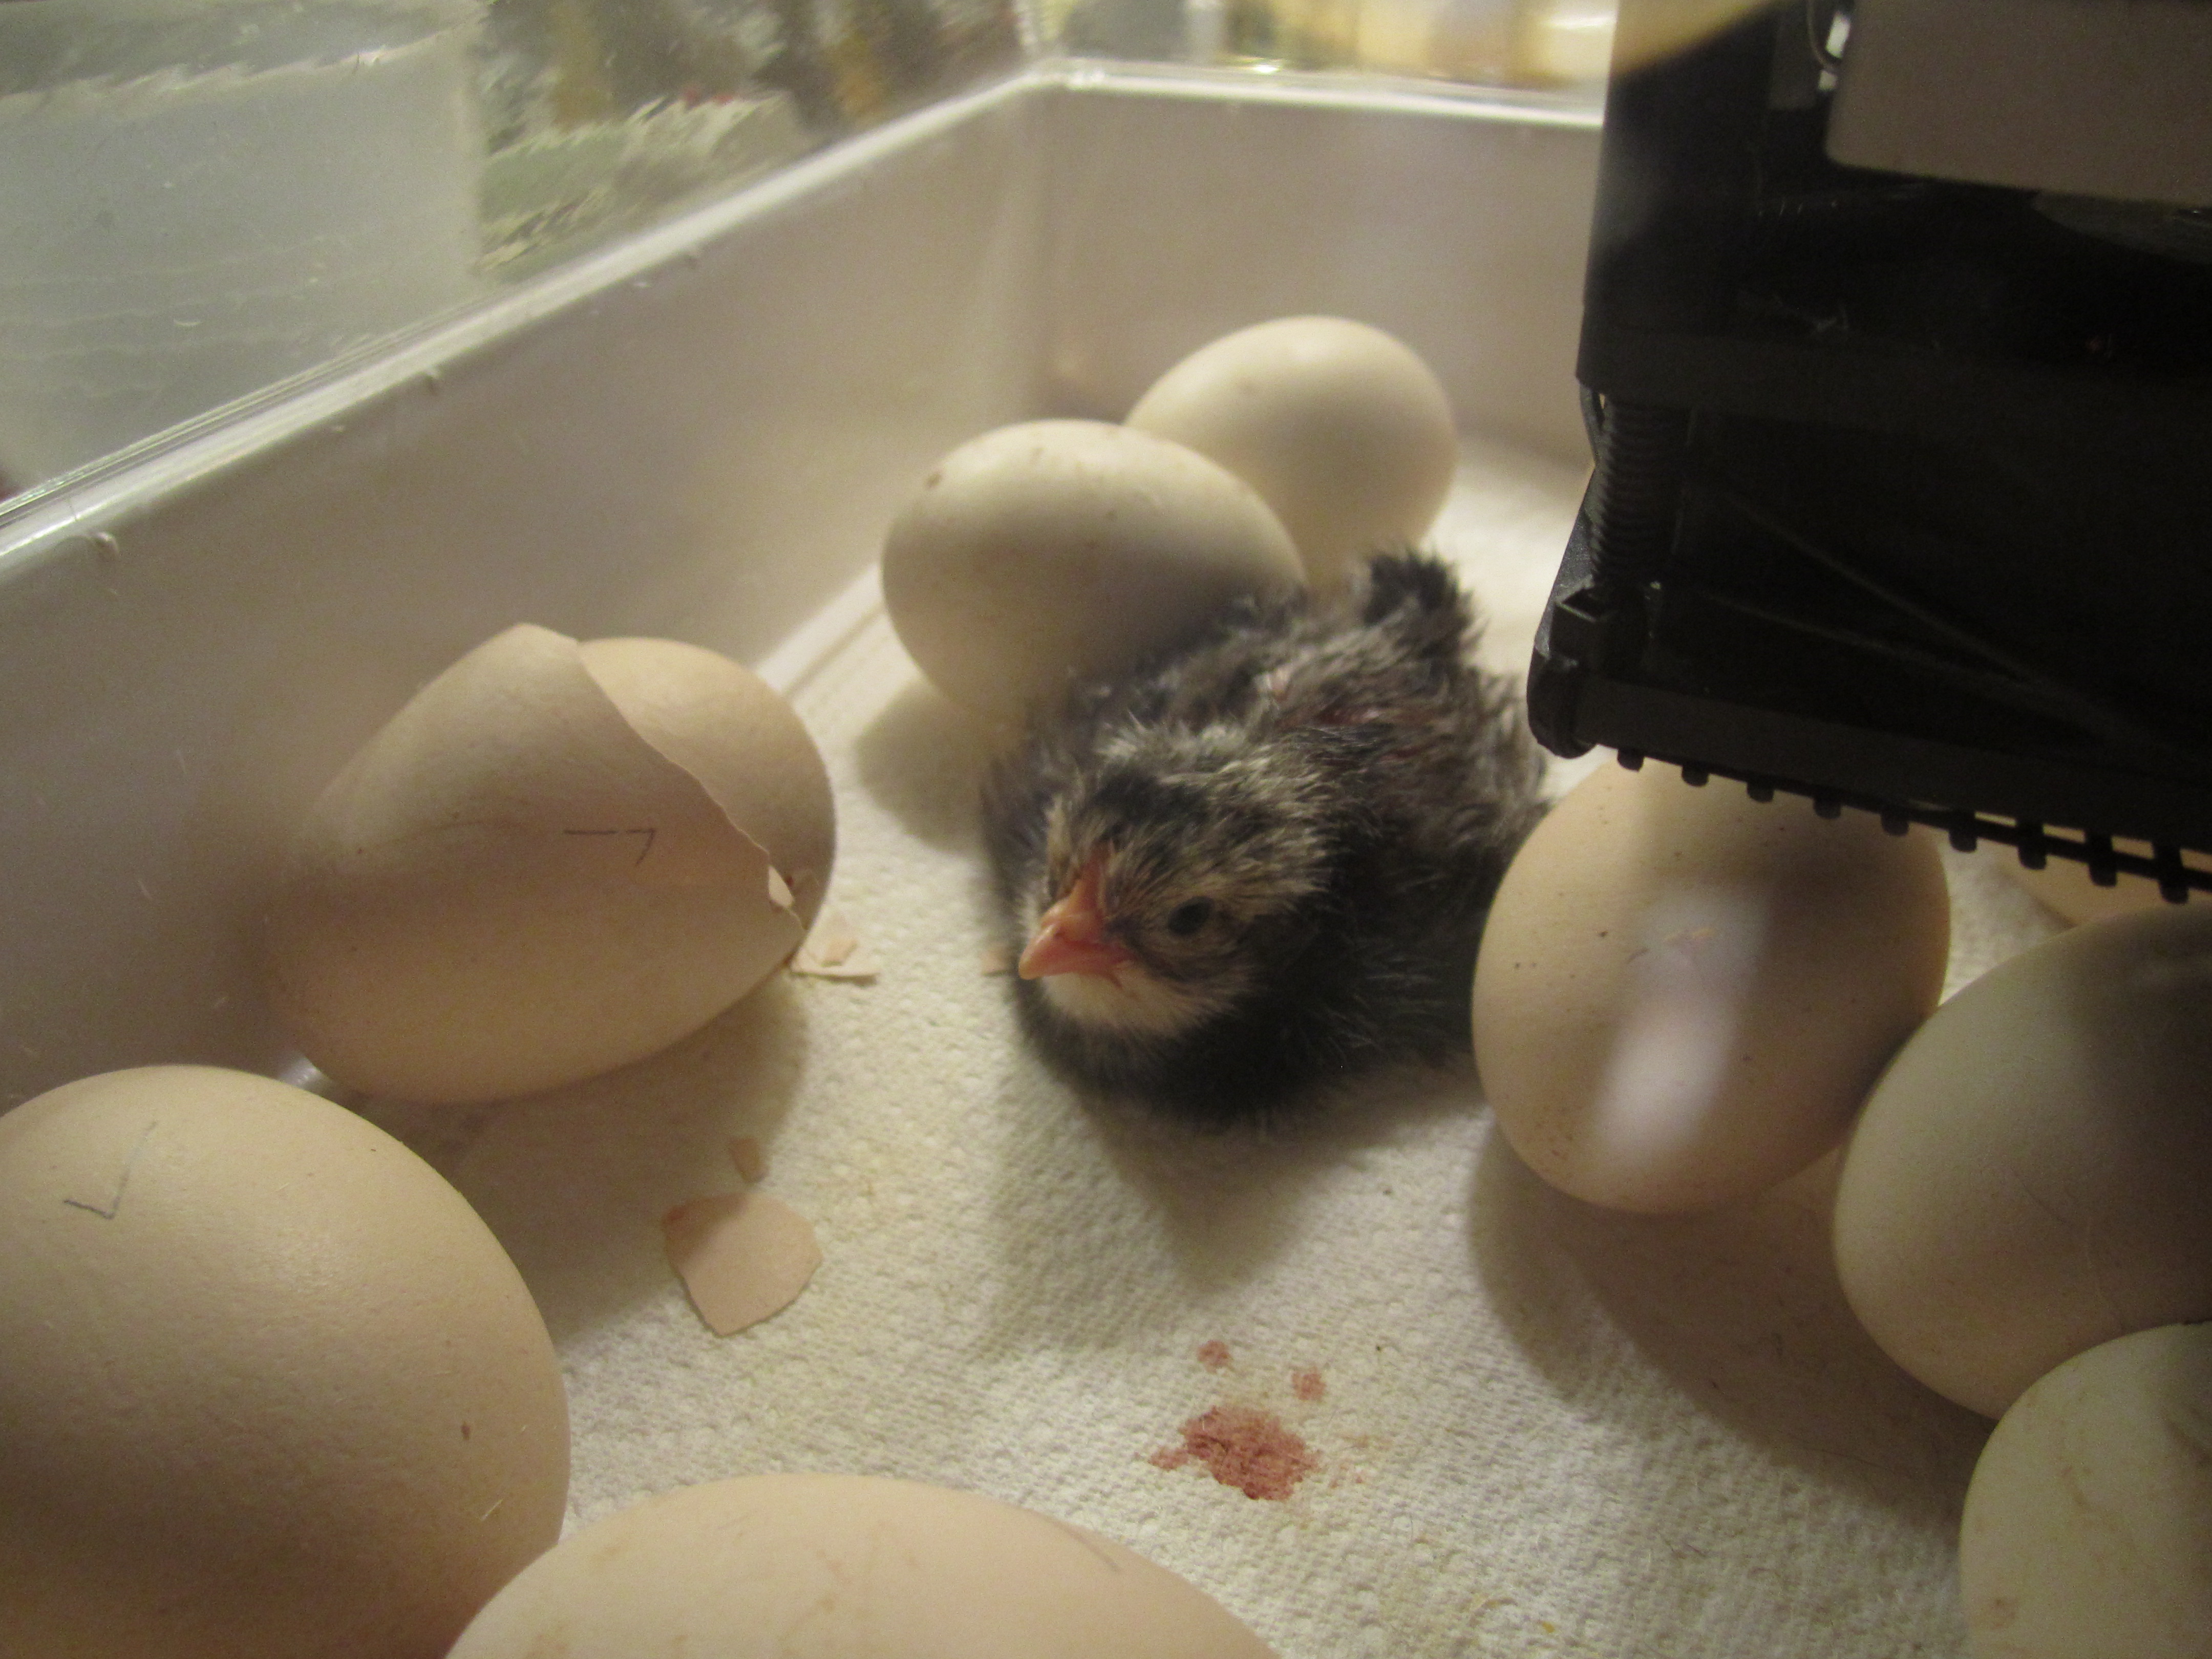
everyday i’ve collected the fresh eggs out from under the three hens (much to their chagrin) but left the eggs they’ve been sitting on. we hope they will remain broody and vigilant! if all goes well, we might be meeting up to 12 baby chicks as early as the 26th of may. cross your fingers for us!
.:.