KW Homestead

Pasture Raised Poultry & Edible Landscaping Plants Since 2013

Tag: harvesting (page 2 of 2)

red onions galore!

this post is to show one of the delicious crops that my father raised this year… red bulb onions!

he’s been growing onions ever since i can remember, and i have never seen the onions get as big as they have this year. impressive, dad!

in the past, he grew a red, a white, and a yellow bulb variety but after seeing how much larger the red onions got this year than the other varieties, he’s planning on only growing the red onions from now on.

my dad's red onion and garlic crop this year, drying before being stored.

my dad’s red onion and garlic crop this year, drying before being stored.

we went to visit for father’s day, and he sent us home with a bag of crunchy and intense bulbs. i’ve been enjoying them in salads and we’ve even munched on a few slices raw… they are so juicy and crunchy!

look at the size of those babies!

look at the size of those babies!

.:.

cabbage: a salad and sauerkraut experience!

just the other day we harvested our first two cabbages from the garden. we were both surprised at how large they grew. we rescued them just in time–before the bugs really got them. for now, it looks like our other cabbages might not make it past the bugs.

but we’re glad to have gotten two of them to eat! we used the larger, nicer head for mixing into our salads and just simply munching. fresh cabbage sure is wonderful!

our first head of cabbage!

our first head of cabbage!

we cut the other head up into small strips and jason is using it for our first batch of lacto-fermented sauerkraut. my aunt makes awesome sauerkraut and she’s actually made some for our wedding (out of red cabbage). we can’t wait to try it! in the meantime, jason continues to check the progress of our little sauerkraut batch to see when it is time to take it from room temperature to the fridge.

slicing cabbage for salads and sauerkraut.

slicing cabbage for salads and sauerkraut.

next up on the lacto-fermenting menu… tons and tons of pickled greenbeans! my favorite!

.:.

harvesting garlic scapes: get the soup pot ready!

in yesterday’s post, jason mentioned our newest version of our savory venison stew. one of the ingredients that really made the stew a success was our homegrown garlic scapes!

just as we harvested chamomile the other day, we also harvested our garlic scapes. not only are the scapes delicious, but they must be cut in order for the garlic bulbs to grow larger and into the garlic bulbs you imagines when thinking of garlic. jason explains why this in the case in the video below, and shows you how to go about cutting those garlic scapes! enjoy!

.:.

chinese baskets: the cool colander that really could!

i want to take a moment to explain a great resource for gardening and homesteading that i love to use. i learned about these lovely items from my father, who has used them since i was a child, picked up at the local asian grocery store.

they are… awesome, plastic, chinese baskets! in actuality, they seem to be colanders, but they come in various sizes and dimensions and i’ve found that they can be used in versatile ways.

the first harvest: sweet potatoes waiting in a large colander to be cleaning

sweet potatoes waiting in a large colander to be cleaned

the largest colander we have is about 3 feet wide and 8 inches deep, and it is great for collecting crops in the garden or for washing crops in bulk outside with the hose or inside in the shower (especially leafy ones like lettuce or herbs).

we have other colanders that are just as wide but very shallow, and they can be used for washing vegetables as well, or as drying racks for herbs. in fact, we used them last year to dry our catnip, spearmint, and dill for storage. we also used the larger, deep, blue colander as a drying rack for our basil plants!

storing our harvest: you can see the large pink colander in the corner being used a drying rack.

storing our harvest: you can see two large pink colanders being used as drying racks for herbs and the deep, blue colander for drying part of last year’s basil harvest.

i love my chinese baskets, and i have never seen anything like them except at asian grocery stores. i’ve even looked on amazon and i still can’t find anything as wonderful as they are! perhaps it’s because i don’t know their correct name… so if you do know, please comment about it!

.:.

from plant to pesto: basil and its promises

basil, basil, basil!

rare is the person who doesn’t use basil in their cooking! jason and i use basil in heavy quantities, especially in soups, beer breads, pesto pasta salads, and most especially fresh in stir fries during the summer and fall!

basil

photo courtesy of bethcoll

although we may think of basil as an italian herb, it originates from india! there are different sorts of basil, of course; the variety that we grow and that most people use in italian cooking is called “sweet basil.” the specific “sweet basil” variety that we planted in 2013 and plan to plant again this year is called genovese.

basil also has health benefits (of course!). the essential oils found in basil have been found to be antiviral, antimicrobial, antifungal, and might even fight cancer. exciting! it certainly is delicious, and basil and its sibling species are cultivated by people all over the world.

the time is nearing for us to plant another round of basil “bushes,” and we still have a good bit left of our harvest from last year! this is because our processing and storing of last year’s crop was simple and not time consuming. therefore we were able to store it all without wasting any.

my mother taught me how to make pesto many years ago, and making pesto can be a great way to store basil (she uses walnuts instead of pine nuts), but she also taught me an even simpler and more long-term versatile way to “keep” our basil for months and months. this way doesn’t require that you purchase parmesan, nuts, or other important pesto ingredients.

easy = basil + olive oil & put it in the freezer!

most of our basil is stored this way, with a few bags of dried basil (which is also super easy!) still left.

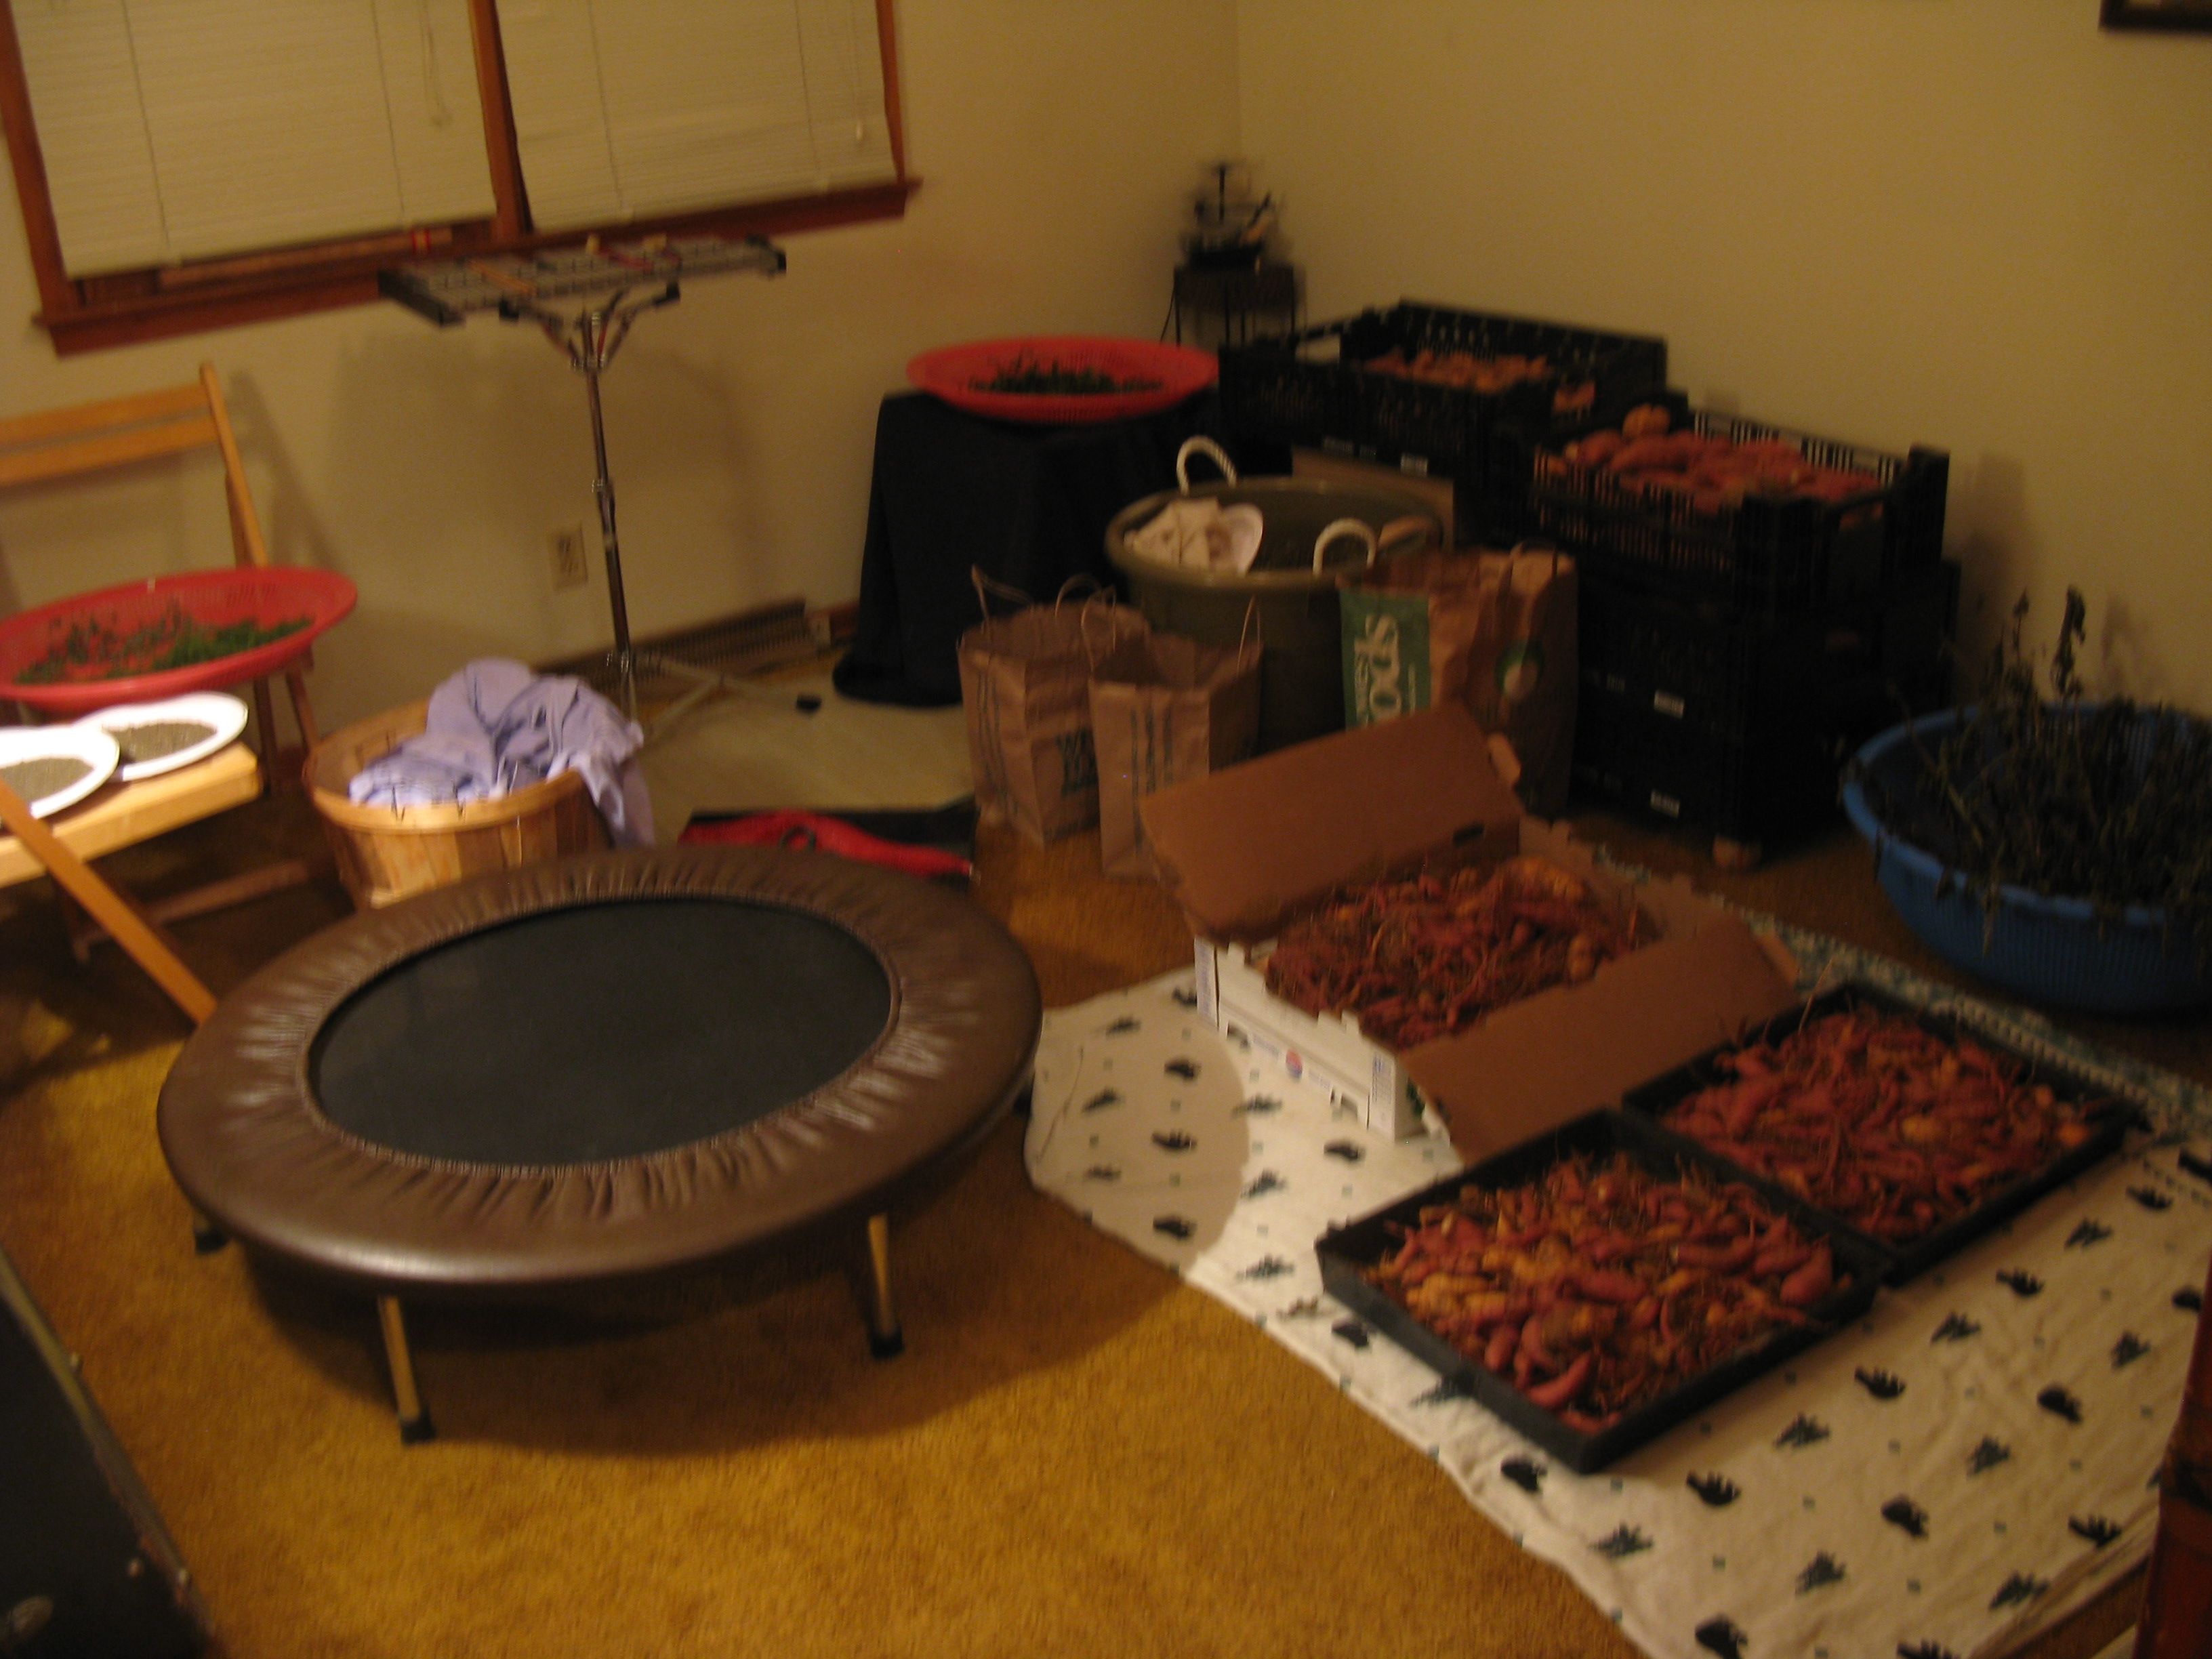
to freeze your basil, all you need to do is wash the leaves and pull them from the stems. jason and i prune our basil bushes periodically and process a little as we go through the growing season, but at the end we simply cut the entire basil bush and wash the whole bush with our shower’s spray nozzle. we have a huge colander (3 feet in diameter) that works great for when we are spraying the bushes down. then we set to pulling all of the leaves off by hand. the plus side: your fingers smell like delicious basil for days!

after we have gallons of loose basil leaves, we put them in our cuisinart food processor with some olive oil and blend away, making sure to add enough oil so that the mixture is a little bit slushy. this helps the basil freeze better and staves off any freezer burn that might happen after months in the ice box.

basil

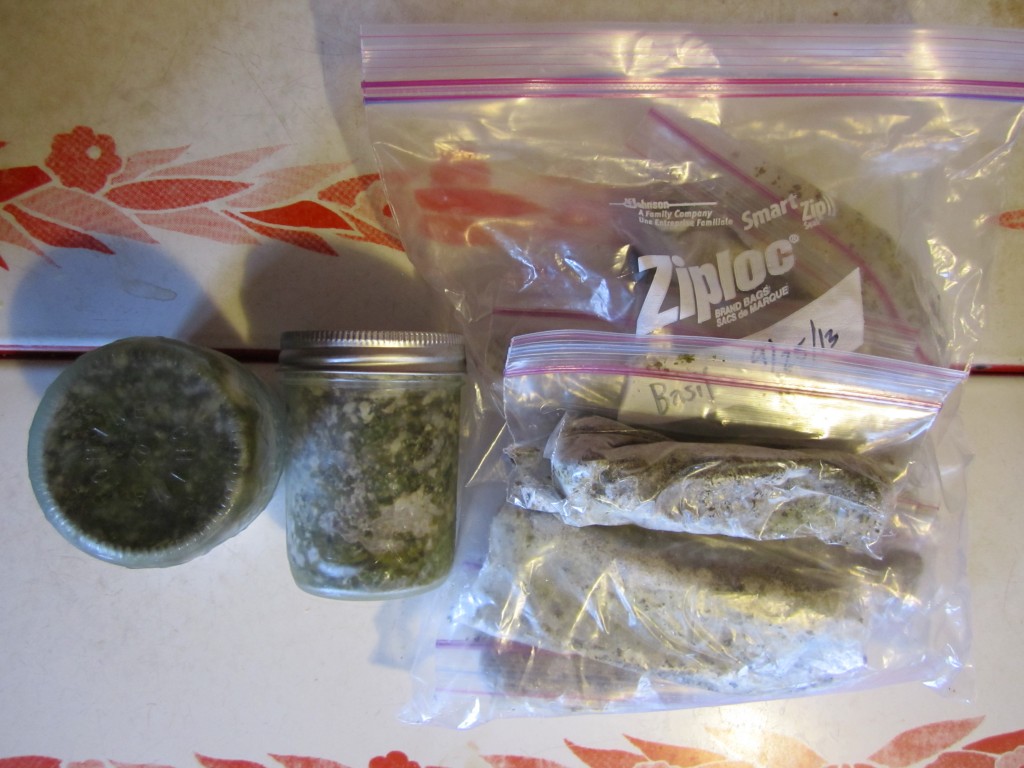
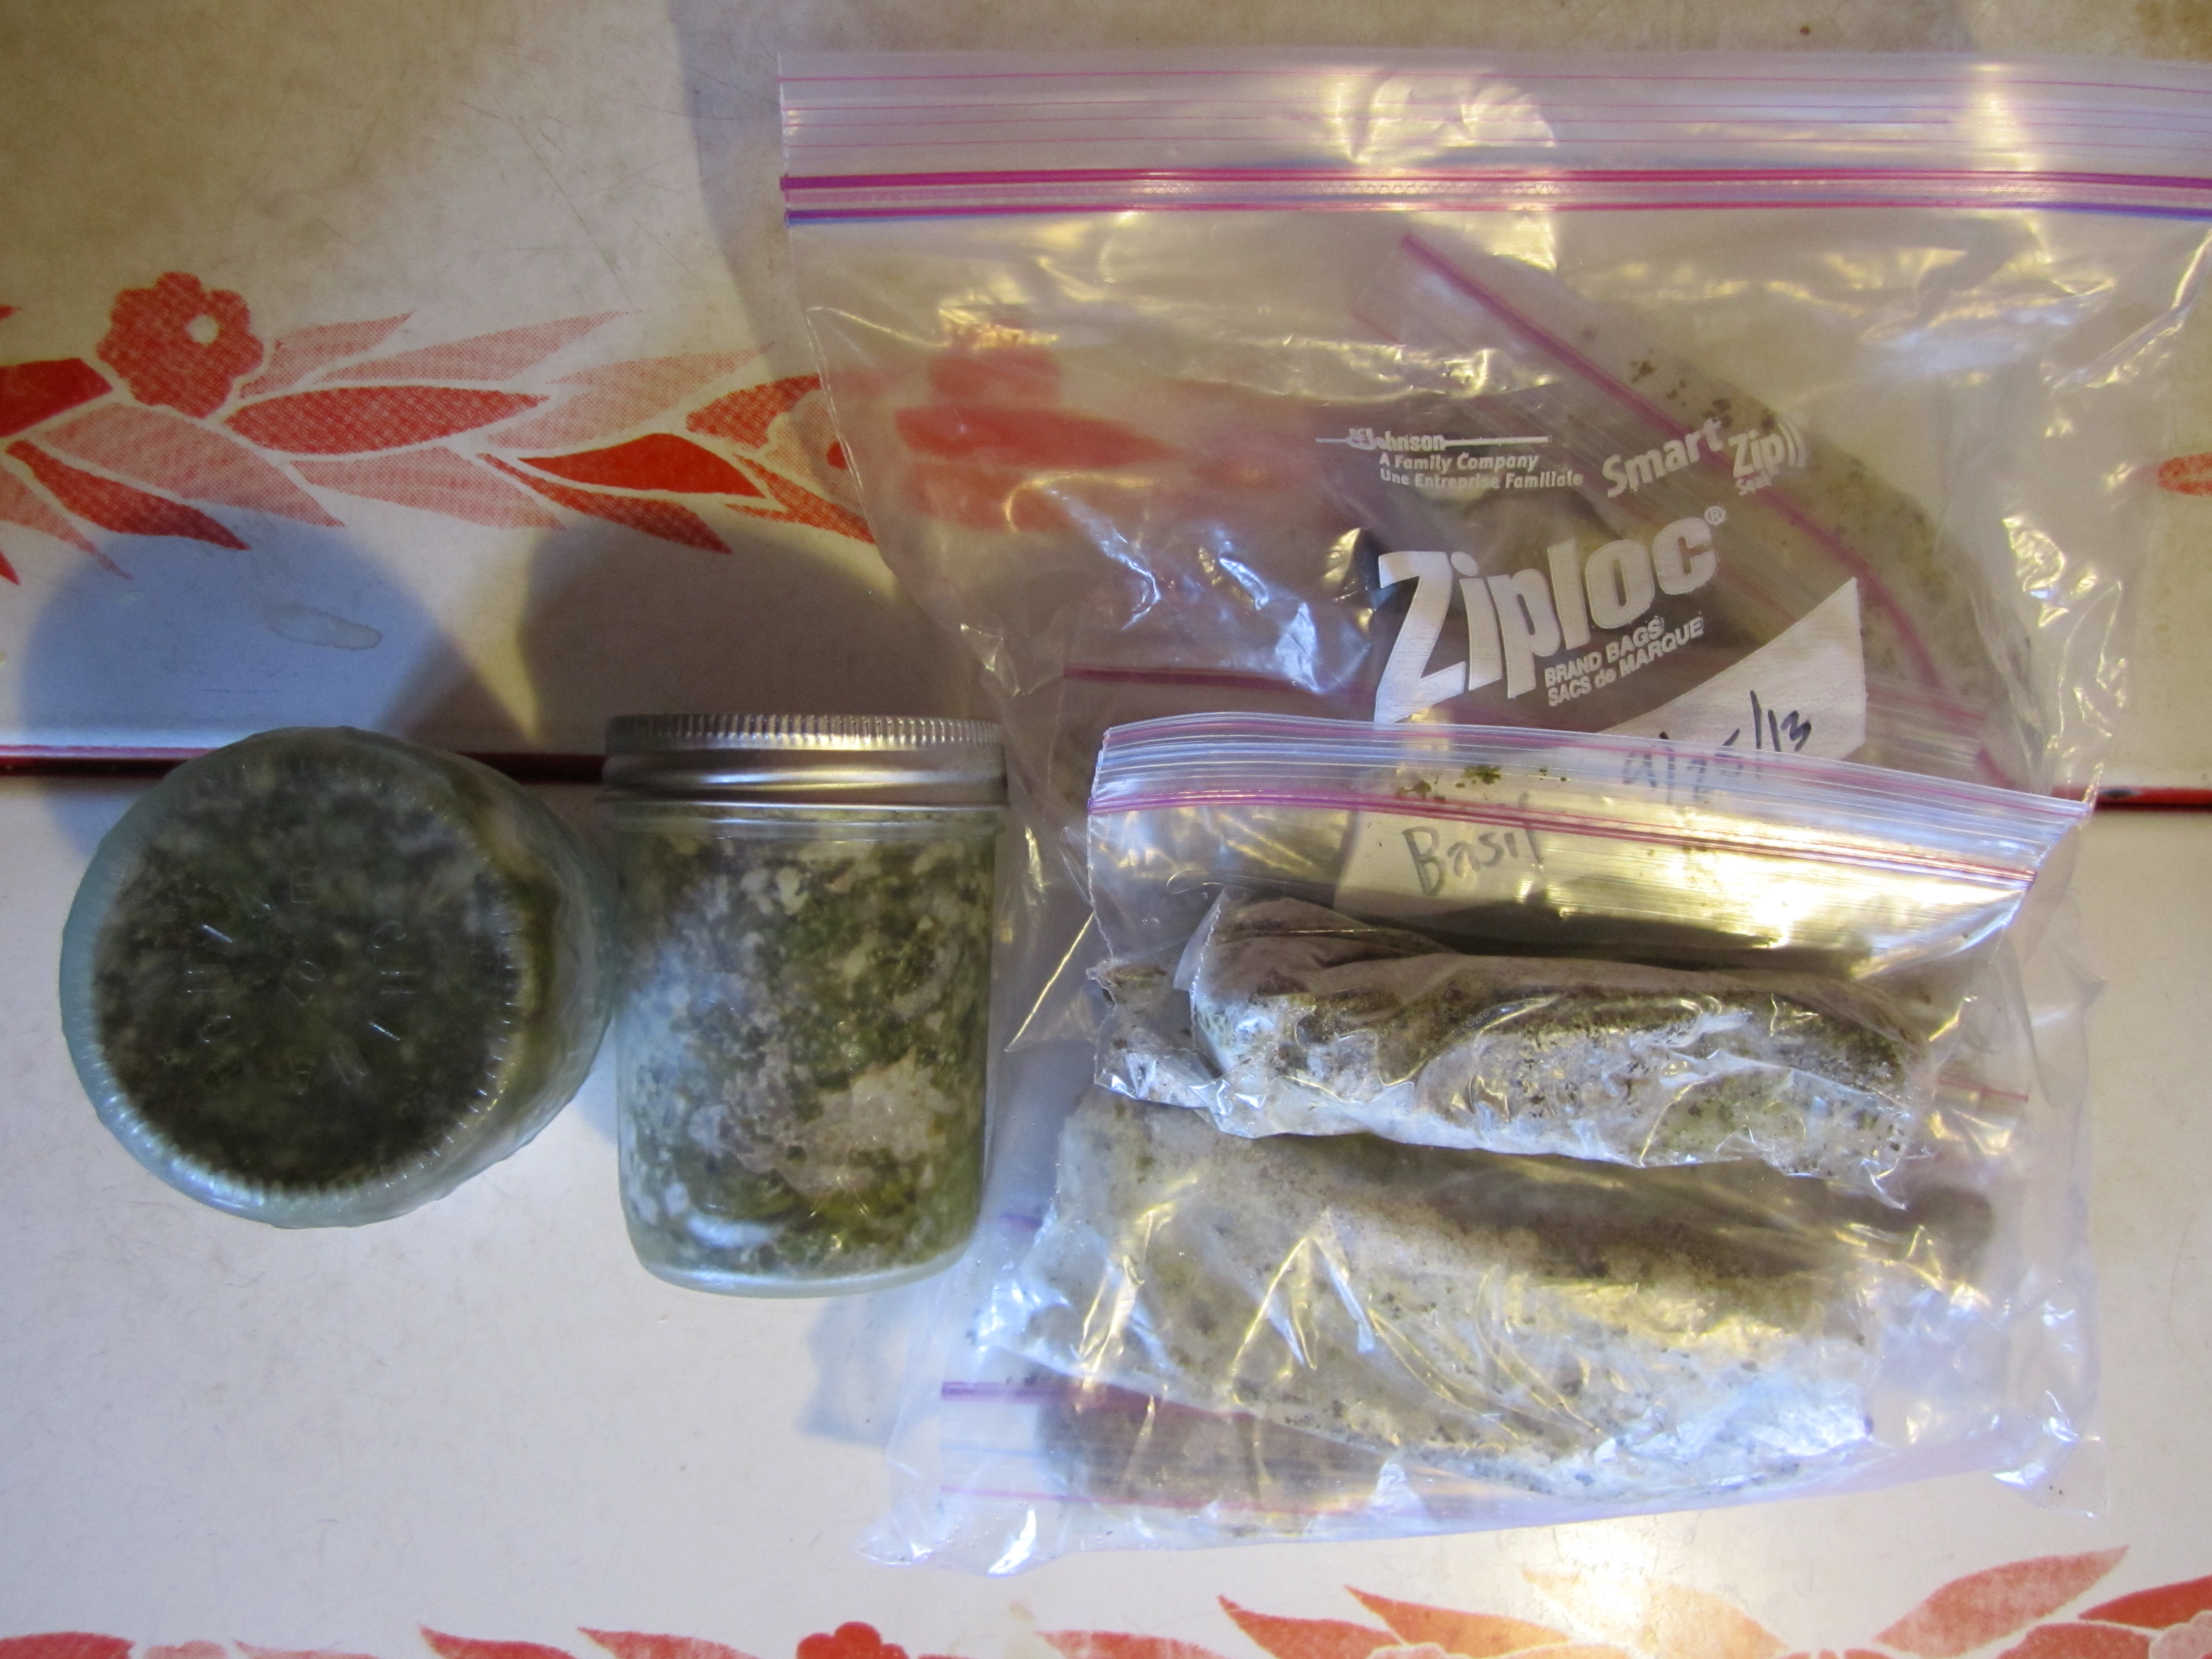
last september’s frozen basil: bagged and jarred

last september, after the big, last harvest, we stored the basil paste in two different ways: in small glass jars and in small ziploc bags (rolled and sealed to be sure all of the air was pushed out). out of these two storage methods, i much prefer the ziploc bags. here’s why: when i’m making a soup, pasta, or stir fry, all i have to do is get one of the bags out of the freezer, break off as mush basil-paste-ice-cube as i want, and put the rest away. this means i don’t have to thaw the paste before use, as i do with the paste that’s in the little glass jars. so convenient!

currently, we are trying to consume all of our stored basil before the fresh basil comes in. because, one thing is for certain: no matter how easy and versatile frozen or dried basil may be, the best is always fresh!

.:.

maple syrup icicles: an unexpected surprise

maple tree

our maple tree, showing its foliage in fall 2013

when we moved our chickens a few weeks ago, we decided to put their mobile pen and house underneath a small maple tree that we have in our front yard. in order to do this, i had to prune some of the smaller branches that came lower than my height, so that we could attach the bird netting to the top of the pen (keeping chickens in and swooping hawks out). without removing some of the smaller, downward growing limbs and twigs, the netting would have been tangled and ridiculously hard to hang up.

the pruning of the lovely maple and the hanging of the netting went off without a hitch, but i noticed something interesting the next morning…

the weather had been below freezing the night we pruned the tree and there were many little (and some not-so-little) icicles formed where we had cut off small limbs and twigs. some of these icicles were 6 or 7 inches long and remained all day. i broke off one and sampled it! and behold… nature’s first popsicle! i certainly tasted a faint sweetness in the frozen sap.

maple popsicle

a delicious maple popsicle, formed at the end of a trimmed twig

i’ve recently learned that one of the legends about how the native americans first discovered the sweet sap of the maple was by stumbling across icicles formed at the end of broken twigs, just like me!

whether or not this legend is true, i certainly learned a lesson that day: discovering things accidentally by doing and by experimenting (as we adapted our netting to work around the tree) is often the best way to learn new things. because while researching and just already knowing things is valuable, sometimes you just need a new “ah ha!” moment to get your gears turning.

now our gears are turning and we’re thinking… “what about harvesting sap from some of our maples to supply us with the delicious maple syrup that we love?”

and now the seed of a new idea has sprouted, watered by the experience of trying that maple tree popsicle!

.:.

sweet potatoes: jewels of the soil

we have been eating so many of our sweet potatoes this winter, both baked as warm, delicious snacks, or made into my delicious sweet potato ginger soup.

this fall, we had a sweet potato yield of about 12o pounds. this is more than we expected since, frankly, we didn’t really know what to expect because this was our first time growing them.

the recommended planting dates for sweet potatoes in our region are may 15-june 15 and our plants went in the ground on june 11, 2013. the 100+ plants were given to us by my father, and jason planted them 3-6″ deep in two of our raised beds. each plant was 12″ apart within rows, and 36-42″ apart between rows.

the first harvest day: halfway harvested and halfway to go

the first harvest day: halfway harvested and halfway to go

within a few months, the vines went crazy and flourished. we had a small issue with a groundhog who was trying to munch on the vines, but jason dealt with that effectively.

since the average number of days until maturity for sweet potatoes is 105-135 days, we decided to wait until the later end of that spectrum, hoping for larger potatoes. i harvested the first half of the sweet potatoes in mid-october and jason and i harvested the other half together at the very end of october.

jason, placing freshly dug sweet potatoes in a box

jason, placing freshly dug sweet potatoes in a box

since the first frost of fall was on october 22, we cut all of the sweet potato vines off at the ground the night before to make sure that the frost wouldn’t run into the ground and damage the potatoes. this meant that the potatoes sat in the ground for about a week without their vines, which is not a cause for alarm. still, the sooner you harvest the potatoes after cutting off their vines, the better.

i harvested the first half on a harvest day, according to blum’s farmer’s and planter’s almanac. i also encountered a black widow while i dug up the vines, and learned later that black widows love sweet potato vines more than many other hiding spots. be aware while digging up your potatoes of all kinds!

the first harvest: a bushel of potatoes waiting to be cleaned and sorted

the first harvest: potatoes waiting to be cleaned and sorted

neither day that we harvested was sunny, so we did not leave them outside in the sun to cure. instead, we wiped as much dirt off of them as possible, sorted them by size (keeping the tiny potatoes for bolt to eat as treats), and stored them in our guest bedroom/farm room.

sweet potatoes sorted into crates

sweet potatoes sorted into crates

our harvest, stored in the farm room

our harvest, stored in the farm room


we’ve stacked them in multi-tiered, open-air crates to help with the curing and drying process. currently, 3 months later, most of the potatoes continue to store well and we intentionally choose the iffy ones to use first when cooking and baking.

we are proud of our first sweet potato crop and in 2014 we plan to plant even more sweet potato plants than last year! this year, when may comes, we’ll be ready to get those plants in the ground even earlier!

.:.

Newer posts

© 2024 KW Homestead

Theme by Anders NorenUp ↑