and yet another post about the amazing lion’s mane mushroom!
check out this video to learn more about how to prepare your mushroom for dinner!
enjoy!
.:.
and yet another post about the amazing lion’s mane mushroom!
check out this video to learn more about how to prepare your mushroom for dinner!
enjoy!
.:.
after what seemed like a very long and tiresome weekend, we were finally able to get back out in the garden and do some much needed picking!
our black plum and san marzano paste tomatoes are doing really well right now, and some of our cherokee purples are still making it.
also, the jalapenos have kicked off to an unbelievable degree (i got 20 large ones from one plant yesterday, still leaving tons of medium-sized and smaller ones)!
some of the cayennes were ripe and also some of our aji peppers (a delicious pepper that jason and i learned to love while we were in peru).

my heavy picking basket, filled with tomatoes, peppers, and some basil.
after picking,i estimated that i got about 20 pounds of these ingredients all together. i made a blended up, salsa-like concoction that we’ve frozen to use in sops and pastes in the future. it’s probably very spicy (considering the amount of jalapenos in it), so it will have to be added to other ingredients when we cook with it.
yum!
.:.
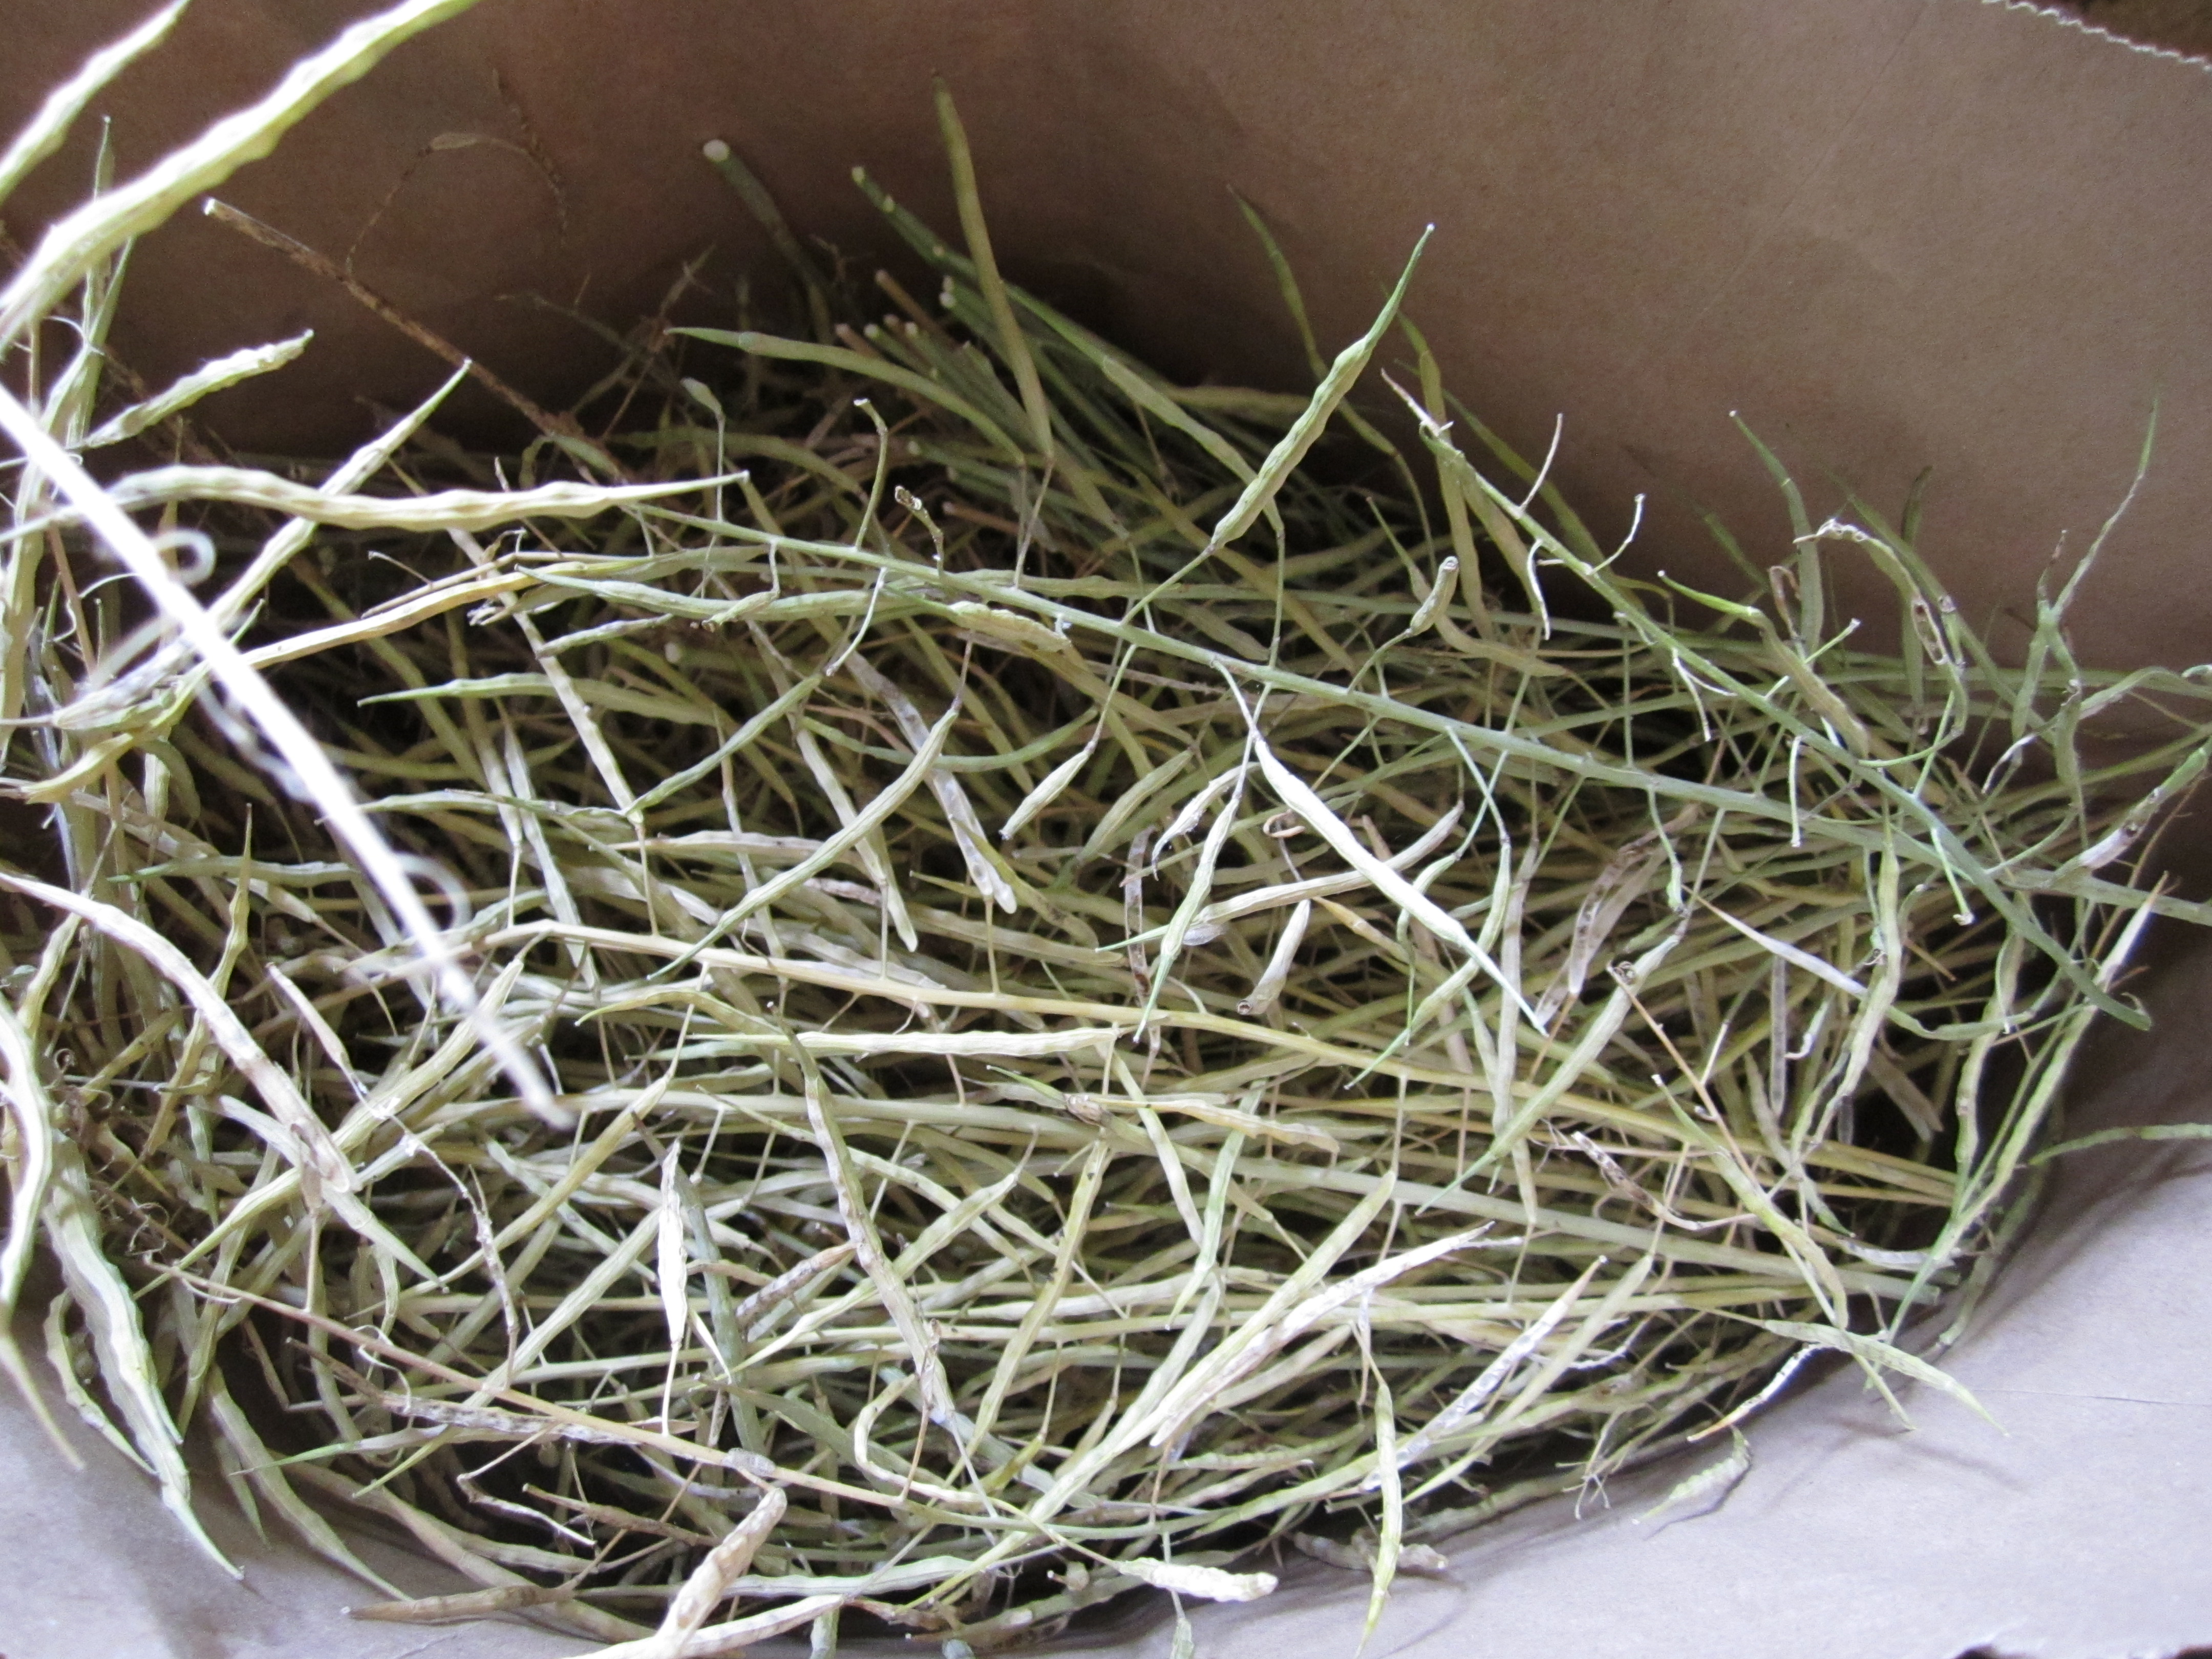
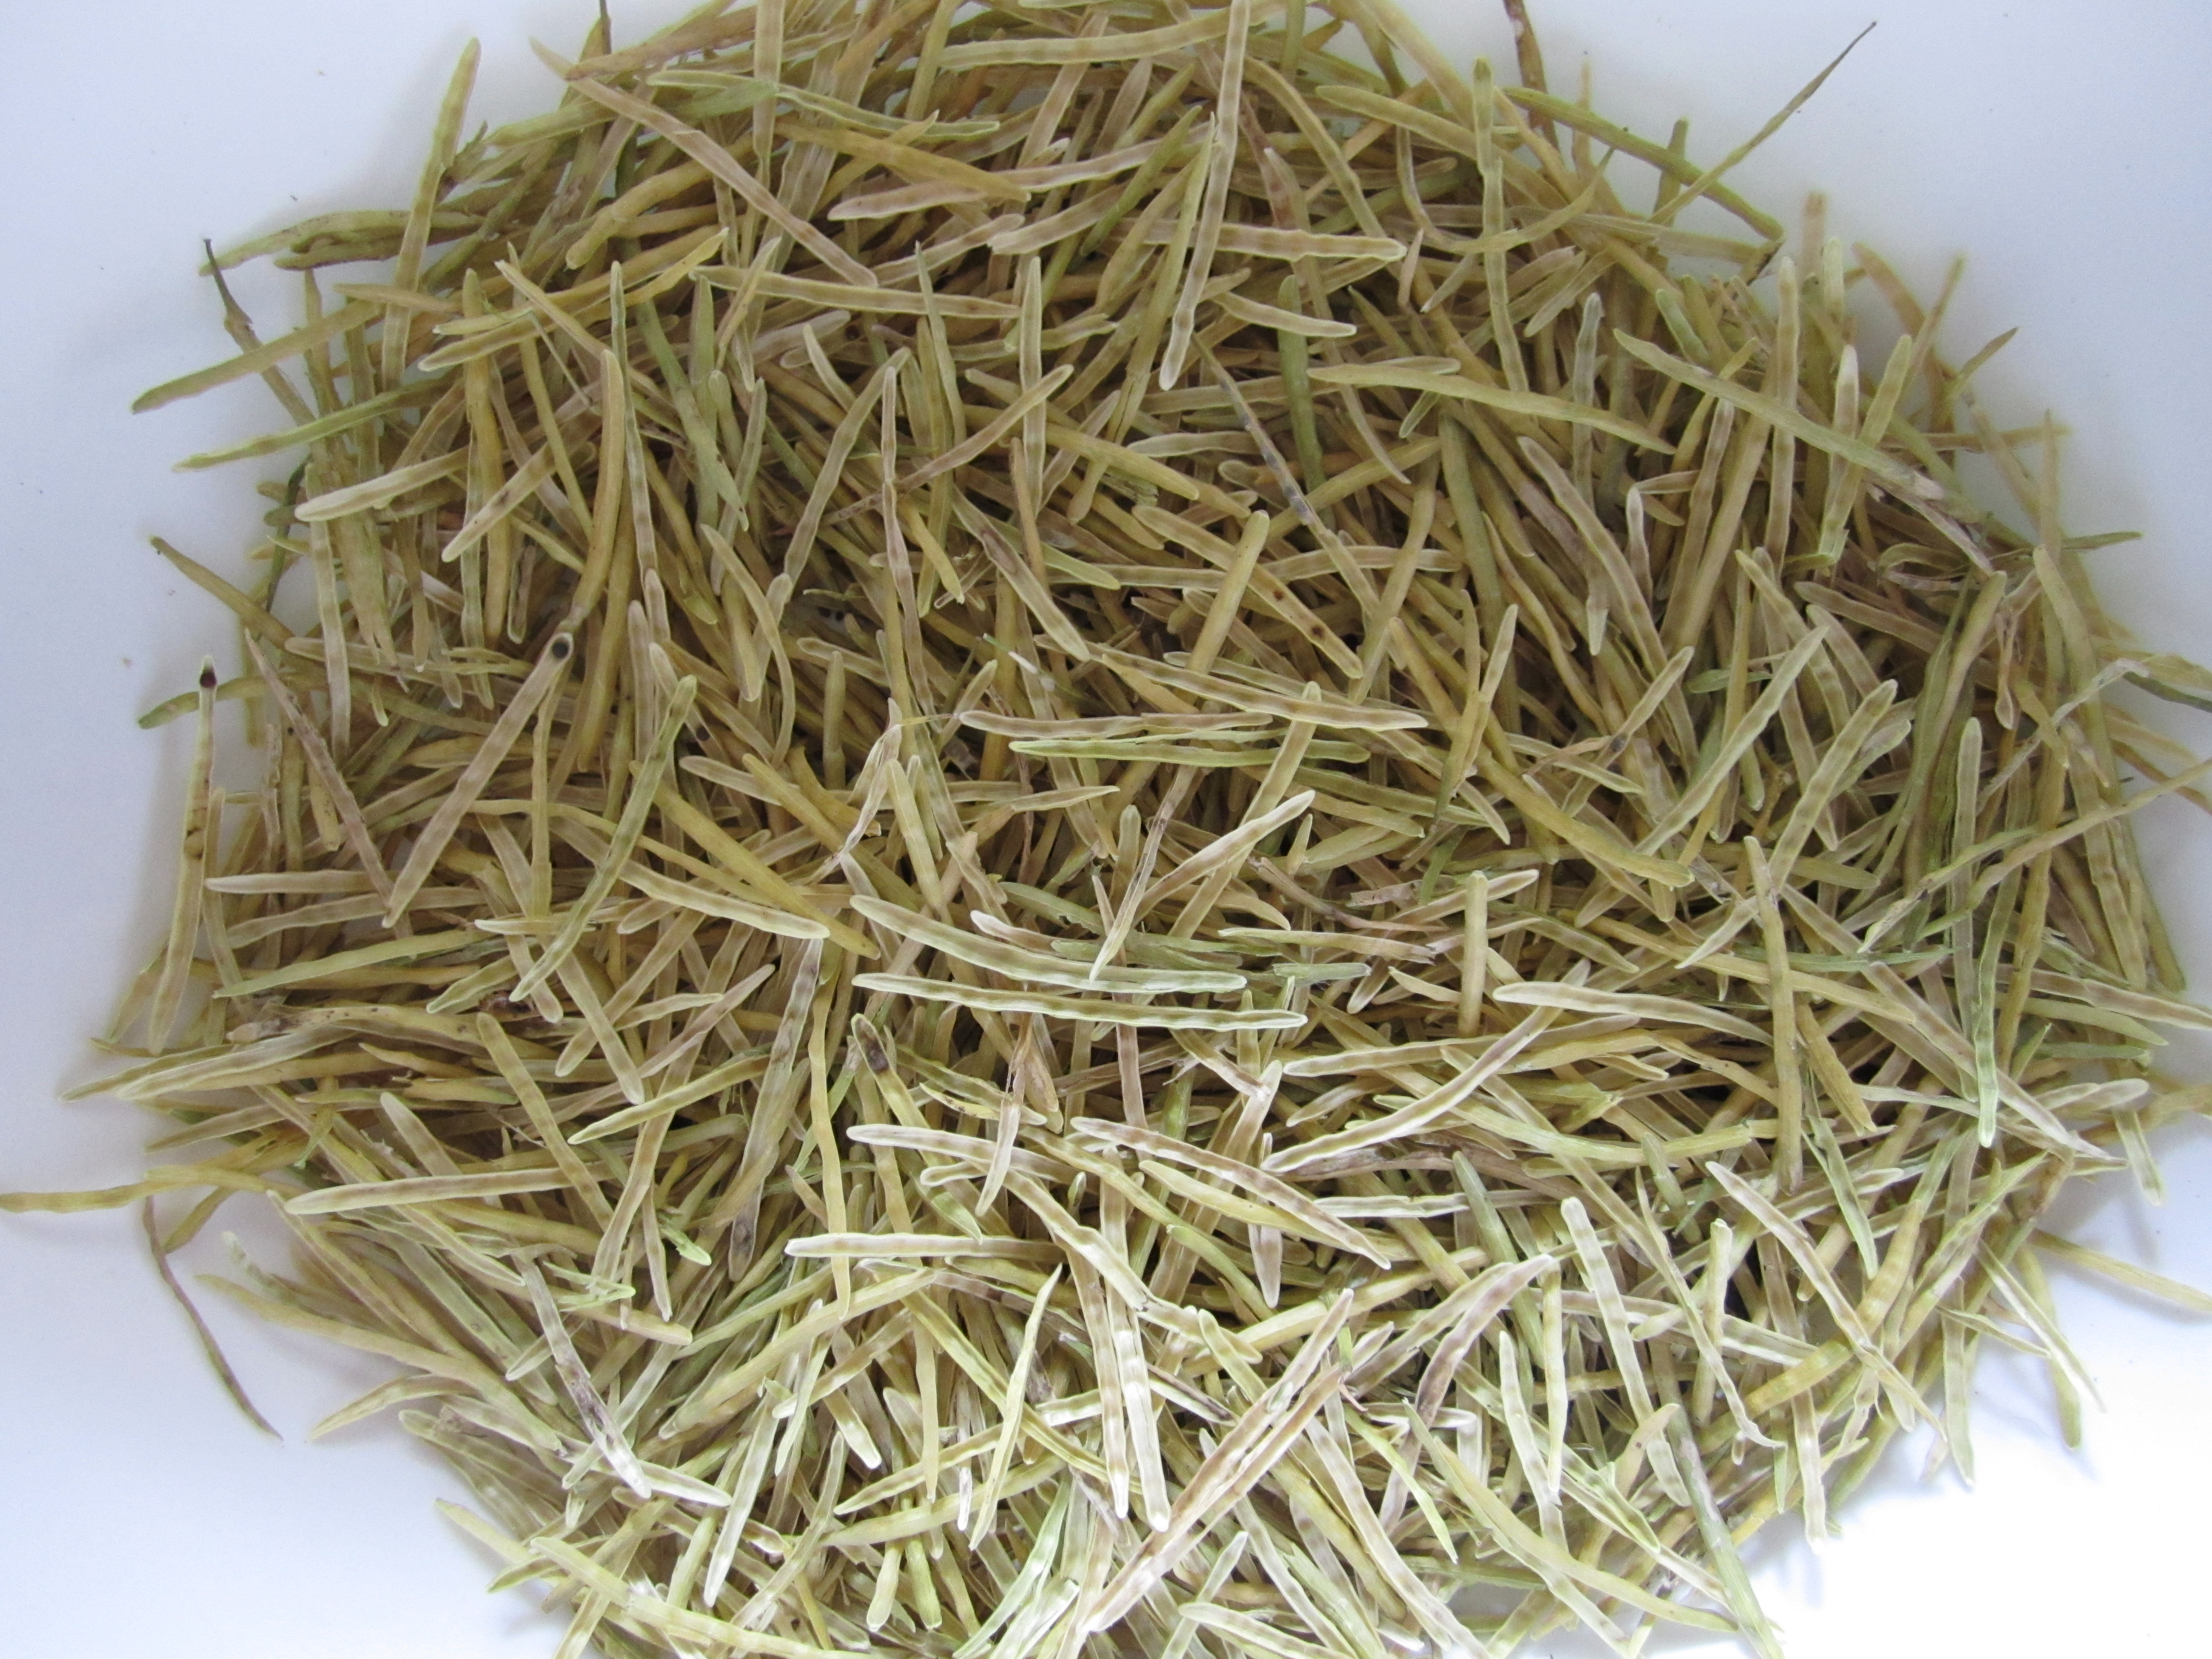
now is the time for our first planting of greenbeans to be left alone and allowed to go to seed. this means that we are simply letting the mature beans dry on the vine until the pods are brown and gross looking (when they even look like they’re molding or something… which they usually aren’t unless you’ve had tons of rain). once the pods look brown and funky, you rattle the pods to hear if the beans are wiggling inside. if they are, then the pods are ready to be harvested and the beans are ready to be removed and saved. you can see from the photo below that the beans in the ziploc bag are darker red/brown. they were collected at the right time, whereas the other beans were collected perhaps a little too soon and some are lighter in color or small and a little funny shaped. i’m not yet sure if these beans will be as fruitful as the others, but we’ll find out next year!
i also tried another experiment with bean seed preservation, which involved dehydrating (using the dehydrator) some large and tough beans that were still green. as expected, the beans did not really cure, since they need to stay on the vine until their nature-designed time for becoming viable seeds. it was still an interesting experiment, though, and i’m glad to know a bit more about curing our seeds for next year!

greenbean hulls and greenbeans, in different stages of curing
.:.
today i spent a portion of the day pickling some our veggies for eating later in the year.
so far, jason has been the only pickling champion in the house so today i decided to try my hand at it.
i did 6 jars of veggies today… 2 jars of arkansas pickling cucumber slices, 1 jar of arkansas pickling cucumber spears, 1 jar of arkansas and white wonder cucumber spears, 1 jar of green tomatoes, and 1 jar of greenbeans.
i did some experimenting with spices, so we’ll see how that goes!
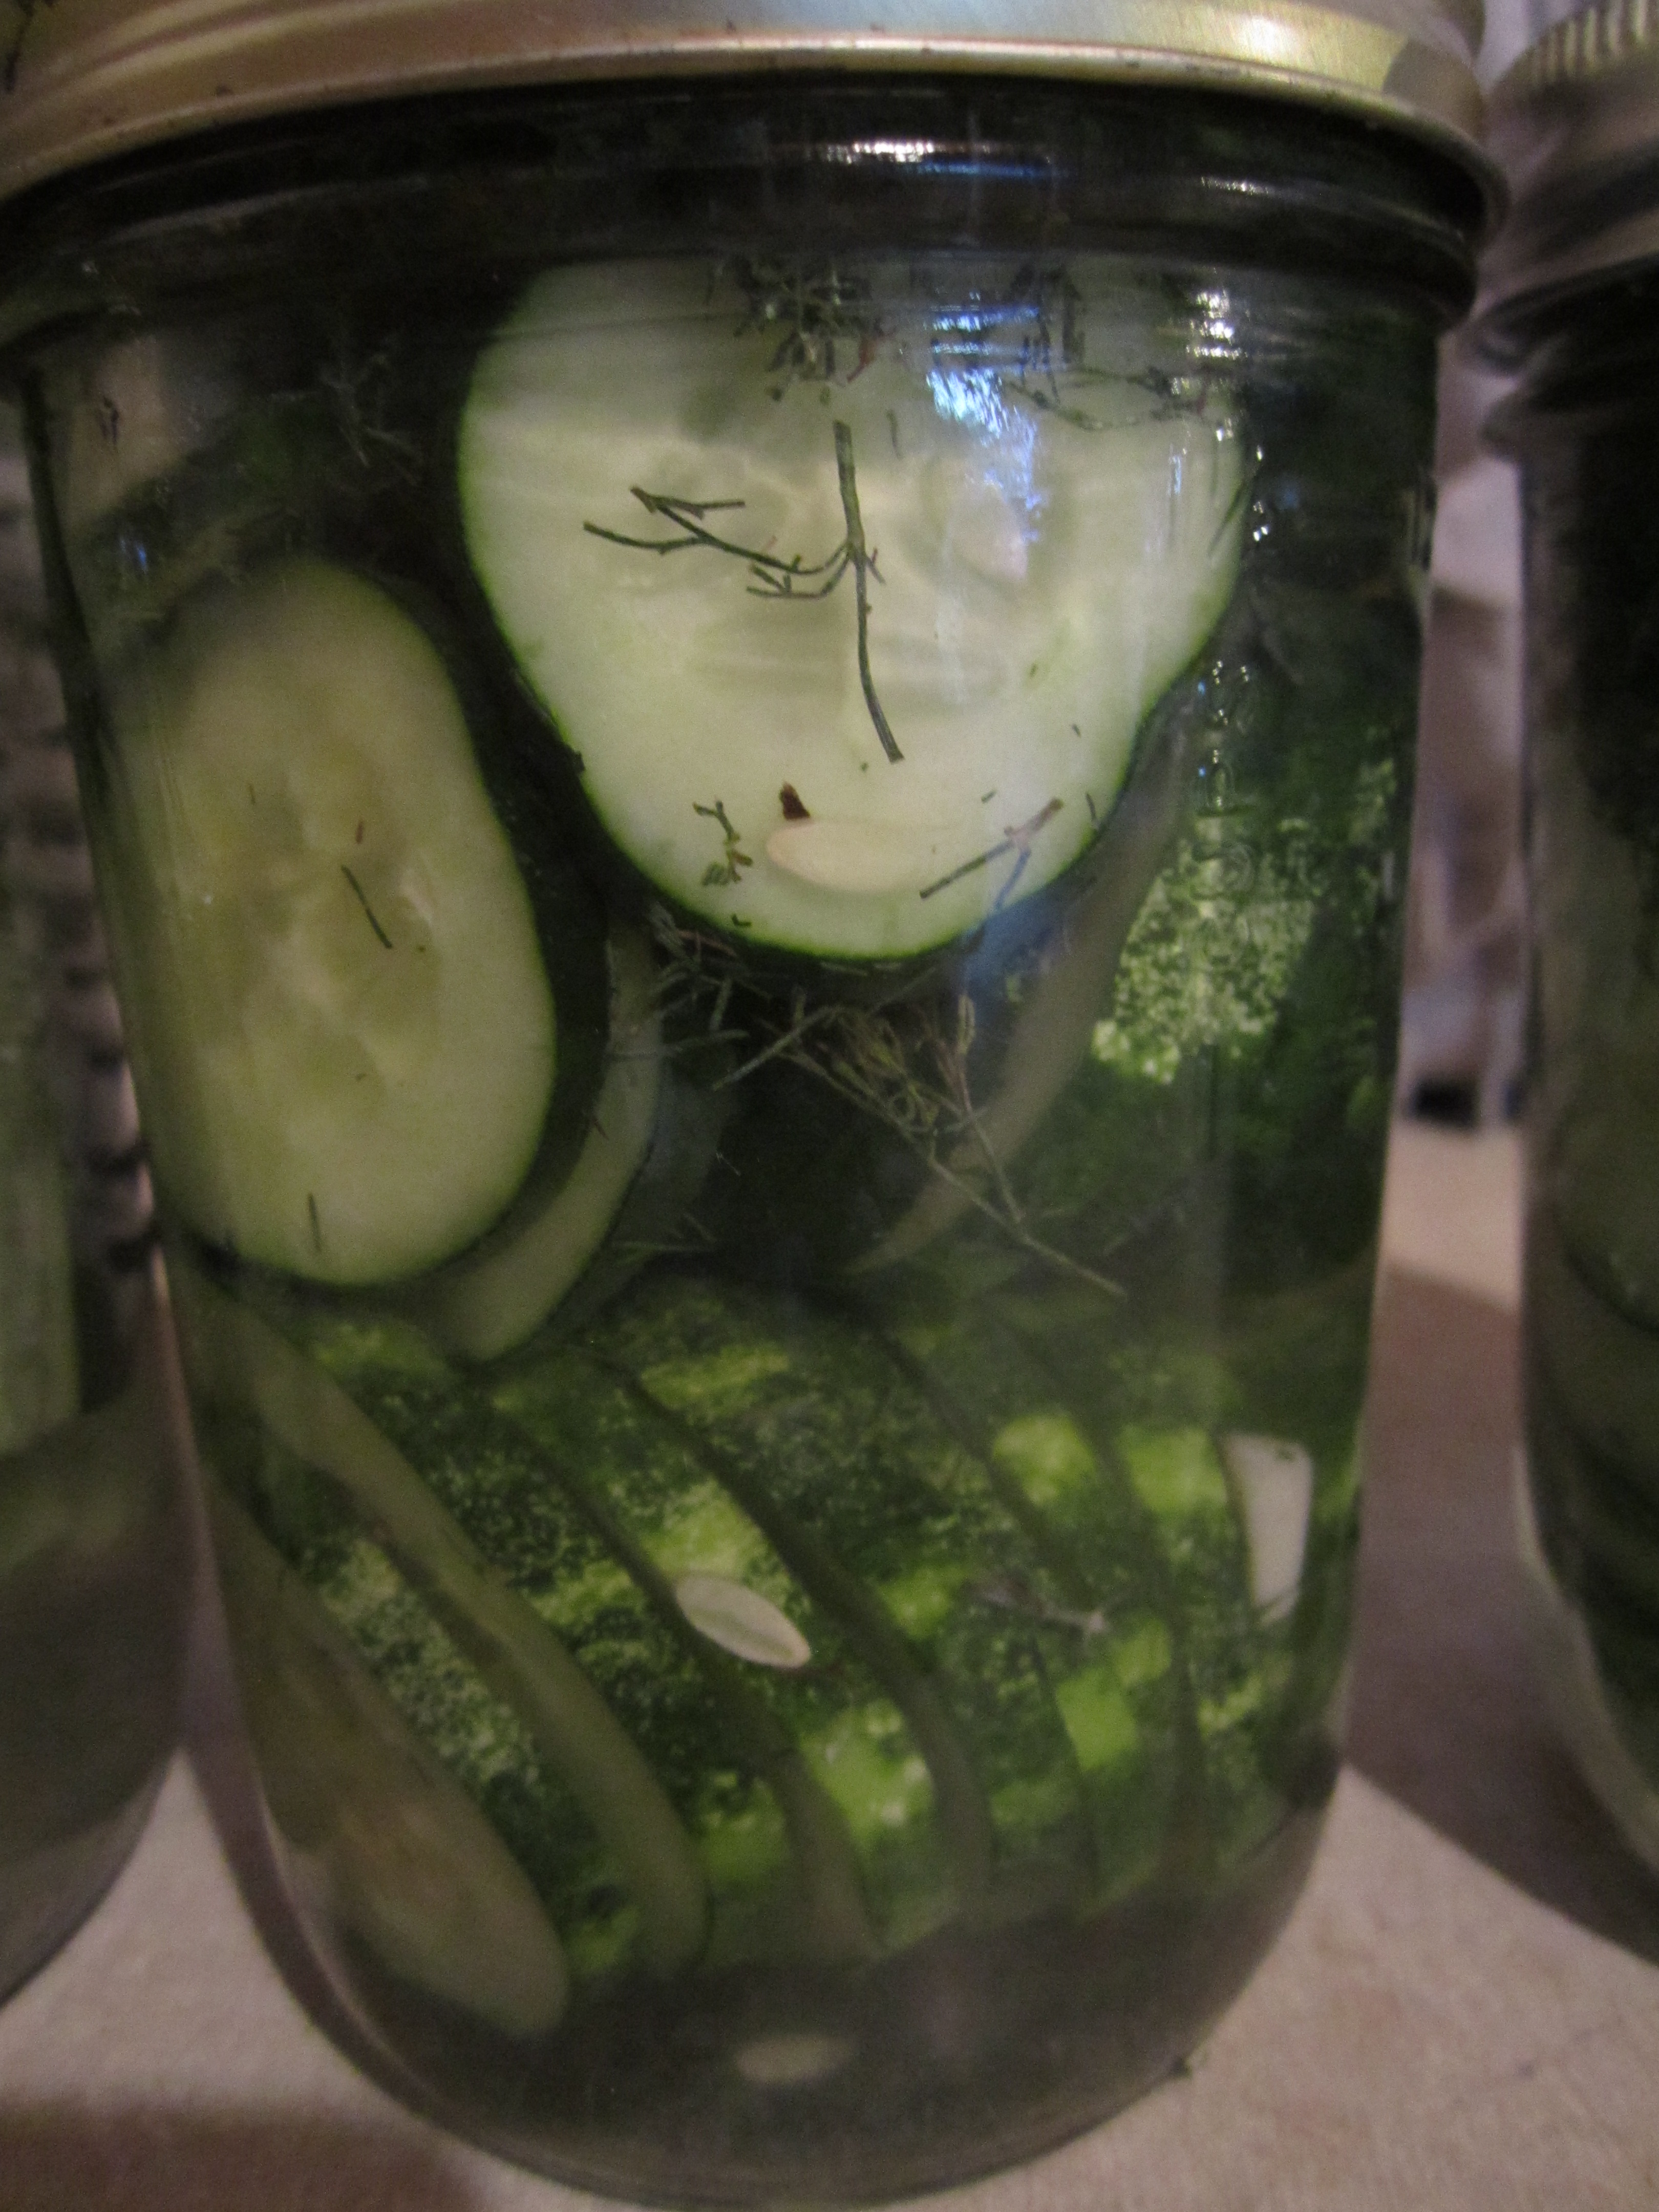
cucumber slices with garlic, dill, and jalapeno slices.
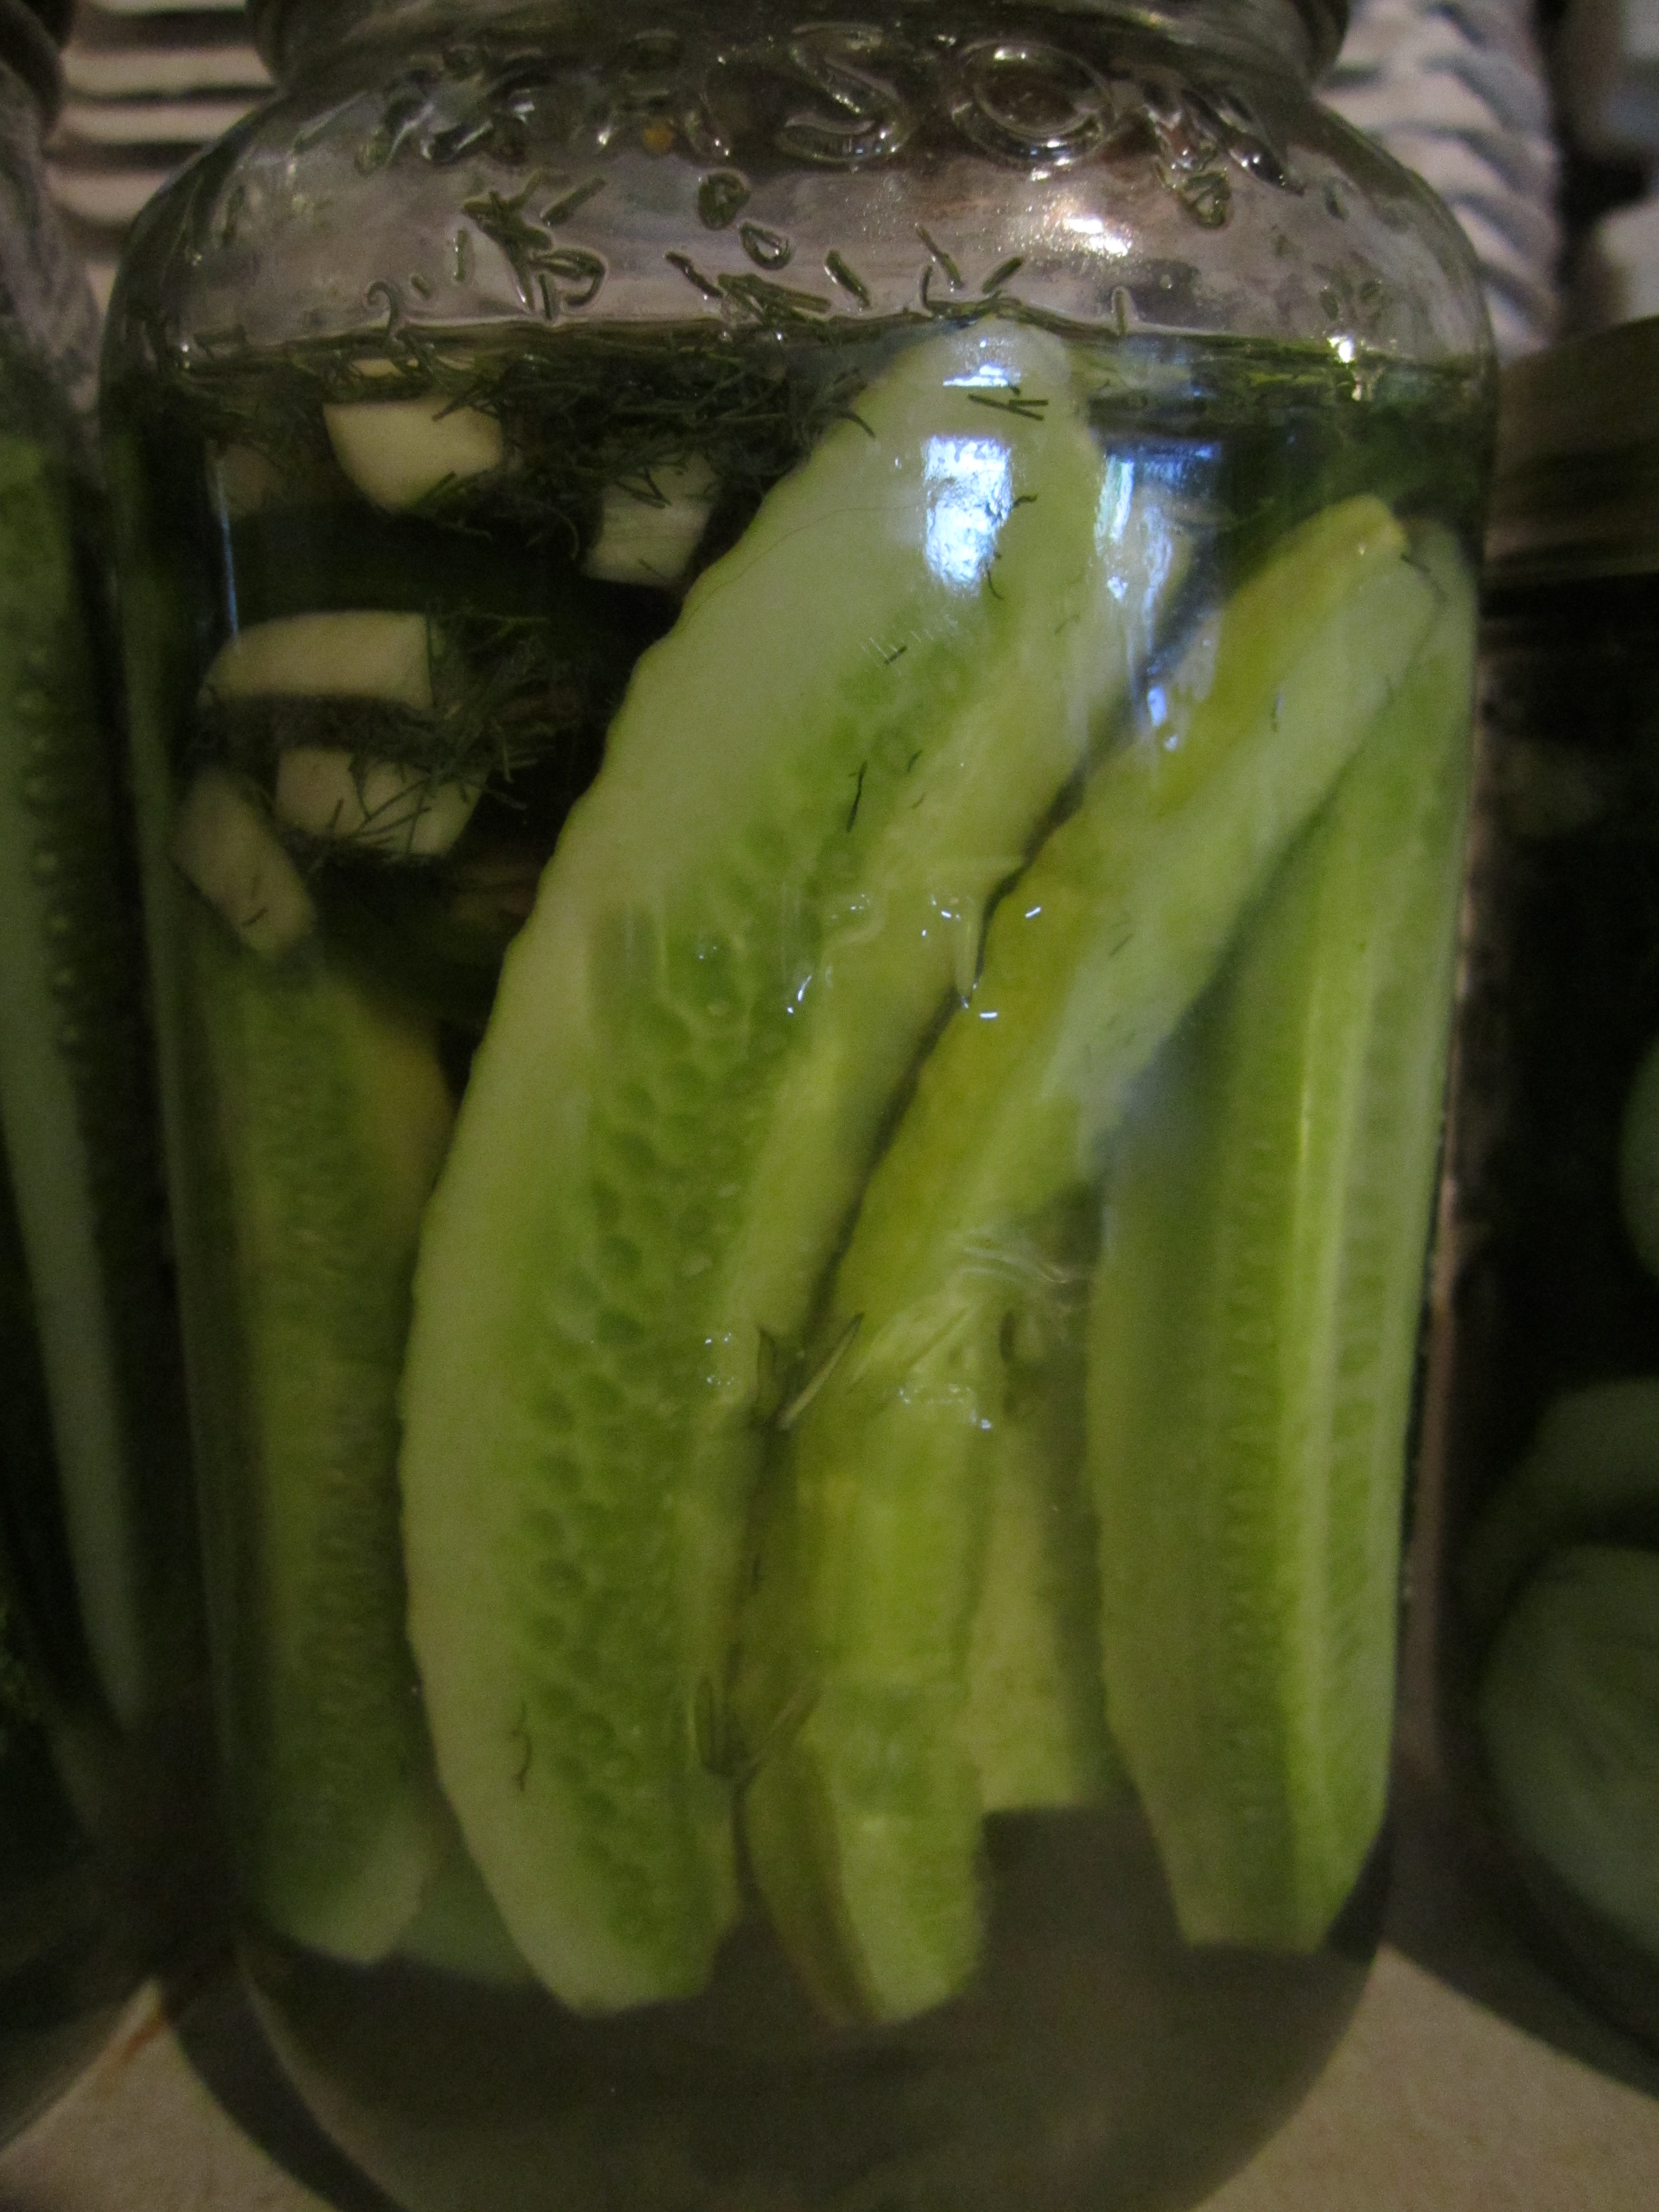
cucumber spears with garlic, dill, and jalapeno slices.
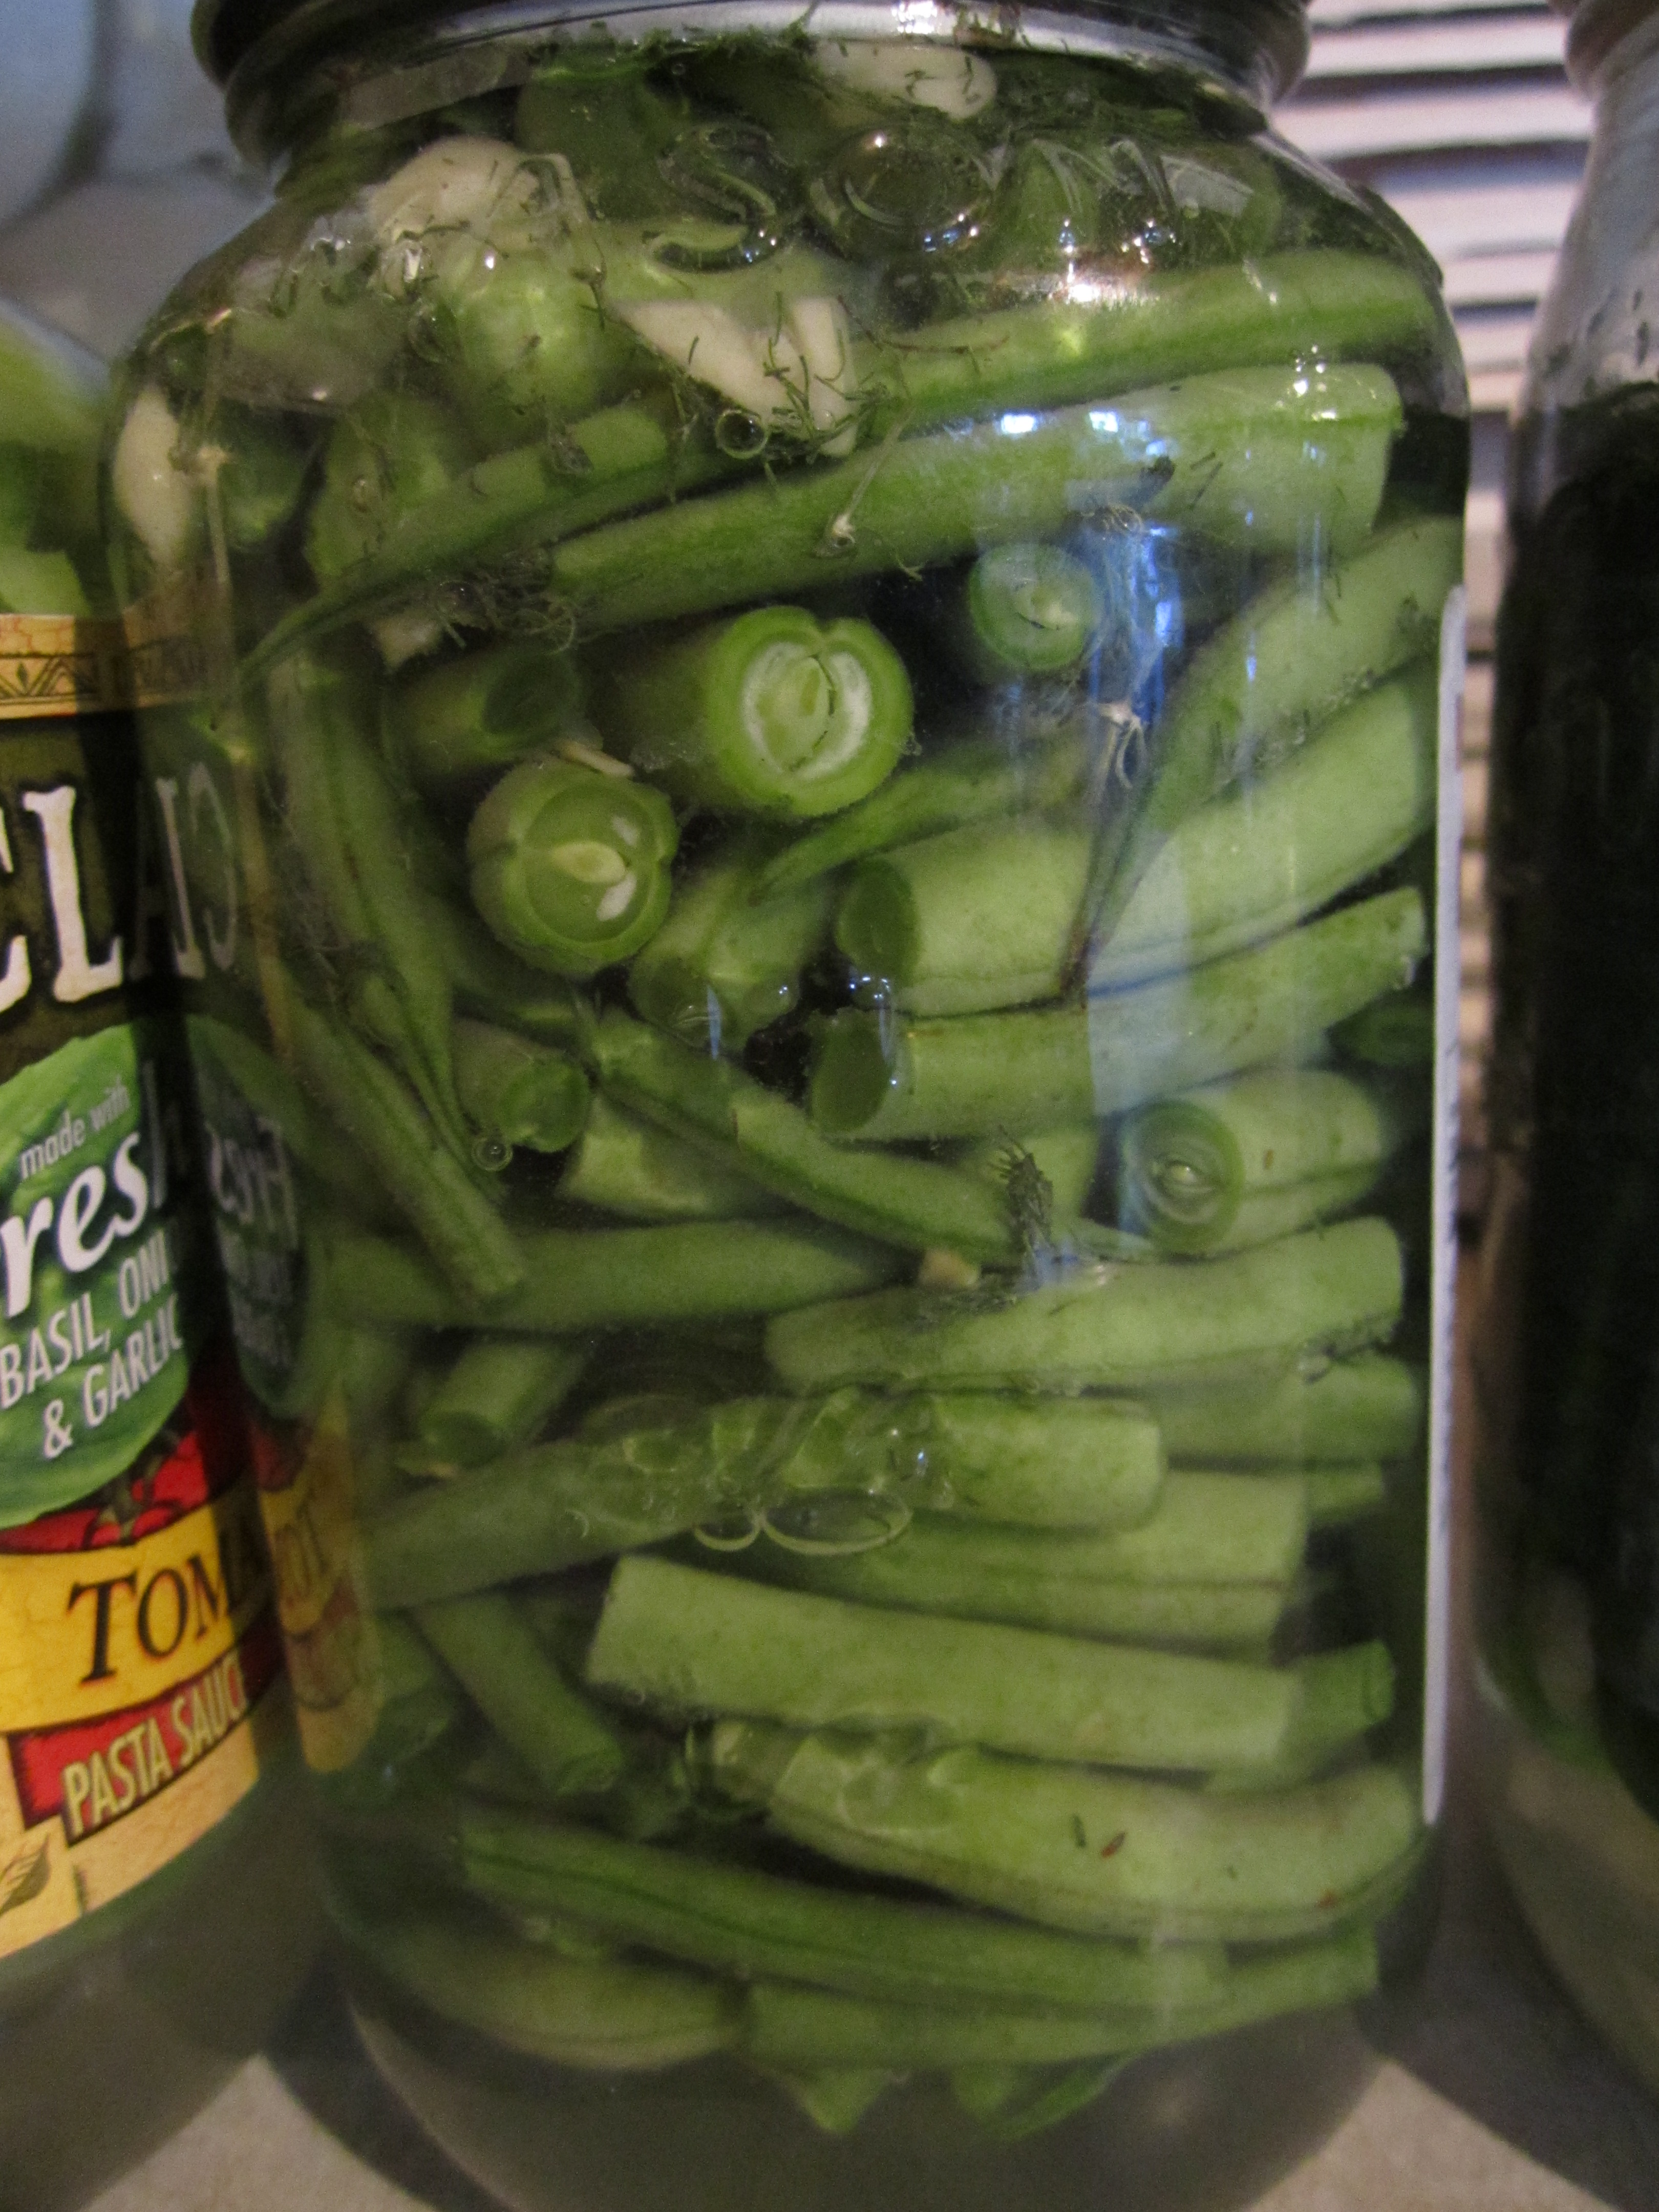
greenbeans with garlic, jalapeno slices, and dill.
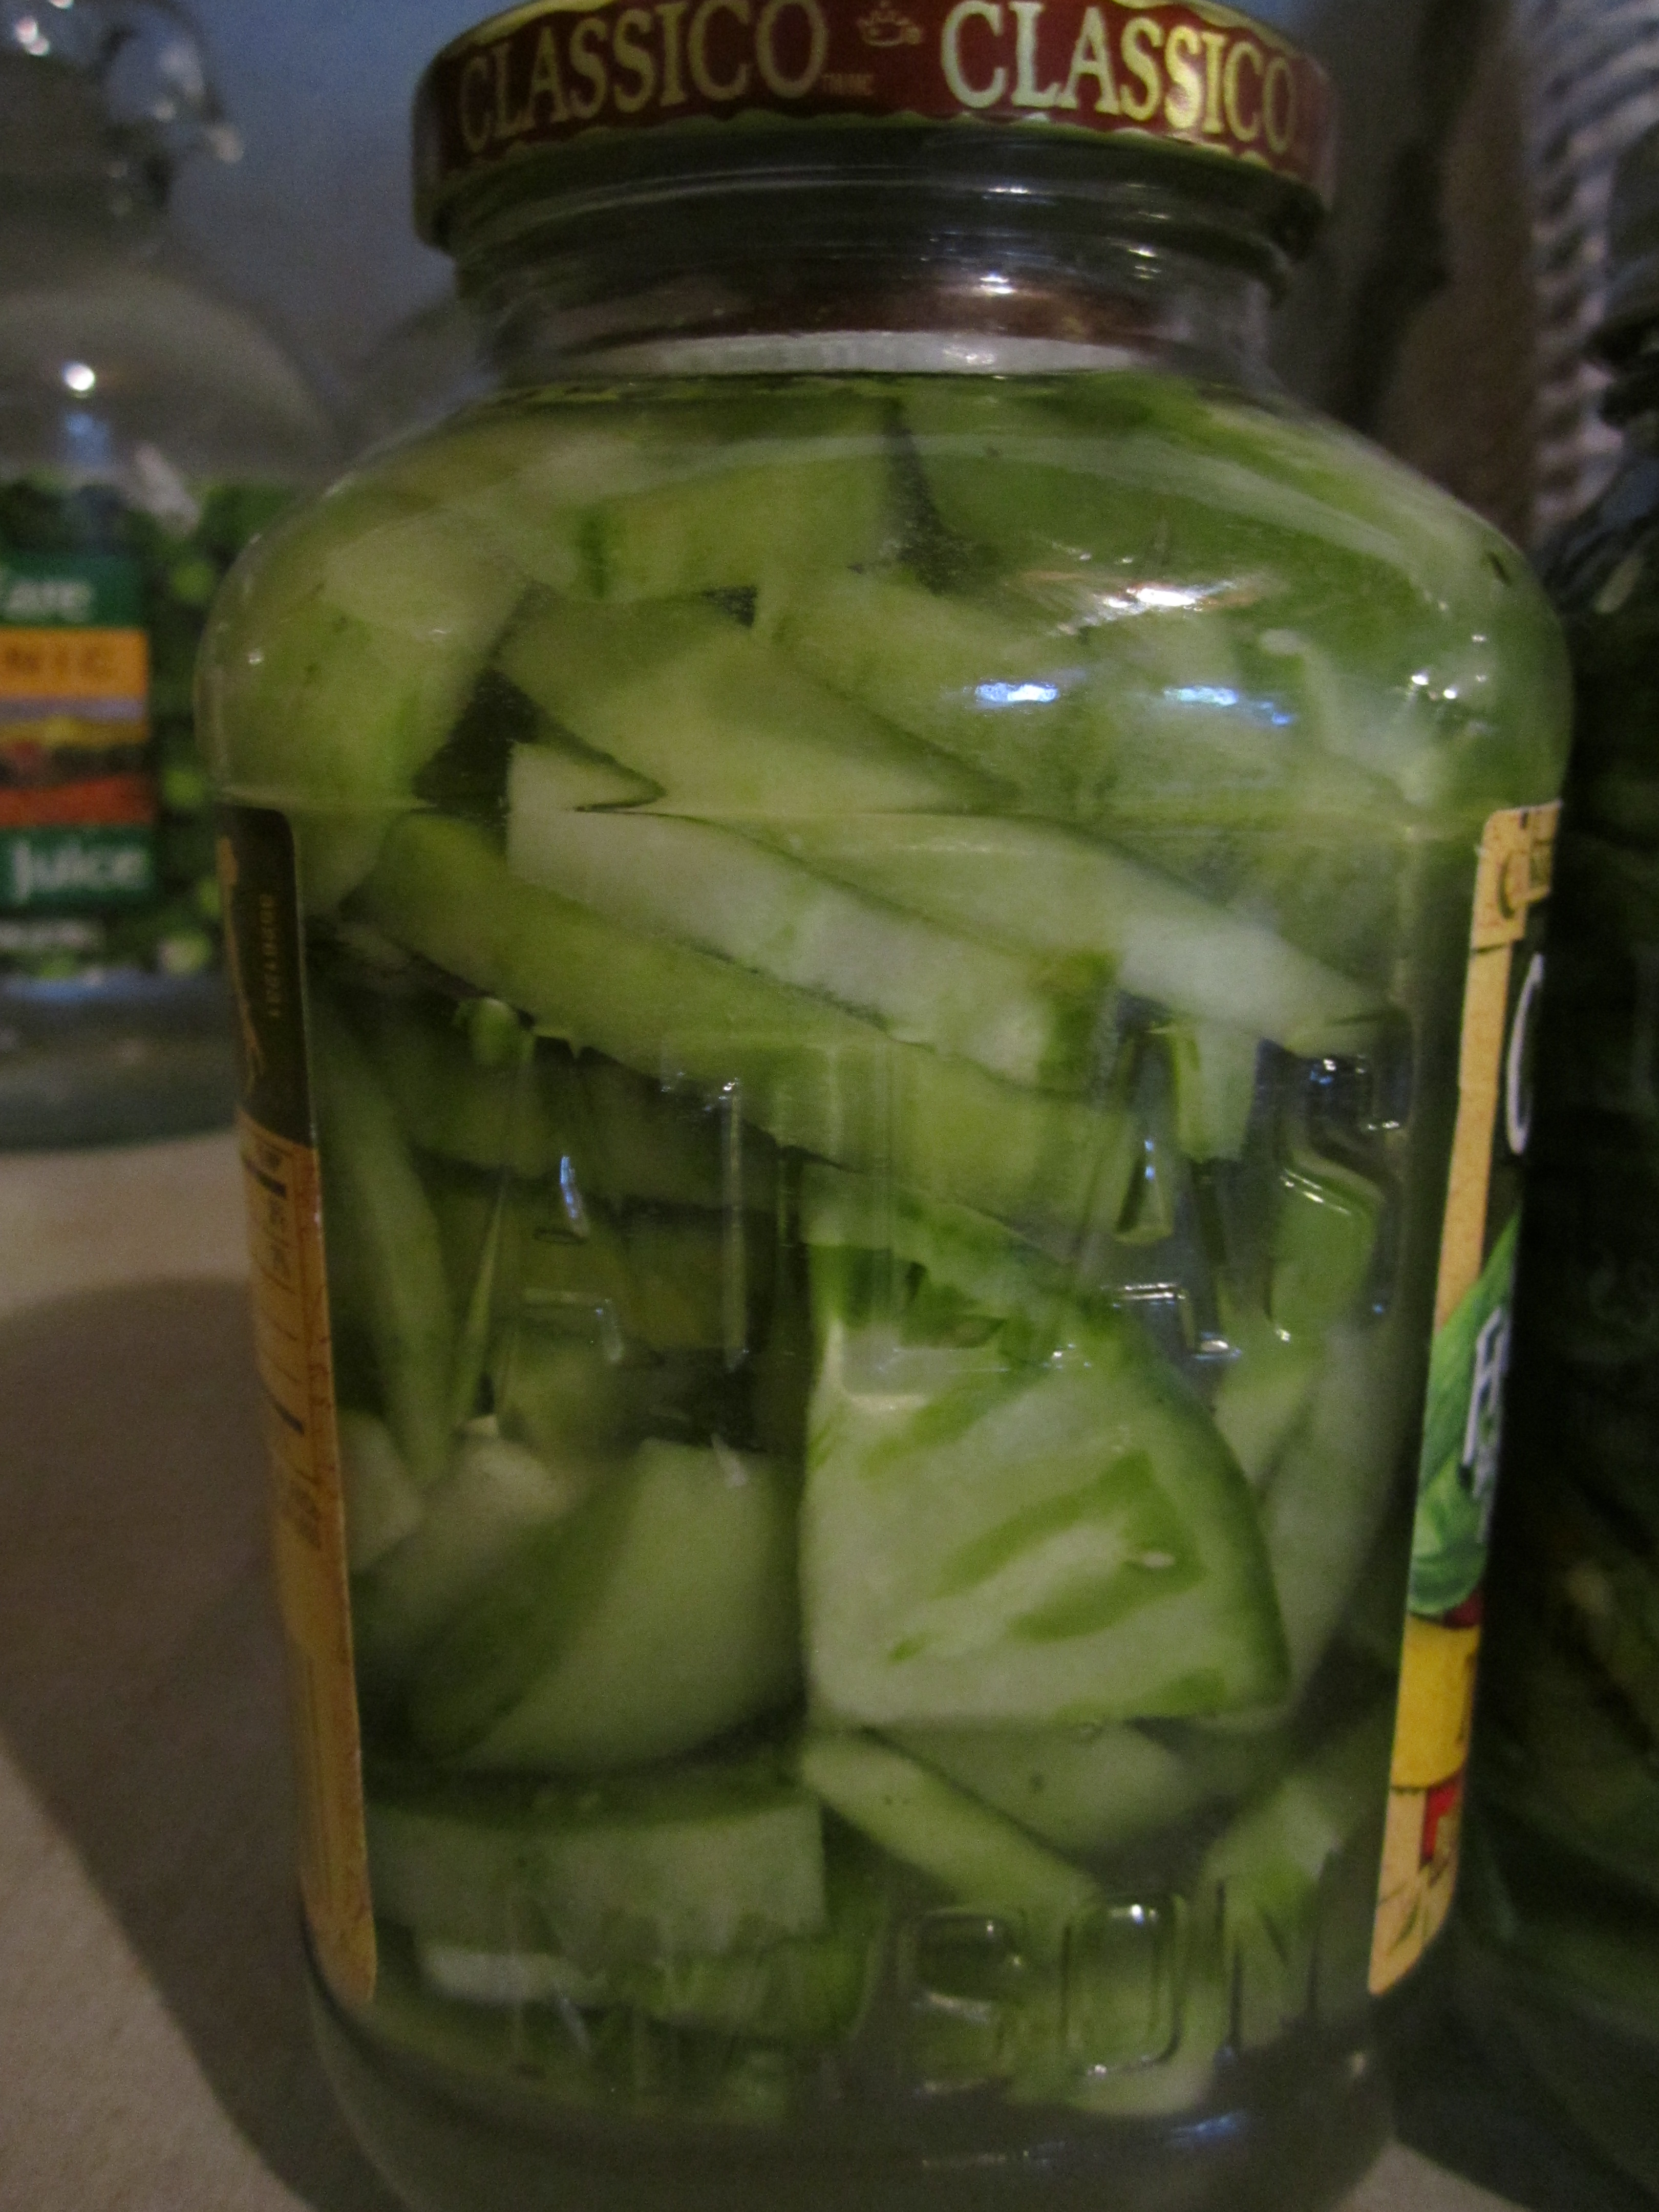
green tomato slices with garlic, thyme, and basil.
two weeks from now, we’ll see how they taste!
.:.
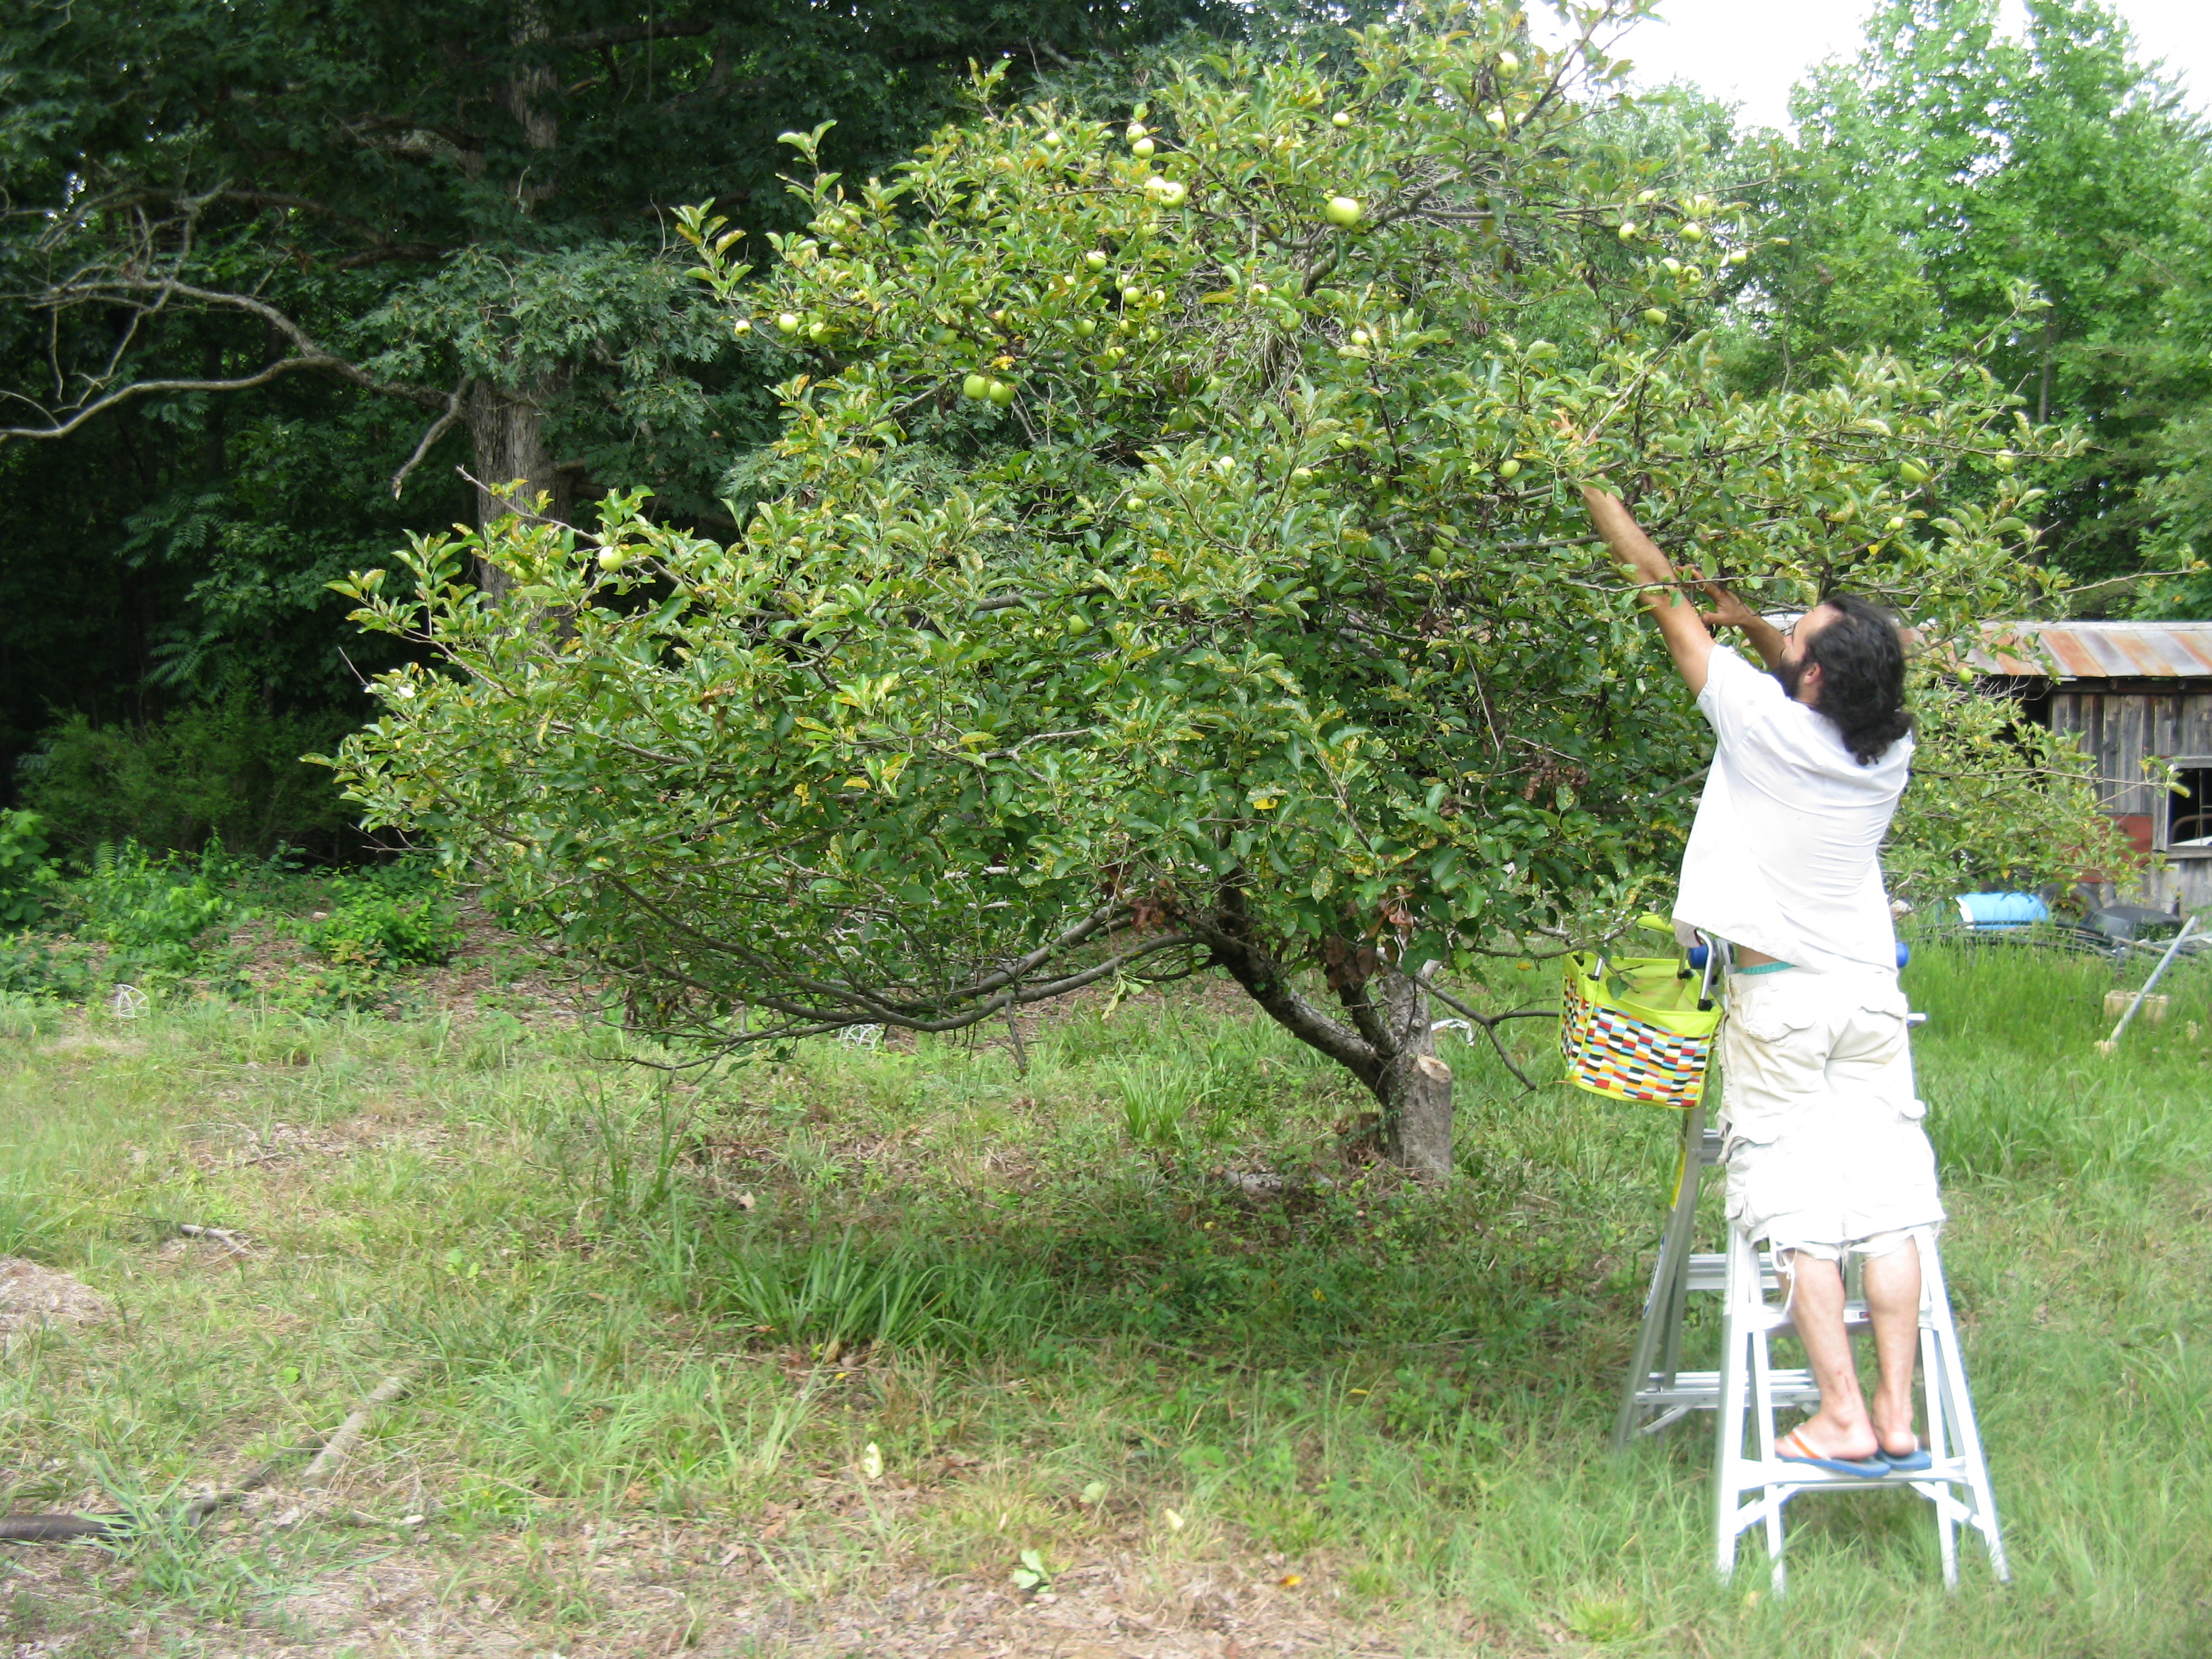
last week jason and i picked all of the apples on our one, mature apple tree. this one we did not plant and it was here when we bought the house and land. it is the very first tree member of our food forest. last year this apple tree did not make apples larger than the size of small crab apples, but this year, after being pruned, it made a great first harvest for us!
our (golden delicious?) apple tree
we’re not sure what variety of apple it is, but the apples are very similar in taste and appearance to the golden delicious apples that my parents grow. this year the apples grew to be much larger and they taste wonderful! a little sour and a little sweet–my favorite!
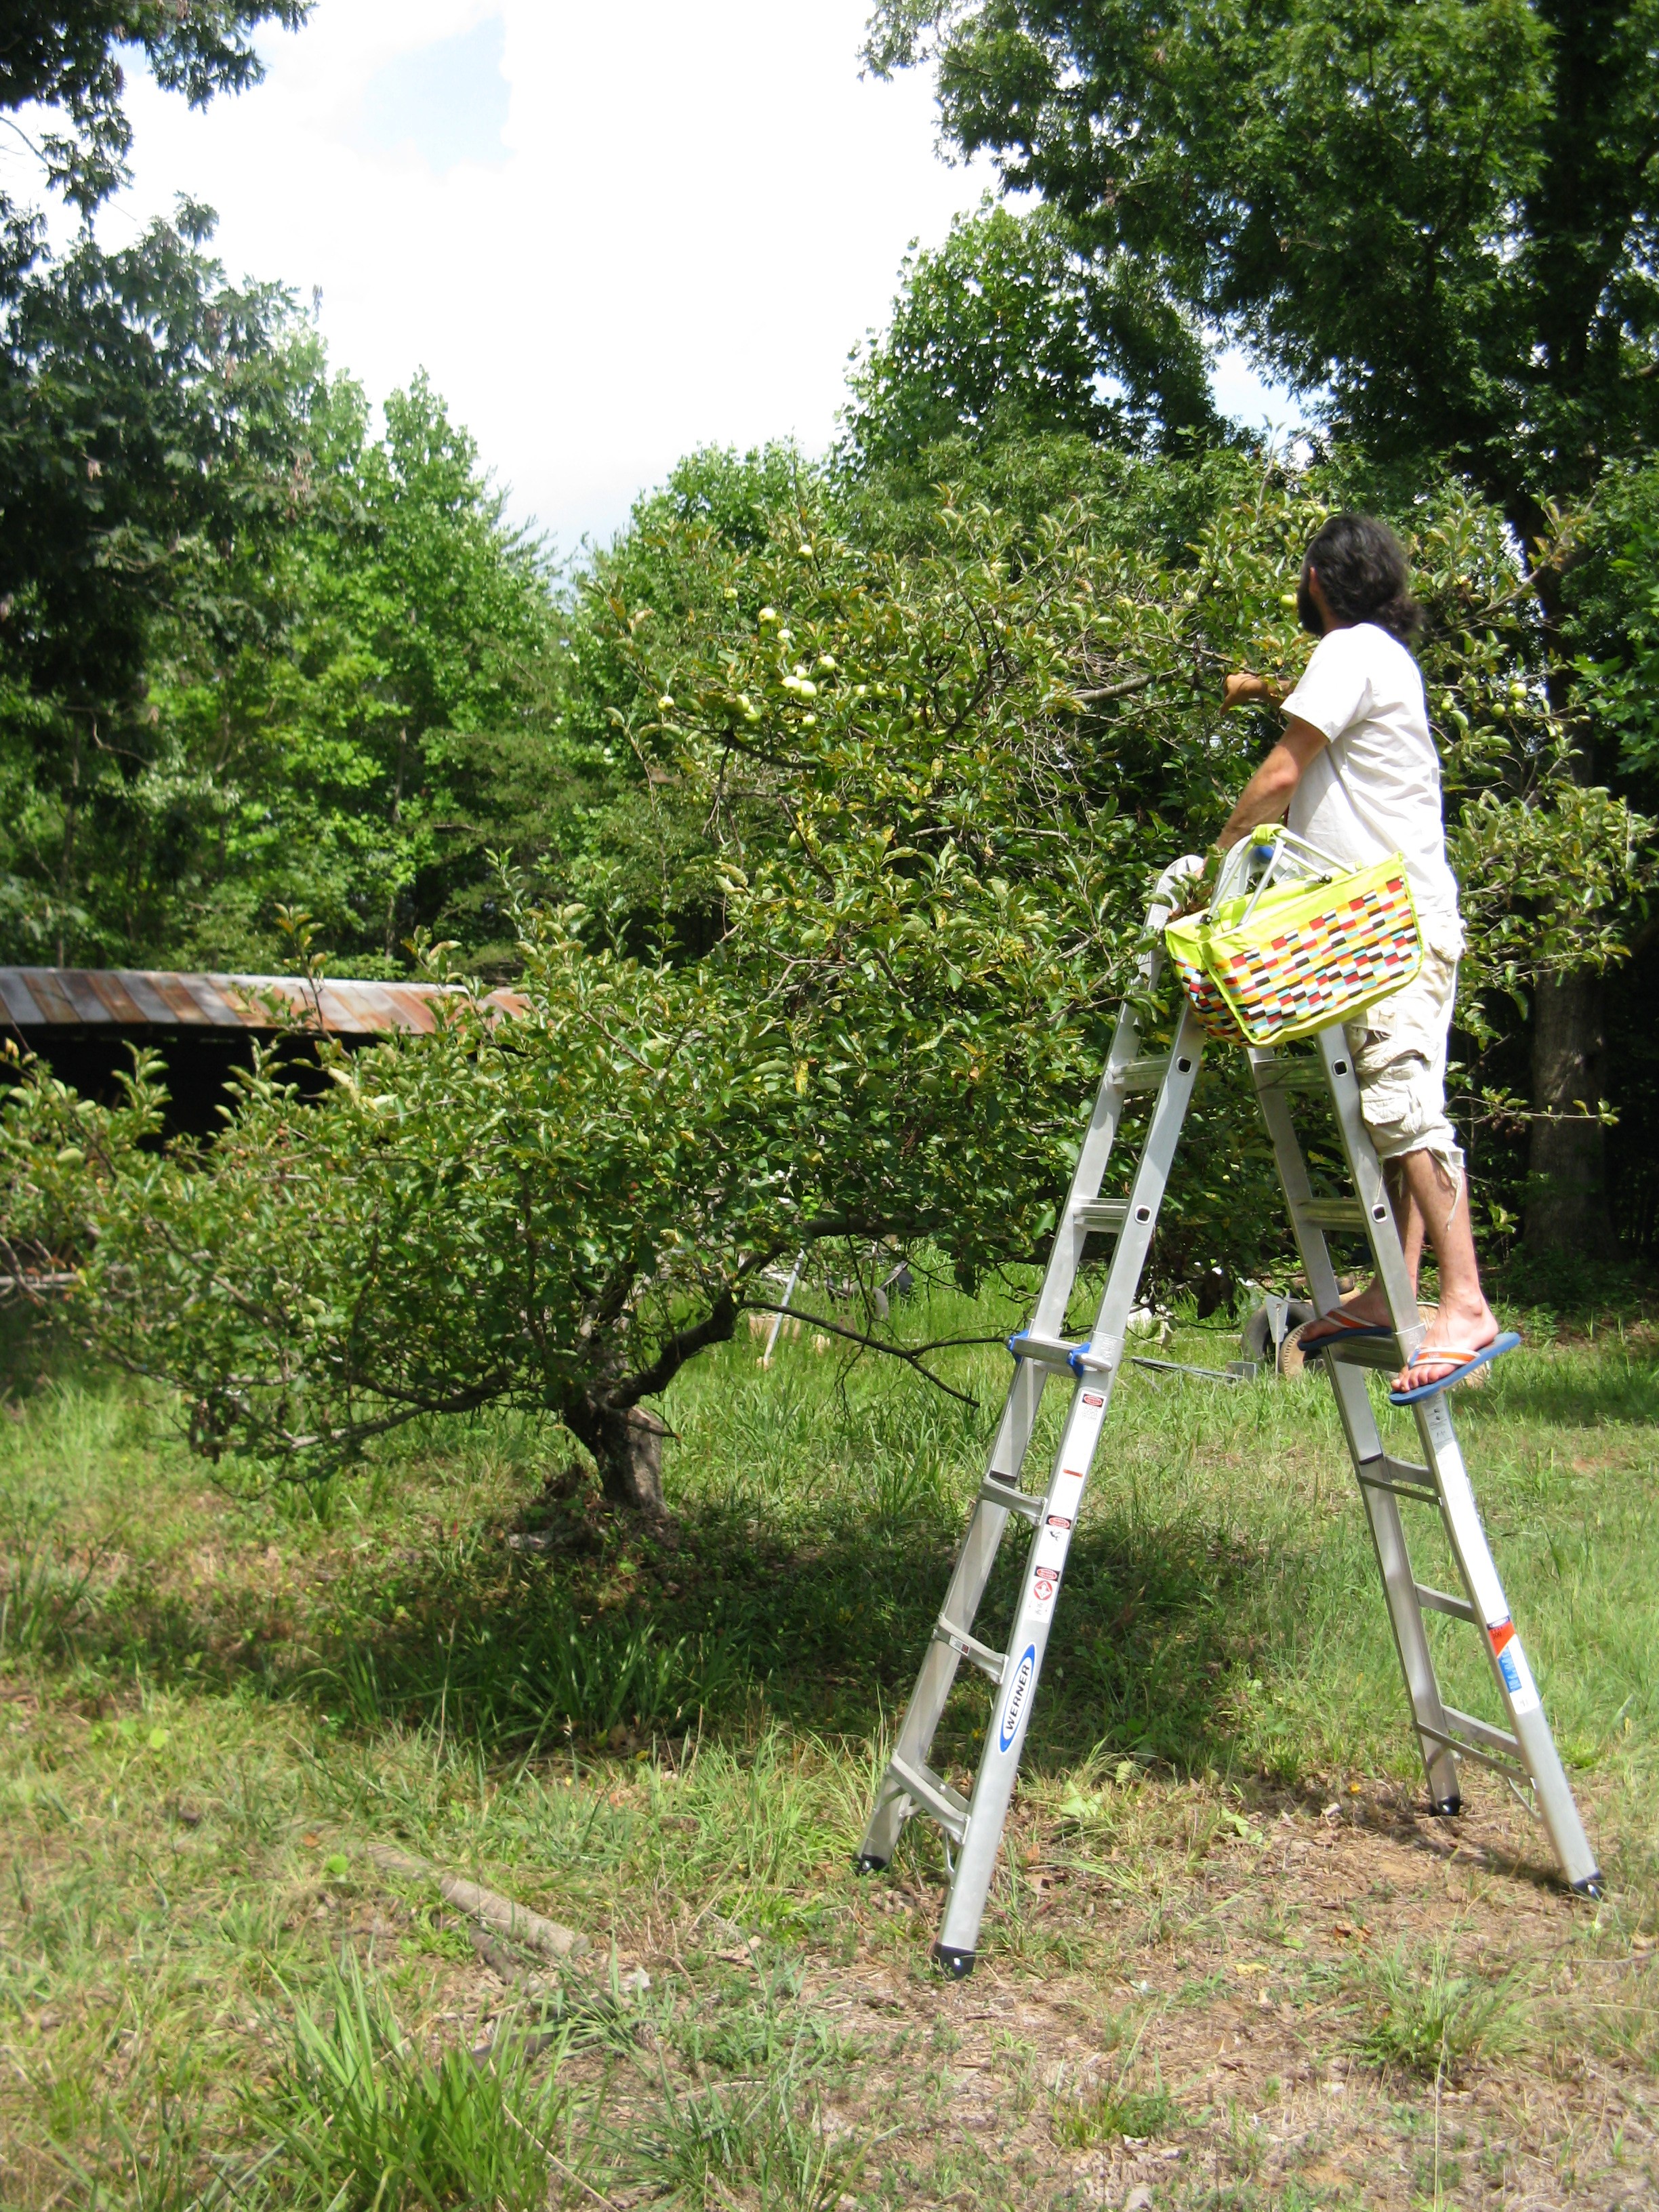
jason climbing the ladder to get to the apples at the top.
first we picked the lower apples on the tree, placing them into our picking bags and baskets and afterwards we brought out the ladder to get to the apples at the top of the tree. we were surprised by how many apples were actually hidden on the branches of the tree… we got so many more than we expected!

jason’s picking basket.

my picking basket. a backpack hung over my front makes it easy to place the apples i pick inside. plus, it’s practice for being pregnant in the next few years.. ha, ha!
after we picked all of the apples, we sat in the cool basement and sorted them, separating the apples with blemishes from those without them. the apples that are the worst shape are in the kitchen now, awaiting their turn to be consumed. other apples with blemishes are in the fridge downstairs, to be eaten before the other refrigerated, blemish-free apples.
after we sorted the apples we weighed them and we got 32 pounds! how exciting!
next on our plate (besides the fresh apples)… german pancakes with apples and apple pie! stay tuned for some of these recipes…
.:.
a few months ago we harvested our kale seeds pods after they dried on their stems. today, i spent hours processing the seeds for planting later this year. it was fun (i love doing detailed work with my hands!), but it sure took a while!
kale seed pods stored in a paper bag to dry
our seed pods were stored in a paper bag and i went through the stems one at a time, breaking open each seed pod and pushing and/or scraping the seeds out into a bowl with the broken off pod pieces.
broken off and emptied seed pods after processing
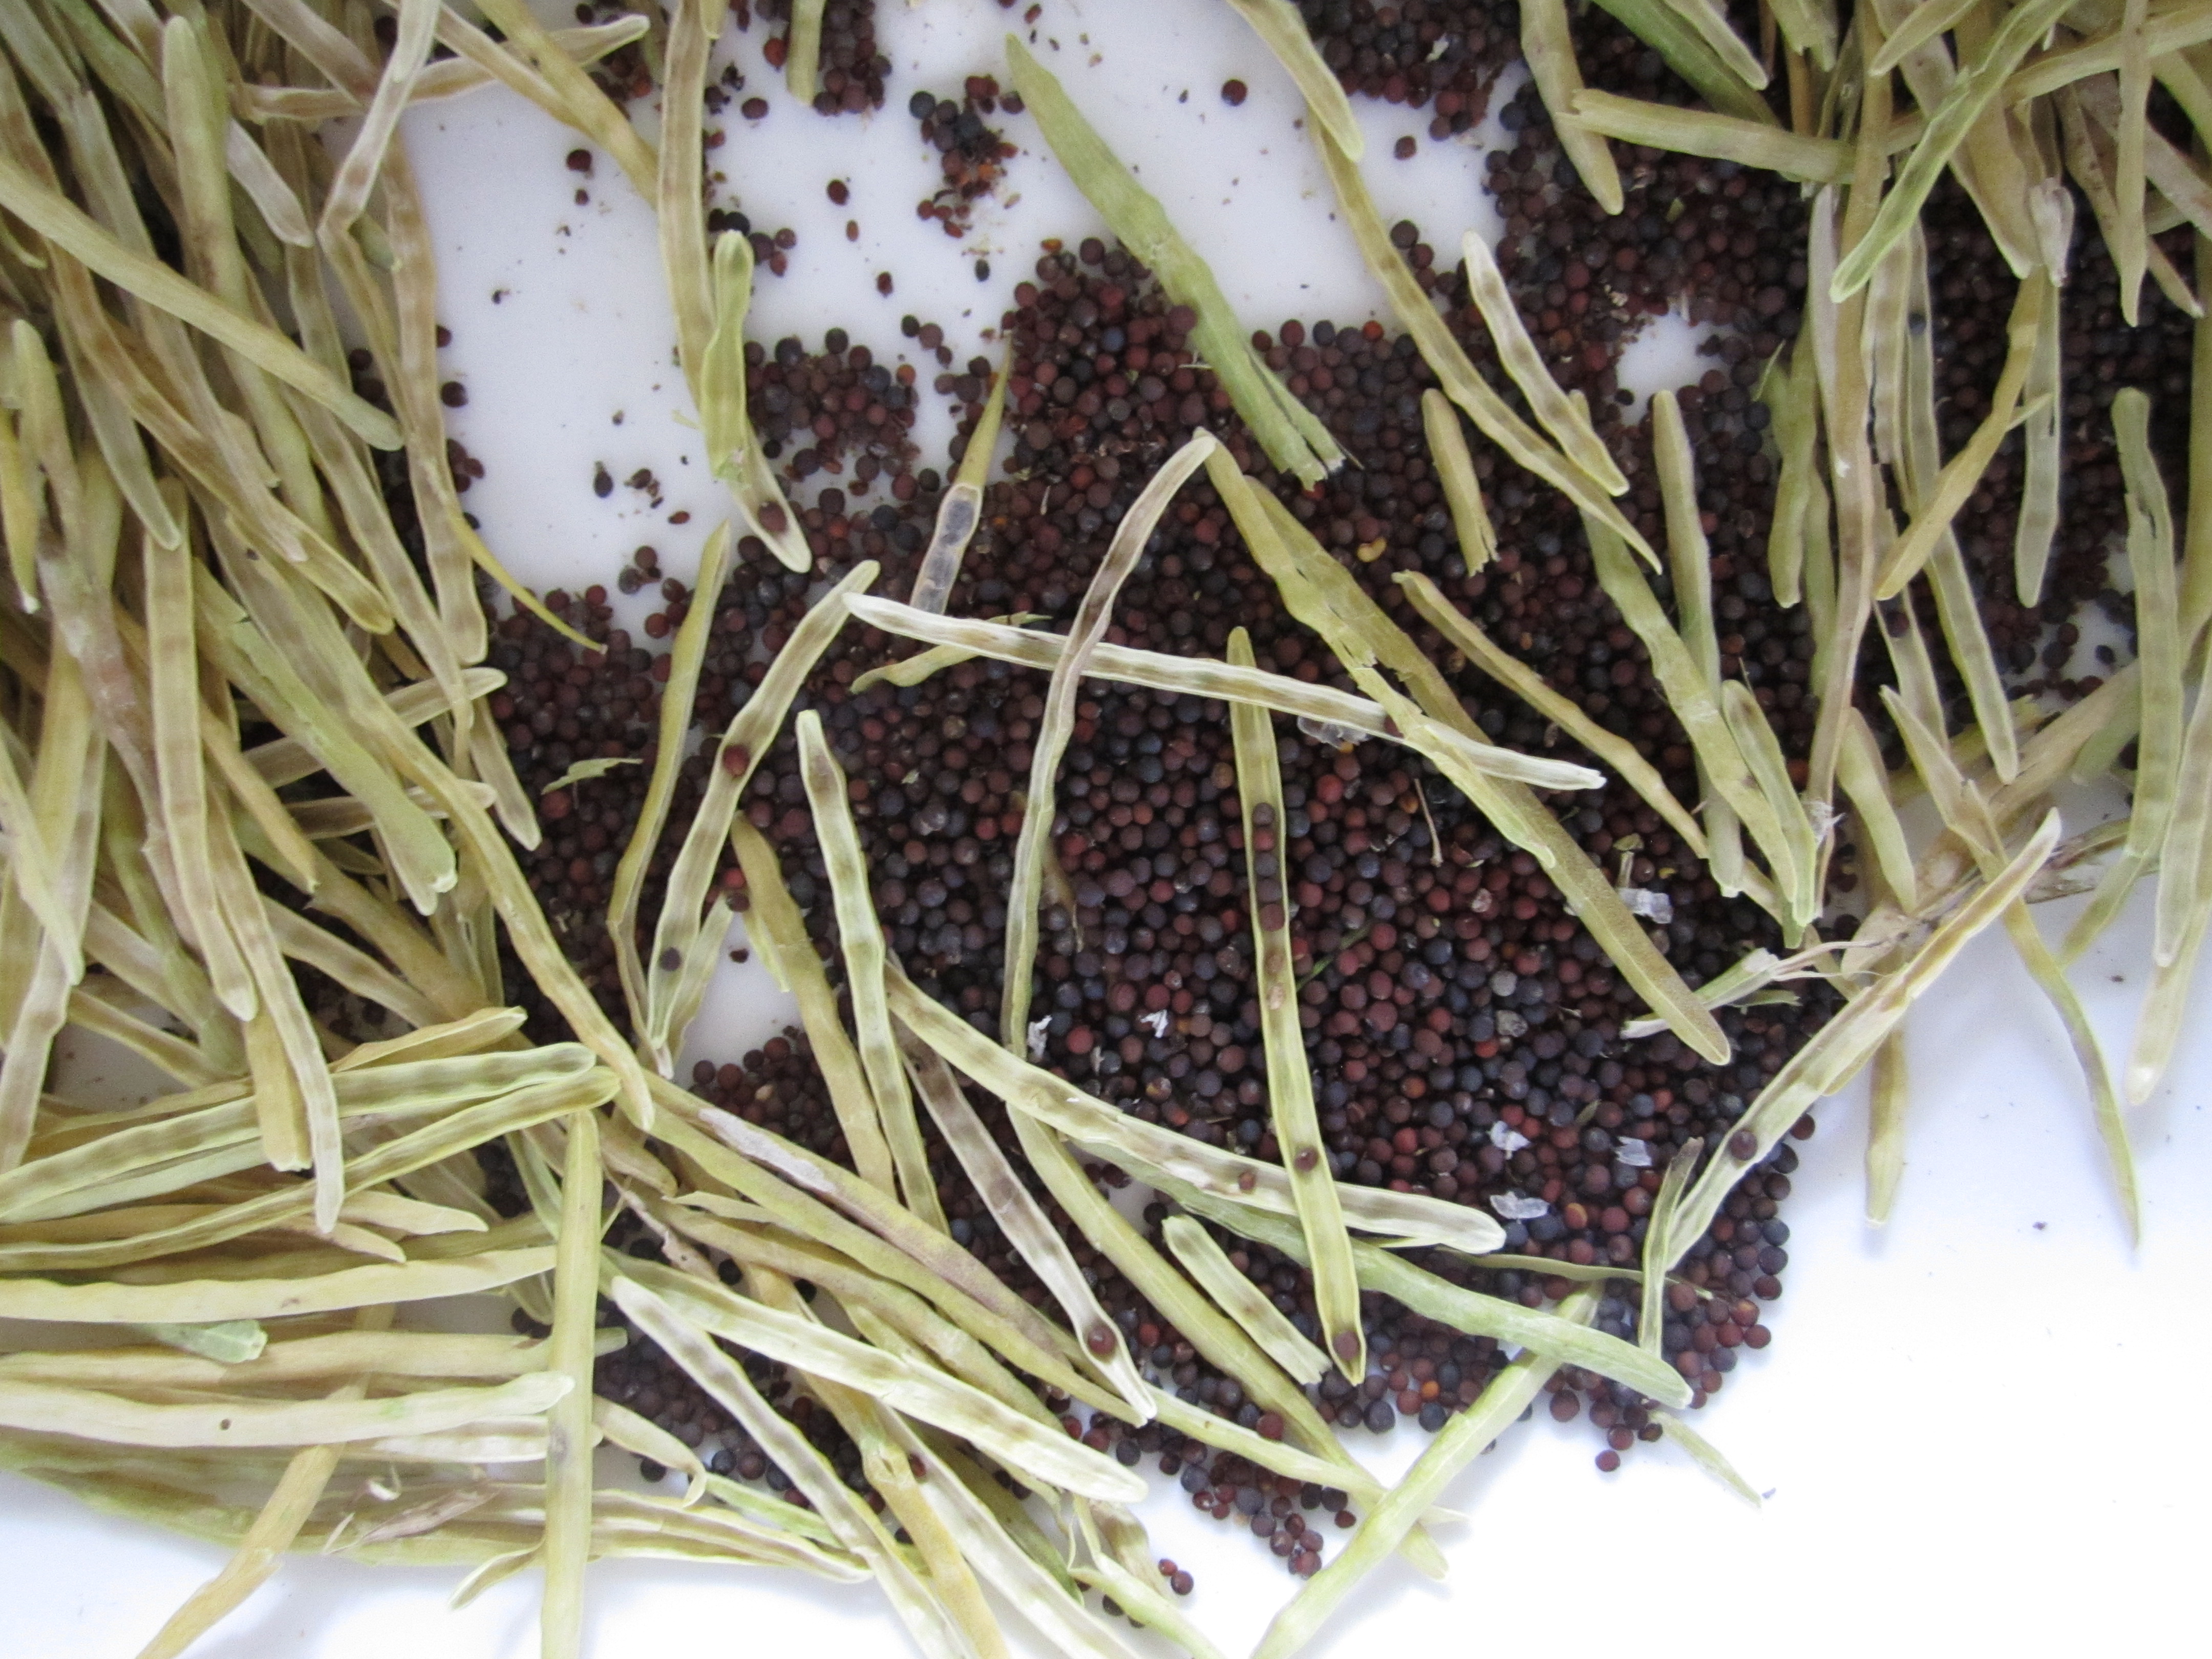
kale seeds, freed from their pods!
that was it, really. a simple process but one that takes time and energy. we filled about 1/4 or 1/3 of a sandwich-sized ziploc bag with seeds, plenty for planting this year and the next!
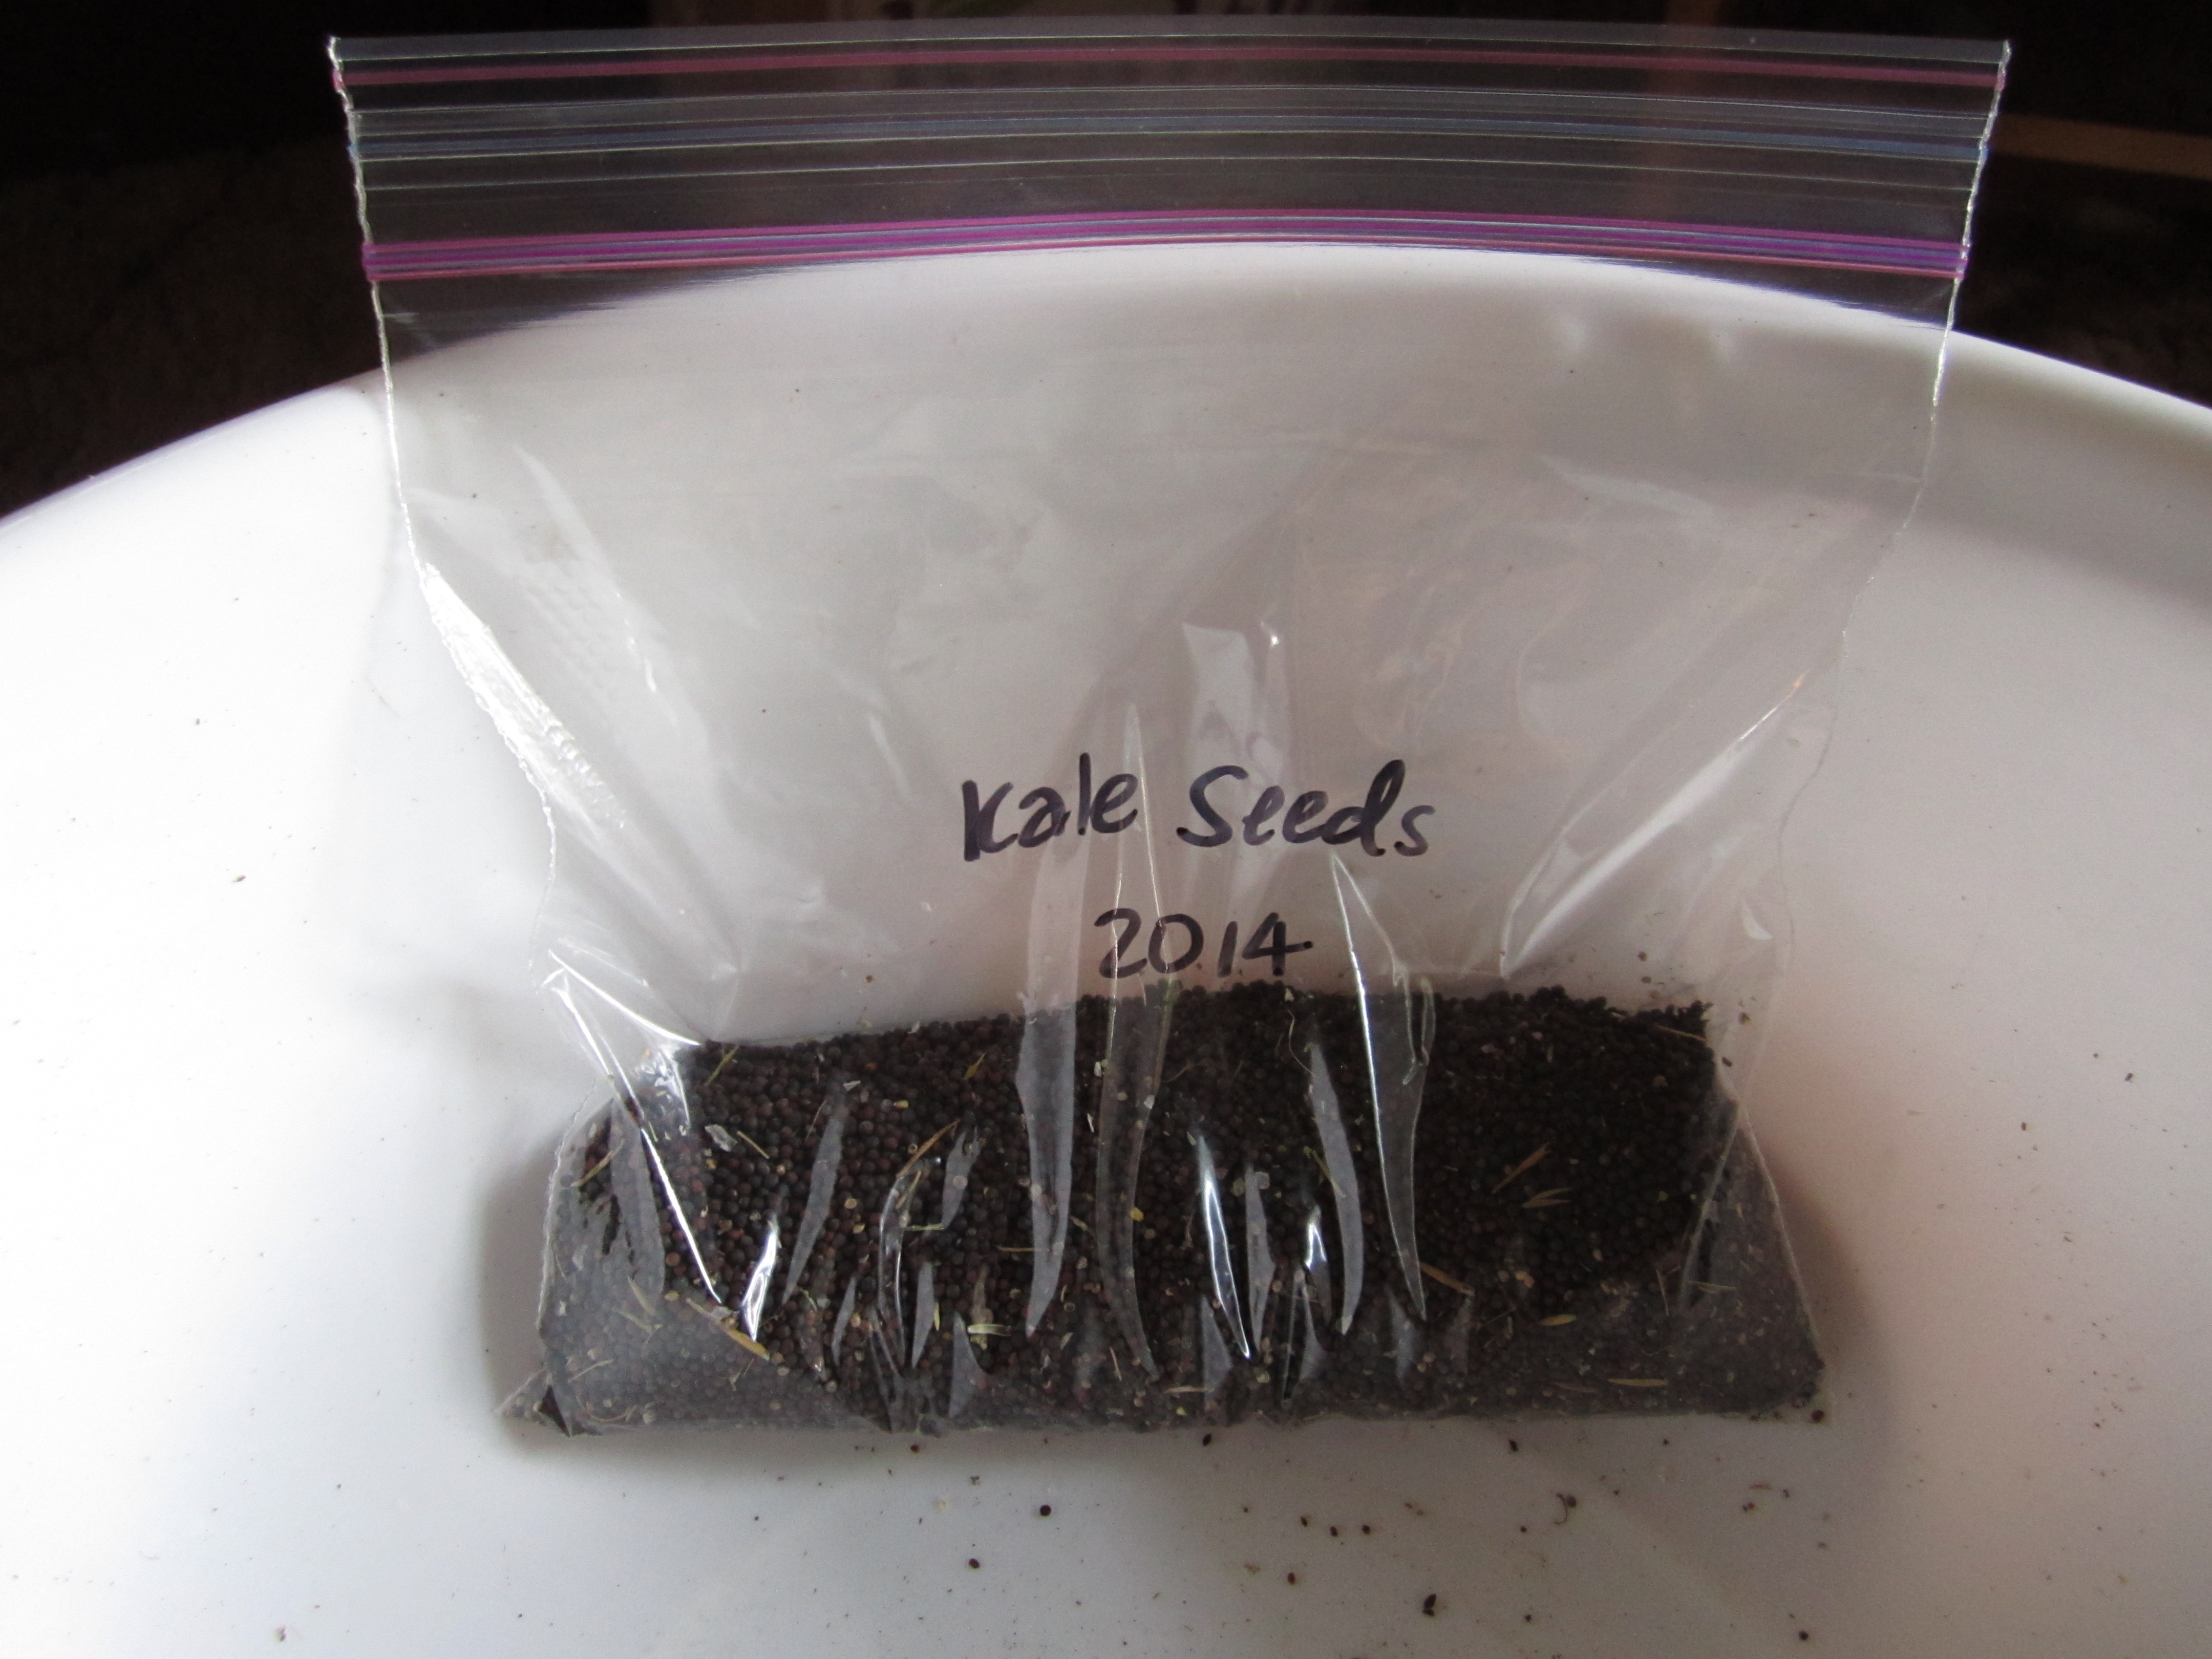
next year’s kale crop inside!
we put the spent stems and the still-attached pods into a compost area; perhaps we’ll use them for mulching in the near future!
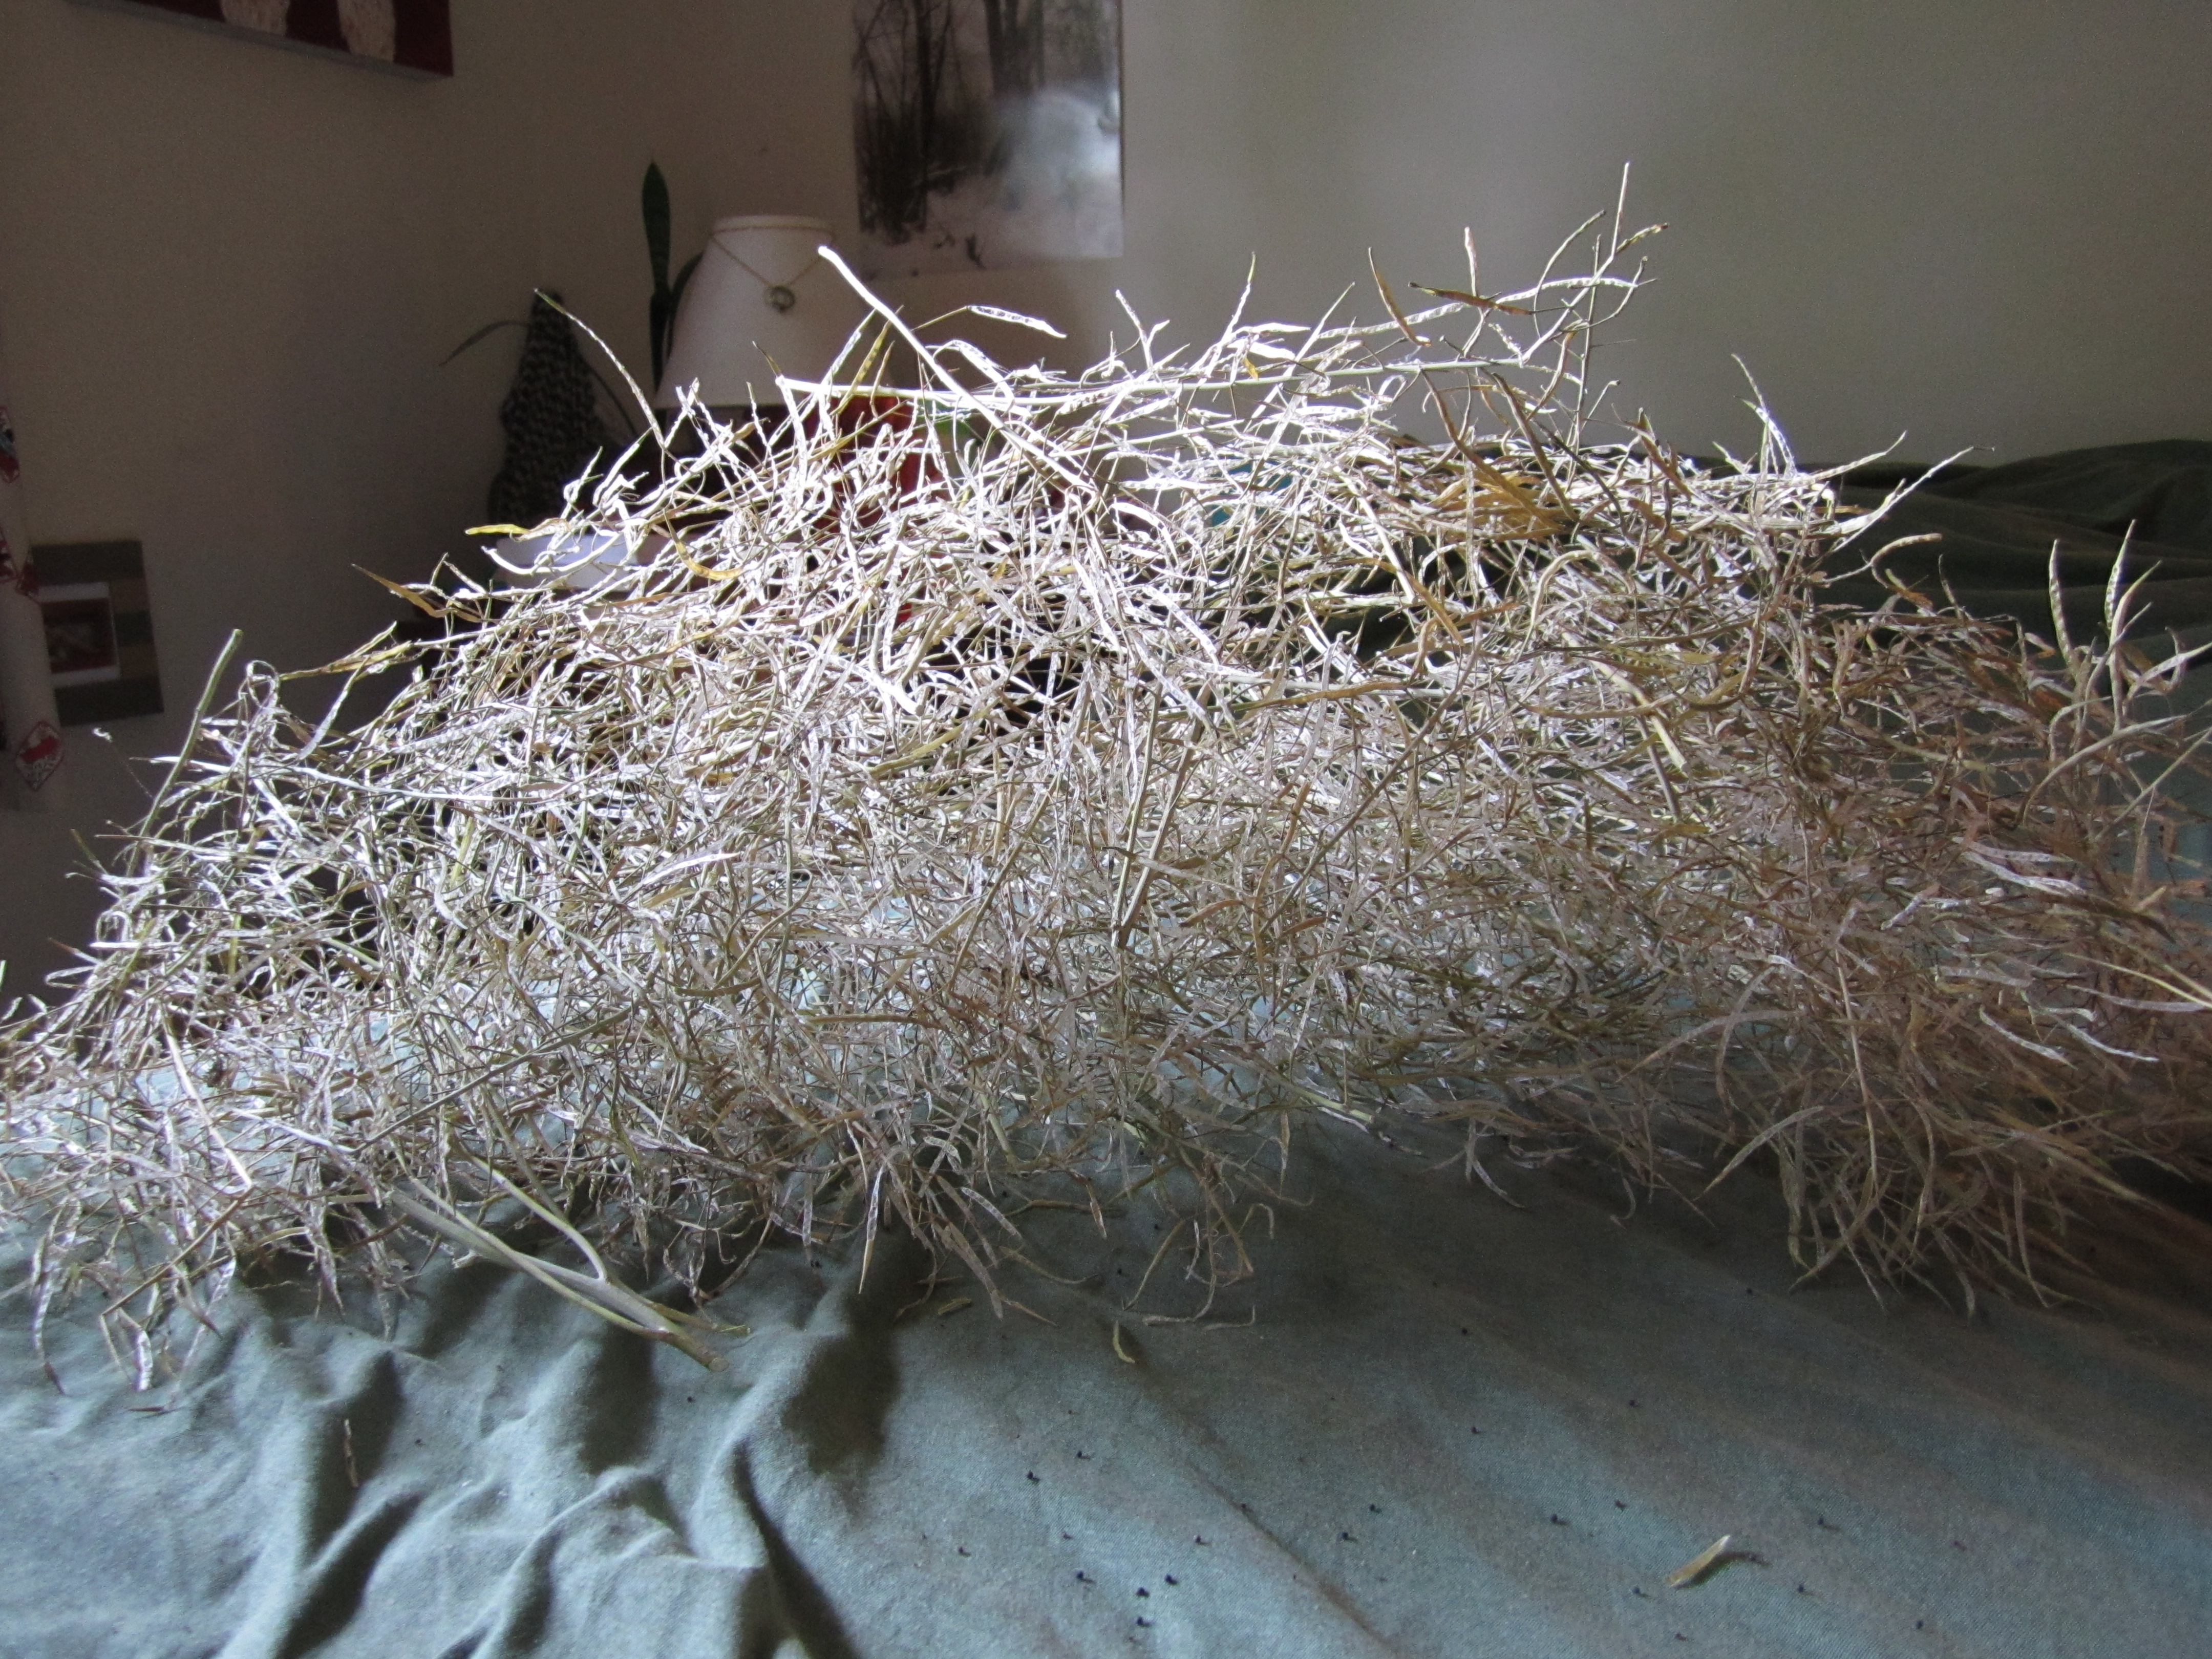
emptied kale stems and pods
and since i found the opened pods to be beautiful, i decided to save them, though i’m not really sure what i’ll do with them yet! i’m thinking a craft of some kind, but who knows?!
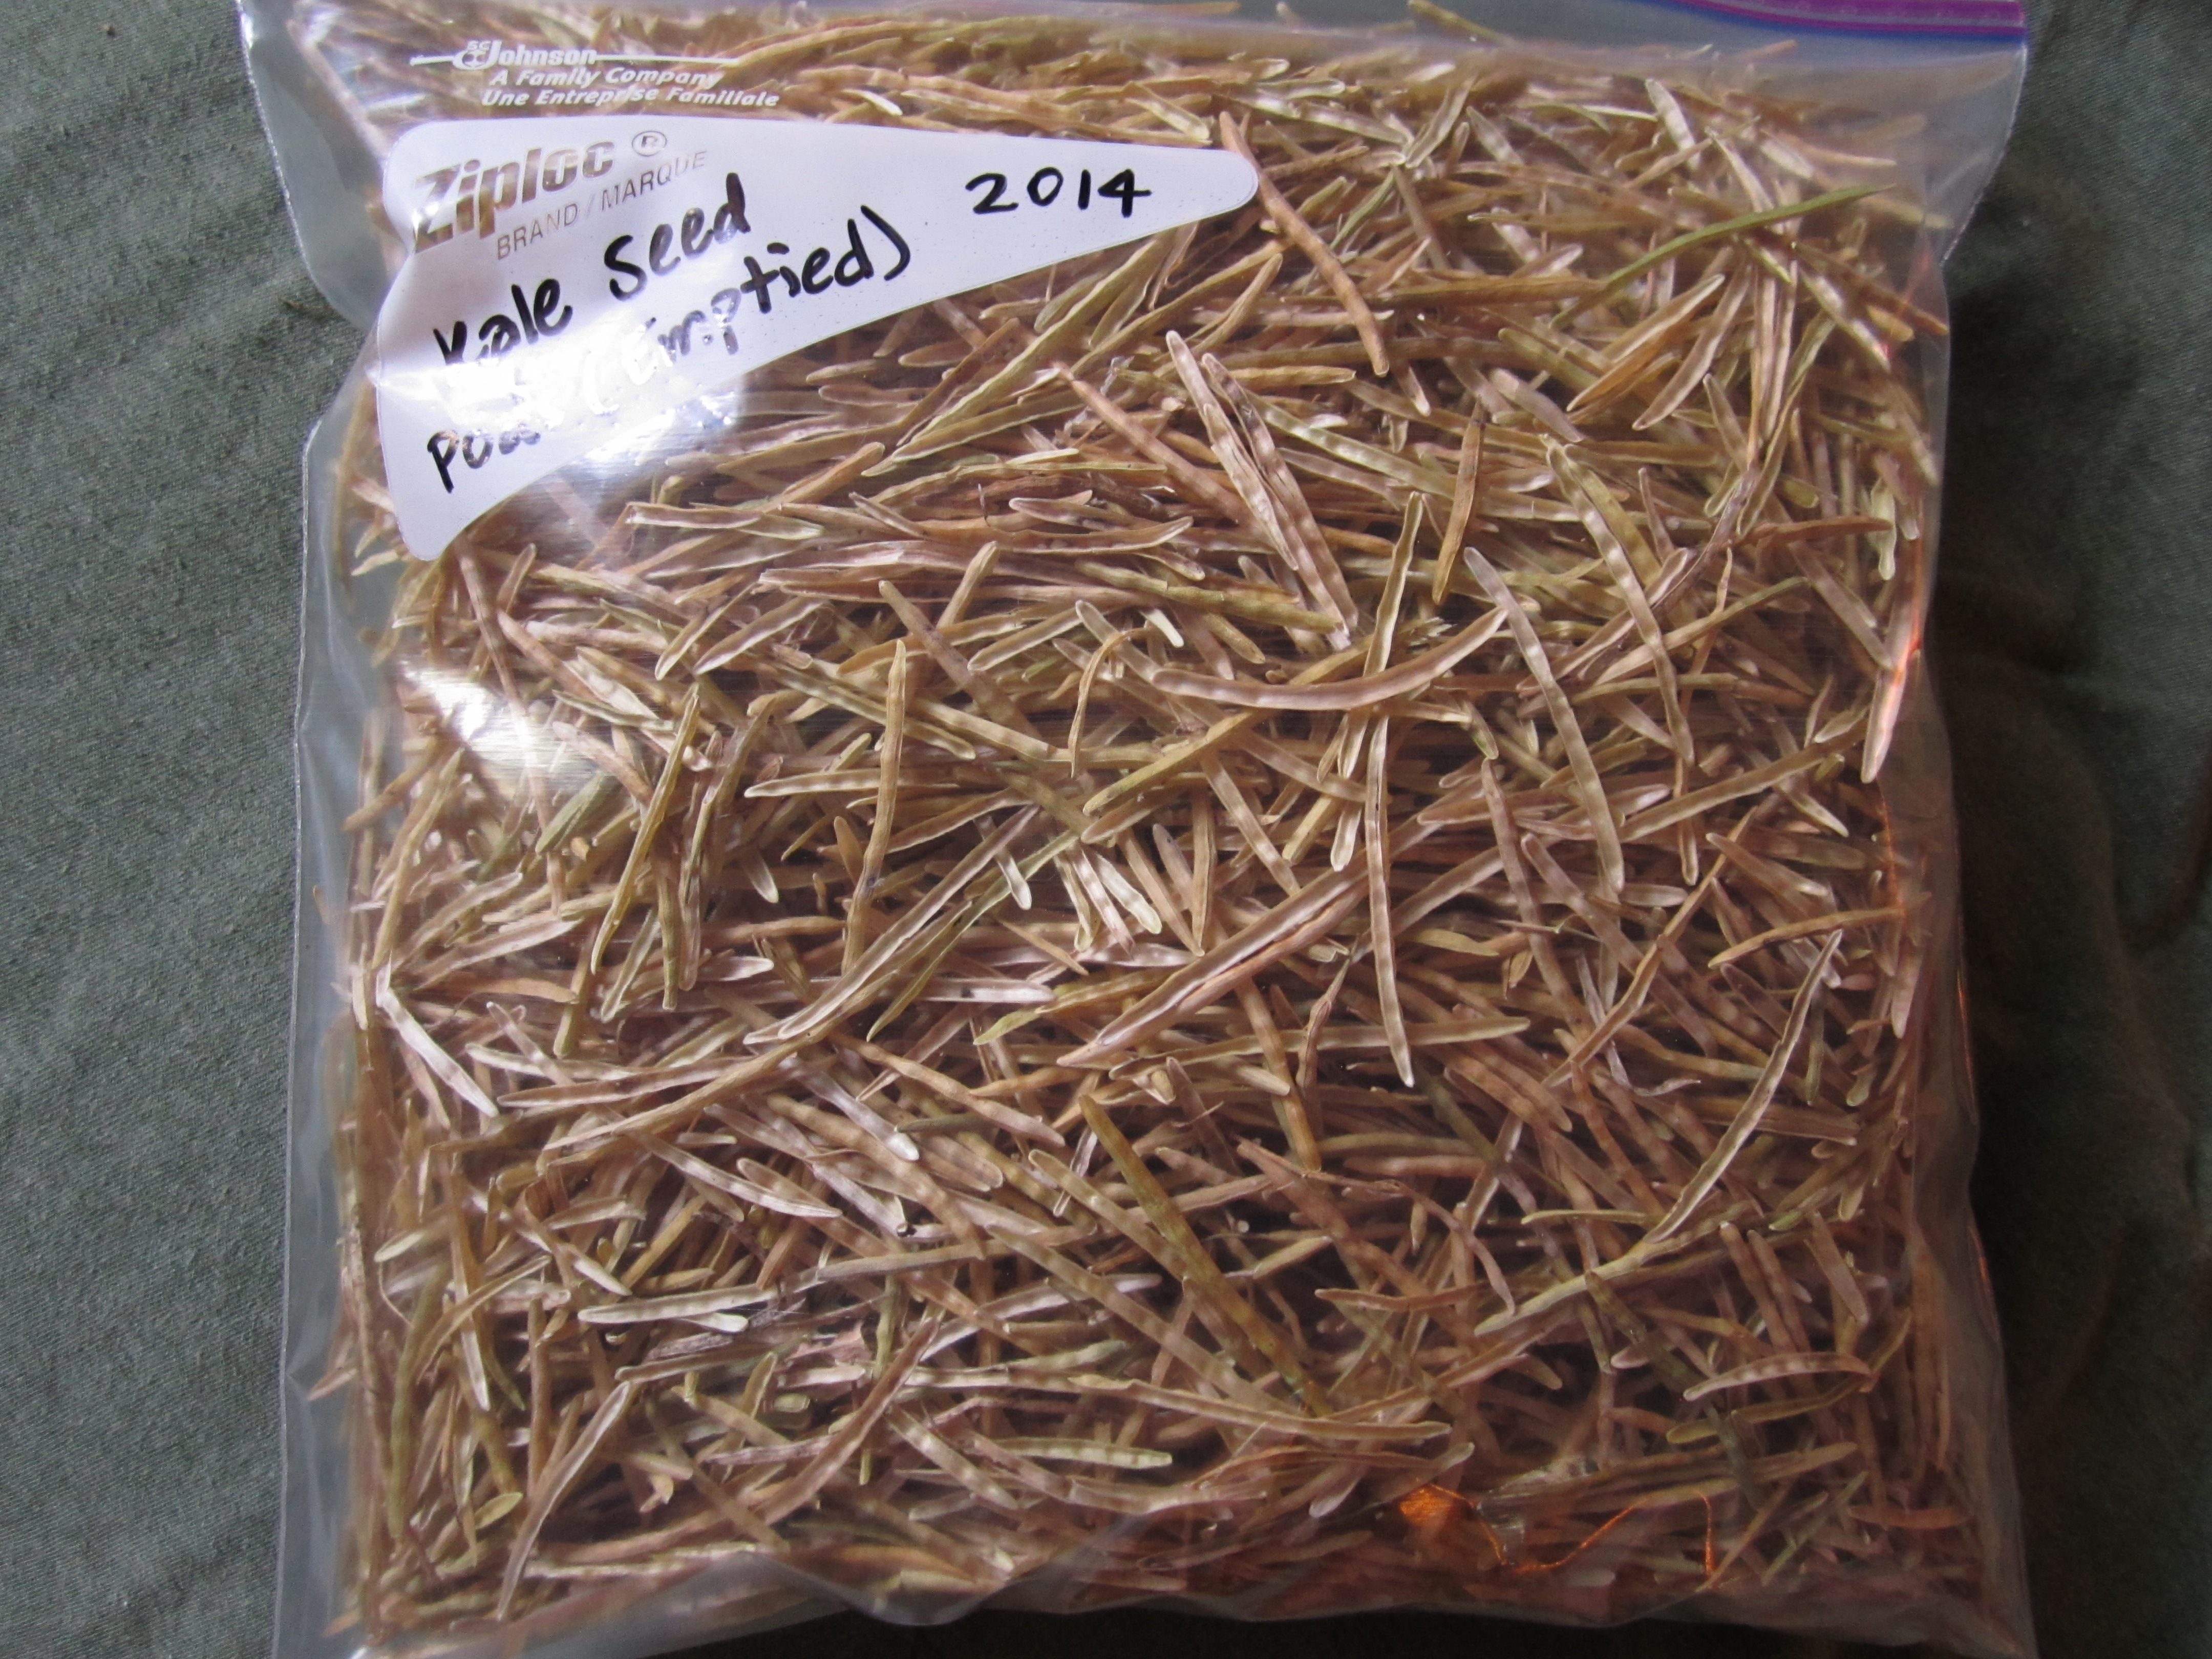
empty pods–a future craft?!
.:.
we recently busted out our new, fantastic food dehydrator, which was a bridal shower gift from jason’s amazing aunt and uncle!
we’ve used it for tons of things so far: sweet potato shreds, celery, greenbeans, pigeon peas, kidney beans, tomato paste, and venison jerky! delicious!
we’ve also started making our own fruit leathers and they are phenomenal. the only flavor i’ve made so far is cranberry. here’s the recipe:
i cook the cranberries down the exact same way my mom does when making cranberry sauce for thanksgiving, so this is her recipe, actually. i’ve just turned it into fruit leathers.
all 9 trays in the dehydrator get filled up when i start with 2 pounds of frozen cranberries. i cook these down on medium in a large saute pan. as they cook i add 1 cup of sugar and 1 cup of water. i also add a couple splashes of lemon juice to tone down the tart cranberry flavor. just these simple ingredients and you have the perfect fruit leather recipe!
i advise you to leave a lid on your concoction as it cooks so that your kitchen doesn’t end up splattered with pink dots! once you decide that most of the cranberries have cooked down, i cut it off and let it cool for about an hour. afterwards, it gets blended to smoothness in our food processor and gently spread onto saran wrap sheets laid out on top of the dehydrator trays.
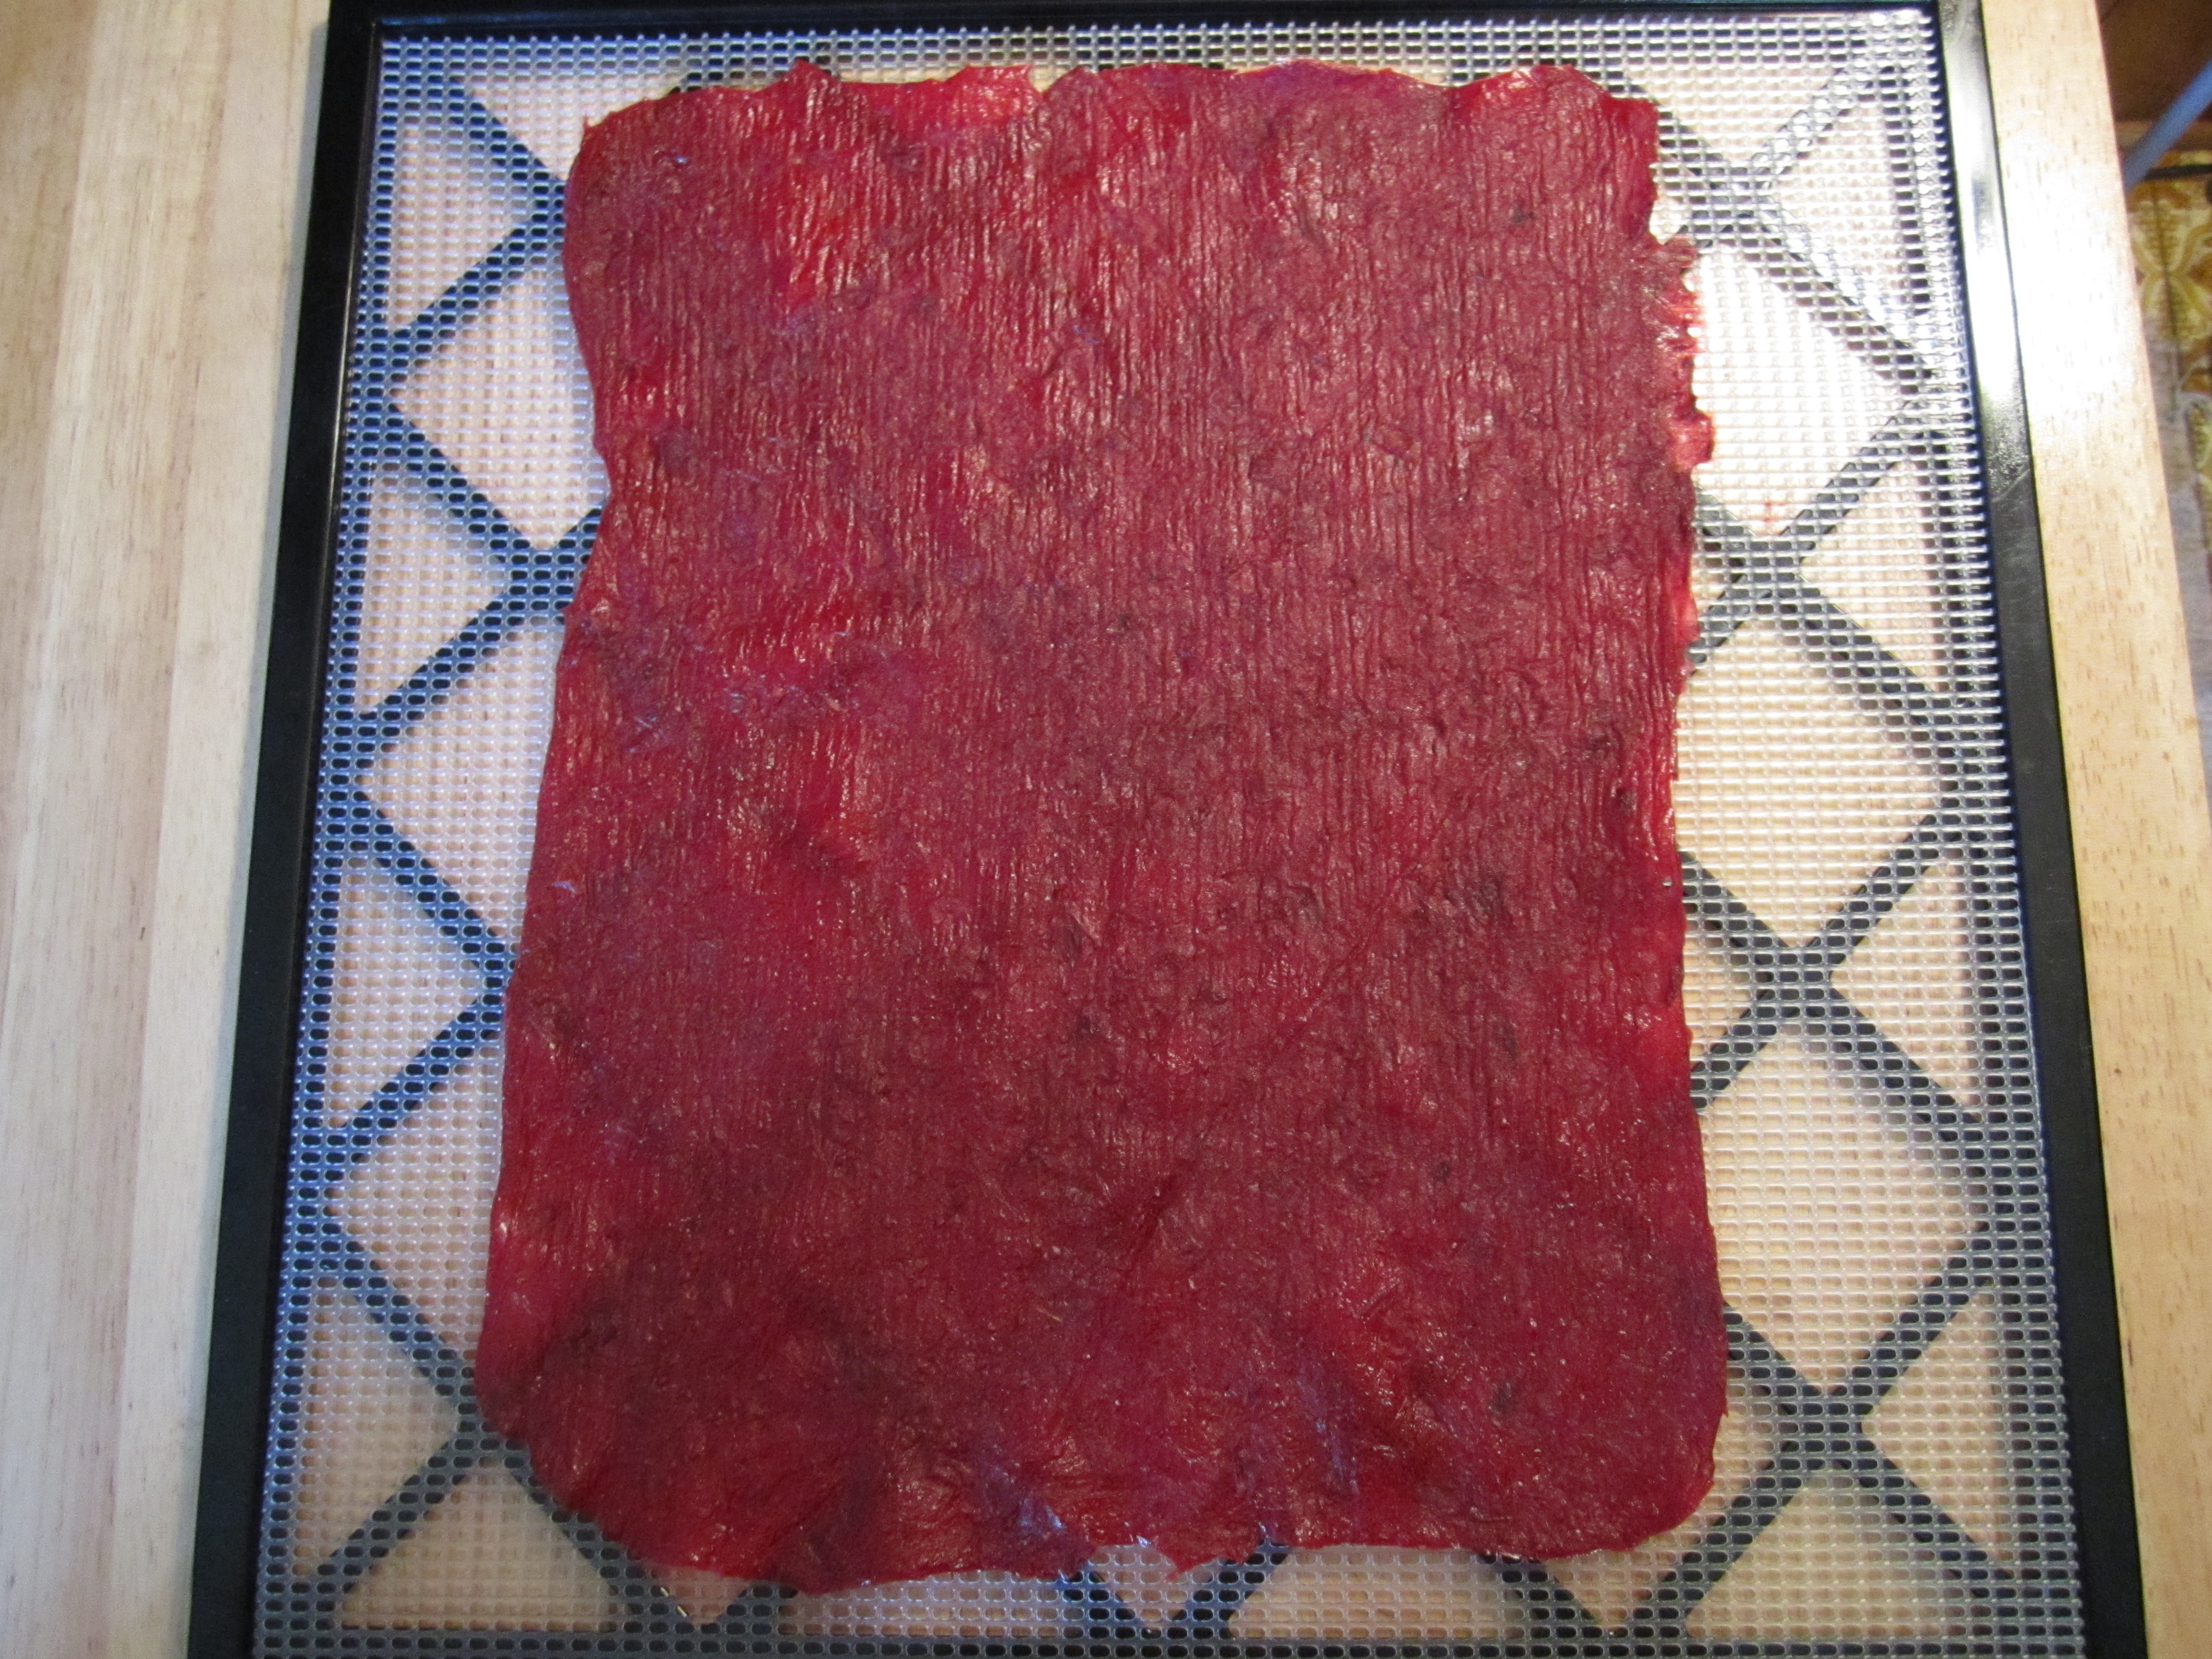
a sheet of cranberry fruit leathers fresh out of the dehydrator
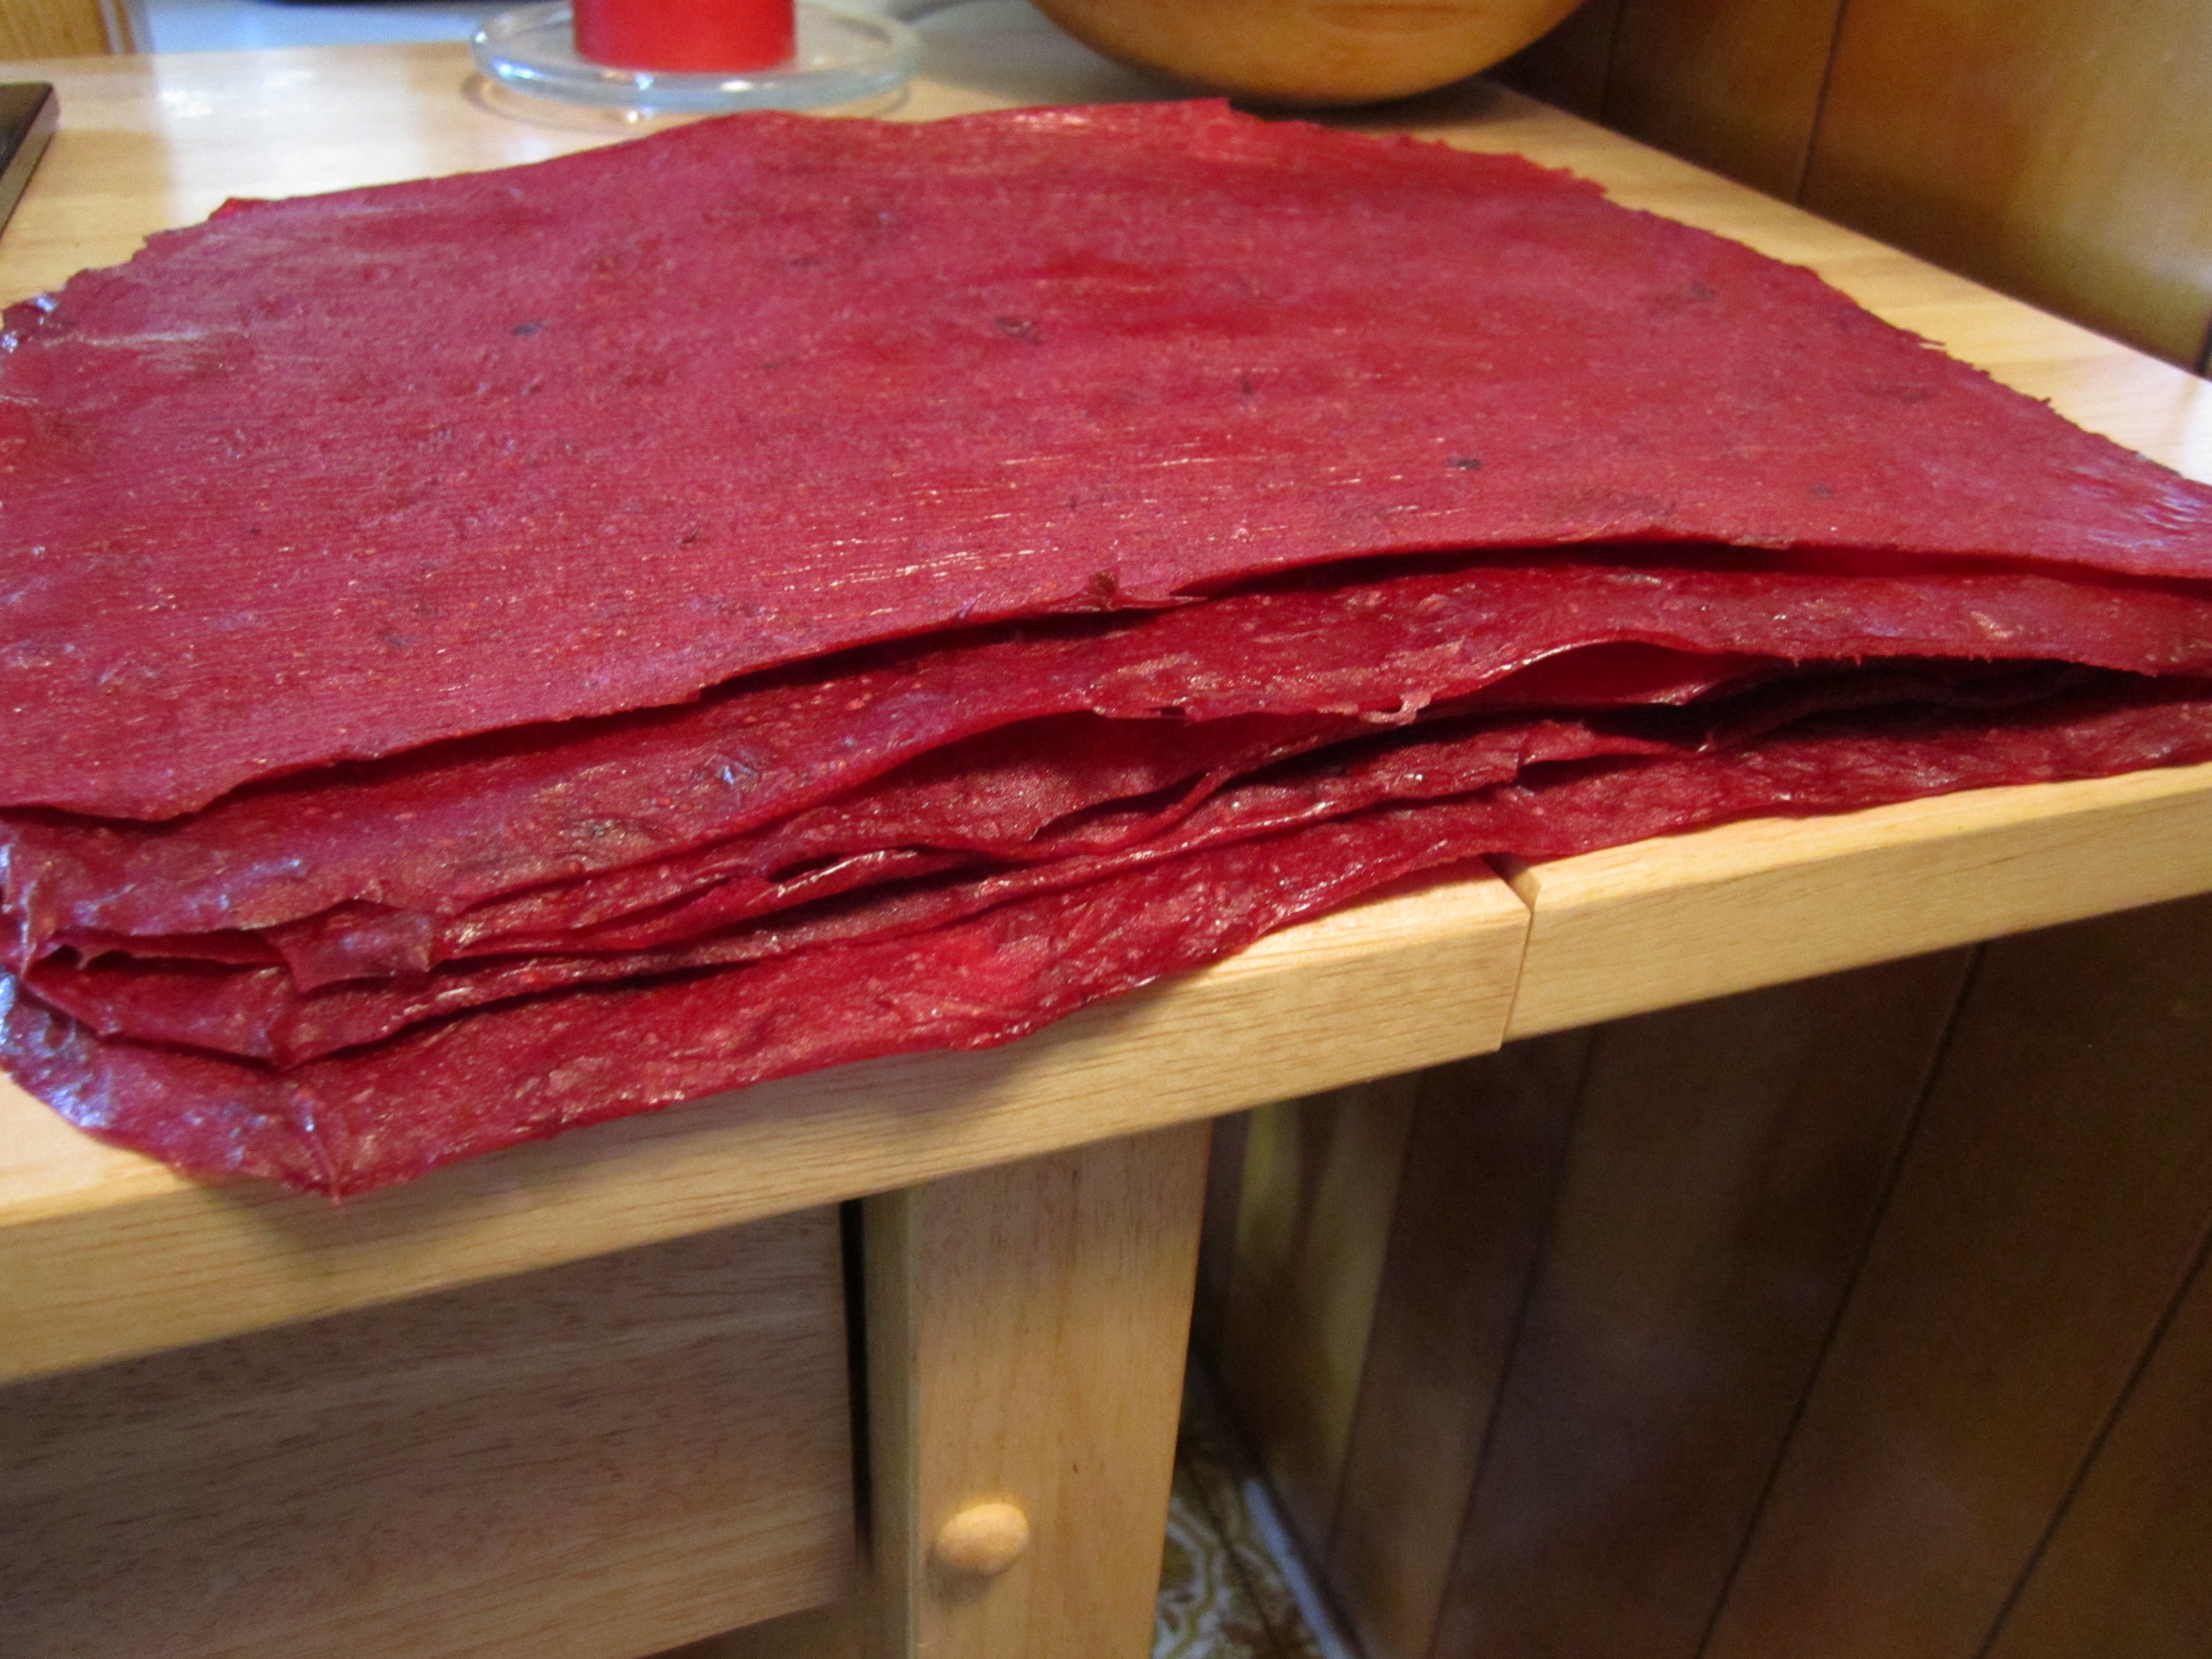
all 9 sheets of fruit leather, waiting to be sliced
your dehydrator should have directions telling you how thick to spread the jelly and how long to set your machine for, but i usually just eyeball it. i’ve notice that the fruit leathers i’ve made so far take between 6-8 hours and need to be peeled off of the saran wrap and flipped over at least 4 hours into the drying process.
after they are done, they get cut into serving size slices and stored in a container of some sort. putting them in the fridge will make them last longer but ours are out on the counter since i know they will get consumed in the next few days… we just can’t get enough!
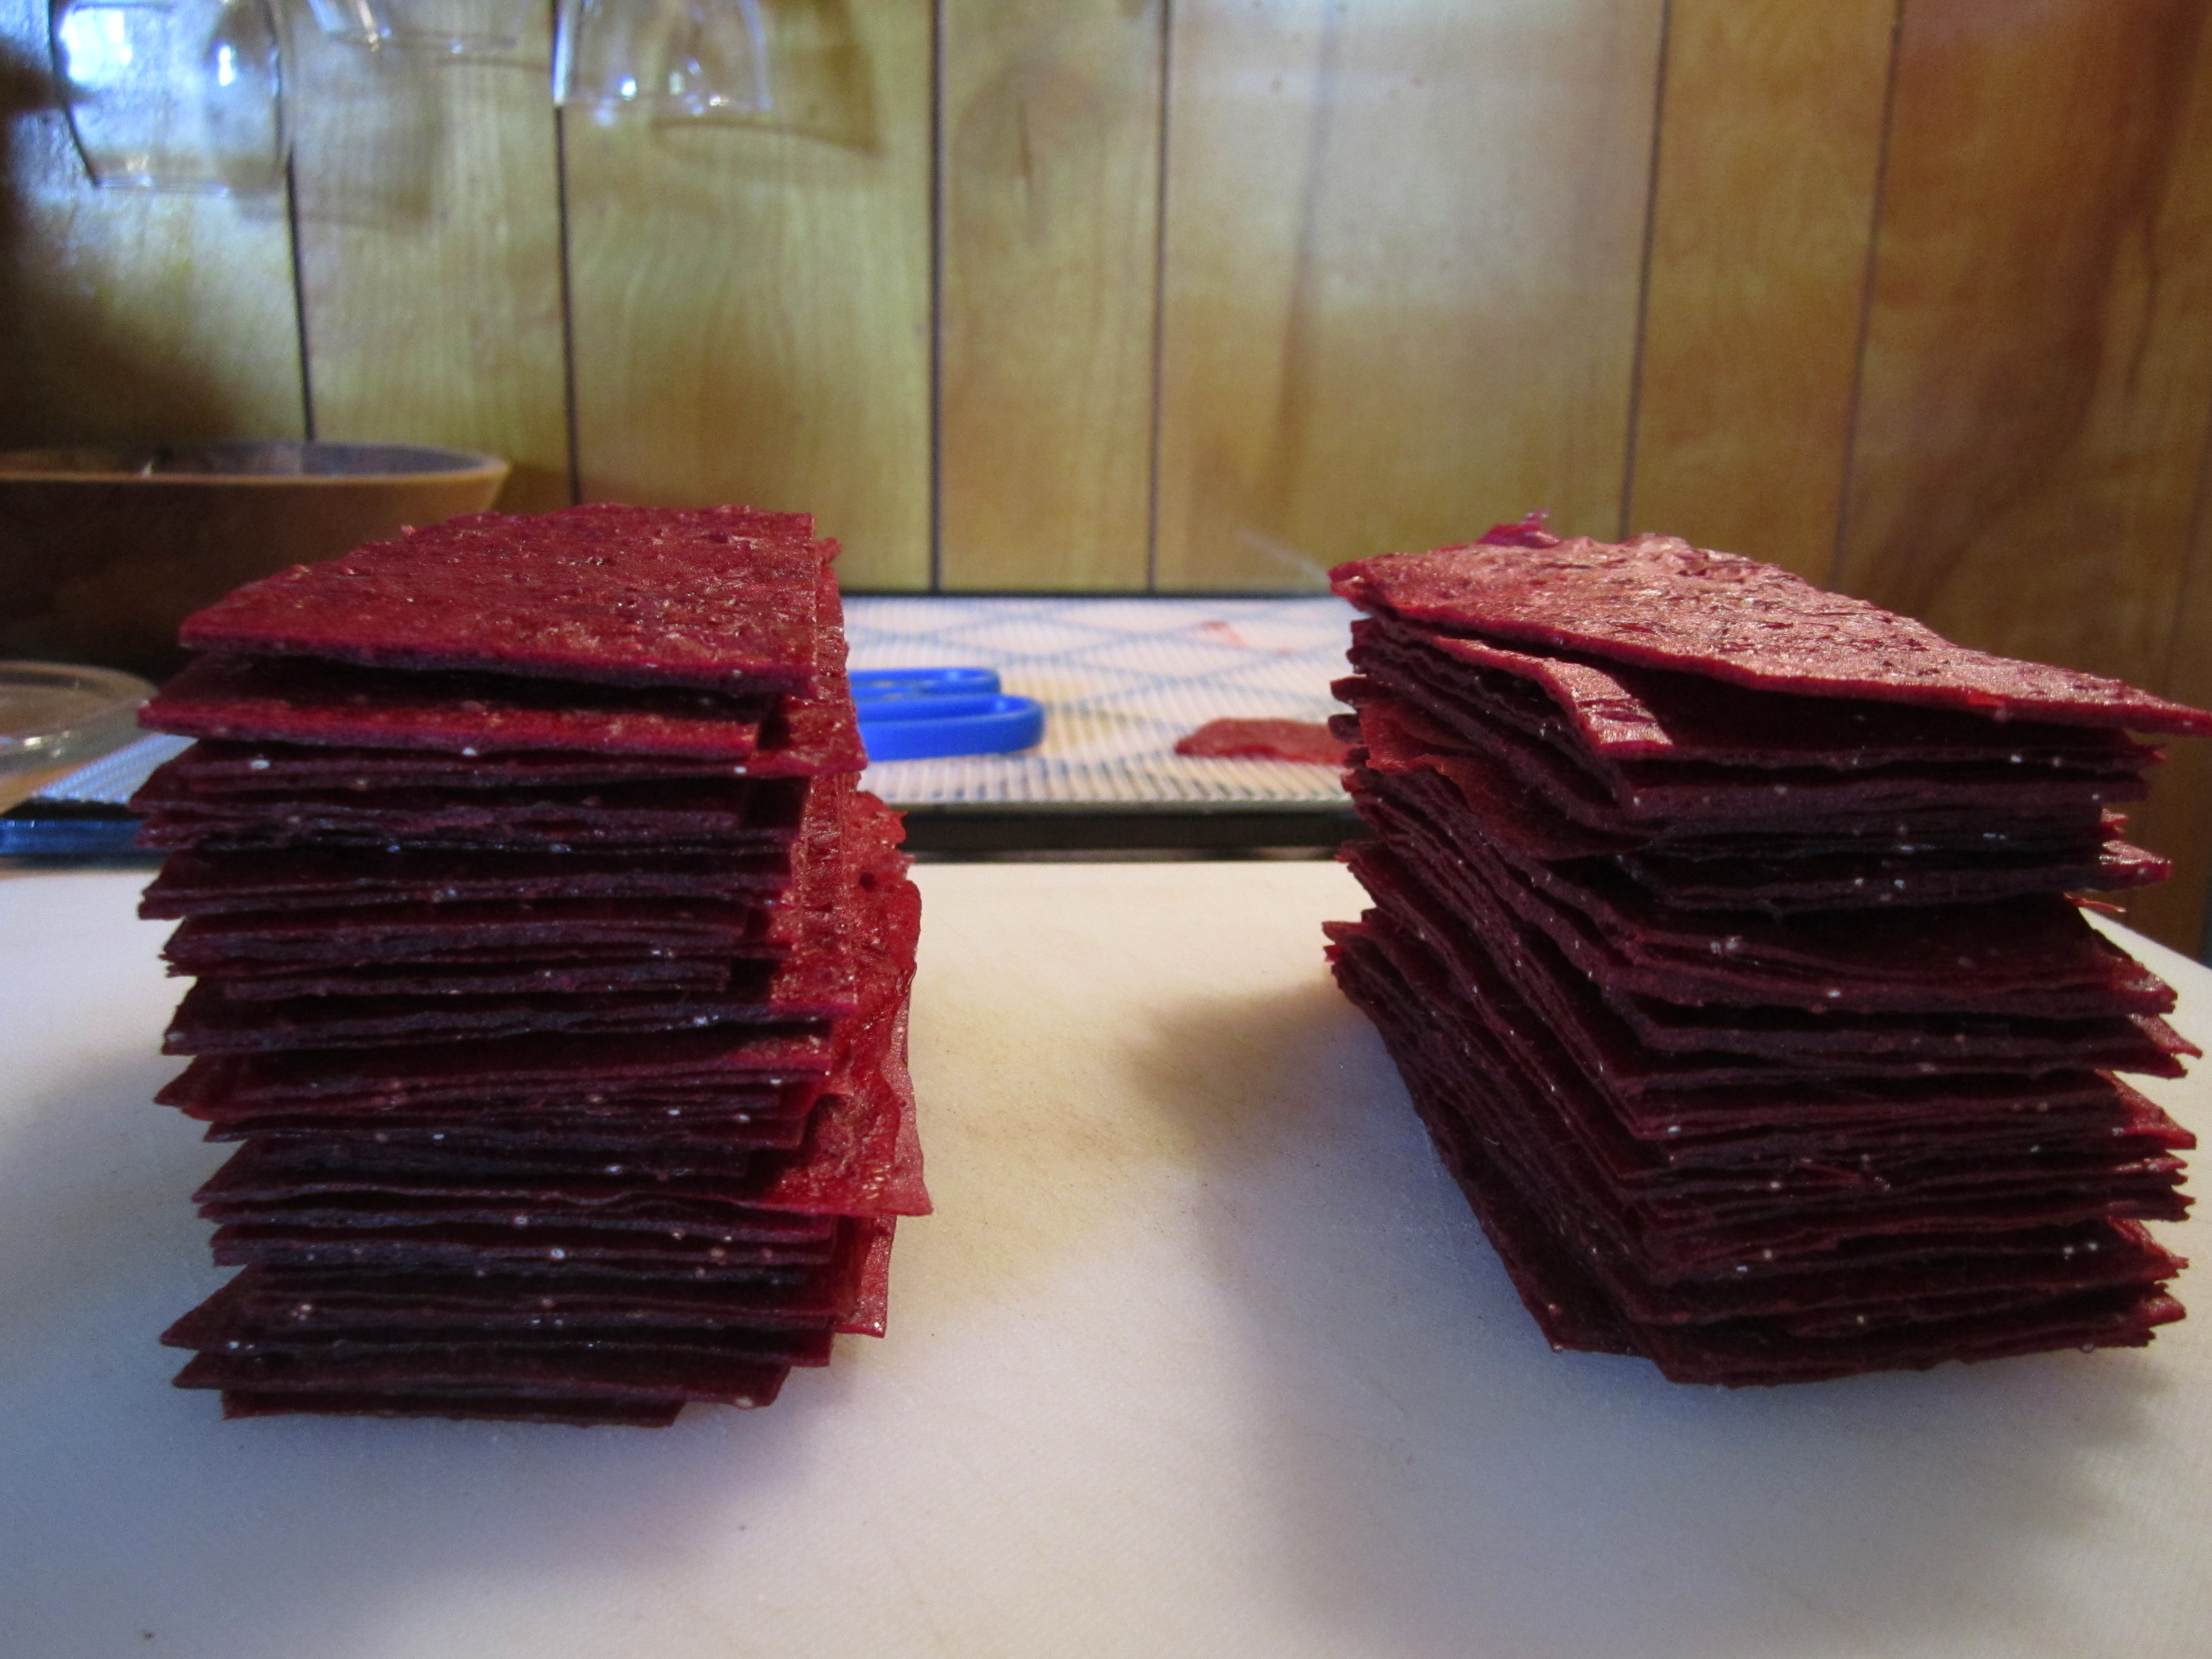
stacks of serving size fruit leathers slices. dare you not to eat 20 at once!
.:.
just the other day we harvested our first two cabbages from the garden. we were both surprised at how large they grew. we rescued them just in time–before the bugs really got them. for now, it looks like our other cabbages might not make it past the bugs.
but we’re glad to have gotten two of them to eat! we used the larger, nicer head for mixing into our salads and just simply munching. fresh cabbage sure is wonderful!
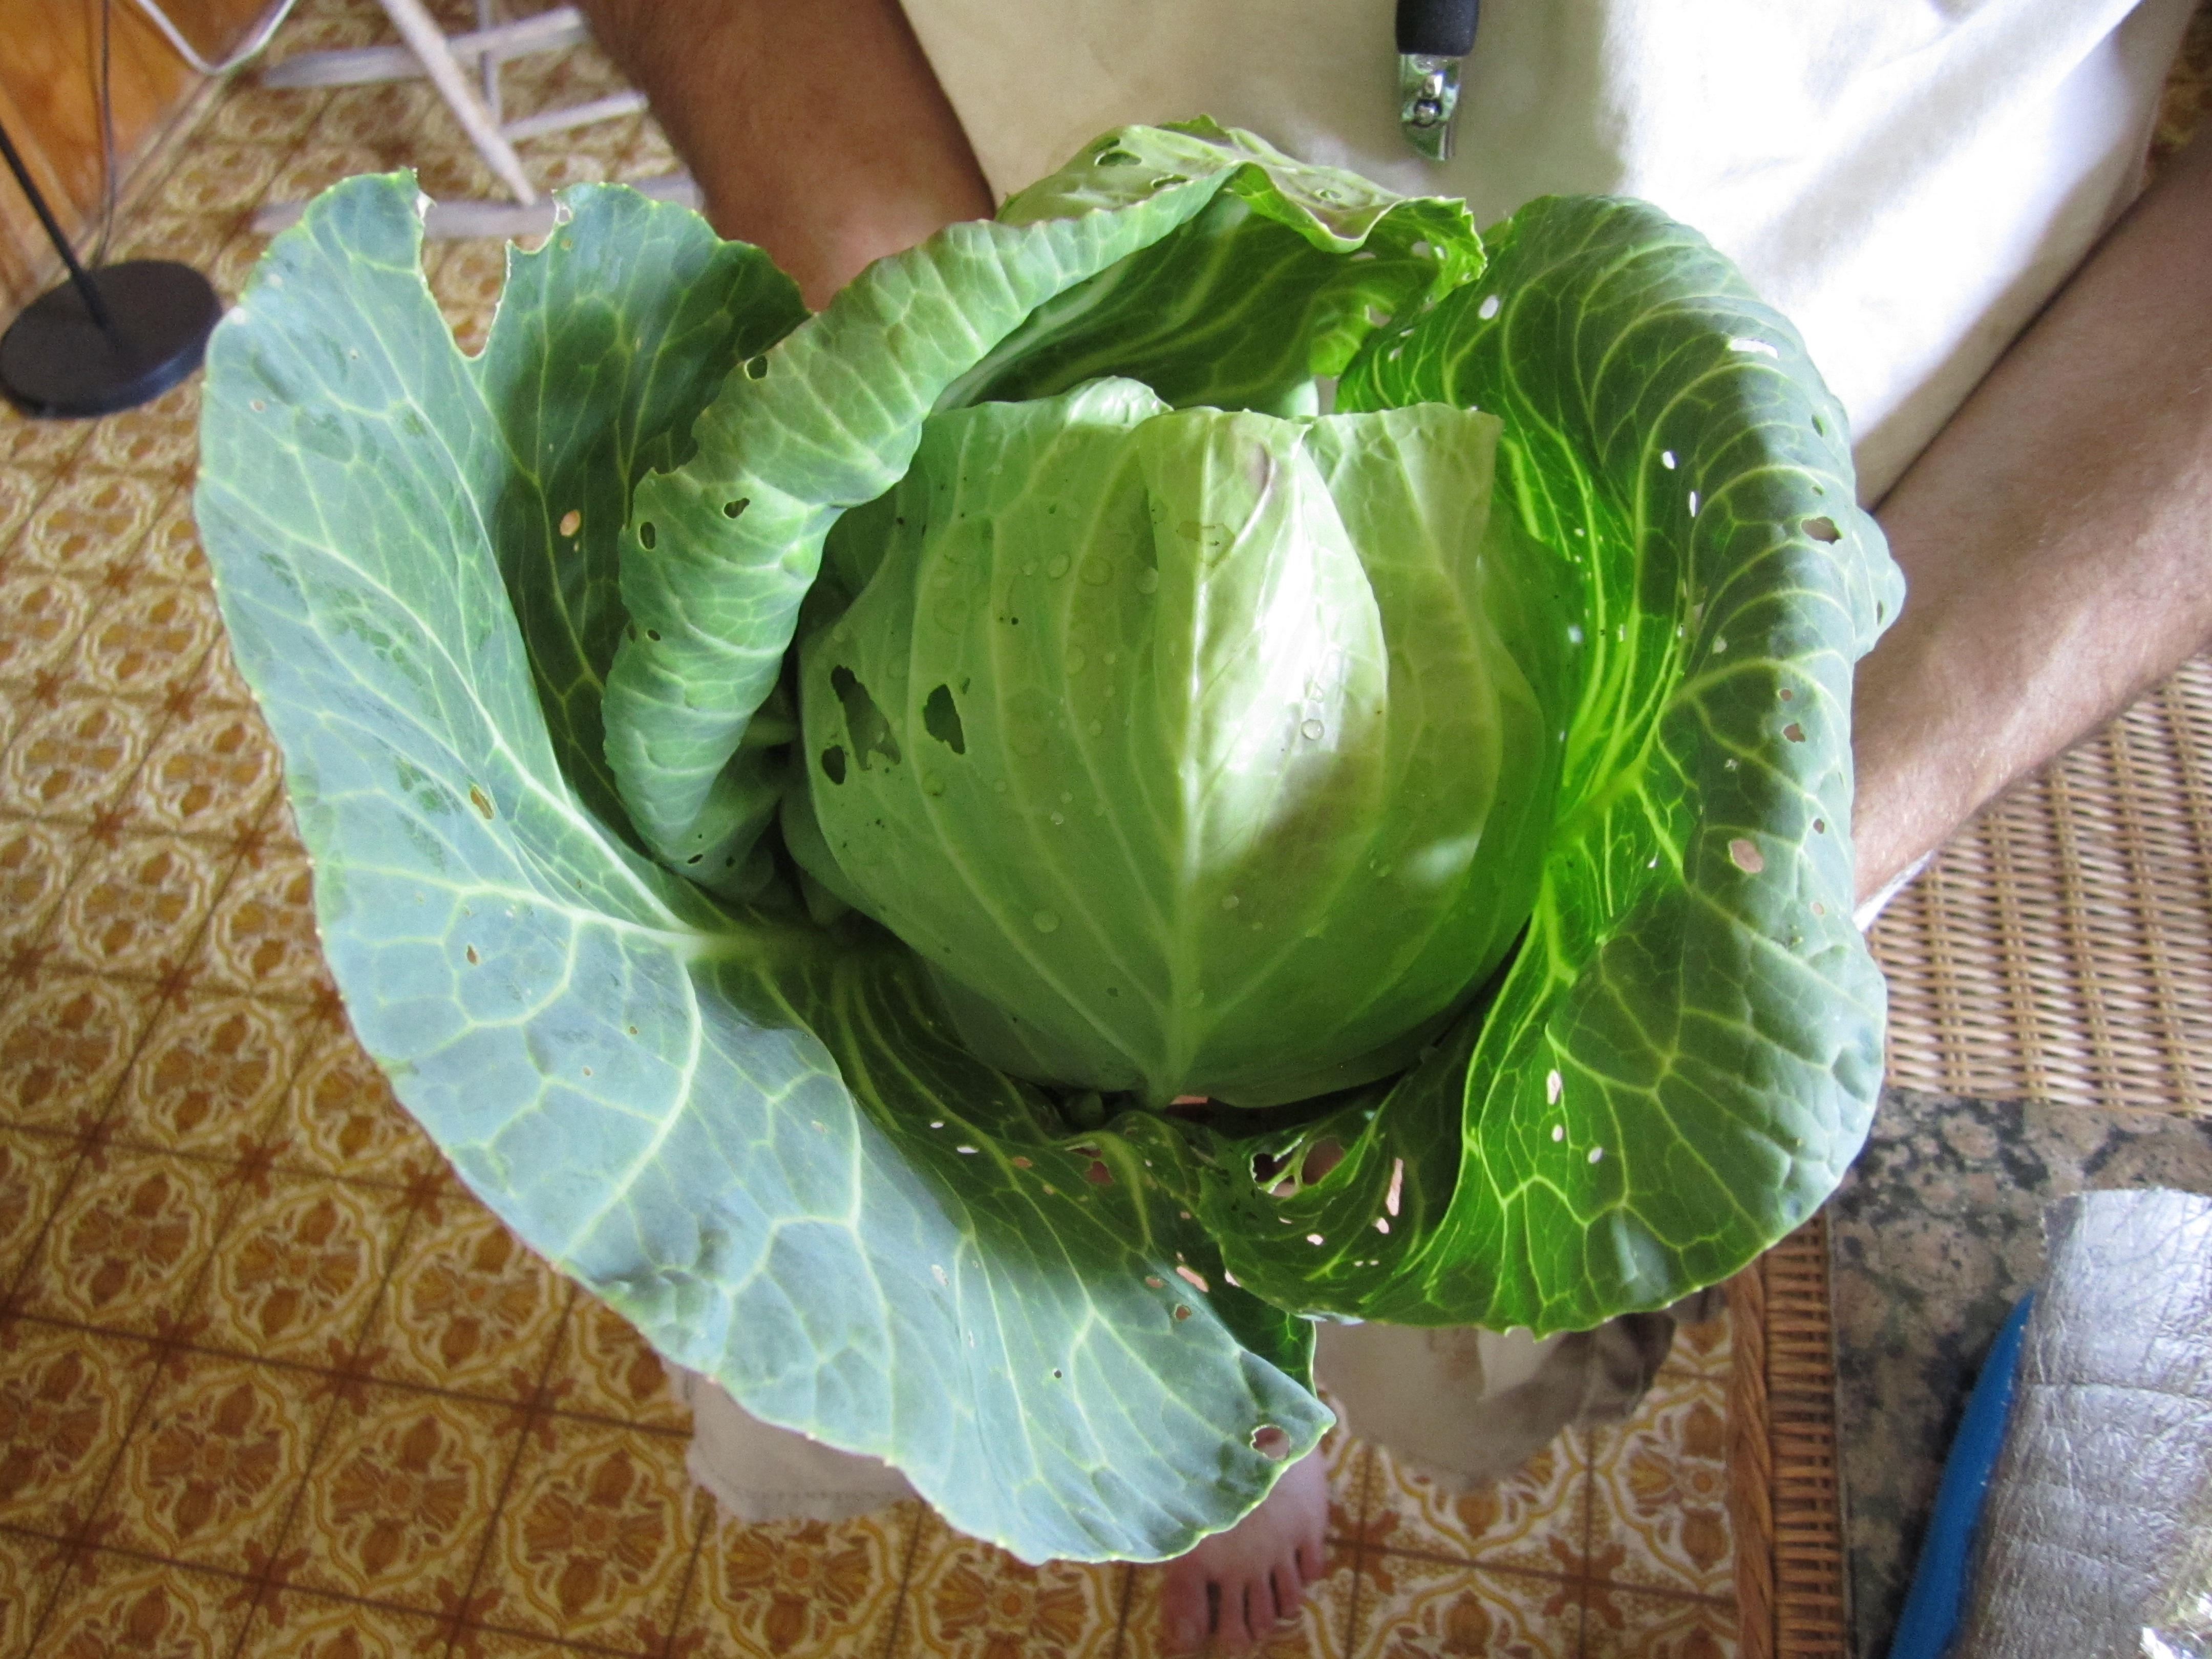
our first head of cabbage!
we cut the other head up into small strips and jason is using it for our first batch of lacto-fermented sauerkraut. my aunt makes awesome sauerkraut and she’s actually made some for our wedding (out of red cabbage). we can’t wait to try it! in the meantime, jason continues to check the progress of our little sauerkraut batch to see when it is time to take it from room temperature to the fridge.
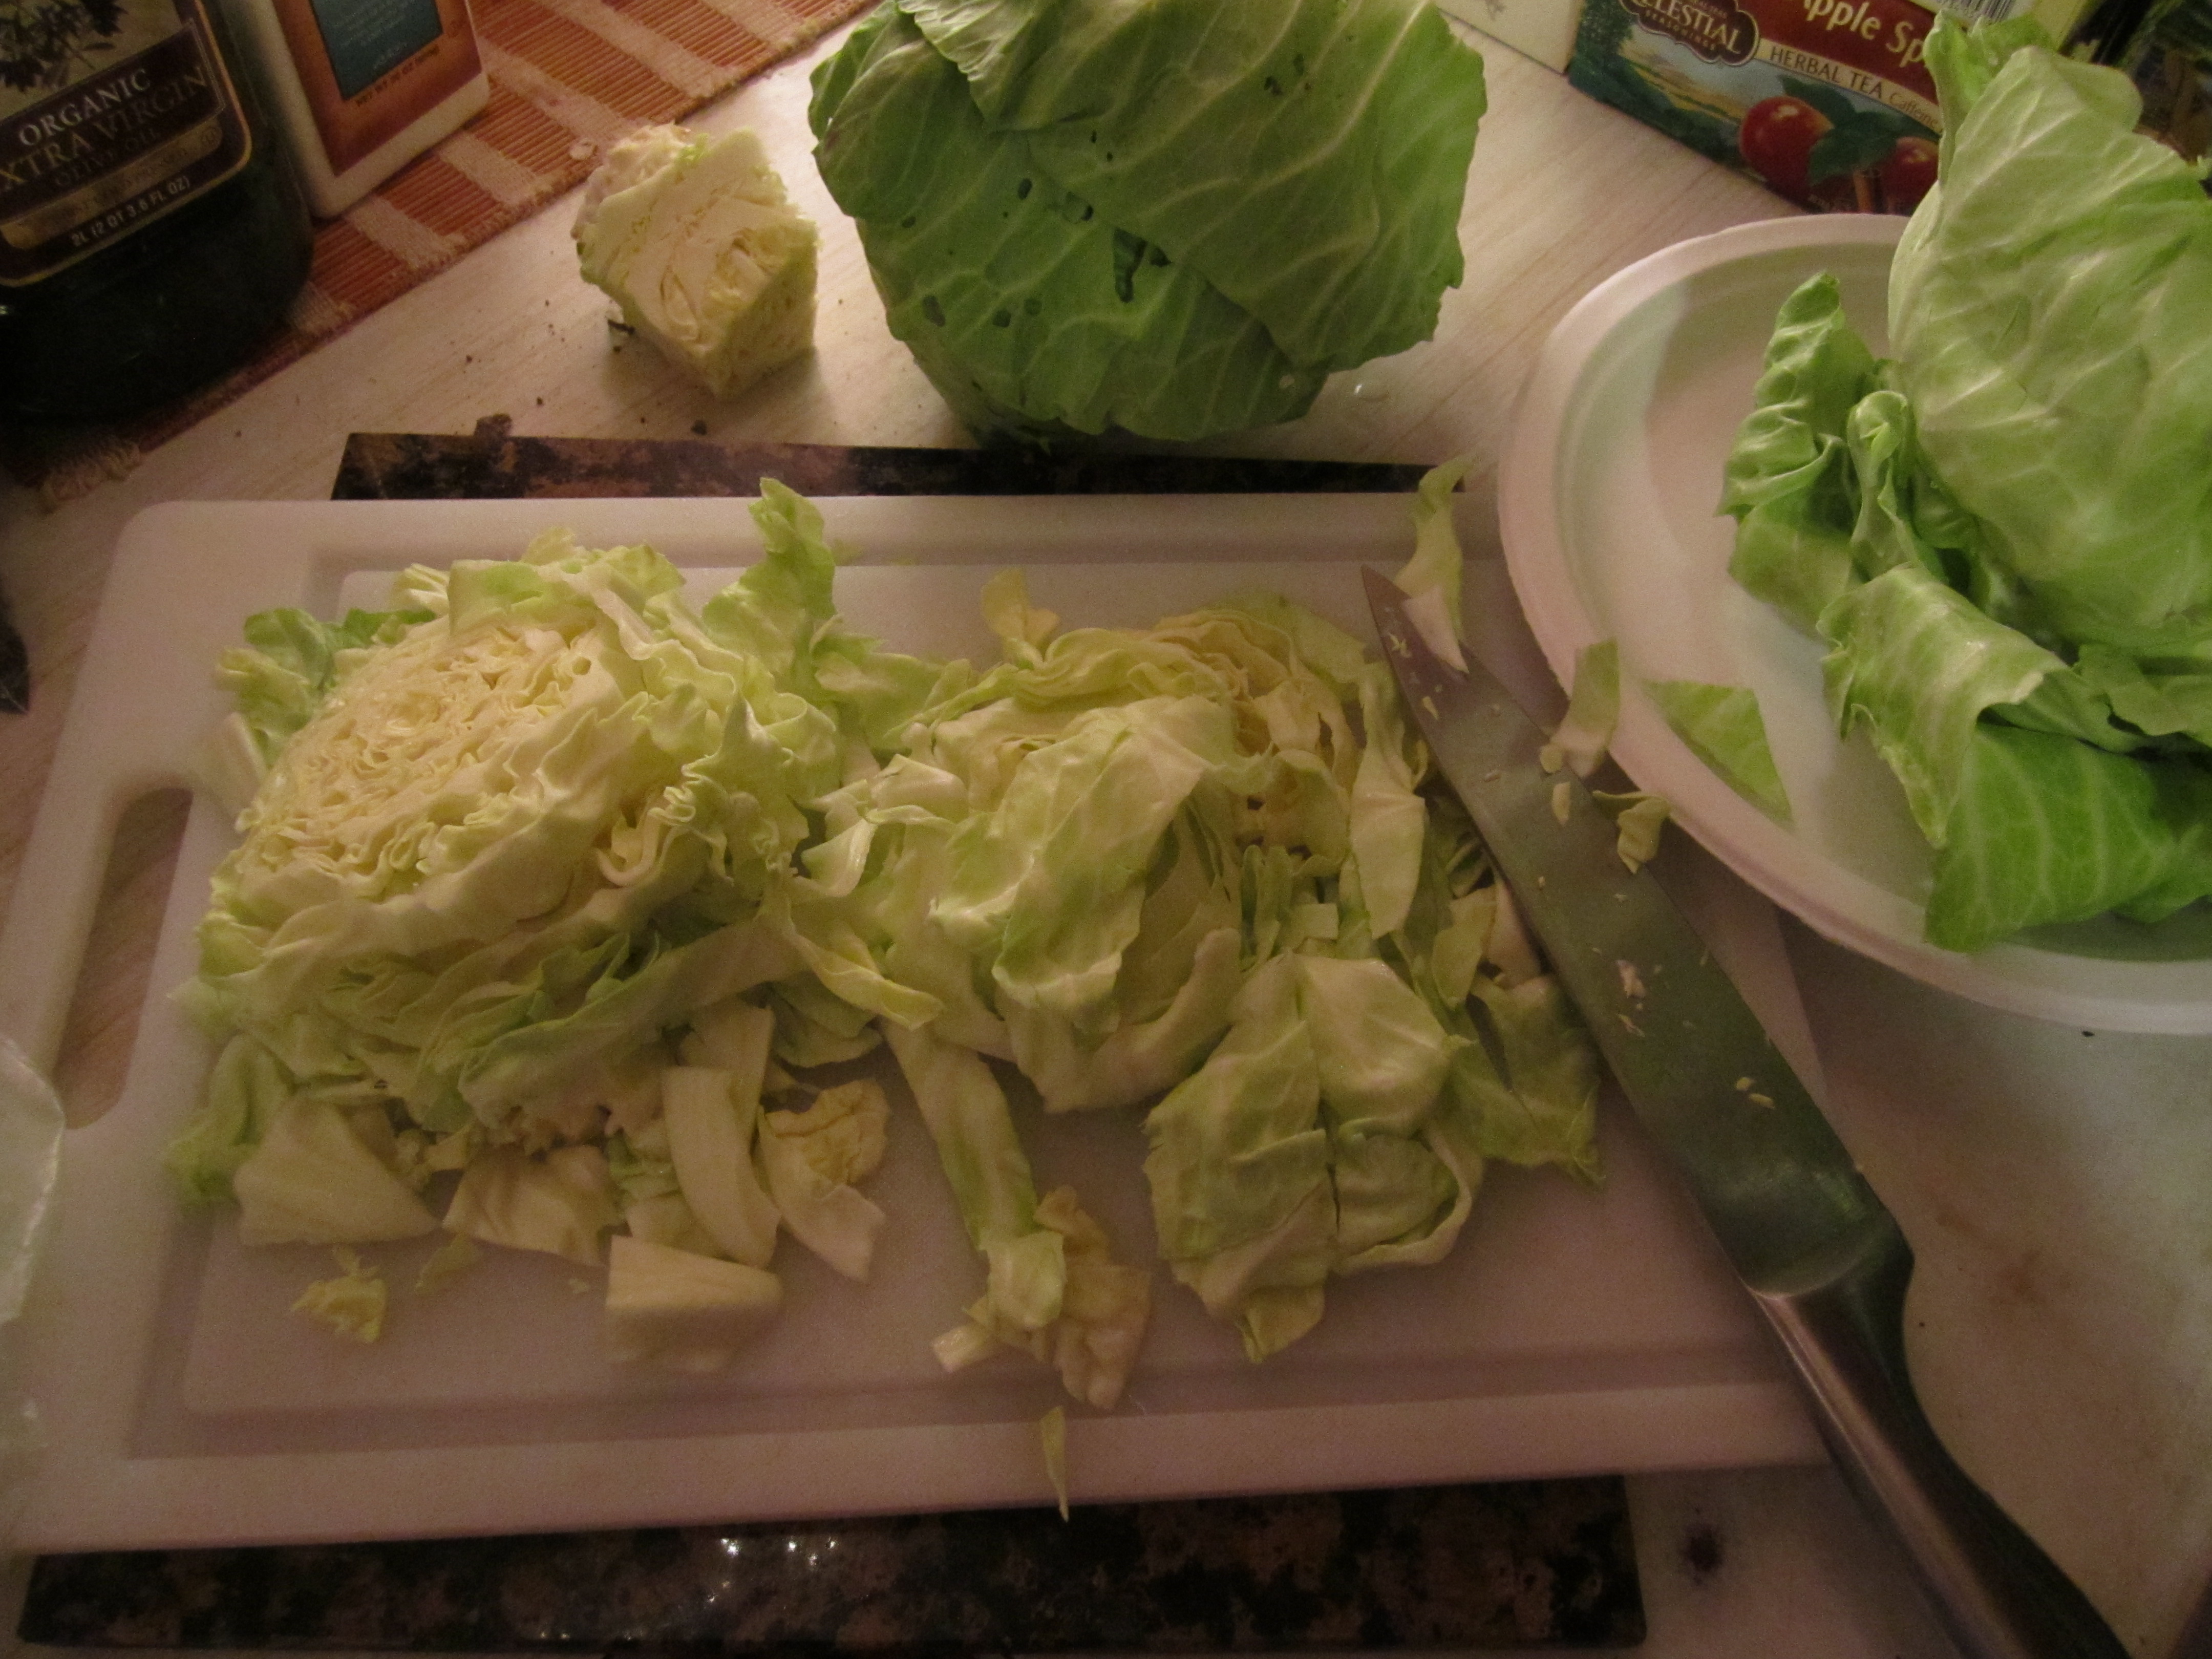
slicing cabbage for salads and sauerkraut.
next up on the lacto-fermenting menu… tons and tons of pickled greenbeans! my favorite!
.:.
i want to take a moment to explain a great resource for gardening and homesteading that i love to use. i learned about these lovely items from my father, who has used them since i was a child, picked up at the local asian grocery store.
they are… awesome, plastic, chinese baskets! in actuality, they seem to be colanders, but they come in various sizes and dimensions and i’ve found that they can be used in versatile ways.
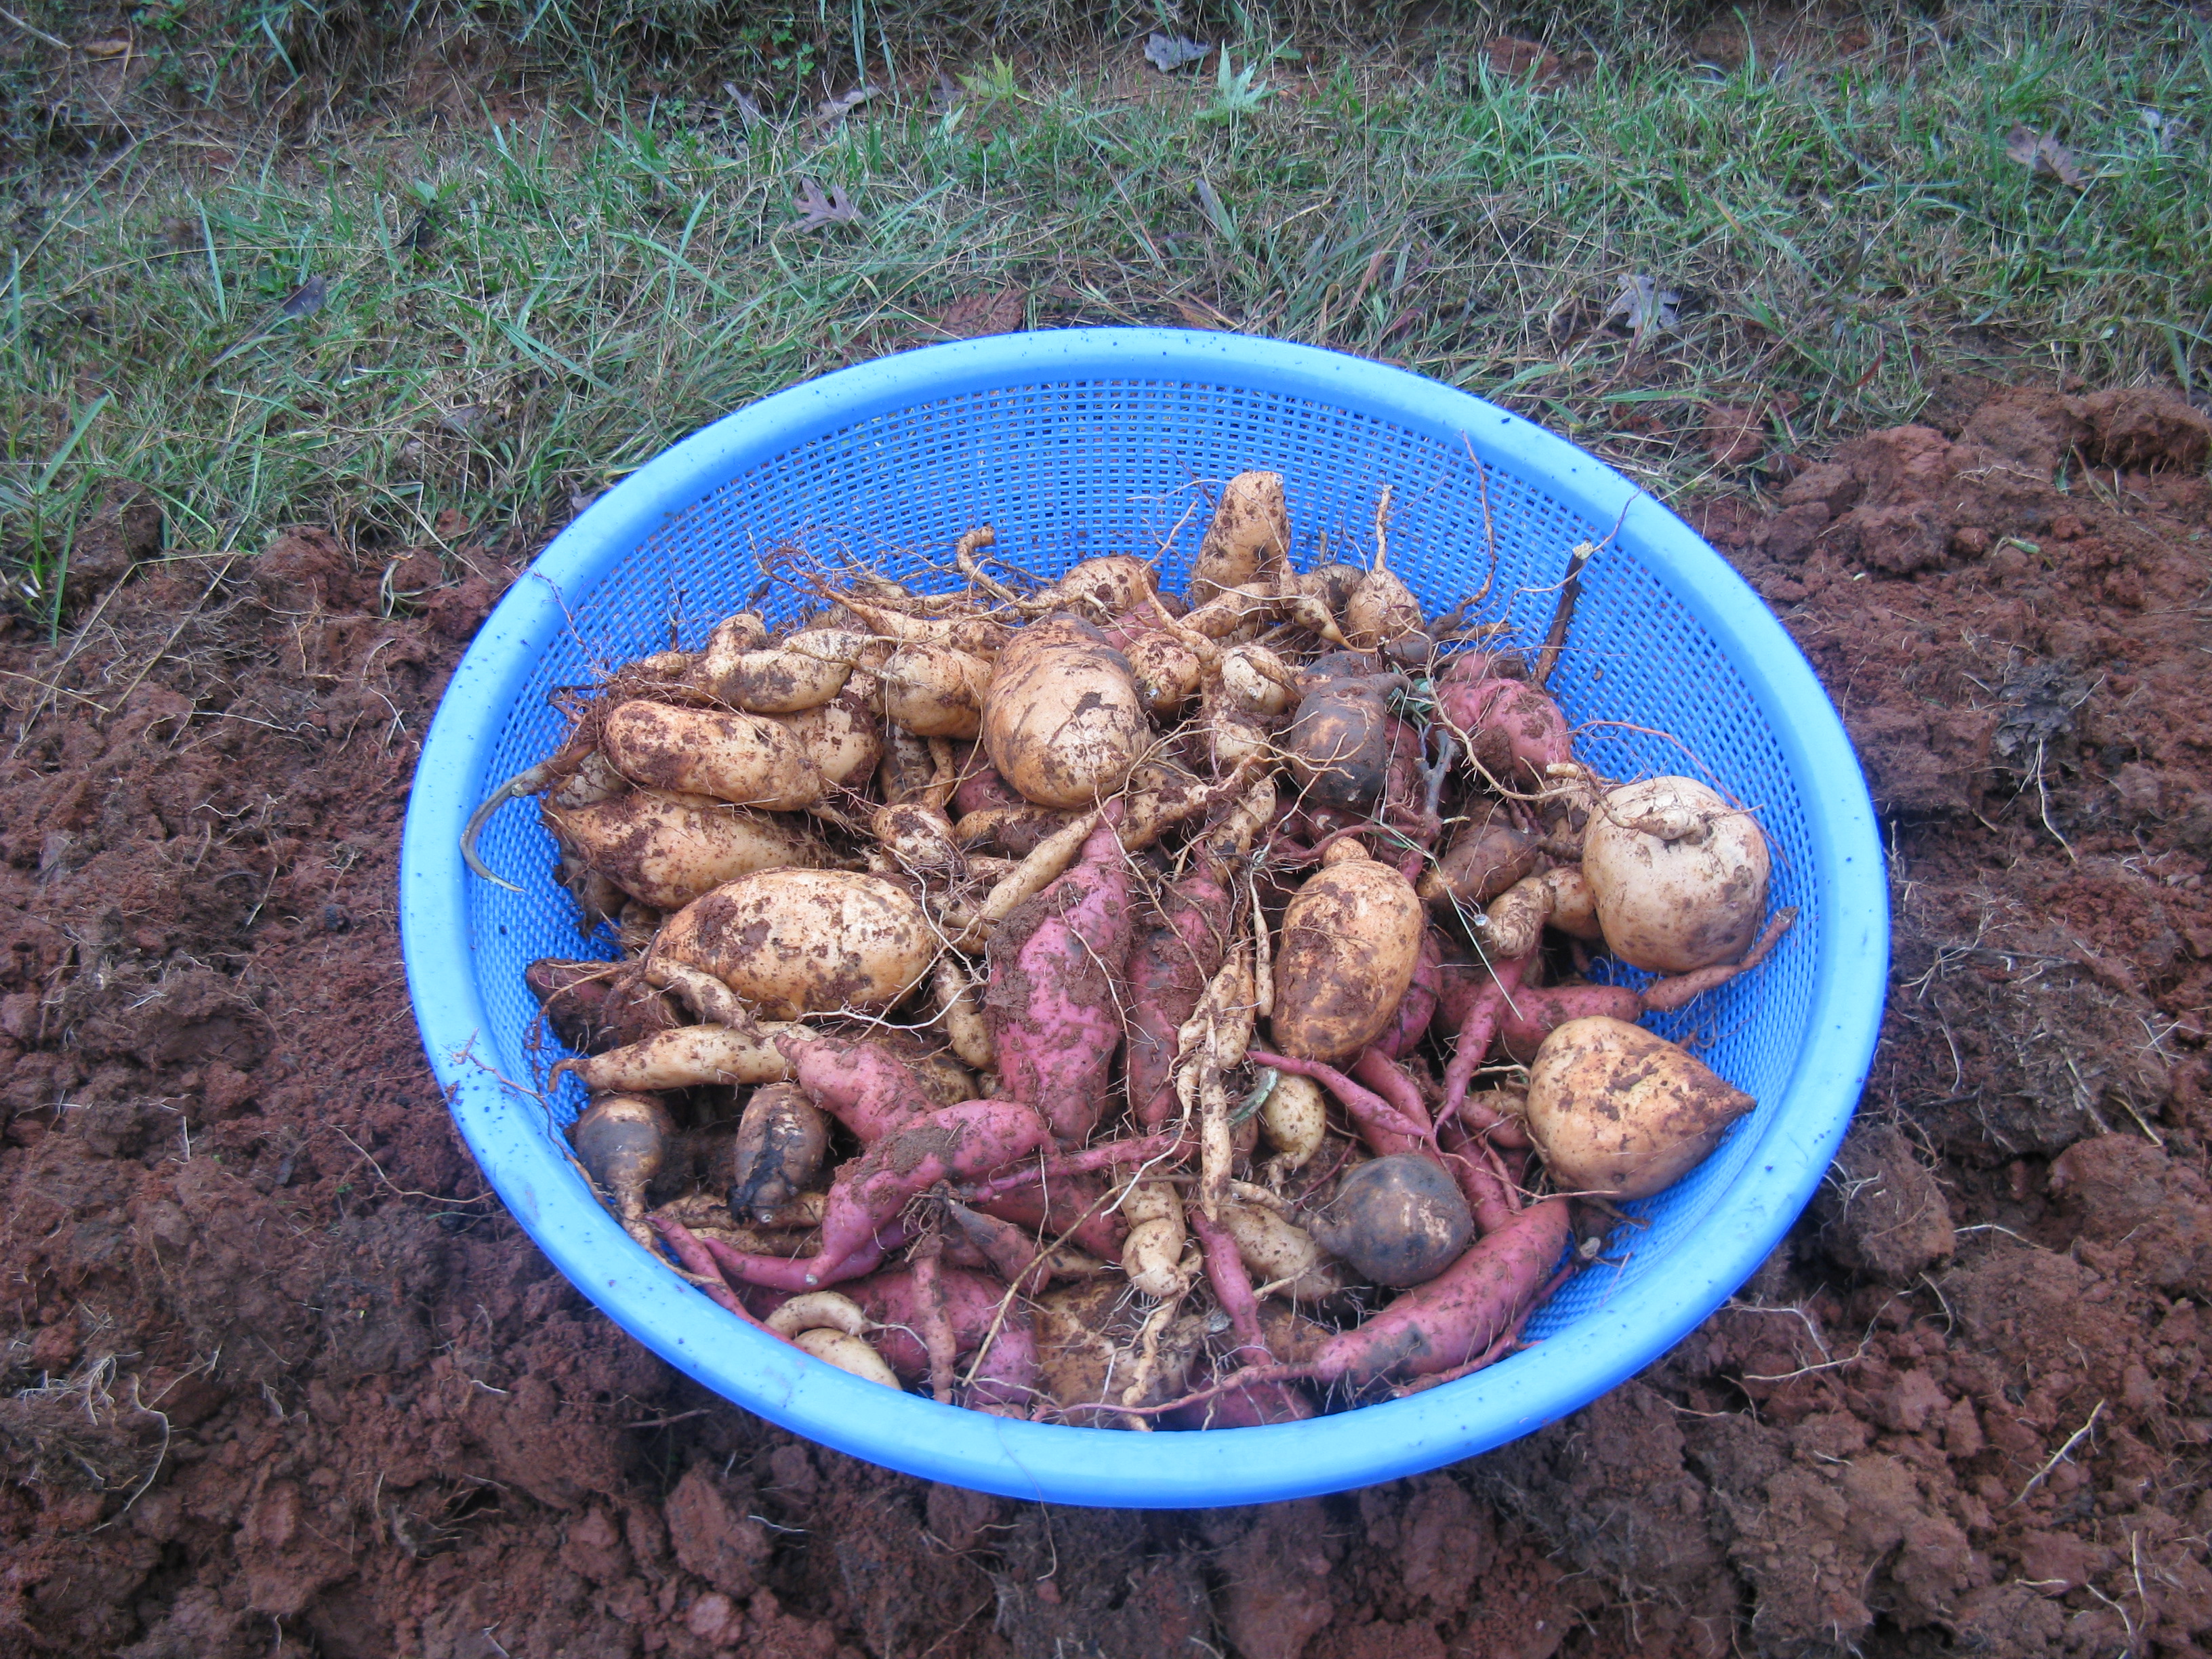
sweet potatoes waiting in a large colander to be cleaned
the largest colander we have is about 3 feet wide and 8 inches deep, and it is great for collecting crops in the garden or for washing crops in bulk outside with the hose or inside in the shower (especially leafy ones like lettuce or herbs).
we have other colanders that are just as wide but very shallow, and they can be used for washing vegetables as well, or as drying racks for herbs. in fact, we used them last year to dry our catnip, spearmint, and dill for storage. we also used the larger, deep, blue colander as a drying rack for our basil plants!
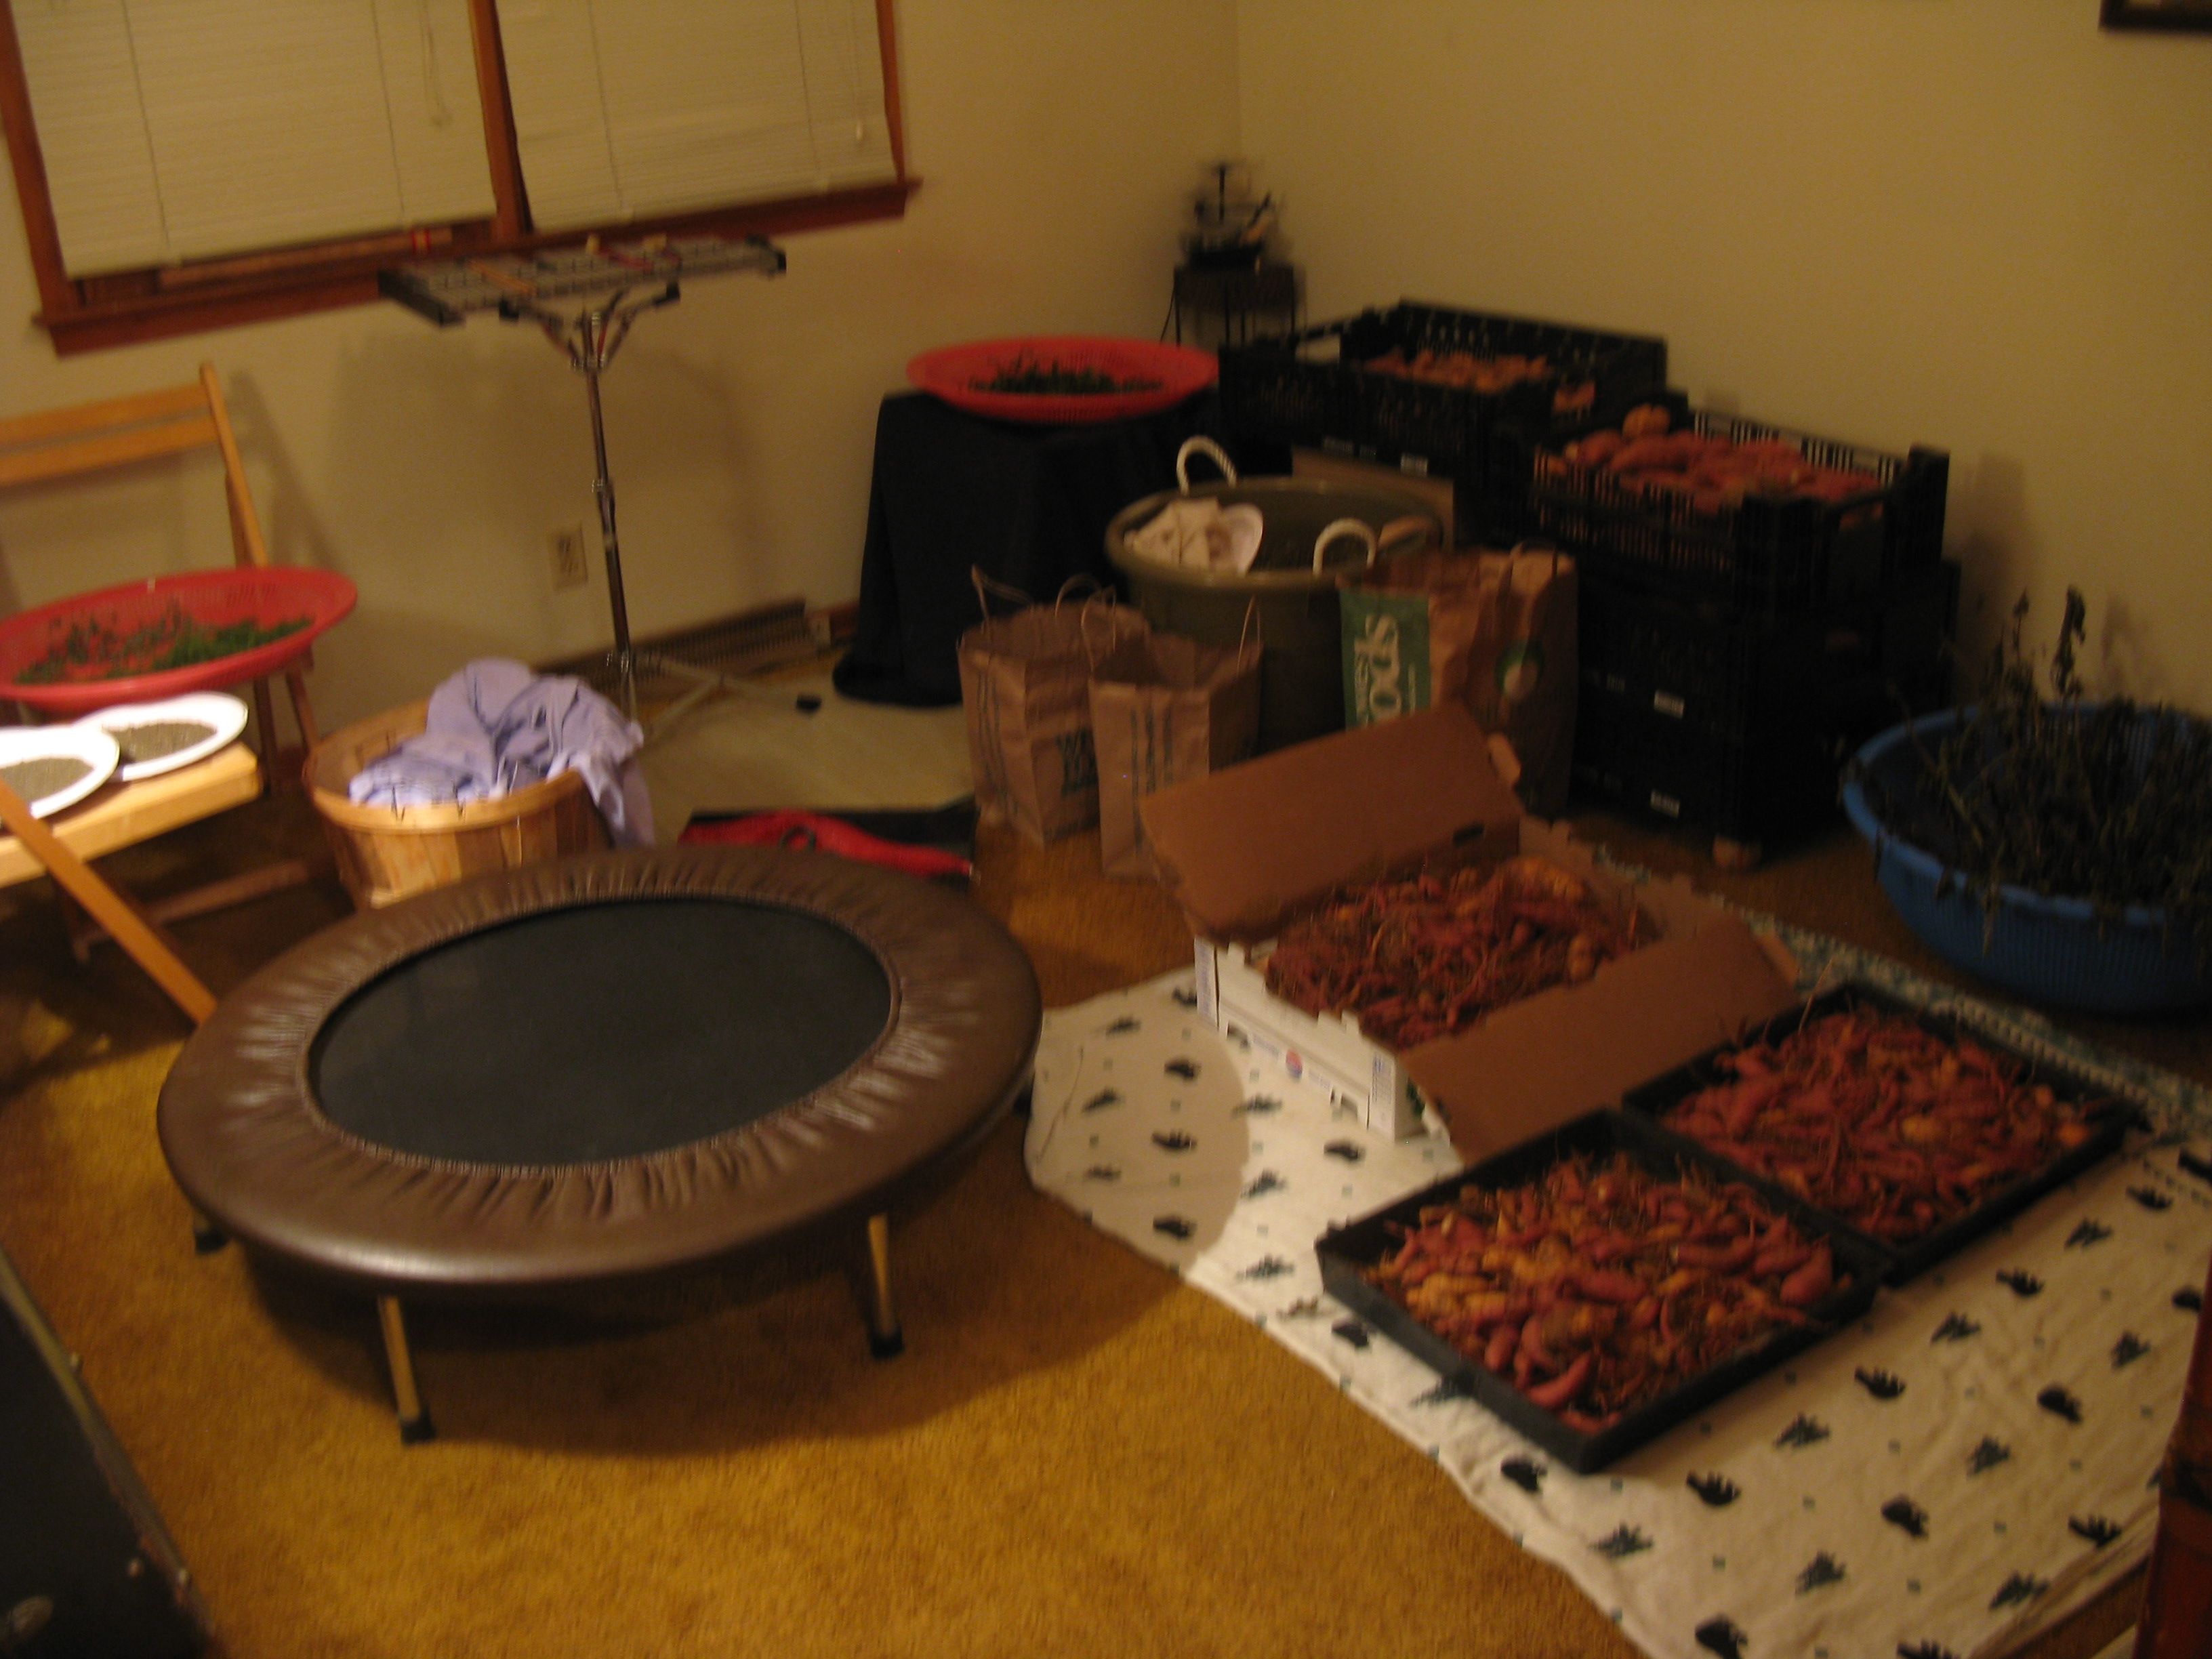
storing our harvest: you can see two large pink colanders being used as drying racks for herbs and the deep, blue colander for drying part of last year’s basil harvest.
i love my chinese baskets, and i have never seen anything like them except at asian grocery stores. i’ve even looked on amazon and i still can’t find anything as wonderful as they are! perhaps it’s because i don’t know their correct name… so if you do know, please comment about it!
.:.
basil, basil, basil!
rare is the person who doesn’t use basil in their cooking! jason and i use basil in heavy quantities, especially in soups, beer breads, pesto pasta salads, and most especially fresh in stir fries during the summer and fall!

photo courtesy of bethcoll
although we may think of basil as an italian herb, it originates from india! there are different sorts of basil, of course; the variety that we grow and that most people use in italian cooking is called “sweet basil.” the specific “sweet basil” variety that we planted in 2013 and plan to plant again this year is called genovese.
basil also has health benefits (of course!). the essential oils found in basil have been found to be antiviral, antimicrobial, antifungal, and might even fight cancer. exciting! it certainly is delicious, and basil and its sibling species are cultivated by people all over the world.
the time is nearing for us to plant another round of basil “bushes,” and we still have a good bit left of our harvest from last year! this is because our processing and storing of last year’s crop was simple and not time consuming. therefore we were able to store it all without wasting any.
my mother taught me how to make pesto many years ago, and making pesto can be a great way to store basil (she uses walnuts instead of pine nuts), but she also taught me an even simpler and more long-term versatile way to “keep” our basil for months and months. this way doesn’t require that you purchase parmesan, nuts, or other important pesto ingredients.
easy = basil + olive oil & put it in the freezer!
most of our basil is stored this way, with a few bags of dried basil (which is also super easy!) still left.
to freeze your basil, all you need to do is wash the leaves and pull them from the stems. jason and i prune our basil bushes periodically and process a little as we go through the growing season, but at the end we simply cut the entire basil bush and wash the whole bush with our shower’s spray nozzle. we have a huge colander (3 feet in diameter) that works great for when we are spraying the bushes down. then we set to pulling all of the leaves off by hand. the plus side: your fingers smell like delicious basil for days!
after we have gallons of loose basil leaves, we put them in our cuisinart food processor with some olive oil and blend away, making sure to add enough oil so that the mixture is a little bit slushy. this helps the basil freeze better and staves off any freezer burn that might happen after months in the ice box.
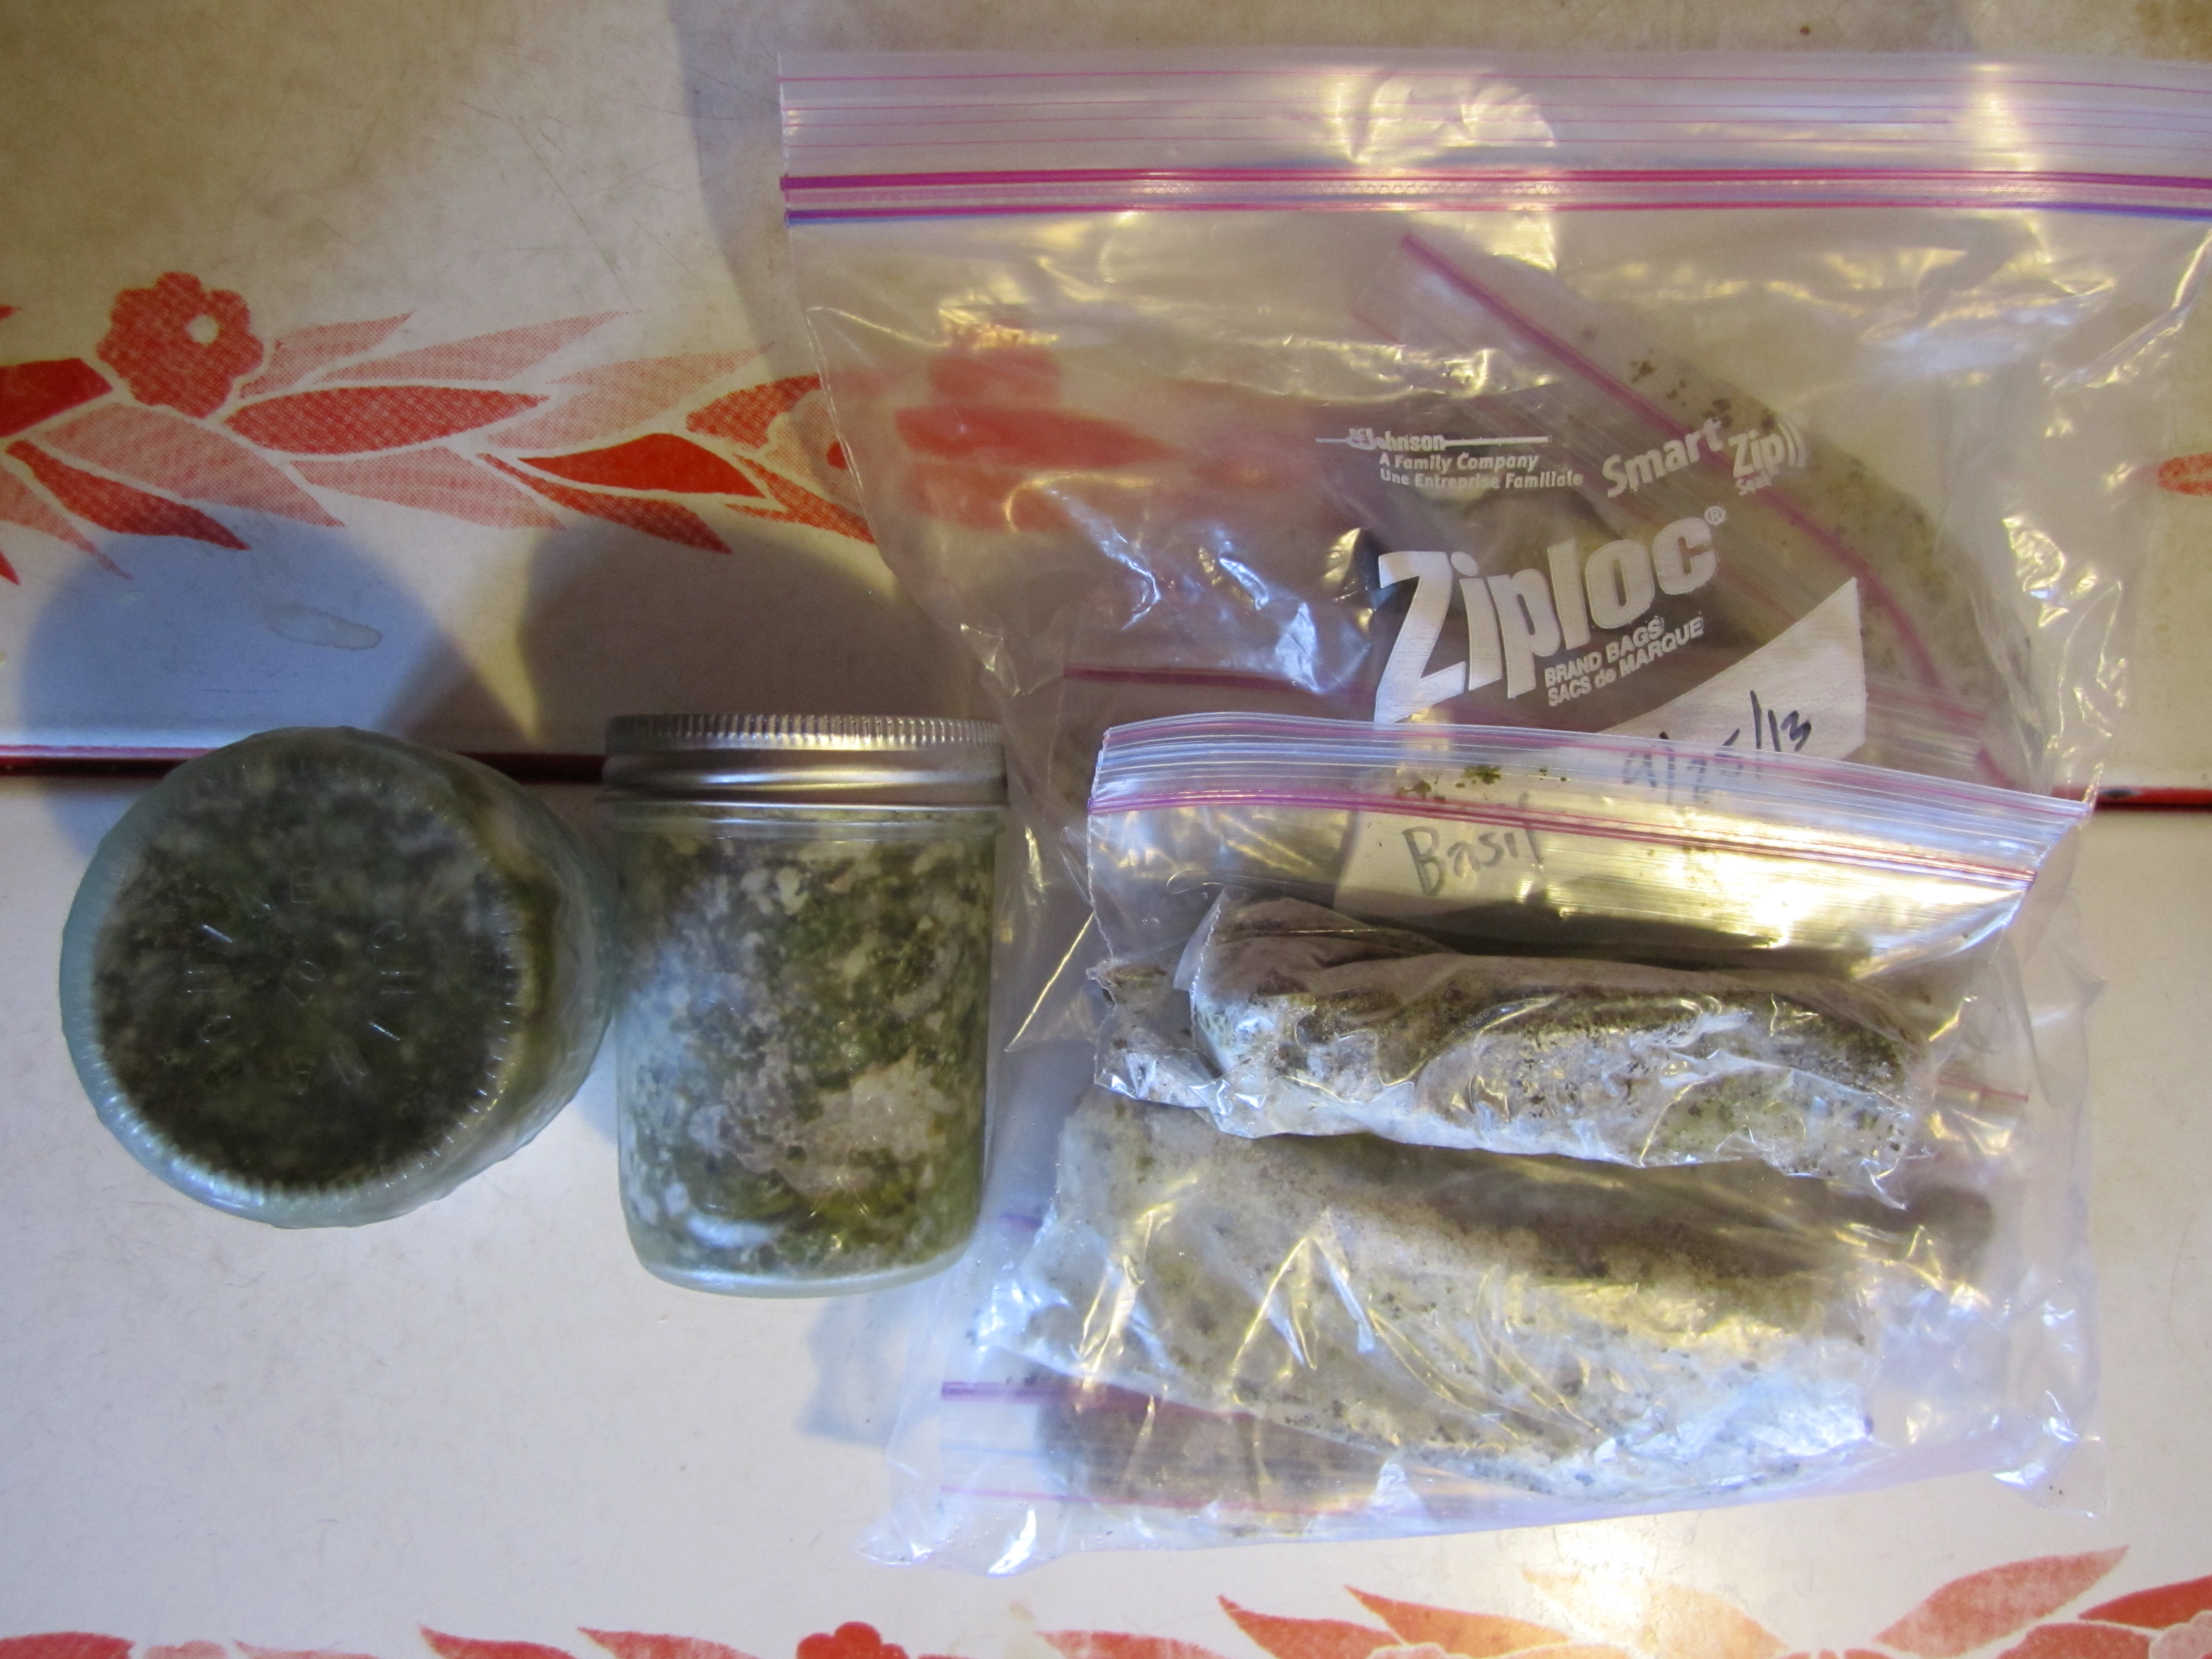
last september’s frozen basil: bagged and jarred
last september, after the big, last harvest, we stored the basil paste in two different ways: in small glass jars and in small ziploc bags (rolled and sealed to be sure all of the air was pushed out). out of these two storage methods, i much prefer the ziploc bags. here’s why: when i’m making a soup, pasta, or stir fry, all i have to do is get one of the bags out of the freezer, break off as mush basil-paste-ice-cube as i want, and put the rest away. this means i don’t have to thaw the paste before use, as i do with the paste that’s in the little glass jars. so convenient!
currently, we are trying to consume all of our stored basil before the fresh basil comes in. because, one thing is for certain: no matter how easy and versatile frozen or dried basil may be, the best is always fresh!
.:.
© 2024 KW Homestead
Theme by Anders Noren — Up ↑