KW Homestead

Pasture Raised Poultry & Edible Landscaping Plants Since 2013

Tag: support species

Sunchokes! A Tasty and Reliable Homestead Crop

This year, in addition to growing vegetables in the garden, raising chickens in tractors and mobile coops, and planting a backyard food forest, we also experimented with some unusual crops. One of these in particular, the sunchoke or Jerusalem Artichoke, was a huge success.

sunchokes permaculture

Sunchokes are both pretty and productive!

Sunchokes are related to sunflowers, but instead of delicious seeds, they form crisp and tasty tubers. These can be dug anytime after frost, and have a slightly nutty and pleasant potatoey flavor. One great thing about them is their lack of starch, and high proportion of inulin. This makes them a great food to help regulate blood sugar issues, and possibly one for diabetics to consider trying. Sunchokes are often found growing along side roads and at the edges of fields and forests. They spread readily from their roots and are a perennial staple crop that requires little care. I think we watered them about 6 times this summer, and they never once looked stressed.

sunchokes harvest

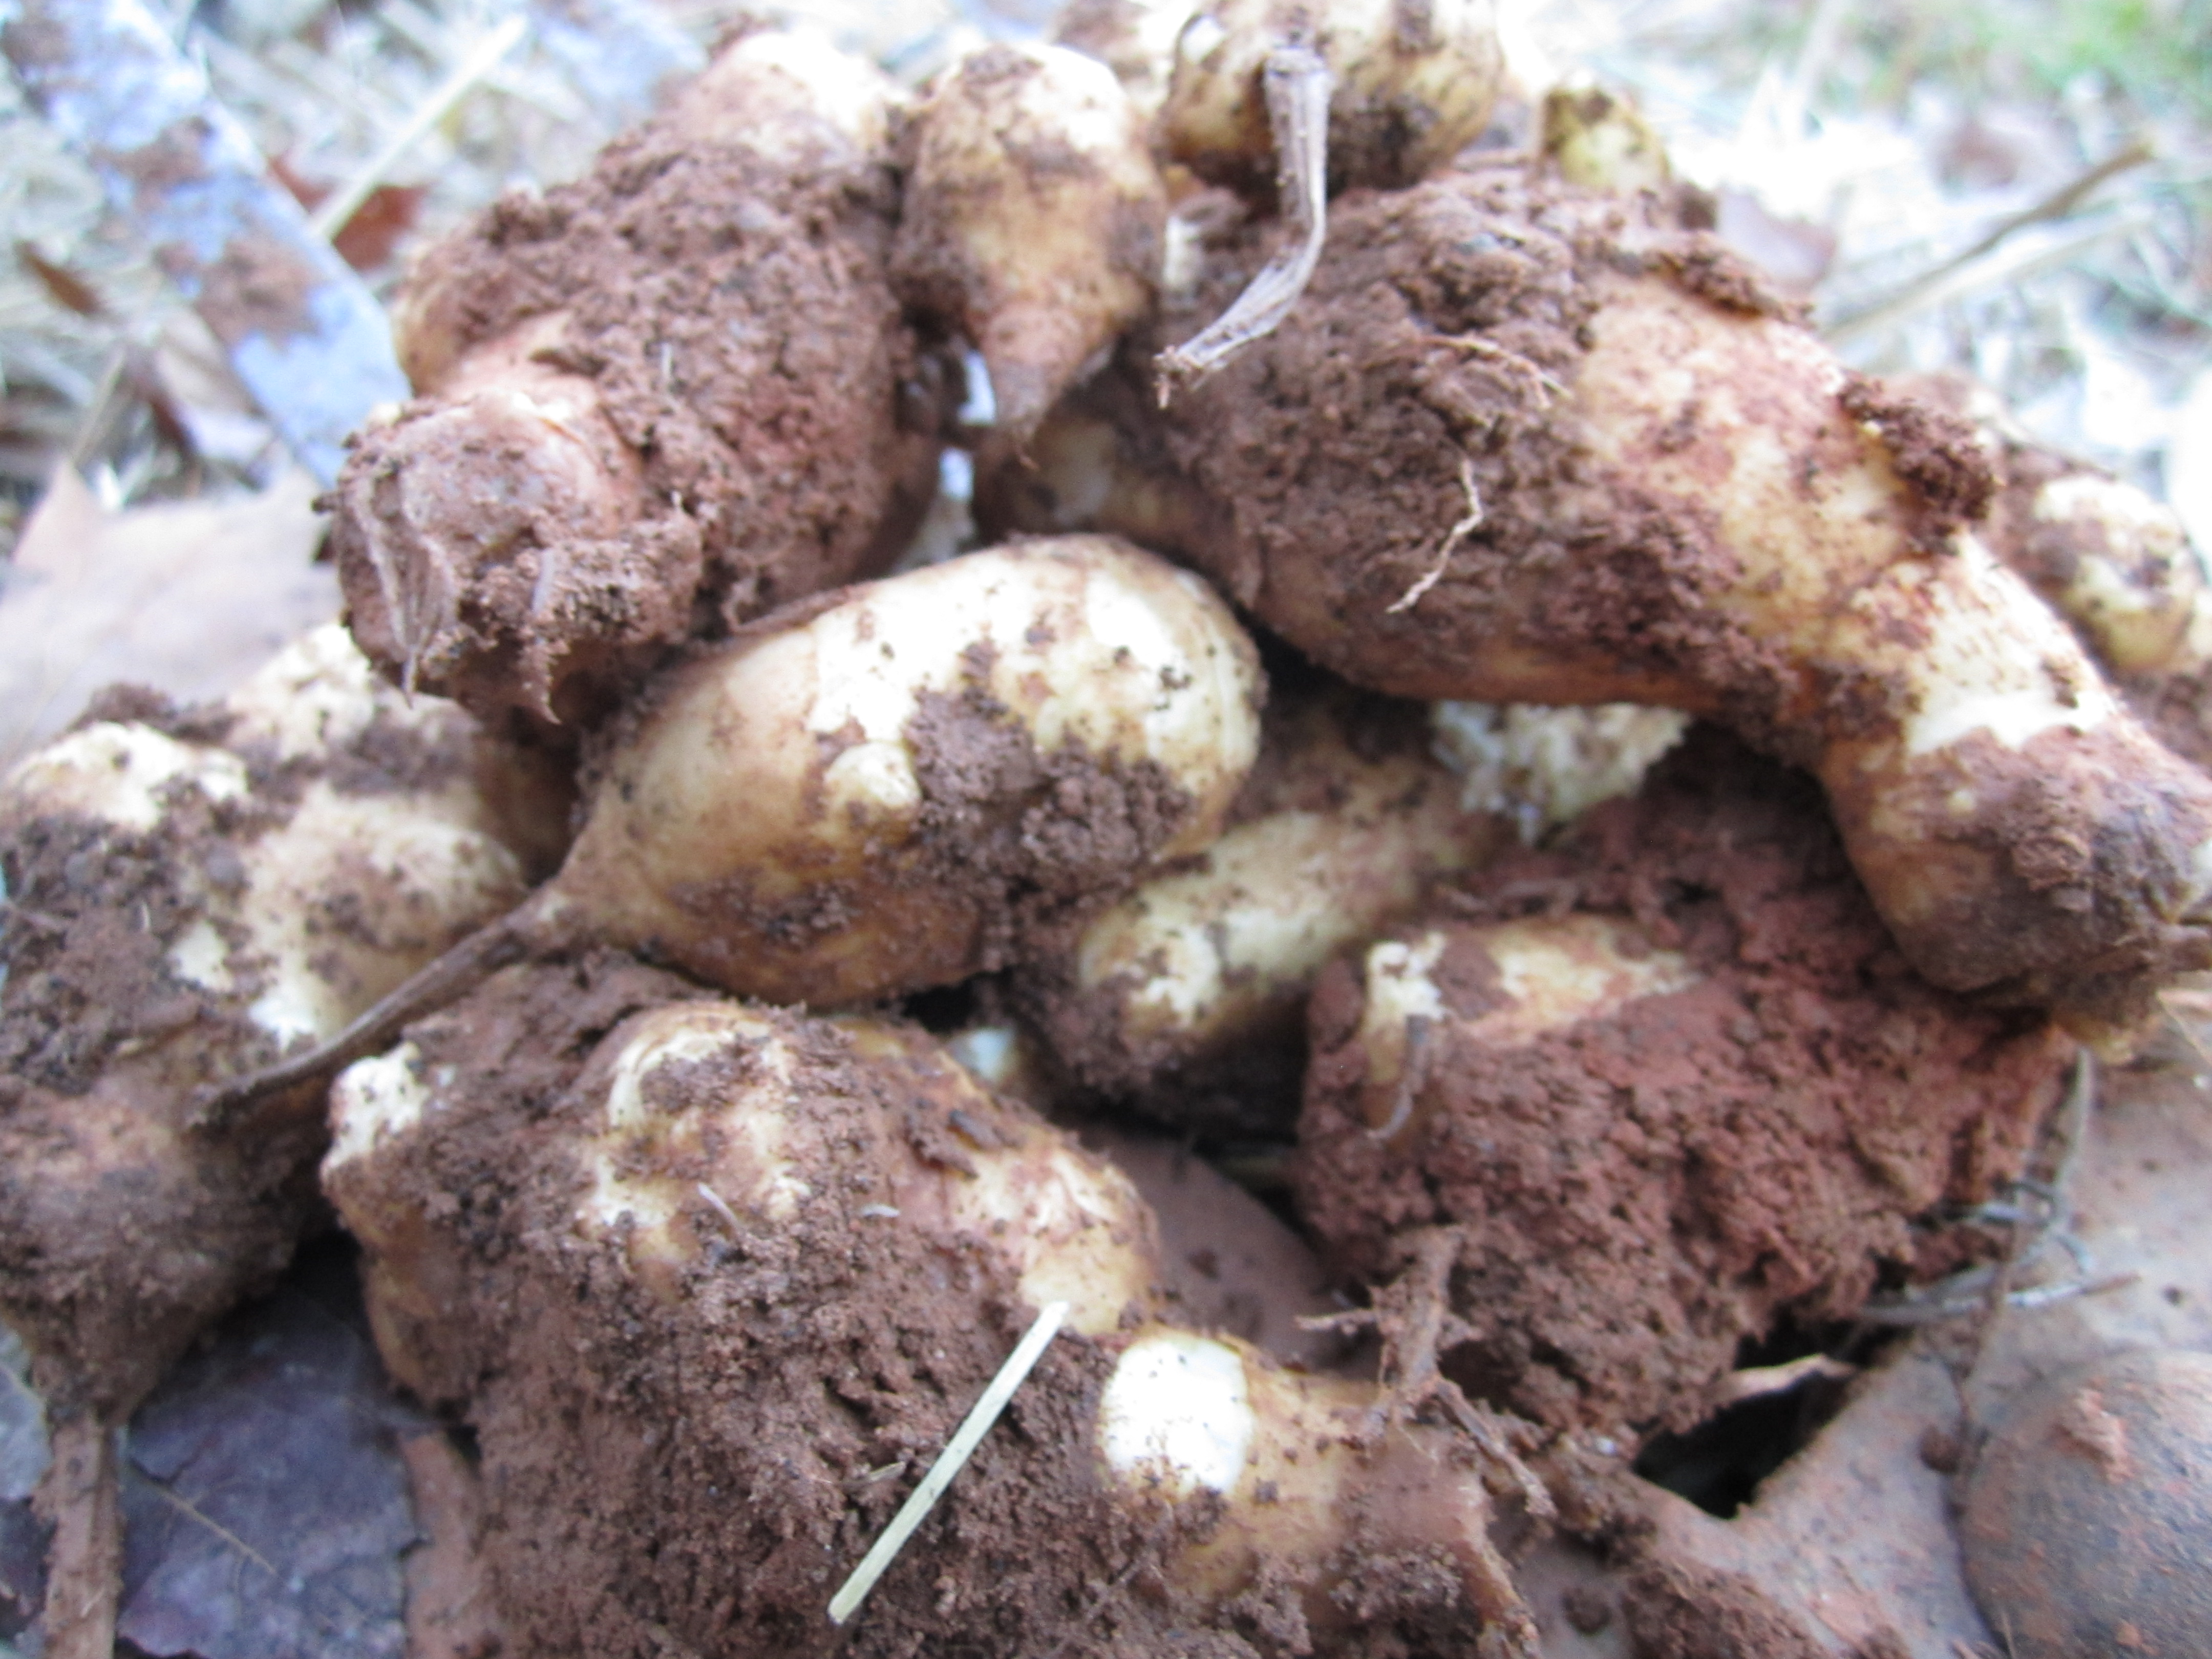
Freshly dug sunchokes!

I dug the first batch of tubers the other day and was pleasantly surprised to harvest about 1 pound of tubers from 1 plant. That’s about an 8 to 1 return.

sunchokes cooking

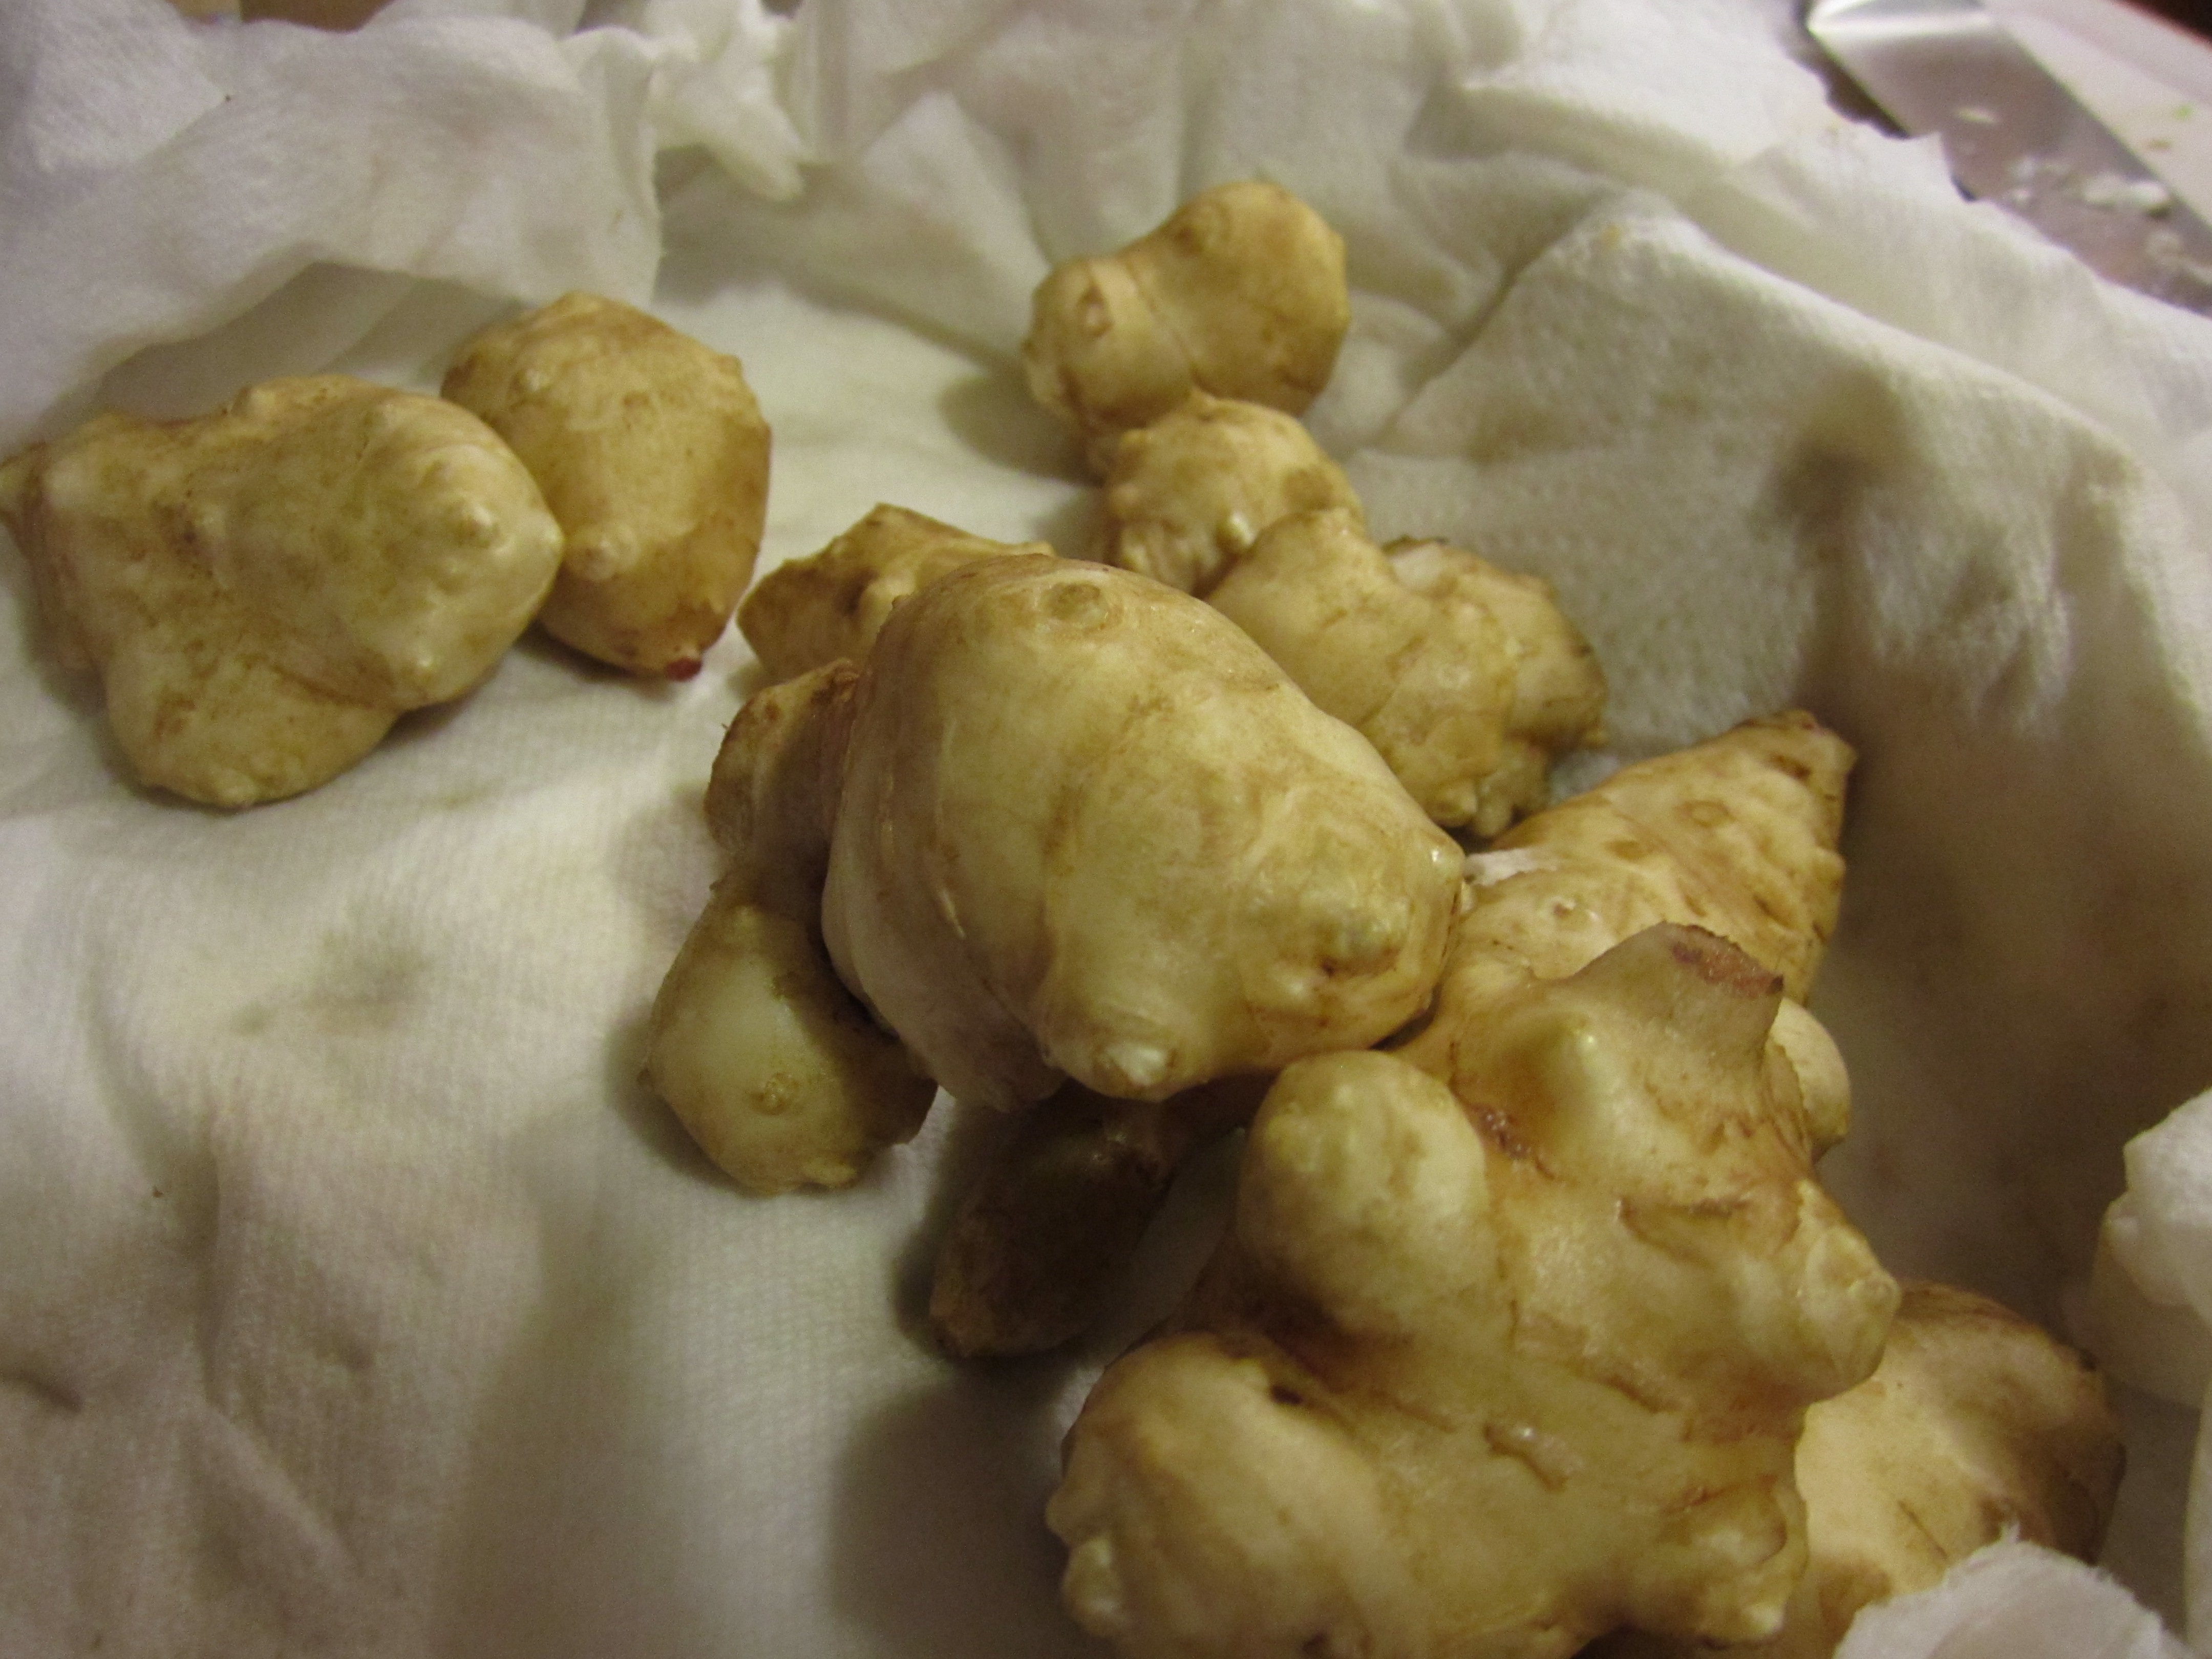
The tubers are somewhat knobby, which can make cleaning difficult.

Once I cleaned up the knobby tubers in warm water, I chopped them into bite sized pieces and added onions, peppers, basil, garlic, oregano, a healthy amount of olive oil, and to top it all off, some hot Italian sausage. I roasted this at 375 until everything was cooked, and then served it with a runny egg on top. Kind of like a homestead hash. Yum. We usually make this dish with potatoes, but the sunchokes were great in it.

sunchoke recipe

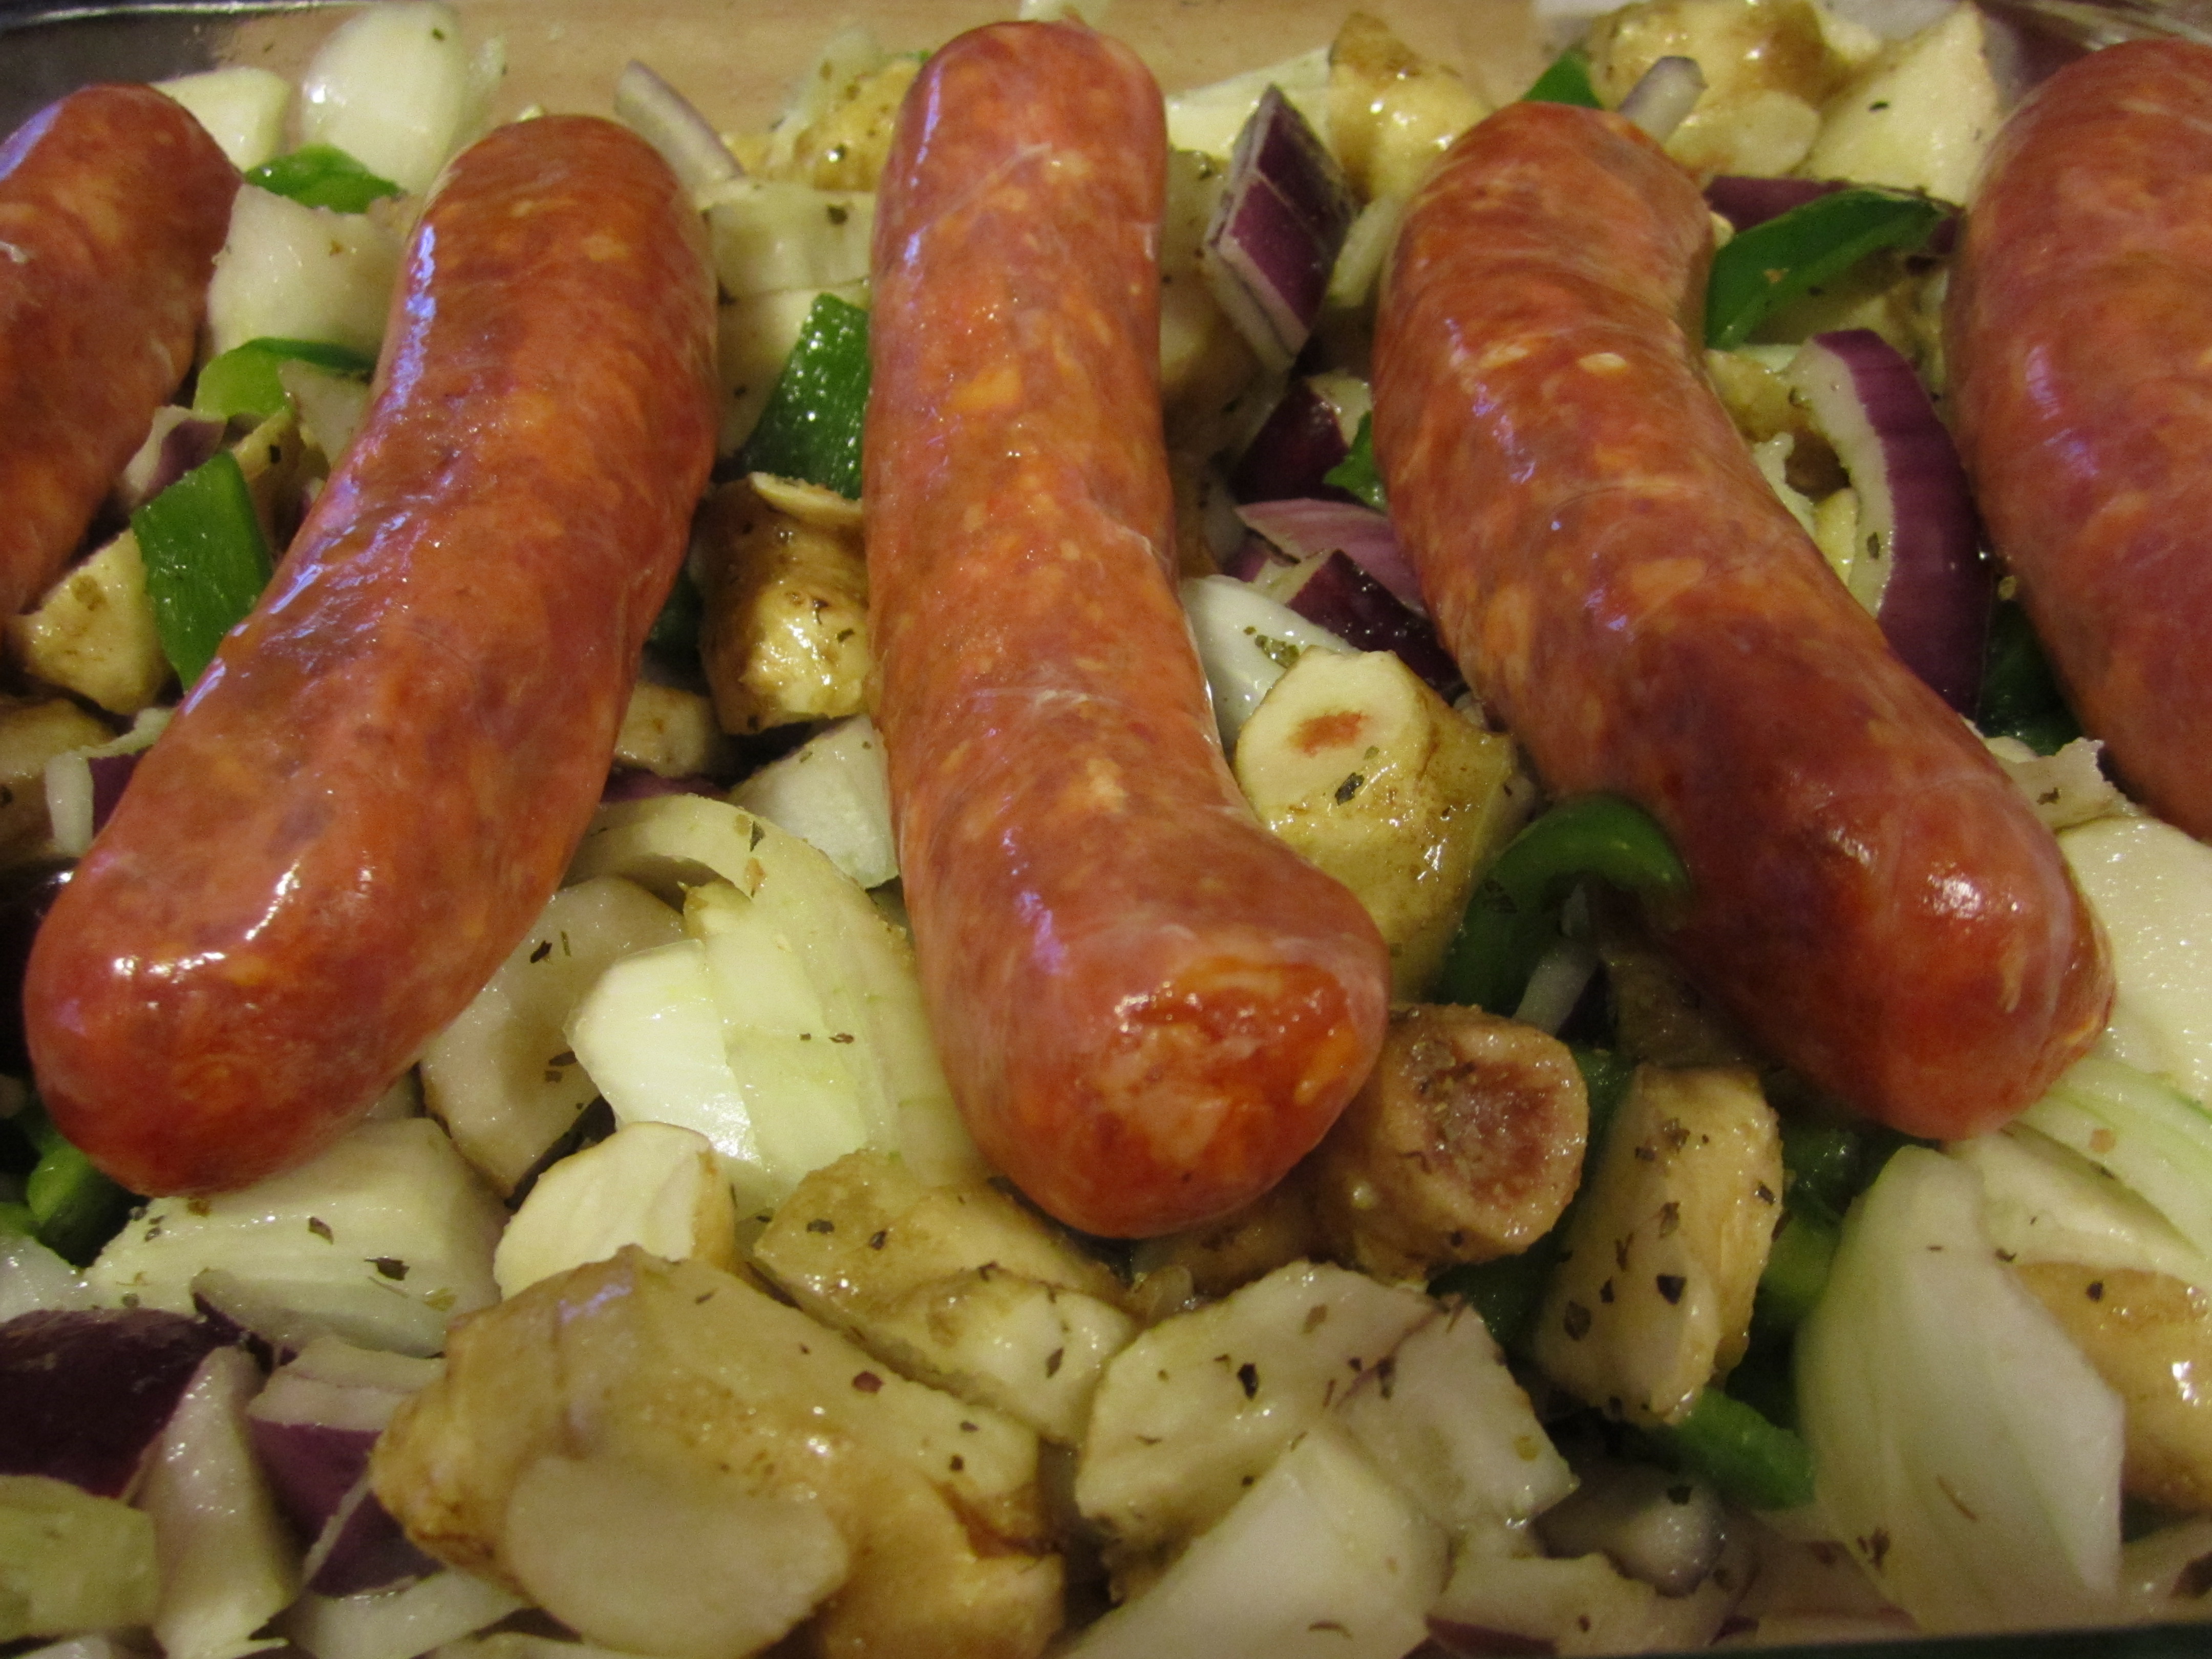
You can use sunchokes in any recipe that calls for potatoes.

Another interesting fact about sunchokes is that you can eat them raw. They are crunchy, and less digestible, but have a refreshing and crisp taste. Other ways to prepare them include frying, boiling, mashing and any other way you cook a potato. You can often find them at health food stores (I know I’ve seen them at Whole Foods) or ethnic markets. They are also fairly prevalent throughout much of the US and if you’re quick, brave, and good with a spade-fork, you can harvest an unlimited amount from wild “roadside stands.”

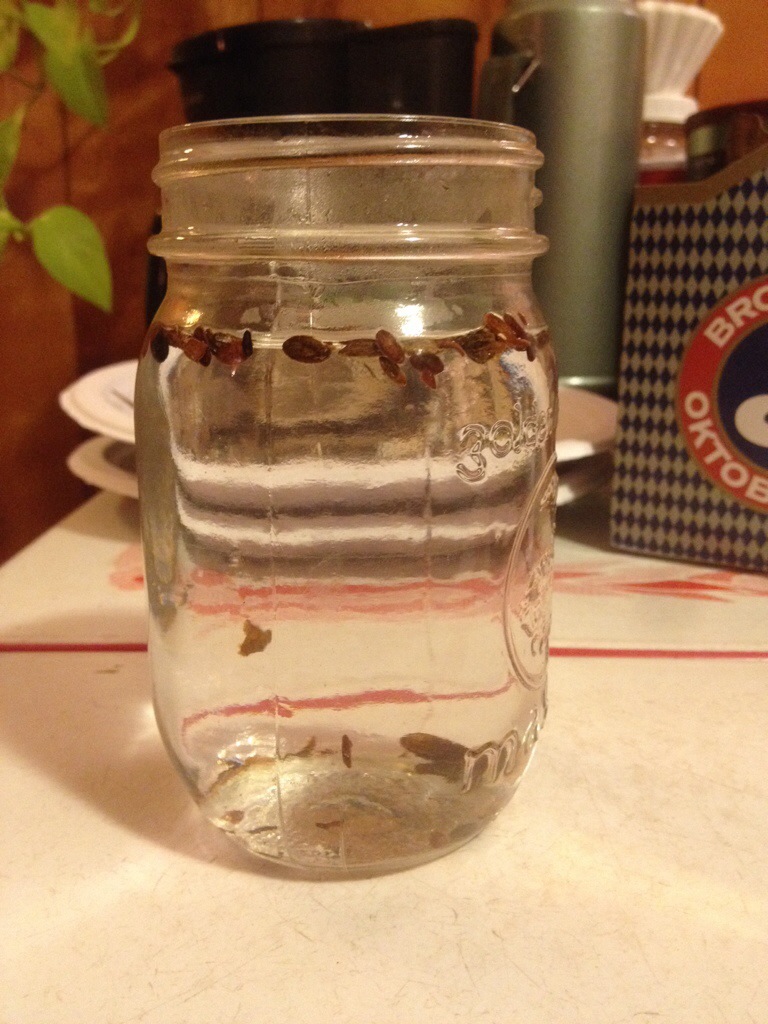
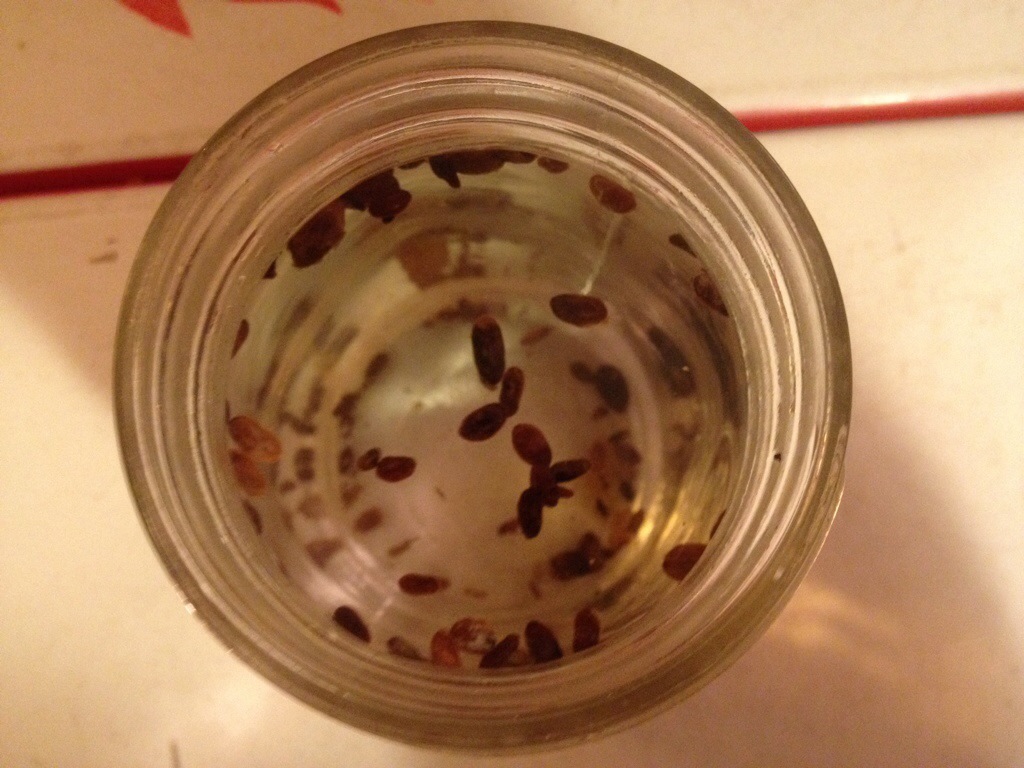
For us though, we plan on expanding this easy and productive crop to many areas of our homestead. I did notice that it prefers to be planted earlier rather than later in the season, and likes a little bit of shade at some point in the day to keep its roots cool. Our original planting stock was purchased from ebay, but I have seen them for sale at many mail order and online nurseries. We plan on eating all of the larger tubers and using the smaller ones to replant in other areas!


Rhus copallina: Shining, Dwarf, Winged or Flameleaf Sumac

Rhus copallina, or shining sumac, was one of the wild plants on our property that puzzled me for the longest time. I could recognize its distinctive sumac-y look that meant it belonged in the Rhus genus that contains the more common staghorn and smooth sumacs, but it didn’t match any of the pictures I could find of those two species. I was worried for a bit that it might be poison sumac (Toxicodendron vernix) but a quick Google search told me that the best way to tell poison sumac from okay sumac is the color of the berries. Red berries = don’t worry, and white berries = don’t touch/eat/make sumac tea. So, I went on not knowing exactly what the plant was, and being intrigued by its interestingly winged leaflets.

shining sumac

You can easily tell this type of sumac by the winged margins between the leaves.

But then, out of the blue one day while researching different types of permaculture plants, I stumbled across an image that finally made it clear that this sumac was winged sumac. It’s a great plant, with many uses and a strikingly beautiful presence on the homestead, especially in fall. It’s leaves are the darkest, most robust red I’ve ever seen.

But it’s not just a pretty plant! It also, like all of the safe sumacs, has a very high amount of vitamin c in it’s berries. You can soak them in water to pull out the vitamin c, and then freeze the tangy juice and use it like you would lemon juice. It’s also common for people, especially in the south, to make “sumac-ade” or pink lemonade out of the berries as well. I’ve heard of fisherman using a sprig of sumac berries in place of lemon when baking fish as well. In some countries, the berries are dried and ground up to make a spice that adds a red coloring to many dishes, and the pithy stems were often used in pipemaking.

winged dwarf flameleaf sumac

We love the beautiful fall color of Rhus copallina!

Shining sumac can grow in a wide range of climates, from zones 4-10, and can tolerate full sun or partial shade. It really is a pioneer species that thrives on the forest edge, where it leads the advancement of meadow to woods. It spreads by suckers, can quickly fill up an area that has been cleared, and it is often planted as both a wildlife cover species and as a shrub to stabilize soil and prevent erosion. All sorts of birds enjoy the berries, and they help to spread the seeds as well. One more interesting thing about  flameleaf sumac is that it often colonizes after fire events, which makes me wonder if the small stand we have used to be somewhere a burn or brush pile was kept by the previous owners.

In any event, I’m glad to have identified this plant, and even gladder to know that it’s so useful. I have been encouraging it wherever I see it growing, and hope to transplant a few into our backyard food forest this upcoming year and make a bunch of sumac-pink lemonade!


Starting Mimosa From Seed

It’s that time of year again, spring. Every homesteader and gardener knows that spring time can be a hectic and eventful season where we try to start plants, plan crop rotations, and consider new livestock options for the homestead. I’ve been trying to accomplish a least 1 new homestead related activity everyday for the last few weeks, and it’s gone well. Between Emma’s Mushroom endeavor, and our new food forest, we’ve been plenty busy. Lately, I’ve been starting some support species from seeds, and I wanted to detail that process here with a specific nitrogen fixing tree. Mimosa.

mimosa support species permaculture

Mimosa trees are both beautiful and extremely useful in permaculture design

Mimosa (Albizia julibrissin) is a short lived tree that is often considered an invasive species, although I’m not too worried about that, as it fixes nitrogen, improves soil fertility, attracts many insects, and is a beautiful permaculture plant in the garden. It is also easily shaded out by other trees, and though it coppices, is not a long lived species. We plan on using mimosa trees as a support species in our forest garden, and encourage permaculturalists in North America to consider this species as well.

Mimosa is easily grown from seed, and as we have a few on our property, I decided to gather some local genetics and propagate a few dozen more. The seed pods hang onto the tree way into winter making seed collection very easy. Even with our recent late winter ice storms, there are still some pods hanging around, though not as many as in January. I gathered some pods from 3 trees, 1 in our backyard, right where the food forest is going in, and 2 from by the pond.

mimosa from seed permaculture

dried mimosa seed pods, ready to be shelled


I then used my thumb to half shell half crush the pods and get to the tiny black seeds. This took a little practice, but I eventually figured out a system. After gathering about 50 or so seeds, I put some water on the stove to boil. I let this water cool for a few minutes, and then poured it over the mimosa seeds. This scarification process helps to break down the hard seed coat present on many legume seeds, and allows the seed to absorb water, thus beginning the germination process.

mimosa from seed

a hot water soak is often all it takes to help leguminous tree seeds germinate


I let the seeds soak overnight, and in the morning I planted only seeds that had swollen up into a tray. I’ll see what kind of germination I get, but I think it will be fairly good, as these growing mimosa from seed seems very similar to growing honey locust from seed.

mimosa permaculture support species

plant only swollen seeds, as these are the ones that have absorbed water and will germinate quickly

These trees will go in around our fruit trees, and most will be sacrificed as mulch and fertility components. I may try an experiment and just pour hot water over the whole seed pods and see how that effects germination. It would save the somewhat tedious step of “threshing” the pods.

Anyway, our support species list is growing nicely, we have almost 300 seeds sown of honey locust, black alder, siberian pea shrub, and now mimosa. I cant wait to get them into the ground, and start building fertility!

© 2024 KW Homestead

Theme by Anders NorenUp ↑