KW Homestead

Pasture Raised Poultry & Edible Landscaping Plants Since 2013

Month: April 2014 (page 2 of 2)

Ready and Waiting for Potatoes

Spring has arrived and many of our garden crops are either in the ground, or started in trays awaiting their turn in our raised beds. Many, but not all. We are a little behind on one cool weather crop, and it’s one of our favorites… the potato.

20140416-221449.jpg

Last year’s potato crop, harvested the day Jason proposed to Emma.

This year we are planting at least 9 different potato varieties in our garden, about 2.5 pounds of seed potatoes for each. The reason we haven’t planted them yet, is that we haven’t received them. Because we are planting such a diversity, and many of the types are rare or heritage and heirloom varieties of potatoes, we ordered from an online supplier. They should come any week now, and we can’t wait to get them in the ground.

Last year, we did very well growing red Pontiac potatoes, which lasted well into winter and were delicious baked with sausages, peppers, and onions. This year I’m excited to try out the Ozette fingerling, a variety that ended up in the U.S. hundreds of years ago after a ship washed ashore on the way back from Peru, the birthplace of the potato.

20140416-222703.jpg

Last year’s lush potato vines, in the height of summer.

Potatoes grow best in cool weather, and because they are in the nightshade family, you should take care not to plant them where you grew tomatoes, peppers, or eggplants the year before. We are actually digging a whole new series of hugel beds this spring to house our potatoes. Sepp Holzer often plants his new hugelkulture mounds with potatoes as they are light nitrogen feeders, and give the wood core some time to begin the decomposition process.

After our seed potatoes arrive, we’ll try and get them going as soon as we can, because once you’ve experienced homegrown potatoes, it changes you. It turns you into a potato snob, and makes it impossible to eat store bought potatoes ever again!

A Few Thoughts on Living in the Country

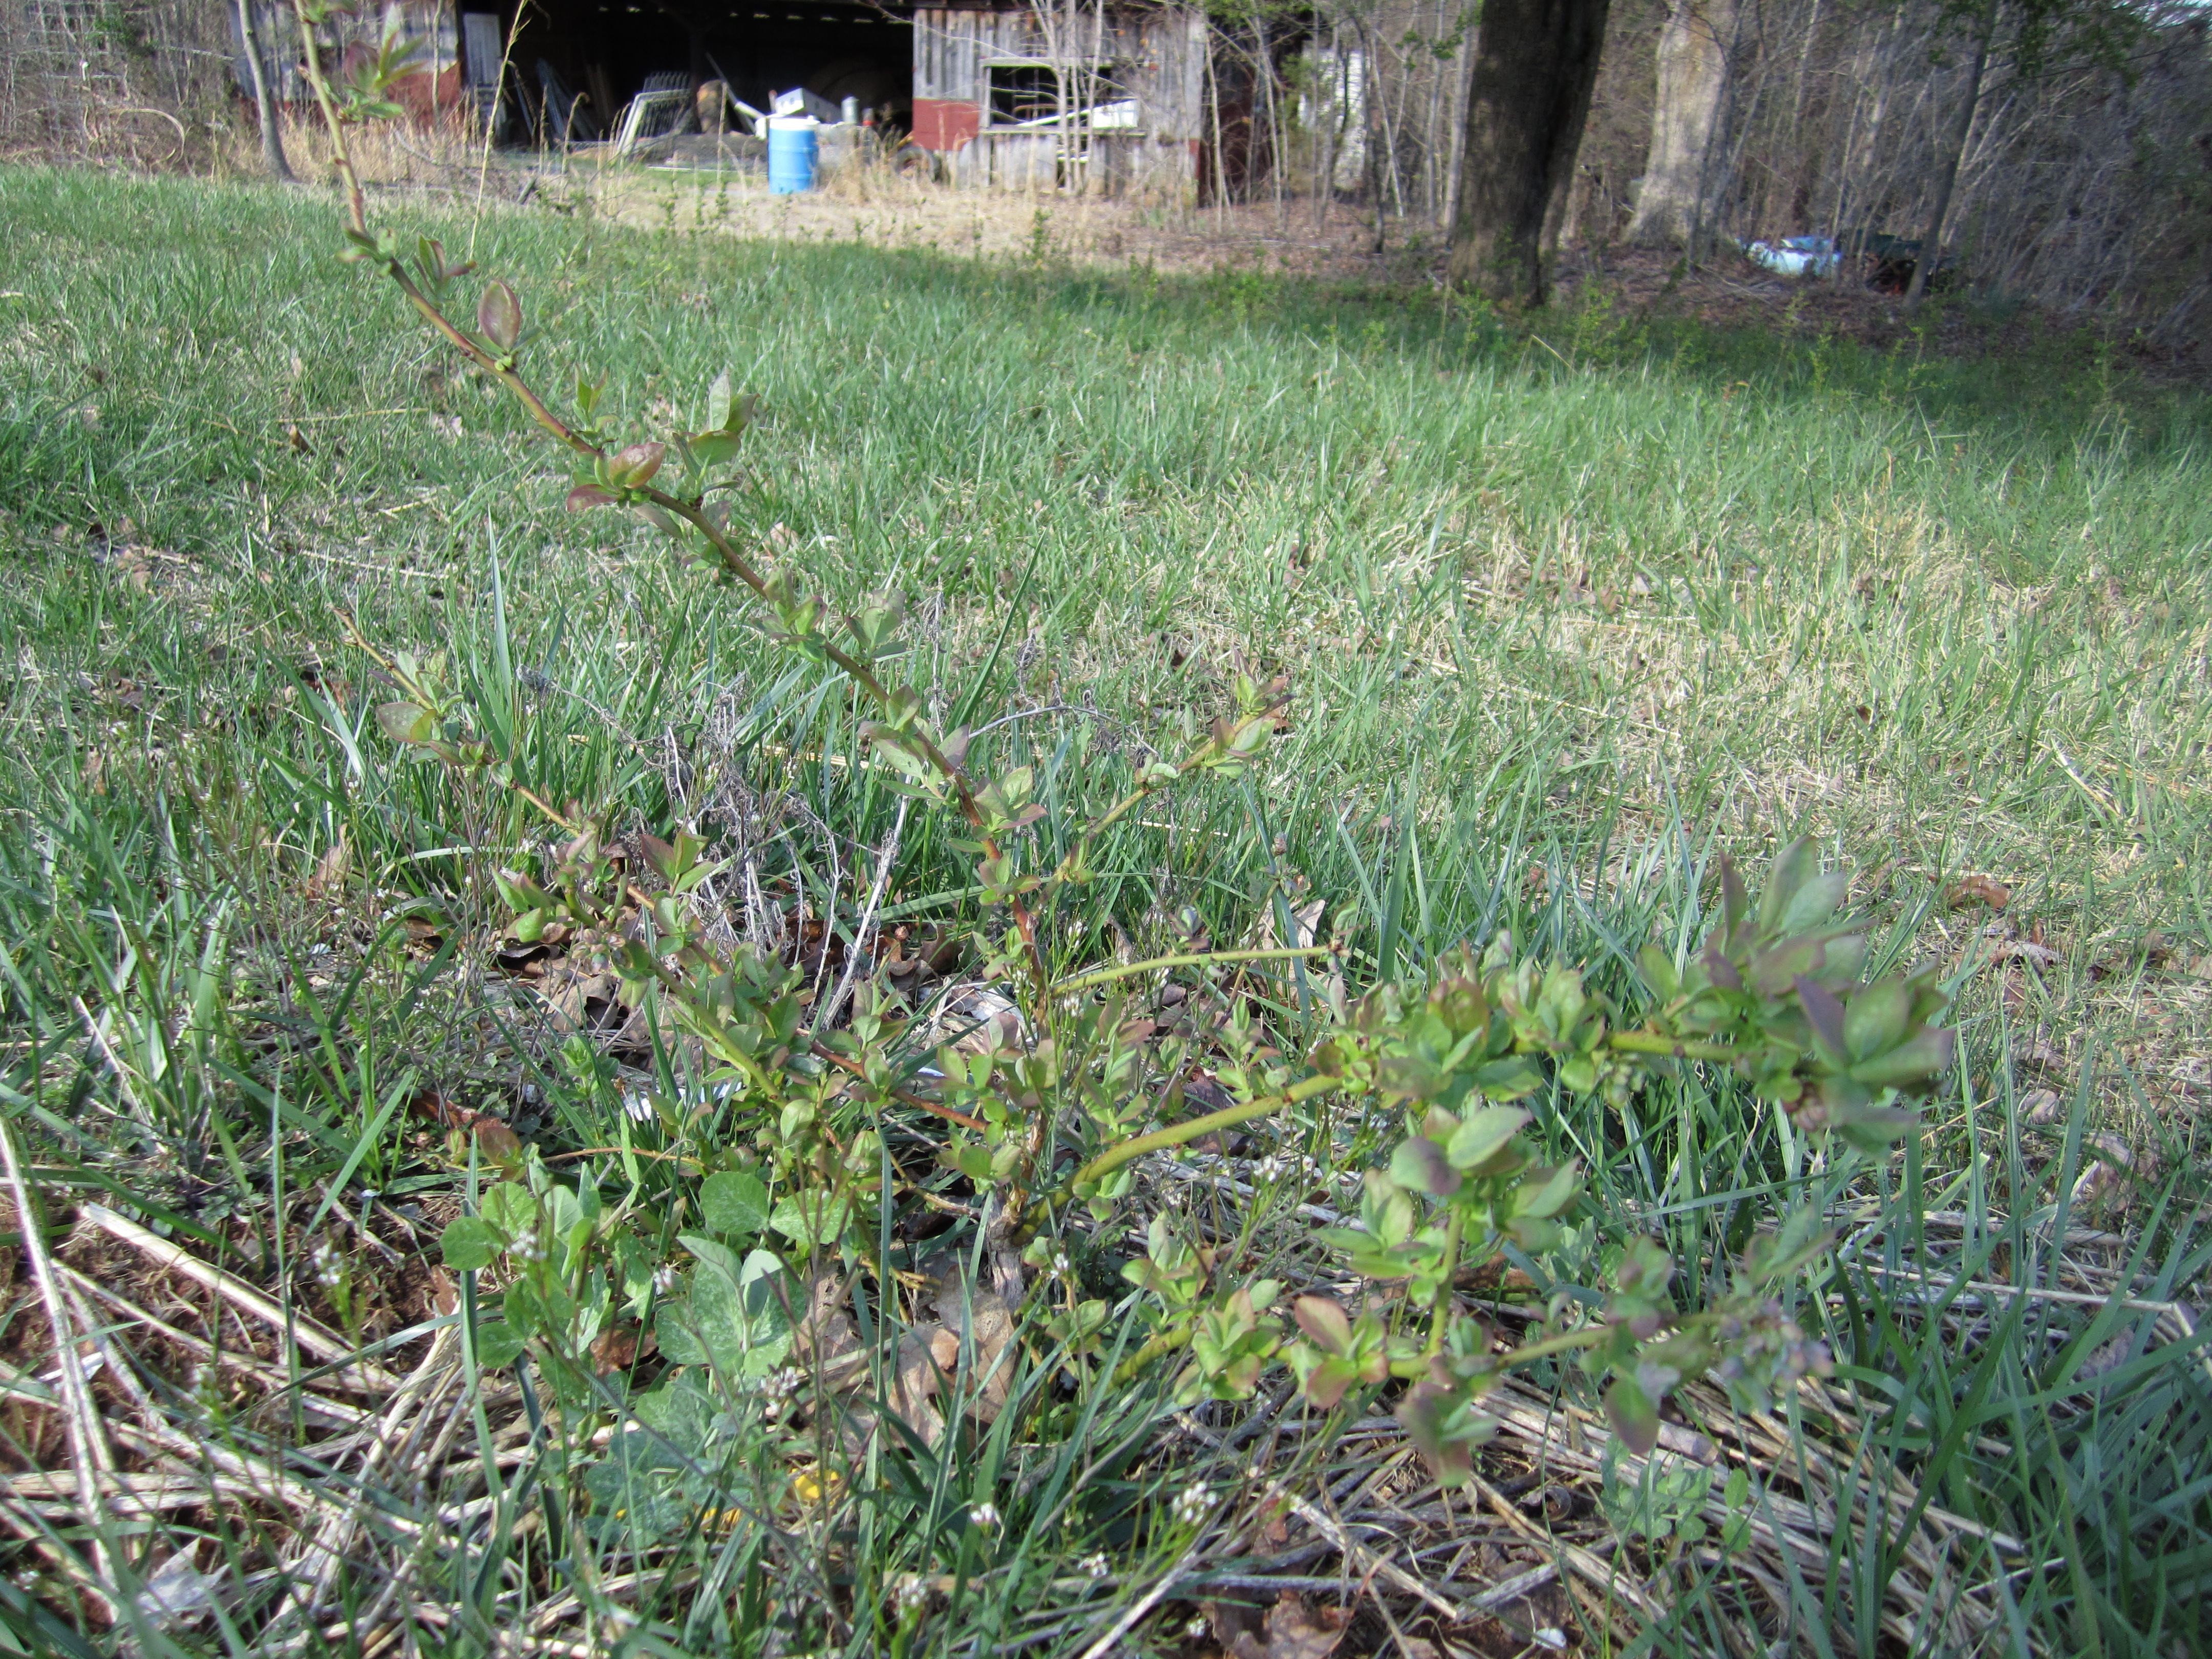
It’s been a little over a year since we moved onto our homestead in rural Stokes County, and while it has been amazing and one of the best decisions we have ever made, there were/are some things that took some getting used to. Life in the country is different than life in a city or town, and some of the things that we had come to take for granted, or depend on, are either not available in the country, or just inconvenient. So, I figured I’d jot some things down that we have experienced so far, to help prepare anyone who might be considering taking the leap to move out into the country.

Garbage and Trash

Our county does not provide a trash pickup service. Most rural counties do not, as the numbers don’t work out when you consider the low population densities on our county roads. While this keeps our taxes down, it means that we have to think about our waste products in a different way.

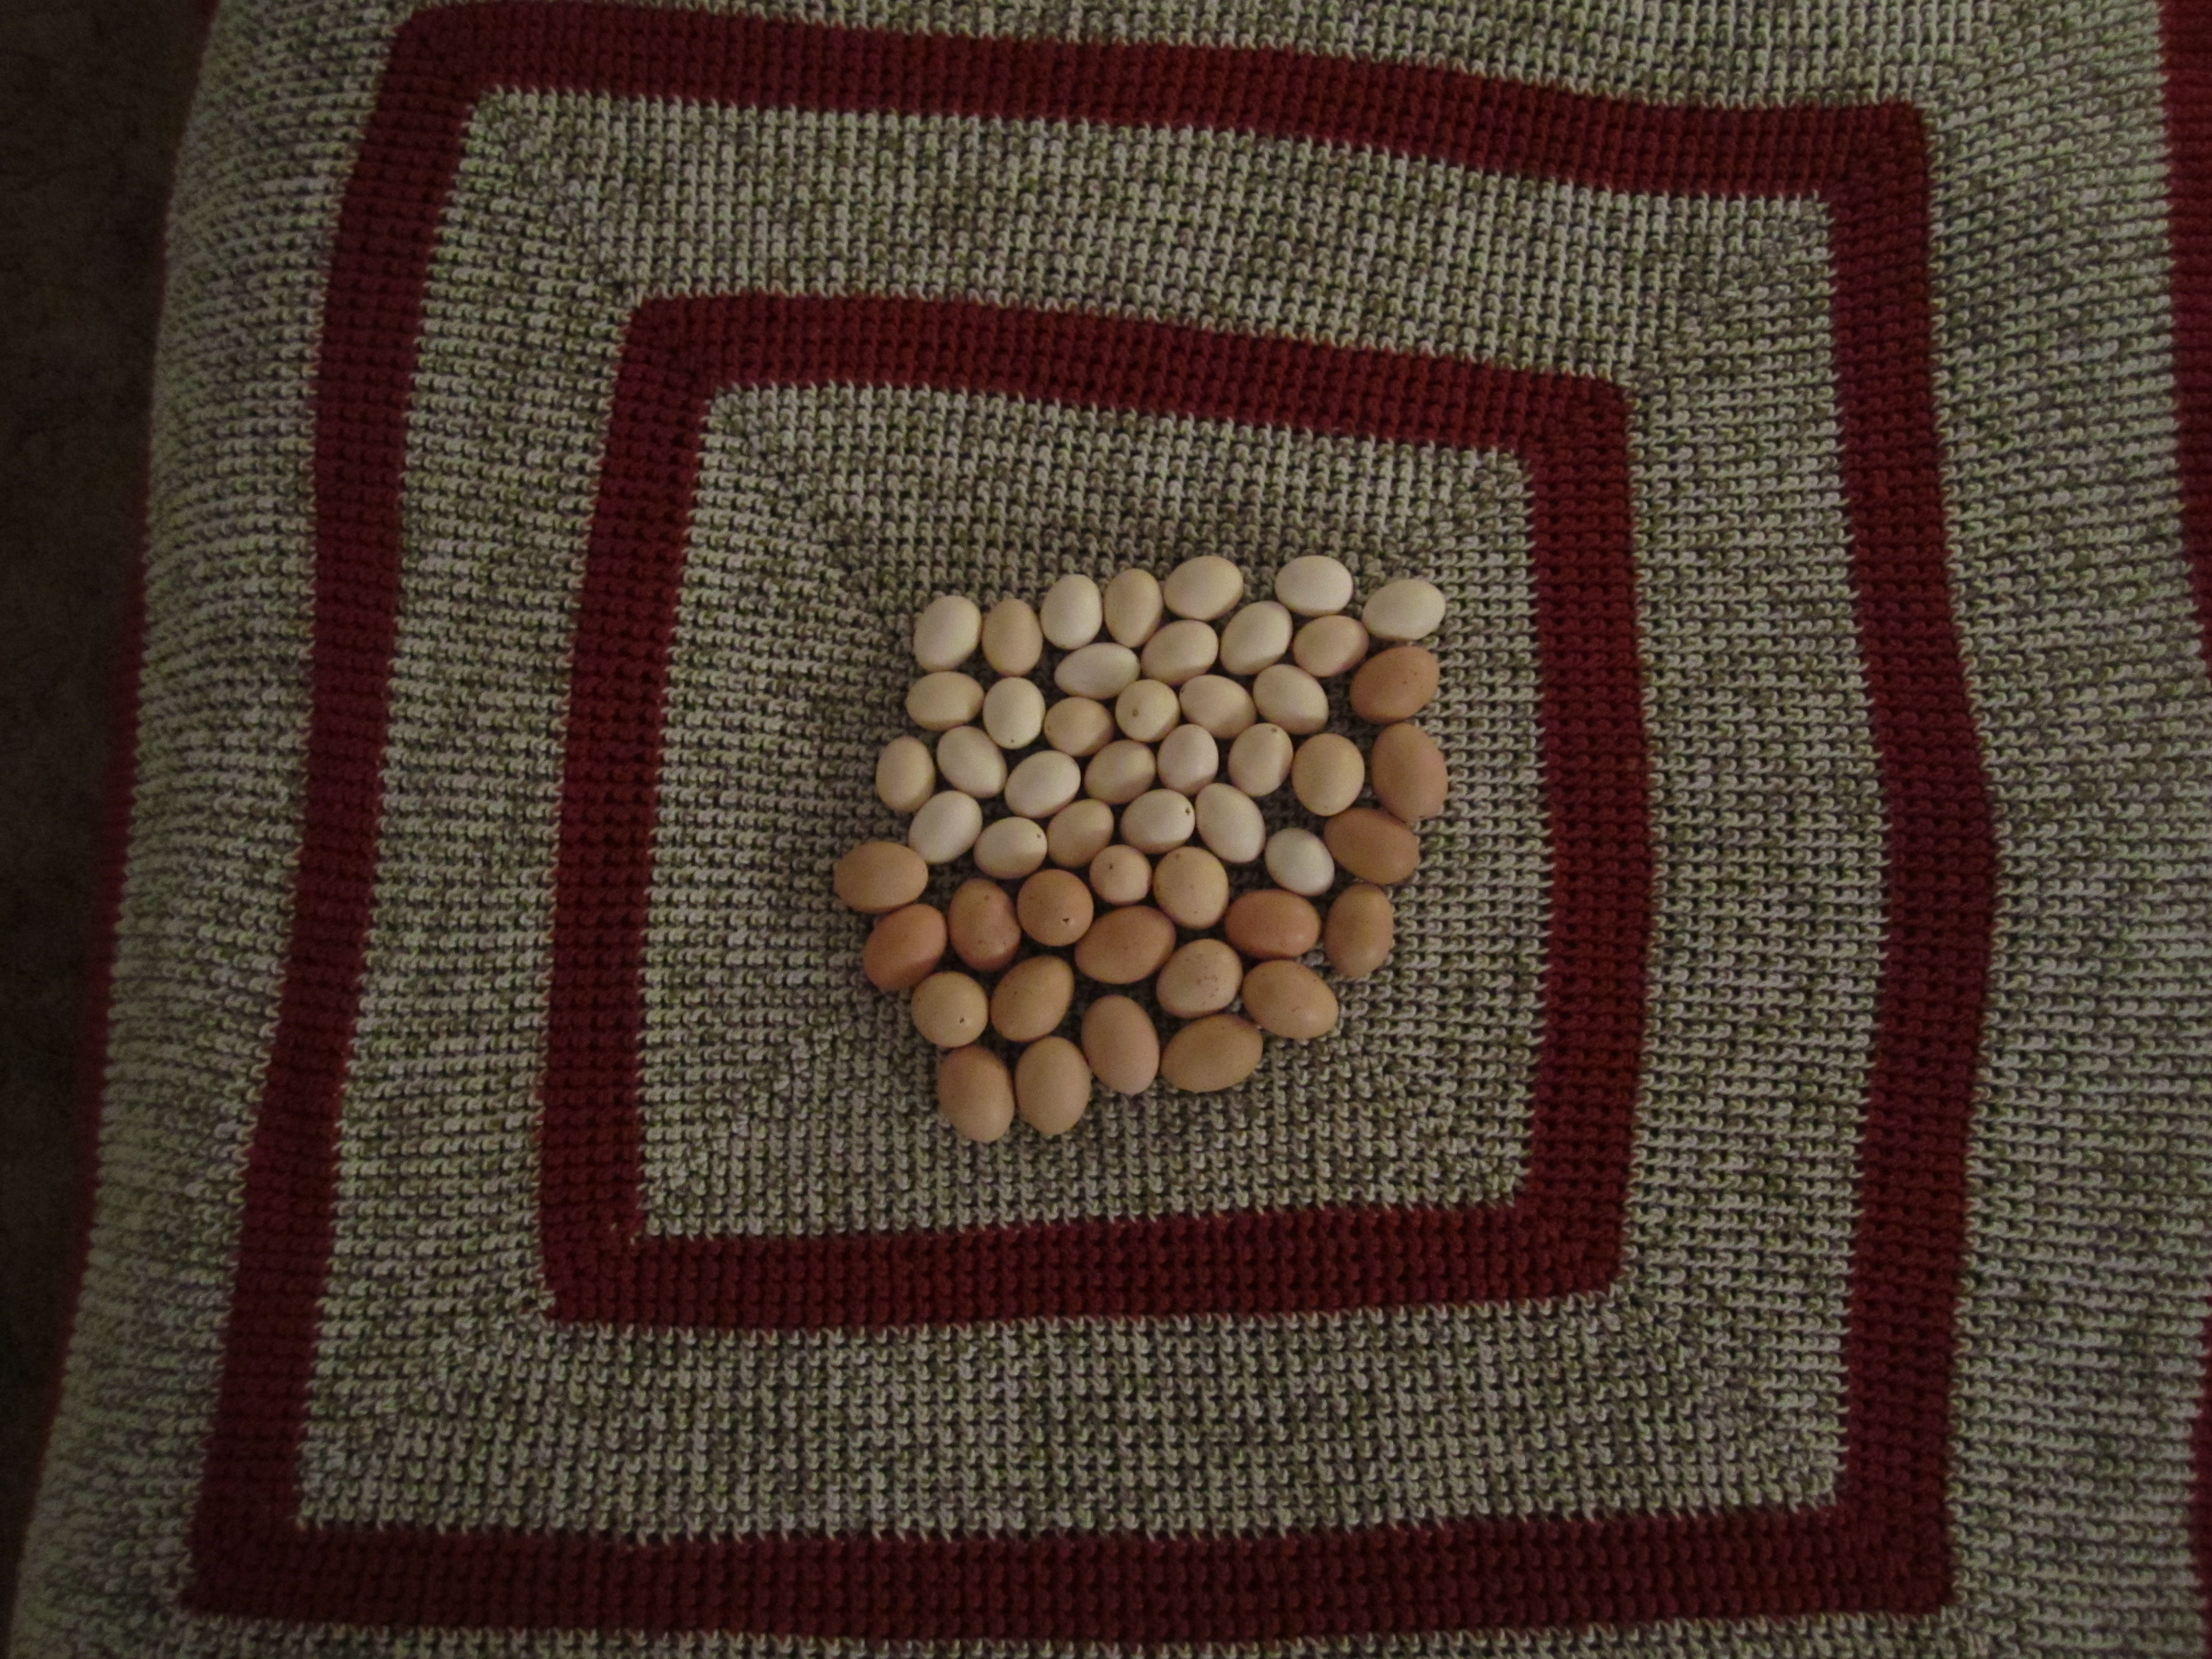
We have found that we produce less waste now than we did in the city, because all of our leftovers and food scraps get fed to our chickens. This also makes our trash less stinky, which is nice. It also diversifies our chickens diet, which makes their waste a higher quality product that can be cycled back into our farm.

chickens food scraps homesteading blog

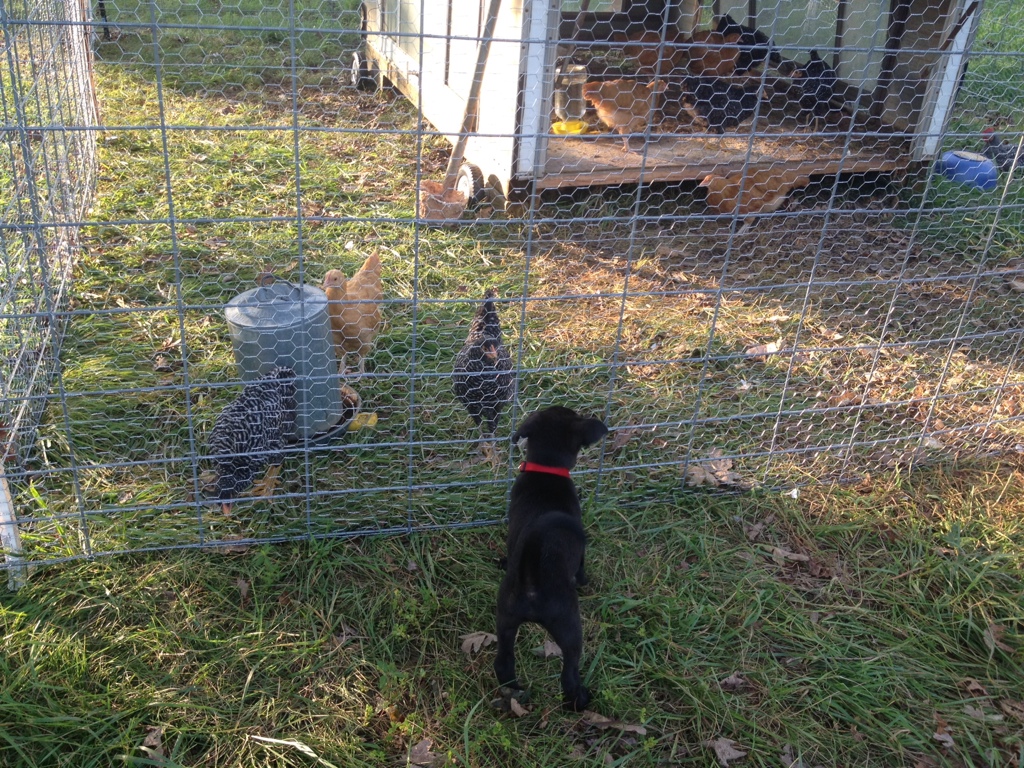
Bolt and the garbage disposals.

But we still have trash to deal with, and for the moment, we are not signed up with a private waste disposal company. Instead, we fill up a few trash bags at a time, put them into our truck, and take them down to one of the county “green box” sites, where we can dump our trash and our recyclables for free. The closest site is maybe 5 miles away, right on the way to and from our city jobs, so this is not a very big hassle.

Septic Systems and Well Water

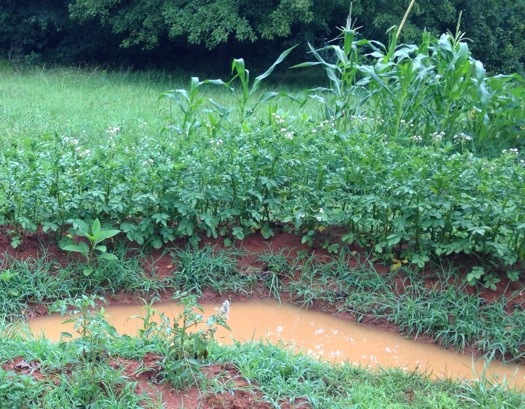
We have a septic system for our other wastes, and a well for our drinking water. We got both inspected and tested before closing on the homestead (very important), and have not had any problems so far.

An important thing to keep in mind with septic tanks is that the function by bacterial digestion, and that chlorinated bleach and other harsh chemicals can kill your septic systems bacteria, causing it to function inefficiently or worse. We avoid these products, and try to use the most natural and septic approved products we can find, but it does make shopping for detergents more difficult. We still haven’t settled completely on any brand, so feel free to offer any suggestions.

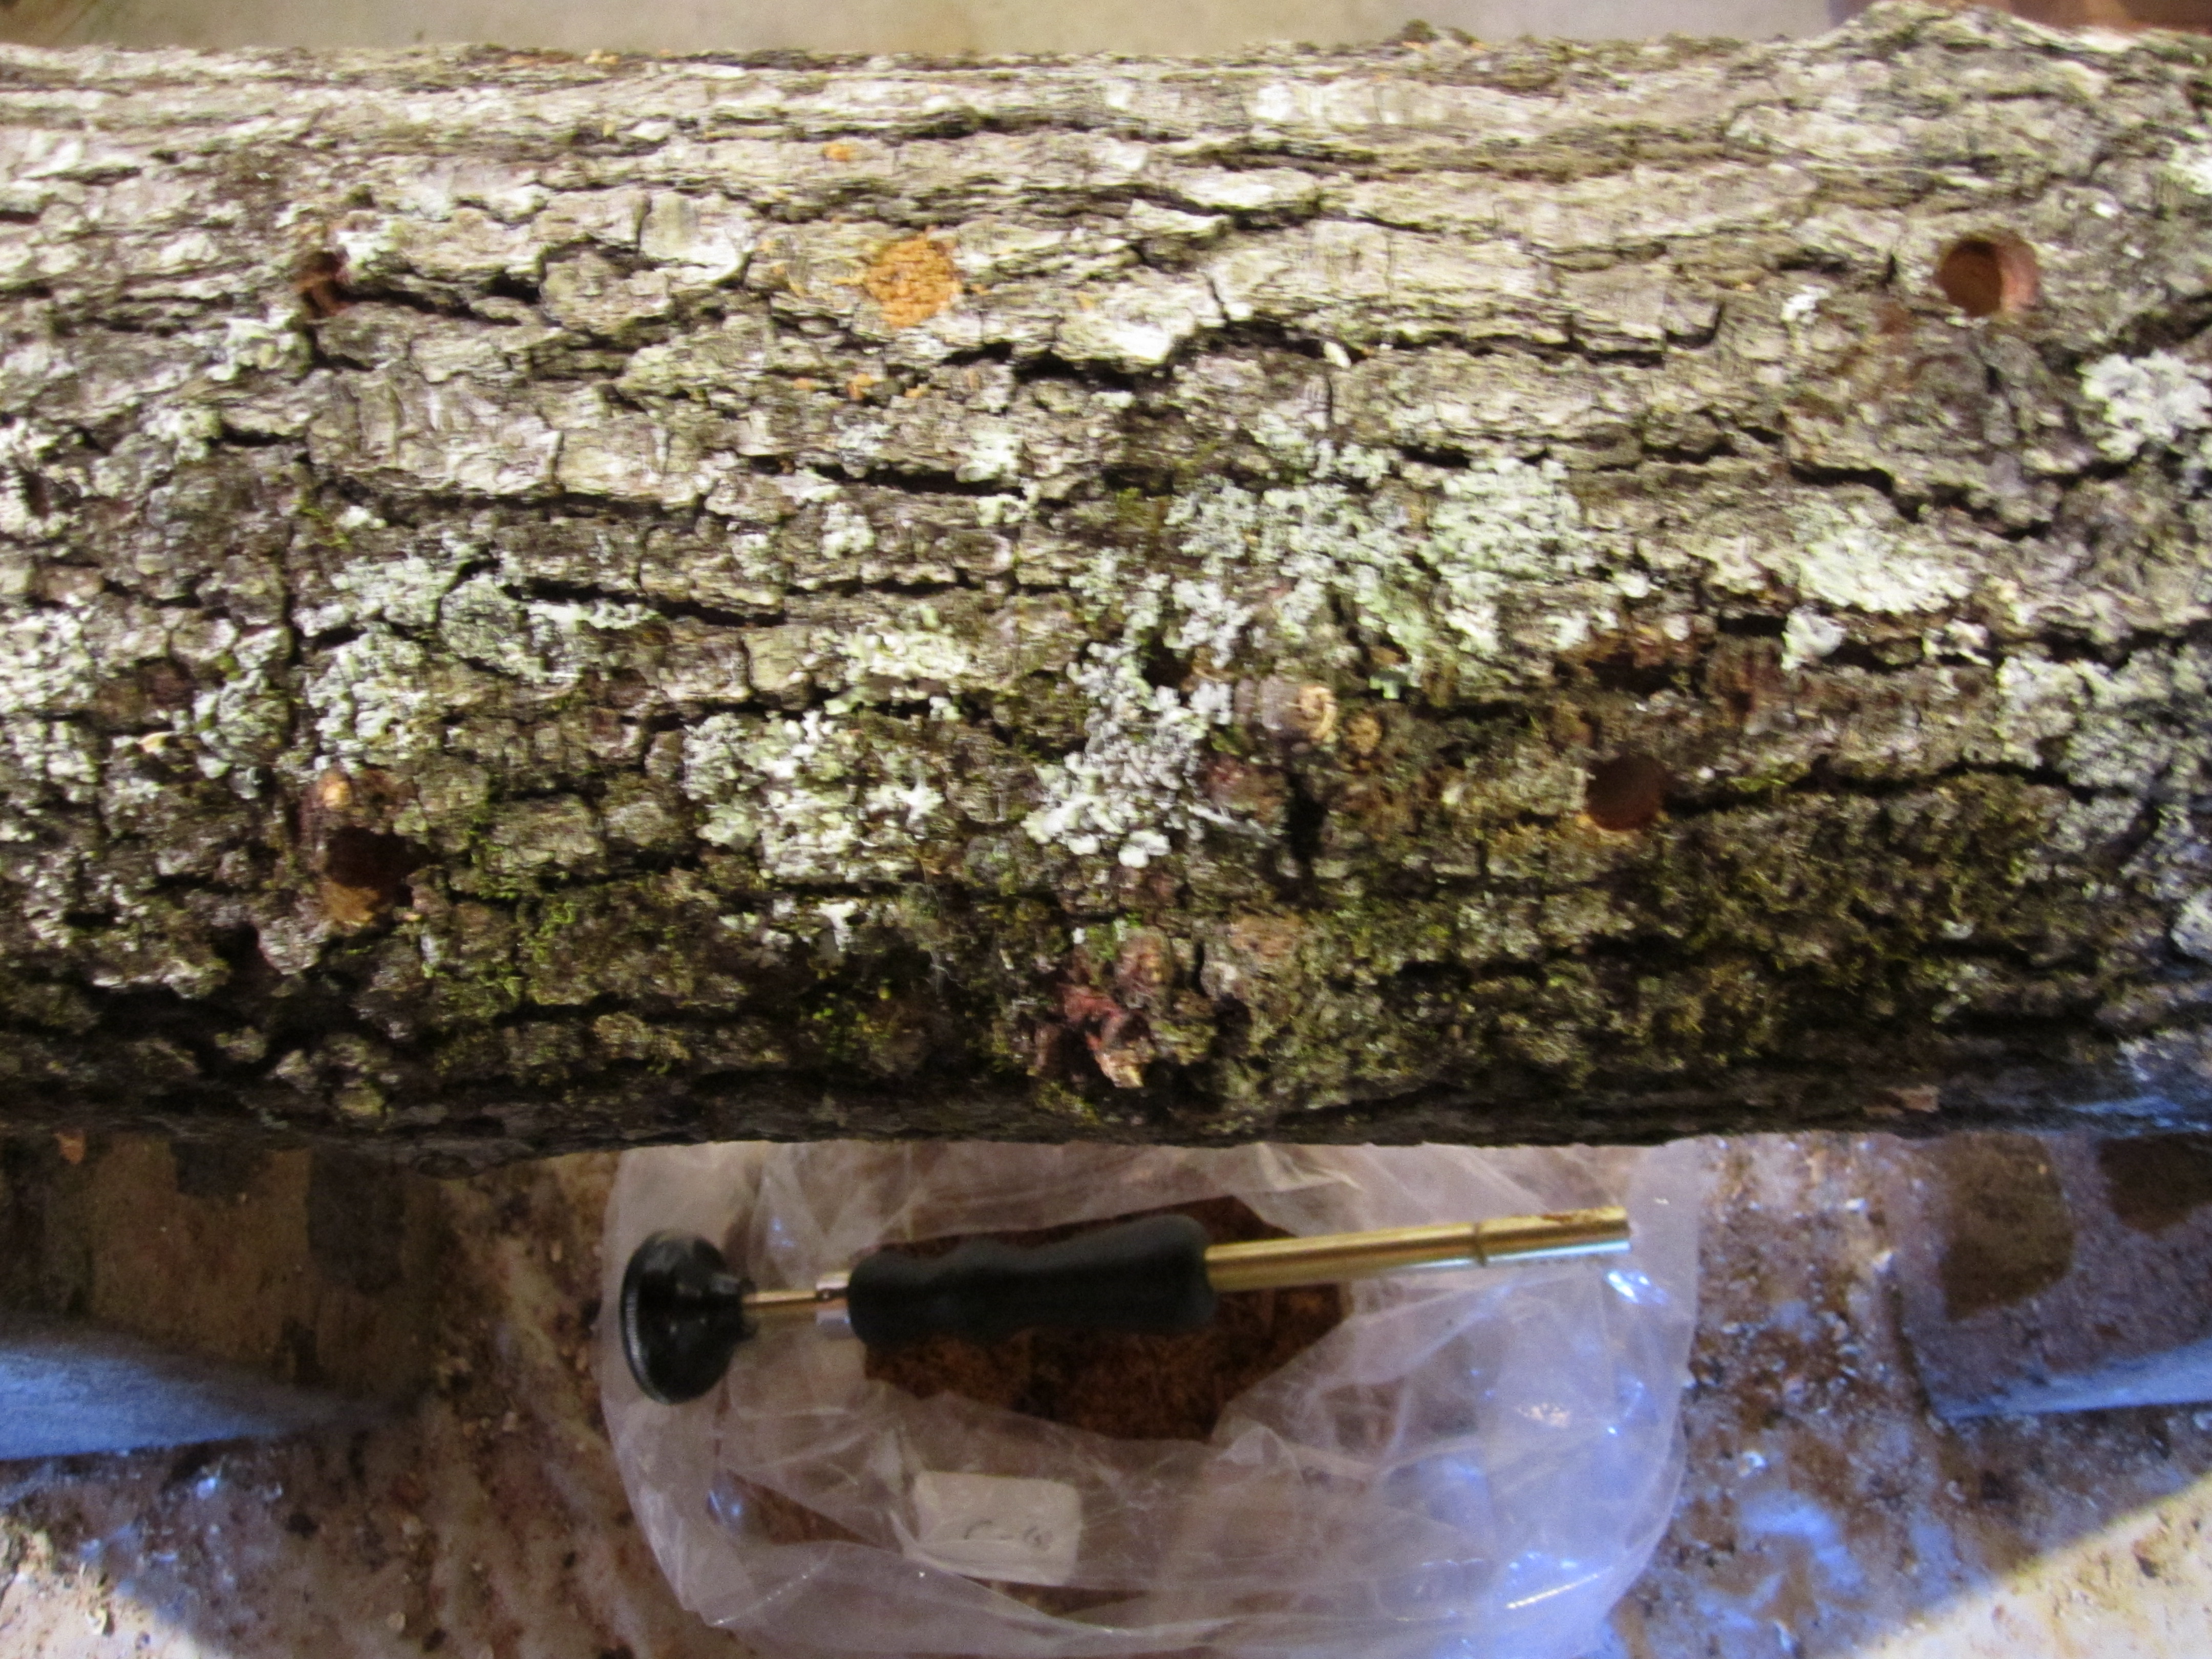
They sell packs of beneficial microbes that boost your septic systems health, but we haven’t used any yet. Our tank was pumped when we moved in, so I’m hoping that by not flushing stupid stuff down our drains, promoting good microbes, and being water conscience, we may not have to have it pumped for a long time. regardless, it’s a simple, and affordable process that only takes a respectable septic pumping company an hour or so to complete.

Our well has been great, providing us with great tasting, chemical free water that city water can’t hold a candle to. However, because it is powered by our electricity, it is dependent on the power being on. This isn’t a huge deal, but is something to consider when preparing for storms and the like.

Drive Times and Distances

We are used to it now, but things are just further away when you live in the country. The nearest grocery store is 15 min. away, which isn’t that far, but is far enough to make us try and get all of shopping done on our way back from work. Our city jobs are almost an hour away each way, which adds up both in time, and gas money. I don’t mind the drive, but it is definitely something to consider when choosing your homestead, or making the move to the country.

homesteading blog more driving

Living in the country means more driving, but it’s nothing Bolt can’t handle.

It took us almost a year to find any restaurant that would deliver to us, but we finally found one, a pizza place in Walnut Cove. We are right on the edge of their range, thankfully.

All of these things just require an extra level of planning, and time management. This is especially critical when we are extra busy, or already feel like daylight is in short supply to get all of the chores accomplished.

There are many other things that are different from city living, but most come down to the common theme that living in the country requires you to plan a little more, be more prepared, and take certain matters into your own hands. This isn’t a bad thing, just something to consider when you make the move the country.

more spring flowers… what a lovely time of year!

i’ve decided to write another brief spring flower post, partially because flower pictures can usually speak for themselves and don’t need a lengthy explanation and partially because i have so many things to write about and i just can’t decide where to start. so, i just picked something simple and lovely to start with.

this means you can expect some other posts coming soon about the many things we’ve been doing here on the homestead, like:

  • planting our spring vegetable crops in trays and in open beds
  • planting our 50-ish fruit trees and bushes
  • clearing out some of our wooded area around the corn crib, barn, and yard for planting and to expand our work/activity space
  • cleaning a bunch of trash out of the woods, and finding some useful junk (love me some useful junk!)
  • skunk sightings
  • snake and salamander encounters
  • finding a soft-shelled egg
  • altering a wedding dress

for now, though, i would just like to share more lovely flowers that are coming out for a visit. most of these flowers/trees/bushes started blooming last week or the week before.

our front yard crab apple, which never bloomed last year. we were so excited to see it show its true colors this year.

our front yard crab apple, which never bloomed last year. we were so excited to see it show its true colors this year.

flowers

some low-lying, ground flowers blooming under the crab apple. what are they? we don’t know their name!

flowers

our dwarf apple tree, planted last year, beginning to bloom!

buds

our first blueberry, also planted last year, going green!

tulips

these tulips have been much more plentiful this year than they were last year. they were already in the bed beside our carport when we moved in last year.

lemon

and these are perhaps the sweetest smelling flowers ever! jason got this meyers lemon from his workplace. it is exciting to see it blooming since that means we’ll see some baby lemons arriving soon (fingers crossed!).

.:.

Some More Plants from Seed

In addition to the fruit trees and bushes we’ve been planting, I’ve also started some other plants, like honey locust, from seed this spring. Just the other day I did two batches of seeds.

One batch needed soaking prior to sowing, similar to the nitrogen fixing trees we started a few weeks ago, and consisted if sea buckthorn, red Malabar spinach, oca, pomegranate, astragalus, and salad mallow. I soaked them for a day or so, and then planted them in a flat of potting soil. Certain species require a soaking, which allows the seed to absorb water and makes the germination process quicker and more efficient.

malabar spinach permaculture

Malabar spinach is a vining, tender perennial green that I am very excited to grow this year. It’s seeds gave off a great red color when soaked. I wonder if we could use it for a dye?

The other batch of seeds consisted of plants that require a period of cold before they can germinate, so for these I moistened either paper towels or peat moss, put this damp medium into a labeled ziploc, and then added seeds. These bags are now in the fridge, where they will cold stratify for 1-3 months before they can start germinating.

growing kiwi from seed

kiwi seeds stratifying in damp peat moss/vermiculite

This batch included hardy kiwis, Turkish tree hazel, and cornelian cherry.

Most of these plants are perennials, and unlike most vegetables, are slightly peculiar in their germination habits. This is usually remedied by a quick google search, where any scarification or stratification information can be discovered. After that, it takes just a little more effort and time, and then your on your way to perennial abundance!

soaking the mushroom logs and giving them a home

after inoculating our shiitake mushroom logs, we had to go about soaking them and figuring out where they would be living!

first of all, the few days after the inoculation were chilly (which wouldn’t matter) but the nights were below freezing (which would matter). so, once we got all of the logs inoculated, i stacked them inside our basement and covered them with damp sheets and a layer of plastic to keep in the moisture. this meant that we were not able to begin soaking them for a few days, which we decided would be alright considering the logs were cut only a few weeks before and still contained some moisture. it is important to keep the logs from freezing (in the beginning, at least) and to make sure that the logs do not totally dry out. it is likely that the logs would have been fine without being brought into the basement or without laying damp sheets over them, but we decided to play it safe.

logs

logs soaking in the footpaths of our raised garden beds.


once the weather warmed up a few days later, we filled the deep paths of our garden beds and soaked the logs in there, also using a small pond liner for soaking some of them. the paths slowly drained and we refilled the paths a couple times over the course of a few days to make sure that the logs were super moisturized.

logs

logs soaking in the footpaths of our raised garden beds.

logs

some logs getting a temporary soak in a pond liner.


then i moved the logs (with the help of my wheelbarrow and a good bit of cussing) to their permanent home leaned up against our corn crib structure. my dad and jason had already cleared a space for them, as well as space for 2 old enameled, cast iron bathtubs for use in soaking.

and man, moving the now-wet-and-much-heavier logs was tough. i put between 4 and 6 logs in my wheel barrow for each trip from the paths to the corn crib, and luckily didn’t dump a single load, even though there were a few obstacles along my way! i feel proud. keeping the wheelbarrow from tipping when loading and unloading the logs was the more difficult part, really, since each log weighed between 25 and 70 pounds. luckily, no accidents here either.

logs

leaned up and labeled logs!

once i leaned all of the logs up against the corn crib, i divided the 50 logs into 4 groups, and labeled these by nailing different colored tape into one end of each log. once we bring the second ceramic tub to the area for log soaking, 1/2 of group 1’s logs will be soaked in one tub overnight, and the other 1/2 will be soaked in the other tub. the logs will be soaked on a rotating schedule so that each of the 4 groups gets a soak every 2 weeks or less often depending on how quickly their bark dries completely out (that’s the sign it’s time to soak them again!).

logs

the final product: the logs leaned up by the corn crib (and me in the tub!).

and so, we begin the watering and waiting process. grow, shiitakes, grow!

.:.

mushroom log inoculation: it’s a family affair

i am finally writing about this, even though we inoculated our mushroom logs a few weekends ago. if you’ve read my other posts about selecting our mushroom varieties and about cutting our mushroom logs, you already have some idea about our plan. since these posts, though, our plans have changed slightly. we are still using 50 mushroom logs this season, but we are only inoculating with shiitake mushroom spore. this is for three reasons:

  1. shiitake mushrooms are the only gourmet grow-it-yourself mushroom and variety that i have tasted and i am confident in their deliciousness!
  2. shiittake saw dust spawn was cheaper to obtain than shiitake plus a few other varieties.
  3. shiitake is a mushroom that my father has experience growing and the other mushroom contenders had different, more difficult traits (i.e. maitake sometimes won’t fruit for years and some people say that reishi tastes not-the-best).

so, we decided to go with the trusty shiitake for our first year’s mushroom experimentation!

we ordered both our spawn and our inoculator tool from fungi perfecti and once we got our bags of spawn in the mail, we promptly stuck them in the fridge.

once the big day arrived, we enlisted the help of my parents. it turned out that jason and my dad did most of the hole drilling, i did most of the inoculating, and my mom did most of the waxing of the holes. even with all this extra help, jason and i still had to continue the process for 2 days after the “family work day.”

here’s how the experience went:

first of all, i set up 3 stations in our basement (one for each of the big steps in the inoculating process). the first station, where the logs were drilled by jason and my dad, is where the each log’s journey began. both of them toted in the logs in batches from where they were stacked outside the back door. they shared a palette that was on a table and used the palette to hold the logs that they were drilling in place. they used 7/16″ drill bits (the standard size for sawdust spawn… plugs are different) and went in 1″ deep (the depth of our inoculation tool). in drilling to a certain depth, we found that marking the drill bit with lots of tape worked better than stoppers (these slipped too often). jason and my dad spaced the holes in a diamond pattern, with 2 1/2″  between holes running perpendicular to the length of the log and 6″ between holes running parallel with the log. each row of holes down the log was staggered so that a diamond-shaped pattern was the result.


logs

jason and my dad drilling 1″ holes in the logs. dodger oversees the process.

the second station was my own, where i was set up with the saw dust spawn and the inoculation tool. once i got the hang of it, it was quite simple and fun, really (although my hand did start hurting). in order to make sure that i got enough spawn inside the cavity of the tool each time, i brought it down hard 5 times in the bag of spawn before placing the tool over the hole and rapidly and forcefully hitting (either with open palm or closed side-fist) the handle of the tool 6-7 times. once you do this a few times you’ll be able to feel and hear once the inoculator cavity has been fully emptied into the log, and you’ll be able to judge how many “taps” you need for each hole.

positioning the inoculator tool over a hole.

positioning the inoculator tool over a hole.

later in this process i used cinder blocks to raise the level of the log (it was beginning to hurt my lower back bending over so much) and to hold it in place and keep it from rolling when using the tool. my mom also helped hold some of the more wiggly logs in place. to make sure that you’re doing your job right, check to make sure that the spore is almost as hard as the wood itself. if so, then you know you got it packed in there well enough.

log

the hole near the upper center of the photograph has been filled with spawn, whereas the hole toward the top right has not.

station three was where my mom was camped out, and she “painted” over the holes with wax (we used the cheapest, white wax you can find on the baking/canning aisle of the grocery store). we used an old crock pot specifically for melting the wax, cutting it on “low” to melt the wax and then on “keep warm” once it was all melted (we do not plan to use the crock pot for anything else except wax in the future). the brush we used was a 1″ natural fiber brush, the cheapest that could be found at the hardware store. when my mom waxed each hole, she was heavy-handed to make sure that all sawdust was sealed inside… this is important because you don’t want to give any other fungi the chance to colonize the log through the open hole too.

log waxing

i demonstrate the waxing process.

once the logs had dried a bit, someone who had a break would move the completed logs back outside to be stacked and await their future soaking!

overall, the experience was exciting! i can’t wait to see how everything turns out months from now. for now, all the logs have been soaked and moved to their permanent location, to await fruiting. we’ll talk more about this process in future posts… hopefully coming very soon!

a video explanation and demonstration of these steps will be posted shortly!

.:.

The First Dandelions of 2014!

20140404-203559.jpg

Dandelions are here! One of the most useful and nutritious plants you can find.

Spring has officially arrived at Kuska Wiñasun Homestead! The very first dandelion flower has sprung onto our land and I couldn’t be happier. It came up in the first place we housed our portable chicken coop. I’ve seen dandelions popping up in Greensboro for the last week, mainly in parking lots and sidewalk nature strips, and I couldn’t wait for them to start blooming in our lawn, sending their deep tap roots down deep into the soil to pull up all sorts of minerals and nutrients.

Because our homestead is some 30 miles north of Greensboro and is at a higher elevation too, our climate is slightly cooler than the sprawling NC Piedmont city. All that concrete also has an effect on temperatures, and so we generally lag a few days behind in Spring, but we never gave up hope!

20140404-203638.jpg

The chickens checking out a newly planted “William’s Favorite” apple tree in our front yard.

But the dandelions are back, and that means spring. Spring is a busy time for any homesteading family, and we are no exception. We’ve planted 16 new fruit trees so far (more on that soon), and between our off farm jobs and planning our wedding, we’ve been keeping busy. Emma and I are out almost every day until it’s just too dark to see, taking advantage of the long days and perfect weather, and planting everything from cabbage and broccoli to comfrey and clover.

Spring is a busy time, but it’s a welcome change to the short days of winter. The solstice approaches, and soon summer will come, bringing with it the humid nights, open windows, and chorus of pond frogs we almost forgot about. But for now, we’ll focus on spring and the delicious and nutritious treat of dandelion greens.

kids wondering… What Is It Like to Collect Eggs?

Welcome back to Kids Wondering…!

This time we head into the chicken pen to collect eggs and learn a few exciting facts about hens and the eggs they lay.

And… We have an extra special treat in this edition of Kids Wondering… We find a type of egg that I bet you have never seen or heard of before!

Can you guess what it is? Watch the video to find out…

Until next time… What are you wondering?

Comment here and let us know, kids!

.:.

planting fruit trees and a crocheted blanket with eggs!

today i planted more fruit trees after work. so far i’ve planted half of what we’ve already received in the mail: 1 pluot, 4 apples, 1 cherry, 1 peach, and 1 european pear.

and because of that, i must go to bed!!!

i leave you with a photo of our eggs laying on a beautiful blanket my mom crocheted for us for christmas last year…

my mother's handmade blanket and our eggs, ready for bedtime!

my mother’s handmade blanket and our eggs, ready for bedtime!

for more of my mother’s handmade items, check out her etsy store!

sweet dreams to you!

.:.

Using Chickens to Make Sauerkraut

We moved our chickens to new paddock this weekend, which is in line with our goal of rotating them every 2 weeks to fresh pasture. Because the early spring growth wasn’t very lush, they scratched it up pretty well and left behind a nice 16 ft. by 32 ft. plot of weeded, tilled, and finely mulched earth that was begging to be planted. Who are we to turn down such an offer?

brocolli flat seedlings transplant

partly planted flat of cabbage and broccoli seedlings.

A few weeks ago I started some broccoli and cabbage seeds in a flat of potting mix. They germinated well and after many nights of ferrying them in and out, protecting them from freezing temperatures and dodger’s butt, a good many have survived and aren’t too spindly. I planted these in long rows, about 12 in. apart in the freshly prepared soil.

Following the chickens with vegetables crops makes good use of the fertility the chickens left behind, both the nitrogen rich manure, and because we feed rock minerals every week, a healthy dose of plant ready minerals ready to rejuvenate the land. The chickens also weed and scratch out most of the grass and weeds that would compete with the crops, and also do a great job of breaking pest cycles that could reduce yields.

It’s also important to fill this new space with something, whether it’s cover crop, trees, grass, mulch or veggies, before some of the nastier weeds come in and take hold. This makes following chicken tractors, or any livestock, with productive species a great multi-functional farm strategy.

permaculture vegetable gardening chicken tractor

transplanting seedlings after running chickens is a quick and easy way to stack functions and obtain a yield

All this should help increase our chances of a nice cabbage crop, and the best part of a nice cabbage crop is sauerkraut. Lacto-fermented sauerkraut actually, but we’ll talk about that later. For now, that’s a quick run down on how our chickens will help us make sauerkraut!

Newer posts

© 2024 KW Homestead

Theme by Anders NorenUp ↑