KW Homestead

Pasture Raised Poultry & Edible Landscaping Plants Since 2013

Tag: wedding (page 1 of 2)

homestead wedding tips: using straw bales and boards to make wedding seats!

when we got married 5 weeks ago, we really wanted to make the whole ceremony, including what would be under our guests’ butts, as representative of jason and me as possible.

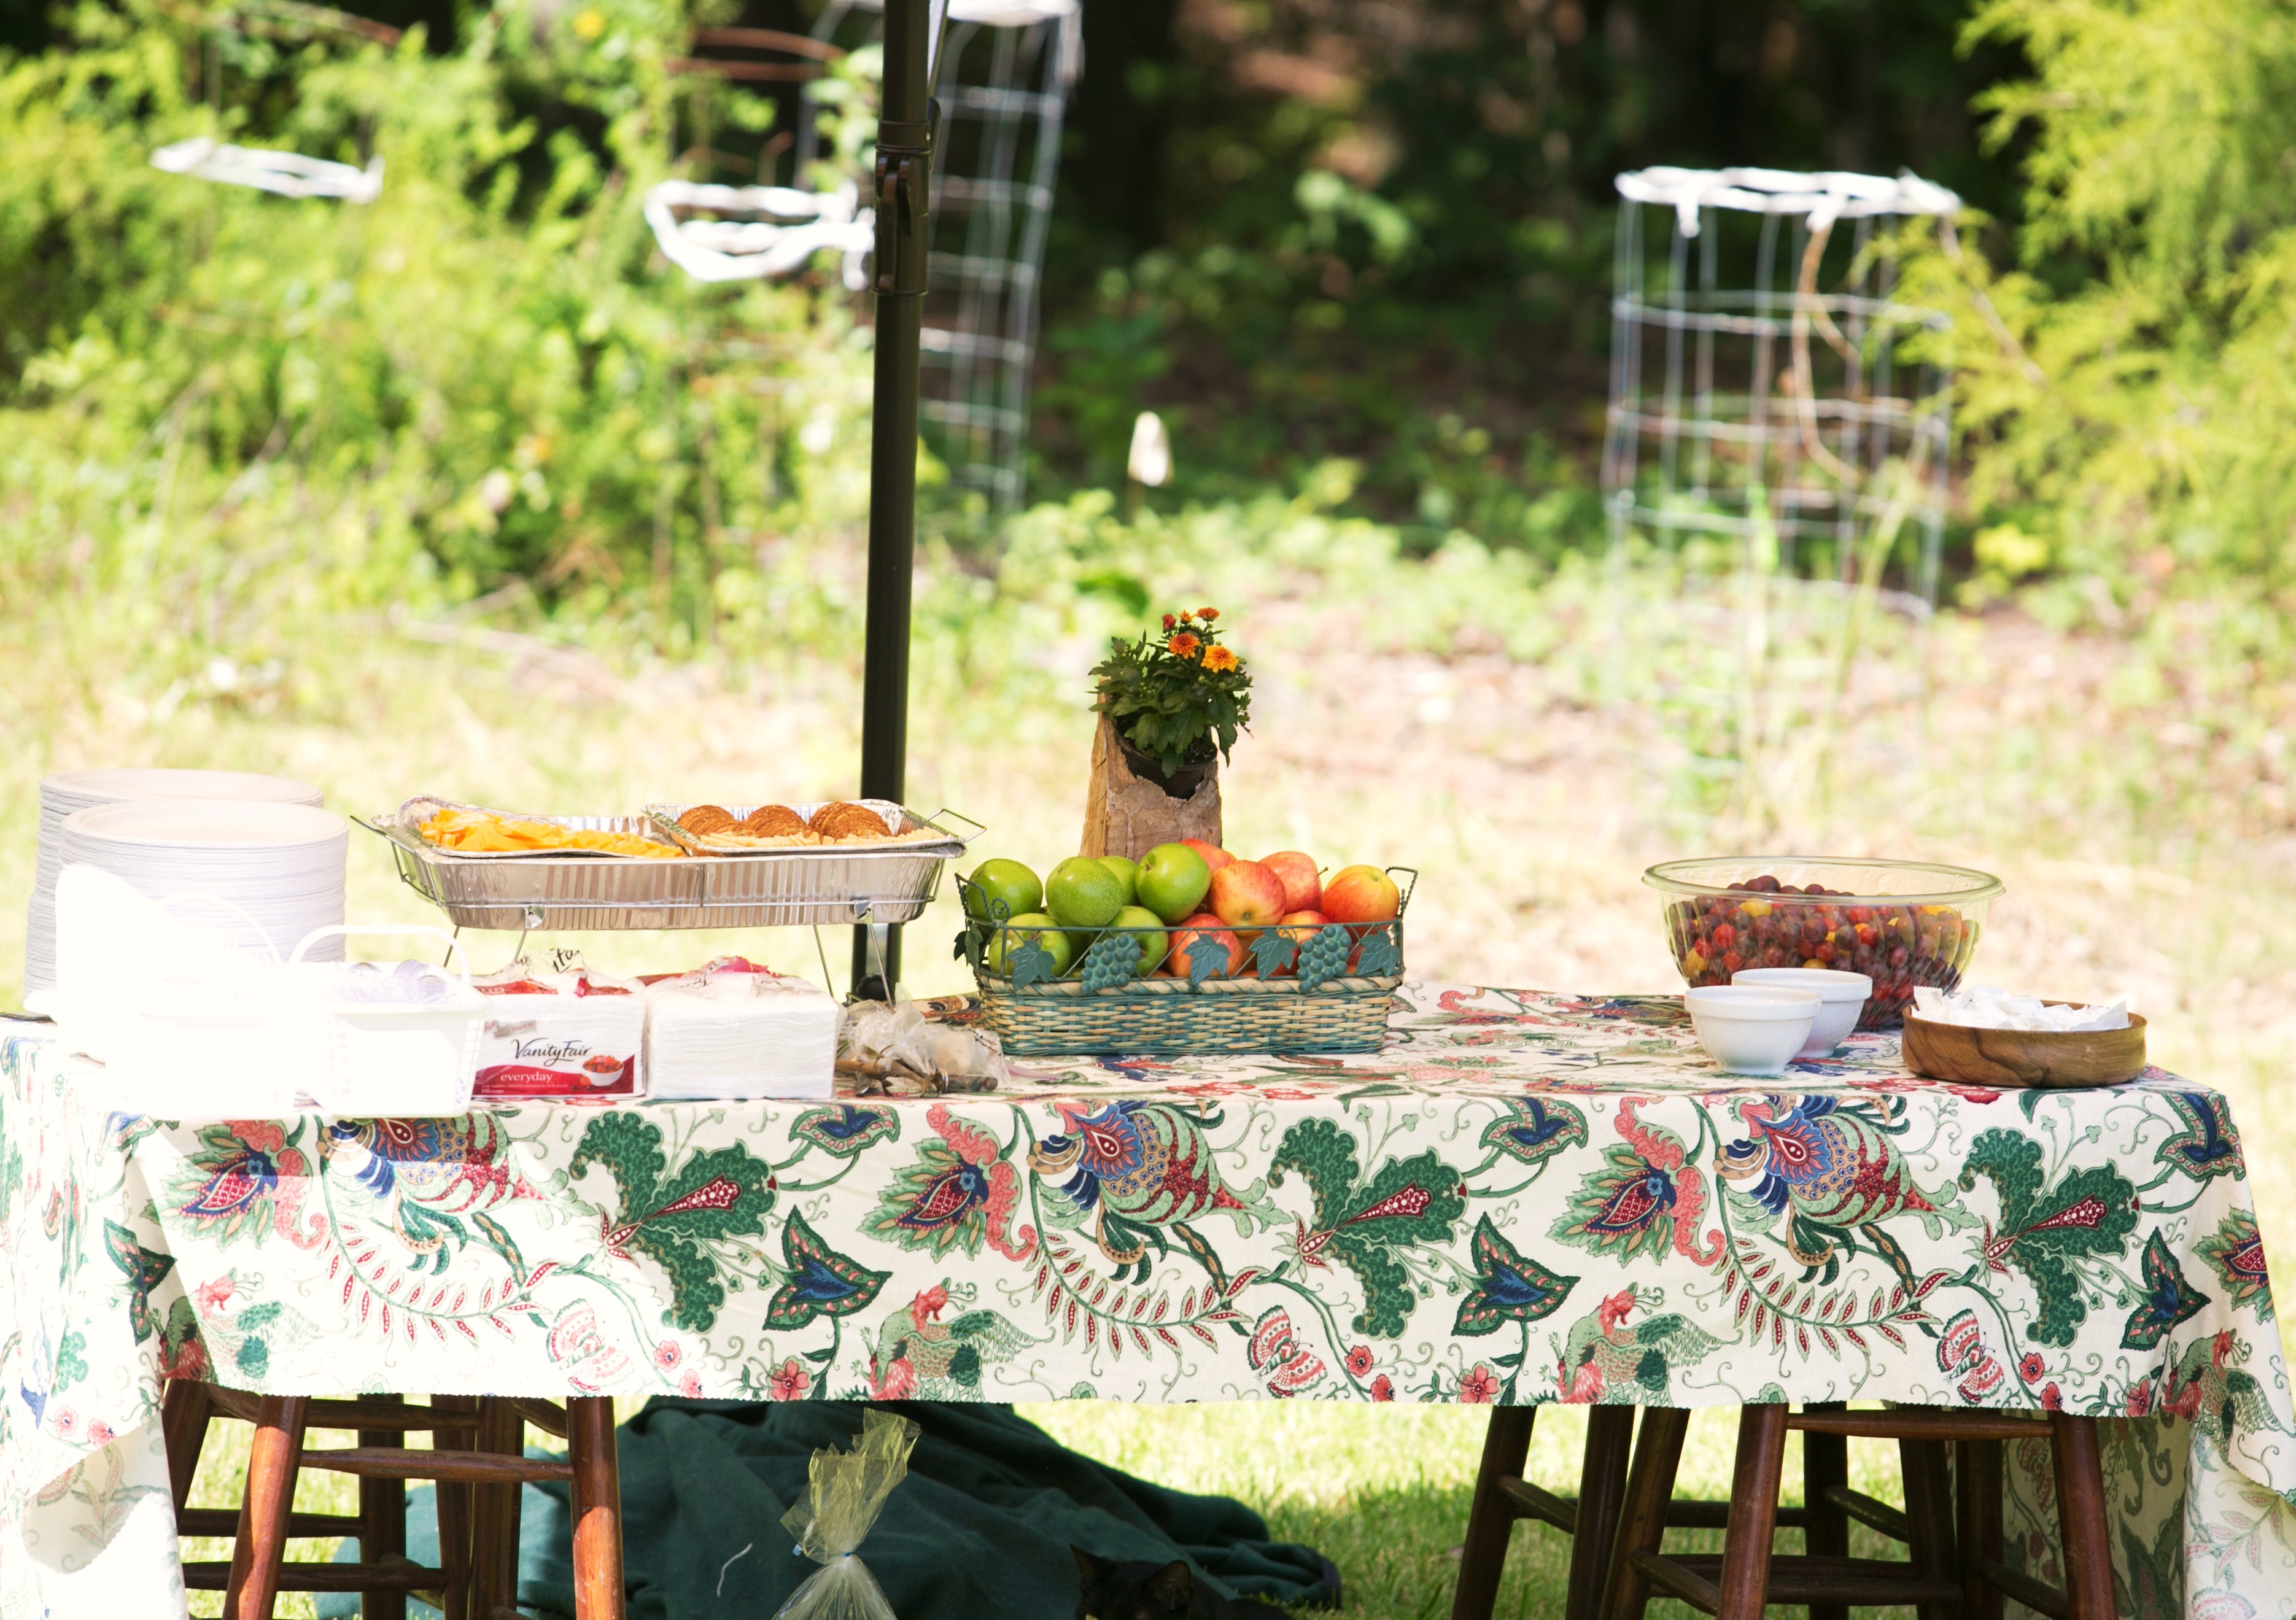
we started brainstorming what wedding “gear” we would need early on in the year, but since we were on the fence about whether we should have our reception at our house or another venue, we didn’t commit to renting any seats and tables. this just didn’t seem quite right to us, for some reason. we really wanted to make even this portion of the ceremony personal and “homemade” in some way and so once we decided to hold our reception elsewhere, we felt more open to other ideas since we no longer needed to rent 100 chairs and tables to seat everyone at the house. we decided that the primary seating would be set up for the ceremony, with other seating around the yard. time to get creative…

we thought about things that were important to us, making the seating:

  • fun and homemade
  • meaningful
  • reusable
  • as inexpensive as possible

we settled on wrapping boards in fabric and laying them on top of straw bales in a semi-circle pattern. after doing some shopping around it became clear that the boards that were the best deal for the footage and were also sturdy enough to support 6-7 butts, were 10 foot boards that were 8 inches wide. the store clerk that approached my mom and me as we were measuring our butt sizes and averaging them, certainly was a bit confused.

we also did the math on how many straw bales we would need under each board to make the boards sturdier and less movable, determining that 3 under each board was sufficient. jason found a local farmer and he delivered our bales to us a few weeks before the wedding. it was serendipitous when the farmer showed up and told us that our house and land had been owned by his grandparents. the person who sold us our home was his mother!
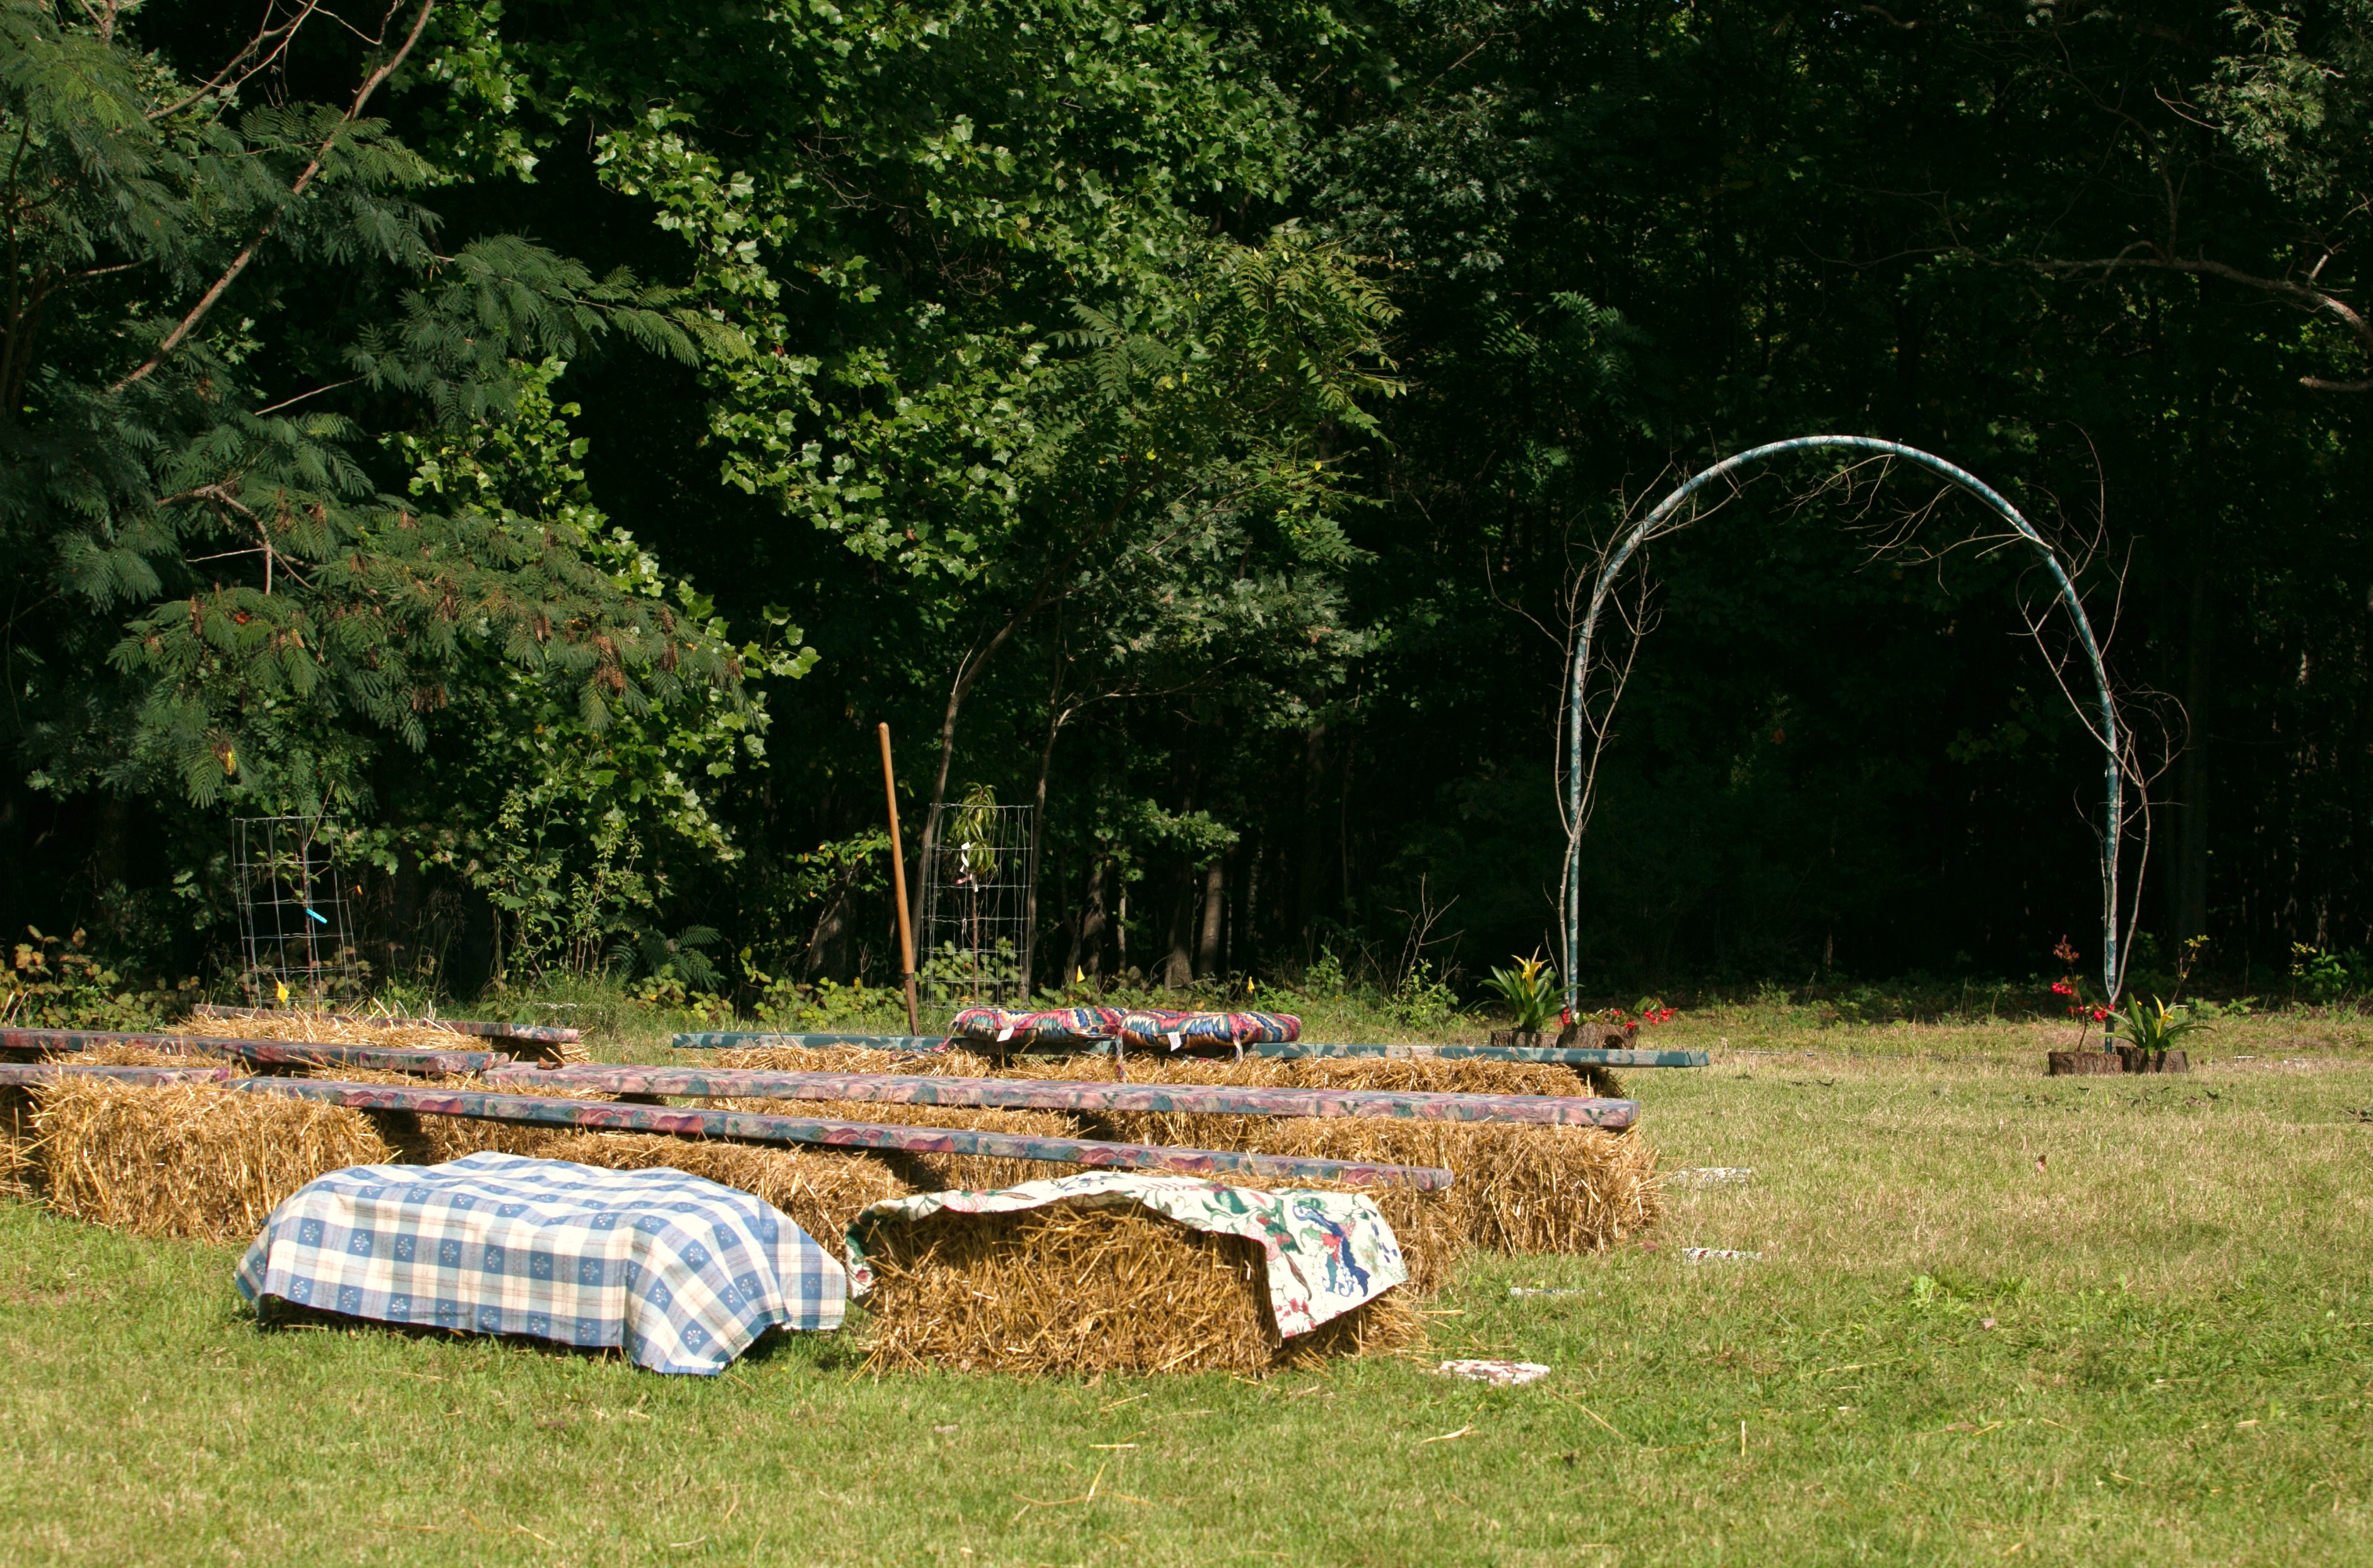
 

we were really excited about using the wood and straw as seats because we knew that we would reuse these materials later; the wood for building or repairing structures, and the straw for mulching beds or providing padding for the chickens’ nest boxes. right now actually, some of the straw bales are weighing down sheets that we’ve laid down in the garden to keep the sweet potatoes from freezing before we harvest them all this week.

we were concerned about wedding guests sitting on bare boards (who knows what could stain a light colored dress?), so we decided to wrap them in colorful fabric. since the wedding colors were loosely “fall colors,” my mom dug out some of her old bolts of fabric and we were able to choose some patterns that suited the wedding colors. my mom helped me cut the fabric to length and wrap the boards tightly. i used a hammer stapler to secure the fabric on the bottom side on the board, and after a lot of stapling and one mashed toe (mine) we had the boards done. two of the boards were wrapped in a different pattern than the others, and these were the two boards placed in the front-right-center and front-left-center of the seating arrangement and meant for our parents and grandparents.

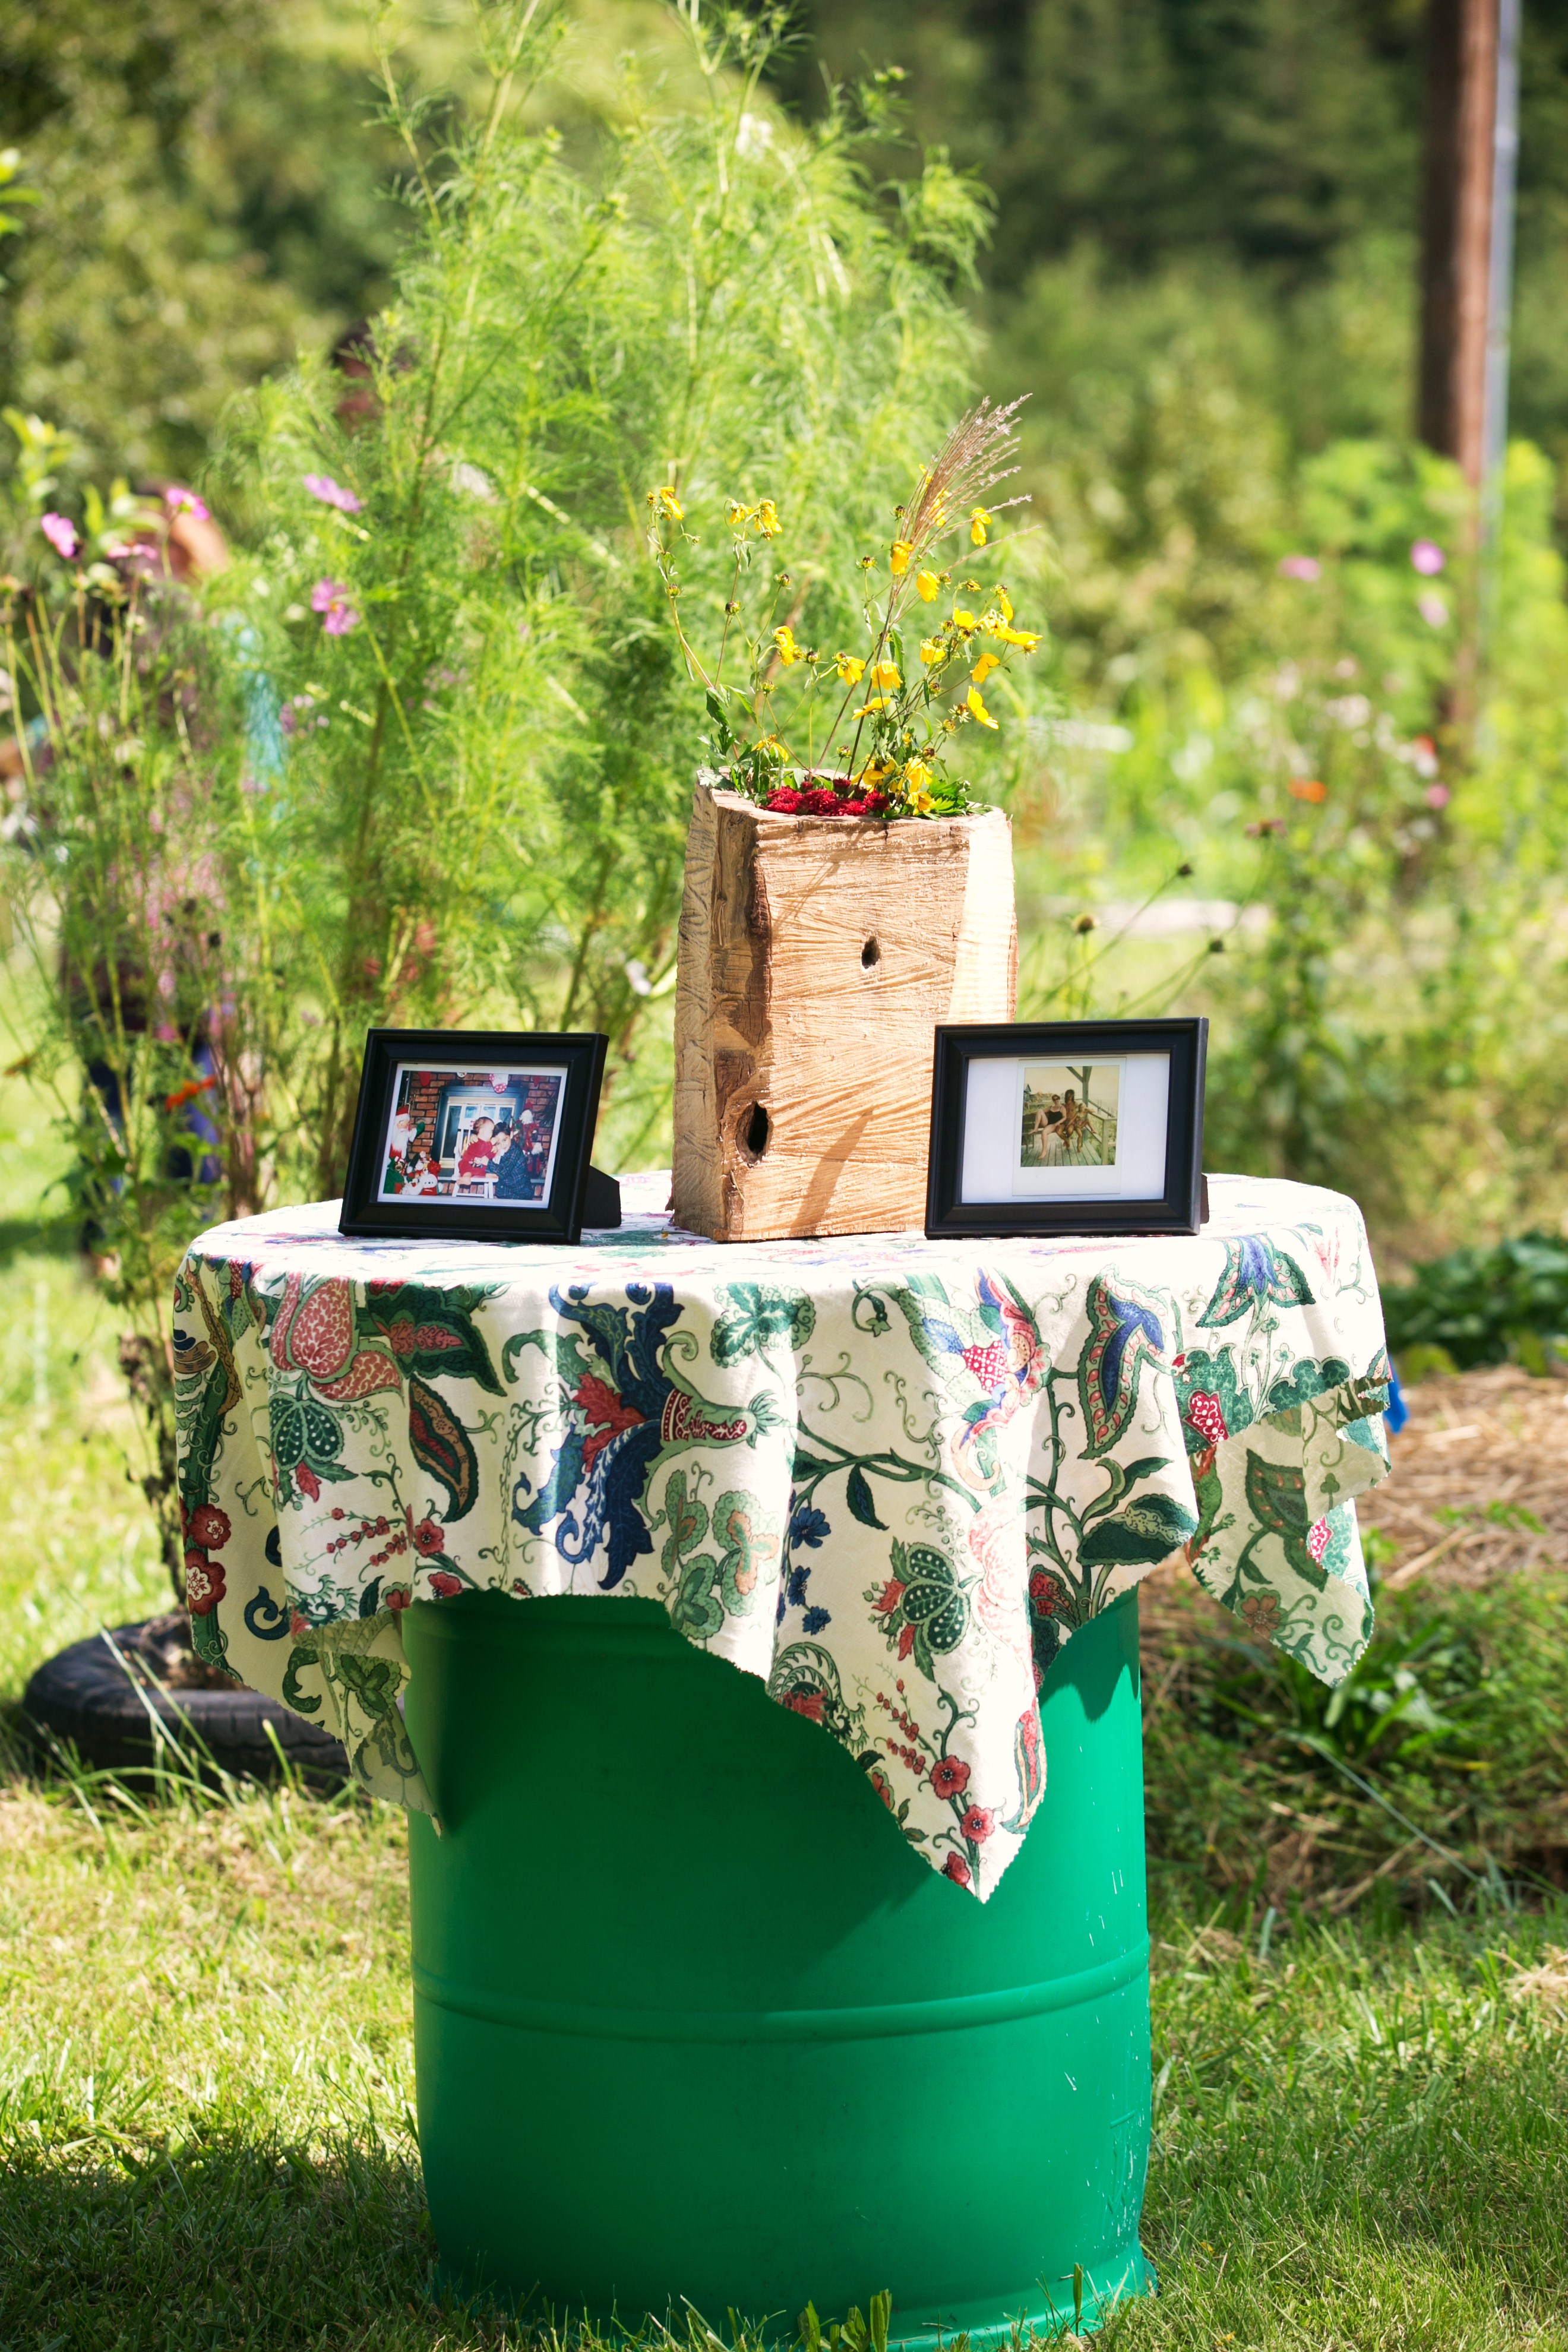
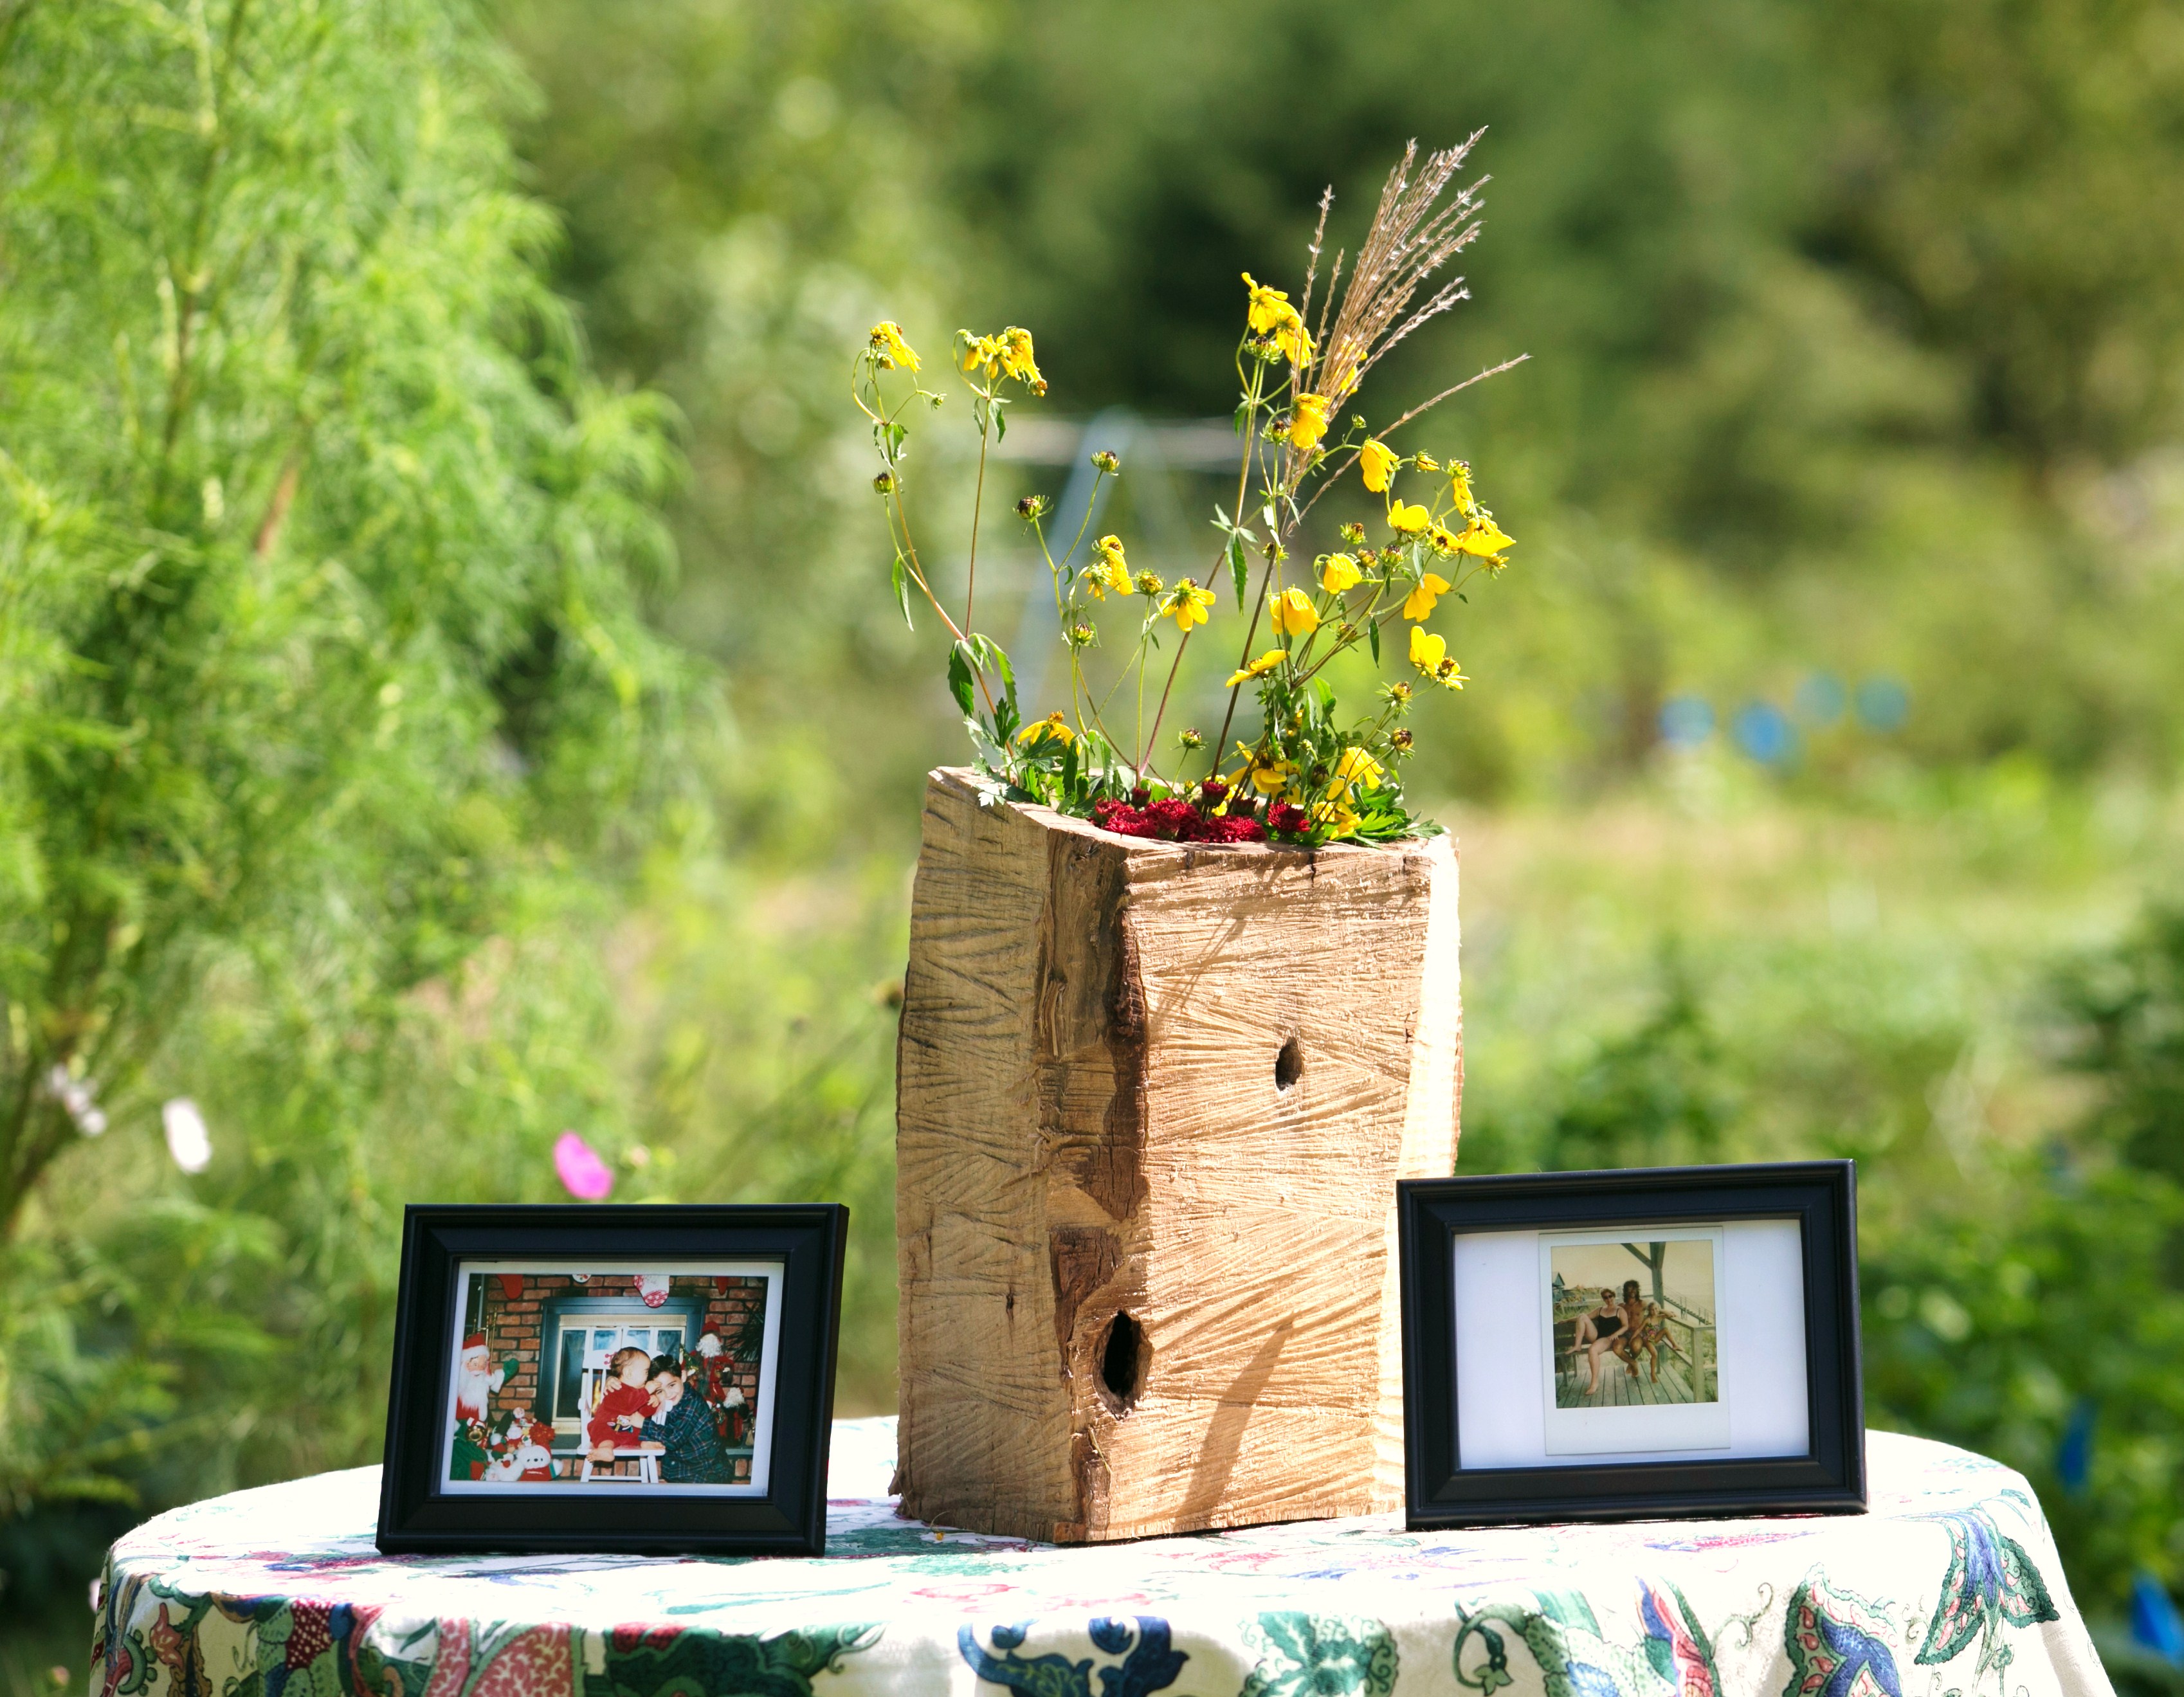
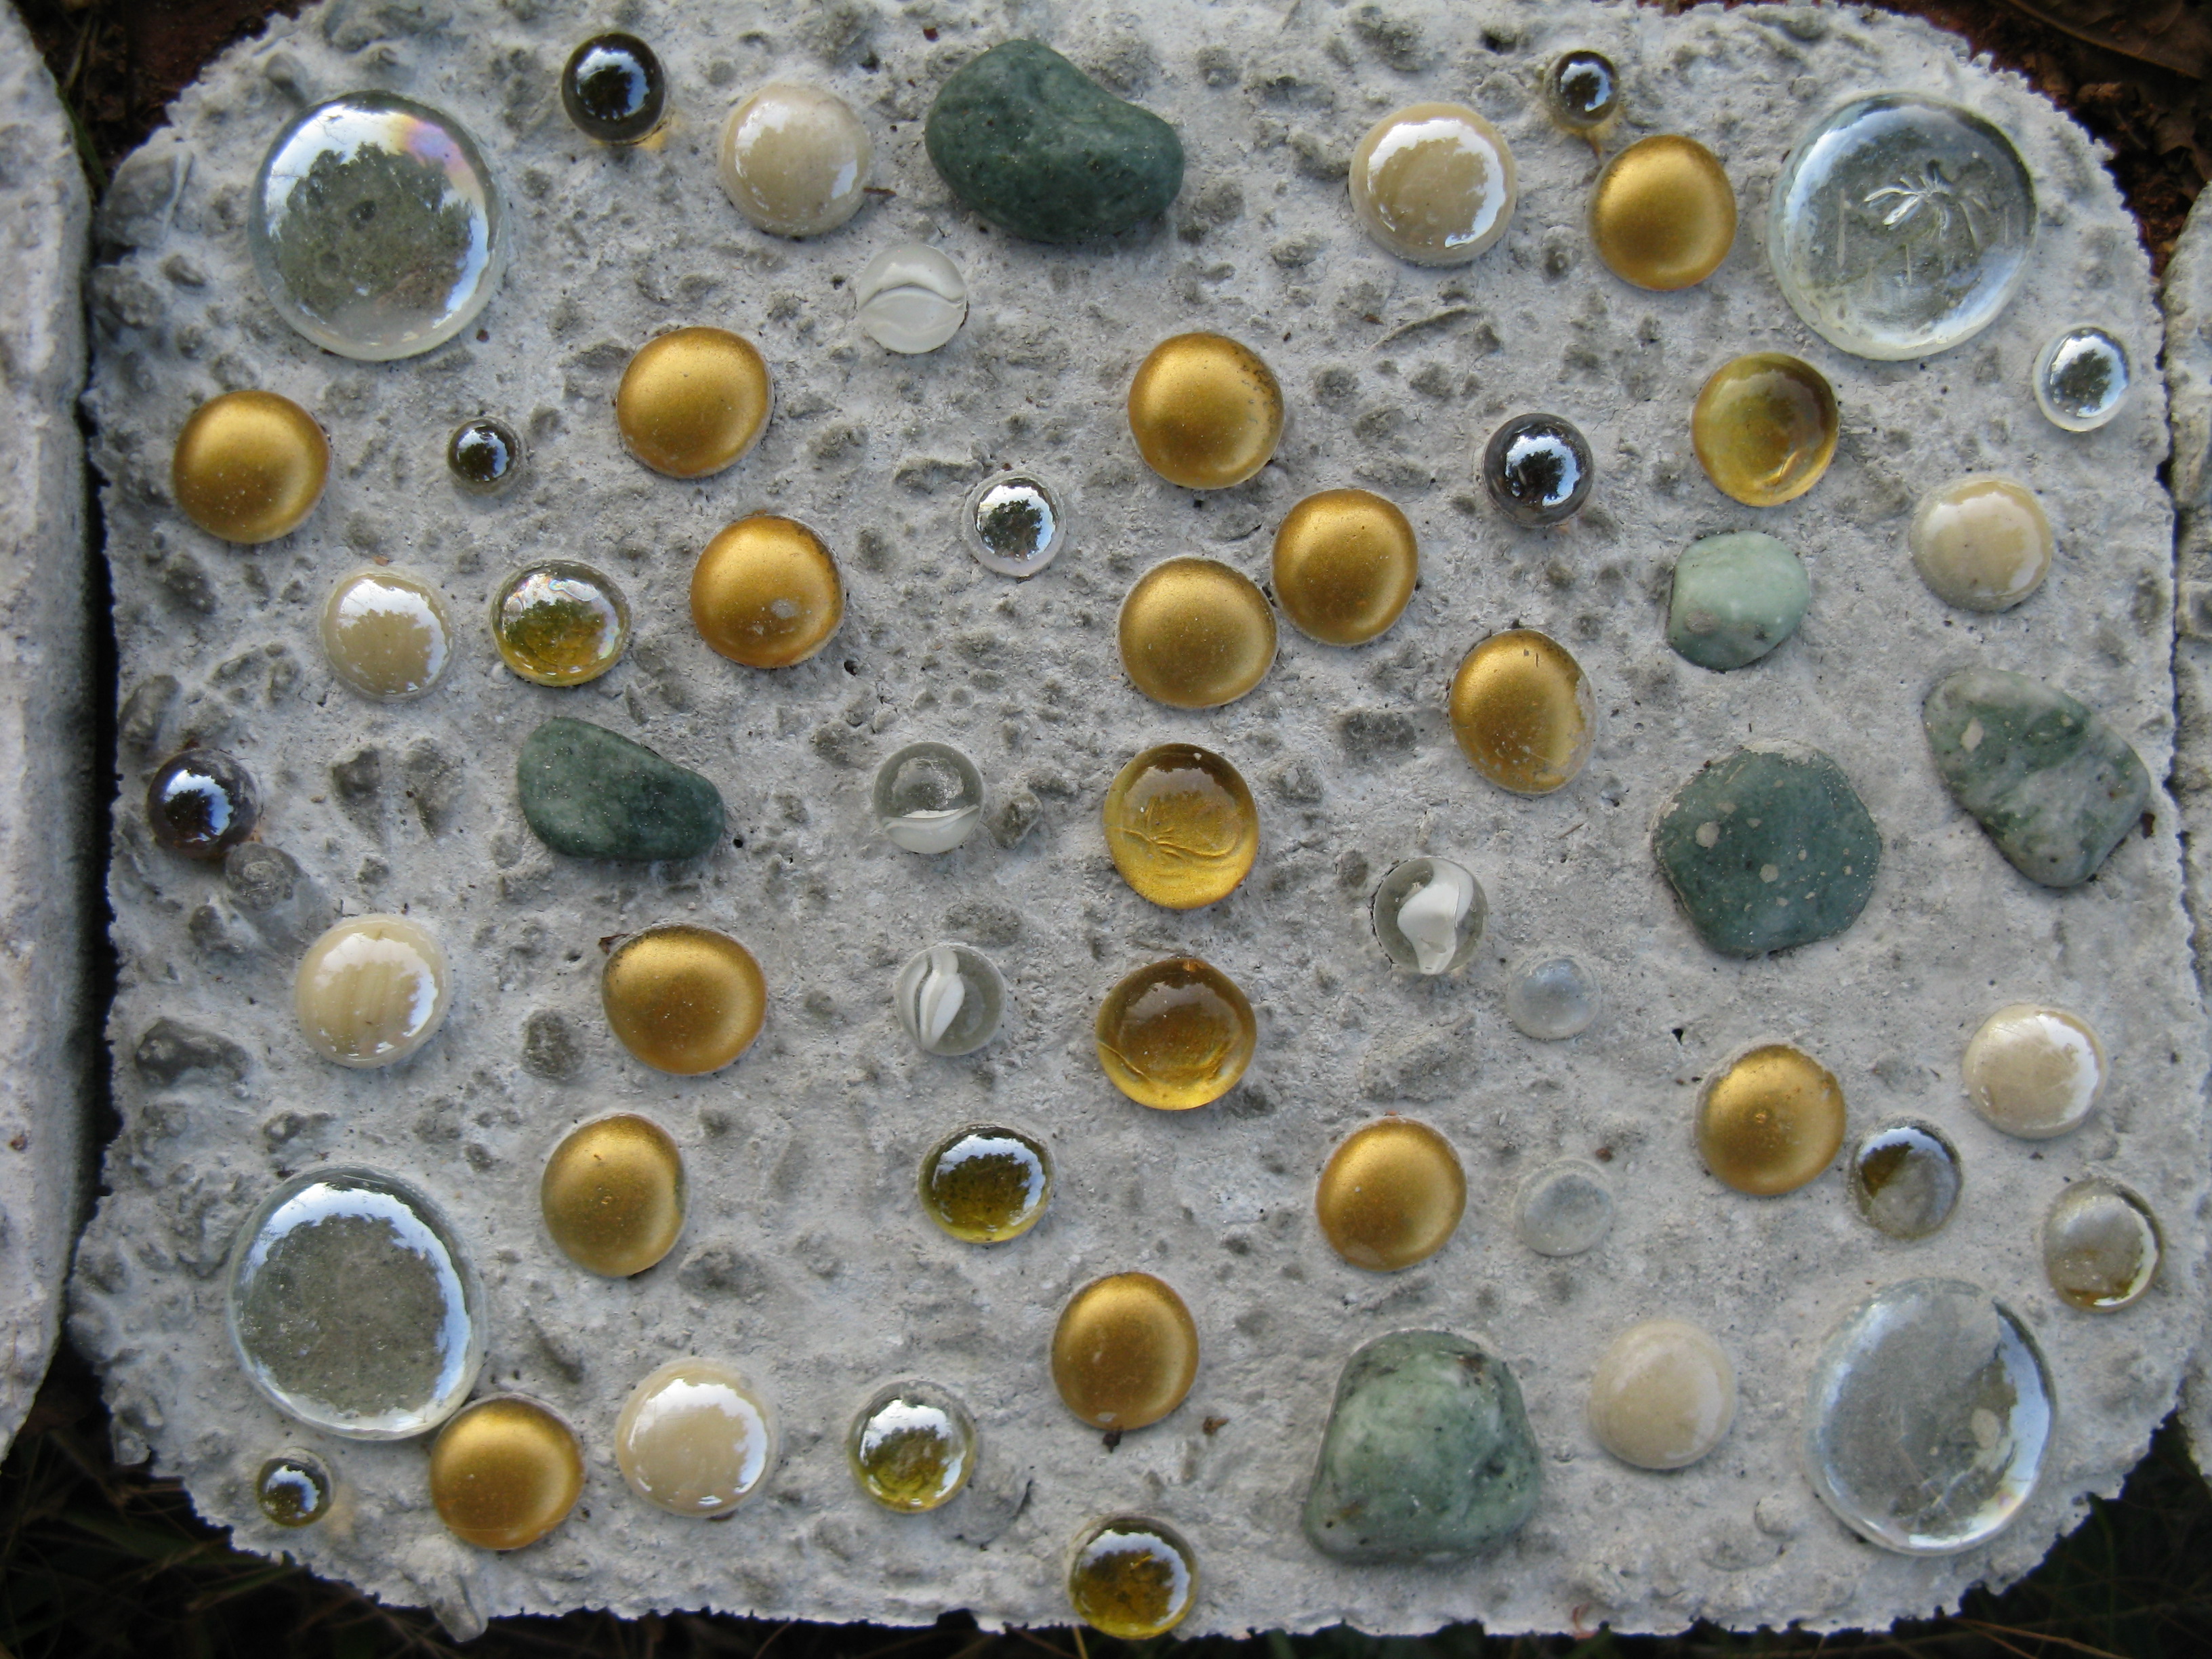
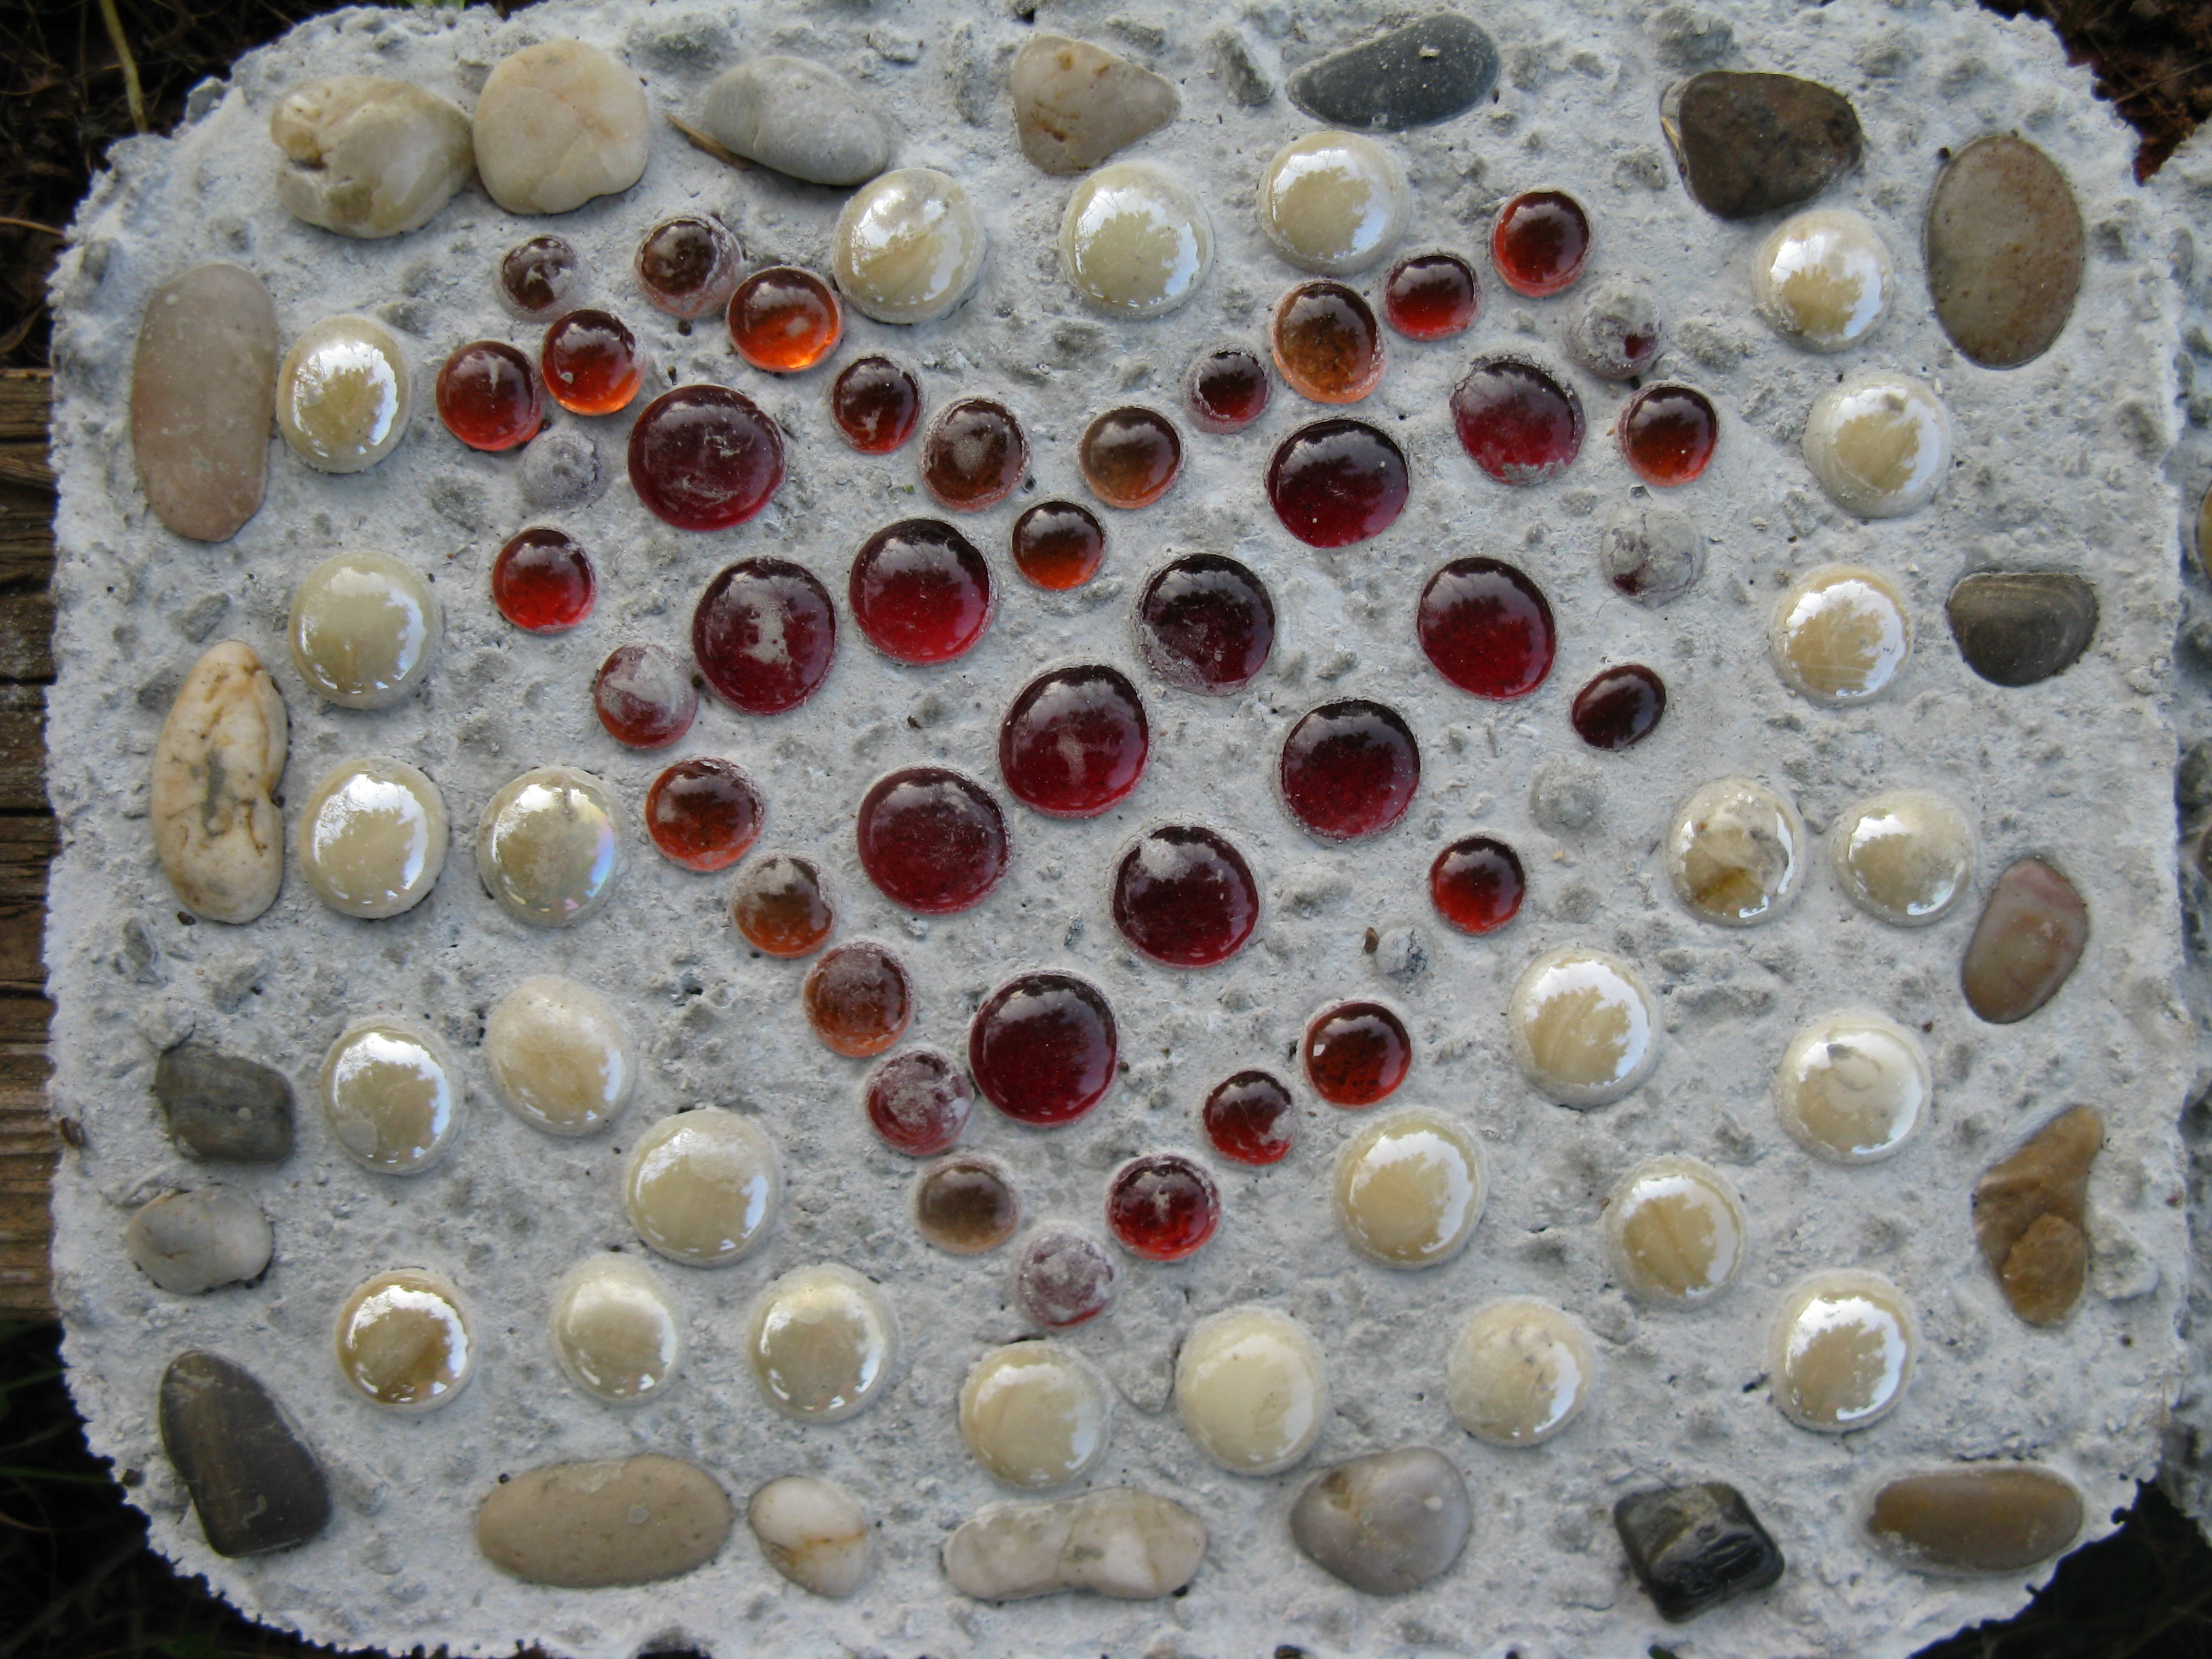
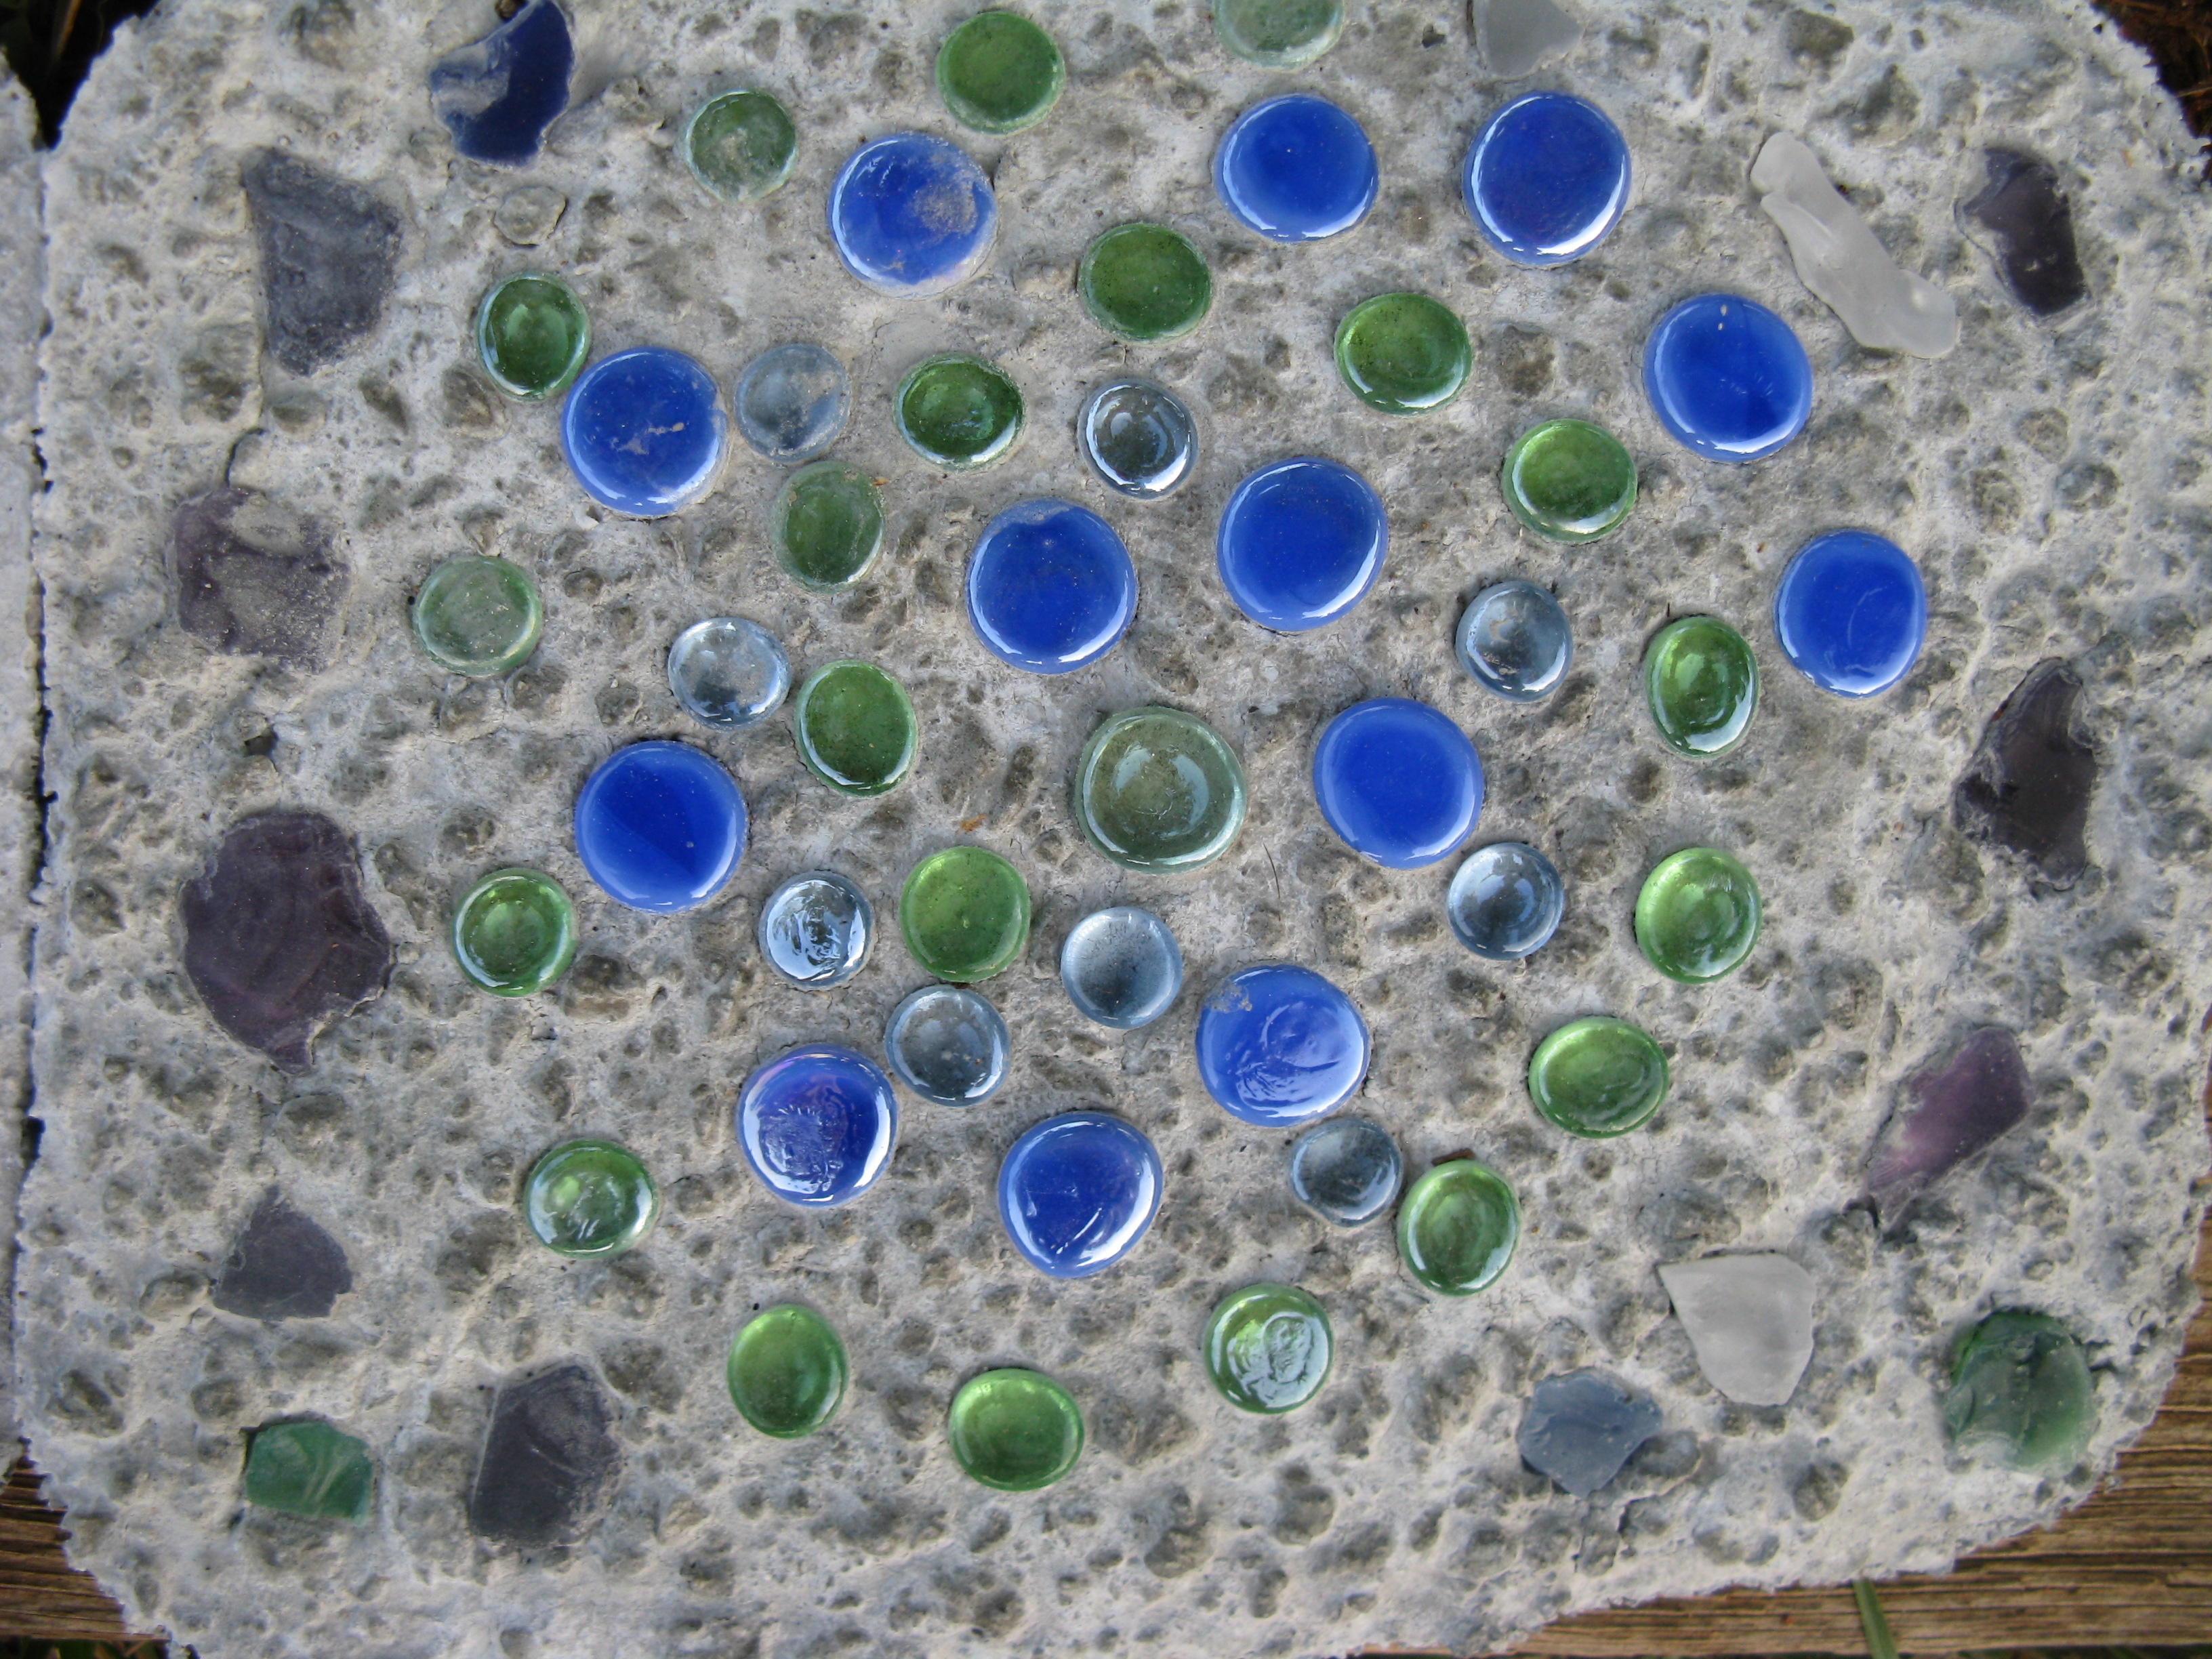
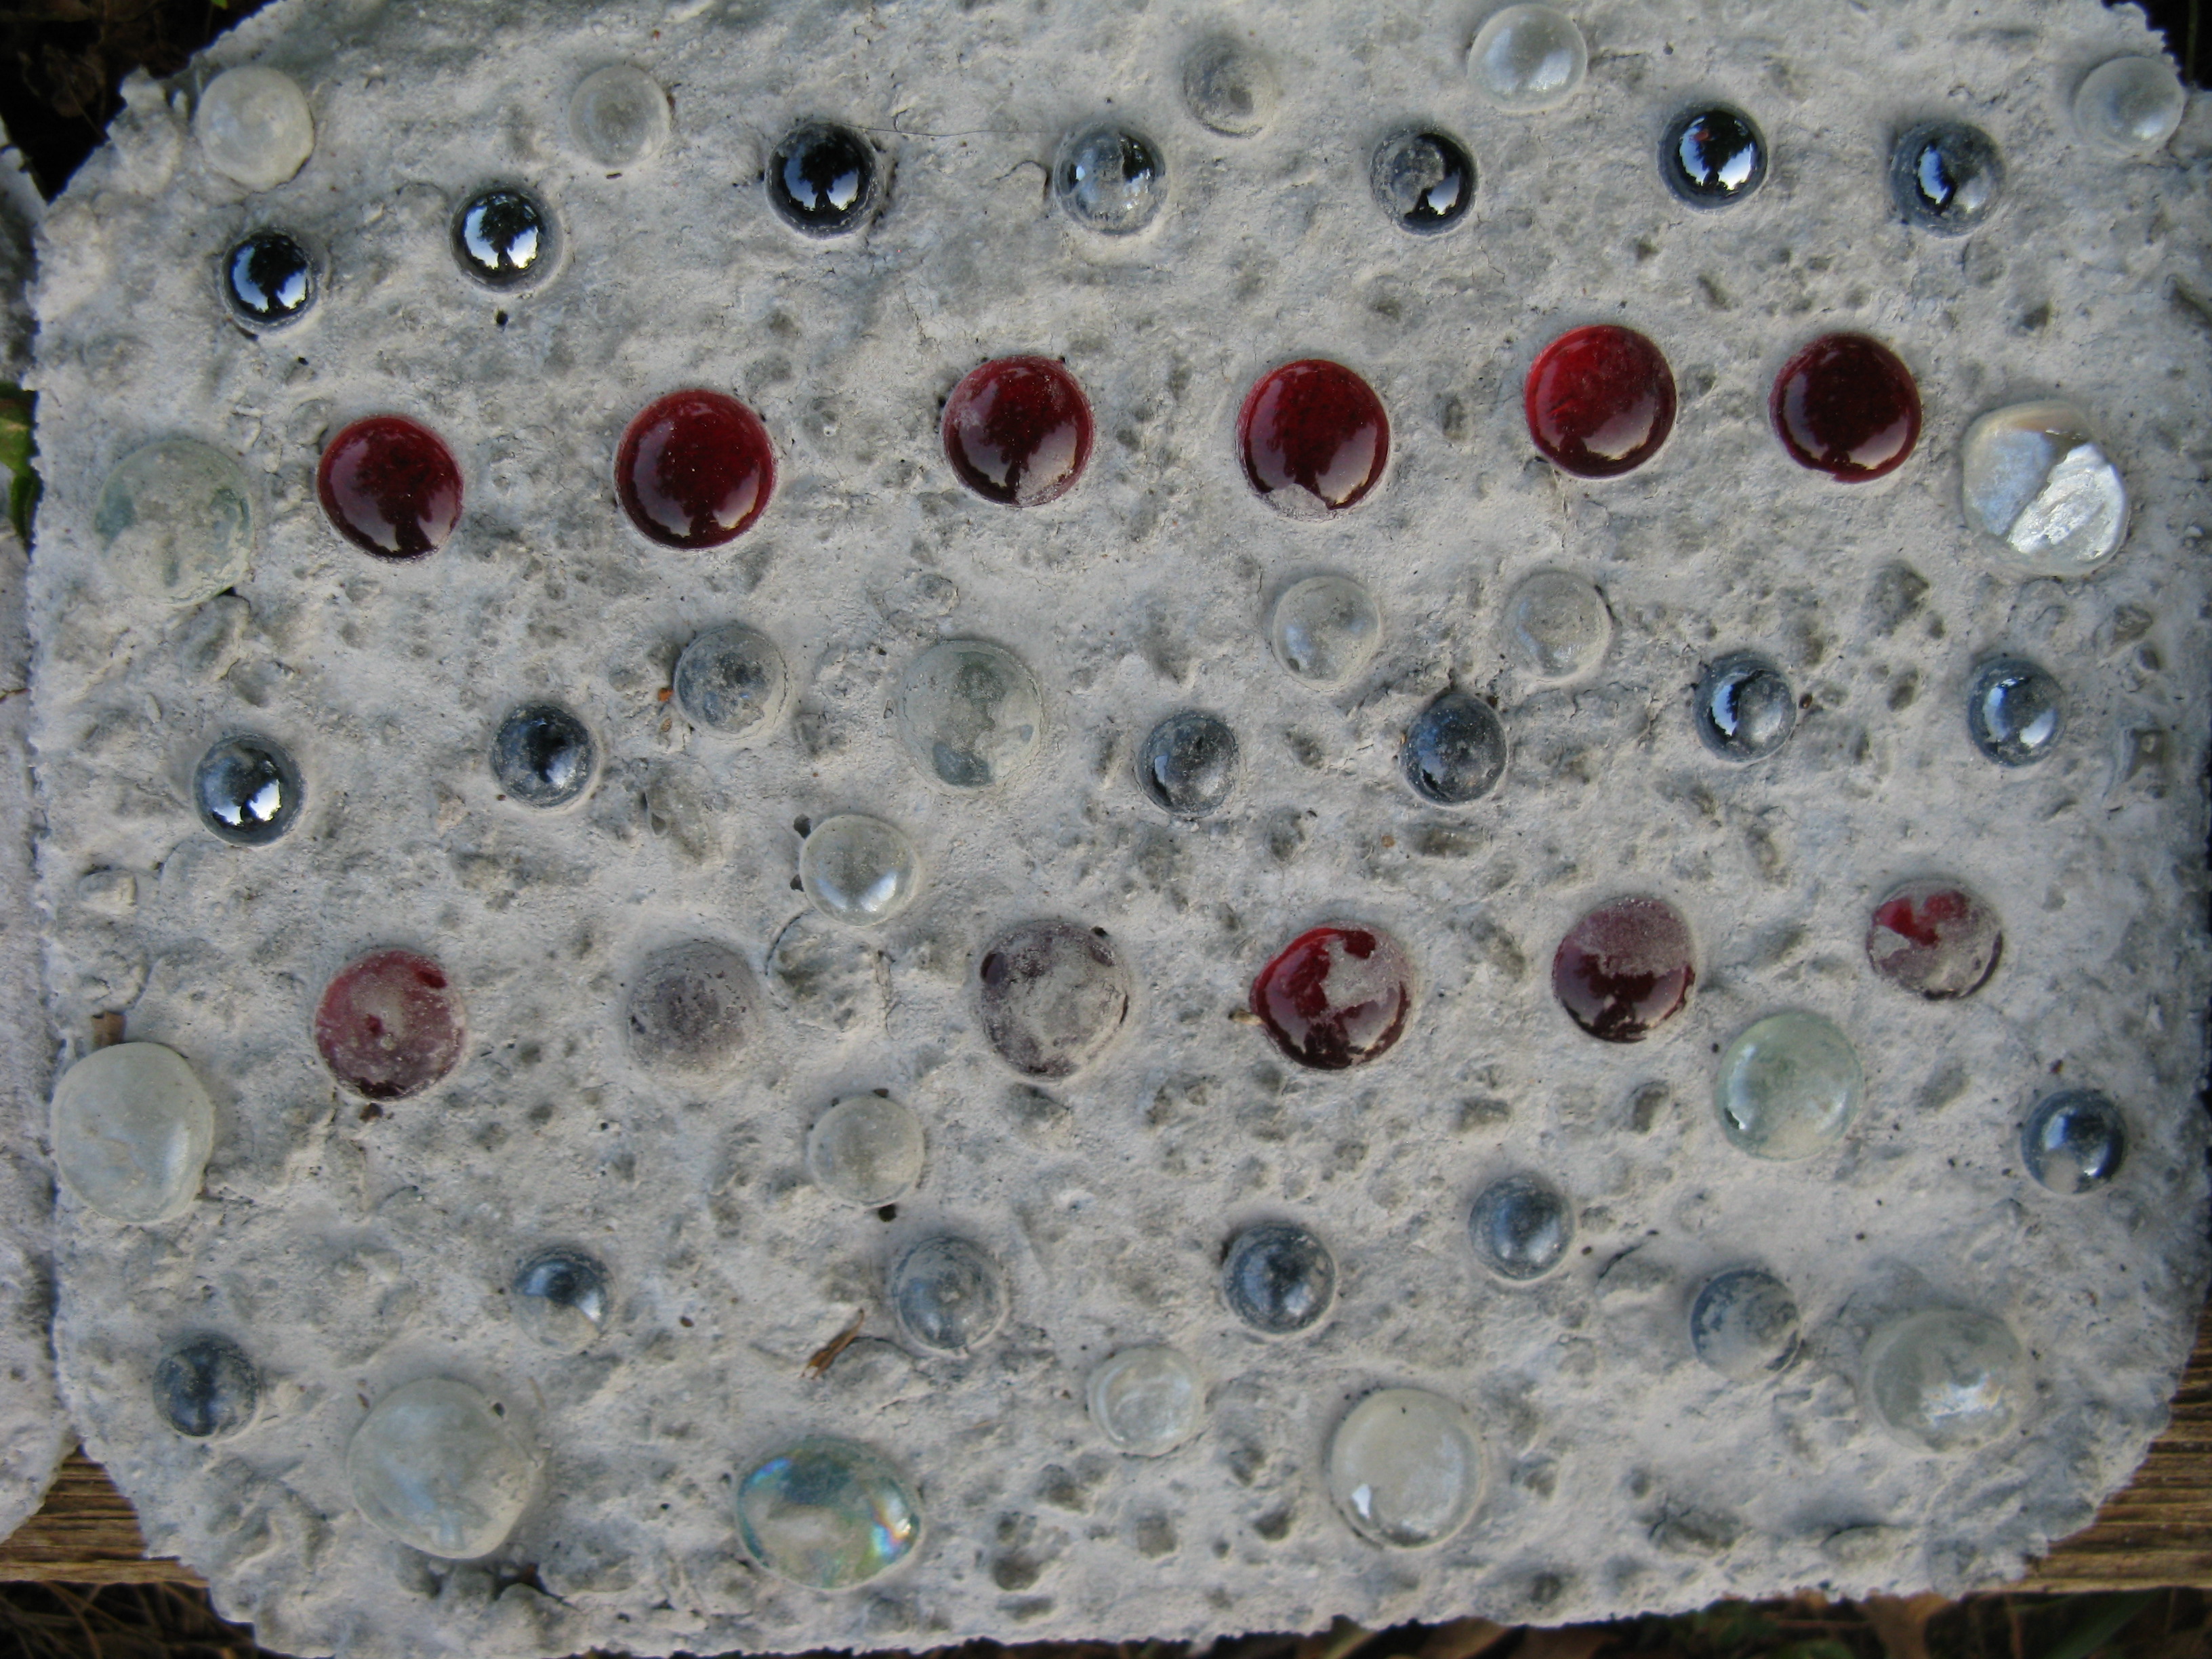
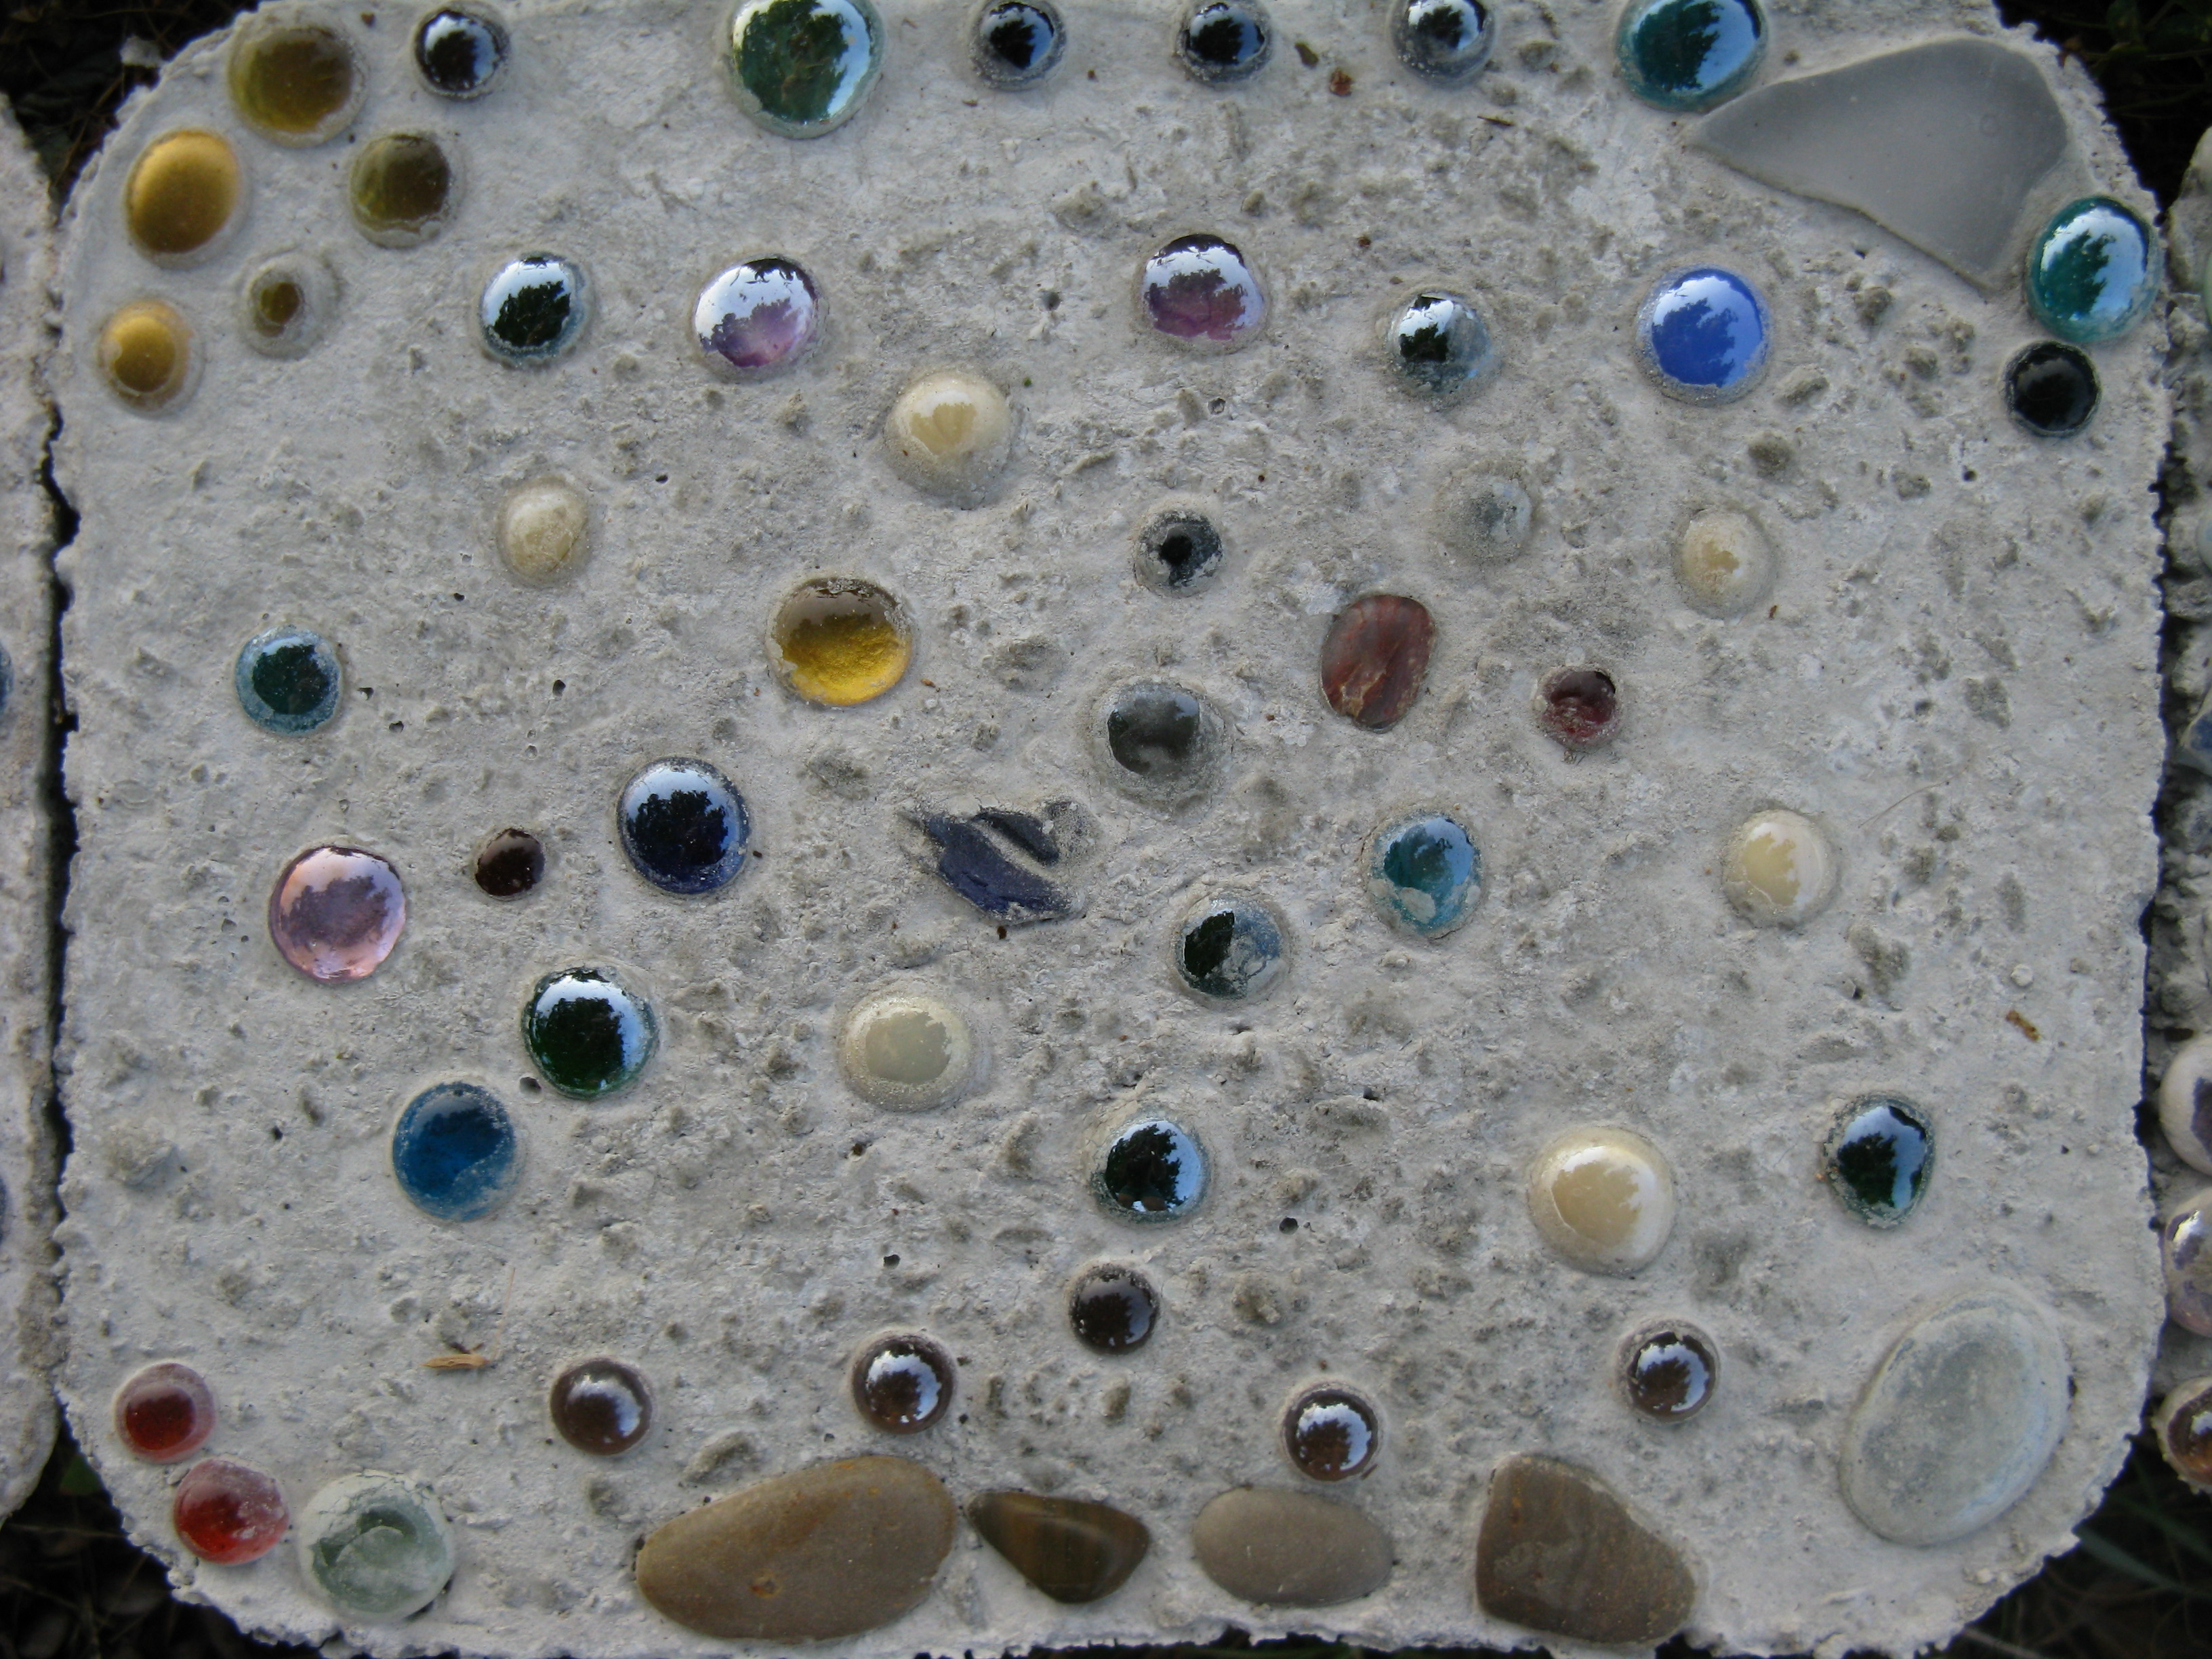
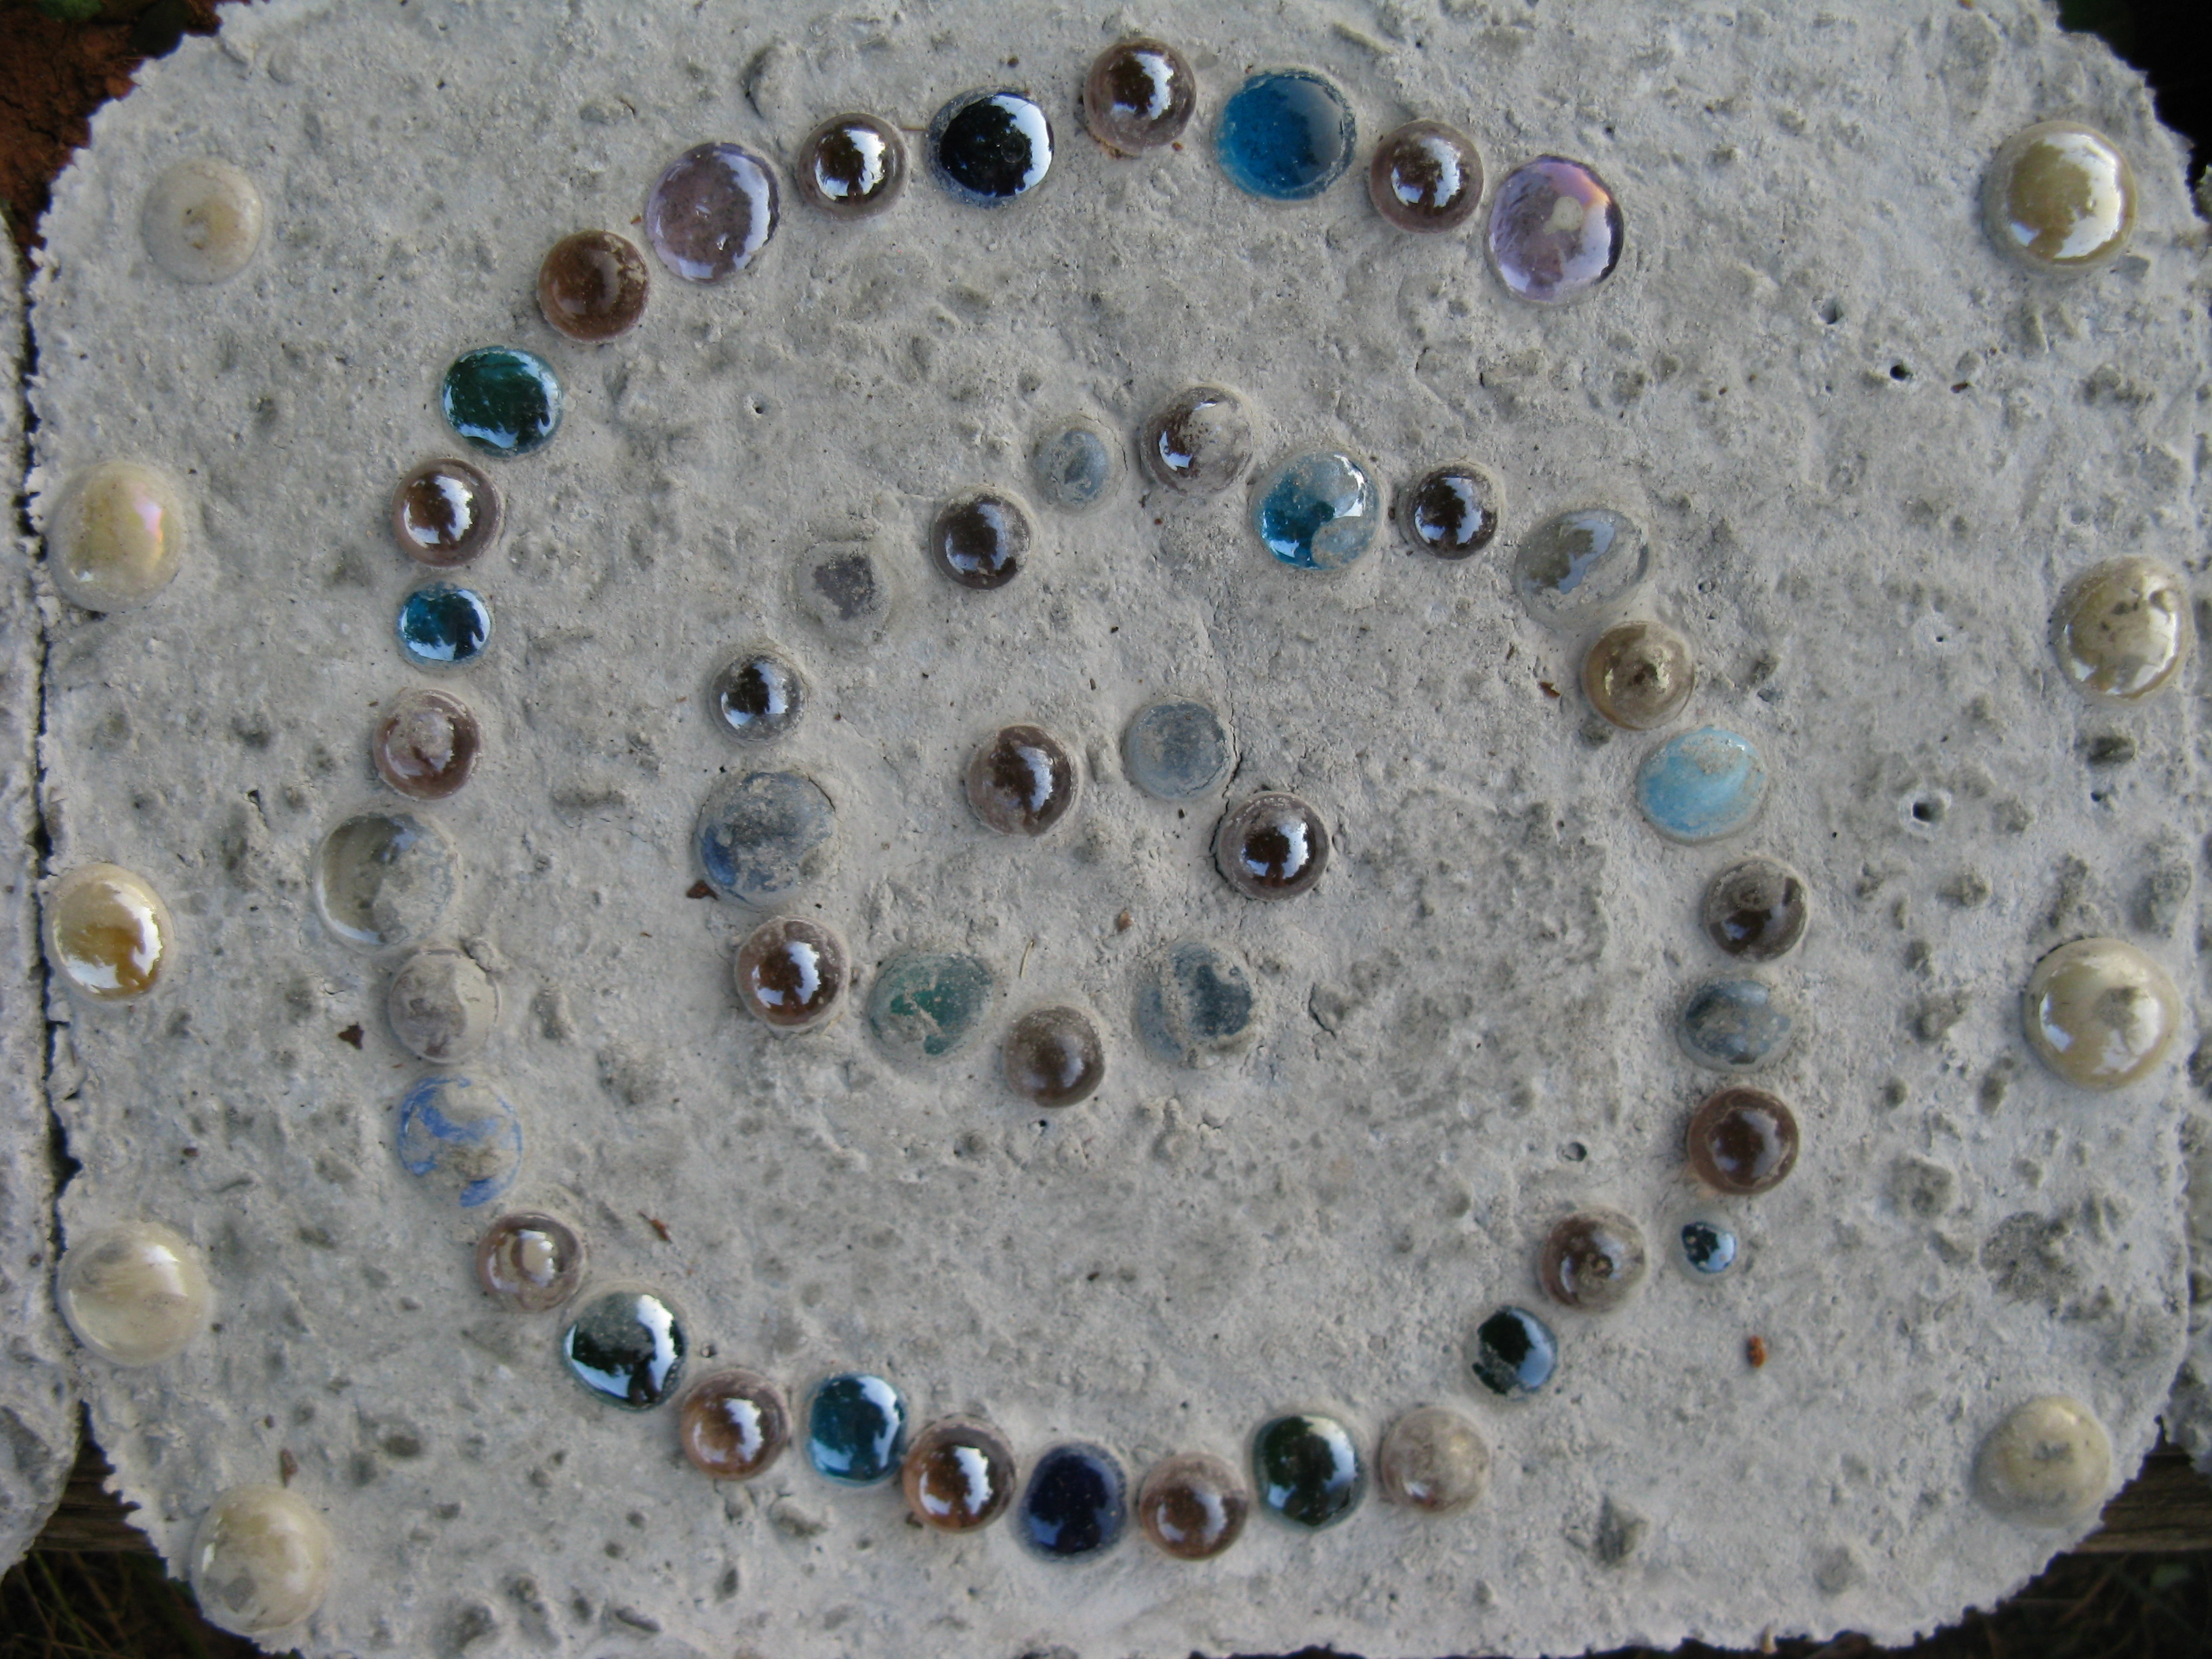
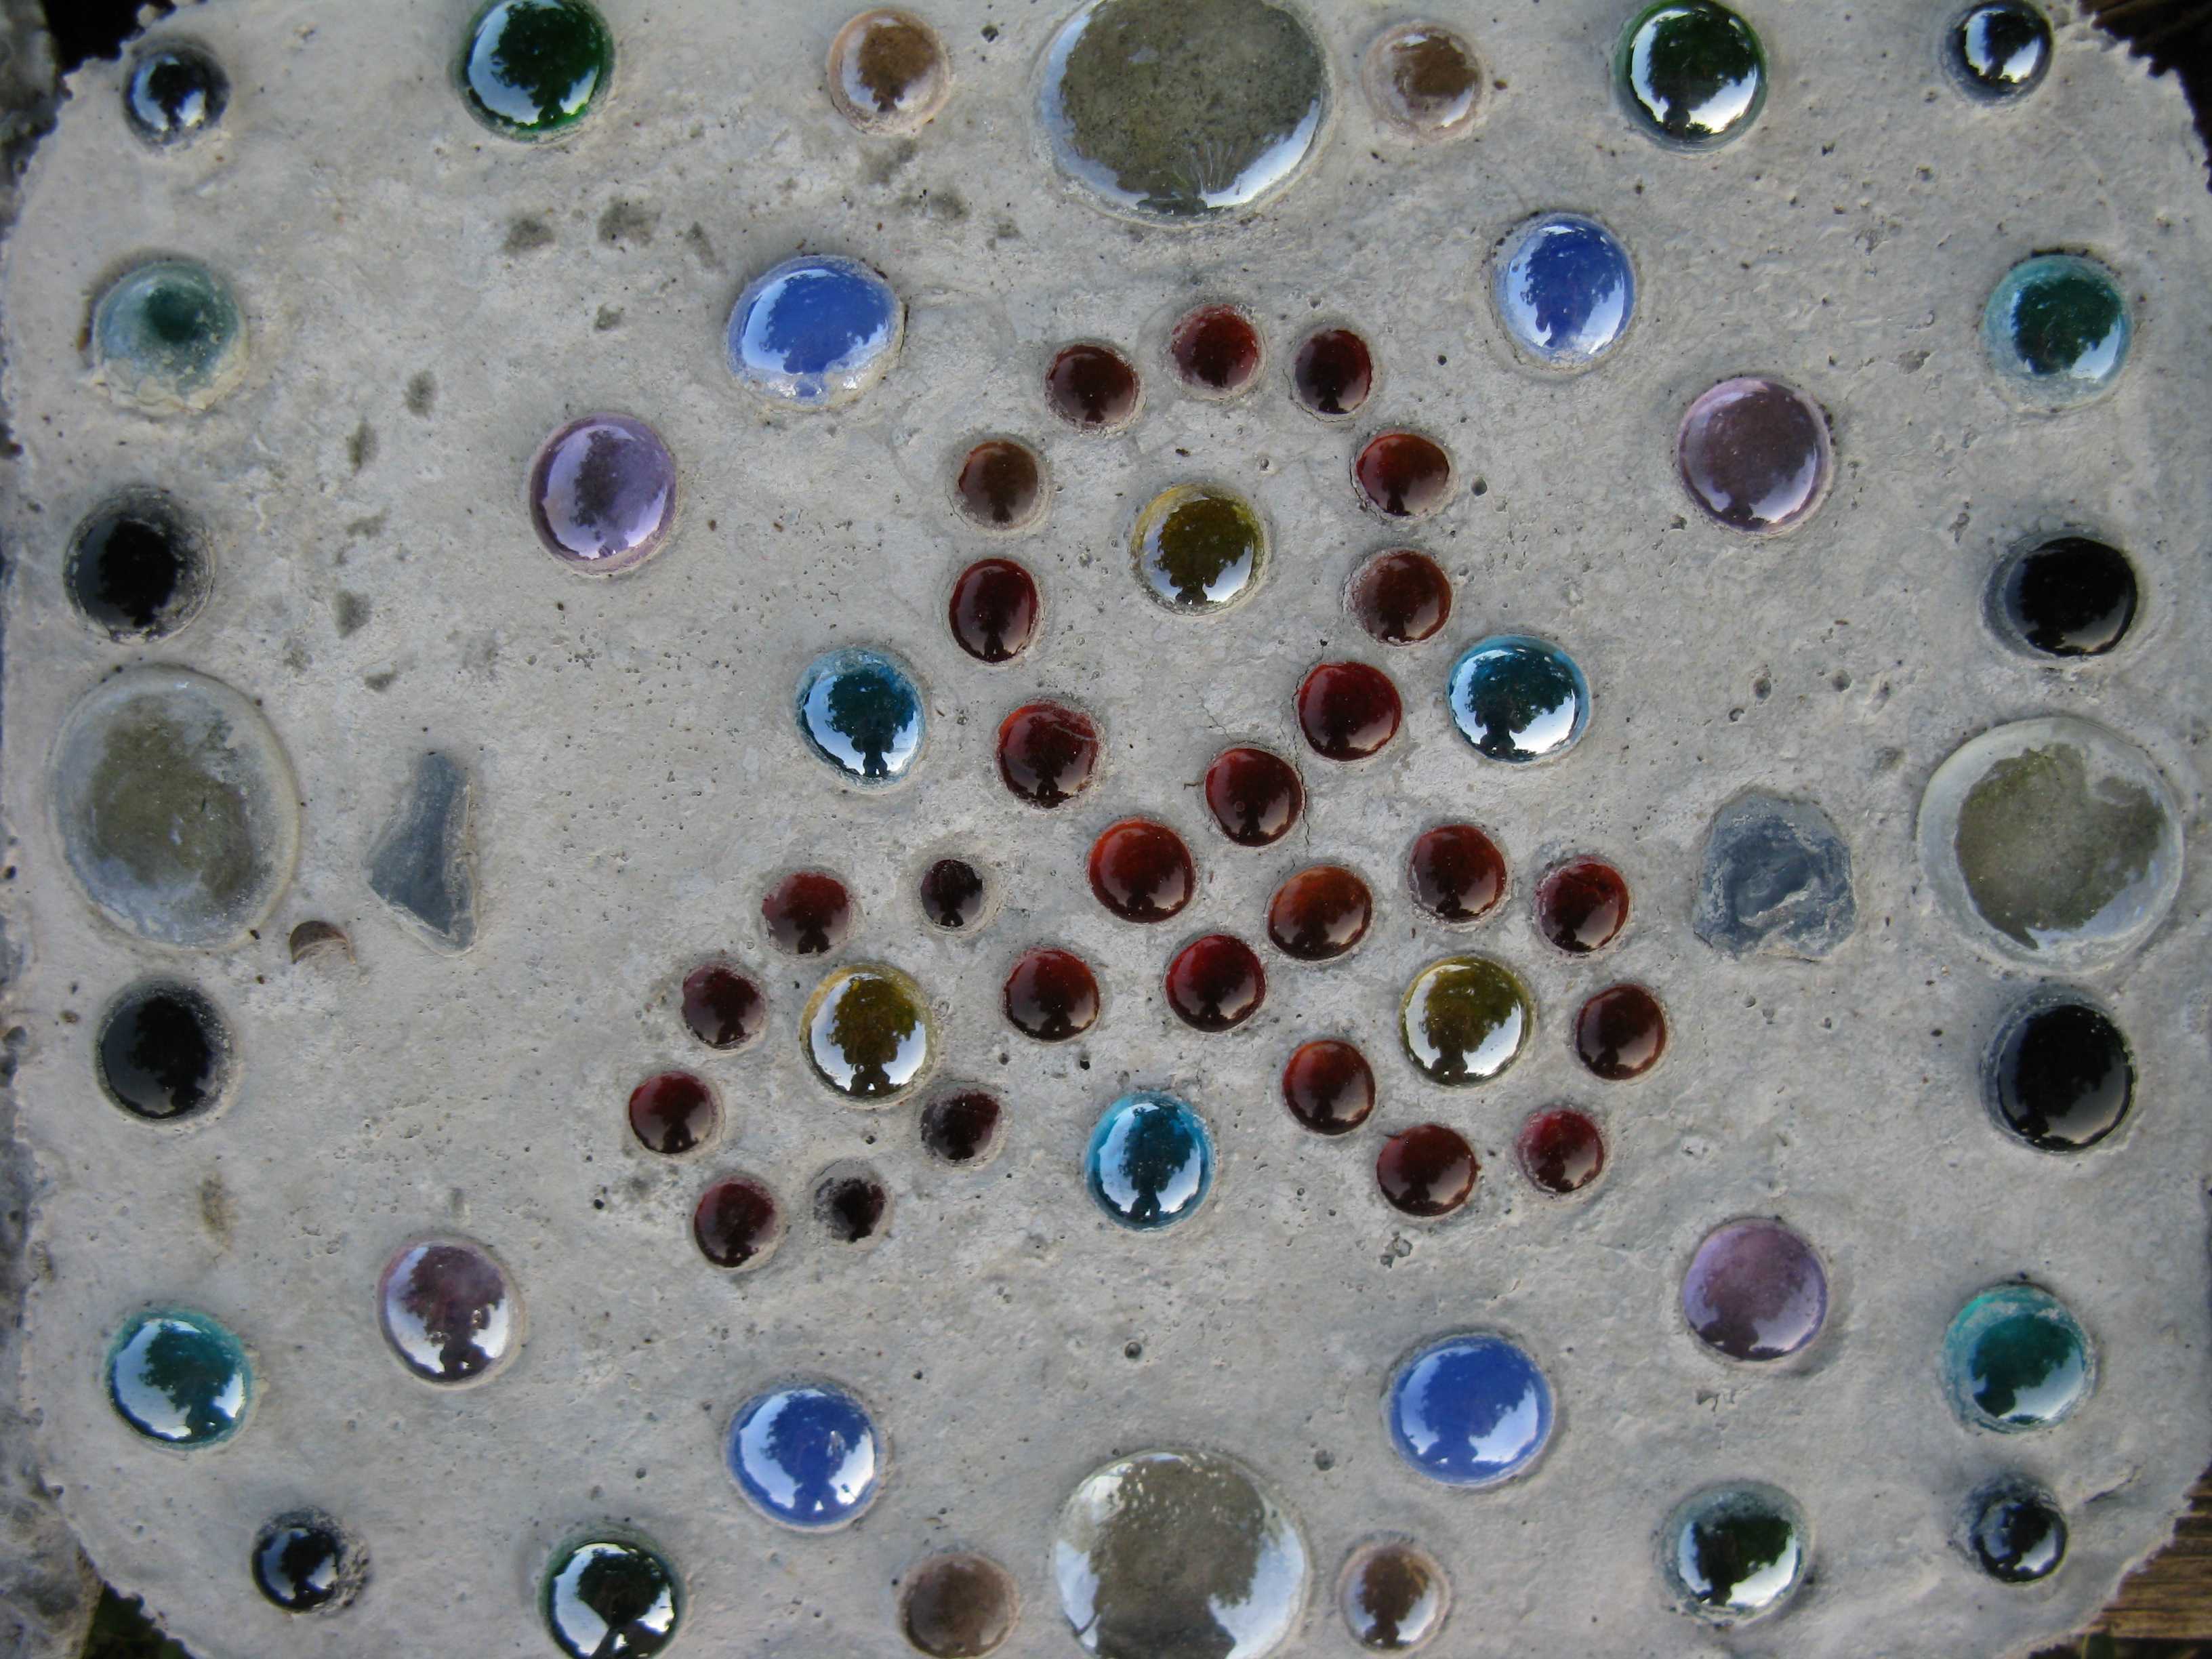
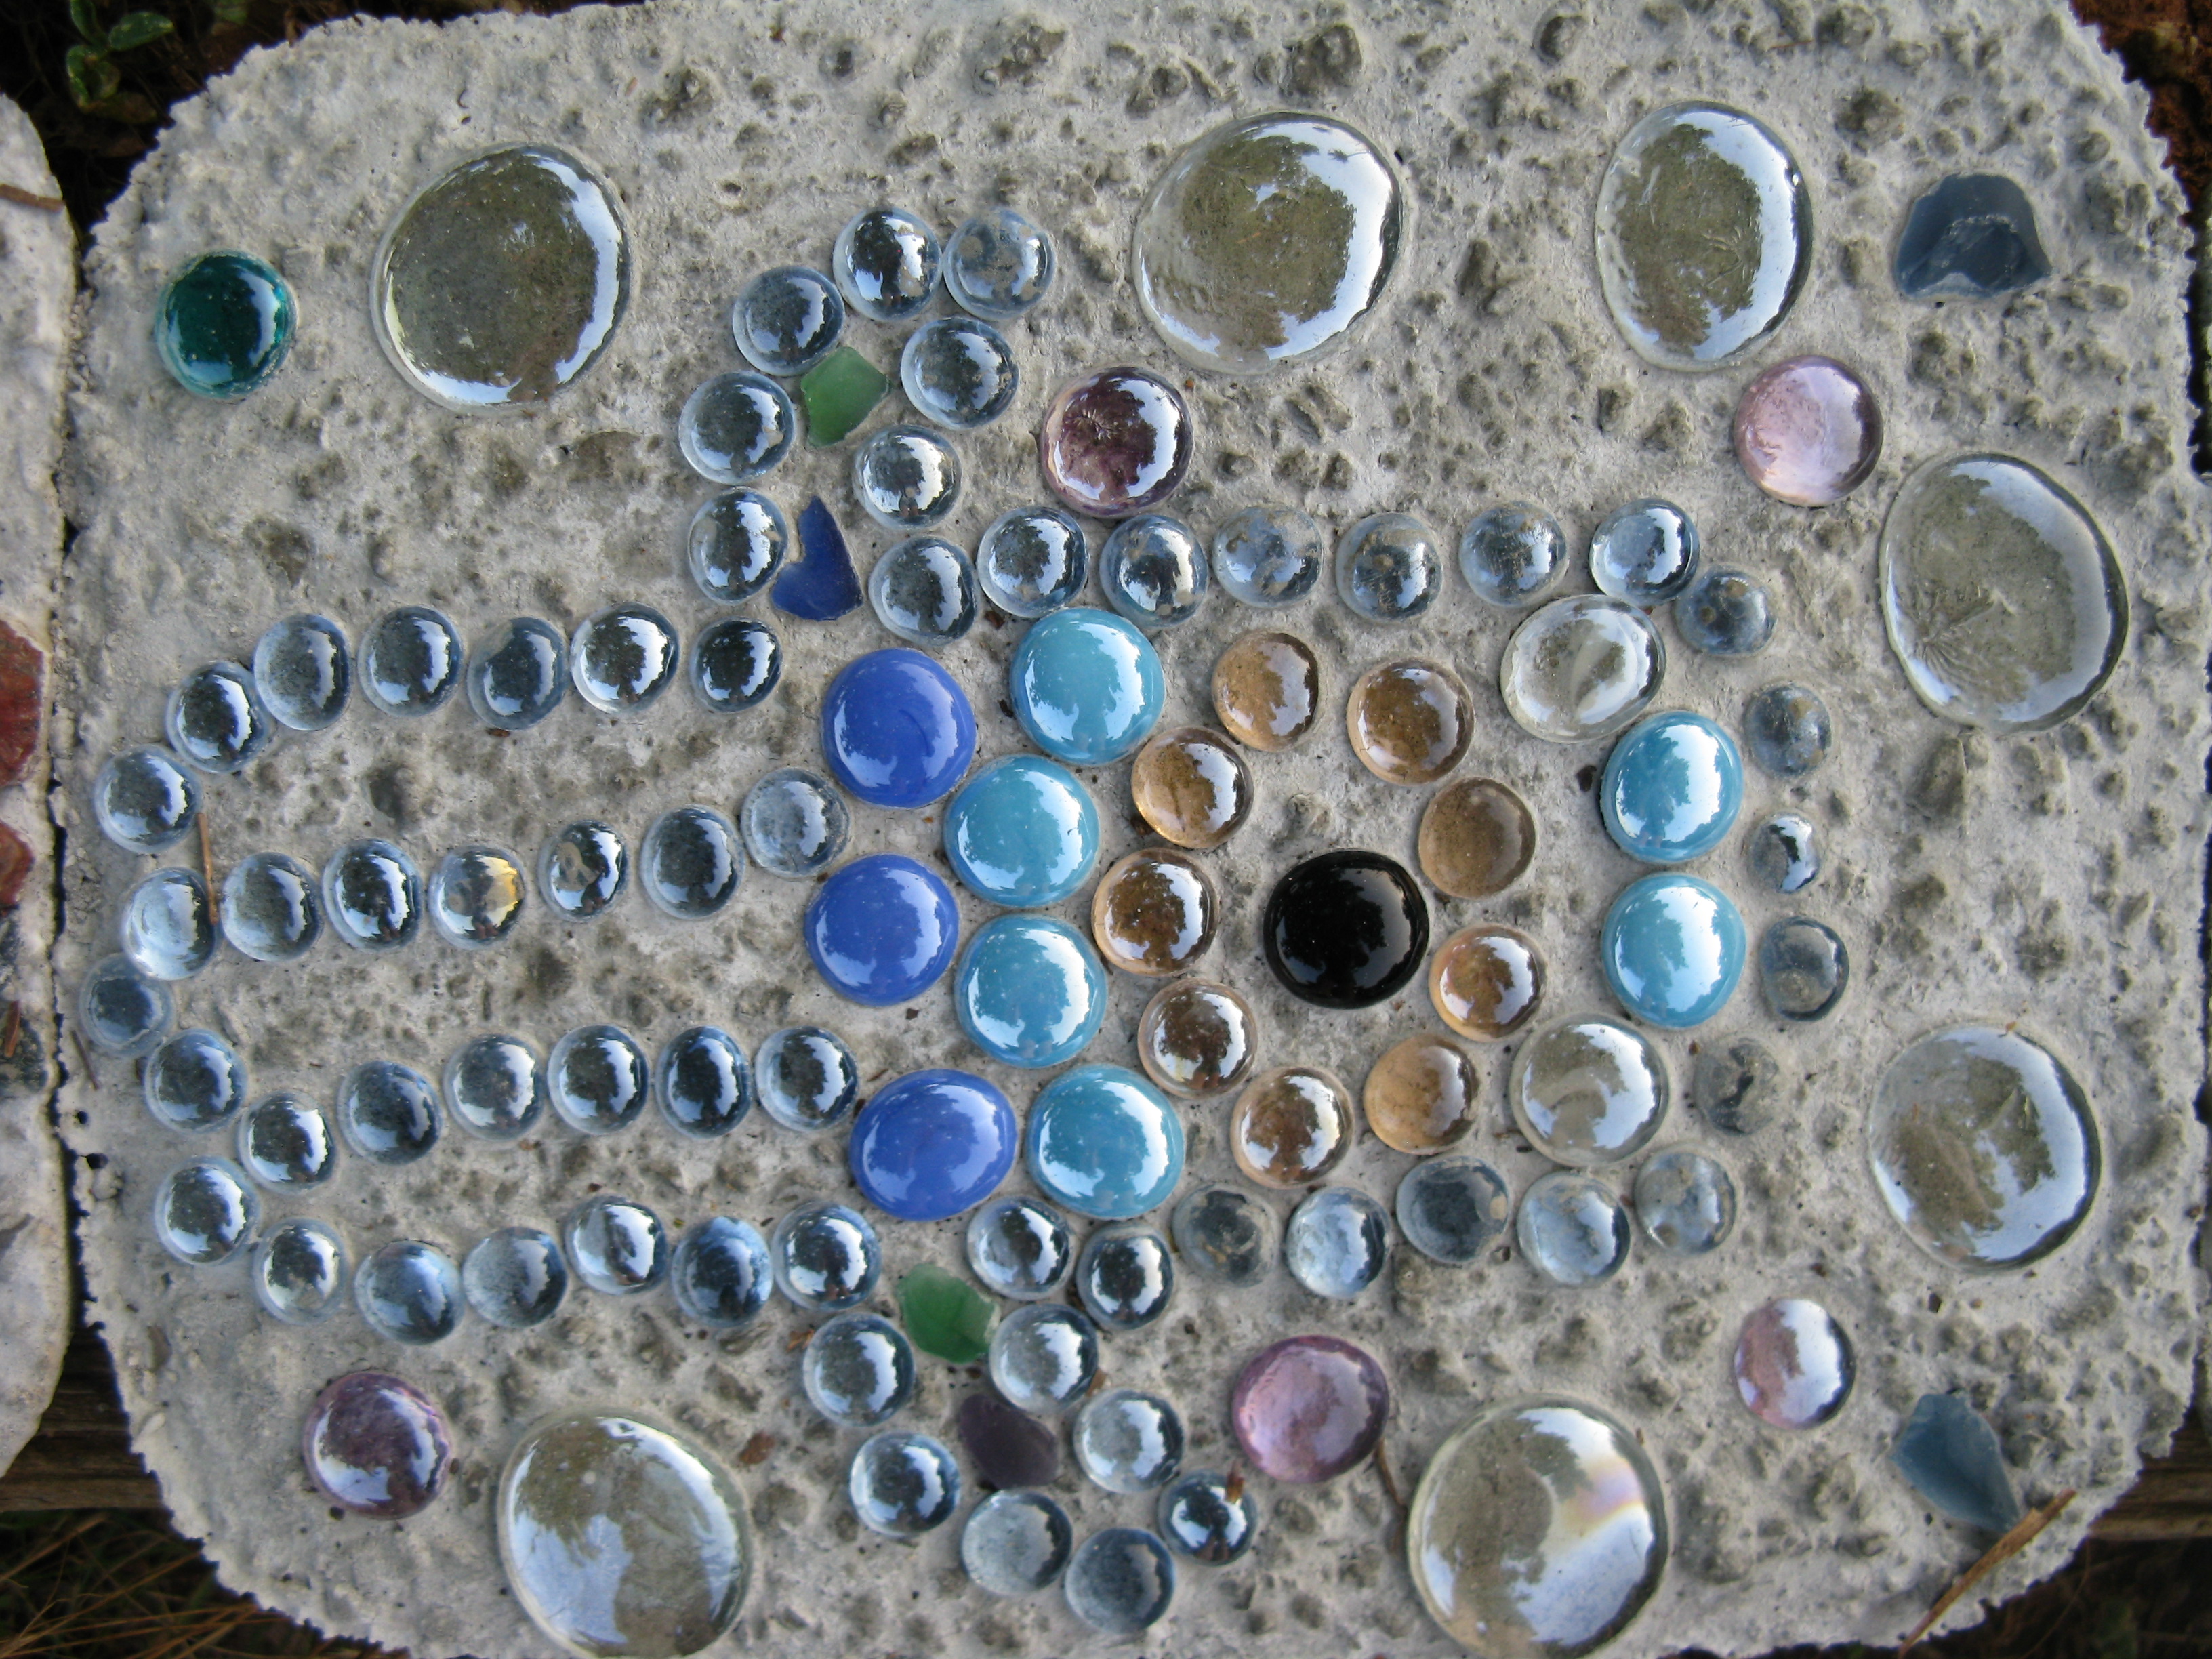
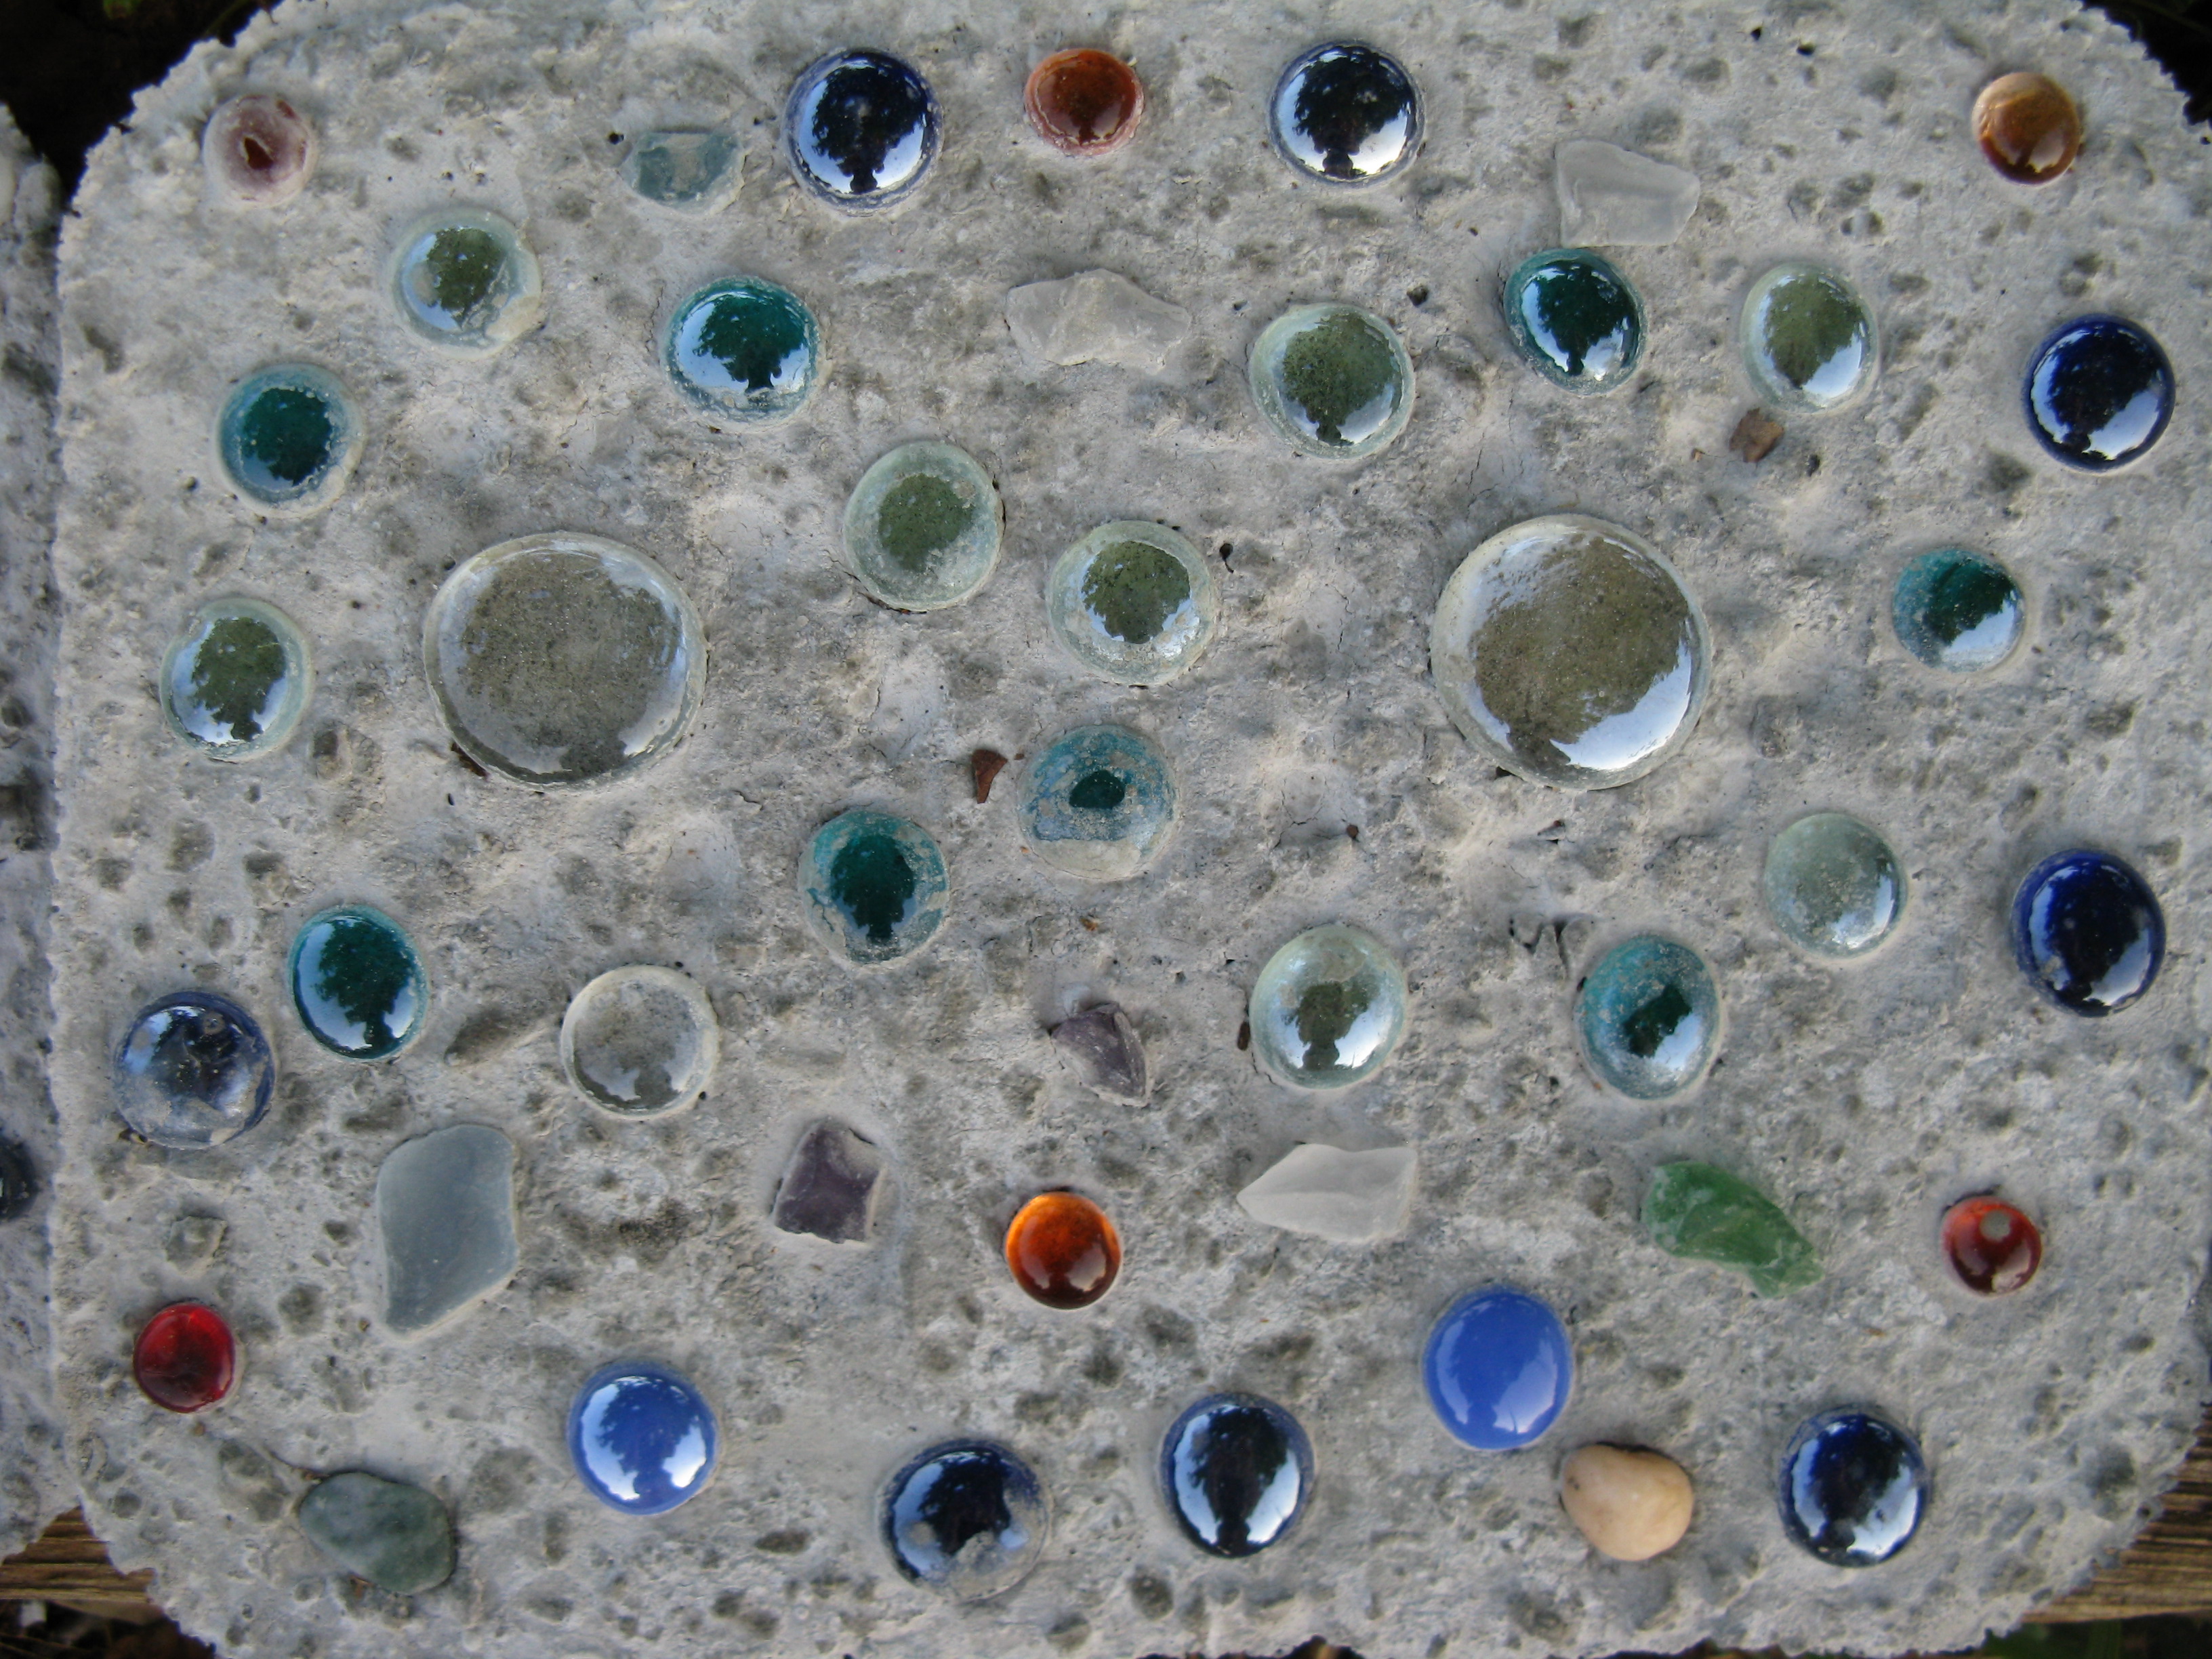
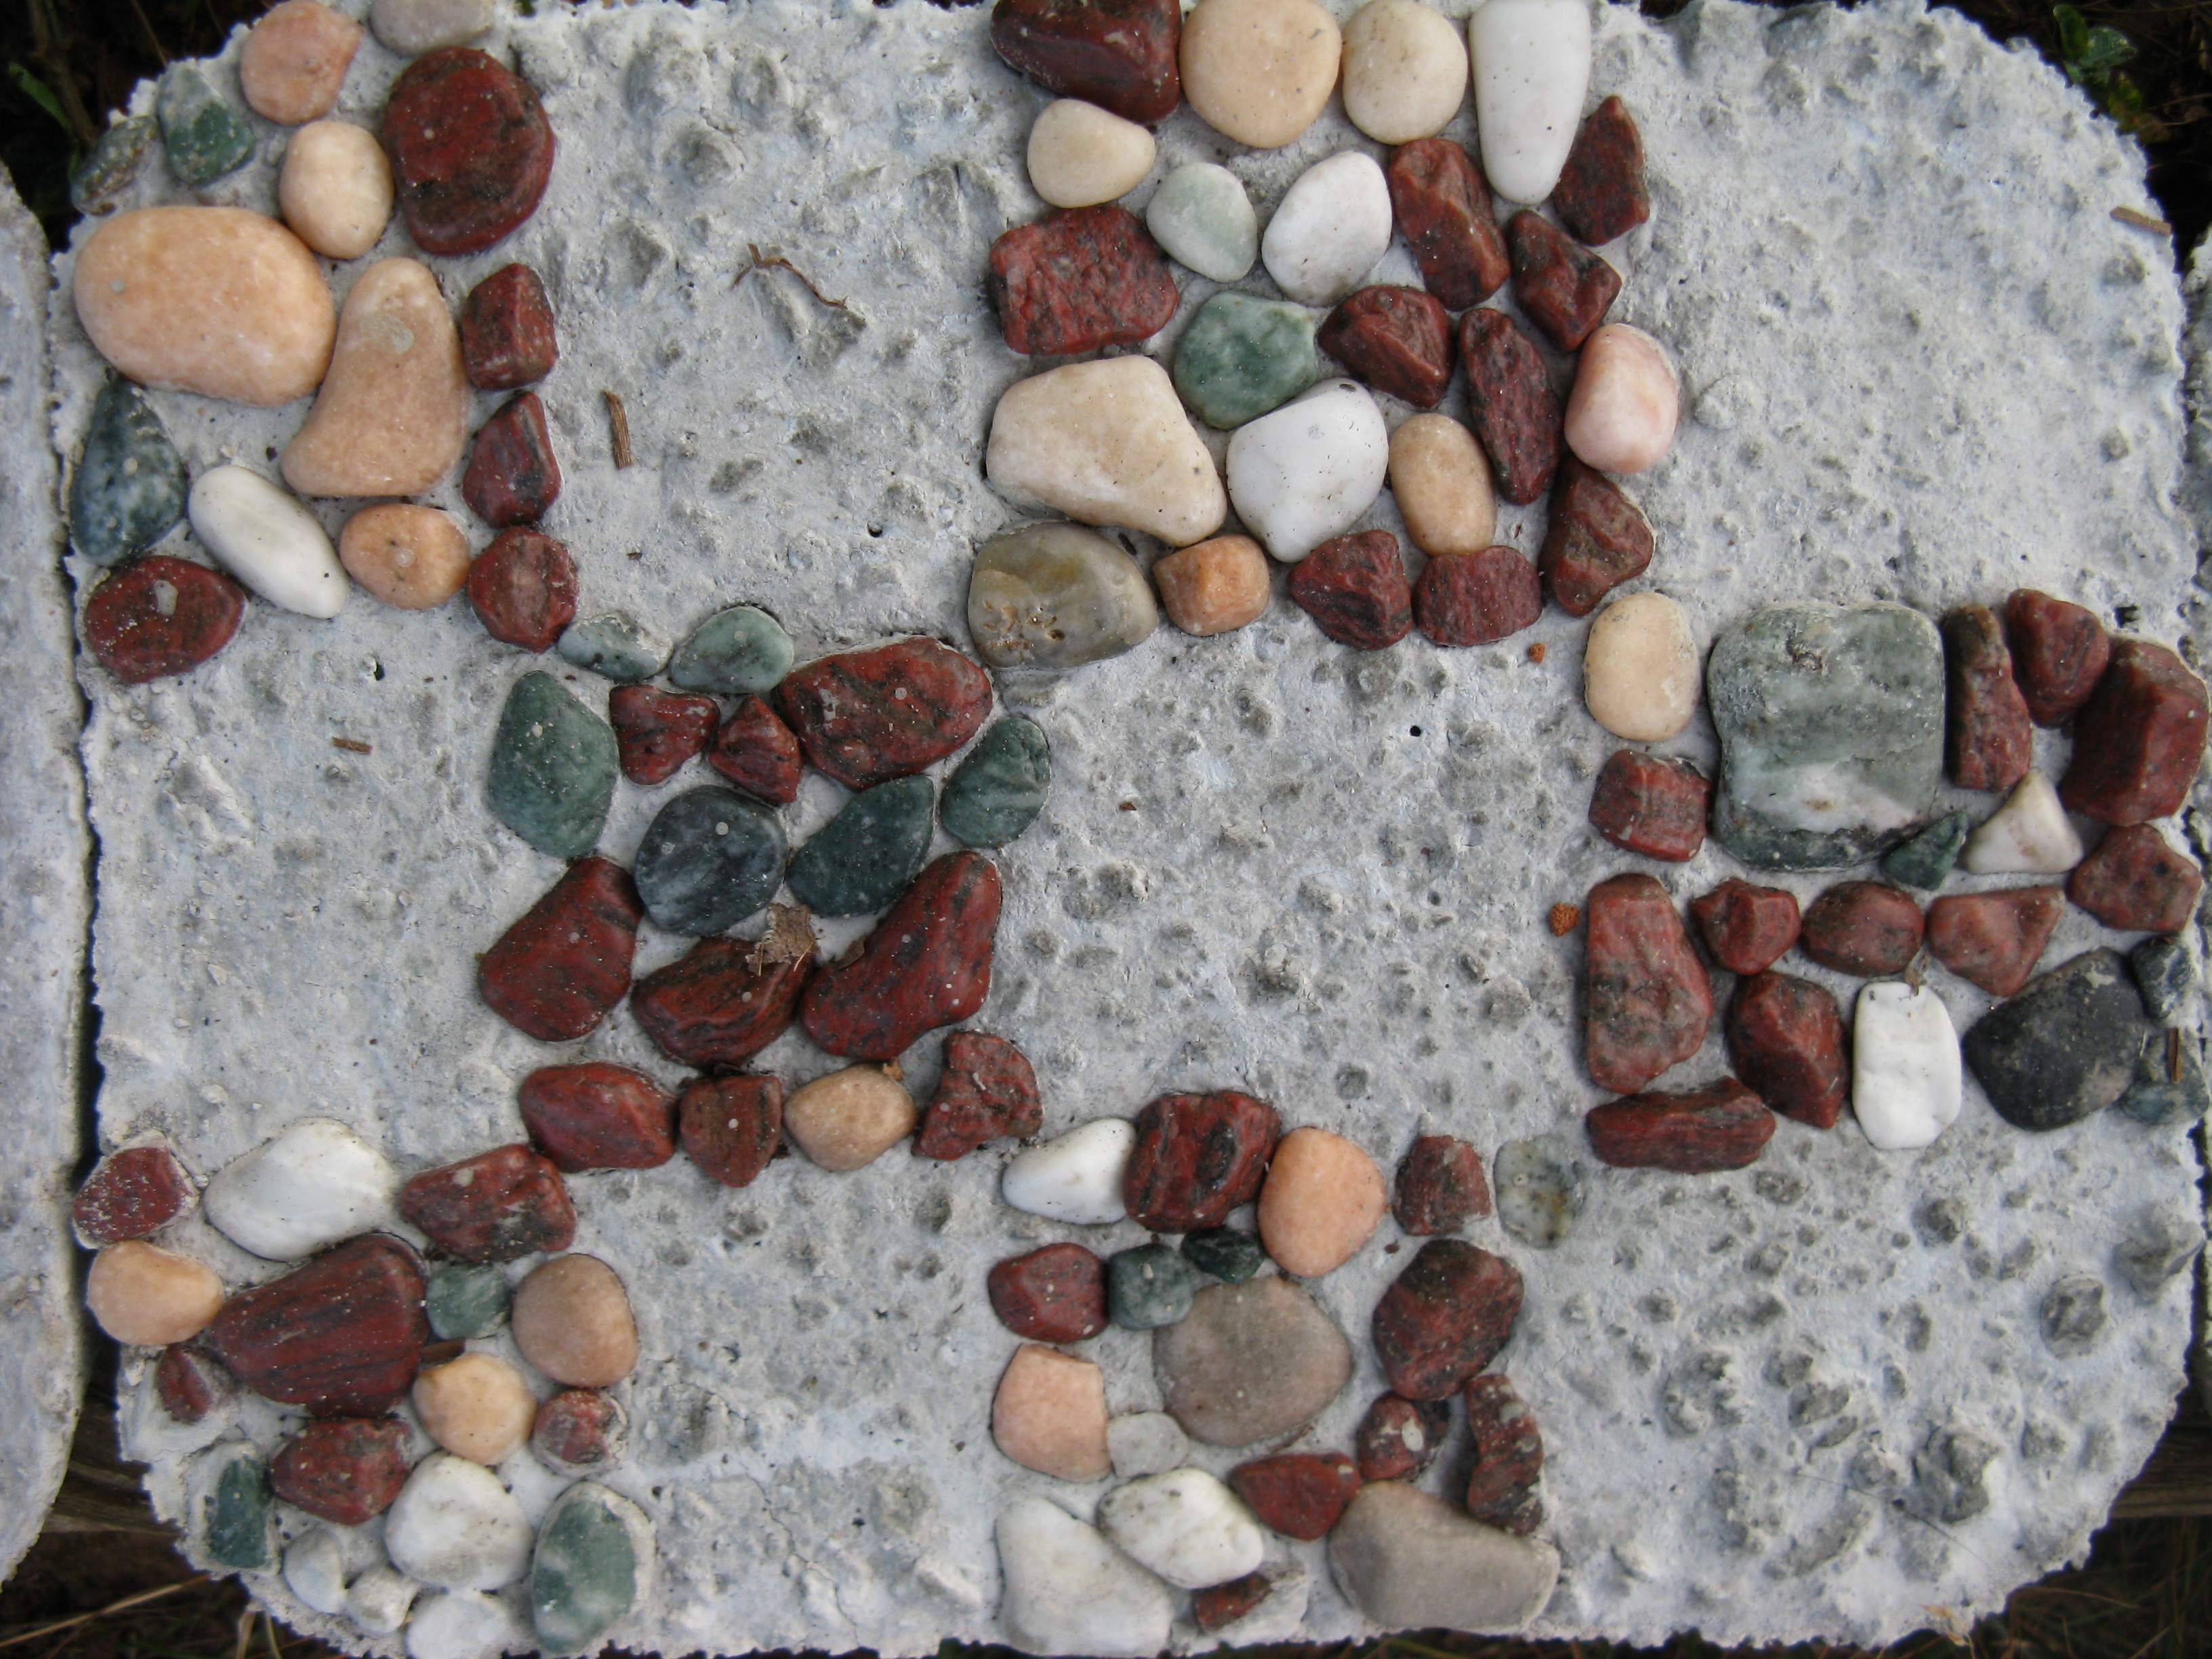
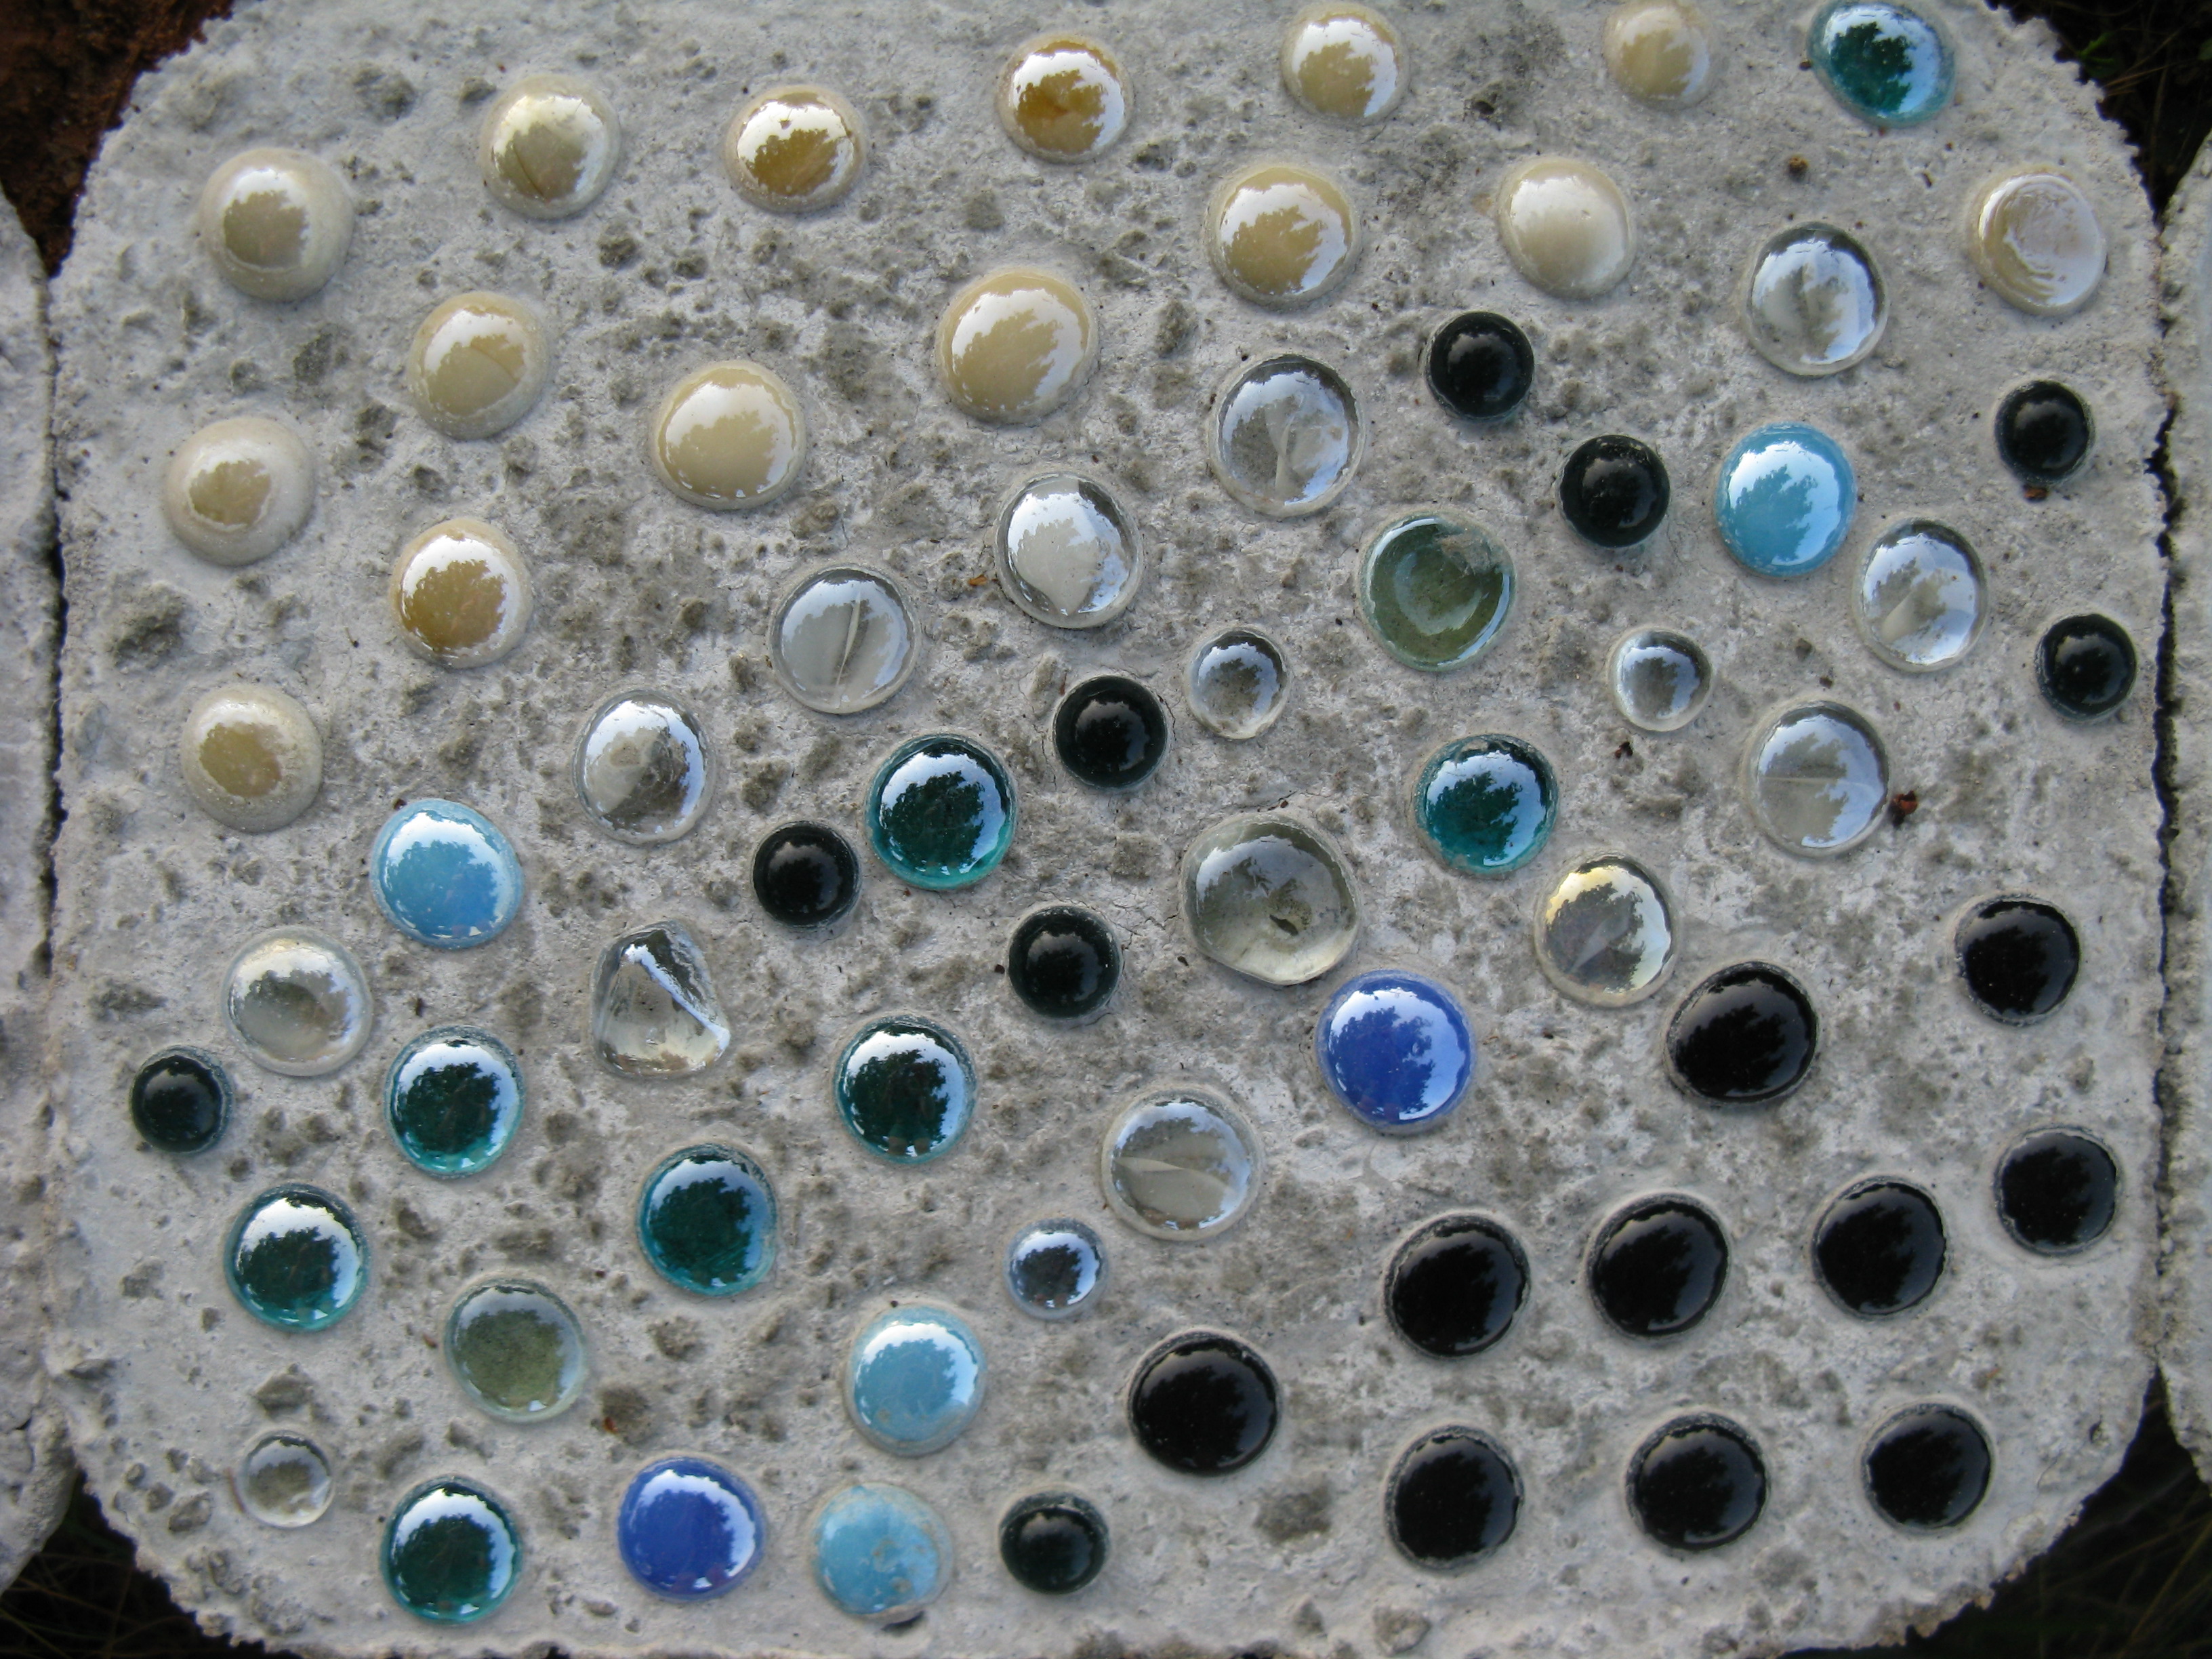
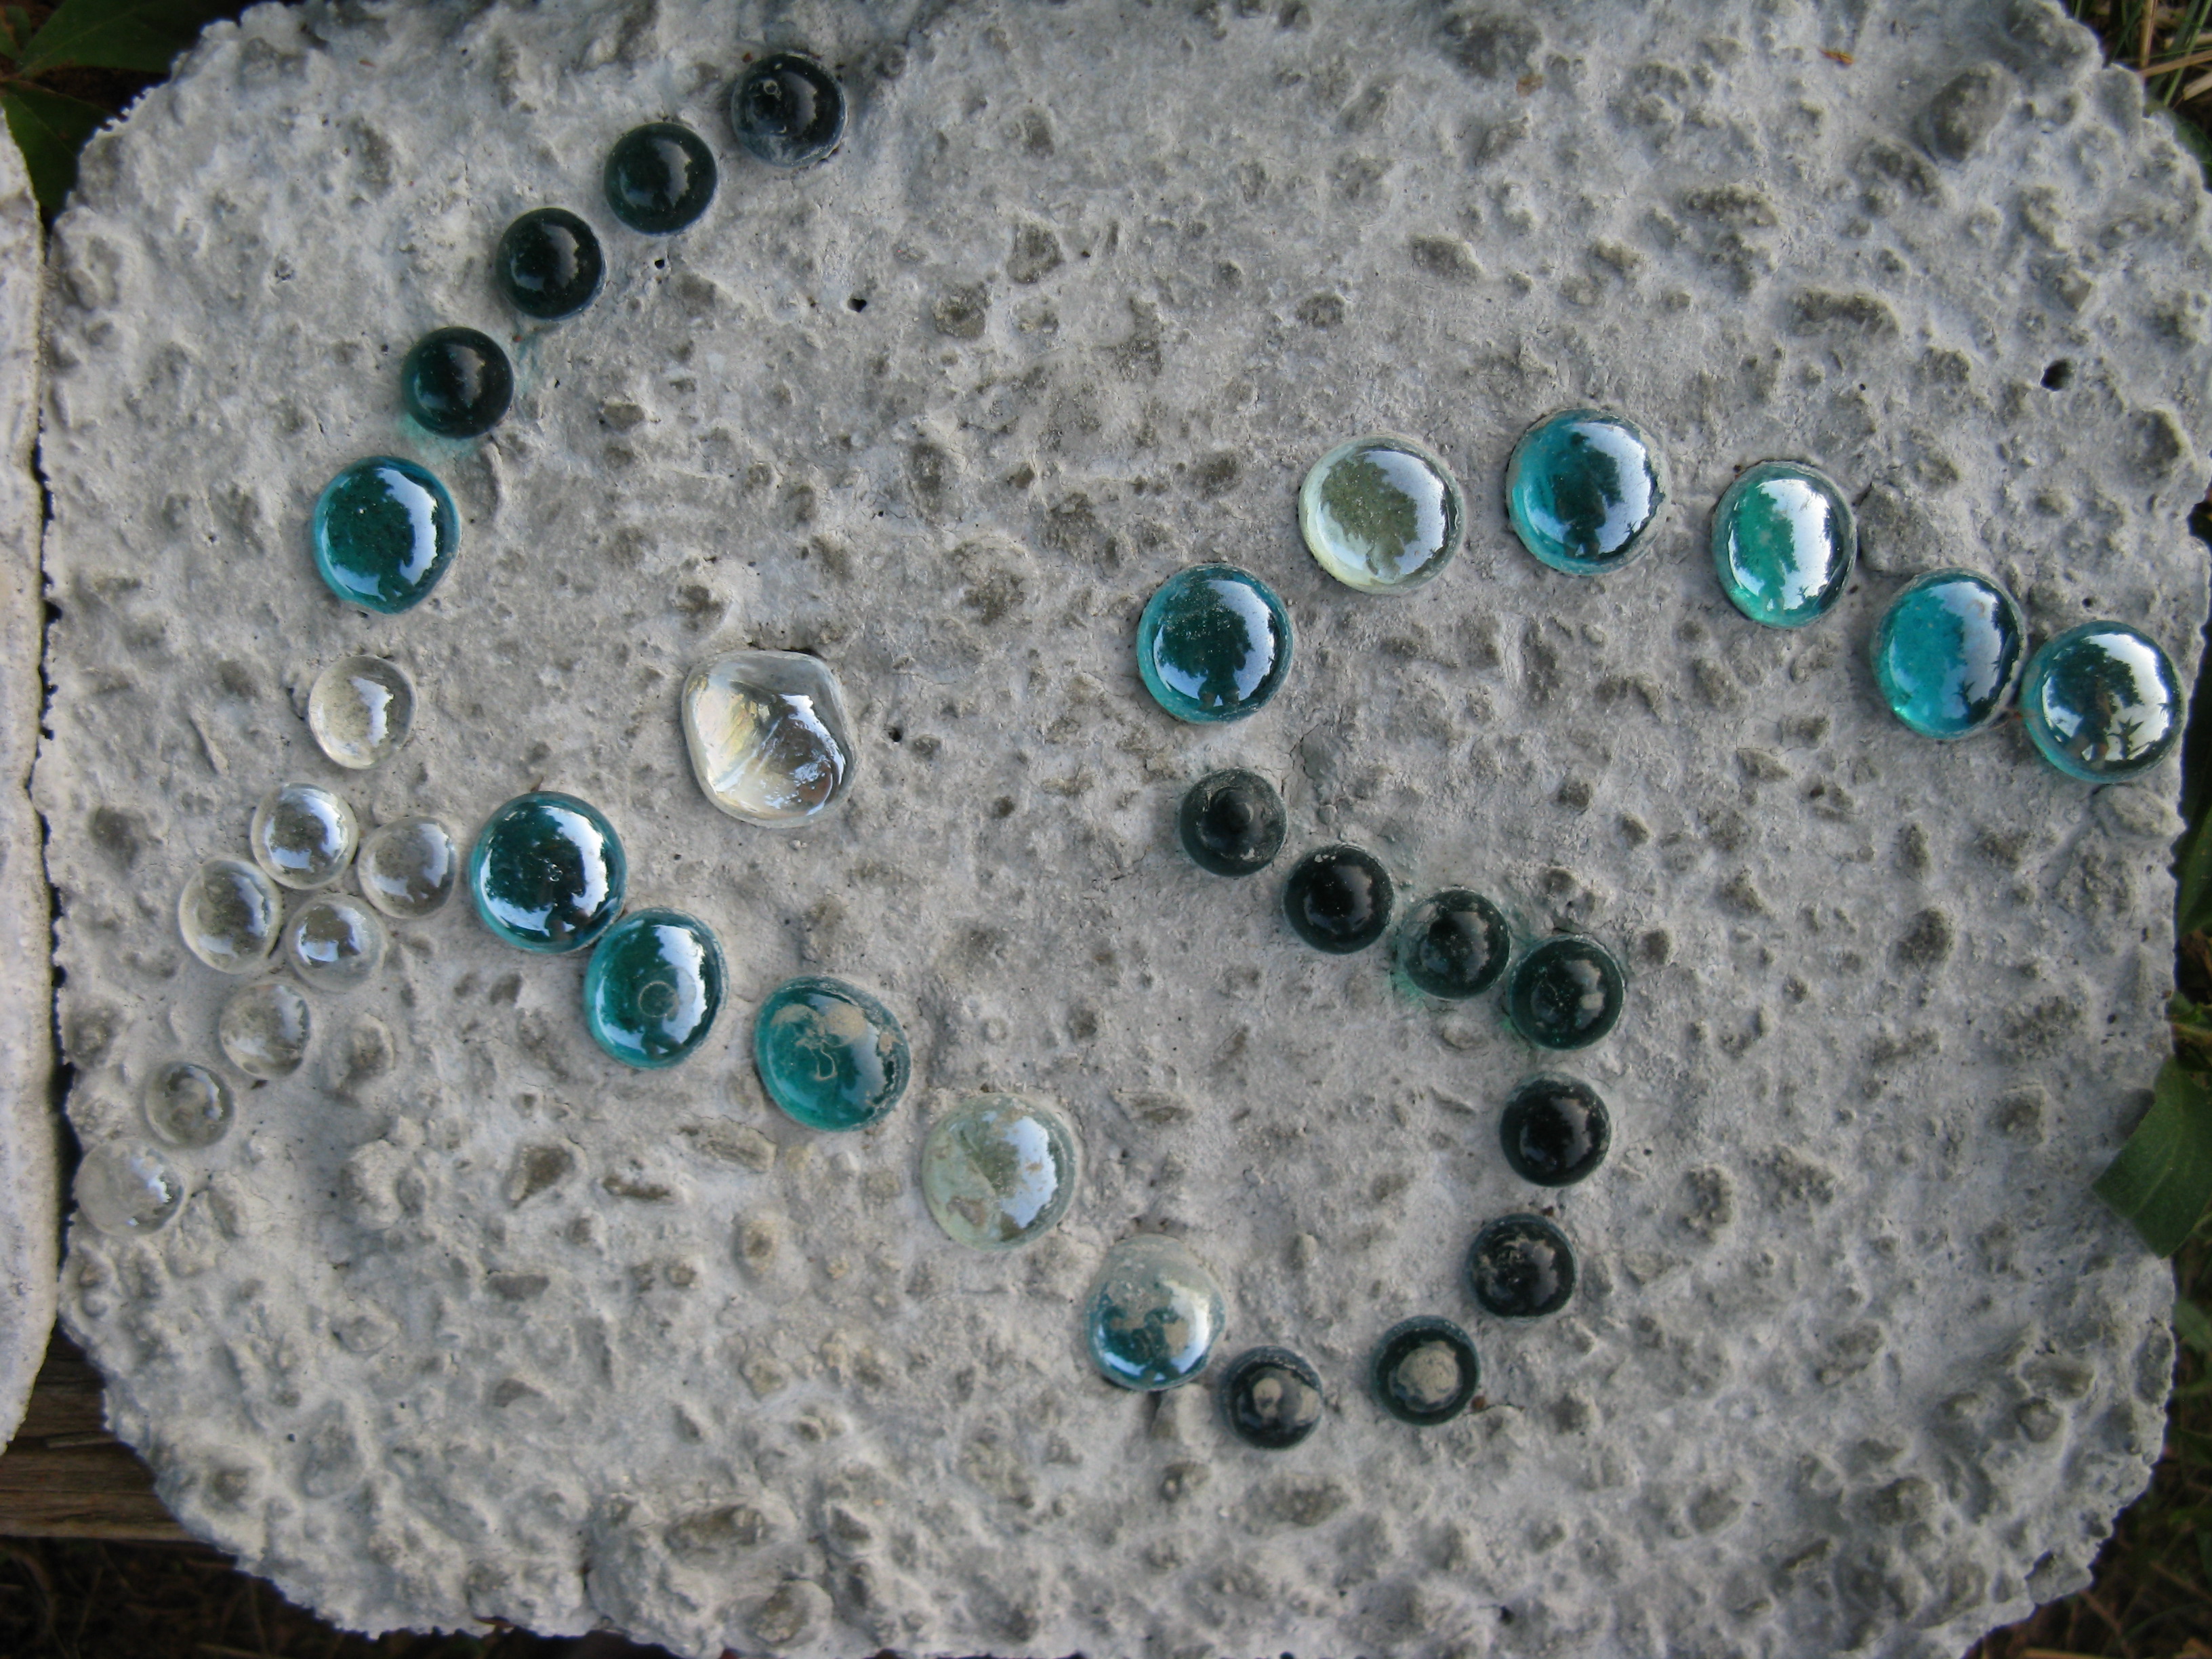
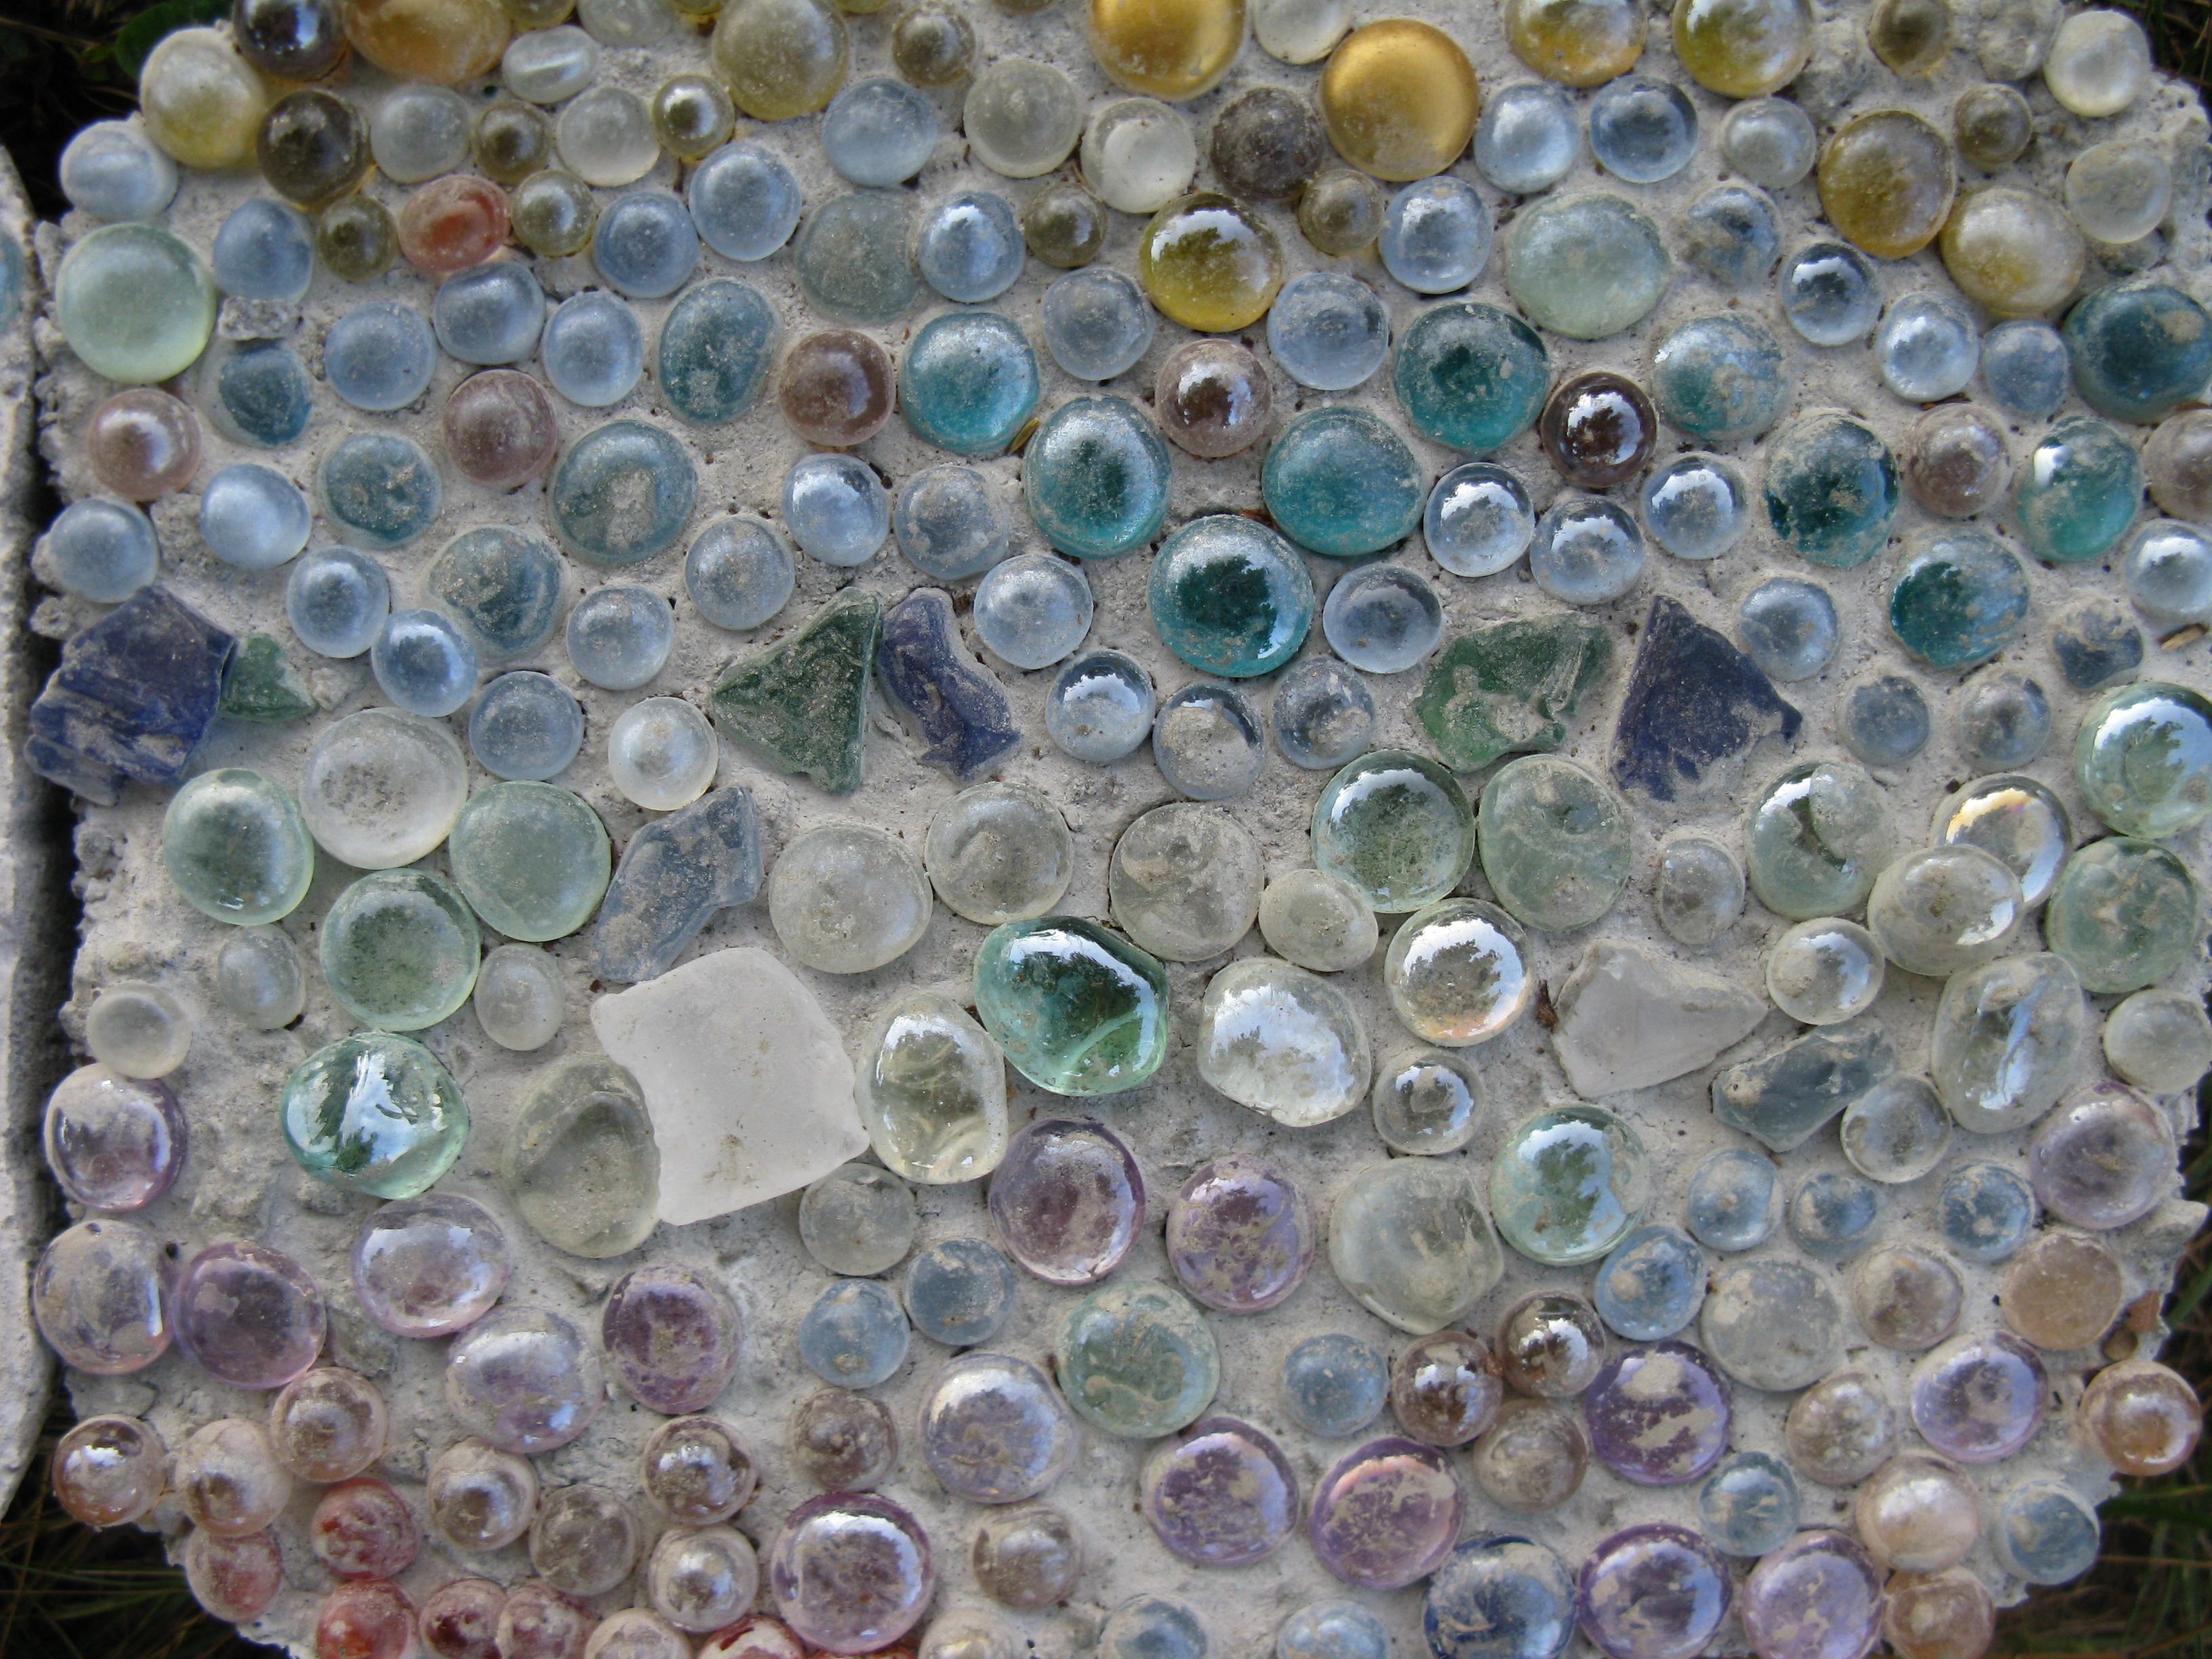
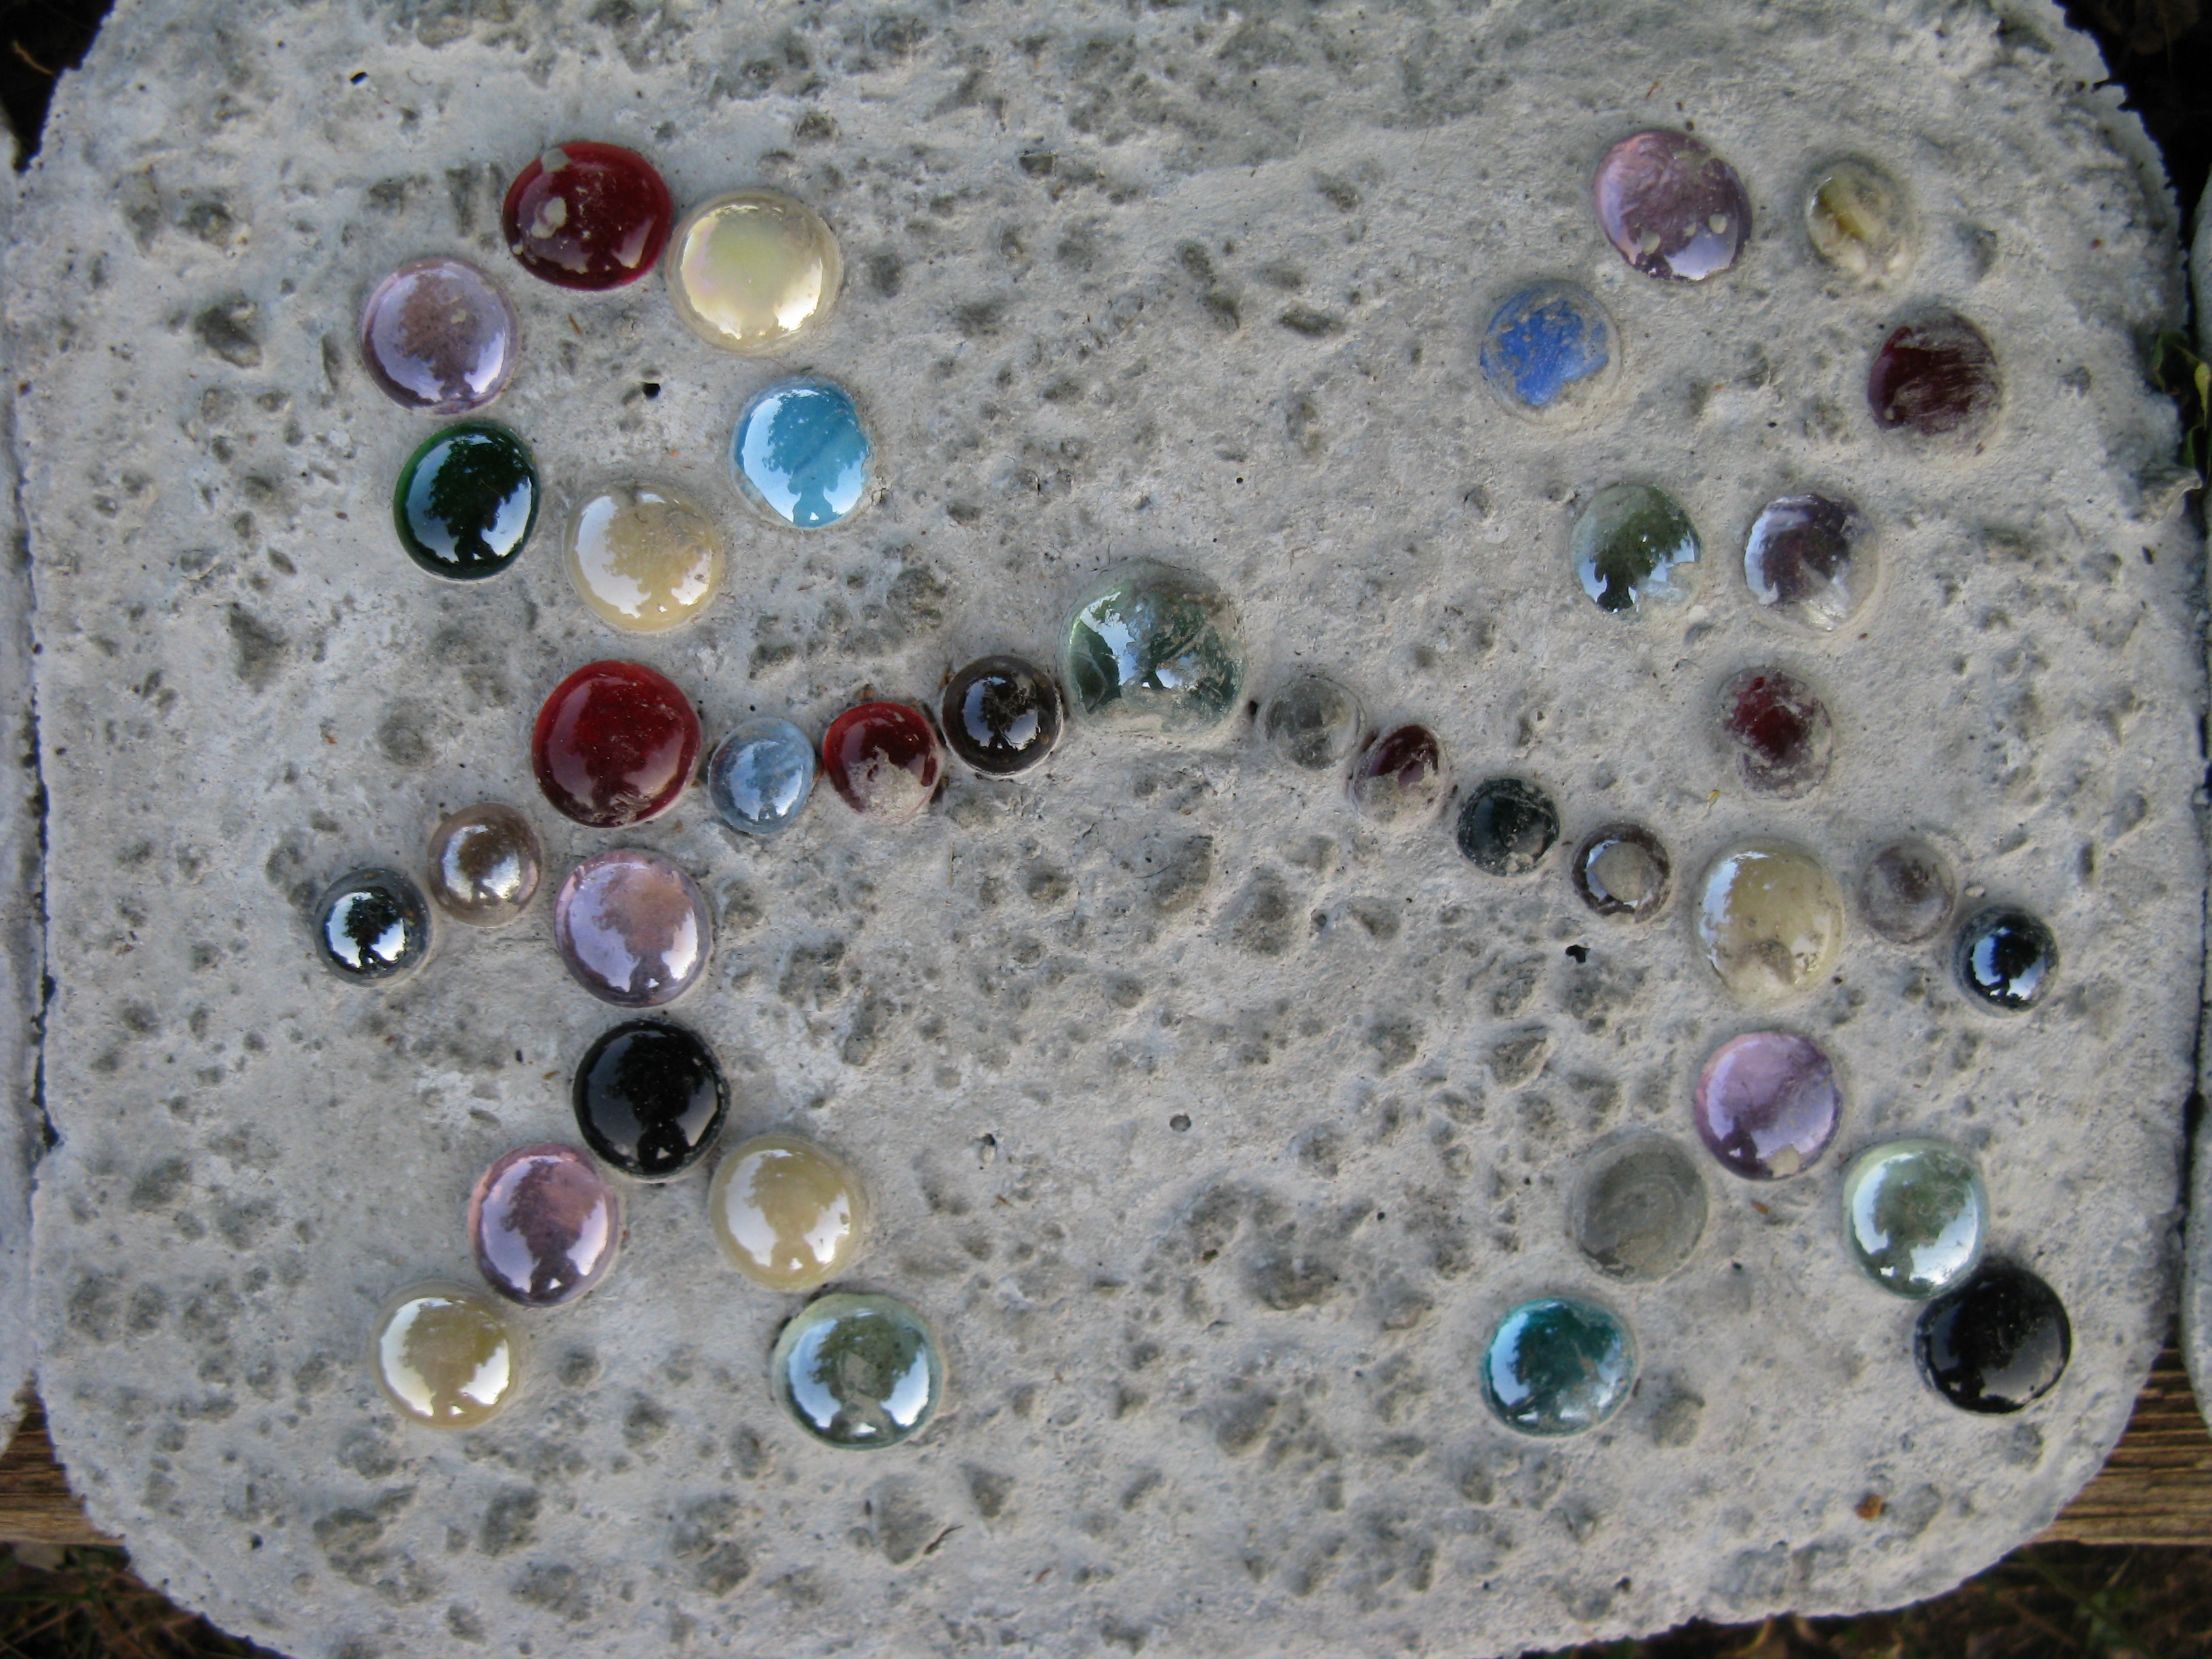
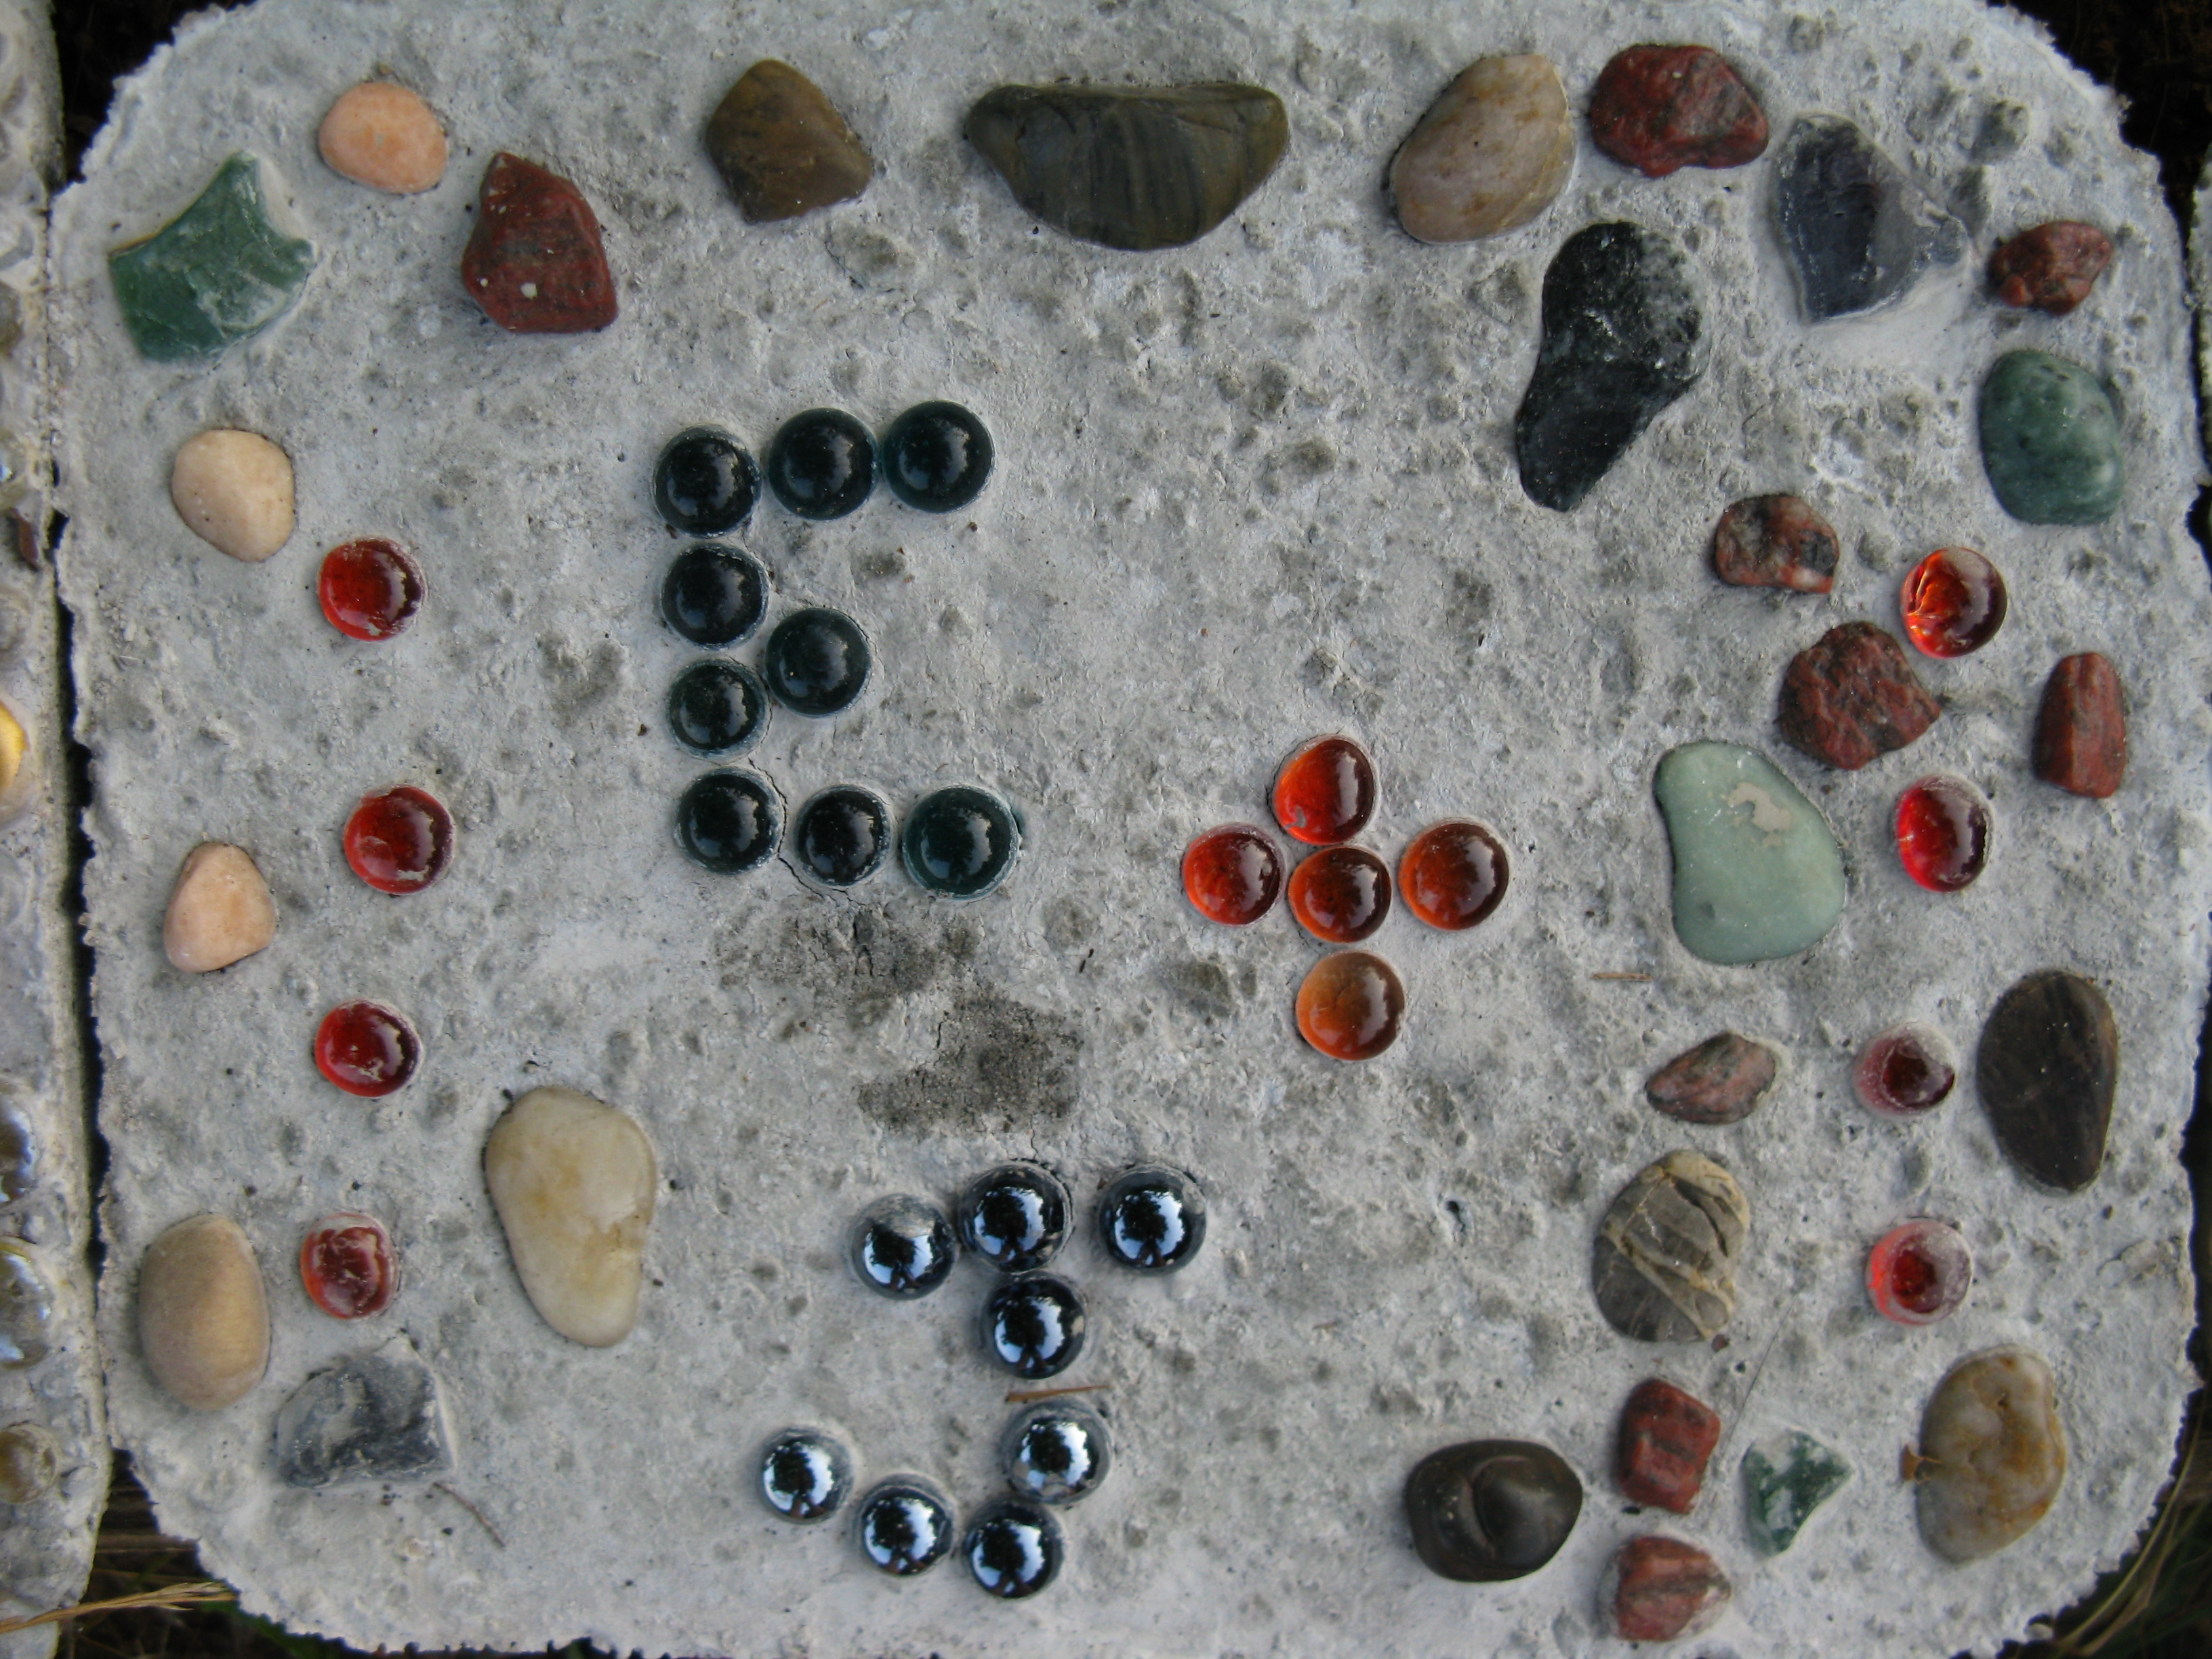
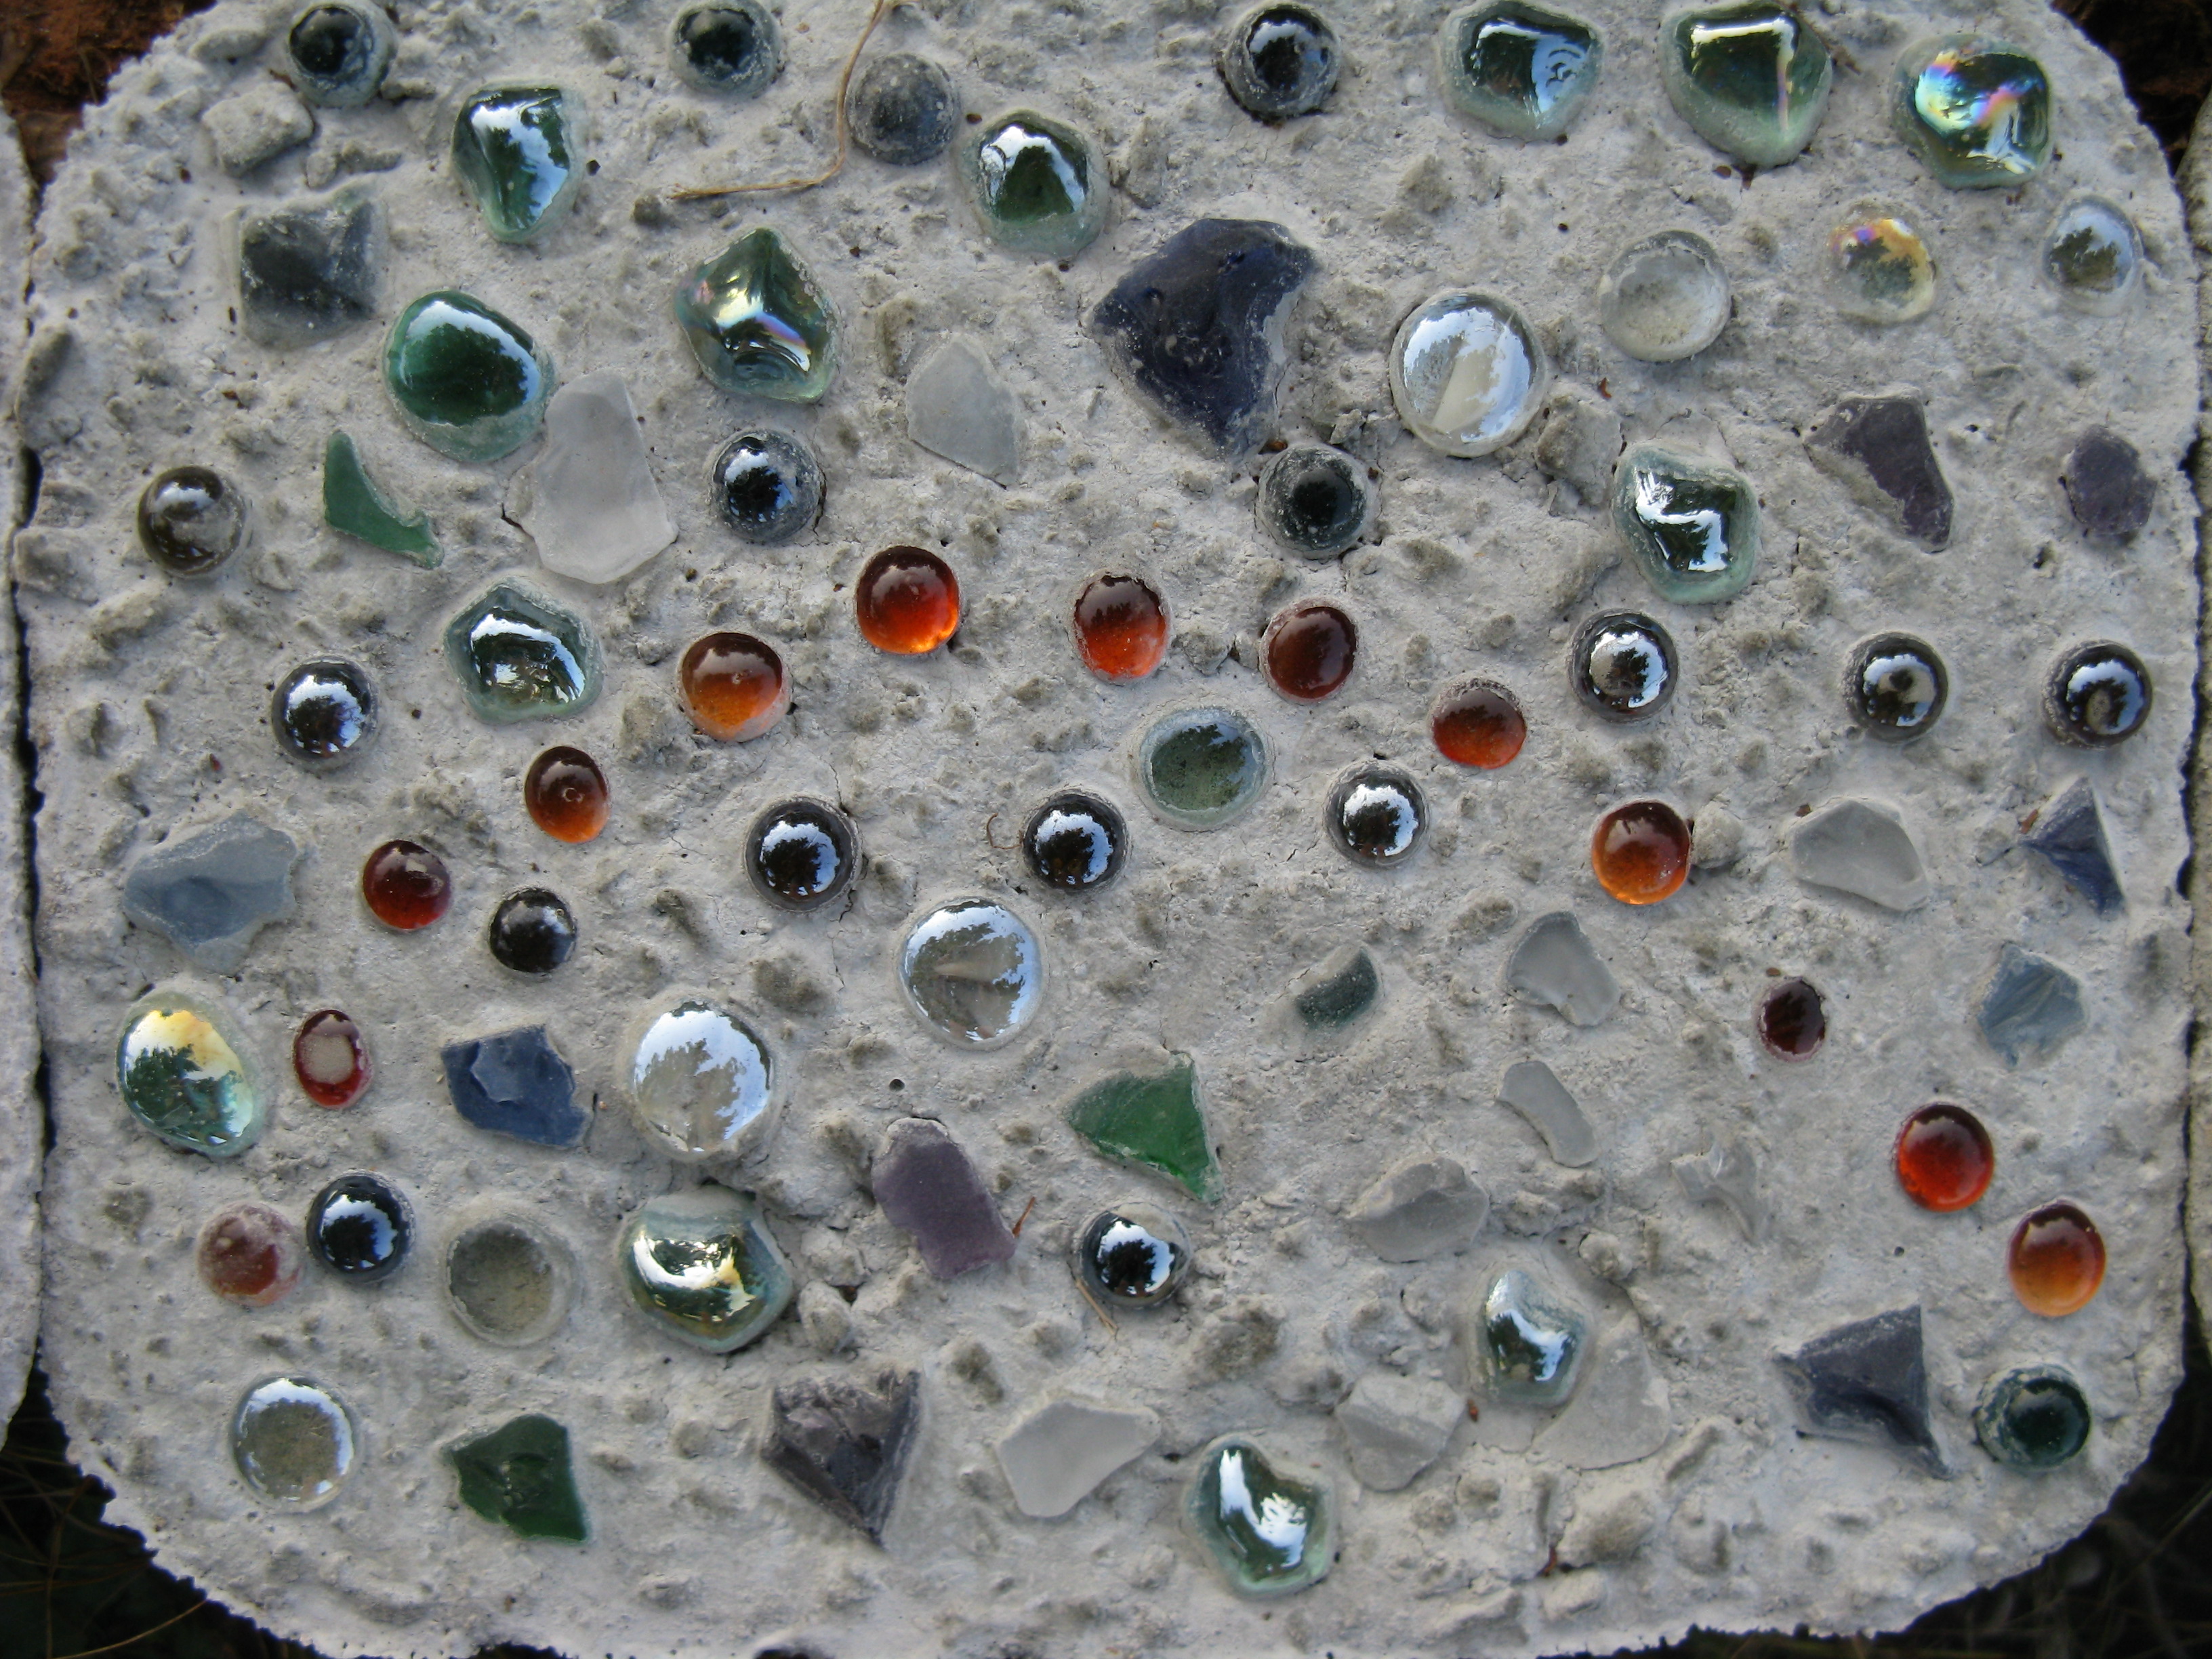
i also placed the awesome stepping stones that we made at my bridal shower on each end of all of the rows, placing the ones made by my mom and jason’s mom, right beside where they would be sitting during the ceremony. they noticed this addition, and it made me feel great that the decorations were made by some of my closest loved ones!

the day of the rehearsal dinner, our family used the board/bale seats as places to sit, eat pizza, and get to know one another.

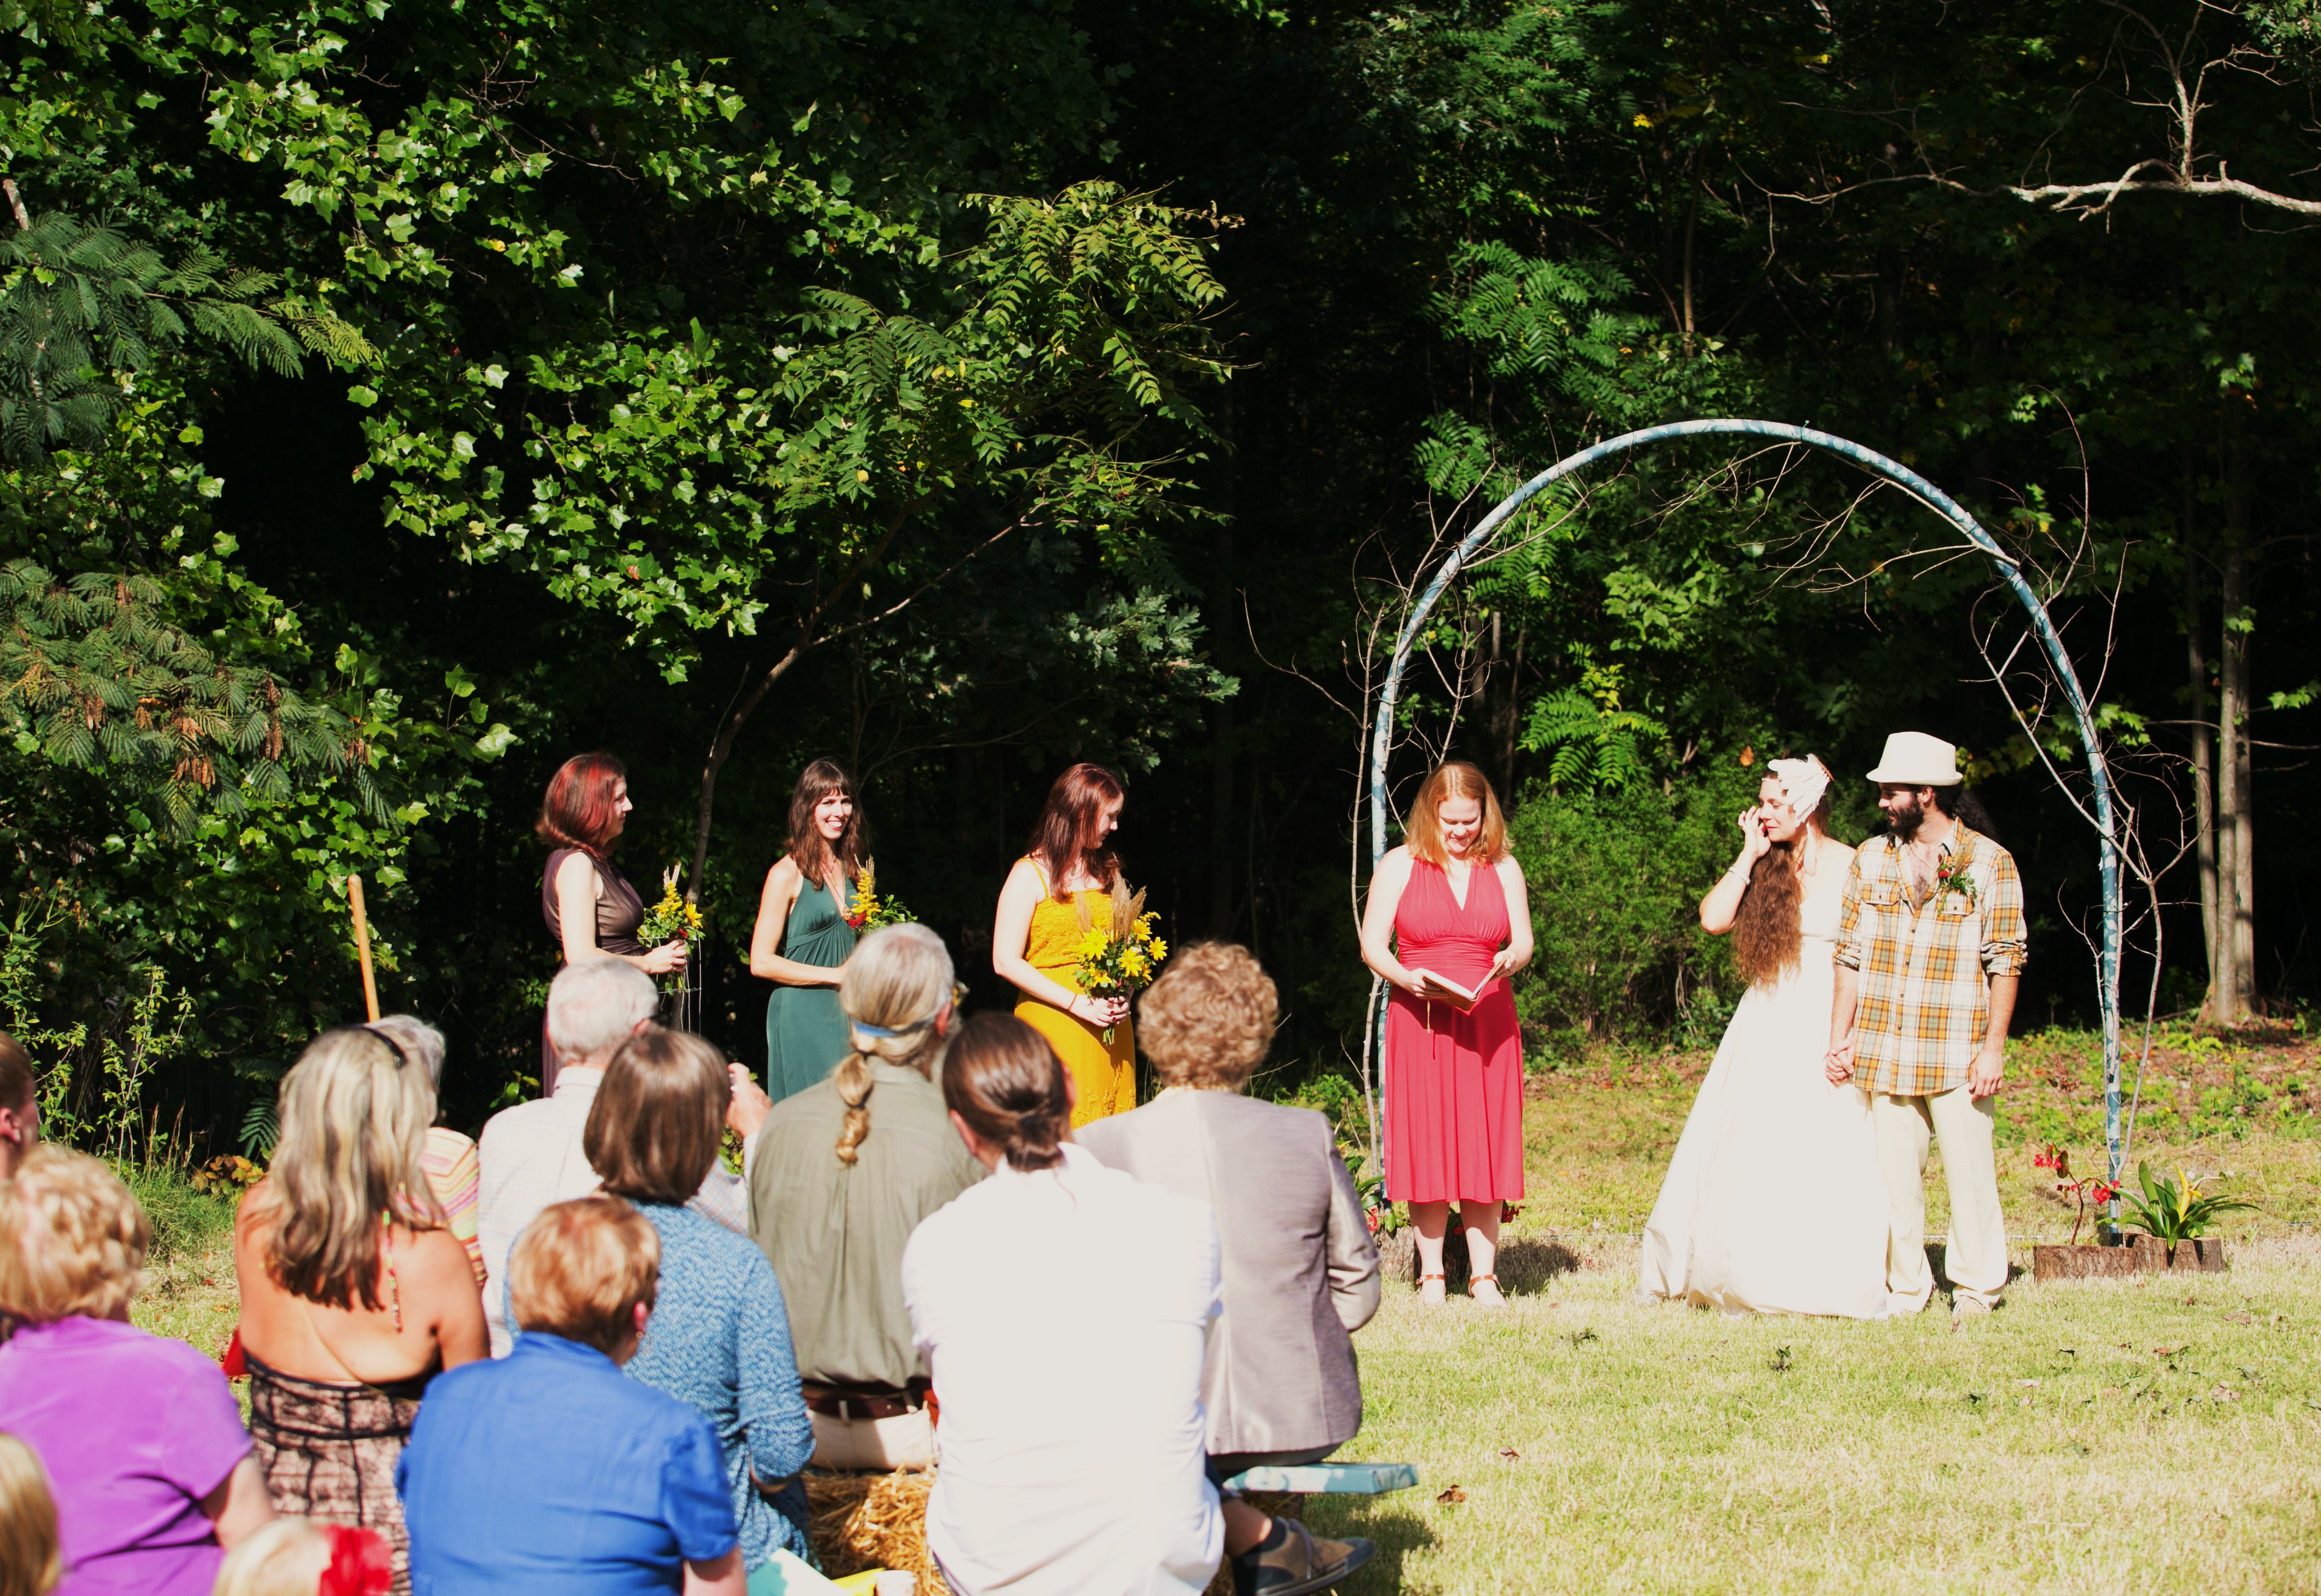
the day of the wedding, our family used the board/bale seats to watch jason and i walk out of the woods and get married and afterwards the benches were once again seats for sitting and chatting with family. other smaller straw bale seats around the yard were used too, and blankets spread out on the grass served as nice places to stretch out and watch the trees and the garden before the ceremony began.

3 cheers for board/straw bale seats: a homemade, cheap, and reusable option for your own wedding!


fall homestead wedding

photo by heidi’s dad

.:.

homestead wedding tips: how to make your own fun, funky, and cheap food and cocktails tables!

our wedding was last weekend (wow! we can’t believe it’s already over!), and so much of what we accomplished was due to our re-usage of many things that we already had at our home. we were determined to get through or wedding without spending too much, and i think we were successful!

we had 2 parts to our wedding: a pre-reception here at our house that led right into the ceremony and a true reception at a separate location about 20 minutes from our house. we served snacks and beverages at our house before the ceremony, and wanted to have cocktail tables set around the yard near the garden beds for people to put their drinks on. we also decided that we wanted to put pictures of jason and i as kids on each table to encourage folks to move around the garden and see the different crops and areas of the yard.

first of all, we needed a table to use for serving the snacks, but we did not want to buy another folding table and the three folding tables that my parents were letting us borrow were already to be for the reception food and dessert tables. i remembered that a door that we took down from our upstairs hallway was being stored, unused in the basement. 4 high bar stools later and that same table laid down flat on top of the stools, we had a table! a sturdy, free table! add some bolts of fabric borrowed from my mom, this pieced-together table looked very presentable and very “us.”

here is the table... back in the basement and without its table cloth

here is the table… back in the basement and without its table cloth

the cocktail tables were also simple and fun to make. we chose our prettiest 2 plastic rain barrels, turned them upside down, and added an old sign and an old table top that we found in our woods as we were cleaning up for the wedding! more fabric from the same bolt on top, and a lovely wooden vase made by my father to keep the fabric from blowing off just in case of wind, and you’ve got a unique and free cocktail table perfect for a homestead wedding!


another table that held the water cooler and cups was really more bolts of fabric on top of an old washing machine! you never would have guessed!

needless to say… it is definitely possible to create tables and seats (more on this later!) from materials you have around your homestead. and, if you are anything like us, you’ll love making creative, memorable, and cheap surfaces for your wedding guests to use as tables!

.:.

wedding symbols continue…

as jason and i were walking around in the yard yesterday and looking at things, i noticed that a little special something was still out in the yard. we cleaned up what we thought was everything from the wedding on sunday, but i discovered a symbolic element that was left behind, becoming more meaningful since it was the last wedding remnant left.

the sun sets over our surprise...

the sun sets over our surprise…

our champagne glasses, given to us as a pair by my mother and filled with champagne by jason’s mother, were still sitting on a hidden wooden log together right beside where we took our after-wedding pictures. those are the glasses that we raised as jason’s mom toasted to our new, exciting life together, and although we drank some of the champagne for the toast, i suppose we were forced to set the glasses down while taking pictures. there they sat for three nights and three days, until we stumbled upon them again.

sounds like a scene from a fairy tale, doesn’t it? a fairy tale that ends with a magically blessed life made even sweeter by two untouched chalices, that withstood a trinity of days and nights and remained unbroken, still holding the memory of that very special toast!

what a perfect pair... solidarity!

what a perfect pair… solidarity!

.:.

our (ochre) wedding on the homestead was a success!

we’re back!

finally our posting will return to our normal 5-posts-a-week-schedule  since we’ve gotten married!

two days ago we got hitched in the backyard, and there will certainly be more information coming soon about just how we pulled it off!

thanks so much to the  many who pitched in and helped us out on our big day (which was everyone who came!!!). we appreciate all of the well wishes  and we are overwhelmed with gratitude and joy.

it was a great, emotional day, and now our married life begins!

homestead wedding prep to do lists

we’d like to say that we’re sorry for posting irregularly the last few weeks. although we wish we had time to post every day, we’ve got a pretty good excuse…

non-stop wedding preparations!

exciting but very busy. a lot has been going on around here on the homestead–too much honestly to explain right now–but we can give you a simple lowdown of what important “to do”s we’ve got coming up this weekend before we say “we do” on the 27th.

here’s what’s in store for this weekend:

  • hanging more mood lighting (i.e. christmas lights) in the basement since we’ll be using the space for the rehearsal dinner and before and after the ceremony.
  • cleaning out the carport (which has lately the become the reject section for stuff that we’re not quite sure what to do with) and relocating a lot of the plants we have in the carport.
  • painting a portion of our basement wall sky blue. this is part of our wedding “guest book.” more on this later!
  • making emma’s garter which is the “something blue.”
  • writing and printing our wedding program (which we’re calling a leaflet in honor of the fall color scheme). we’re really excited about this one and can’t wait to share what we’ve done with this!
  • designing and making emma’s “veil”… which is much cooler than a traditional veil.
  • meeting our hay bale delivery tomorrow (55 bales) and storing the bales. these will seats at the wedding!
  • working on our party favors.
  • weeding and pruning our garden beds and herb bed.
  • killing yellow jacket nests that are right by where we plan to get married!
  • choosing and cutting fabric to wrap our bench boards in and wrapping them. also, choosing all of our tablecloth material.

so that’s where we stand right now! we hope that we can get back into the swing of writing every week day,  but we’re just not sure if we’ll have the time. if we don’t, we will certainly start back up on monday, september 29th (after the big day!).

wish us luck!

.:.

a few ways to save: wedding on the homestead

with our wedding less than a month away now, we’ve realized that there are many ways to save money while planning a homestead wedding like ours. some of these ideas don’t apply to traditional weddings, or indoor weddings, but they work perfectly for what we’re doing:

  • save on the price and hassle of renting chairs by buying hay bales and 10’x10″x2″ boards for seating. for us,renting chairs would be about $1.50 a chair plus the coordination necessary to truck 100+ seats 45 minutes away into the country and pick them up the next day (talk about delivery fees). by buying hay bales and boards we’re able to add to our collection of homestead resources: we can use the hay for mulch and the boards for building a heavy-duty structure in the future. this at only the cost of $2.50 per seat.
  • make your wedding favors. make it something personal from your farm, and your guests will appreciate the personal touch and the time you spent making it for them.
  • need cocktail tables for all of your guests to place their drinks on? try upending large metal barrels and placing a piece of larger wood on them to serve as table tops. slap a table cloth on that baby and you’ve got yourself a sturdy cocktail table.
  • need extra regular sized tables? well, if you have any extra doors lying around, lay them on stools or lower barrels and use them to serve your food and drinks.

just a few creative, low budget ways to have the homestead wedding that you’ve been dreaming of without the cost!

.:.

wedding prep: pruning and trimming the bushes and trees

today after work i continued my epic, month-until-the-wedding, preparation for the big day!

after i finished all of the usual chores, i decided that i felt like pruning the boxwood bushes in the front of our house. we hadn’t pruned them since we moved in, and they were looking a little wild and crazy. it was a success! this sort of thing is so fun…

trimmed bushes!

trimmed bushes!

i also trimmed some lower limb off of trees in the yard and ended up using our new hedge trimmers (thanks grandma!), a pair of nippers, and a leaf rake to shake all of the trimmed branches off of the bush to be sure i hadn’t missed any spots. it was a great time, especially since bridey was decided to hangout with me!

boxwood trimming: my rake, shears, and nippers

boxwood trimming: my rake, shears, and nippers

my pal bridey, taking a nap.

my pal bridey, taking a nap.

.:.


wedding shoes (meet a good luck frog)

when my mom and i went shopping yesterday after altering more of my wedding dress, i found the shoes i’m going to wear for the wedding! they were a cheap $35 at target, and i am so excited about them!

i didn’t want to wear anything too fancy and since my dress is already traditional enough, i decided that a good, old-fashioned pair of boots would fit in perfectly for our fun-filled, dance-craze, outdoor, walking-in-the-woods, homestead wedding.

as we were leaving the store, we spotted the grayest frog i’ve ever laid eyes on, sitting on top of a cement column outside the store (in the middle of a concrete jungle). mom and i agreed that he had little chance of living in the middle of a shopping center on a hot day, so we collected him (which he allowed) and put him in… the shoe box, since we had nothing else.

we made a quick trip to the grocery store, with the boots and frog along for the ride, and then took him to my parents’ house and let him go in their back yard. later, we looked up what species he was, and we learned that he was a gray tree frog (hyla versicolor). what a cool guy! they are harmless and very common in our area and throughout much of the united states.

my wedding boots; just enough heel and just enough frog luck.

my wedding boots; just enough heel and just enough frog luck.

i was super excited to have met him, and to have carried him in my shoe box. somehow, it seems like a very good marriage omen to me! what do you think?

have you ever seen a frog so gray?

have you ever seen a frog so gray?

freedom!  thanks, wedding-luck frog!

freedom!
thanks, wedding-luck frog!

.:.

homestead bridal shower: having fun and creating art!

this past weekend my best friend and i held my bridal shower at our house. it was a blast,and it was wonderful to see so many of my family and friends at our home. it was great getting the opportunity to share our house and gardens with these folks, and i loved giving “goose tours” and “garden walks!”

we are getting married on our homestead in late september and i’m currently in the process of designing our wedding invitations, brainstorming party favors, and figuring out the final details about the decor, ceremony, and venue. actually, i spent all of today designing and altering my wedding dress with my mom. fun but also a little stressful (but not because of you, mom!).

anyway, the shower was great, and this is due in great part to my best friend’s idea for the activity! we really wanted to do something that would fit in here on our land, and something a little more creative than the usual bridal shower games. she had the great, genius idea to make stepping stones out of cement and lovely, colored, glass stones. the stepping stones just finished drying and i’ve removed them from their containers so that can come out in the elements and “face the feet,” although we aren’t yet sure of what we want to do with them permanently. perhaps put them together to make a little grill patio? or use them among the garden as decorations? or lay them out for jason and i to walk on as we walk together to get married? who knows!

the directions/ingredients are simple. all you need to make 16 stepping stones is:

  • two 50-pound bags of quickrete
  • a cement mixing tray
  • a small hoe for mixing
  • water
  • 16 half-size aluminum casserole dishes
  • loads of pretty beads, stones, or whatever you plan to use for decorations!
  • aprons and latex gloves for protecting your undoubtedly stylish outfit

we simply mixed one bag at a time in the pan, adding as much water as we saw fit for the right consistency (porridge, supposedly). then we poured the mix into the pans and smoothed them out on top. some folks let their’s dry a little bit before placing the stones, but it didn’t seem to matter either way… the stones stayed “afloat” enough to be visible in the designs.

we waited 6 days to remove them from the pans, keeping them out of the rain to make sure that they were fully dry. now they’re out in the free air and here is what they look like:

IMG_1240

artist: my mom

artists: jason's mom and aunt

artists: jason’s mom and aunt

artist: my best friend and "matron of honor"

artist: my best friend of 15 years and my “matron of honor”

artist: my grandma

artist: my grandma

artist: my aunt

artist: my aunt

artist: my aunt

artist: my aunt

artist: my cousin

artist: my cousin. can you tell that it’s an irish trinity knot?

artist: my cousin. can you tell it is a hamsa?

artist: my cousin. can you tell that it’s is a hamsa?

artist: my cousin

artist: my cousin

artist: my friend of 16 years

artist: my friend of 16 years

artist: my friend of 15 years

artist: my friend of 15 years

artist: my friend of 12 years. can you tell it is a unicorn?

artist: my friend of 12 years. can you tell that it’s a unicorn?

artist: my friend of 8 years

artist: my friend of 8 years

artist: my friend of 7 years. can you tell it's two people holding hands?

artist: my friend of 7 years. can you tell that it’s two people holding hands?

artist: my friend of 5 years. can you tell it's our initials?

artist: my friend of 5 years. can you tell that it’s our initials?

IMG_1241

artist: me!

i’m so happy to forever have these as memories from our pre-wedding celebration season! now i’m wondering… should we have this as a possible activity at the wedding? hmmm…

.:.

low budget, homemade save-the-dates for our (ochre) wedding

last week we designed and completed our save the dates for our wedding. we really wanted the design to be simple and we decided that making/printing them ourselves would be cheaper and more fun!

i bought a multi-colored pack of card stock, which included 50 sheets of each color: yellow, cream, green, blue, and gray, and i also bought small, cream-colored envelopes designed to fit 1/4 of a regular sheet of paper.

i designed the save-the-dates so that 4 of them would fit on each page, landscape style. this allowed them to fit perfectly in the envelopes and also meant that we only had to print 15 pages (since we only needed about 60 or so save-the-dates). we chose the blue card stock for our save-the-dates and will likely use the other 4 colors in some form when we design the official invitations in the next few months.

the overall design for the save-the-dates is not very complicated. the card is one-sided and on the left we chose a simple clip art image of a black and white farm (house, field, and silo). on the right half of the page we included the special event, our names, and the general location (our city).

even though the design and printing did not take very long, there were other details that did take some time: when i bought the card stock and envelopes i also bought a do-it-yourself stamp kit and decided that the old-fashioned look of the stamp would be a nice addition to the cards!

it took forever to properly place the letters in the stamp for each of the 3 designs i wanted to use, but in the end i loved how the cards and envelopes looked!

cards

the back of our save-the-date cards, stamped and ready to be mailed!

i used the stamp for:

  • our return address on the front of the envelope
  • the words kuska wiñasun homestead on the back of the save-the-dates cards
  • a design i put over the flap of the envelop once it was sealed, that included our initials (with a little house symbol in between) and our wedding date (see the picture above)!

i also added a little bit of color to the black-and-white image of the farm, using a silver sharpie for some shine!

and that was it, really!

i’ve also made a spreadsheet which includes all households and has columns for the number of people invited for each household, if their save-the-date has been mailed, if their official invitation has been mailed, how many people are confirmed as coming, etc. although i won’t be looking at most of the columns in this spreadsheet until months from now, making it was very helpful in making sure that i didn’t skip anyone or address two envelopes to the same household! it makes me feel very on top of the whole thing–which is key for weddings, as i understand it!

almost 6 months until the wedding, now! wow!

.:.


Older posts

© 2024 KW Homestead

Theme by Anders NorenUp ↑