KW Homestead

Pasture Raised Poultry & Edible Landscaping Plants Since 2013

Tag: permaculture plants (page 1 of 2)

Give the Gift That Keeps on Growing!

If you know someone who is planning on planting edible plants this spring, like fruit trees and bushes, why not help them plan ahead and feel prepared? 

Sometimes it’s hard to know where to start when you’re looking at the blank canvas of your own backyard. Should the apple tree go here or there? And what about those raspberry bushes… How much sun do they need? These are all key questions when planning a successful edible landscape, and Jason can help you sort everything out with no stress. 

We offer Edible Landscaping Consultations at any time of the year, and you can purchase a KW Homestead gift certificate for this purpose. The same goes for your spring plants… When we have those ready to be taken home, our gift certicates can be applied to those green babies, too! You can give your loved one the gift that keeps on growing! 🌱

With a landscaping consultation or the promise of fresh, fruiting plants in the spring, your Christmas gift will be a big hit with your green-thumbed loved ones! Gift certificates are available now! Email us for details at kwhomestead@gmail.com.


Semi-Dwarf Apple Trees for Your Family

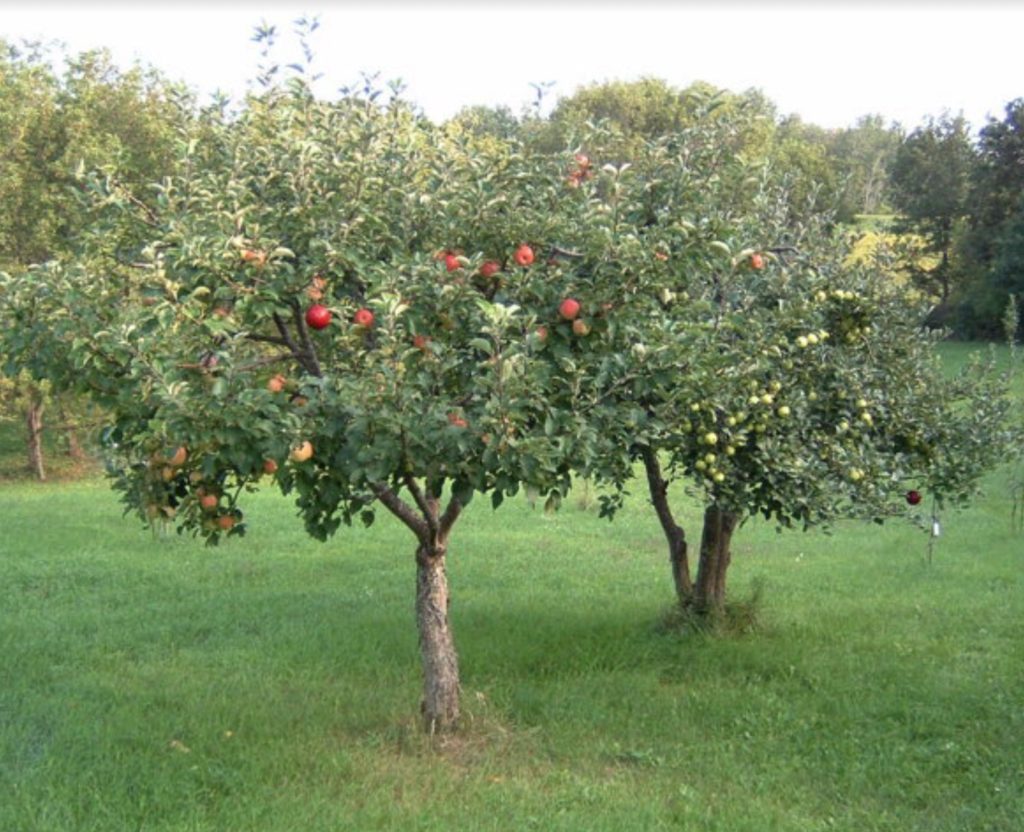
Semi-Dwarf Apple Trees are a good choice for your family and yard because they will grow to be 12-16 feet tall and will yield twice as much fruit as a dwarf-sized tree without taking up much more space! This size tree is great as a climbing tree for the kids and will yield plenty of apples for your family during apple season. Semi-dwarf fruit trees have well-anchored roots and a greater surface area to yield ratio than dwarf fruit trees. With appropriate care and pruning management, a semi-dwarf apple tree is the perfect fit for almost any yard or garden!

Semi-Dwarfs bear 4-10 bushels a year, and since there are an average of 125 apples per bushel, you’ll be harvesting 500-1,250 apples a year when the tree is mature! WHOA! Apple pie and applesauce, anyone?

This year we have 5 varieties available: Gala, Golden Delicious, Honeycrisp, Stayman, and Liberty. You’ll need at least 2 varieties to ensure cross-pollination, so talk to us to help determine what varieties work best for you.

Also, don’t forget that Jason offers planting services for your fruit trees or bushes, so you don’t have to worry about planting depth and method! He also offers on-site consultations to assess your land and help you determine the best place for your edible or fruit bearing plants. He can work with you to create an edible orchard that includes fruits and other goodies that your family will enjoy for the next decades. Contact us for more info!

Muscadines: Wild, Domestic, and Encouraged

There’s nothing quite like a fresh picked muscadine grape that has only traveled the distance from the vine to mouth via your hand. No sprays, waxes or added sugars necessary. These delicous fruits are a great pick for organic gardeners, and others interested in edible landscaping in the South.

Muscadines (Vitis rotundifolia) work so well here in North Carolina because they are our native grape. They are resistant to our most common pests and diseases, such as Pierce’s disease and Phylloxera which can wreak havoc on popular V. Vinifera cultivars like Merlot, Cabernet, and Chardonnay. While these familiar favorites can be grown in NC and other Southern States, you have to be careful with variety and site selection for your vineyard, and pay particular attention to rootstocks and soil characteristics before planting your backyard vineyard.

Muscadine Harvest

Fresh picked Muscadine Grapes

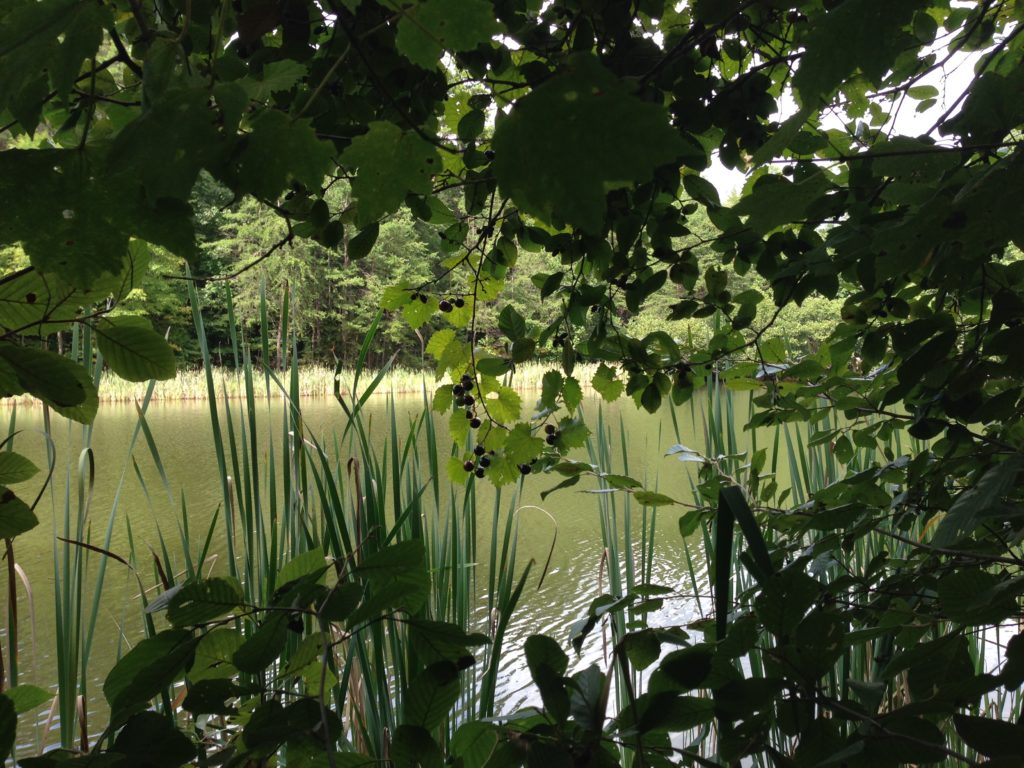
While planting muscadines on your property is definetly a productive option, wild muscadines are extremely common in our forests and woodland edges and are a great option for wildcrafters and foragers. In fact, this harvest of grapes was one we foraged from wild vines growing along the edge of our pond.

Wild muscadines tend to ripen over a period of a couple weeks in late summer/early fall, so it often takes multiple trips spaced out over time to gather the fruits from one vine. Of course you won’t get them all, and many birds and mammals will feast on the ones left behind or drop to the ground. On our farm, the free range ducks, chickens, and heritage turkeys relish these sweet treats as they fall from vines that can reach up to 60 ft tall in the canopies of oaks, hickorys, and pines.

Wild Muscadine Grapes

Wild Muscadine Grape Vine Ready to Harvest

Wild vines aren’t always the most productive, and the ones that are growing in mature trees are often too high to harvest anyway. The best vines are those that are growing along smaller trees and shrubs that are easily accessible to human hands.

Once you find a vine like this, one option is to tend to it like you would a planted vine. Selective pruning to remove dead wood and overgrowth of foliage, as well as some light pruning of nearby vegetation to let in some more light will help to ripen more fruit. Some vines can even be lowered onto supporting vegetation that is makeit easier to harvest these delicous grapes.

This type of “wild encouragement” is an easy way to increase fruit yields that benefit both you and nature. As long as you are careful, and make sure you aren’t messing around on protected property, this can be a very positive human interaction with the landscape.

Whether you’re planting improved varieties of muscadines or foraging from wild vines, these vigorous natives are delicous fresh out of hand, or in wines, jellies and jams. Happy picking!

Sunchokes! A Tasty and Reliable Homestead Crop

This year, in addition to growing vegetables in the garden, raising chickens in tractors and mobile coops, and planting a backyard food forest, we also experimented with some unusual crops. One of these in particular, the sunchoke or Jerusalem Artichoke, was a huge success.

sunchokes permaculture

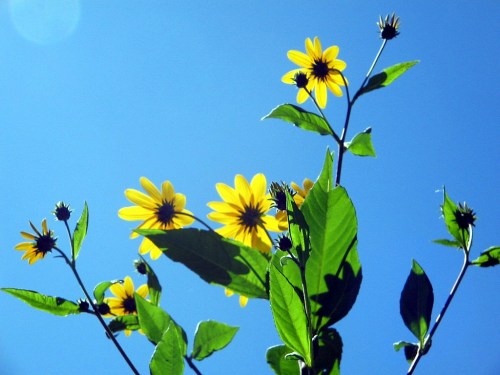
Sunchokes are both pretty and productive!

Sunchokes are related to sunflowers, but instead of delicious seeds, they form crisp and tasty tubers. These can be dug anytime after frost, and have a slightly nutty and pleasant potatoey flavor. One great thing about them is their lack of starch, and high proportion of inulin. This makes them a great food to help regulate blood sugar issues, and possibly one for diabetics to consider trying. Sunchokes are often found growing along side roads and at the edges of fields and forests. They spread readily from their roots and are a perennial staple crop that requires little care. I think we watered them about 6 times this summer, and they never once looked stressed.

sunchokes harvest

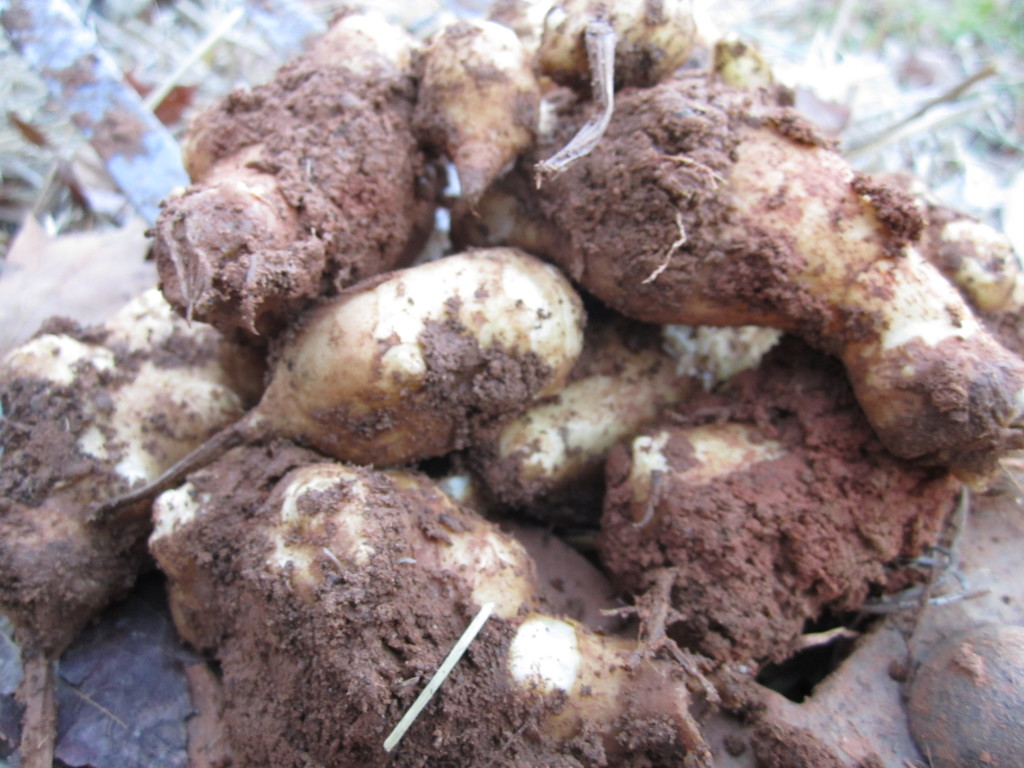
Freshly dug sunchokes!

I dug the first batch of tubers the other day and was pleasantly surprised to harvest about 1 pound of tubers from 1 plant. That’s about an 8 to 1 return.

sunchokes cooking

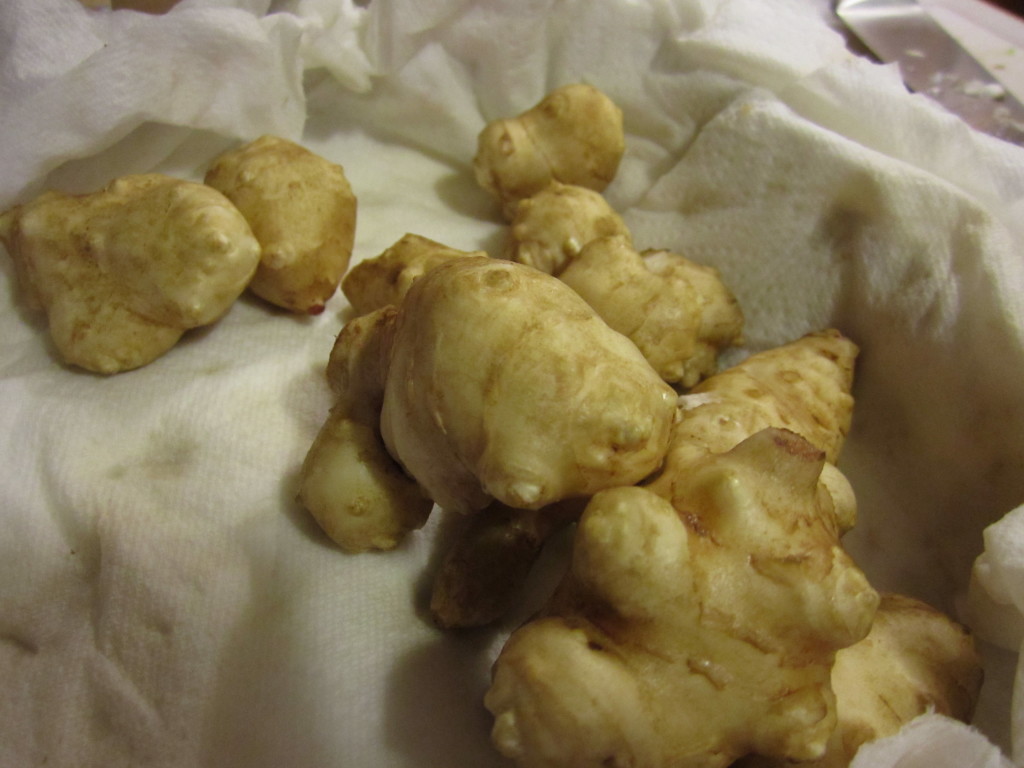
The tubers are somewhat knobby, which can make cleaning difficult.

Once I cleaned up the knobby tubers in warm water, I chopped them into bite sized pieces and added onions, peppers, basil, garlic, oregano, a healthy amount of olive oil, and to top it all off, some hot Italian sausage. I roasted this at 375 until everything was cooked, and then served it with a runny egg on top. Kind of like a homestead hash. Yum. We usually make this dish with potatoes, but the sunchokes were great in it.

sunchoke recipe

You can use sunchokes in any recipe that calls for potatoes.

Another interesting fact about sunchokes is that you can eat them raw. They are crunchy, and less digestible, but have a refreshing and crisp taste. Other ways to prepare them include frying, boiling, mashing and any other way you cook a potato. You can often find them at health food stores (I know I’ve seen them at Whole Foods) or ethnic markets. They are also fairly prevalent throughout much of the US and if you’re quick, brave, and good with a spade-fork, you can harvest an unlimited amount from wild “roadside stands.”

For us though, we plan on expanding this easy and productive crop to many areas of our homestead. I did notice that it prefers to be planted earlier rather than later in the season, and likes a little bit of shade at some point in the day to keep its roots cool. Our original planting stock was purchased from ebay, but I have seen them for sale at many mail order and online nurseries. We plan on eating all of the larger tubers and using the smaller ones to replant in other areas!


Blackberry and Raspberry Propagation by Layering

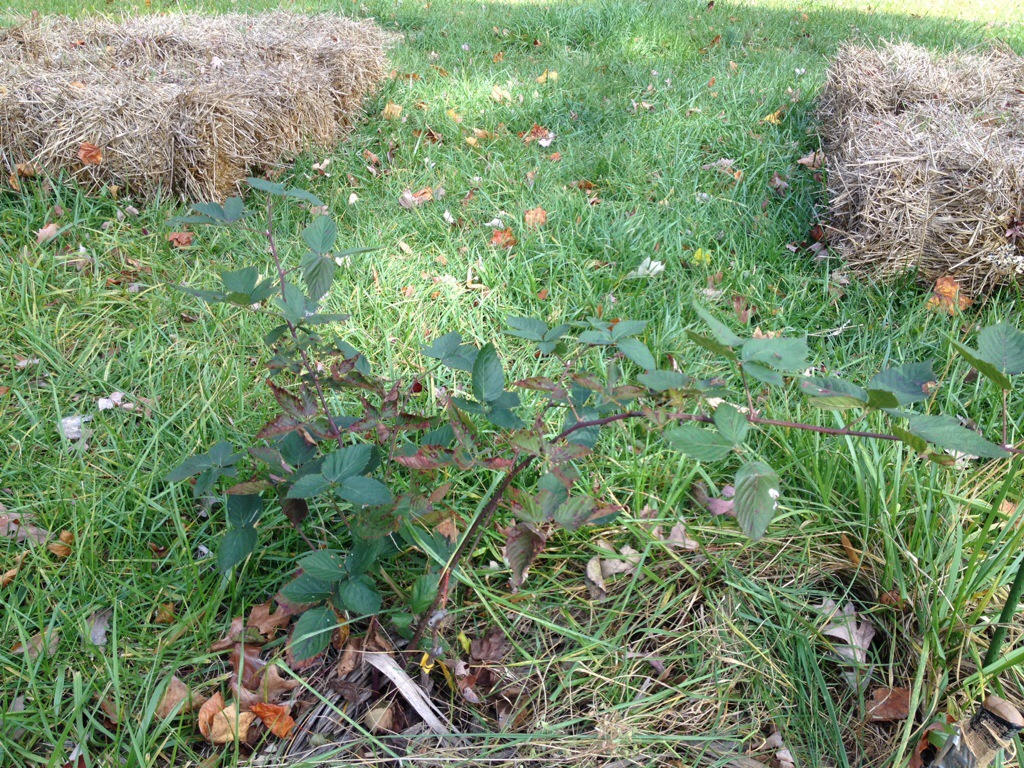
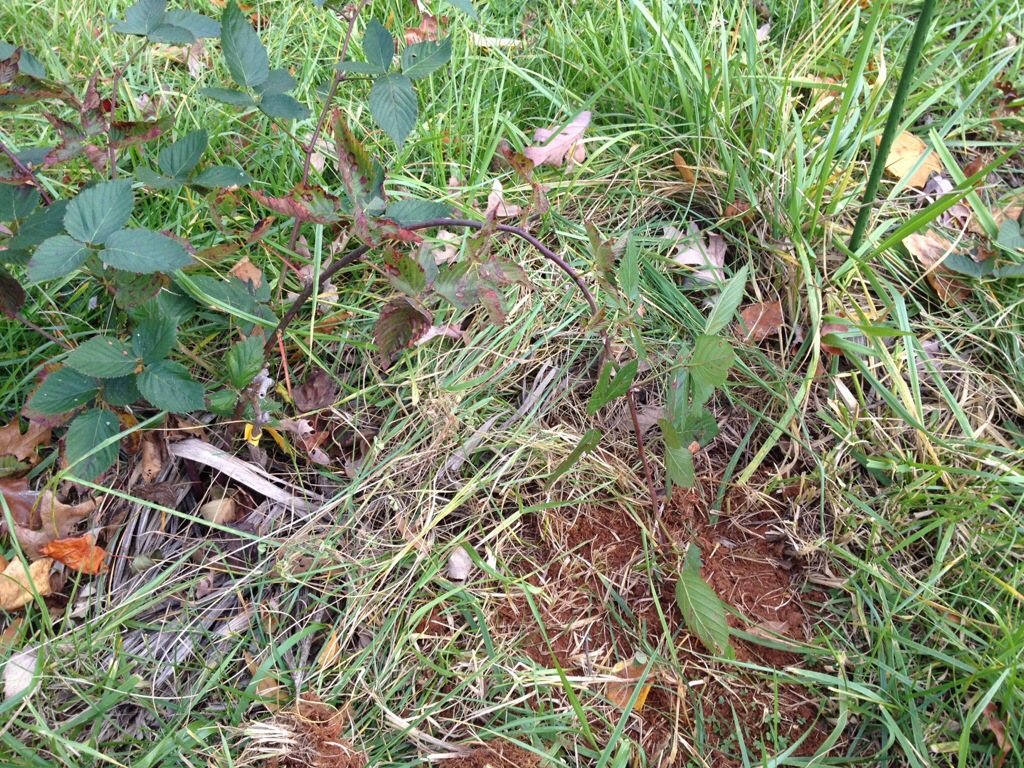
We have plenty of wild blackberries growing on our homestead, so when we ordered cane fruit plants last year for our food forest, we focused on raspberries. We did get 1 type of blackberry though, a thorn-less variety named Chester, known for its sweet, early ripening berries. Because we only have 1 lone plant at the base of  a dwarf apple tree, we figured we should try our hand at layering, an easy method of cane-fruit propagation.

blackberry layering

a chester blackberry ready to be layered

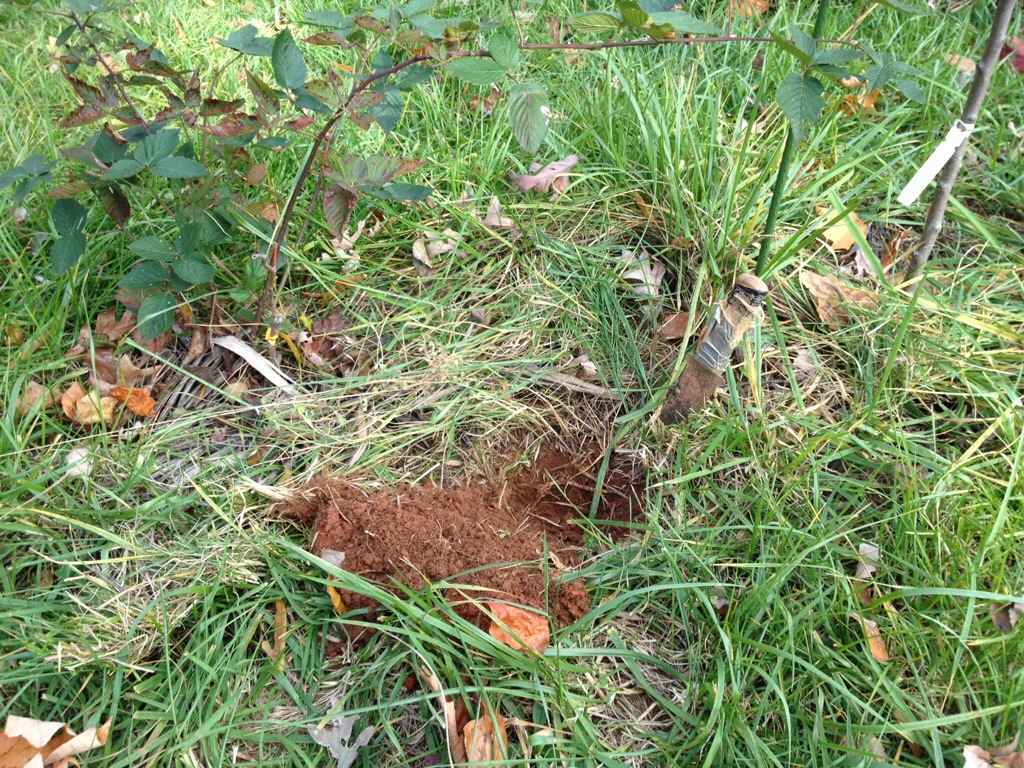
Layering involves digging a small hole by the base of the berry bush and then bending one of the canes down into it. That’s pretty much it. Over the winter, the buried portion of the young cane will start to send out roots, and will develop into a new plant! By bending the cane, instead of snipping off a cutting, the new plant still has access to the old plants more established root network and all of it’s nutrients and water it can absorb from the soil.

layering blackberries

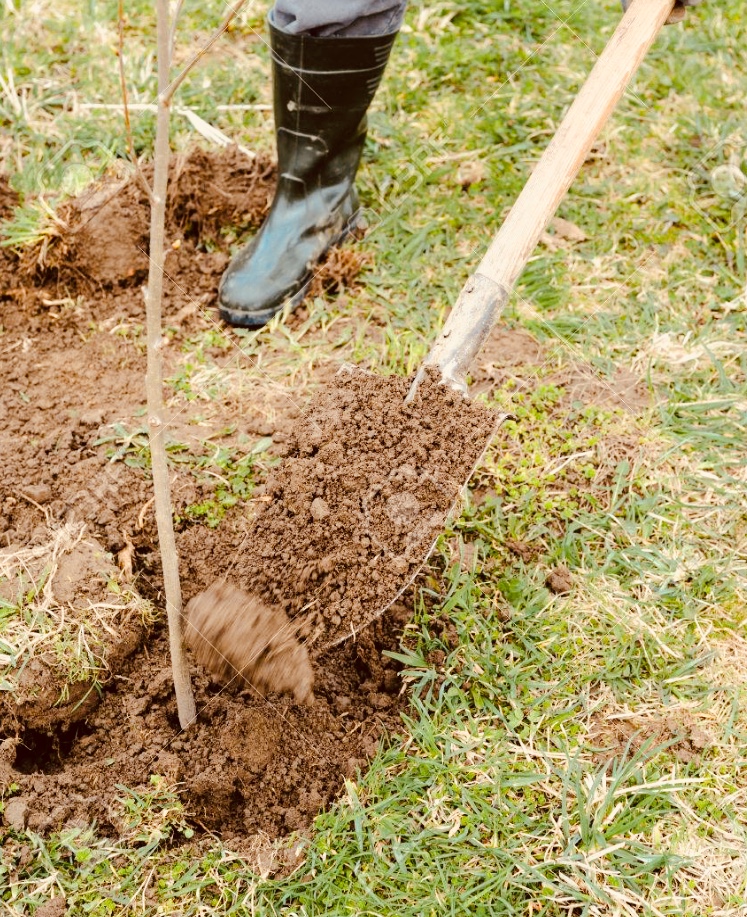
dig a small hole by the base of the plant, about 6 inches deep

blackberry propagation layering

then bury the new shoot, tamp down the soil, and wait until spring!

Come spring, simply cut the cane 6-8 inches from the base of the new plant, and feel free to either dig up and transplant your new black/raspberry or extend the older plant outwards like you would if you were creating an edible hedge, or fedge. This new plant will be exactly like your old plant, except that for the first year it’s leaves will be upside down!! Pretty cool, and a great way to produce more plants for free!

Don’t forget to join our email mailing list and stay updated on all things our ochre way!


Rhus copallina: Shining, Dwarf, Winged or Flameleaf Sumac

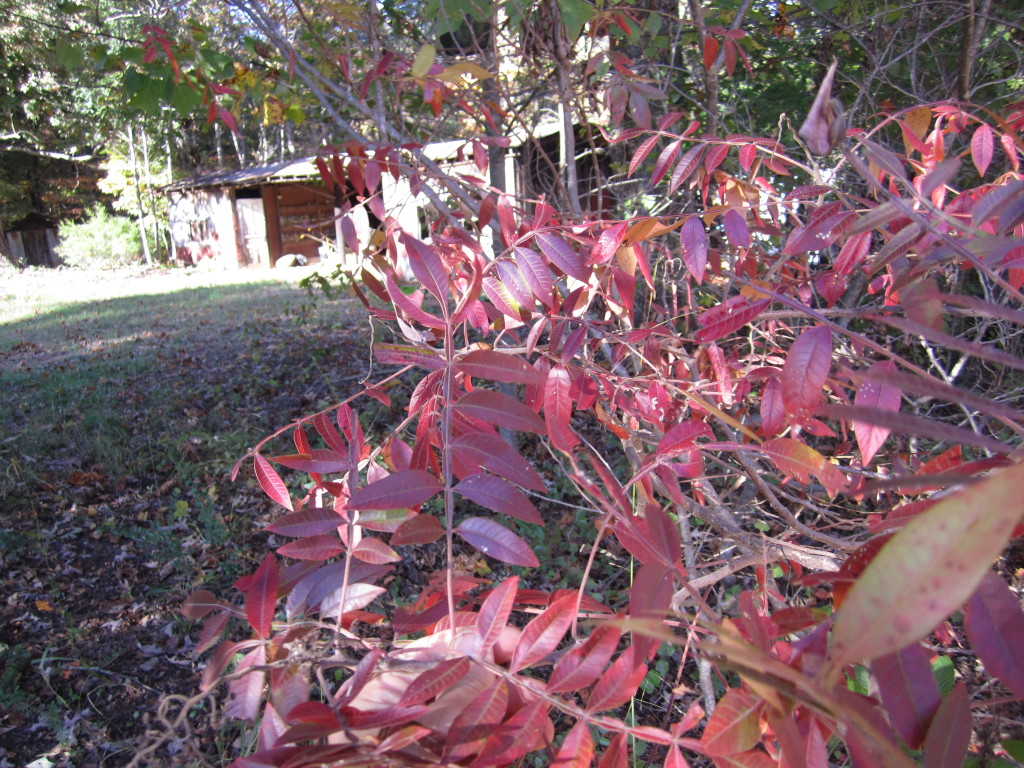
Rhus copallina, or shining sumac, was one of the wild plants on our property that puzzled me for the longest time. I could recognize its distinctive sumac-y look that meant it belonged in the Rhus genus that contains the more common staghorn and smooth sumacs, but it didn’t match any of the pictures I could find of those two species. I was worried for a bit that it might be poison sumac (Toxicodendron vernix) but a quick Google search told me that the best way to tell poison sumac from okay sumac is the color of the berries. Red berries = don’t worry, and white berries = don’t touch/eat/make sumac tea. So, I went on not knowing exactly what the plant was, and being intrigued by its interestingly winged leaflets.

shining sumac

You can easily tell this type of sumac by the winged margins between the leaves.

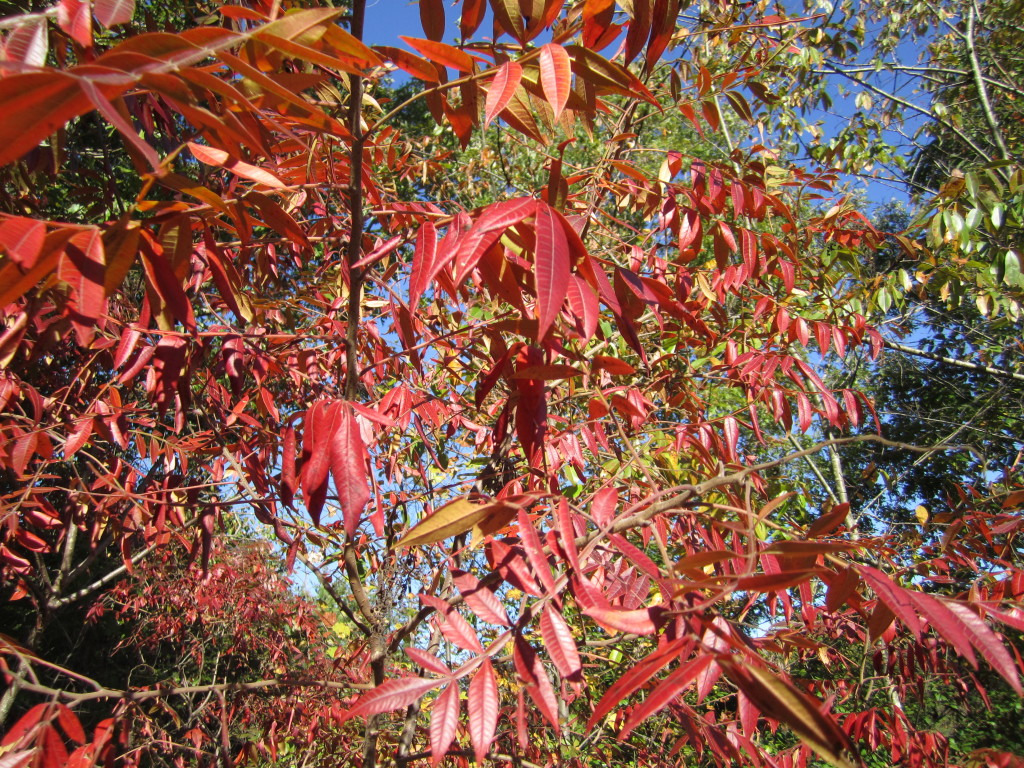
But then, out of the blue one day while researching different types of permaculture plants, I stumbled across an image that finally made it clear that this sumac was winged sumac. It’s a great plant, with many uses and a strikingly beautiful presence on the homestead, especially in fall. It’s leaves are the darkest, most robust red I’ve ever seen.

But it’s not just a pretty plant! It also, like all of the safe sumacs, has a very high amount of vitamin c in it’s berries. You can soak them in water to pull out the vitamin c, and then freeze the tangy juice and use it like you would lemon juice. It’s also common for people, especially in the south, to make “sumac-ade” or pink lemonade out of the berries as well. I’ve heard of fisherman using a sprig of sumac berries in place of lemon when baking fish as well. In some countries, the berries are dried and ground up to make a spice that adds a red coloring to many dishes, and the pithy stems were often used in pipemaking.

winged dwarf flameleaf sumac

We love the beautiful fall color of Rhus copallina!

Shining sumac can grow in a wide range of climates, from zones 4-10, and can tolerate full sun or partial shade. It really is a pioneer species that thrives on the forest edge, where it leads the advancement of meadow to woods. It spreads by suckers, can quickly fill up an area that has been cleared, and it is often planted as both a wildlife cover species and as a shrub to stabilize soil and prevent erosion. All sorts of birds enjoy the berries, and they help to spread the seeds as well. One more interesting thing about  flameleaf sumac is that it often colonizes after fire events, which makes me wonder if the small stand we have used to be somewhere a burn or brush pile was kept by the previous owners.

In any event, I’m glad to have identified this plant, and even gladder to know that it’s so useful. I have been encouraging it wherever I see it growing, and hope to transplant a few into our backyard food forest this upcoming year and make a bunch of sumac-pink lemonade!


Black Walnut Trees in the Home Landscape and Garden

The other day, I was asked a great question in the comments section on my post about what wood to use in hugelkulture about planting black walnut trees. Specifically, about the ability of black walnut trees to “poison” other nearby plants with “chemical warfare.” I figured I would write up a post about some things to consider before planting these magnificent trees at your home or homestead.

First off, why do we even need to be concerned that a black walnut tree might kill our plants? Well, black walnut, along with hickory and pecan trees, produce a chemical called juglone. This chemical is toxic to many, but not all, species of plants and even some animals if consumed in large quantities. This gives black walnut trees an advantage in the wild, helping it to compete among other trees, vines and shrubs for sunlight, nutrients, and water. But not all plants are sensitive to juglone. In fact, many plants that co-evolved in the same areas with black walnut are not affected by the alleopathic effects of the juglone.

walnut trees in the garden


Furthermore, there are many factors that can influence a plant’s ability to live near a walnut tree and not succumb to the juglone poisoning. A few of the factors are related to soil and site conditions (pH, moisture, soil life), while others have to do with proximity to the tree. Because juglone does not travel very far in the soil, only plants immediately around black walnut trees are susceptible to poisoning. Also, by planting buffer trees, or trees that are not affected by juglone such as black locust, mullberry, elderberry, and black cherry, you can essentially contain the juglone to the area immediately under the tree.This area is particularly high in juglone because of the accumulation of leaves, nuts, nut hulls and roots.In this area, it’s best to only plant plants that are tolerant of juglone (check out a great resource here).

Plants that are not juglone tolerant include:

  • apple
  • azalea
  • birch, white
  • blackberry
  • blueberry
  • chrysanthemum
  • crocus, autumn
  • forget-me-not
  • grape, domestic
  • lily-of-the-valley
  • linden
  • mountain laurel
  • peony
  • pine
  • potato
  • rhododendron
  • thyme
  • tomato

Keep these far away from your black walnut tree, and make sure that when it drops its leaves in the fall, that they don’t settle down and decompose around these plants.

Personally, I think that there are a lot of options when it comes to using  black walnut in the landscape, particularly  in a food forest setting. With a little research, and some planning, anyone can take advantage of its majestic shape, delicious nuts, and extremely valuable timber. The nuts are easily planted in the fall, 3-4 deep and covered with a layer of either straw or leaf mulch. After freezing and thawing all winter, they should germinate in the spring. Just make sure to mark them off so you don’t mow them down next year!

A Rainy Day on the Homestead

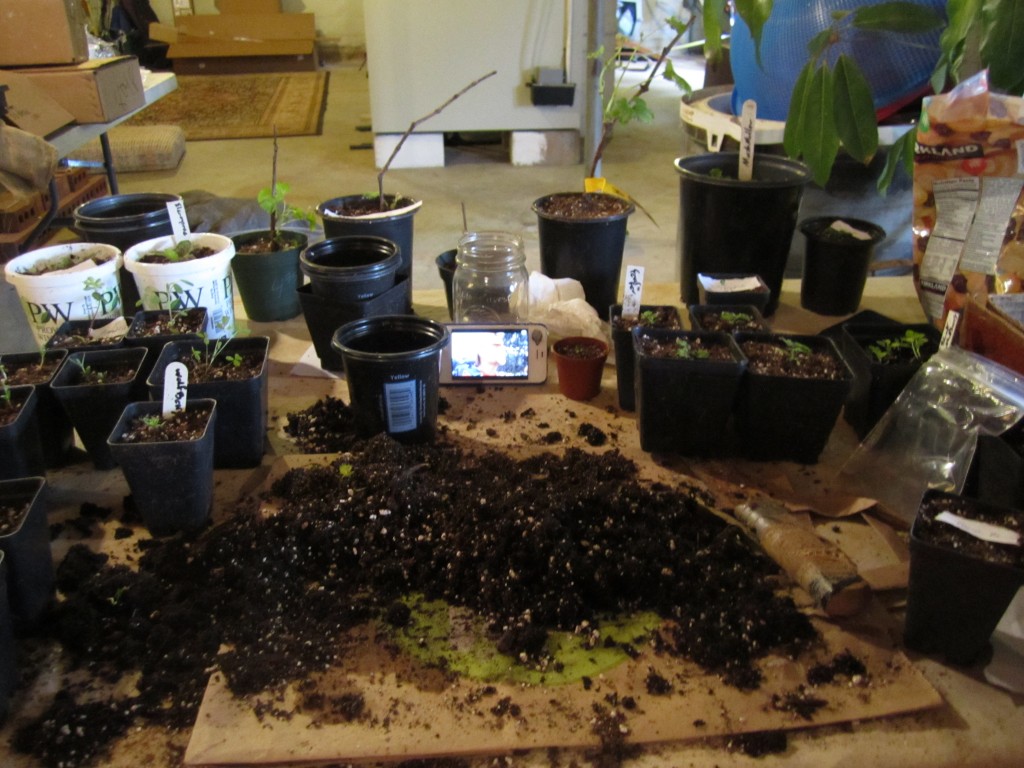
We got some much needed rain today here at Kuska Wiñasun Homestead, more than an inch and it’s still coming. Rain plays a role in the type of chores you can get done on a homestead, and today I spent most, but not all, of the time indoors, starting some more plants from seed, and potting up some small seedlings that germinated a while ago.

potting station

My planting station in the basement; potting soil, containers, root knife, and an iPhone for watching documentaries on Youtube.

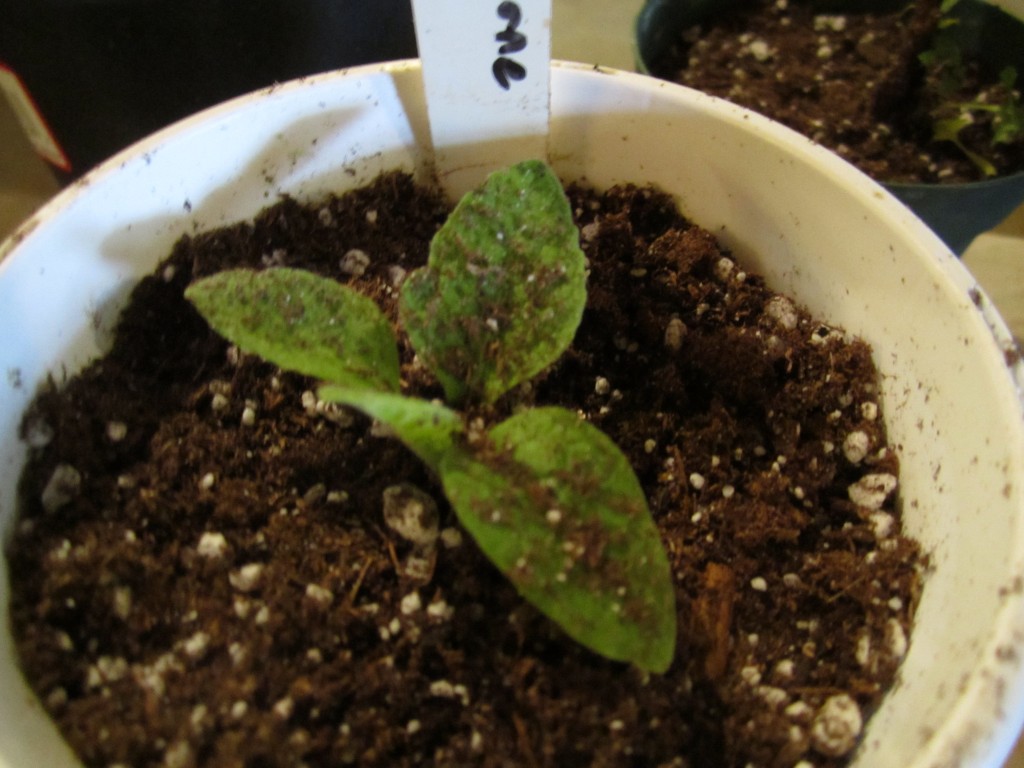
Many of the perennial herbs that were planted in the middle of March (elecampane, marshmallow, and feverfew to name a few) were a bit crowded in the small pots they germinated in and so I transplanted them into larger containers so as not to stunt their growth. I noticed that while these plants were slow to germinate, they had well developed root systems much larger than I expected for seedlings that looked so tiny. I also planted a few things from seed that we are very excited about growing: Monkey Puzzle Pine, St. John’s Wort, Ashwaganda, Blue Bean, and Lovage.

elecampane seedling

A healthy elecampane seedling, a great medicinal herb for lung and digestive problems.

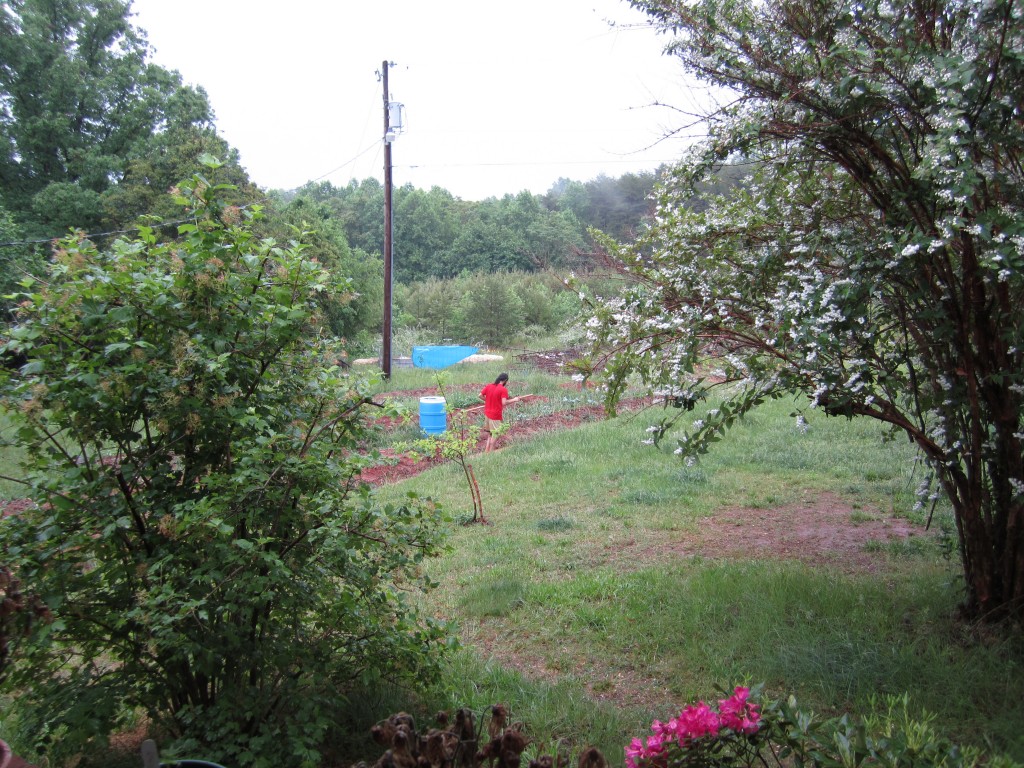
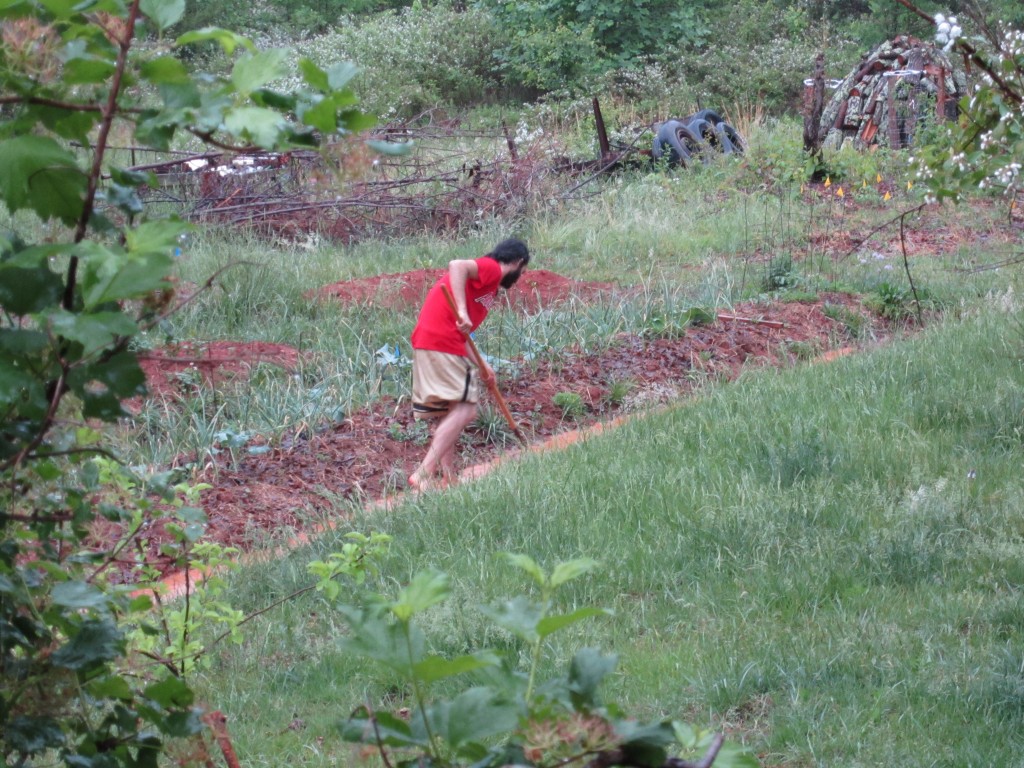
By this point it had been raining for a while, and our garden swales were starting to fill up. I noticed that they weren’t filling up evenly, and figured that it was a great time to get the hoe out and start leveling the contour paths. The small amount of water, about an inch or two, made it easy to find the high spots and then scrape that soil to the low spots. Then it was just walking up and down the swale, seeing how deep the water was at different spots and filling in with clay as needed.

garden swales

Taking advantage of some summer rain to work on the garden swales.

This was pretty fun work in the rain, and I felt like a rice farmer in China working on his paddies. The combination of a steady, rhythmic rain, and the watching the water slowly creep along the swale as it became level was very relaxing.

garden swales permaculture

So today was a rainy day not wasted. Some inside chores, and then some outside ones made easier with the help of the rain. We can also thank the rain for watering in our garden, filling up our ponds, keeping our shiitake mushroom logs moist, and charging up our forests with a much needed soak.

food forest details: keeping our plants safe and thriving

if you have looked at jason’s post from yesterday, detailing the why and where of our food forest, you know about our plans for planting over 100 fruit trees and bushes on our land.

the below video shows a few of our plant species and explains where we chose to plant them, as well as includes a demonstration about how to add a layer of protection around your own precious trees!

.:.

.:.

Starting Mimosa From Seed

It’s that time of year again, spring. Every homesteader and gardener knows that spring time can be a hectic and eventful season where we try to start plants, plan crop rotations, and consider new livestock options for the homestead. I’ve been trying to accomplish a least 1 new homestead related activity everyday for the last few weeks, and it’s gone well. Between Emma’s Mushroom endeavor, and our new food forest, we’ve been plenty busy. Lately, I’ve been starting some support species from seeds, and I wanted to detail that process here with a specific nitrogen fixing tree. Mimosa.
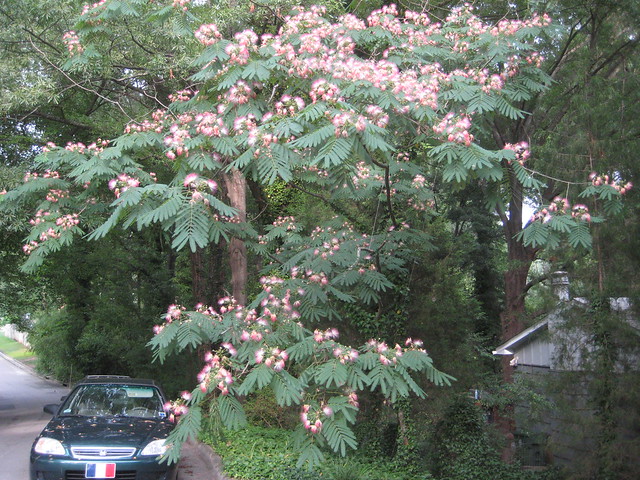
mimosa support species permaculture

Mimosa trees are both beautiful and extremely useful in permaculture design

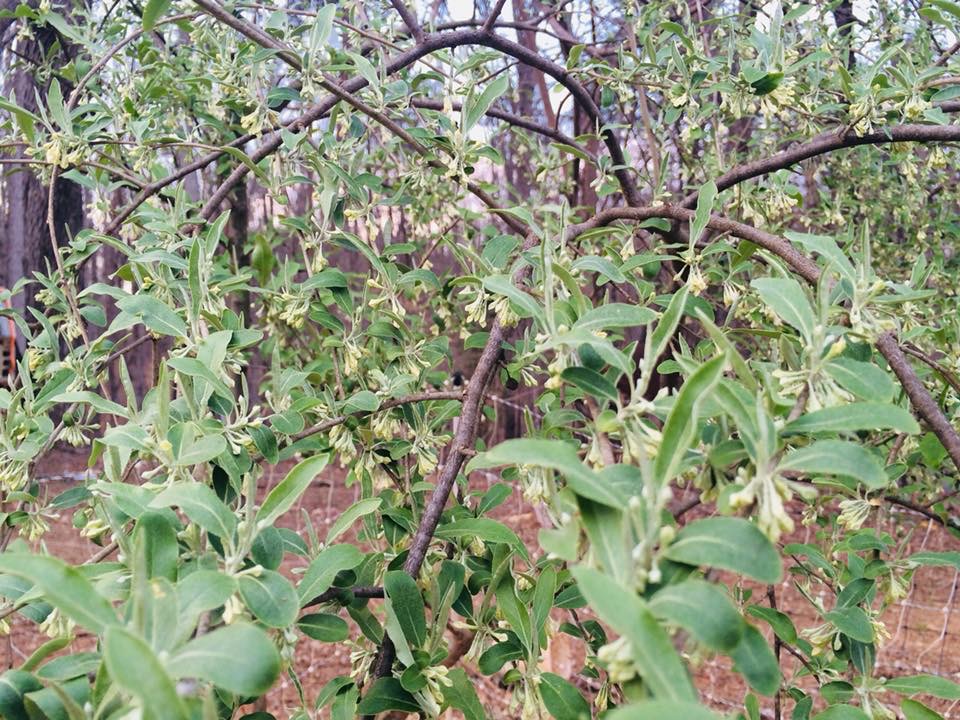
Mimosa (Albizia julibrissin) is a short lived tree that is often considered an invasive species, although I’m not too worried about that, as it fixes nitrogen, improves soil fertility, attracts many insects, and is a beautiful permaculture plant in the garden. It is also easily shaded out by other trees, and though it coppices, is not a long lived species. We plan on using mimosa trees as a support species in our forest garden, and encourage permaculturalists in North America to consider this species as well.

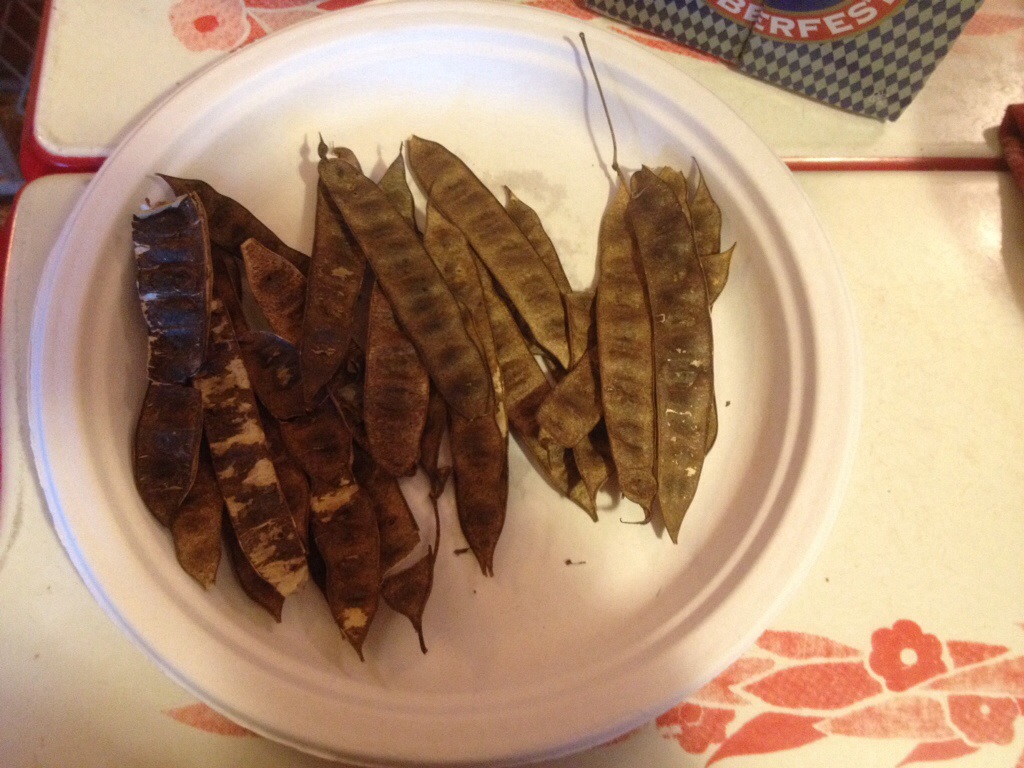
Mimosa is easily grown from seed, and as we have a few on our property, I decided to gather some local genetics and propagate a few dozen more. The seed pods hang onto the tree way into winter making seed collection very easy. Even with our recent late winter ice storms, there are still some pods hanging around, though not as many as in January. I gathered some pods from 3 trees, 1 in our backyard, right where the food forest is going in, and 2 from by the pond.
mimosa from seed permaculture

dried mimosa seed pods, ready to be shelled


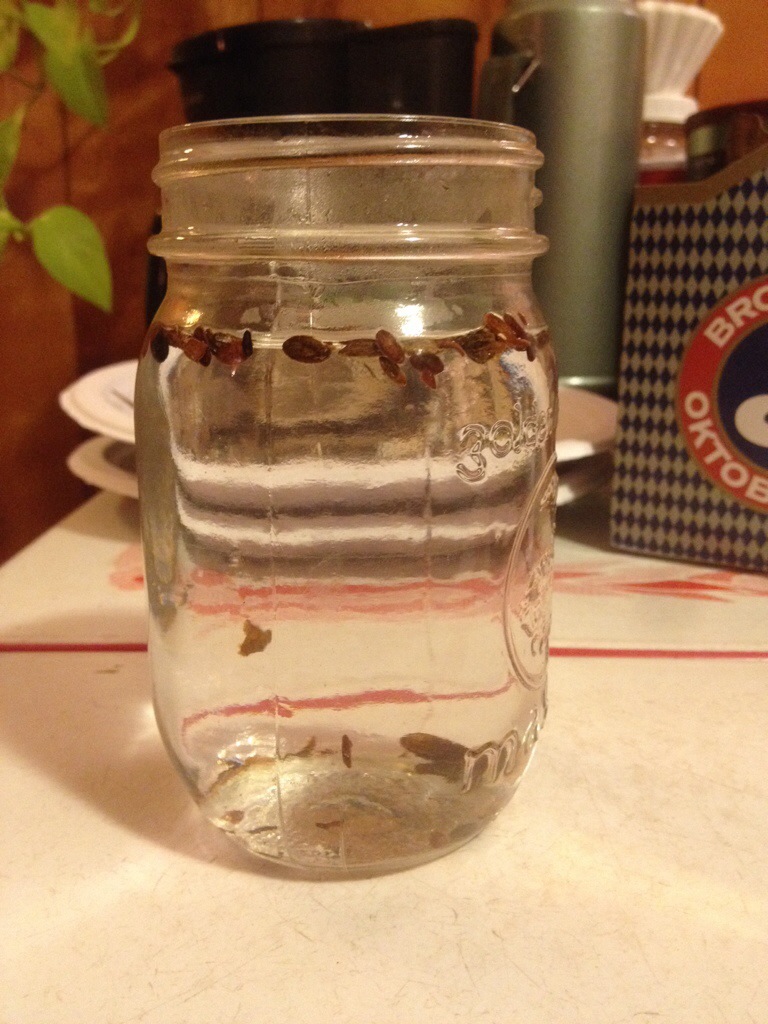
I then used my thumb to half shell half crush the pods and get to the tiny black seeds. This took a little practice, but I eventually figured out a system. After gathering about 50 or so seeds, I put some water on the stove to boil. I let this water cool for a few minutes, and then poured it over the mimosa seeds. This scarification process helps to break down the hard seed coat present on many legume seeds, and allows the seed to absorb water, thus beginning the germination process.
mimosa from seed

a hot water soak is often all it takes to help leguminous tree seeds germinate


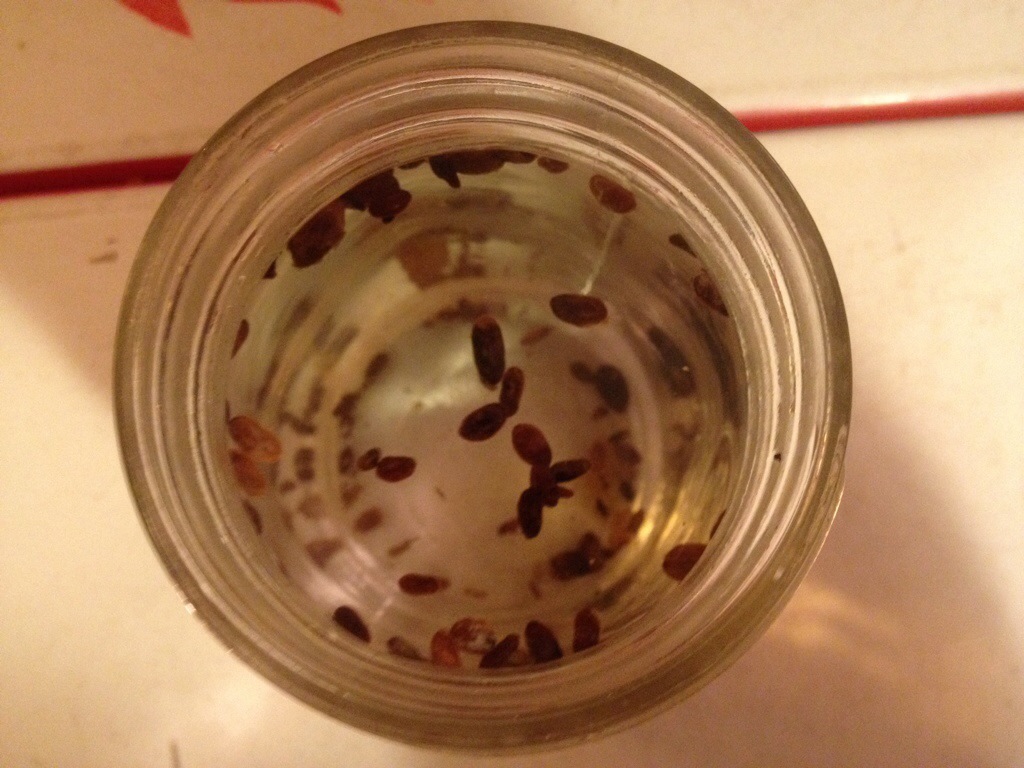
I let the seeds soak overnight, and in the morning I planted only seeds that had swollen up into a tray. I’ll see what kind of germination I get, but I think it will be fairly good, as these growing mimosa from seed seems very similar to growing honey locust from seed.
mimosa permaculture support species

plant only swollen seeds, as these are the ones that have absorbed water and will germinate quickly

These trees will go in around our fruit trees, and most will be sacrificed as mulch and fertility components. I may try an experiment and just pour hot water over the whole seed pods and see how that effects germination. It would save the somewhat tedious step of “threshing” the pods.

Anyway, our support species list is growing nicely, we have almost 300 seeds sown of honey locust, black alder, siberian pea shrub, and now mimosa. I cant wait to get them into the ground, and start building fertility!
Older posts

© 2024 KW Homestead

Theme by Anders NorenUp ↑