KW Homestead

Pasture Raised Poultry & Edible Landscaping Plants Since 2013

Tag: seeds

Cabbage = Yummy Sauerkraut!

This week we transplanted our two cabbage varieties from their pans and into the ground. The great thing about cabbages is that they are cold hardy, which means that during the early spring when there is still a risk of frosty weather they generally do just fine. A true freeze can harm them, of course, but cabbages usually do really well starting their growing journey in the early spring!

cabbages

Cabbages in their pans!

In addition to transplanting the cabbages (we chose the best 50 or 60 plants to put in the beds), we also started some other seeds, like:

  • slicing and paste tomatoes
  • spicy and slicing peppers
  • lettuces
  • herbs like basil, oregano, thyme, and many others
  • tomatillos
  • and more!

This year we haven’t yet gotten behind with planting (like we did last year because of all the wedding planning), which is encouraging news for us. For now, we await the cabbages and the delicious and nutritious sauerkraut this will result!

cabbages

Cabbages transplanted in their beds.

.:.

The First Signs of Spring… Seed Catalogs!

As Christmas and New Year’s pass and the days start to get longer as we get further and further away from the winter solstice, slowly, Spring is coming.

One of the things that particularly reminds me of this is the sudden, and almost incessant arrival of seed, plant, and gardening supply catalogs.Starting around Mid December, seed companies large and small start to send out their beautiful and eloquent descriptions of cultivars and varieties.

Spring Garden Planning

Some of our favorite places to find new seeds

From vegetables to fruit trees, the catalogs pour in with old heirloom favorites like Cherokee Purple Tomatoes, to newly rediscovered varieties from across the ocean like anchote. Anchote, or Coccinia abyssinica, caught my eye the other day as I perused J.l. Hudson’s new availability. Its an ancient tuber crop from Ethiopia related to cucumbers. Pretty cool, and supposedly tasty too.

These catalogs are full of interesting varieties like that, and make for great winter reading by the fire as we contemplate Spring, a new Year, and the taste of those first vegetables from the garden. There’s a lot that still needs to be done before then, but for me at least, these catalogs are the first sign that Spring is coming.

saving greenbean seeds: strategies and thoughts

now is the time for our first planting of greenbeans to be left alone and allowed to go to seed. this means that we are simply letting the mature beans dry on the vine until the pods are brown and gross looking (when they even look like they’re molding or something… which they usually aren’t unless you’ve had tons of rain). once the pods look brown and funky, you rattle the pods to hear if the beans are wiggling inside. if they are, then the pods are ready to be harvested and the beans are ready to be removed and saved. you can see from the photo below that the beans in the ziploc bag are darker red/brown. they were collected at the right time, whereas the other beans were collected perhaps a little too soon and some are lighter in color or small and a little funny shaped. i’m not yet sure if these beans will be as fruitful as the others, but we’ll find out next year!

i also tried another experiment with bean seed preservation, which involved dehydrating (using the dehydrator) some large and tough beans that were still green. as expected, the beans did not really cure, since they need to stay on the vine until their nature-designed time for becoming viable seeds. it was still an interesting experiment, though, and i’m glad to know a bit more about curing our seeds for next year!

greenbean hulls and greenbeans, in different stages of curing

greenbean hulls and greenbeans, in different stages of curing

.:.

processing kale seeds for next year

a few months ago we harvested our kale seeds pods after they dried on their stems. today, i spent hours processing the seeds for planting later this year. it was fun (i love doing detailed work with my hands!), but it sure took a while!

kale seed pods stored in a paper bag to dry

kale seed pods stored in a paper bag to dry

our seed pods were stored in a paper bag and i went through the stems one at a time, breaking open each seed pod and pushing and/or scraping the seeds out into a bowl with the broken off pod pieces.

broken off and emptied seed pods after processing

broken off and emptied seed pods after processing

kale seeds, freed from their pods!

kale seeds, freed from their pods!

that was it, really. a simple process but one that takes time and energy. we filled about 1/4 or 1/3 of a sandwich-sized ziploc bag with seeds, plenty for planting this year and the next!

next year's kale crop inside!

next year’s kale crop inside!

we put the spent stems and the still-attached pods into a compost area; perhaps we’ll use them for mulching in the near future!

emptied kale stems and pods

emptied kale stems and pods

and since i found the opened pods to be beautiful, i decided to save them, though i’m not really sure what i’ll do with them yet! i’m thinking a craft of some kind, but who knows?!

empty pods--a future craft?!

empty pods–a future craft?!

.:.

planting seeds and watching them grow!

on april 6th i planted a whole lot of our seeds for this year in seed trays and have since watched their successes and adventures in growing.

we wanted to share what we’ve experienced in their germination process, so that you can have an idea about what to expect if you plant any similar plants.

first of all, my potting mix consisted of about 2/3 peat moss and 1/3 black kow, with a little bit of vermiculite thrown in there. this is not my ideal mix (we were running low on vermiculite) but it worked fine for this occasion! the trays were watered the same day i planted the seeds and have been watered every day or every other day since then. they have been sitting outside in the sun on our driveway with a fence gate laid down on top of them so dodger doesn’t decide to sit in them (since he does love to be the center of attention).

trays

readying the trays for planting seeds!

this is the list of all of the seeds that were planted in trays on the 6th of this month, categorized by how many days they took to germinate:

4 days

  • anuenue lettuce
  • butterfly garden mix (a mix of 30+ flower types that butterflies love)
  • save the bees mix (a mix of flower types that bees love)

5 days

  • sweet valentine lettuce
  • bronze arrow lettuce
  • speckled bibb lettuce

8 days

  • thyme
  • cotton (erlene’s green cotton… beautiful and green!)
  • celosia flowers (cockscomb mix)
  • aster flowers (powder puff mix)
cotton

erlene’s green cotton… the seeds are green and the cotton will be too!


10 days

  • black plum tomatoes
  • san marzano tomatoes
  • black cherry tomatoes (i got these seeds from a friend years ago and i don’t actually know the same of the tomato. i call it black cherry because these cherry tomatoes have a purple flesh.)

11 days

  • oregano
  • lemon balm
  • spearmint

13 days

  • genovese basil
  • italian flat leaf parsley
  • jupiter red sweet bell peppers
  • golden california wonder sweet yellow bell peppers
  • tomatillos

no germination so far

  • rocky mountain bee plant (cleome serrulata)
  • sage
  • aji dulce peppers
  • cayenne peppers
  • jalapeño peppers

we’re still waiting to see what the few seeds that haven’t germinated will do in the future. until they germinate, they will be out in the sun, getting water and dodging dodger’s tippity toes!

our planted seed trays, taking in the sun and soaking in the water.

our planted seed trays, taking in the sun and soaking up the water.

.:.

Starting Mimosa From Seed

It’s that time of year again, spring. Every homesteader and gardener knows that spring time can be a hectic and eventful season where we try to start plants, plan crop rotations, and consider new livestock options for the homestead. I’ve been trying to accomplish a least 1 new homestead related activity everyday for the last few weeks, and it’s gone well. Between Emma’s Mushroom endeavor, and our new food forest, we’ve been plenty busy. Lately, I’ve been starting some support species from seeds, and I wanted to detail that process here with a specific nitrogen fixing tree. Mimosa.

mimosa support species permaculture

Mimosa trees are both beautiful and extremely useful in permaculture design

Mimosa (Albizia julibrissin) is a short lived tree that is often considered an invasive species, although I’m not too worried about that, as it fixes nitrogen, improves soil fertility, attracts many insects, and is a beautiful permaculture plant in the garden. It is also easily shaded out by other trees, and though it coppices, is not a long lived species. We plan on using mimosa trees as a support species in our forest garden, and encourage permaculturalists in North America to consider this species as well.

Mimosa is easily grown from seed, and as we have a few on our property, I decided to gather some local genetics and propagate a few dozen more. The seed pods hang onto the tree way into winter making seed collection very easy. Even with our recent late winter ice storms, there are still some pods hanging around, though not as many as in January. I gathered some pods from 3 trees, 1 in our backyard, right where the food forest is going in, and 2 from by the pond.

mimosa from seed permaculture

dried mimosa seed pods, ready to be shelled


I then used my thumb to half shell half crush the pods and get to the tiny black seeds. This took a little practice, but I eventually figured out a system. After gathering about 50 or so seeds, I put some water on the stove to boil. I let this water cool for a few minutes, and then poured it over the mimosa seeds. This scarification process helps to break down the hard seed coat present on many legume seeds, and allows the seed to absorb water, thus beginning the germination process.

mimosa from seed

a hot water soak is often all it takes to help leguminous tree seeds germinate


I let the seeds soak overnight, and in the morning I planted only seeds that had swollen up into a tray. I’ll see what kind of germination I get, but I think it will be fairly good, as these growing mimosa from seed seems very similar to growing honey locust from seed.

mimosa permaculture support species

plant only swollen seeds, as these are the ones that have absorbed water and will germinate quickly

These trees will go in around our fruit trees, and most will be sacrificed as mulch and fertility components. I may try an experiment and just pour hot water over the whole seed pods and see how that effects germination. It would save the somewhat tedious step of “threshing” the pods.

Anyway, our support species list is growing nicely, we have almost 300 seeds sown of honey locust, black alder, siberian pea shrub, and now mimosa. I cant wait to get them into the ground, and start building fertility!

Random Farm Stuff: Spreading Seeds, Mulch, and a Garlic Update

Kuska Wiñasun Homestead is ready for spring. It’s been nice enjoying the winter weather and the change of the seasons, but I personally can’t wait to see those first dandelions and clover blossoms. The maples are budding out, but it’s still cold. We got more snow, ice, and sleet today, and it should continue into the morning.

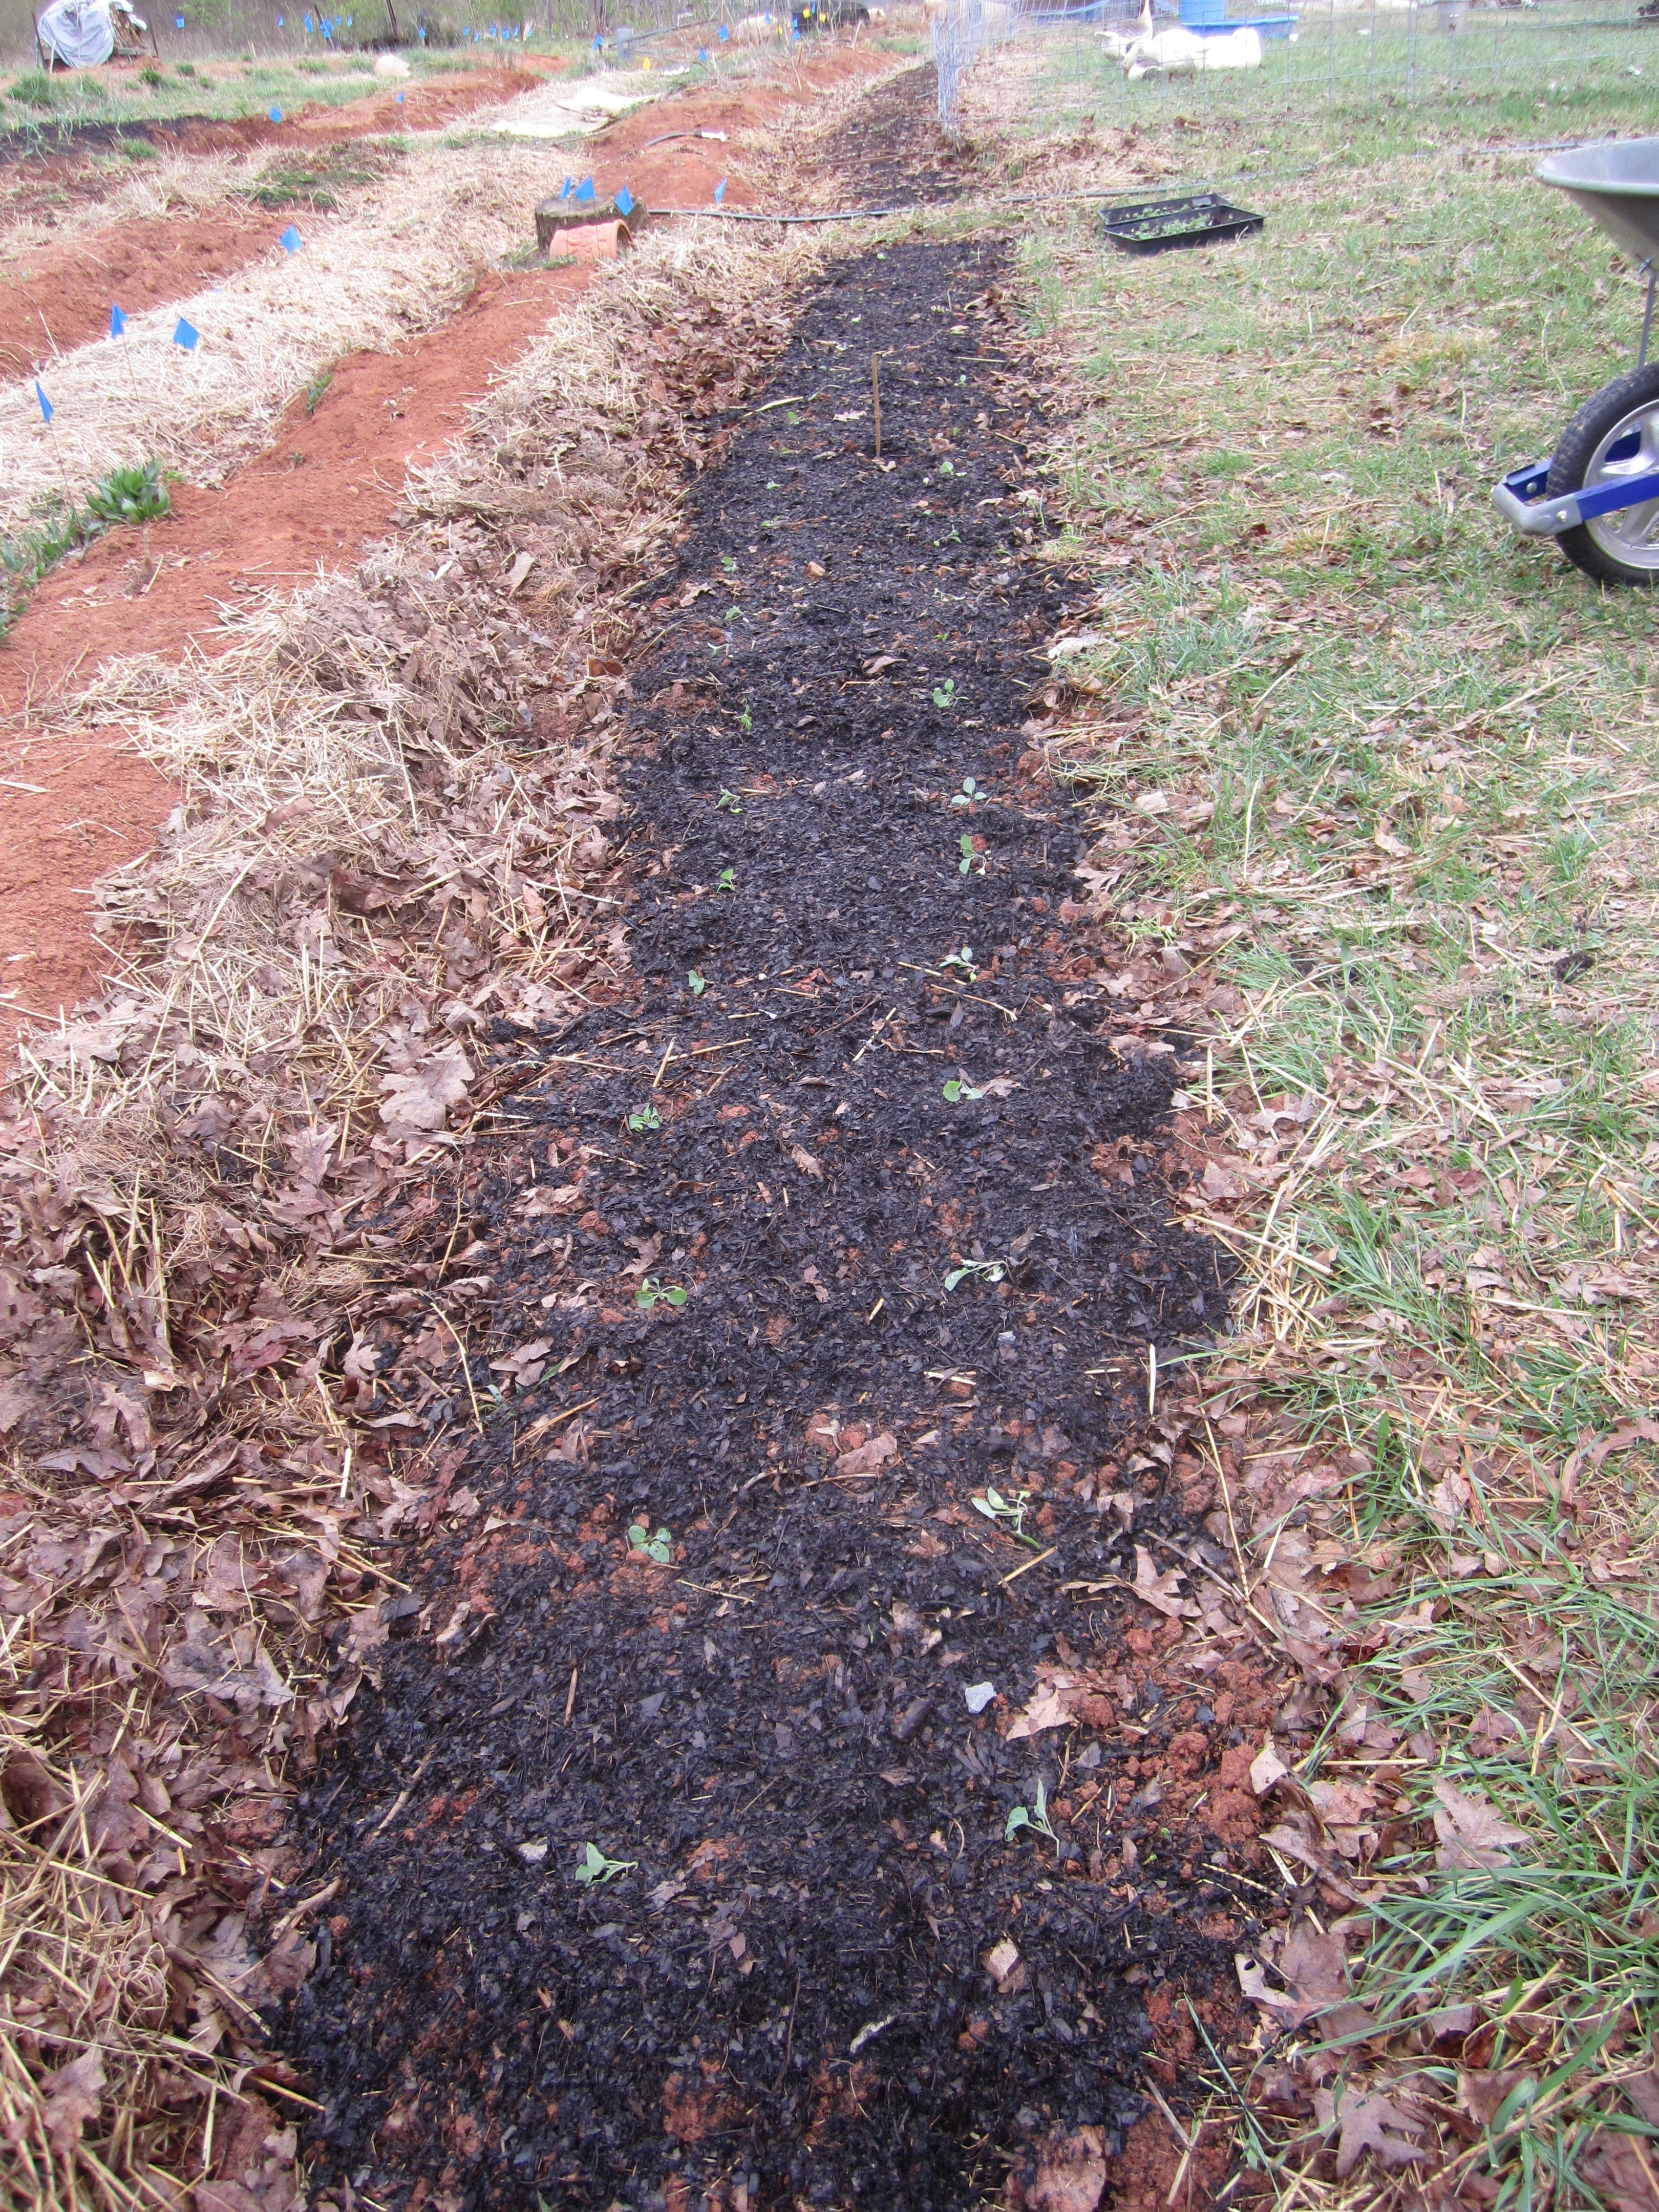
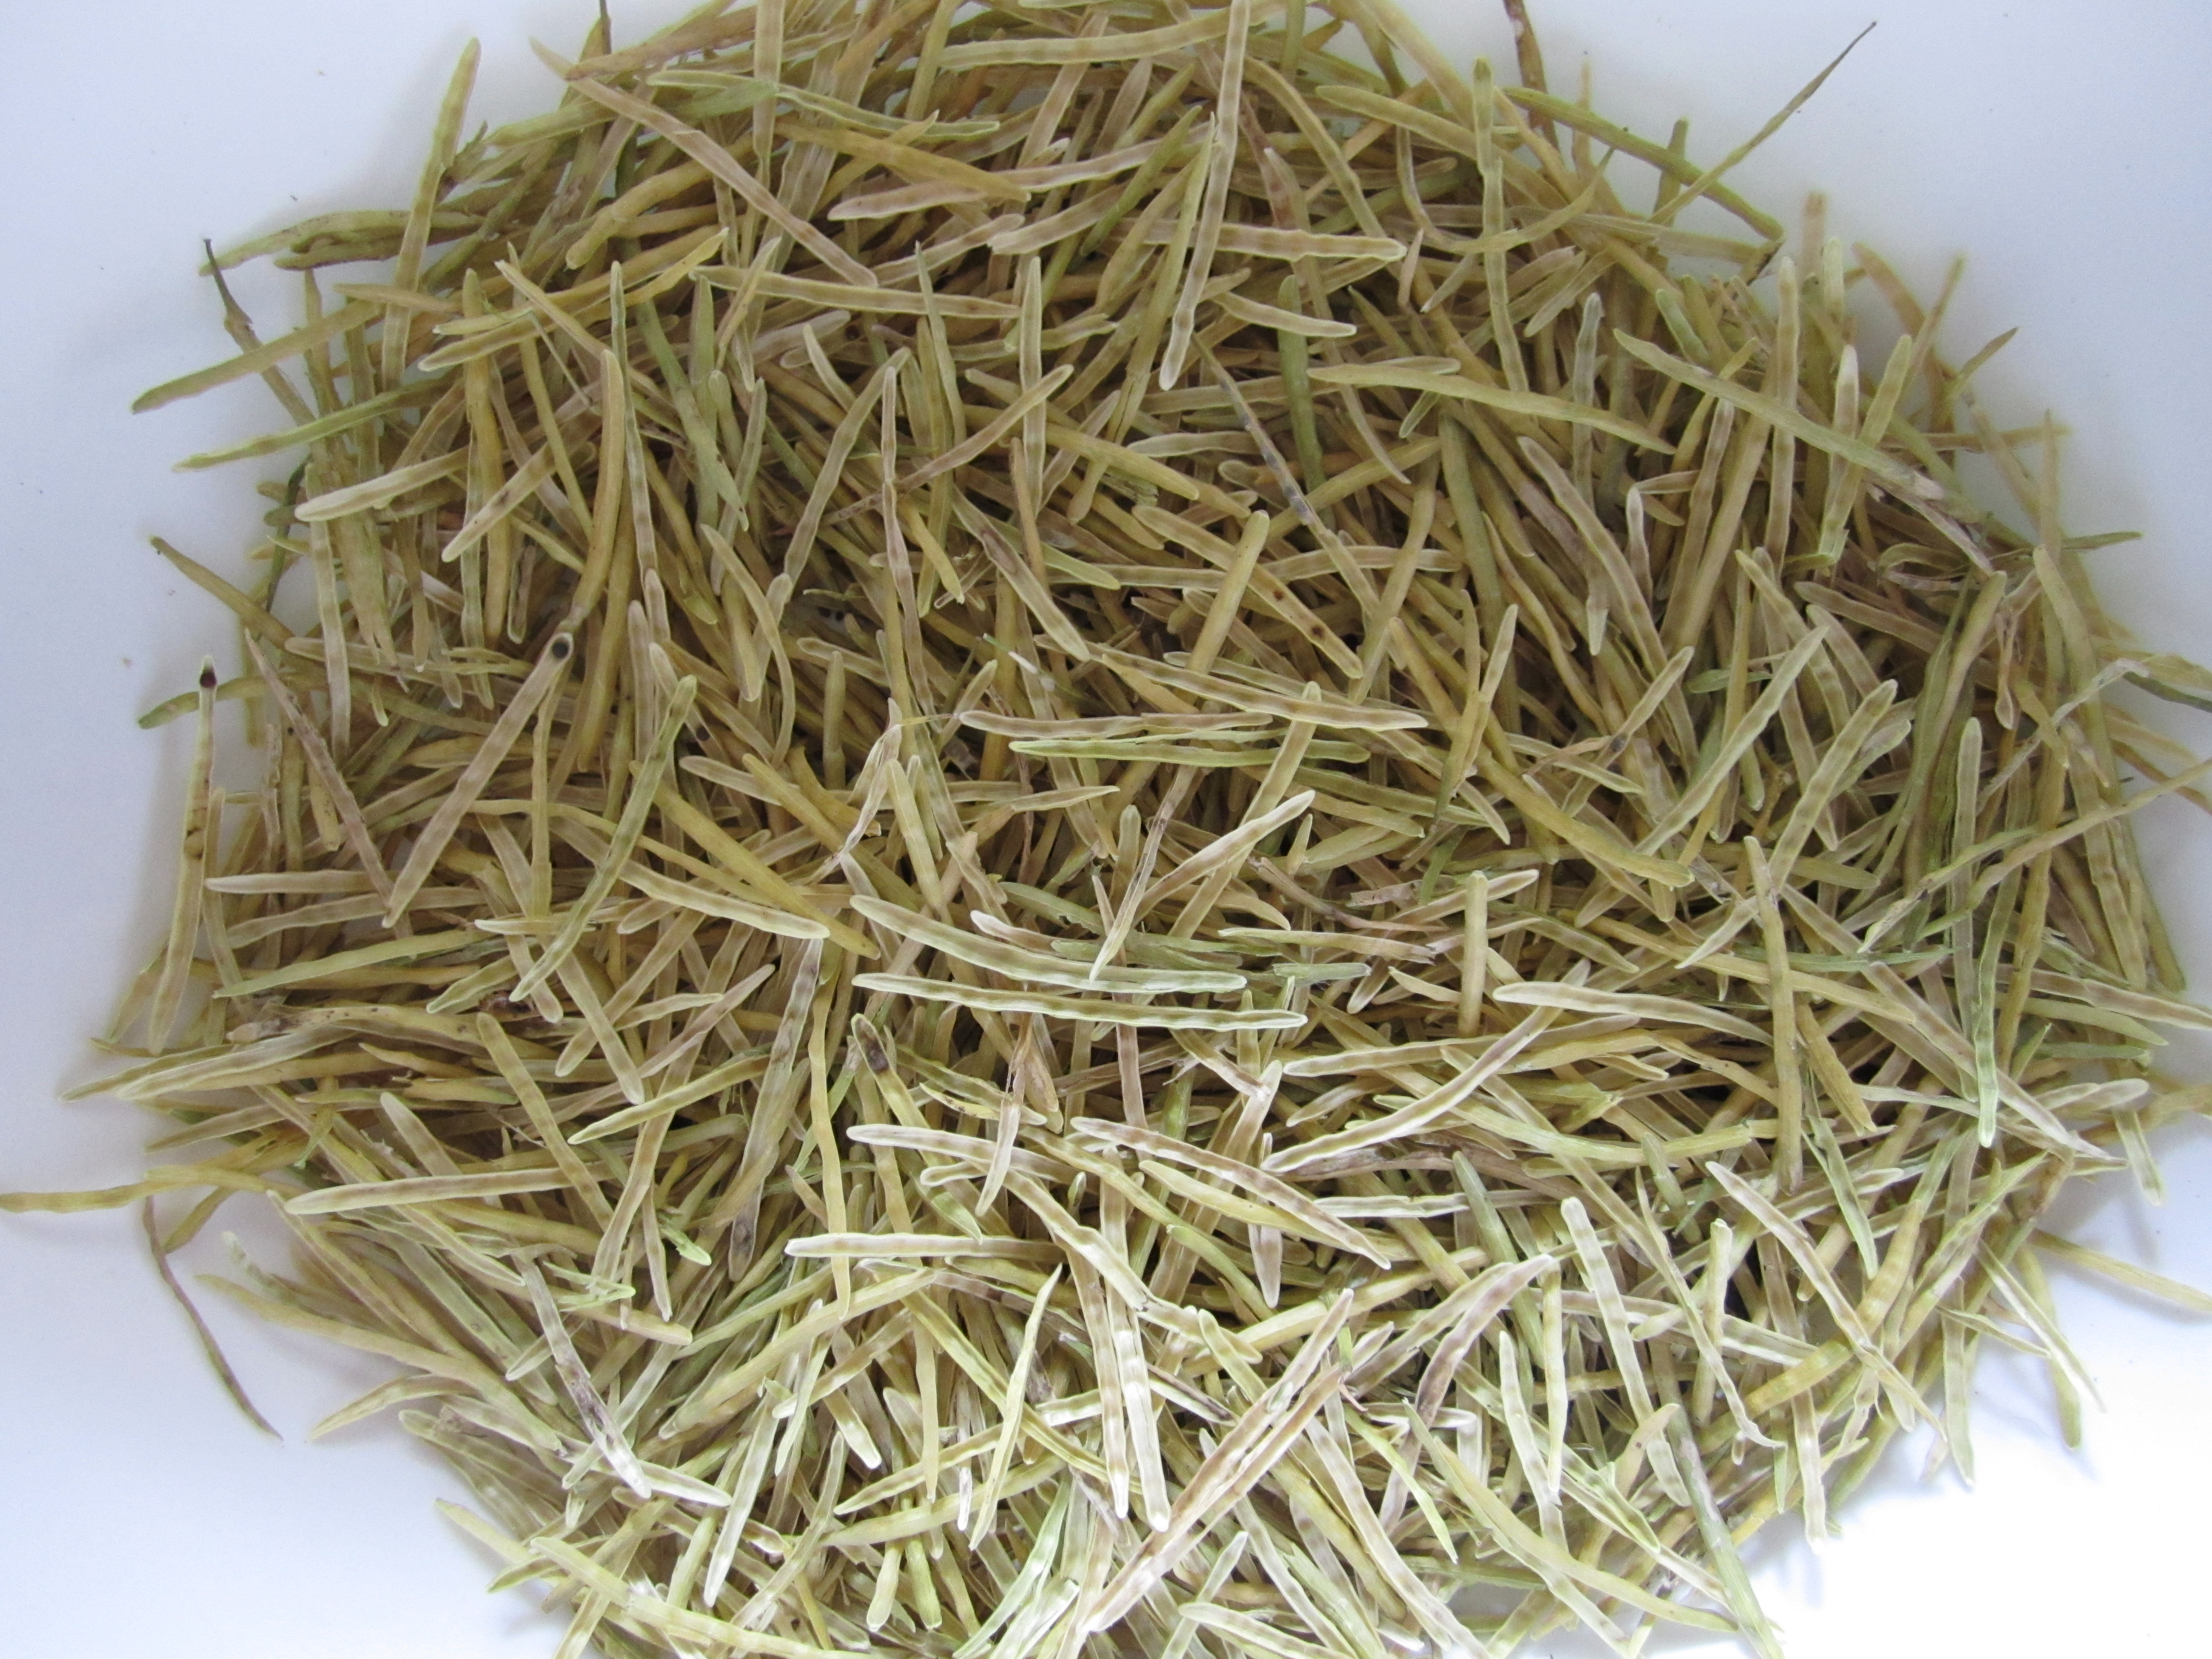
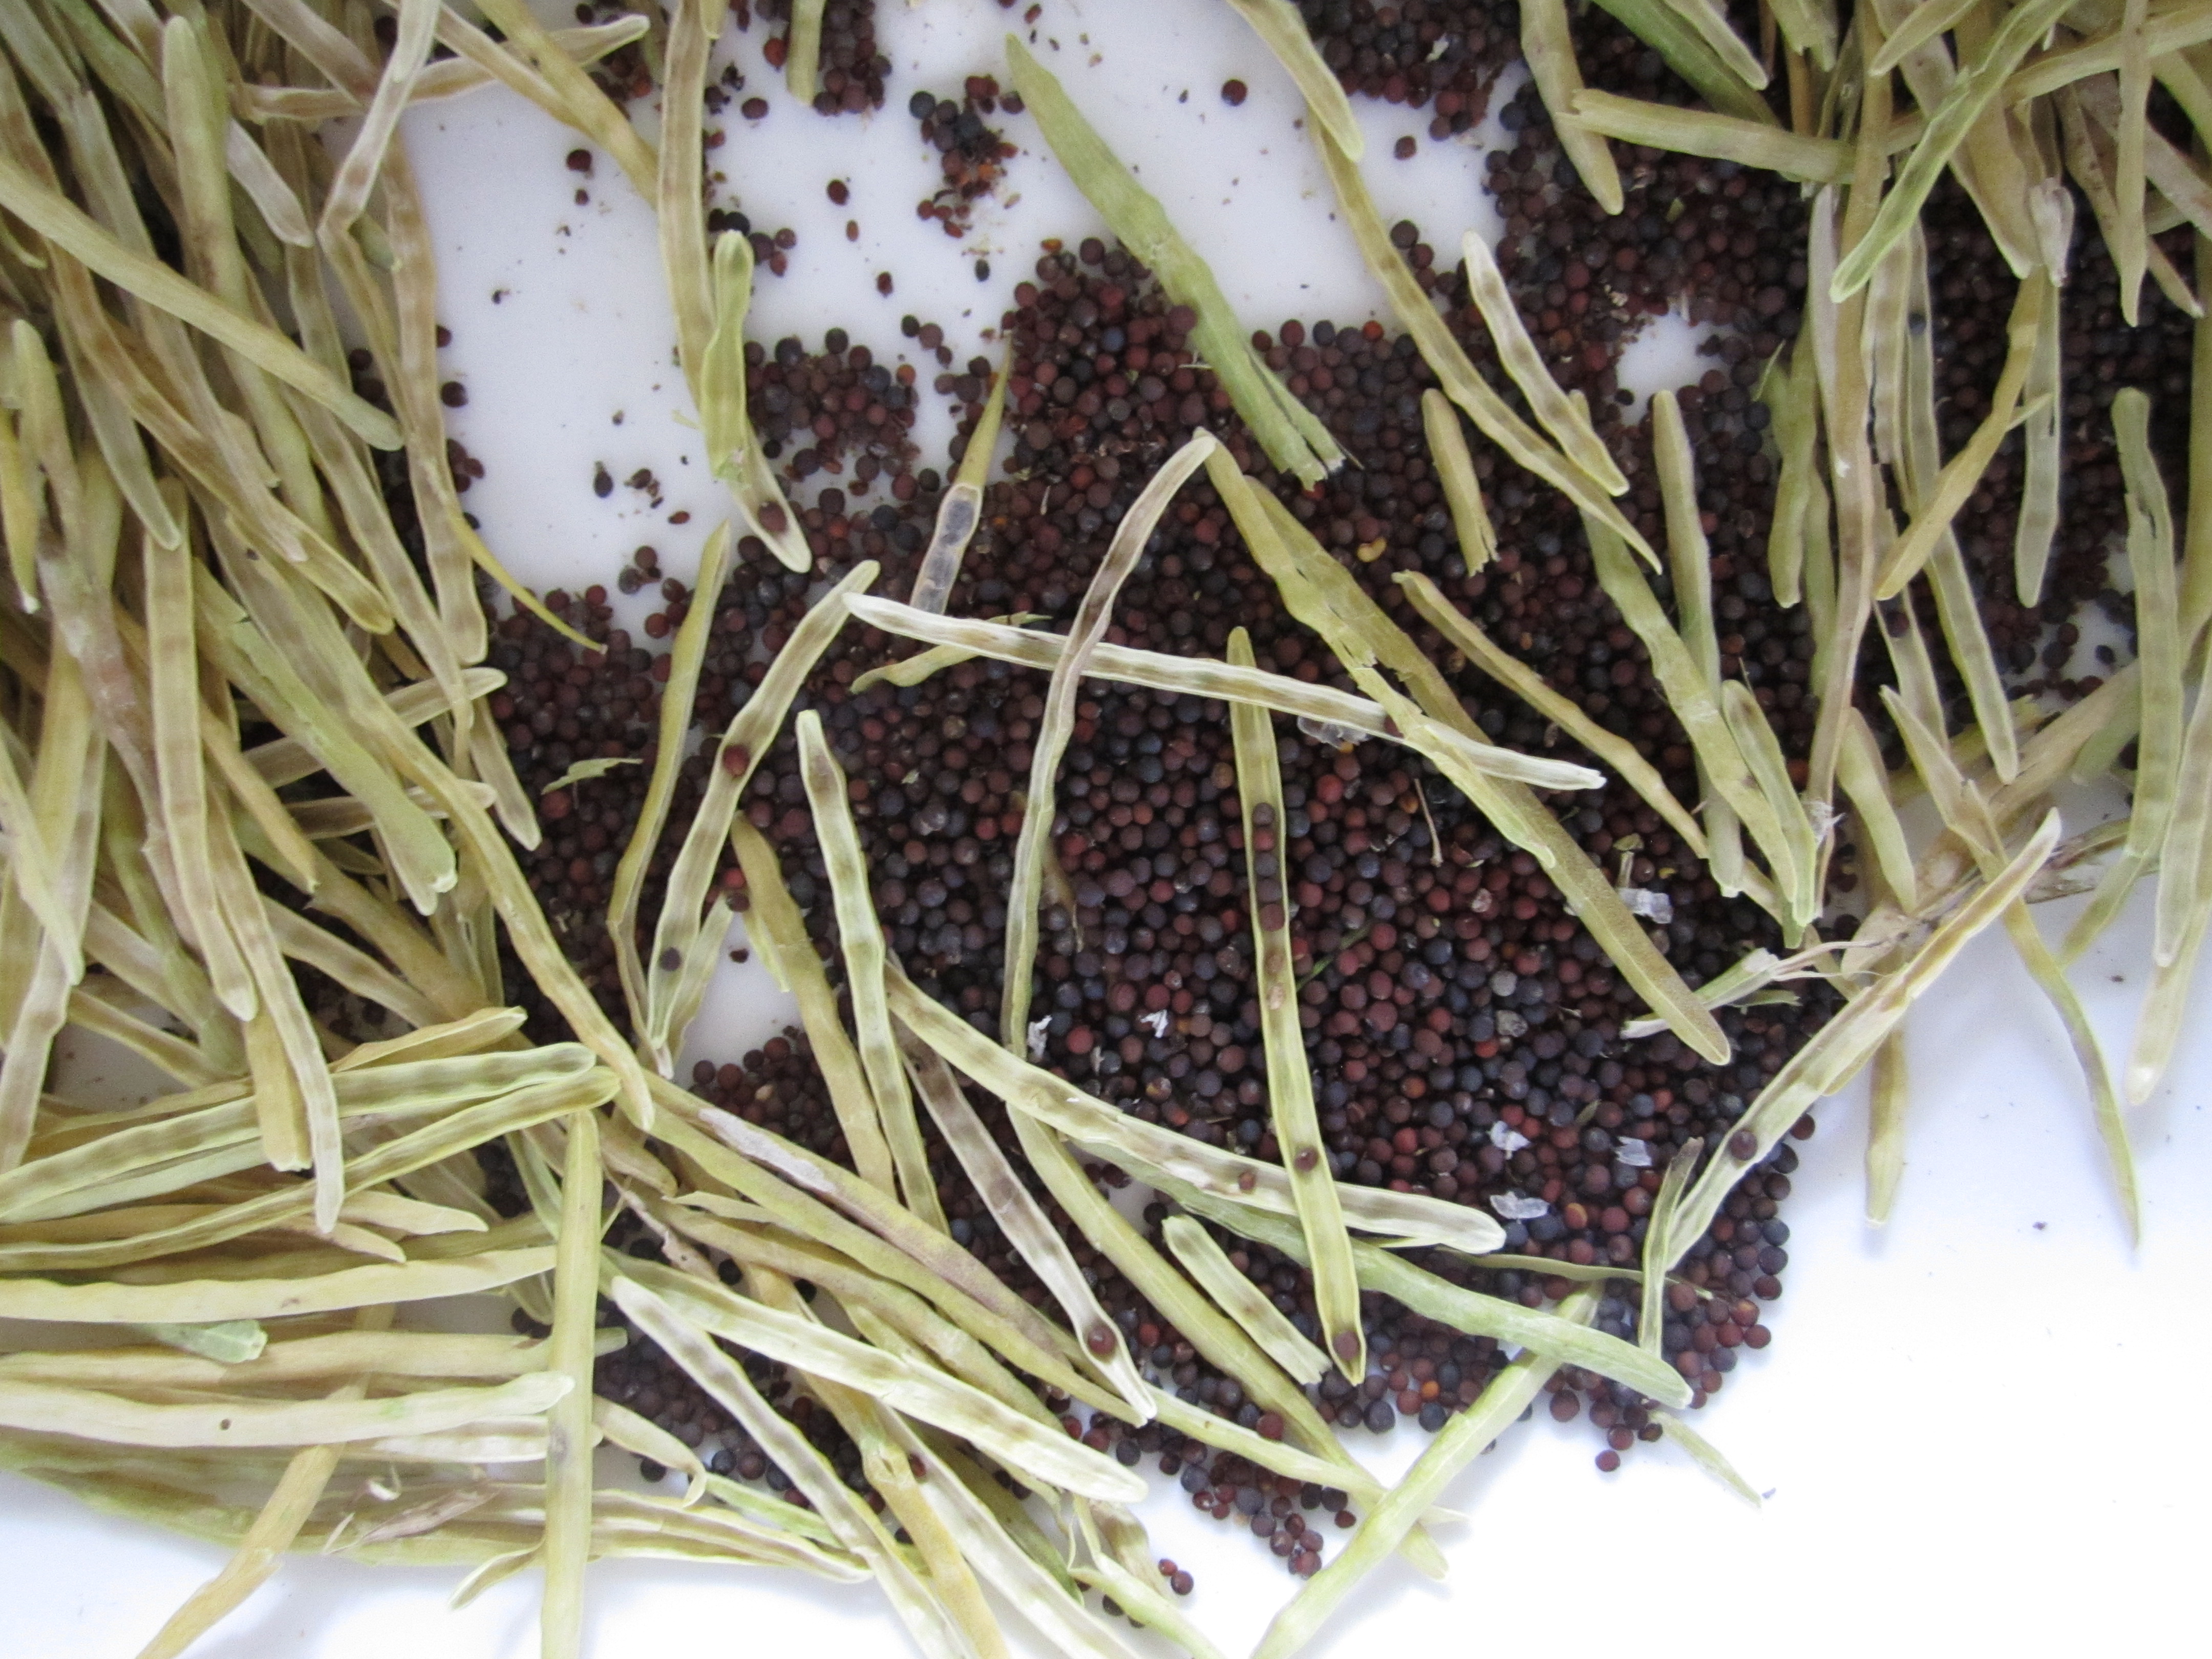
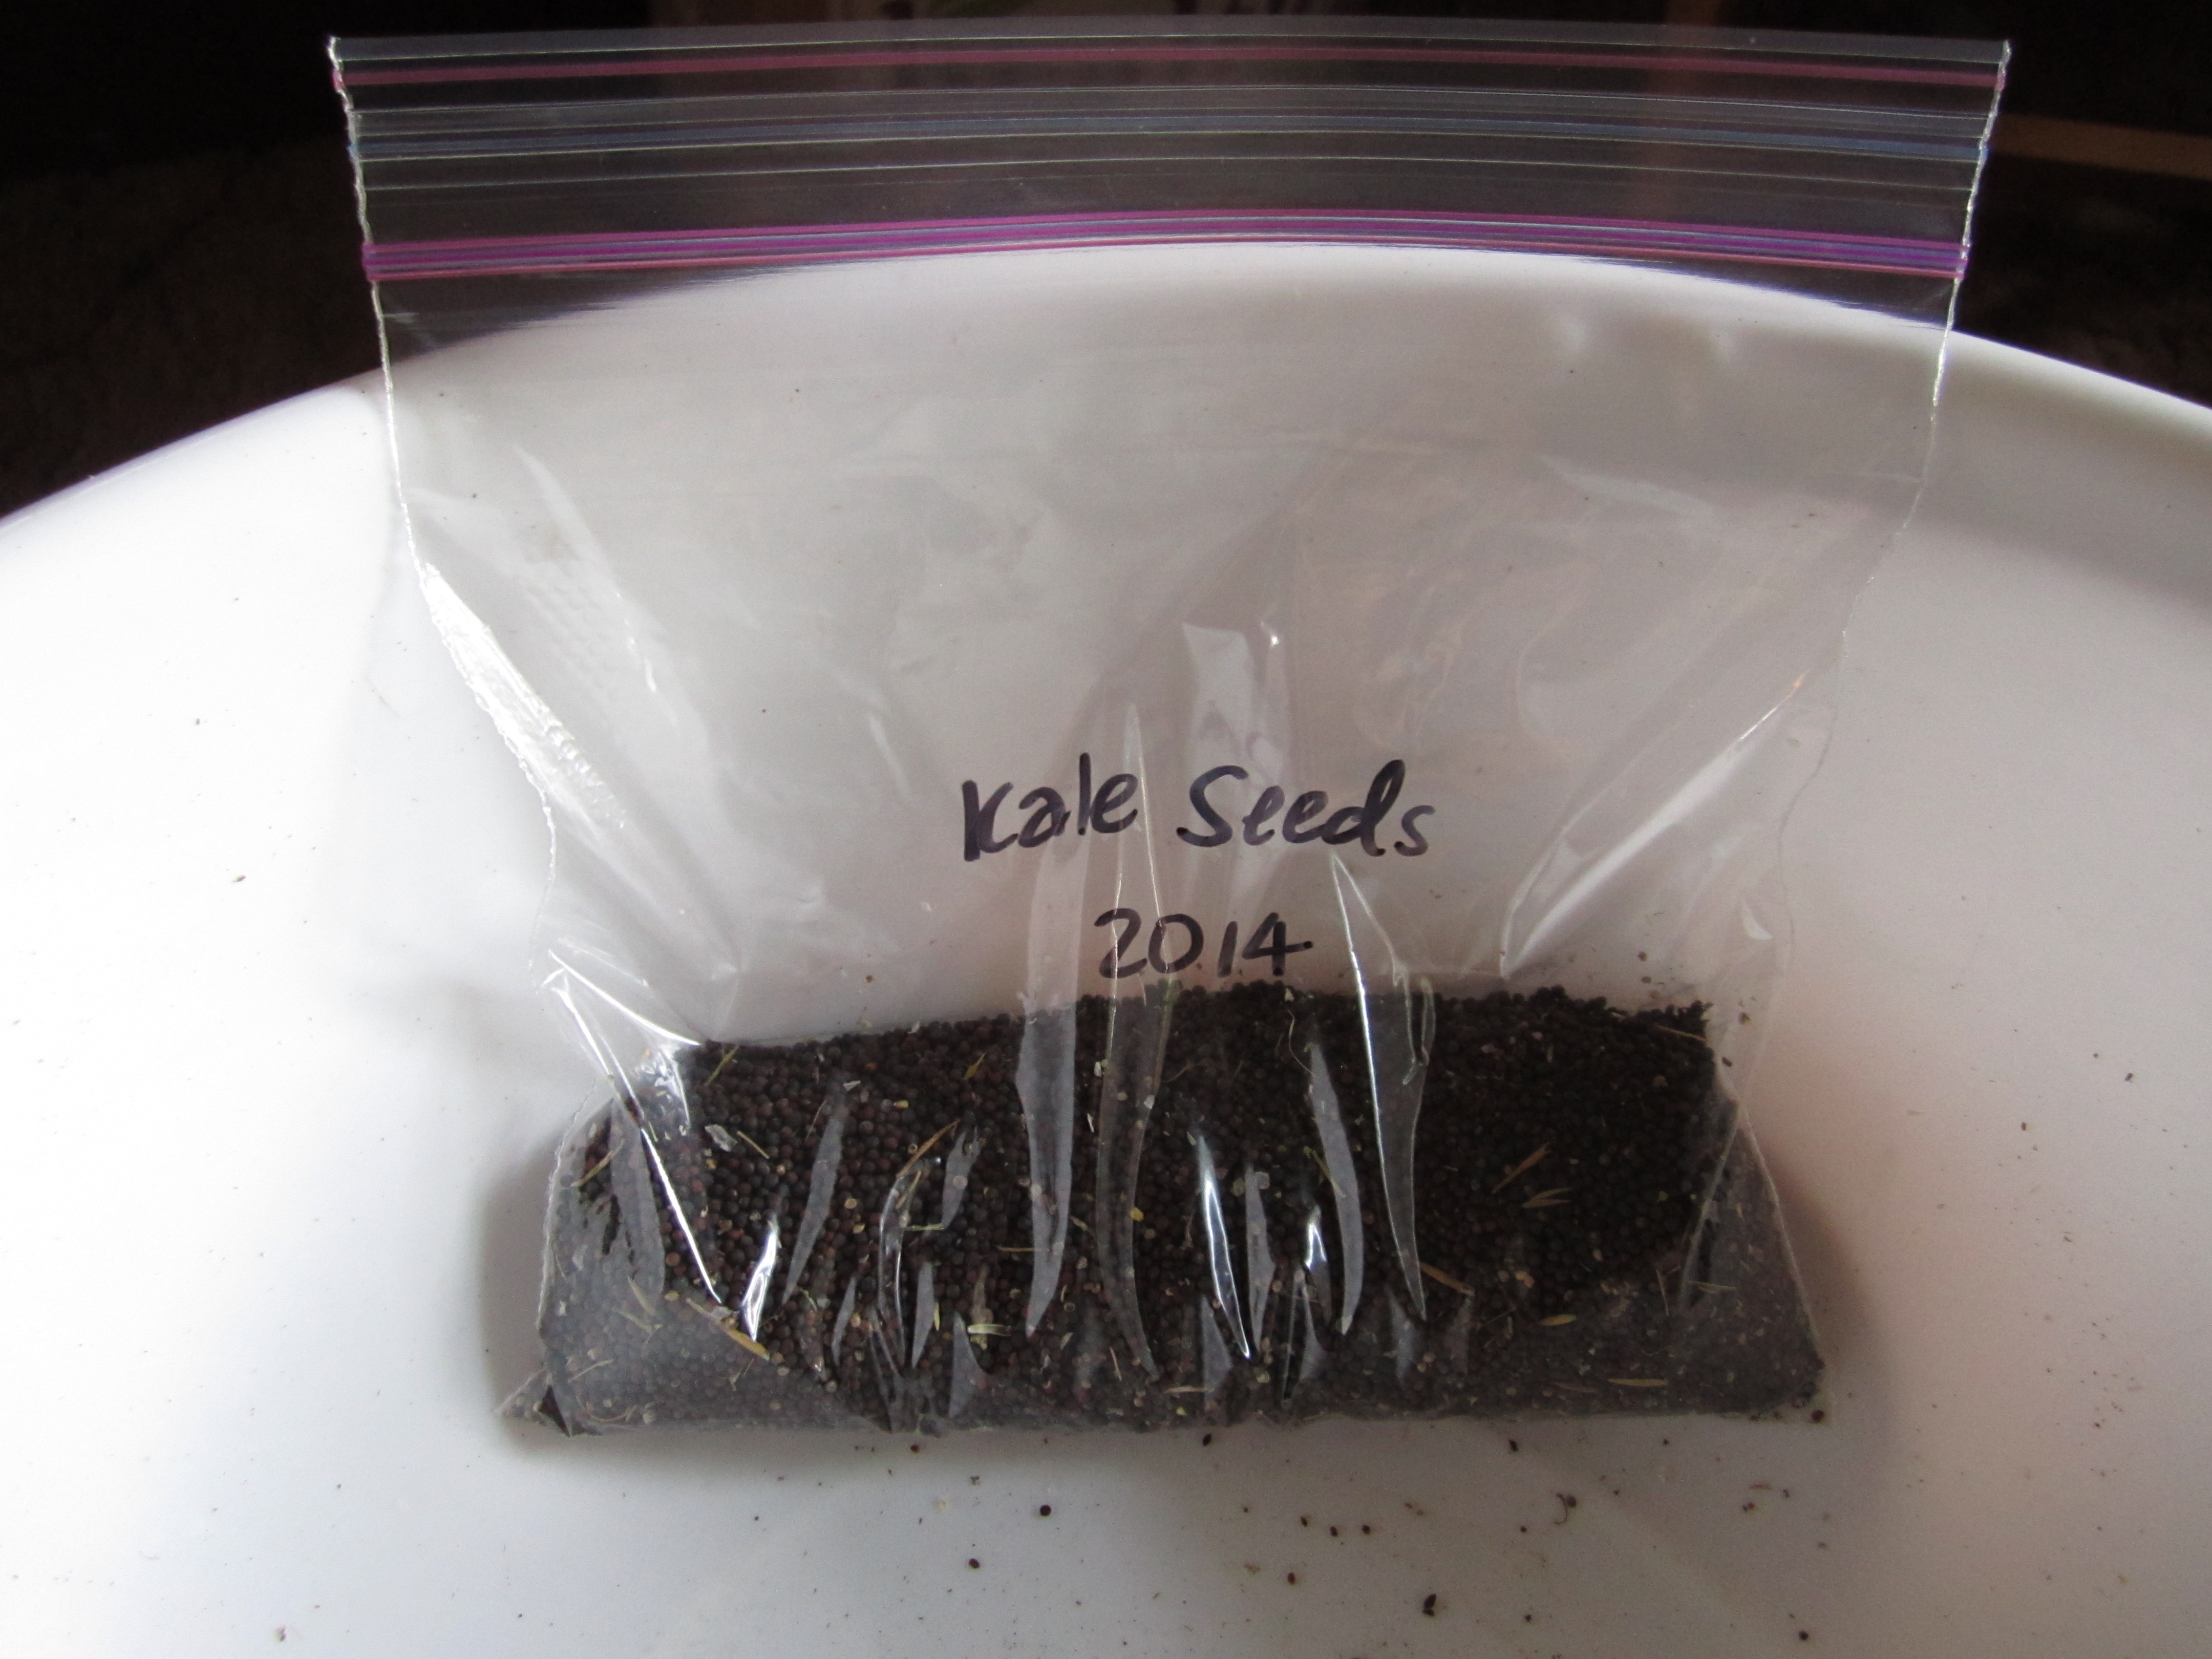
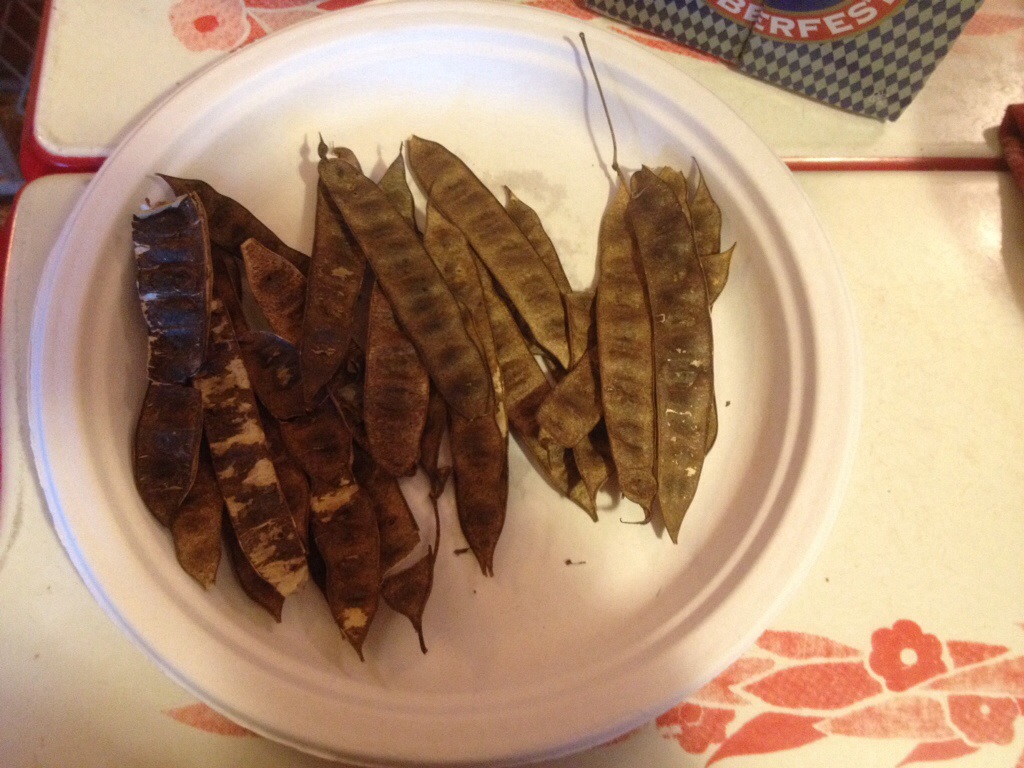
This constant cycle of freezing and thawing should help the seed mix I broadcast this weekend by improving soil contact and moisture. I sowed a nice mix of perennial herbs, annual grains, and a few random vegetables thrown in for fun. The base of the mix was dutch white clover, a low lying leguminous perennial that fixes nitrogen and feeds the bees and chickens. To that I added a good bit of chicory, some plantain, alfalfa, vetch, and lambsquarter. I also mixed in some oats and wheat, as well as a packet of daikon radish, lettuce, spinach, chamomile, broccoli, cilantro, and old packet of yellow squash.

We’ll see what takes and what doesn’t, but there should be more than enough vegetation in the old chicken pens where I over-seeded the mix. If there are any blank spaces, we can follow up with some amaranth, chia, buckwheat, and some  more lambsquarter after the soil warms up a bit.

seeds homestead

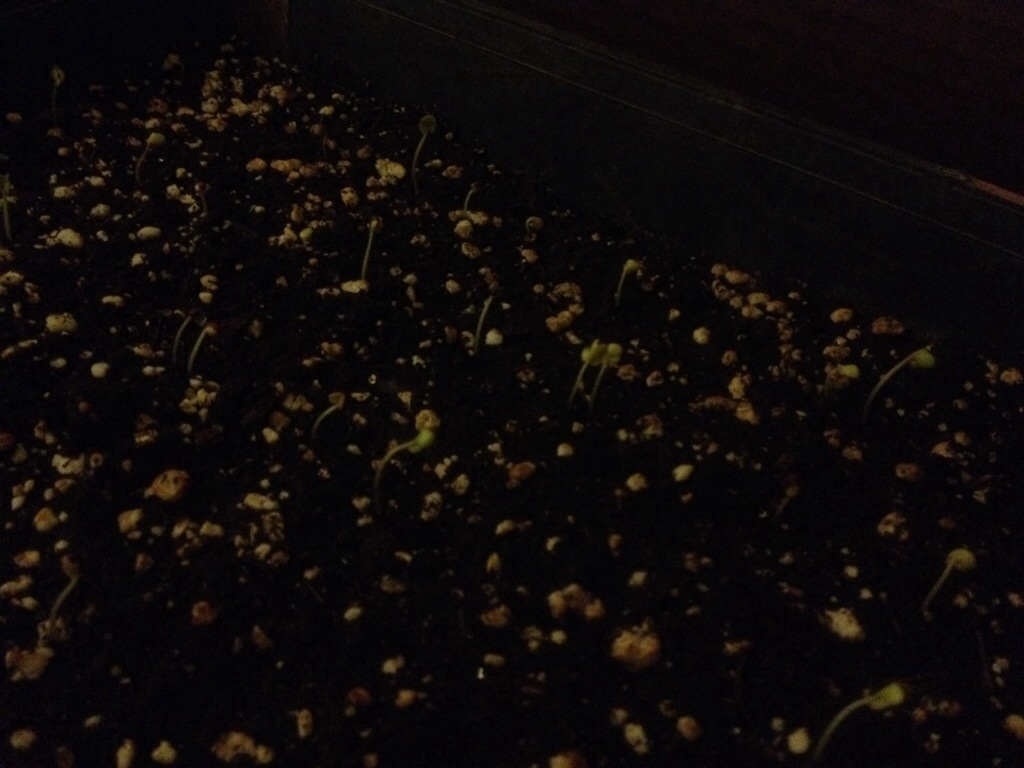
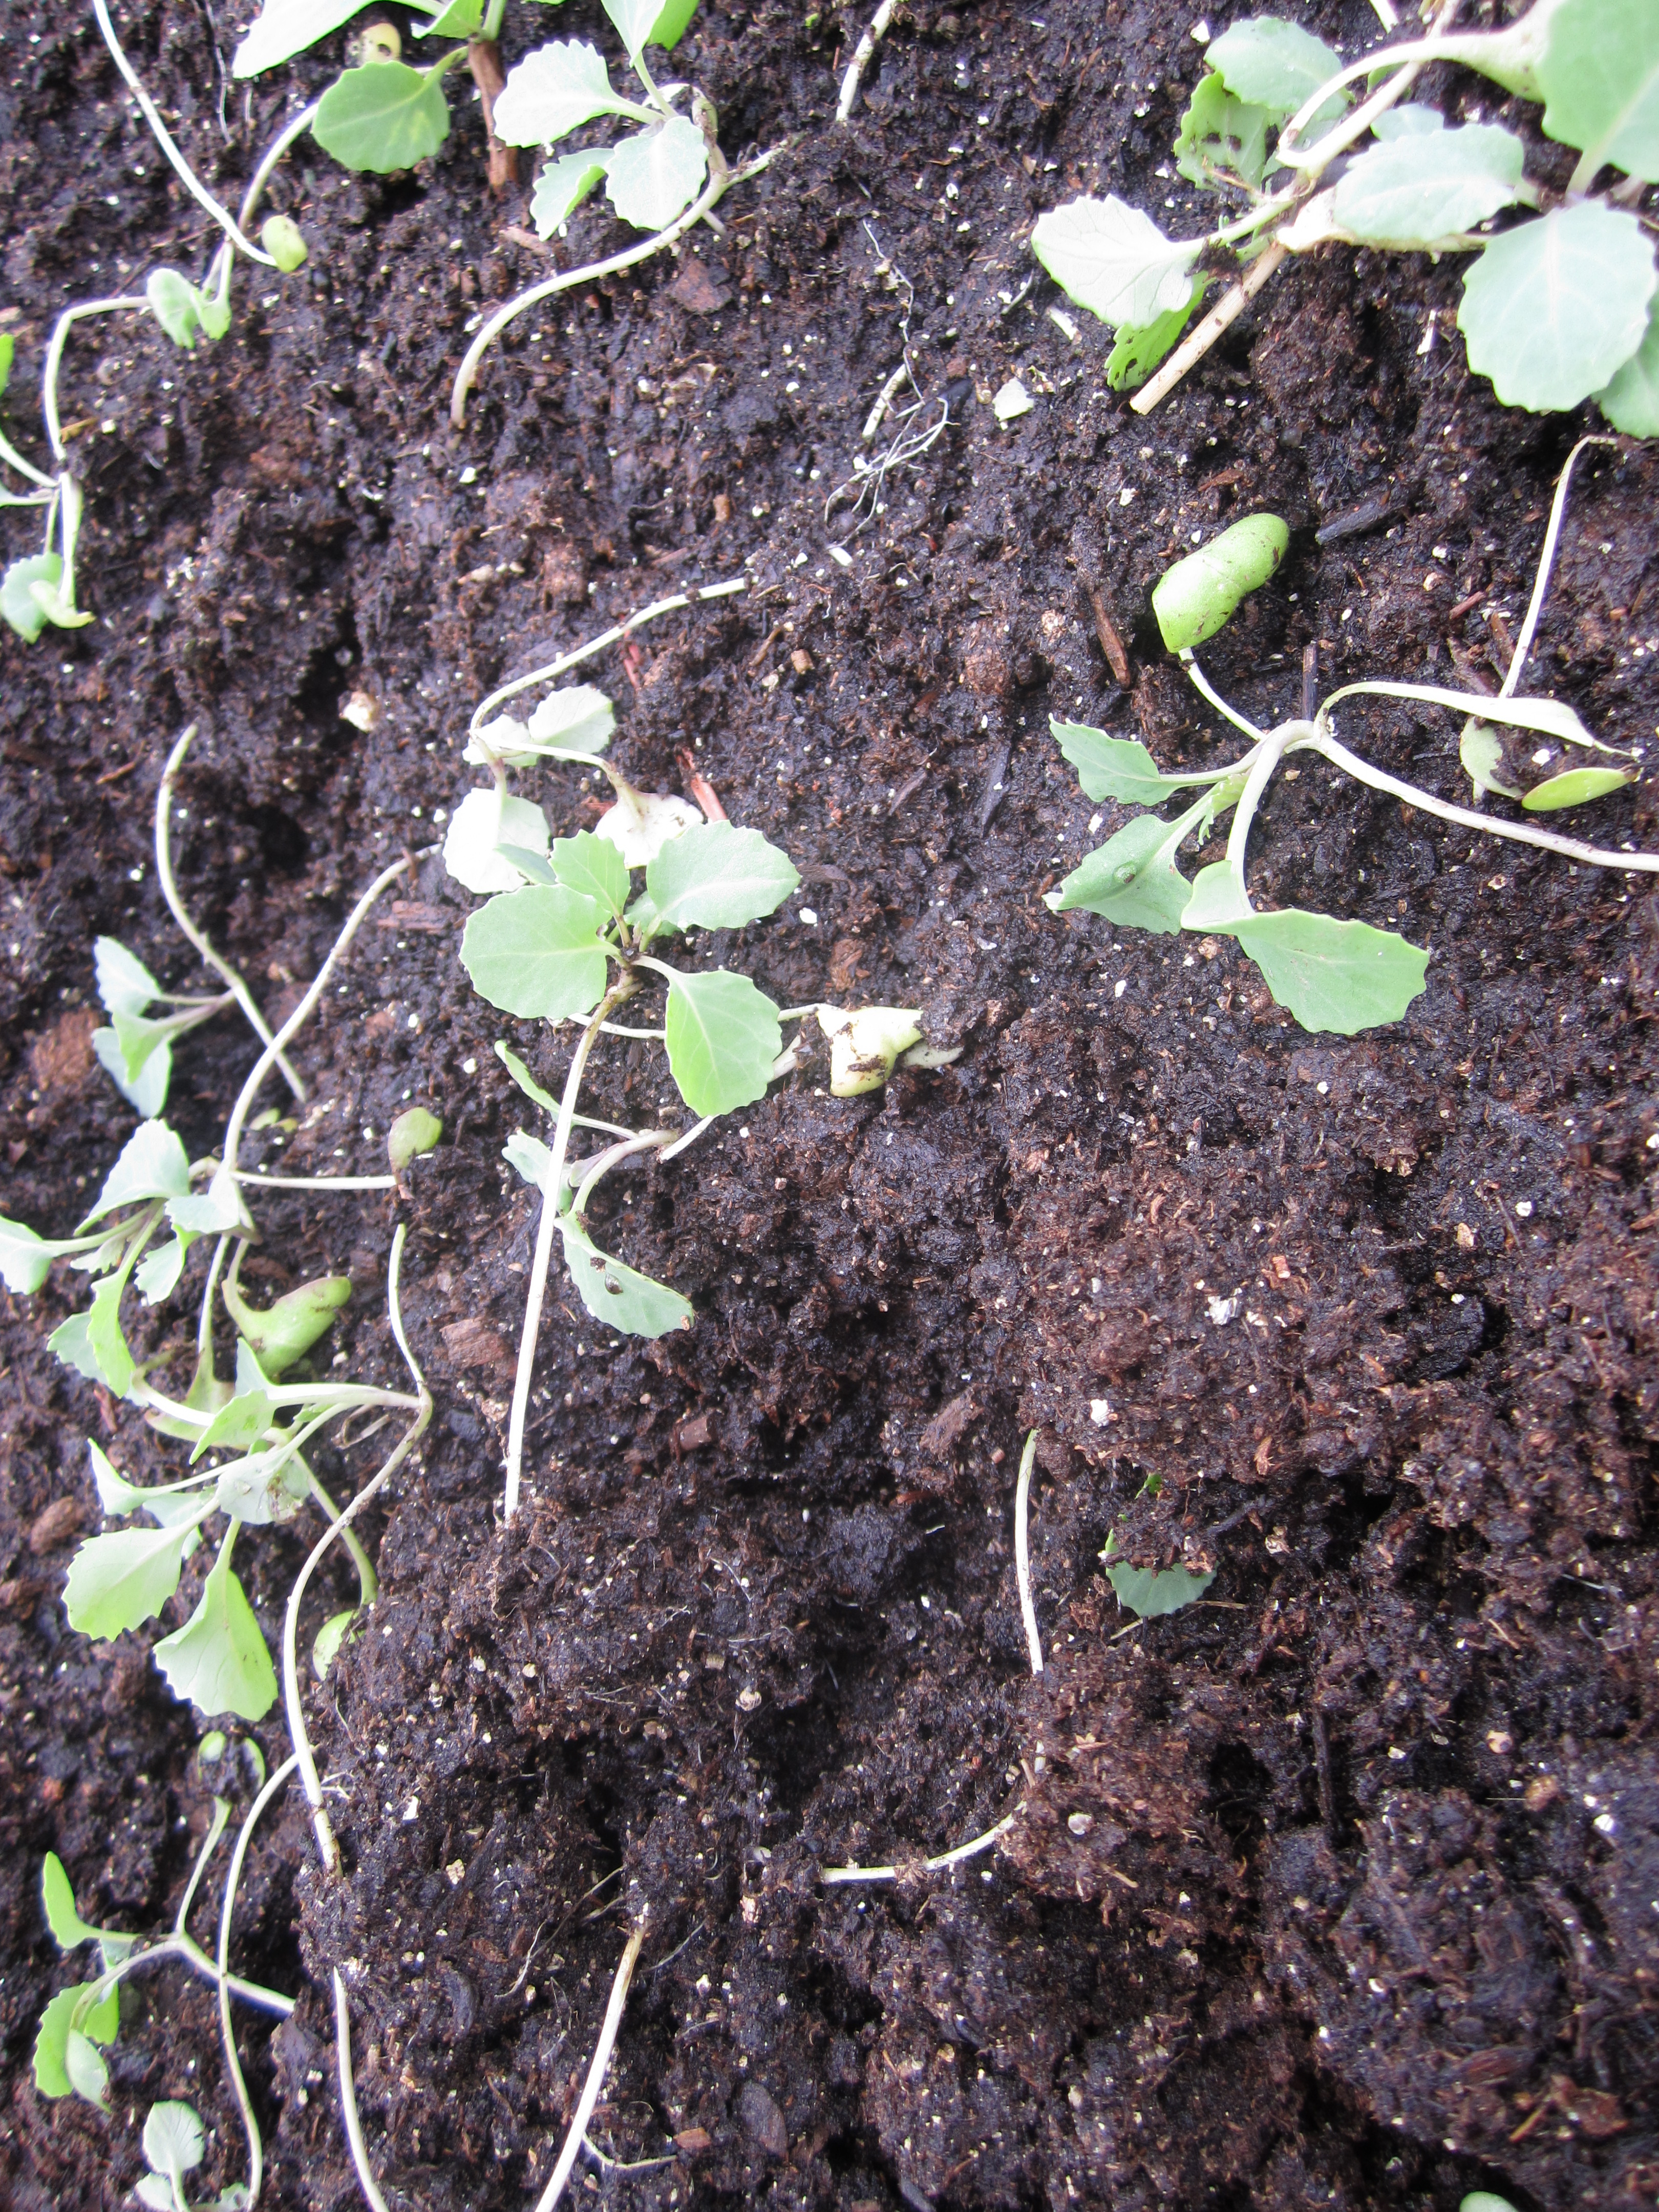
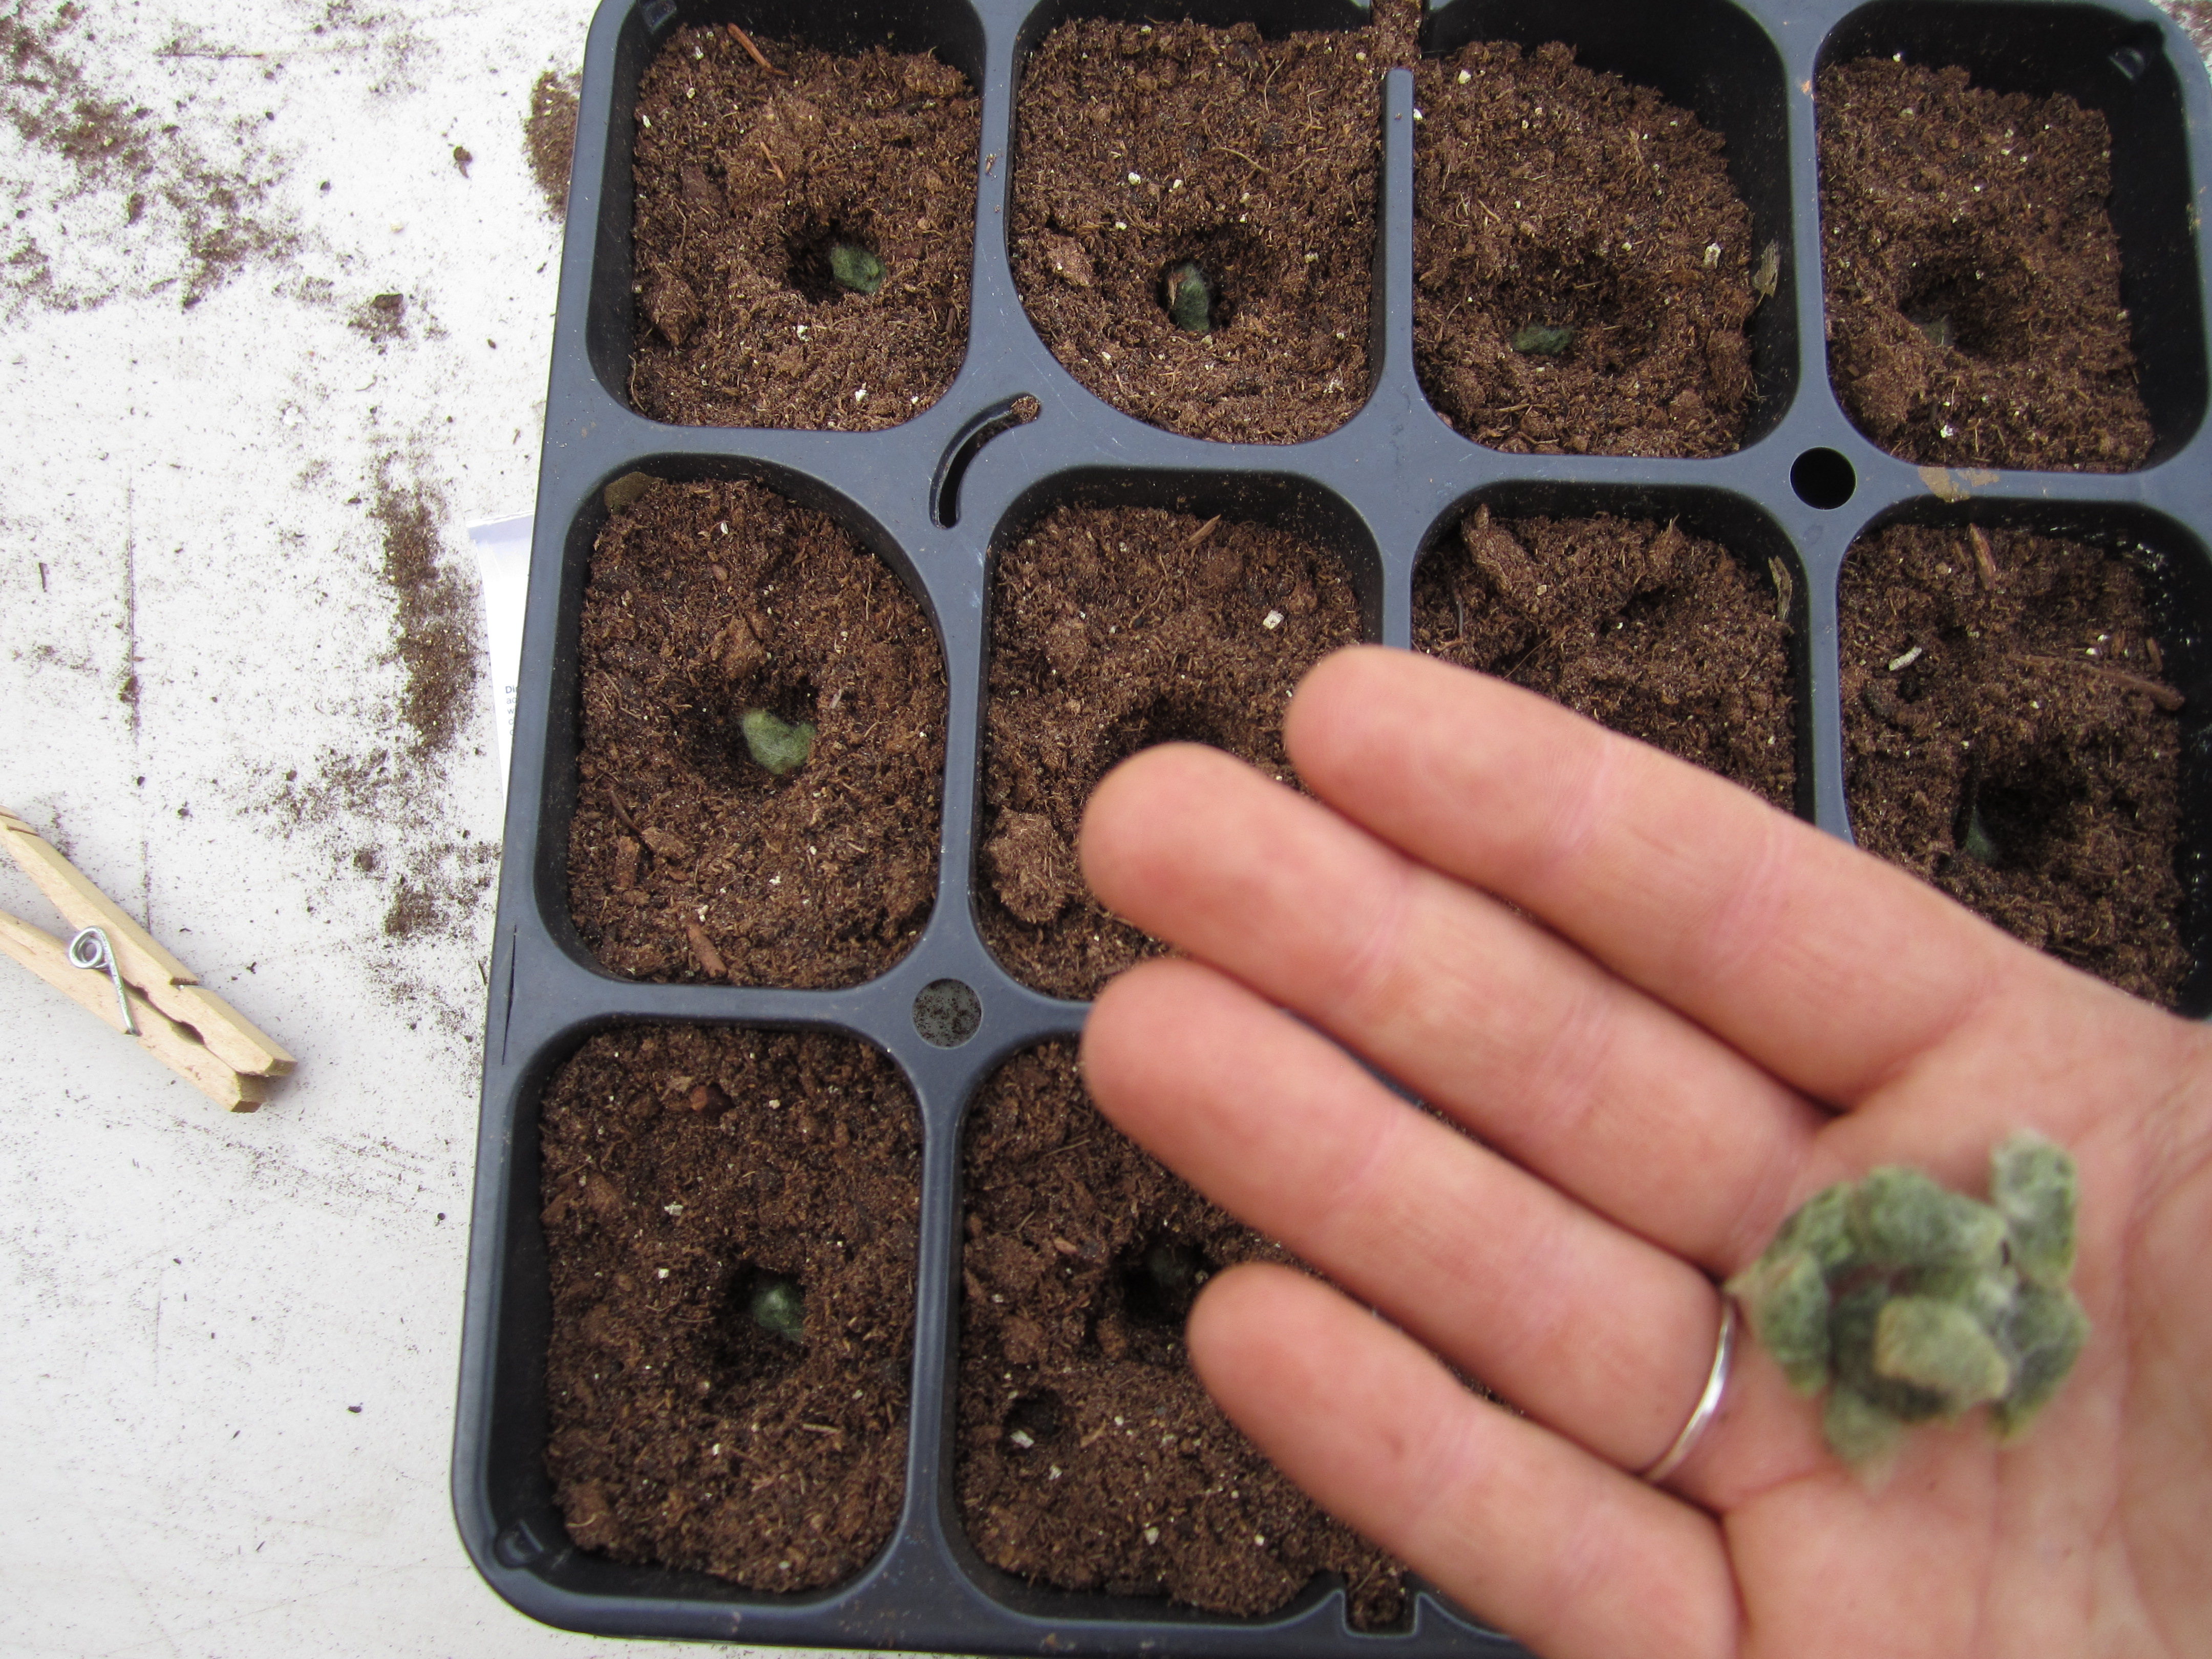
Broccoli and cabbage seedlings starting to germinate.

There’s also been some vegetable seed starting. We have a flat of De Cicco broccoli and White Acre cabbage that has begun to germinate. After they gain some true leaves, and some strength, we’ll transplant them out in the garden for a nice early spring crop, and hopefully get the chance to make some lacto-fermented sauerkraut.

There haven’t been anymore hawk attacks on the chickens but they seem a bit more skittish than usual. We bought a bale of straw today from the feed mill, and they scratched it around all afternoon while they picked out seeds, weeds, and bugs. They’re great mulch spreaders, and a nice layer of manured straw should protect the soil from spring rains, lock up some of the extra nitrogen from the chicken poop, and slowly decompose into wonderful topsoil.

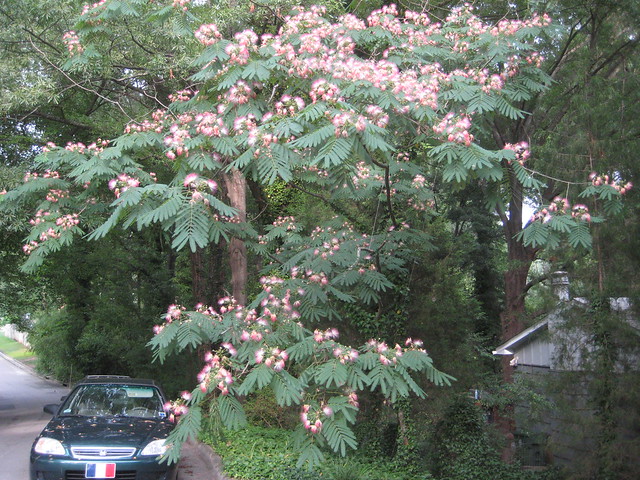
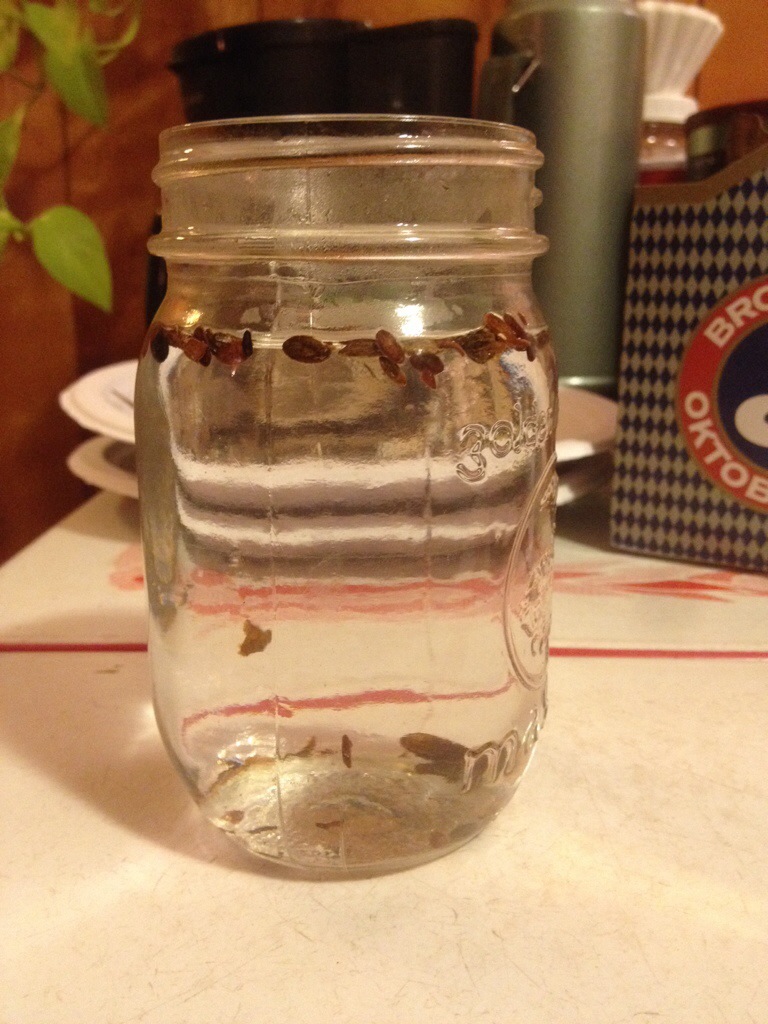
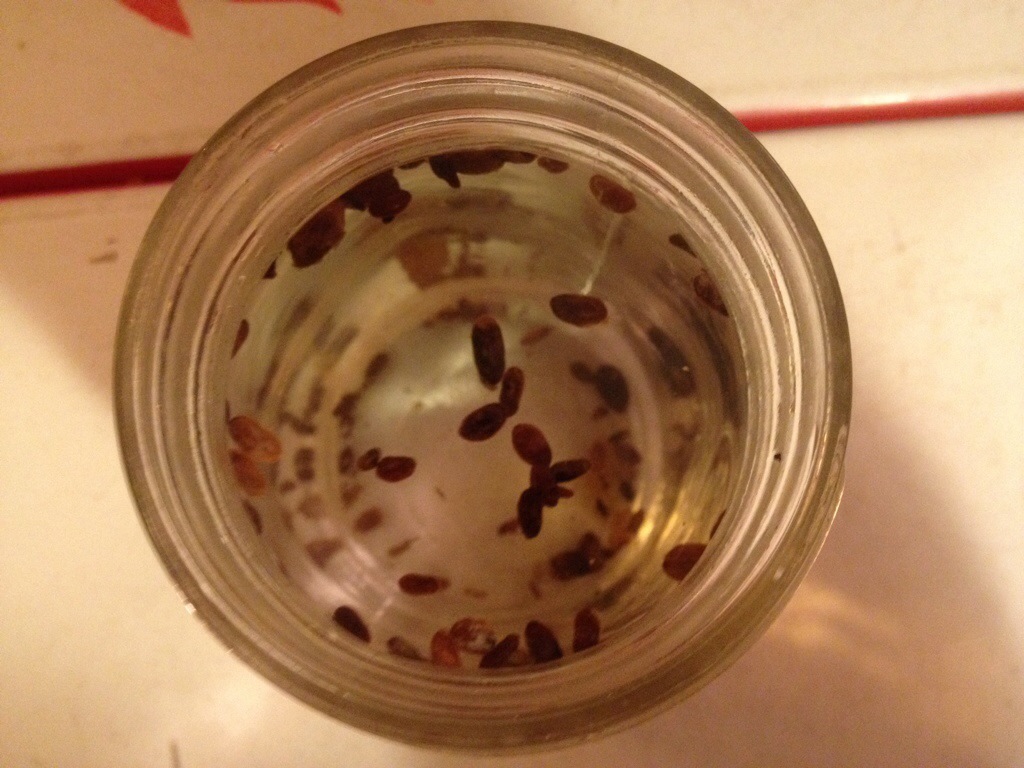
I pruned our dwarf apple trees a few weeks ago and am trying to get some of the cuttings to take root. Apples are normally propagated by grafting, but they can also be grown from cuttings under good conditions. I’m doing a mini experiment, and I have different sizes of cuttings from different trees, some cut below buds, some above buds, and some just tips of growth.

apple cuttings willow

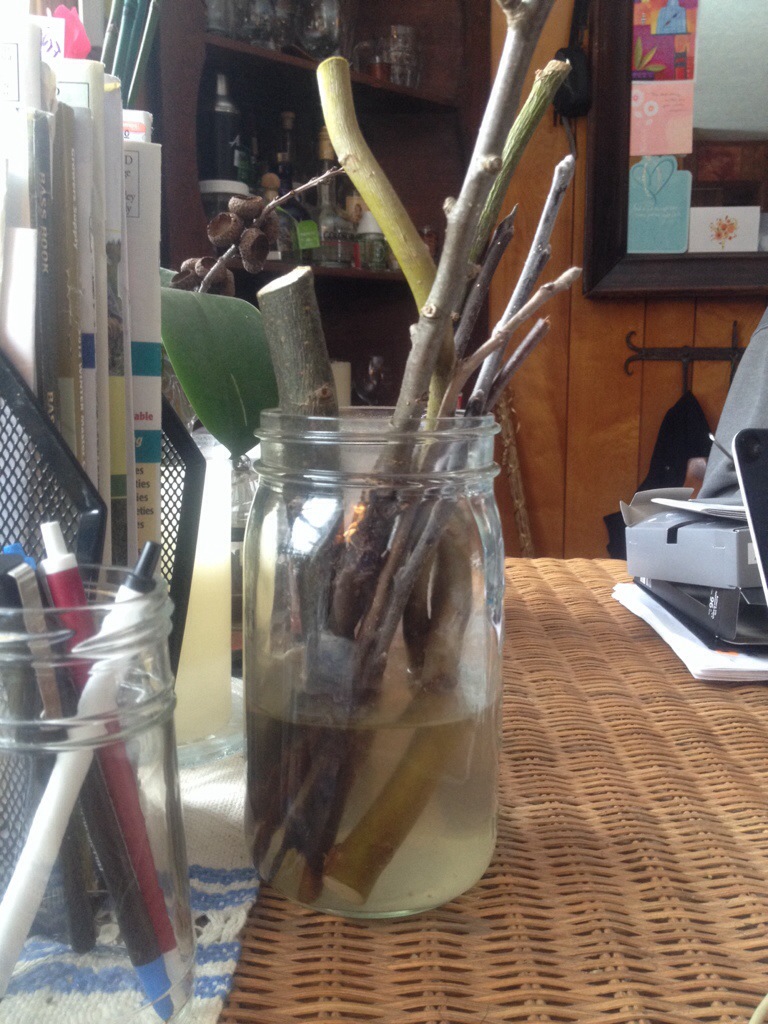
Apple cuttings in water with pieces of willow.

The majority of the cuttings are simply jammed into either our raised garden beds, or into the sides of our garden swales. The rest are on our kitchen table inside the house in a Mason jar filled with water and pieces of willow. The willow contains natural rooting hormones that encourage the growth of root.

The garlic has really perked up the last few weeks. We were worried for a while there that it had gotten too cold too soon for our garlic crop, but that doesn’t seem to be the case. I’ll try to get a picture up soon.

almost completed chicken tractor in the snow

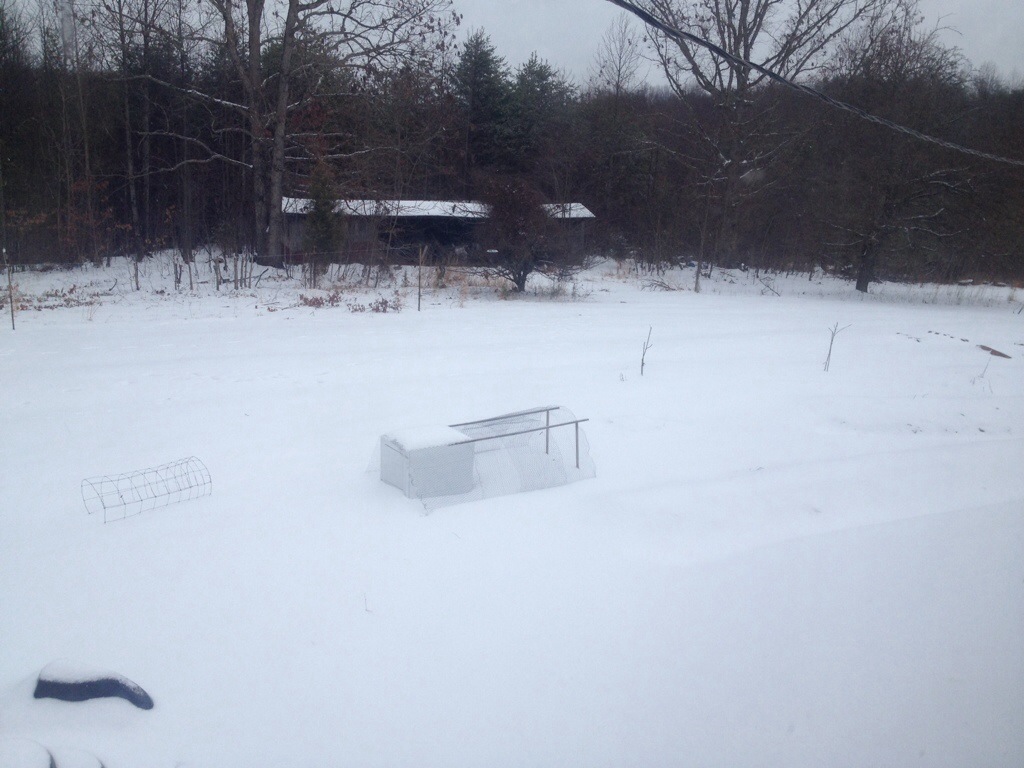
Almost completed chicken tractor in the snow. Those 2 sticks to the right are the dwarf apple trees after a serious pruning.

I’m also almost finished with a new chicken tractor for the bantys. Just a few finishing touches; roost bars, nest boxes, some more chicken wire, and Roosty and his girls will be ready to move in! The timing couldn’t be better, because one of the little hens has gone broody, and wants to sit on eggs and hatch out some chicks! We’ll see, and we’ll keep you updated!

Winter Homestead Chores: Spring Garden Planning

In my other posts on winter homestead chores, I talked about taking the time to enjoy the season and recuperate from a busy year of homesteading and adding to the farm’s energy security by splitting wood for the woodstove. In this post, I’d like to talk about a more forward looking aspect of winter on the homestead. Planning next year’s garden.

Planning Next Years Garden

Emma Picking Puppies from the Garden Last Summer

This is a great time to start pouring over seed catalogs, looking for both the tried and true garden favorites and some new varieties, species, and heirlooms to experiment with. Many companies offer free paper catalogs, as well as online versions to help you sort through the massive number of vegetable and fruit seeds for the garden. Some of the ones on my desk are High Mowing Organic Seeds, Southern Exposure Seed Exchange, and Bountiful Gardens. These all specialize in heirloom vegetable seed, and always have something new and interesting to really get you salivating for that first planting and harvest.

Spring Garden Planning

Some of our favorite places to find new seeds

In addition to vegetable seeds, it’s also a good time to look at different fruiting trees, bushes, and shrubs. Some are best grown from 1-3 year old plants, and others do well as seed. Some of these plants, like hazelnut and elderberry, require a period of cold stratification if started from seed, so these are best ordered in late fall or early winter. Others, like Paulownia, readily germinate in spring conditions without a stratification period. Some plants have very specific and difficult stratification requirements and are best grown from cuttings or plants, like Yaupon Holly, which needs up to a year of warm conditions, followed 3 months of cold before it will germinate.

Once you have your have seeds, you want to check your weather conditions and average last frost date to determine when you can start transplanting your veggies into the garden. Working back from these numbers, and taking into account the frost hardiness of the veggies in question, you can figure out the best time to start your seeds indoors so that you’ll have the healthiest plants possible.

Pumpkins gardening

Start your seeds now to grow gigantic pumpkins like this!

Certain species are very frost and cold tolerant, such as many brassicas like cabbage and broccoli, and can be started and transplanted out very early in the year. Again, this depends on your climate.

Winter is also a good time to figure out where certain crops will be grown in the garden. For instance, tomatoes, potatoes, and other veggies in the nightshade family should not be grown in the same spot year after year. By practicing crop rotation, certain diseases and pest cycles are broken, and the result is healthier plants and better yields. Any good garden guide or encyclopedia–a great one on our shelf is Rodale’s Encyclopedia of Organic Gardening–will have all the information on rotating crops, and how long between plantings certain plants require before being planted in the same spot.

Potatoes Crop Rotation

We planted our potatoes late, but they still did well. We definitely won’t plant them in the same spot, though.

Finally, winter is great time to go over your garden notes–everyone should have a garden notebook–and remember what did well and what didn’t. What vegetables stored longest? Which varieties tasted best? What do you need to plant more of? Less of? Were certain things planted too late? All of these tidbits and recollections allow the organic gardener to finetune their garden into exactly what they want it to be, because gardening is a never ending lesson, and winter is a great time to study.

© 2024 KW Homestead

Theme by Anders NorenUp ↑