KW Homestead

Pasture Raised Poultry & Edible Landscaping Plants Since 2013

Tag: starting from scratch (page 1 of 2)

Starting the New Mobile Chicken Tractor!

With the chicks getting bigger and bigger (and messier and messier!) it is high time to get them outside and into the “free” world!

This weekend Jason and I started with our new chicken house/tractor idea. Since we started the homestead almost 2 years ago, our idea of the best chicken houses and pens have changed. Our first chicken house is still in use, housing our standard chickens and just a few bantams (these standards are the parents of our new chickens). This house is larger than the newer one and the associated pen once enclosed the house but now uses the house as a fifth side of the pen, giving the chickens almost as much space and making the entire contraption easier to move. More recently, the bantam mobile has become even more of a favorite. Its small size and light weight allows us to move it everyday, which gives the bantams access to fresh turf and cuts down on damage to the yard and grass.

So, based on our experience with a semi-mobile house/pen and a very-mobile house/pen, we realized that we really like the very-mobile design better. Our idea of the new house is this: a 12 foot by 8 foot chicken tractor that can be moved as often as we desire, by dragging the entire structure.

This structure is being made out of 1 1/4 inch black polyethylene pipe, the flexible kind! This will be really lightweight and allow for easy sliding!

We started on the base of the tractor, cutting the pipe to the right length and attaching plastic connections so that 3 arches can be added to the top of the frame. We anticipate that the arches will be about 4 feet tall at their highest point.

piping

The joints that will allow us to add the arches.

piping

The corner joints!

The final product will be half-cylinder shaped, like many greenhouses. But for now we have to deal with the issue of straightening out the pipe, since it has been tied in circles and kept behind the barn for the past half-year!

piping

Look how crooked these pipes are now! Don’t worry, though! We can straighten them out in the heat of the sun.

After we get the pipe straightened out a bit, we’ll add the arches to the frame and finish connecting the corners. The entire house will be covered by chicken wire (but the bottom will be open) and one half of the structure will be also covered in something (perhaps black roofing liner and a tarp) to keep out the rain and the wind and also house the roost bars.

We have yet to figure out where the egg box will be and how the water and food trays will be designed, but it’s exciting to finally get started!

Wish us luck!

.:.

Some Thoughts on Fencing and Homestead Design

Fencing is an integral part of farming, homesteading and permaculture. But there is more to a fence than just a boundary or barrier.

By laying out fencing, you create an element on the landscape that you can now design off of. Instead of having a blank canvas (sometimes the hardest thing) you have a structure that can be used and integrated into your homestead or permaculture design.

Fences create, define and reinforce zones and actvity centers. They can be also be used as trellises or in creative ways like chicken moats.

Once these sort of elements appear on your property, it becomes easier to build out around them and add other elements that coalesce into your design. An example would be: this fence divides the garden and the chickens, we need gates here, we could have 2 dwarf trees on either side of the gate, comfrey at the base, and vegetables trellised up the fence.

The next iteration of elements seems to spill out form the edges of the first, just like a forest with an advancing front of blackberries and other woody plants. I’m so excited about our new cattle panel fence, and the future of our homestead design, that I recorded this quick video today.

Also, be sure to check out Episode 2 of our his and her craft beer review series where we do an Ommegang’s Three Philosophers Review. Also, don’t forget to use our Amazon link before you do your last minute holiday shopping! Thanks!

making a bantam chicken tractor!

yesterday i finally finished our bantam chicken tractor! very exciting!

it all started with an old truck camper with 1/2 of the roof removed.

truck camper

the old truck camper, about to get re-purposed!

it took a little while for me to decide what design would be best for our new birds (bred by my father), and i thought about it a while. ultimately, i determined that having two “stories” to the structure would be the way to go, so that they could roost higher off the ground and not have roost bars on the lower level getting in their way as they spent the day grazing around the grass inside the tractor.

in order to make the second story, i added bent and molded electrical conduit which, once screwed together with self-tapping screws, was very sturdy.

screwing in the bent electrical conduit as a frame... tedious and exacting!

screwing in the bent electrical conduit as a frame… tedious and exacting!

this process took the longest of all, since i had to hammer out certain portions of the conduit so that it was flatter and easier to drill into, and i also had to clamp the conduit to the camper framing so they it wouldn’t slide about while drilling (which it still wanted to do anyway!).

hammered electrical conduit

hammered out electrical conduit… flatter is always easier to drill into!

building chicken tractor

whew! the frame is finally done!

once the two conduits were attached, we decided that removing another 1/2 of the roof (3/4 now in total removed) would allow for more sun and fresh air to reach the bantams. the nest boxes (3 of them, made out of an old plastic planter) are attached to the tractor itself so that when the device moves, the egg box does too! we applied the same concept to the platform that holds their waterer.

bantam egg box

now the egg box is firmly attached…

once these were secured, i started attaching hardware cloth to the open sides and open roof on the half of the tractor with just one story.

hardware cloth

hardware cloth… be sure to wear gloves!

building chicken tractor

attaching the hardware cloth…

then i attached hardware cloth to a portion of the roof of the second story, leaving space for most of the second story to be covered in the sheet metal i removed from the camper. i added more sheet metal (that we found while cleaning out our woods) as the sides to the second story and finished level 2 off with some more hardware cloth that was woven to the top piece with electric fence wire.

i added hinged doors to the side with the nest box, so that we can open them up and get the eggs without any trouble. this also has a latch that locks so that if any clever raccoons get brave, they shouldn’t be able to get inside. we spray painted the whole contraption white and drilled holes in the sides of level 2 to slide in three nest bars. i added a rope to the front of the tractor so that we could easily slide it along to a fresh grass spot each day.

bantam nest box

opening the nest box door to collect eggs!

and that was it! it was a three day project, but it was fun to make. we’re proud of our “chicken hotel,” and now all we have to do is convince all of the hens that they should roost instead of giving up and sleeping in the nest boxes. at least roosty will enjoy having his own flock without having to worry about rex bullying him!

bantam chicken tractor

bantam chicken tractor

bantam chicken tractor.:.


the complete history of our ochre way!

this is a recording/podcast that i recorded in march of this year! it details the history of our ochre way, kuska wiñasun homestead, and the jason and emma partnership that just became a legal one!

click on the link below to hear the details!

A History of Our Ochre Way

.:.

The Where and Why of Our Backyard Food Forest

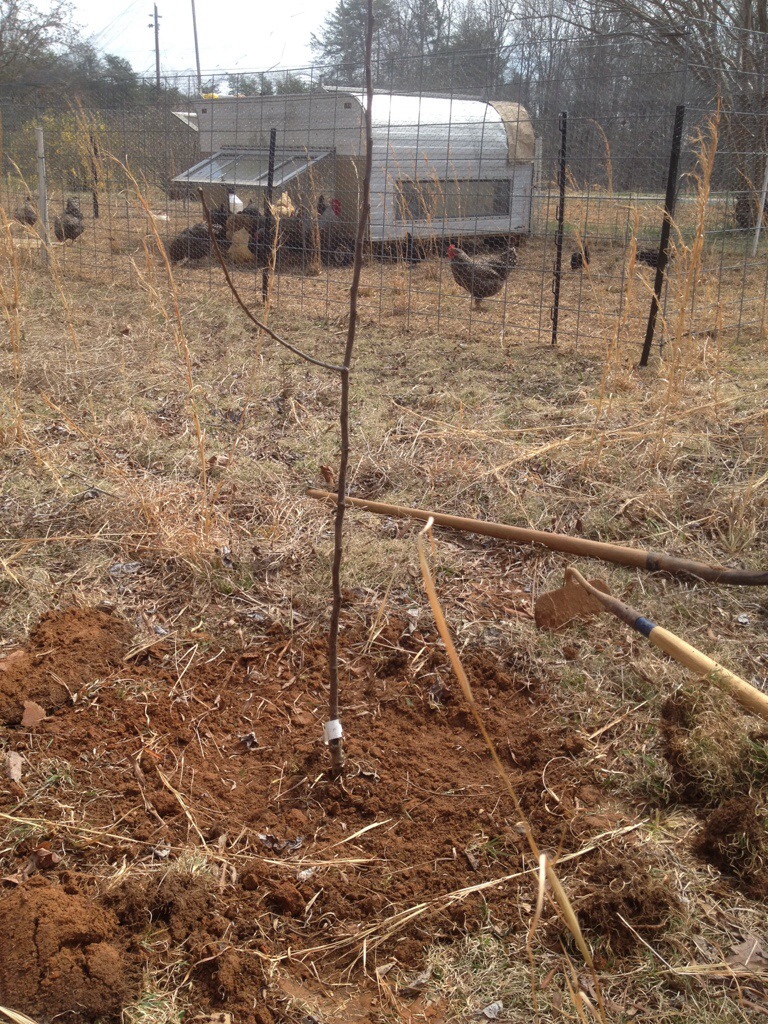
Over the past few weeks Emma and I have been busy planting over 100 trees, vines, bushes and shrubs as the foundation for our new food forest. A food forest, for those who may never have heard the term before, is a forest designed to provide food for its stewards. They often consist of perennial species, like fruit and nut trees, and are therefore inherently stable and resilient.

A well designed and established food forest is able to cycle nutrients, capture energy, and produce a yield with few human inputs, such as irrigation, fertilization, and planting. Our food forest will take some time to reach this mature, self supporting state, and for now we will have to nurture our young plants to ensure that they become well established and provide for us for decades to come.

food forest

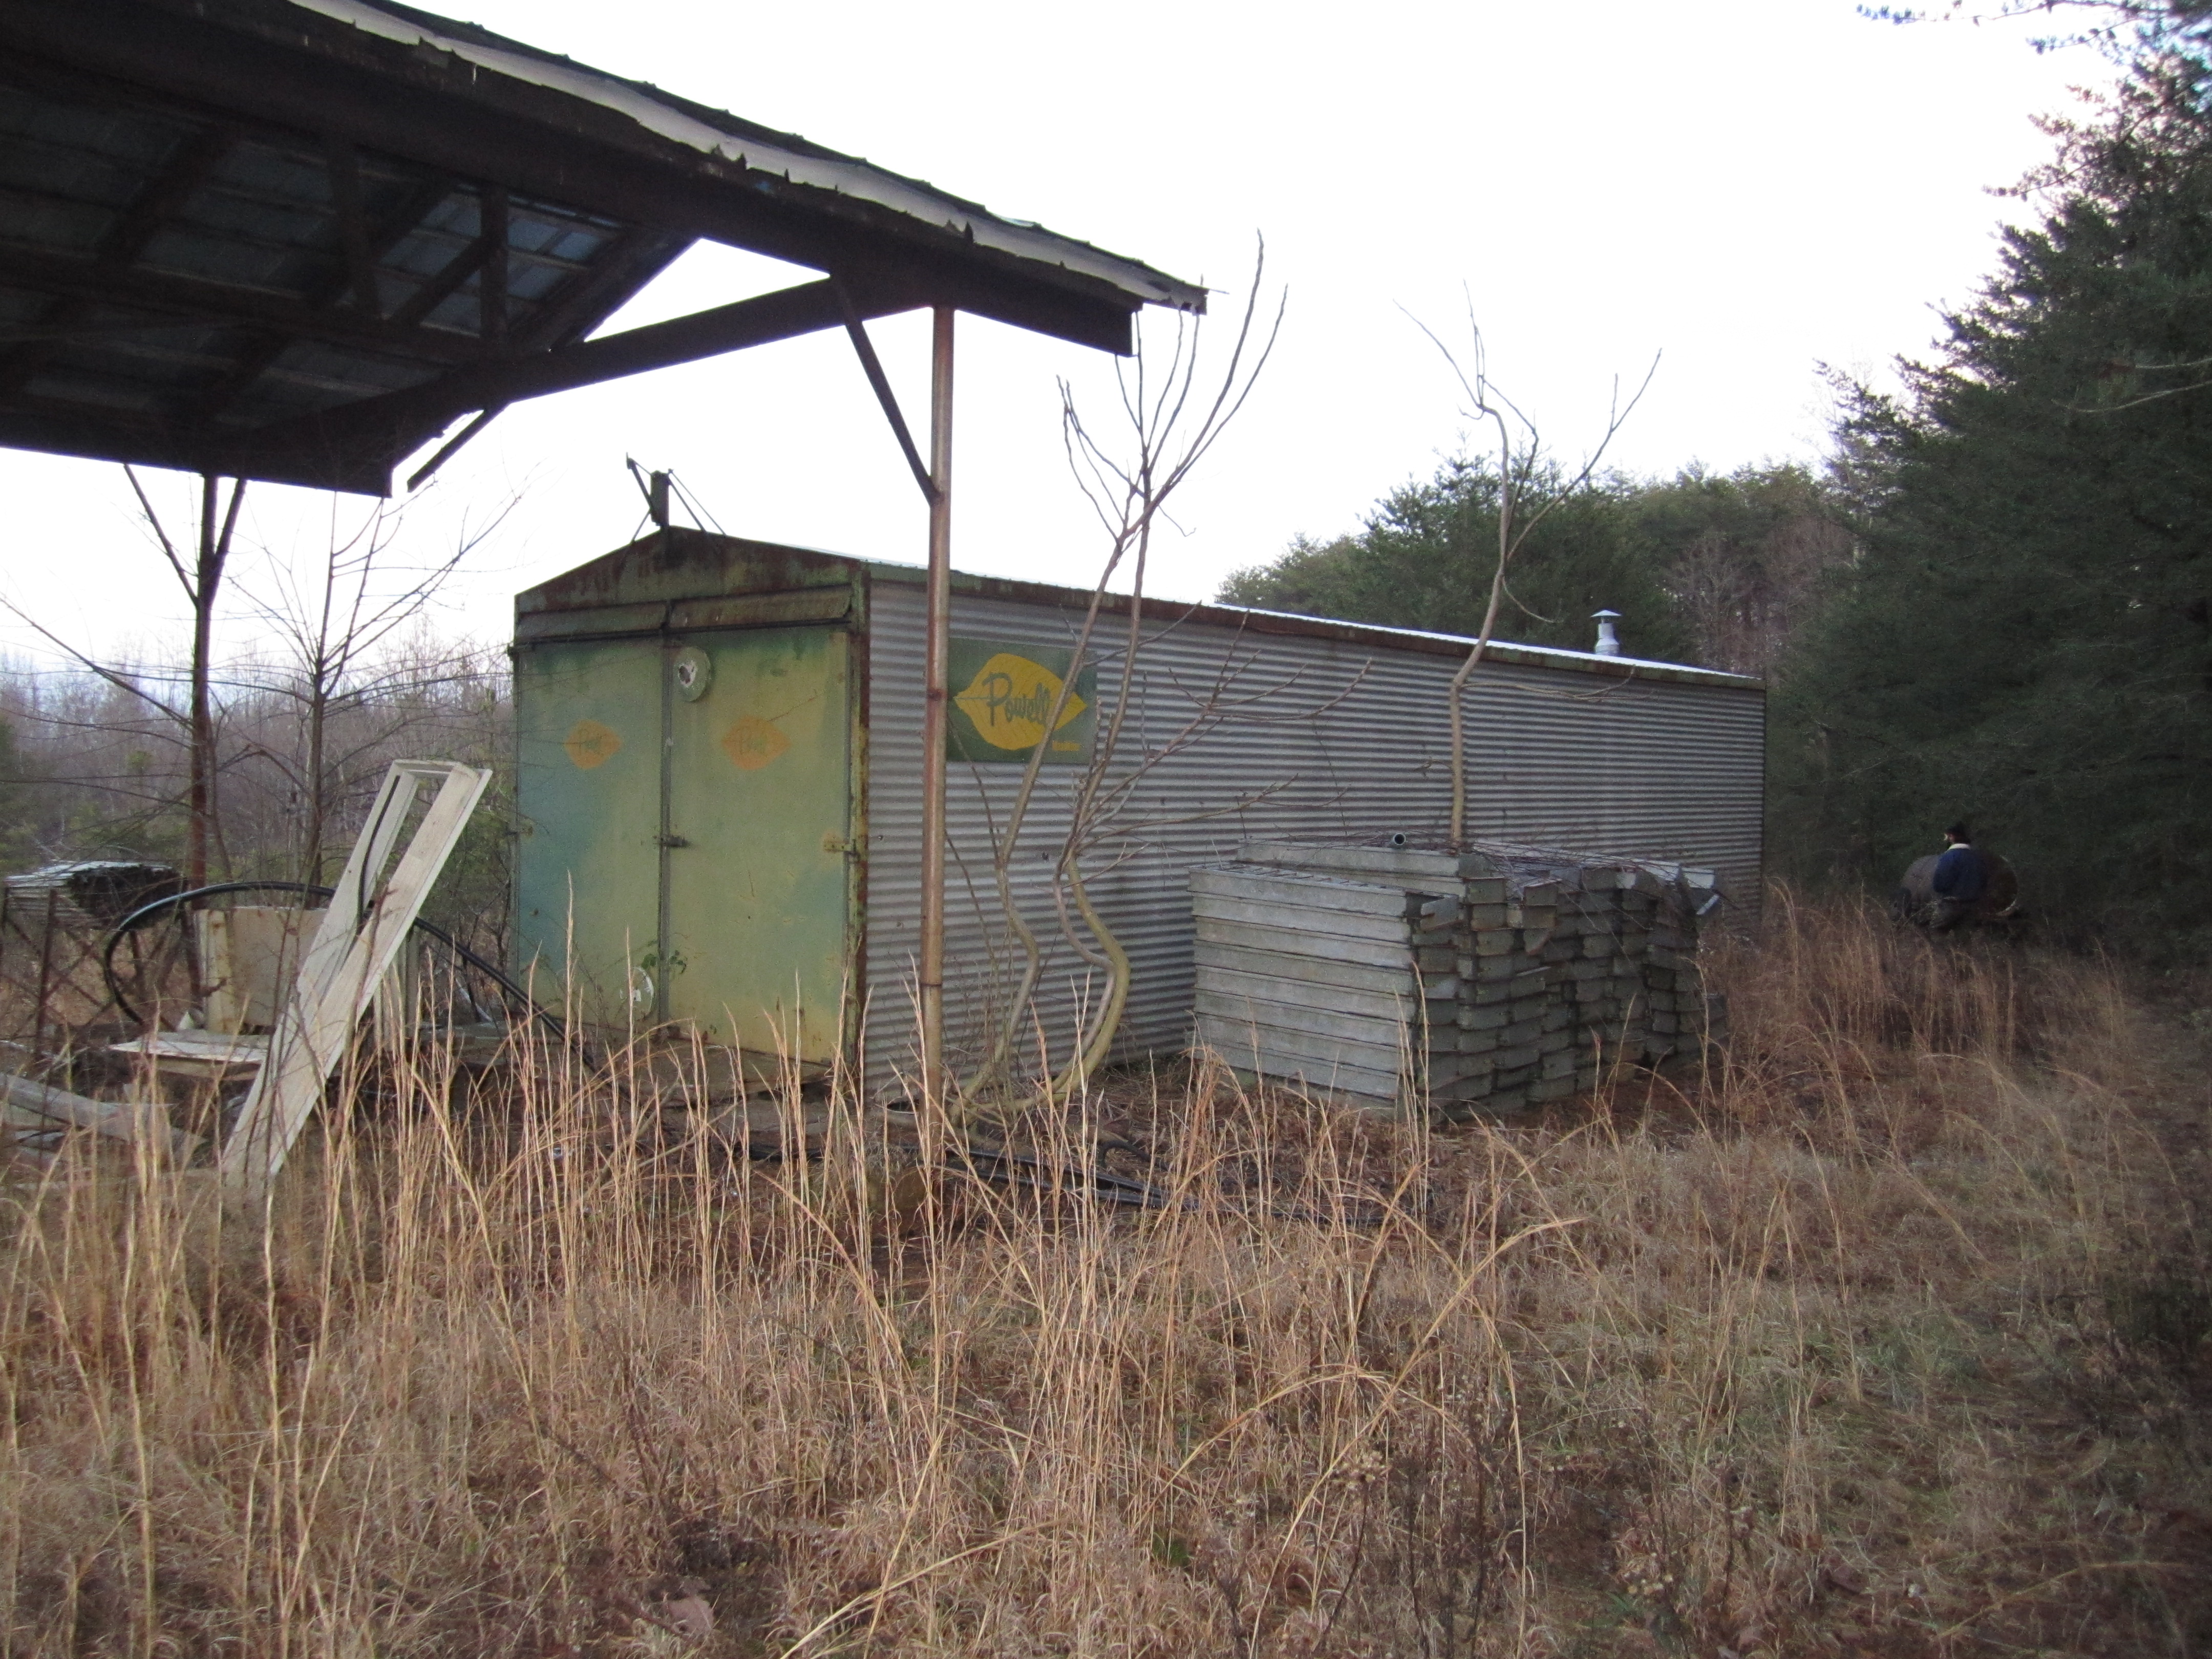
Last year, the forest edge, the location of our new food forest, was an impenetrable tangle of small trees and shrubs.

This longevity is one of the key benefits of forest gardening. There are food forests that are over 2000 years old which have provided for many generations of humans caretakers. This is what we are shooting for. Designing a system that will feed not only us, but our progeny for years and years.

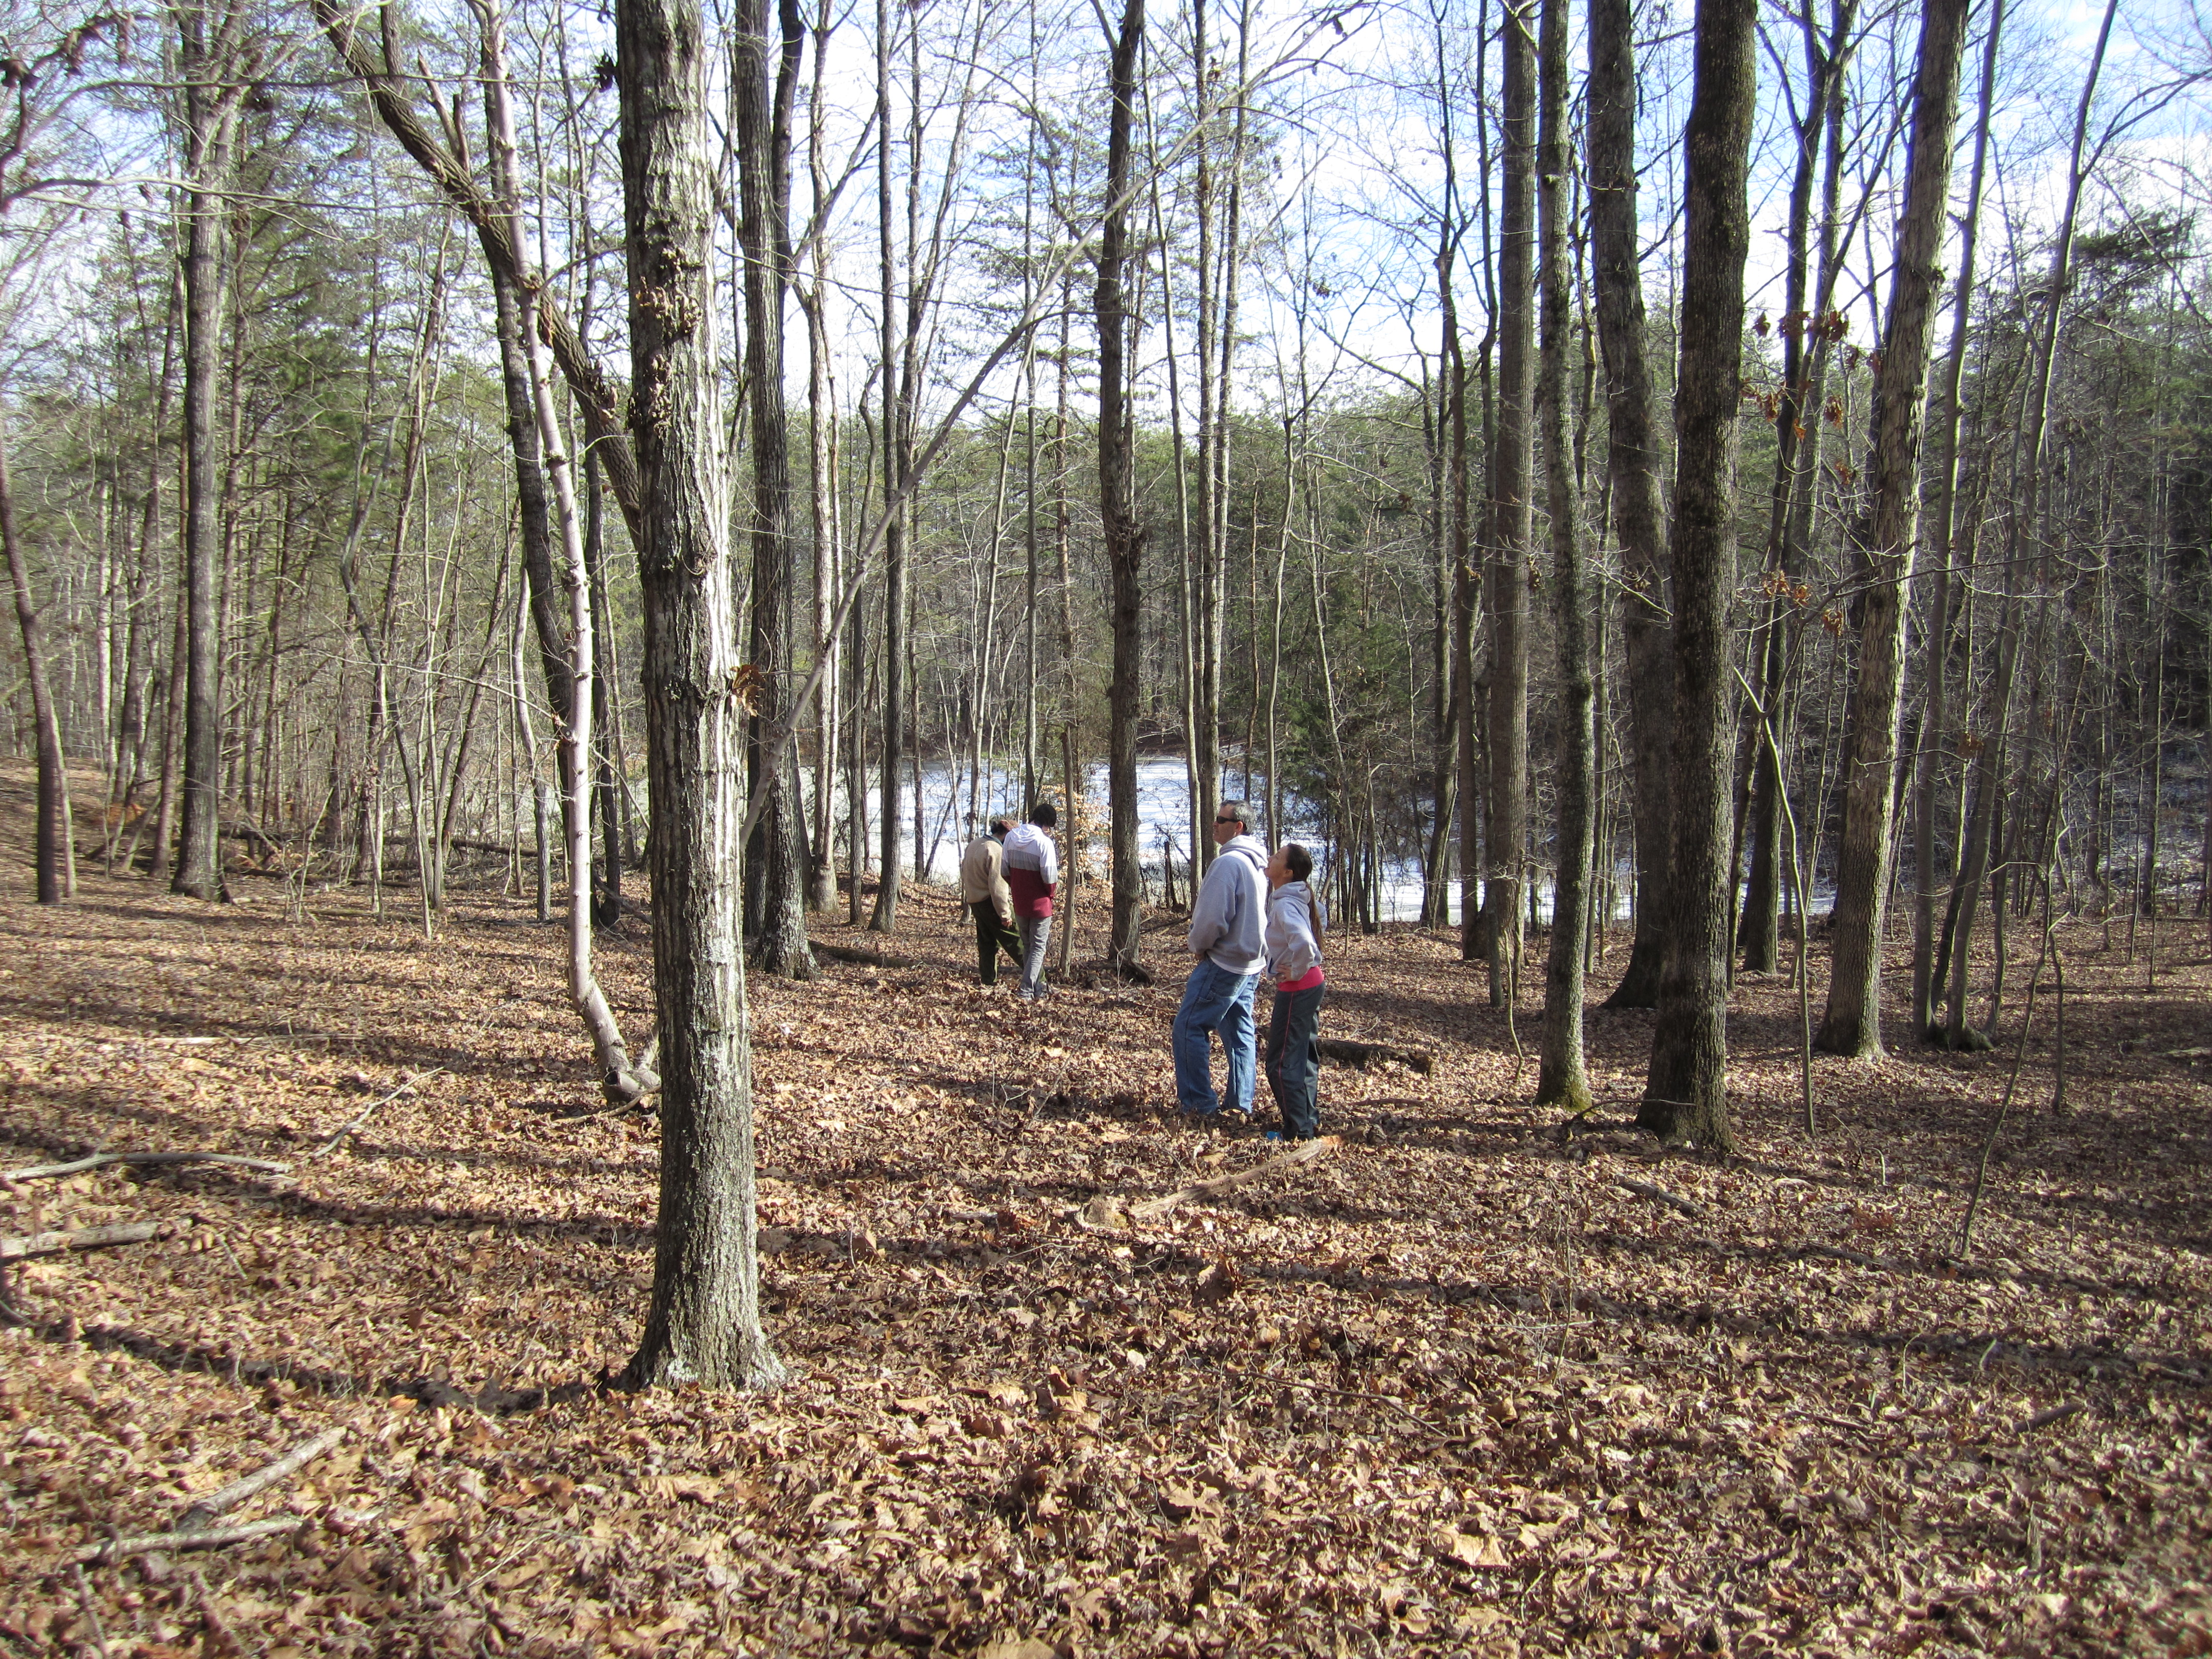
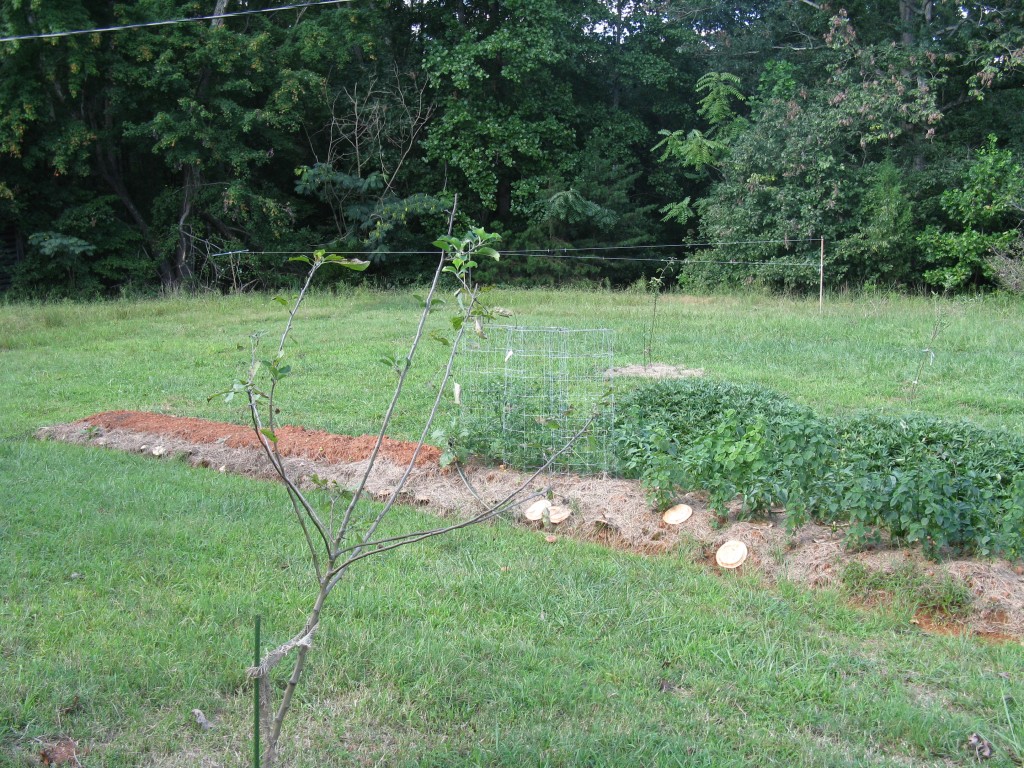
Our new food forest is only the home base for our future plans, and is located right outside our back door, in, what in permaculture is referred to as zone 1 or zone 2. The backyard area forms a u shaped, open glade that faces south, and is bordered by native woods made up of oaks, poplar, hickory, maple, and pine among others.We are expanding out from this hardwood forest with our fruit trees, replacing the shrubby undergrowth, and following the curved shape of the woods. This was a conscious design choice and has numerous advantages.

First, we replaced many undesirable and inedible species with productive species. As anyone who has ever walked into a forest knows, the edge is usually where you encounter the thickest undergrowth of thorny bushes and vines that seem impenetrable.

Second, by planting along the forest edge we, and our plants, are able to tap into the complex and well developed fungal network that supports and coexists with our woods. Plants usually prefer to grow in 1 of 2 environments.The first is a bacterial one that is primarily found in grasslands, meadows, and prairies. These environments rely on grazing animals to digest large amounts of plant material and poop out partially decomposed manure that is full of bacteria that complete the nutrient cycle from plant-animal-plant.

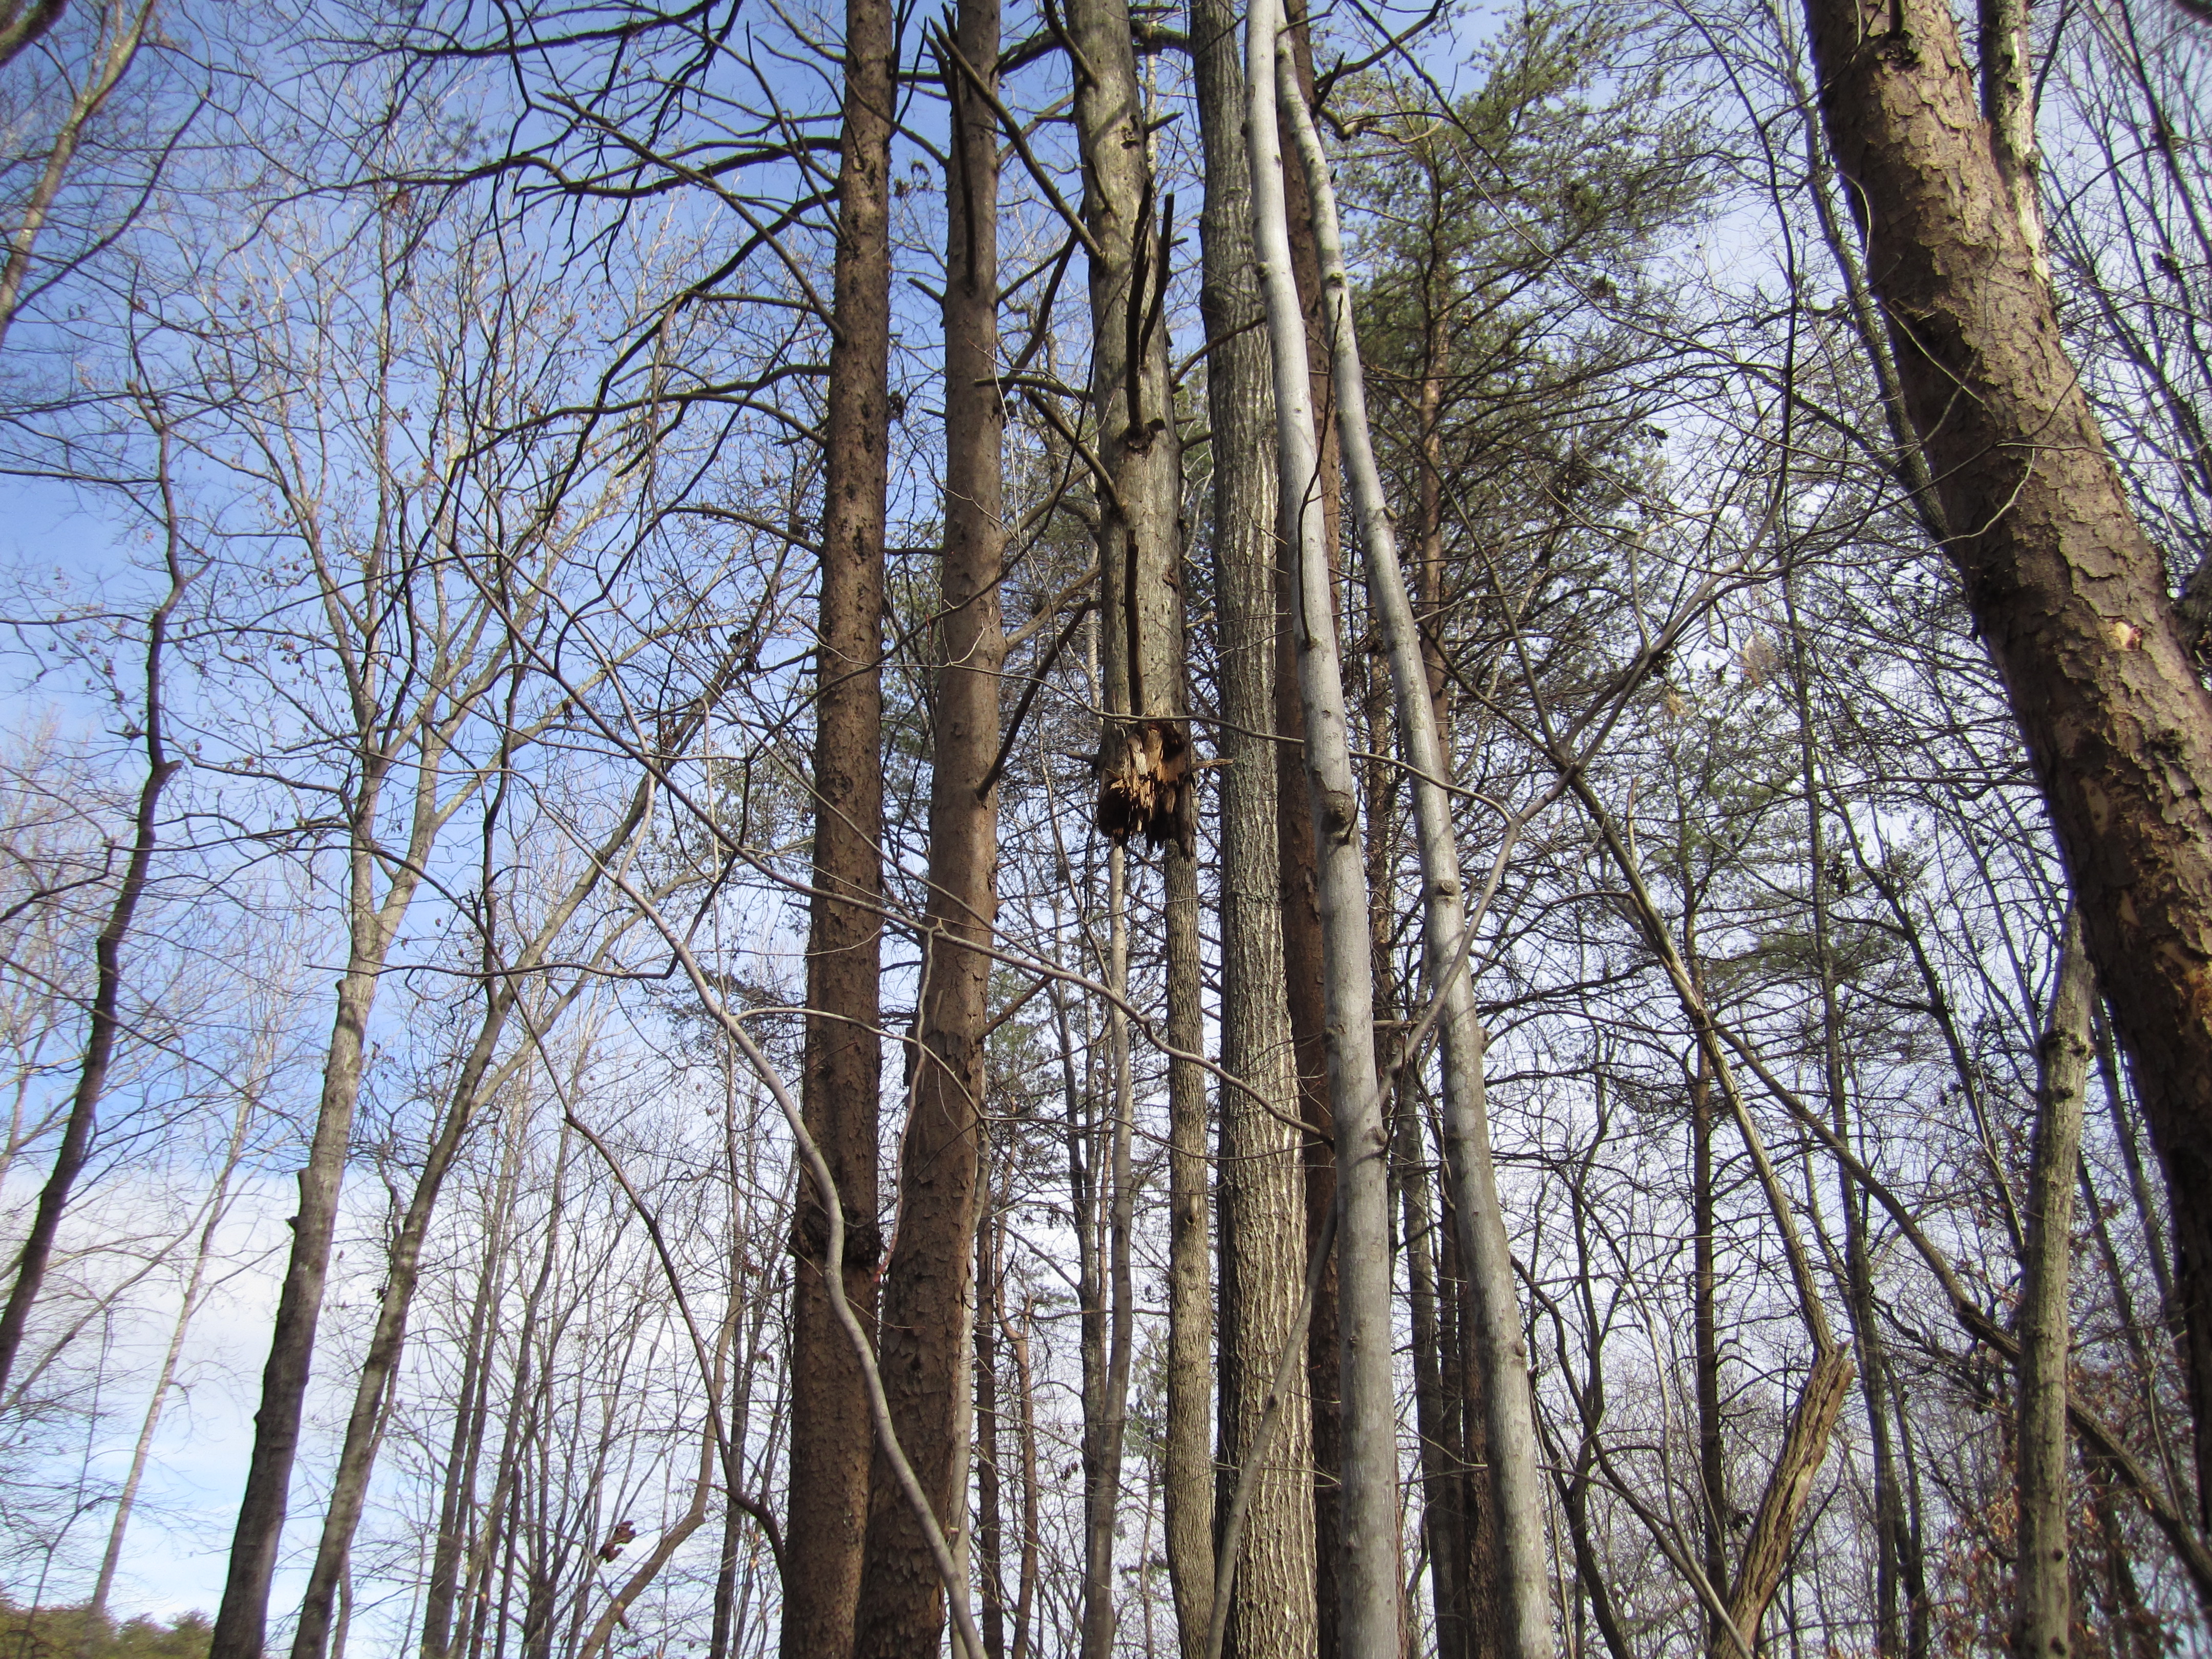
The other is a fungal environment, where moist, and shady conditions, as well copious amounts of woody material support millions of miles of fungal hyphae, that break down dead wood, help tree roots obtain and take up nutrients in the soil, and act as a sort of internet that connects the trees in a forest. Thus, by planting our trees on the edge of the forest, their roots are able to seek out the fungal network that forests and woody trees depend on to thrive.This is much easier than having to establish this fungal network from scratch by mulching with woody material, or trying to establish a fungal based system in the middle of a bacterial environment, like a lawn.

food forest edge

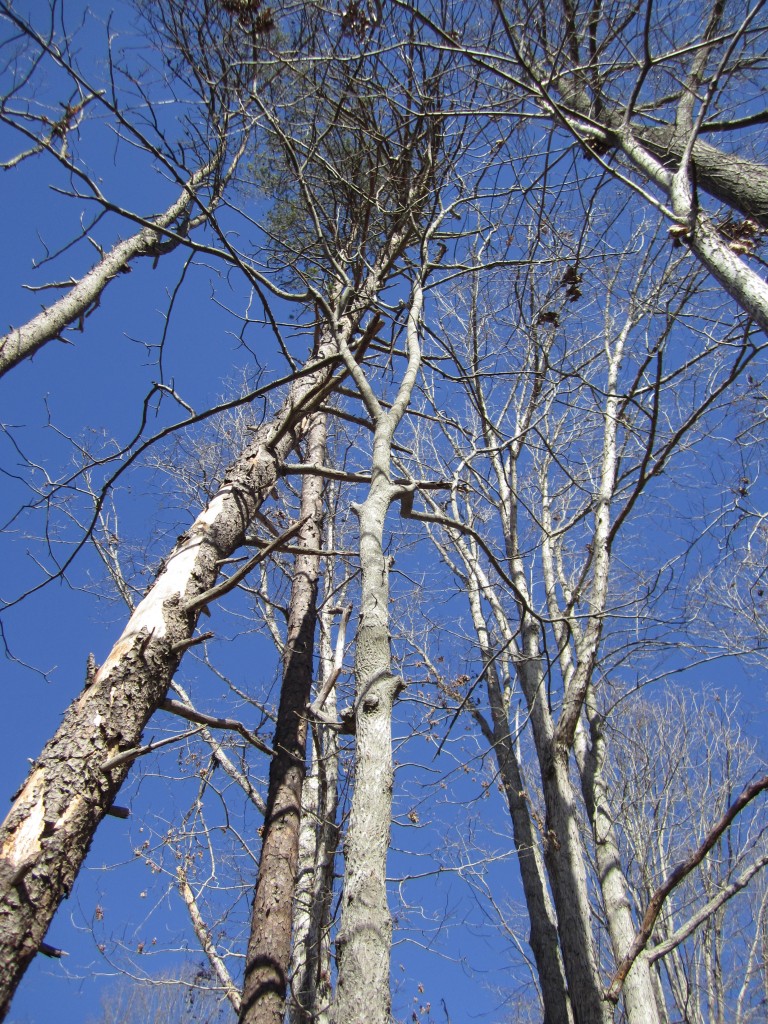
forest systems rely on fungal networks to cycle nutrients , maintain balance, and grow large trees

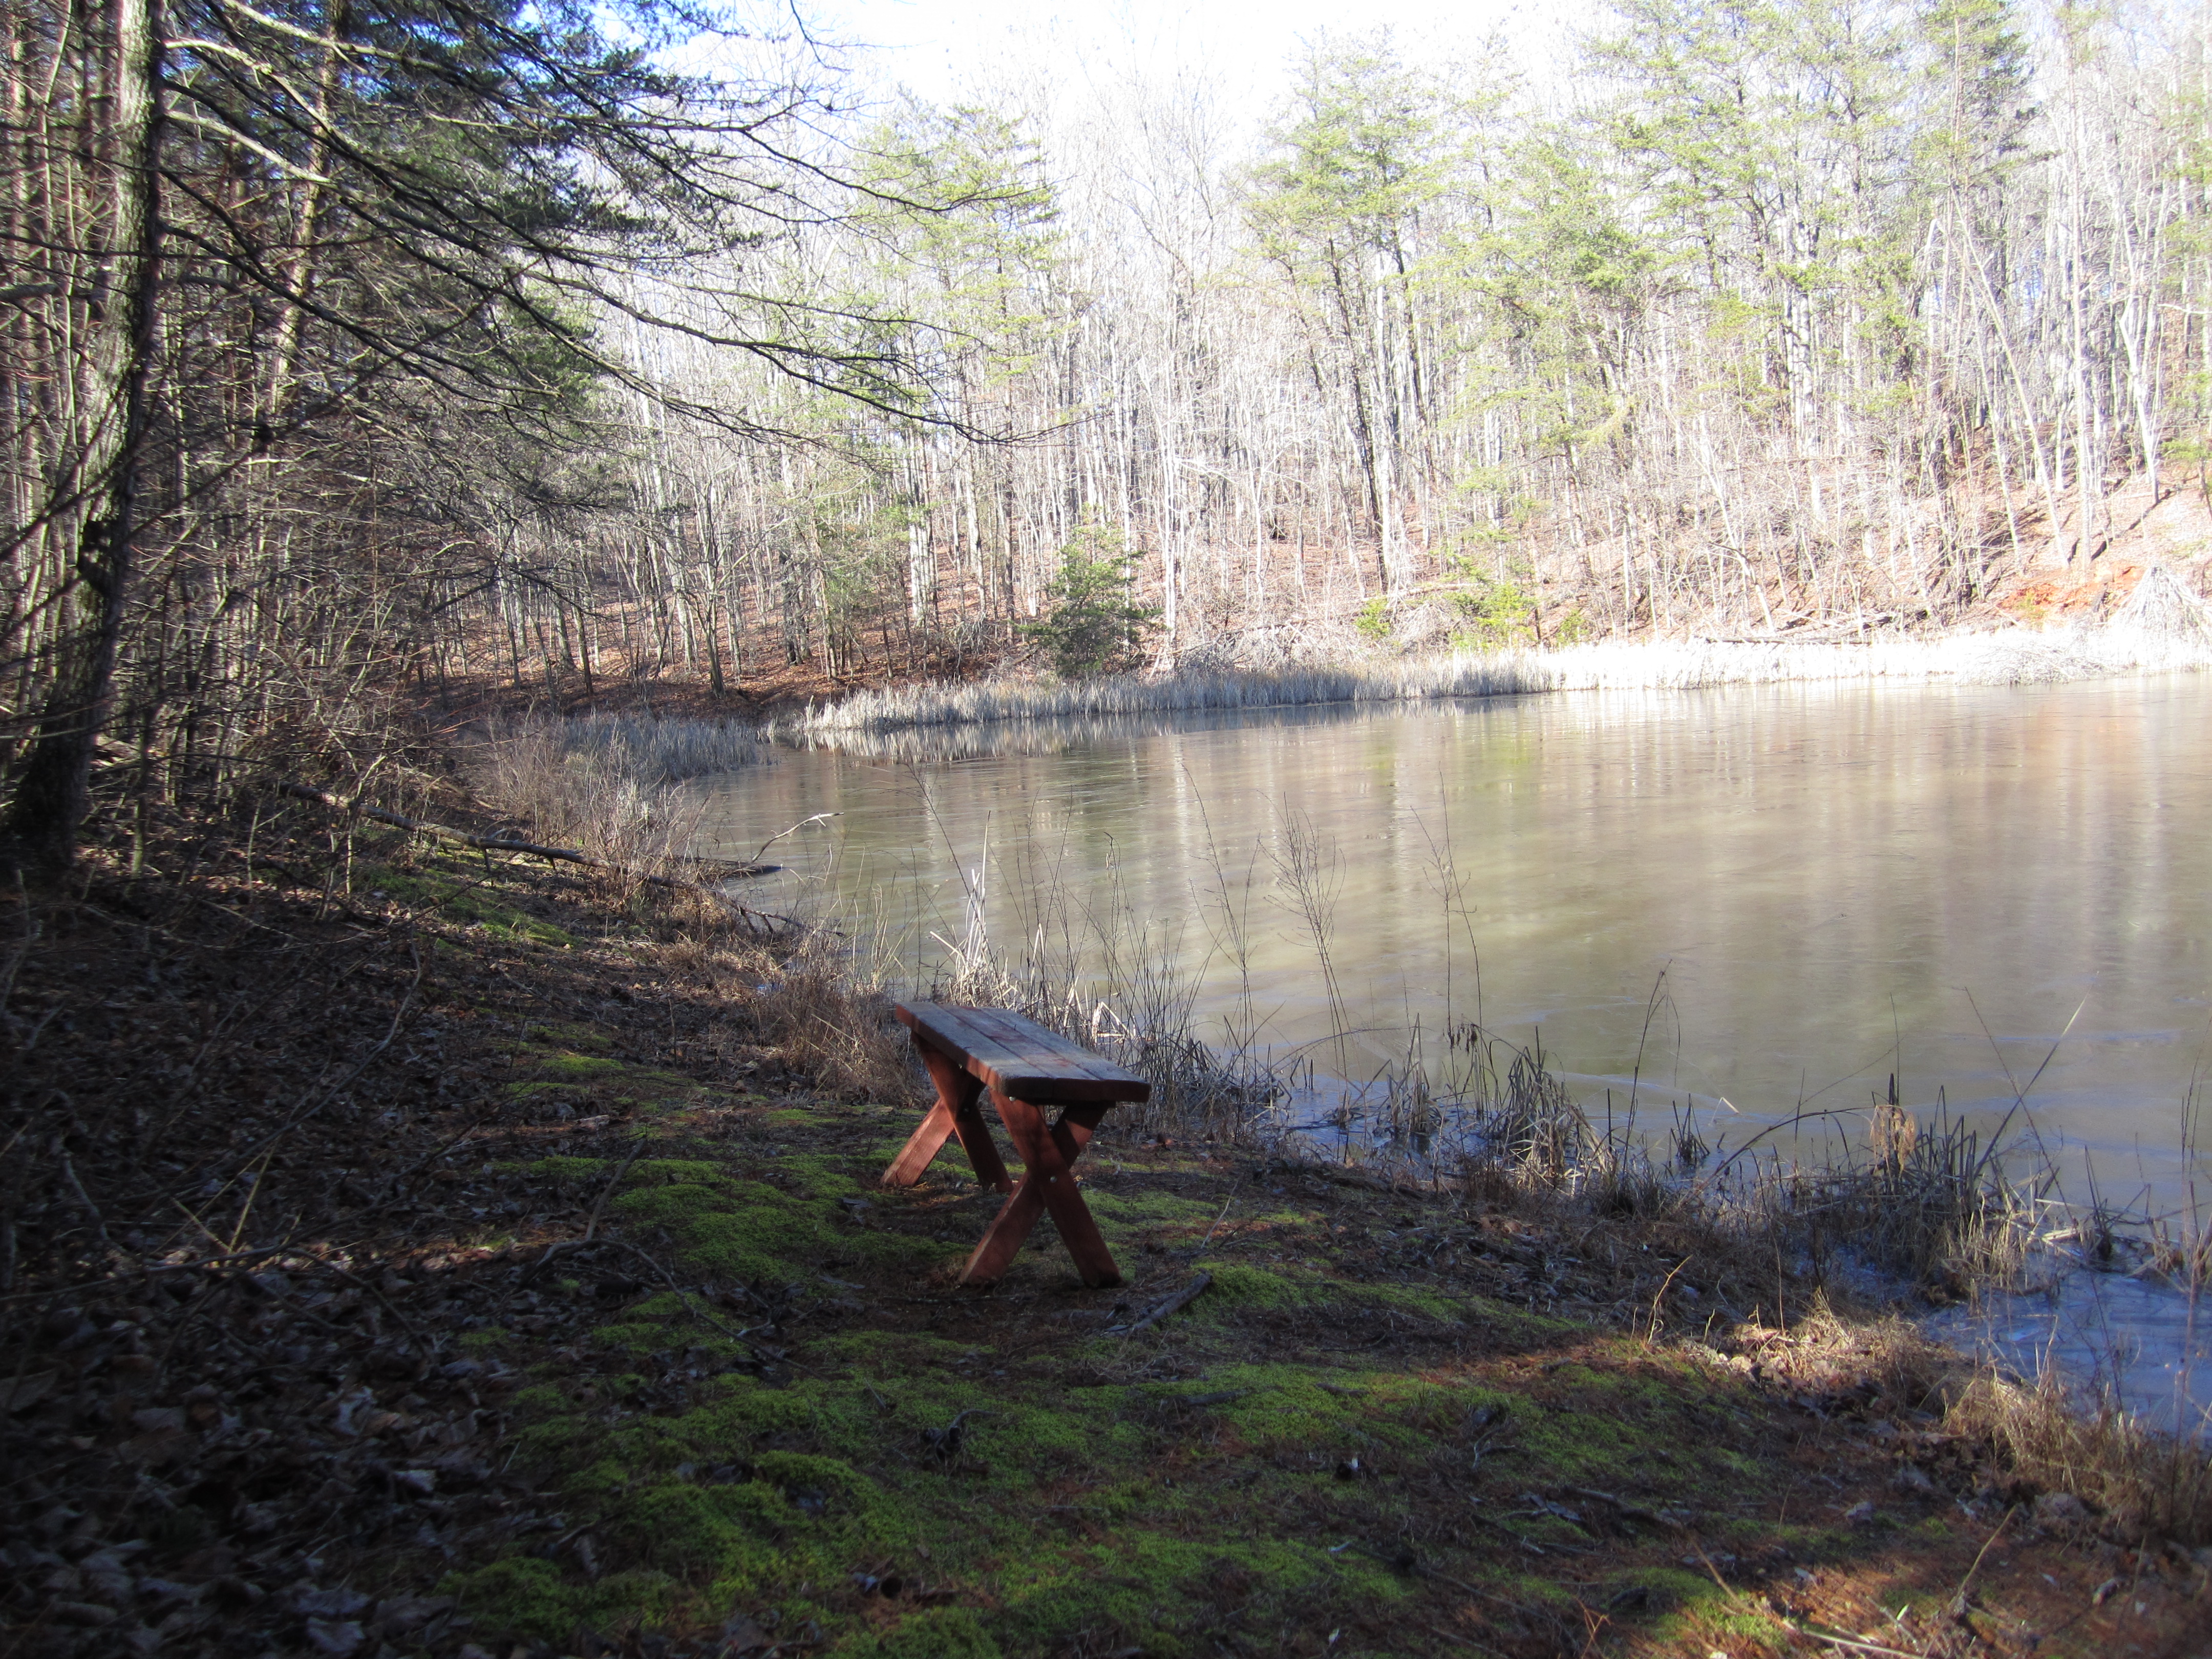
Third, in addition to tapping into the fungal network of the forest, our new food forest will benefit from the established nutrient cycle that is already in place. Our towering hardwood trees have roots that have driven deep into the soil, and are able to pull up nutrients and minerals unavailable to most plants. They then store these nutrients in their leaves, and when fall comes, shed huge amounts of organic fertilizer and mulch all around our young food forest.

In addition to gathering and cycling nutrients, these massive trees are also able to soak up and “sweat” out water. This dew will fall directly on top of our new food forest, supplying it with a decent amount of moisture and reducing our need to irrigate.

All of these benefits are part of the reason we planted our food forest on the hardwood forest edge. Because the mature system can provide so much for our new, immature system, we won’t be planting as many support species. There will be some, but no where near as many as would be planted in a typical food forest.

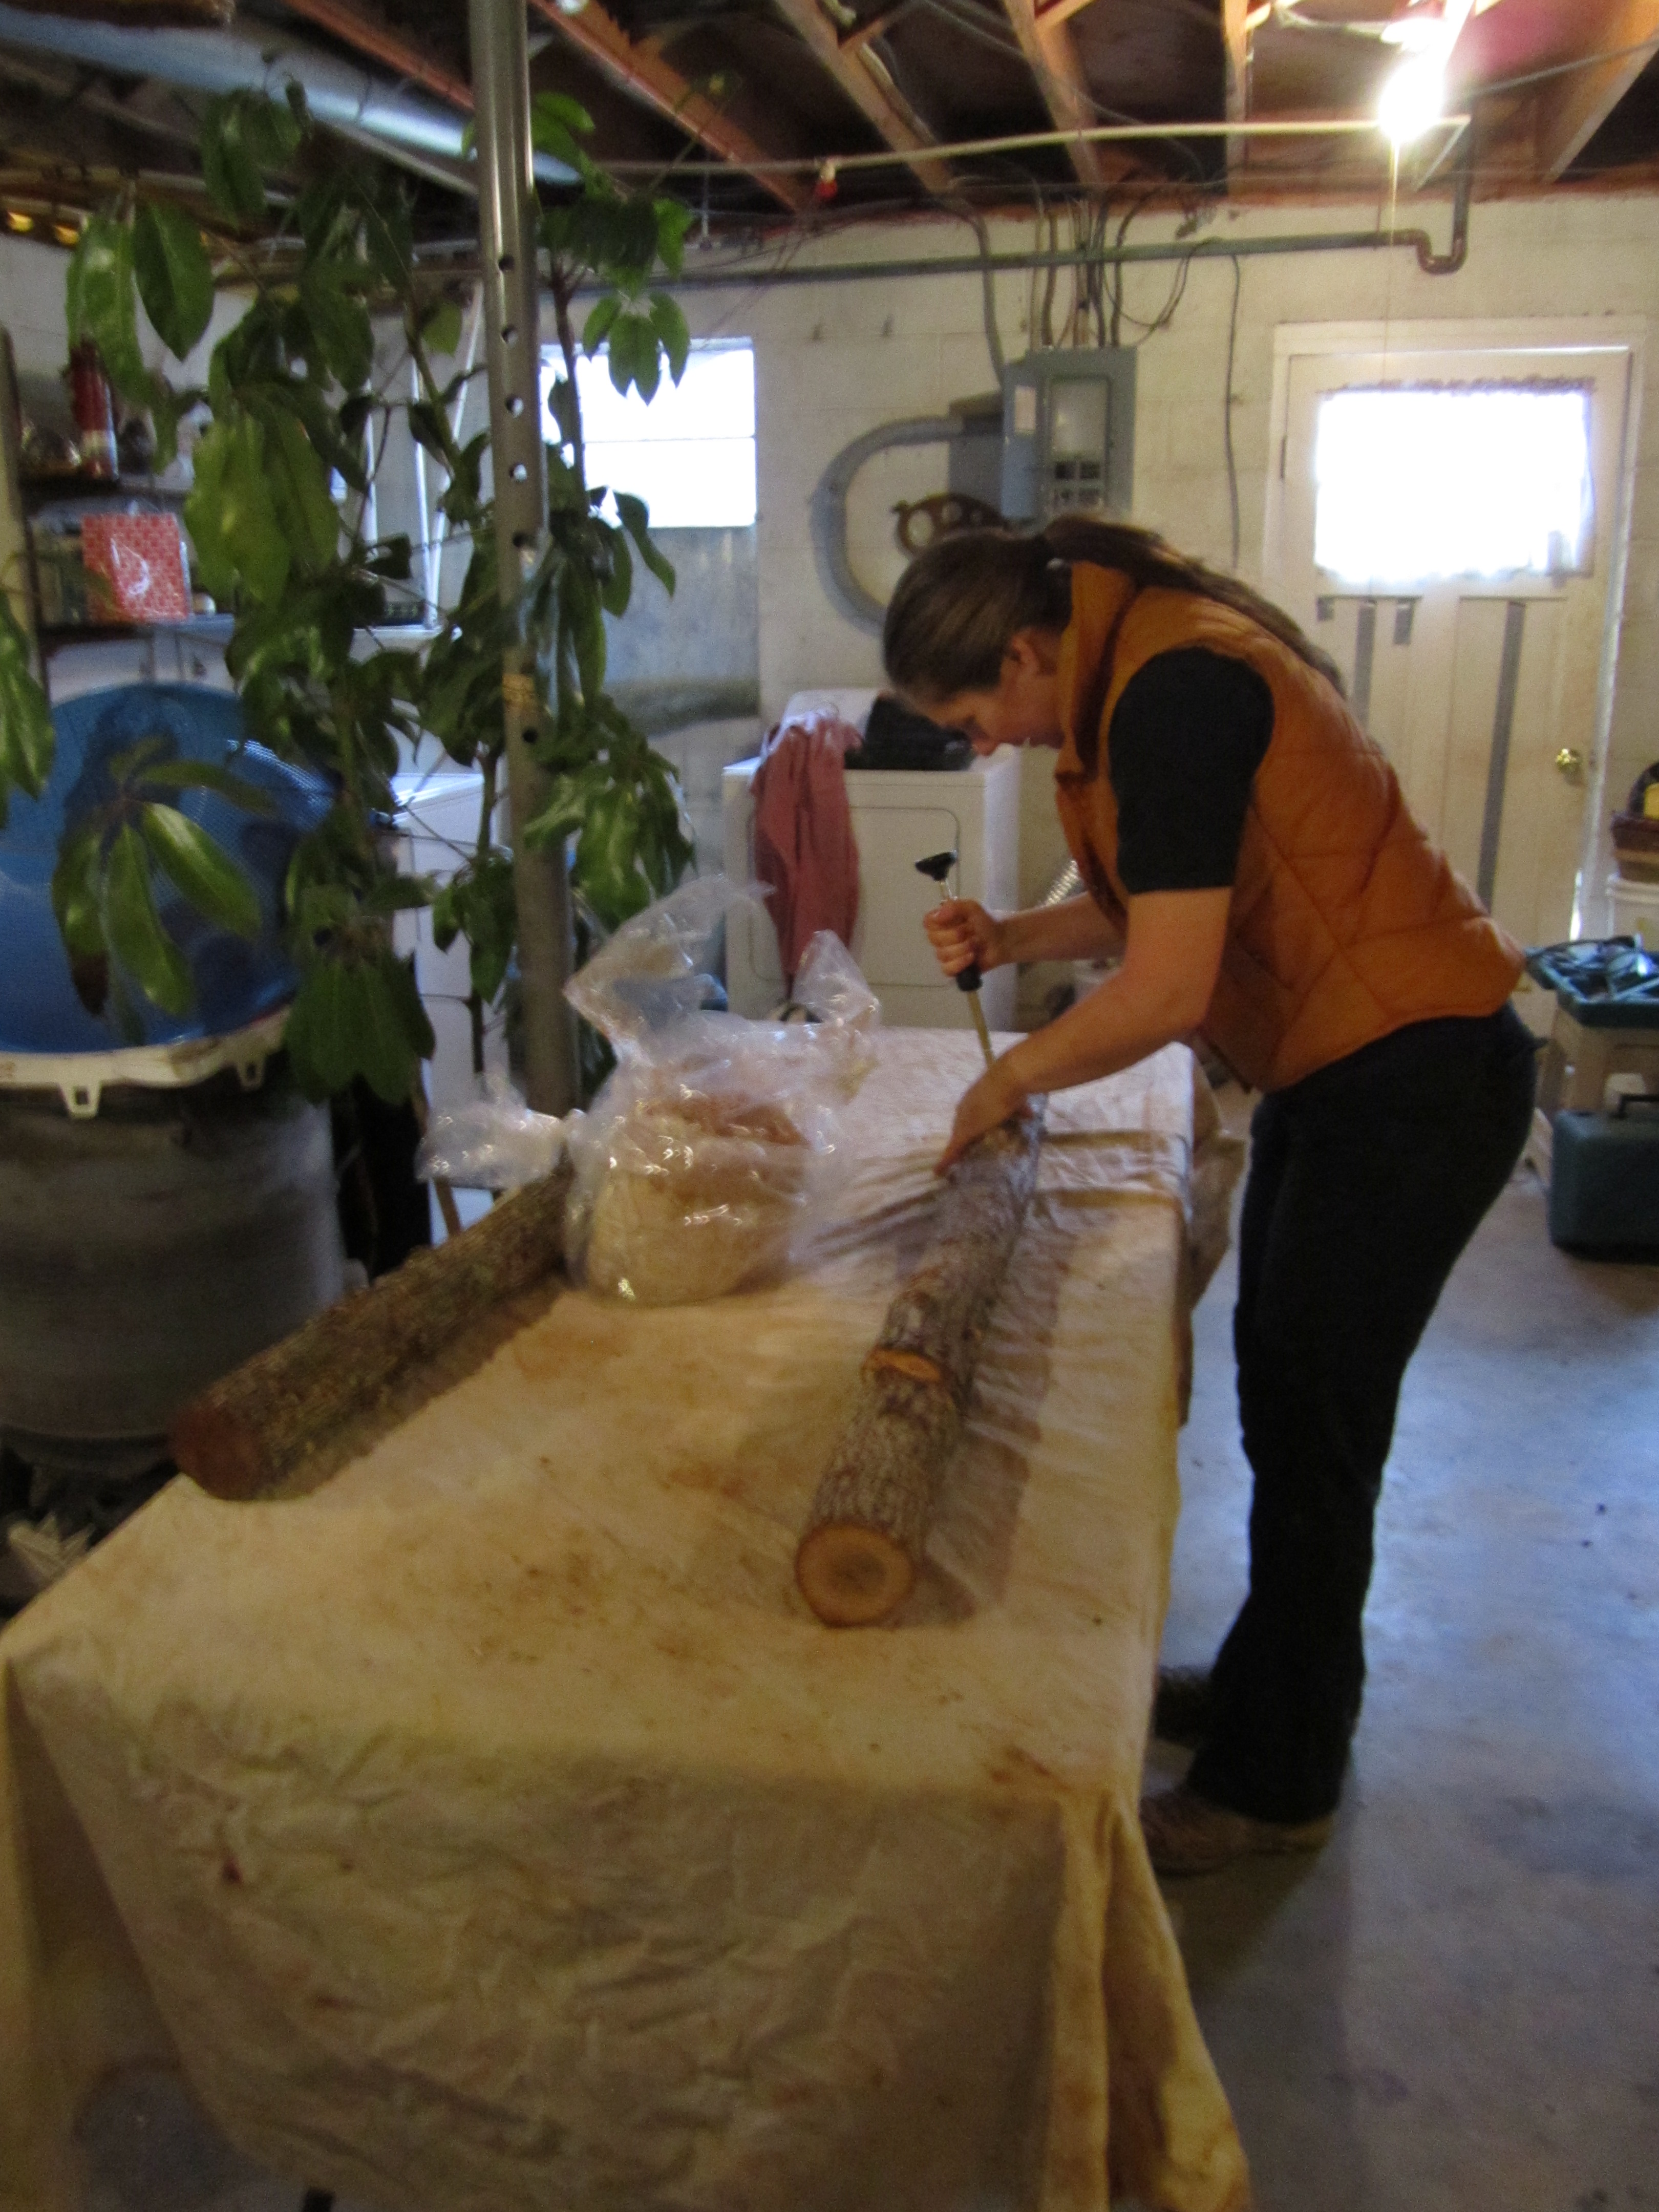
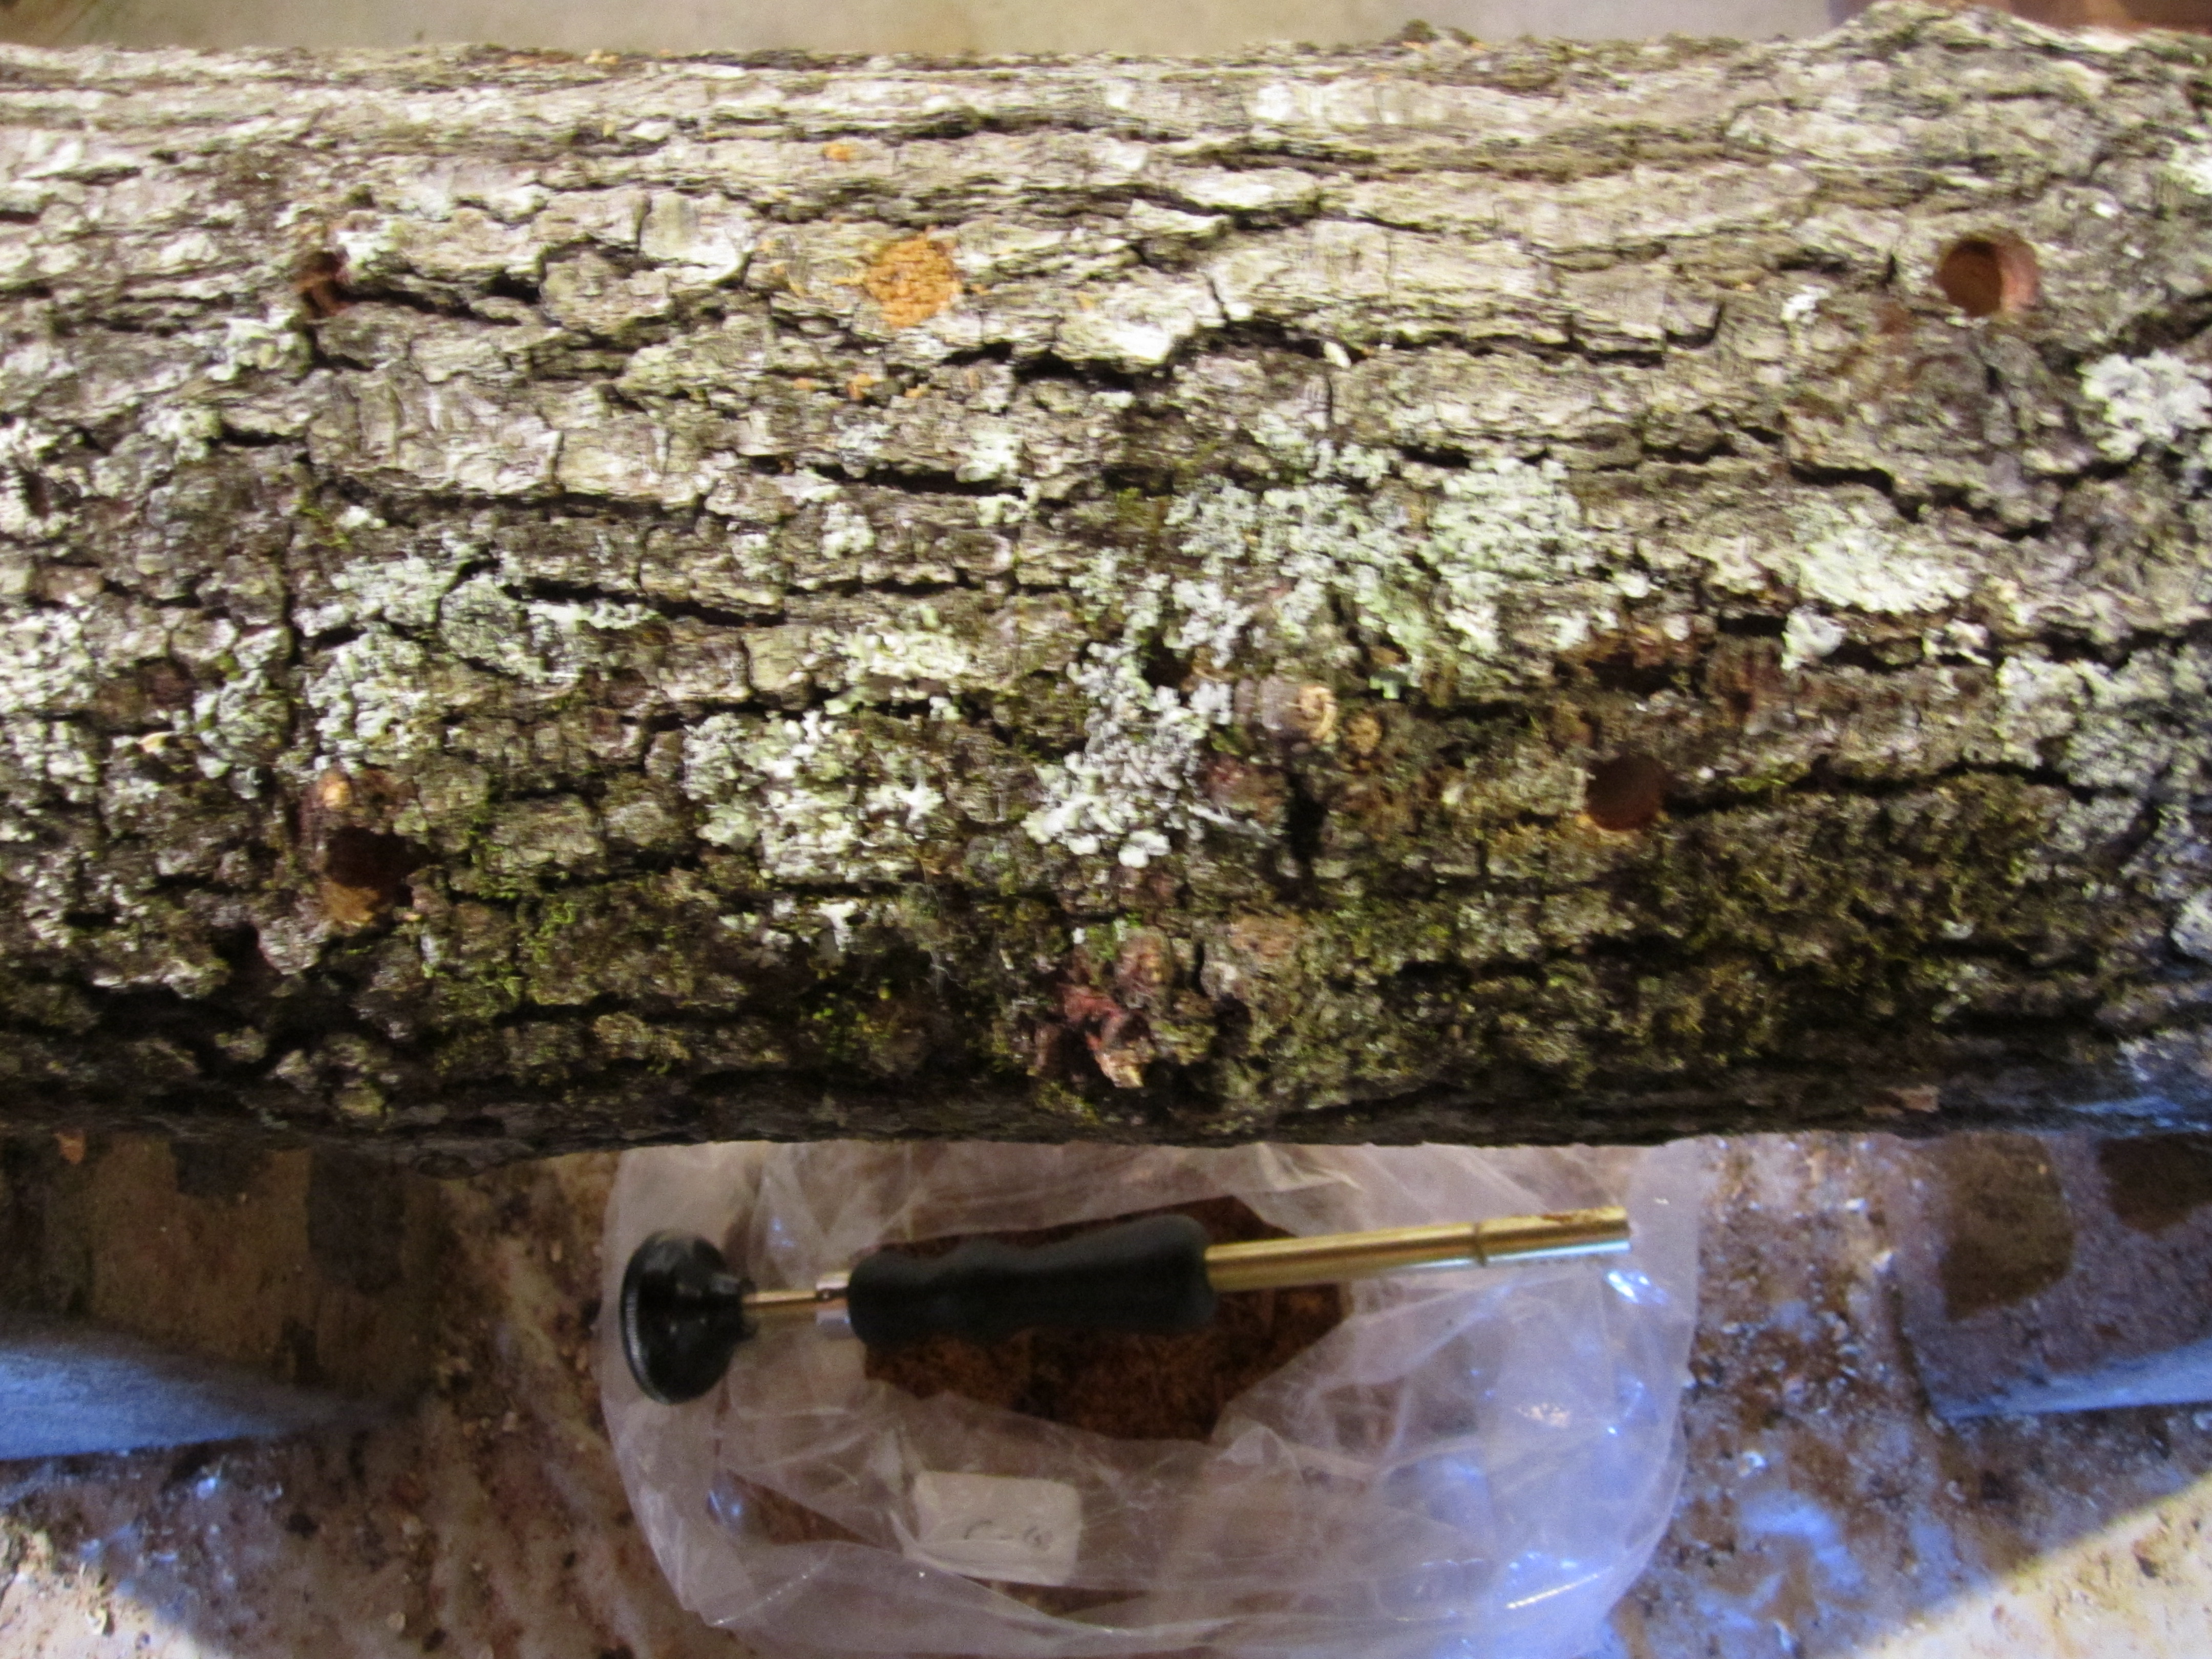
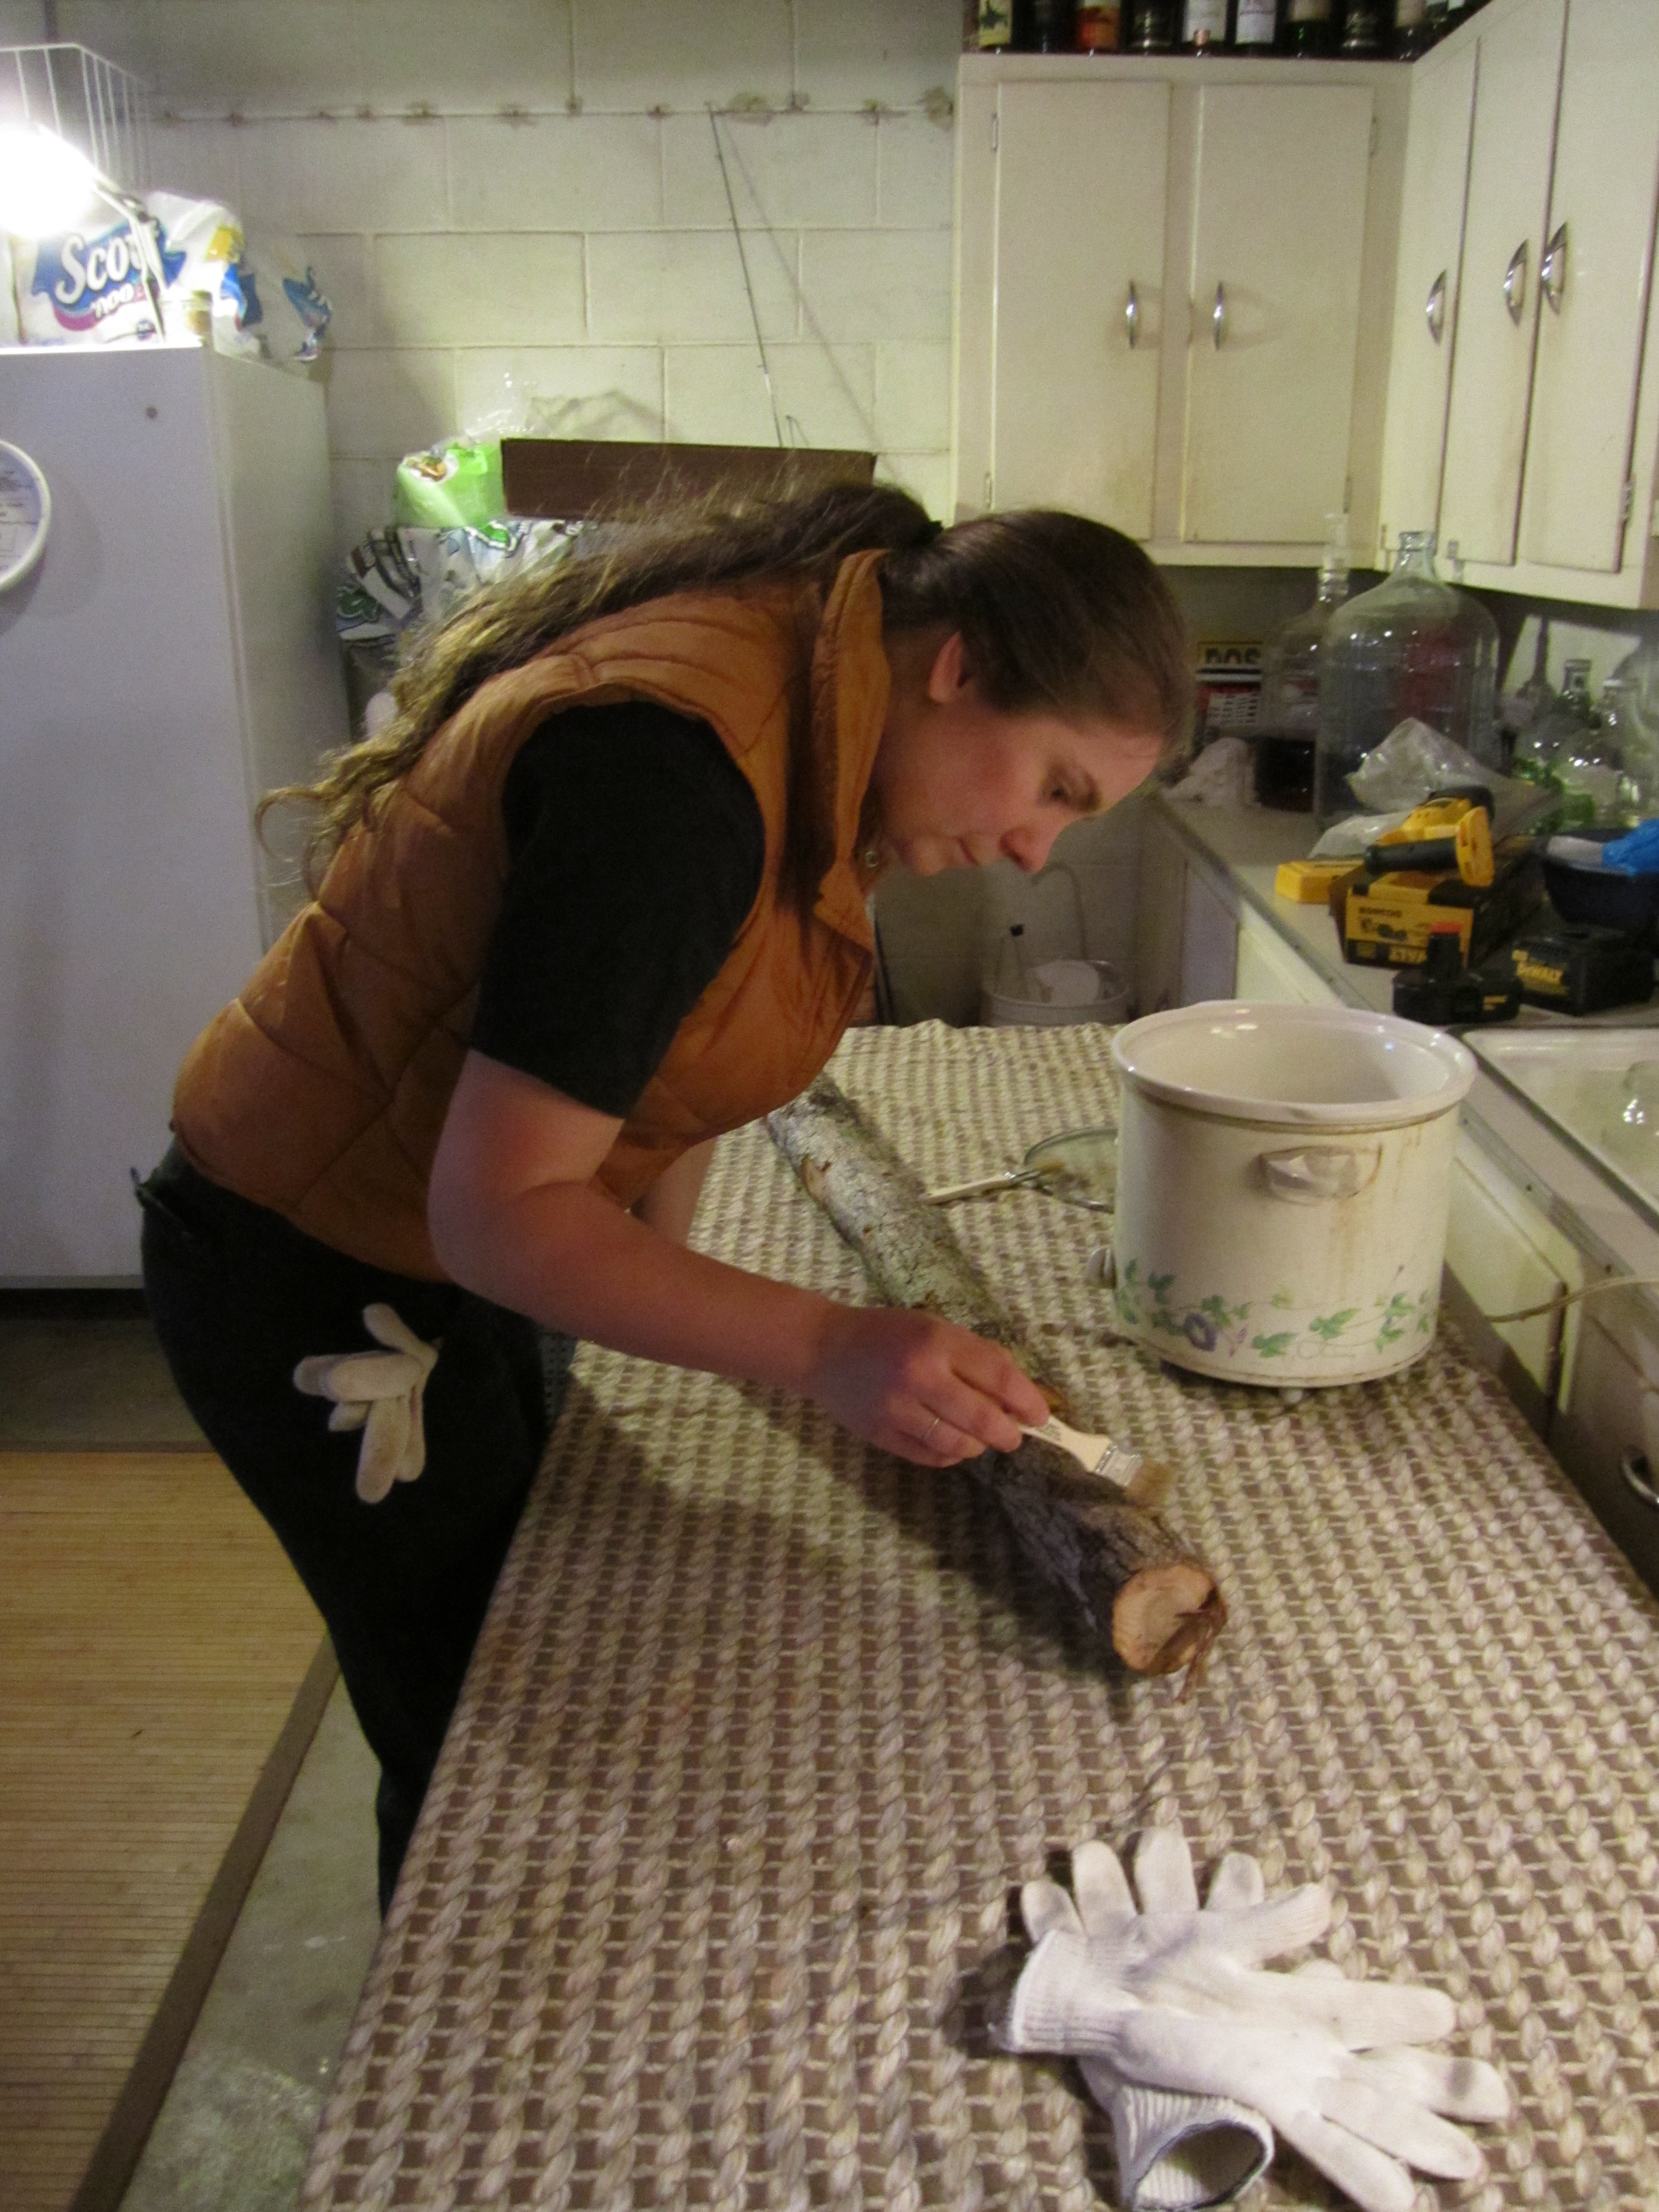
This diverse forest system will be made up of an extremely diverse group of fruiting and medicinal plants. In addition to the overstory of hardwoods (which also provide shade and moisture for our mushroom logs), we planted apple, pear, peach, pluot, plum, paw paw, cherry, and asian pear trees as the main food species. We then planted shrubs and bushes like raspberry, blackberry, blueberry, currants, gooseberries, seaberry, autumn olive, goumi, goji berry, aronia, and elderberry. We also planted a few vines, like groundnut, grape, and passionflower, as well as herbaceous species like sunchokes, comfrey, fava beans, and, soon, a dozen more medicinal, perennial herbs like black cohosh, astragalus, marshmallow, yarrow, and valerian. Among these will be nitrogen fixers like honey locust, black alder, and siberian pea shrub, as well as a mix of clovers.

All of these species are in an area smaller than an acre, and primarily along the border. Most are perennial, and should provide for food for many years, as well as serve as nursery stock for propagation, ans the expansion of our food forest to other spaces on our property. It has taken a great deal of effort to plan and plant, but our new food forest should start paying dividends in a few years, and then on for as long as there is someone here to harvest.

soaking the mushroom logs and giving them a home

after inoculating our shiitake mushroom logs, we had to go about soaking them and figuring out where they would be living!

first of all, the few days after the inoculation were chilly (which wouldn’t matter) but the nights were below freezing (which would matter). so, once we got all of the logs inoculated, i stacked them inside our basement and covered them with damp sheets and a layer of plastic to keep in the moisture. this meant that we were not able to begin soaking them for a few days, which we decided would be alright considering the logs were cut only a few weeks before and still contained some moisture. it is important to keep the logs from freezing (in the beginning, at least) and to make sure that the logs do not totally dry out. it is likely that the logs would have been fine without being brought into the basement or without laying damp sheets over them, but we decided to play it safe.

logs

logs soaking in the footpaths of our raised garden beds.


once the weather warmed up a few days later, we filled the deep paths of our garden beds and soaked the logs in there, also using a small pond liner for soaking some of them. the paths slowly drained and we refilled the paths a couple times over the course of a few days to make sure that the logs were super moisturized.

logs

logs soaking in the footpaths of our raised garden beds.

logs

some logs getting a temporary soak in a pond liner.


then i moved the logs (with the help of my wheelbarrow and a good bit of cussing) to their permanent home leaned up against our corn crib structure. my dad and jason had already cleared a space for them, as well as space for 2 old enameled, cast iron bathtubs for use in soaking.

and man, moving the now-wet-and-much-heavier logs was tough. i put between 4 and 6 logs in my wheel barrow for each trip from the paths to the corn crib, and luckily didn’t dump a single load, even though there were a few obstacles along my way! i feel proud. keeping the wheelbarrow from tipping when loading and unloading the logs was the more difficult part, really, since each log weighed between 25 and 70 pounds. luckily, no accidents here either.

logs

leaned up and labeled logs!

once i leaned all of the logs up against the corn crib, i divided the 50 logs into 4 groups, and labeled these by nailing different colored tape into one end of each log. once we bring the second ceramic tub to the area for log soaking, 1/2 of group 1’s logs will be soaked in one tub overnight, and the other 1/2 will be soaked in the other tub. the logs will be soaked on a rotating schedule so that each of the 4 groups gets a soak every 2 weeks or less often depending on how quickly their bark dries completely out (that’s the sign it’s time to soak them again!).

logs

the final product: the logs leaned up by the corn crib (and me in the tub!).

and so, we begin the watering and waiting process. grow, shiitakes, grow!

.:.

mushroom log inoculation: it’s a family affair

i am finally writing about this, even though we inoculated our mushroom logs a few weekends ago. if you’ve read my other posts about selecting our mushroom varieties and about cutting our mushroom logs, you already have some idea about our plan. since these posts, though, our plans have changed slightly. we are still using 50 mushroom logs this season, but we are only inoculating with shiitake mushroom spore. this is for three reasons:

  1. shiitake mushrooms are the only gourmet grow-it-yourself mushroom and variety that i have tasted and i am confident in their deliciousness!
  2. shiittake saw dust spawn was cheaper to obtain than shiitake plus a few other varieties.
  3. shiitake is a mushroom that my father has experience growing and the other mushroom contenders had different, more difficult traits (i.e. maitake sometimes won’t fruit for years and some people say that reishi tastes not-the-best).

so, we decided to go with the trusty shiitake for our first year’s mushroom experimentation!

we ordered both our spawn and our inoculator tool from fungi perfecti and once we got our bags of spawn in the mail, we promptly stuck them in the fridge.

once the big day arrived, we enlisted the help of my parents. it turned out that jason and my dad did most of the hole drilling, i did most of the inoculating, and my mom did most of the waxing of the holes. even with all this extra help, jason and i still had to continue the process for 2 days after the “family work day.”

here’s how the experience went:

first of all, i set up 3 stations in our basement (one for each of the big steps in the inoculating process). the first station, where the logs were drilled by jason and my dad, is where the each log’s journey began. both of them toted in the logs in batches from where they were stacked outside the back door. they shared a palette that was on a table and used the palette to hold the logs that they were drilling in place. they used 7/16″ drill bits (the standard size for sawdust spawn… plugs are different) and went in 1″ deep (the depth of our inoculation tool). in drilling to a certain depth, we found that marking the drill bit with lots of tape worked better than stoppers (these slipped too often). jason and my dad spaced the holes in a diamond pattern, with 2 1/2″  between holes running perpendicular to the length of the log and 6″ between holes running parallel with the log. each row of holes down the log was staggered so that a diamond-shaped pattern was the result.


logs

jason and my dad drilling 1″ holes in the logs. dodger oversees the process.

the second station was my own, where i was set up with the saw dust spawn and the inoculation tool. once i got the hang of it, it was quite simple and fun, really (although my hand did start hurting). in order to make sure that i got enough spawn inside the cavity of the tool each time, i brought it down hard 5 times in the bag of spawn before placing the tool over the hole and rapidly and forcefully hitting (either with open palm or closed side-fist) the handle of the tool 6-7 times. once you do this a few times you’ll be able to feel and hear once the inoculator cavity has been fully emptied into the log, and you’ll be able to judge how many “taps” you need for each hole.

positioning the inoculator tool over a hole.

positioning the inoculator tool over a hole.

later in this process i used cinder blocks to raise the level of the log (it was beginning to hurt my lower back bending over so much) and to hold it in place and keep it from rolling when using the tool. my mom also helped hold some of the more wiggly logs in place. to make sure that you’re doing your job right, check to make sure that the spore is almost as hard as the wood itself. if so, then you know you got it packed in there well enough.

log

the hole near the upper center of the photograph has been filled with spawn, whereas the hole toward the top right has not.

station three was where my mom was camped out, and she “painted” over the holes with wax (we used the cheapest, white wax you can find on the baking/canning aisle of the grocery store). we used an old crock pot specifically for melting the wax, cutting it on “low” to melt the wax and then on “keep warm” once it was all melted (we do not plan to use the crock pot for anything else except wax in the future). the brush we used was a 1″ natural fiber brush, the cheapest that could be found at the hardware store. when my mom waxed each hole, she was heavy-handed to make sure that all sawdust was sealed inside… this is important because you don’t want to give any other fungi the chance to colonize the log through the open hole too.

log waxing

i demonstrate the waxing process.

once the logs had dried a bit, someone who had a break would move the completed logs back outside to be stacked and await their future soaking!

overall, the experience was exciting! i can’t wait to see how everything turns out months from now. for now, all the logs have been soaked and moved to their permanent location, to await fruiting. we’ll talk more about this process in future posts… hopefully coming very soon!

a video explanation and demonstration of these steps will be posted shortly!

.:.

The First Dandelions of 2014!

20140404-203559.jpg

Dandelions are here! One of the most useful and nutritious plants you can find.

Spring has officially arrived at Kuska Wiñasun Homestead! The very first dandelion flower has sprung onto our land and I couldn’t be happier. It came up in the first place we housed our portable chicken coop. I’ve seen dandelions popping up in Greensboro for the last week, mainly in parking lots and sidewalk nature strips, and I couldn’t wait for them to start blooming in our lawn, sending their deep tap roots down deep into the soil to pull up all sorts of minerals and nutrients.

Because our homestead is some 30 miles north of Greensboro and is at a higher elevation too, our climate is slightly cooler than the sprawling NC Piedmont city. All that concrete also has an effect on temperatures, and so we generally lag a few days behind in Spring, but we never gave up hope!

20140404-203638.jpg

The chickens checking out a newly planted “William’s Favorite” apple tree in our front yard.

But the dandelions are back, and that means spring. Spring is a busy time for any homesteading family, and we are no exception. We’ve planted 16 new fruit trees so far (more on that soon), and between our off farm jobs and planning our wedding, we’ve been keeping busy. Emma and I are out almost every day until it’s just too dark to see, taking advantage of the long days and perfect weather, and planting everything from cabbage and broccoli to comfrey and clover.

Spring is a busy time, but it’s a welcome change to the short days of winter. The solstice approaches, and soon summer will come, bringing with it the humid nights, open windows, and chorus of pond frogs we almost forgot about. But for now, we’ll focus on spring and the delicious and nutritious treat of dandelion greens.

walking dodger’s way: a perimeter path around our land!

yesterday jason and i did something that i have been fantasizing about for months… we finally chose, marked, and pruned a path around the perimeter of our land! even though it was raining a cold drizzle during most of the adventure, it was excellent fun. some of the reasons i have been chomping at the bit to get my new trail marked:

  • spring is about to hit and i really wanted to have the trail marked and somewhat cleared before all of the foliage came back in and obscured the best path options. jason carried the bush ax and i carried the long-handled nippers and green marking tape. we pruned small tree limbs out of the way and pushed some dead wood out of the the path as we went, and i marked trees that were directly to the left side of the trail. this was so that i can remember the path until i get more used to it and so that visitors know where they are going if they decide to strike out on their own!
  • i recently started running again and unlike my other attempts over the last decade to get motivated and stick with it, i really feel excited about it this time. i thought that getting my trail marked and thoroughly “beaten down” before the undergrowth threatens to block the way would really keep me excited about running. i can also imagine how much cooler exercising will be in the summer under the shade of my very own canopy!
  • as i discovered this weekend, the ticks have arrived (tick spring break ’14! what, what!). they have not shown up in mass yet, and i only found 2 crawling on me because i was sitting down in the leaves at the edge of our yard. but before they show up in numbers, i wanted to do all of the limb bumping and leaf shaking that i could (ticks like to wait in bushes and smaller trees for an animal to bump it… then they jump off onto the animal).
  • for the wedding, of course. we really wanted to have some developed walking trails available for the wedding guests to be able to explore the different portions of our land. we tried to make it a scenic and not-too-strenuous route so that everyone (even running emma) could enjoy it!

first we started by the house and marked the path through what we call open woods, a portion of our land that has large hardwoods and very few pines. There is very little undergrowth here and it has nice open spaces for walking and looking down towards the pond.

woods

walking in open woods with jason’s family in early 2014

then the path goes down to the pond, curves up the hill slightly, and takes you right by the longest side of the pond where the mimosas will be blooming and where the frogs can already be heard singing lovely songs!

pond

the pond–the site where jason officially asked me to be his life partner

the path then leads into an already existing path that is framed by pine trees and littered with pine needles (this is the small portion of our land that always reminds me of a traveling scene in the lord of the rings films). this path is actually the top of the dam.

it goes out into a small clearing and then cuts back into our largest portion of woods that borders an even larger pond. it goes in the gulley for a while, through stove cove (named for the old rusting stove sitting in the middle of it) and starts to climb up the side of our largest hill towards areas that overlook the larger pond below. during this portion of the path, you can see other landmarks that we’ve named: the hanging tree, a pine that has snapped off from it’s base but is weirdly held in its place by adjacent pines and looks like it is floating vertically in air 12 feet off the ground; finger tree–also called hand tree–that has 5 trunks coming out of one stump with one trunk emerging from the stump closer to the ground (and thus looking like a thumb and 4 fingers), and bo bo tree, a large, fallen tree that we originally thought was struck by lightning and so we named it after bolt.

tree

hanging tree–what a crazy site!

bo bo tree is at the highest point in our land, and after going past this tree, the path curves back a bit in the direction of the house and tours the plateau, an interesting flat and wooded area that would be great for building a little cabin one day.

from there, the path goes downhill into a gully (that in another direction eventually connects to stove cove) and starts to climb uphill through running cedar, a lovely portion of forest that is blanketed with running cedar vines year-round. the path follows a natural deer trail through this area and eventually spits out into a very shady pine forest.

as you travel through this pine forest, the trees begin to get larger and less are standing. i’ve given this section of our land the name drunken pines, named after a pablo neruda poem and since so many of the pine trees have fallen or are leaning (i would say maybe half of the trees!). this part of the trail emerges at the edge of  a large area on our land that was a tobacco field about 7 years ago, and has since hosted small pines and blackberry vines.

the trail leads around this old field and right beside the old tobacco dryer and drying racks that still sit and wait for a better purpose…

tobacco dryer

our old tobacco dryer… maybe a future tiny winery?

by this time those on the trial have sight of the house and yard and the path cuts down bridey’s run for a little while and right past the spot where we are about to plant a lot of fruit trees and where we are thinking of getting married. from there, the path leads right up to the house!

and… a little history about bridey’s run: it is an old road (wide path) that goes from our paved road down our property until the beginning of our pond’s dam, where it dead ends. this straight run down has been titled bridey’s run because bridey, our 15-year-old dog likes to run down this path. the only (comical) problem with this is that once she gets going, her old legs can’t stop and she “bunny hops” all the way down to the pond! so hilarious.

so this is what we did this weekend, and it was great fun! we’ve named this perimeter trail around our land dodger’s way because the first time we ever walked the entire property our cat dodger came with us, meowing all the way. he even came with us again this weekend, despite the fact it was raining! that’s a sign for sure; that dodger’s way is going to be a “good luck” path for many years to come.

.:.

low budget, homemade save-the-dates for our (ochre) wedding

last week we designed and completed our save the dates for our wedding. we really wanted the design to be simple and we decided that making/printing them ourselves would be cheaper and more fun!

i bought a multi-colored pack of card stock, which included 50 sheets of each color: yellow, cream, green, blue, and gray, and i also bought small, cream-colored envelopes designed to fit 1/4 of a regular sheet of paper.

i designed the save-the-dates so that 4 of them would fit on each page, landscape style. this allowed them to fit perfectly in the envelopes and also meant that we only had to print 15 pages (since we only needed about 60 or so save-the-dates). we chose the blue card stock for our save-the-dates and will likely use the other 4 colors in some form when we design the official invitations in the next few months.

the overall design for the save-the-dates is not very complicated. the card is one-sided and on the left we chose a simple clip art image of a black and white farm (house, field, and silo). on the right half of the page we included the special event, our names, and the general location (our city).

even though the design and printing did not take very long, there were other details that did take some time: when i bought the card stock and envelopes i also bought a do-it-yourself stamp kit and decided that the old-fashioned look of the stamp would be a nice addition to the cards!

it took forever to properly place the letters in the stamp for each of the 3 designs i wanted to use, but in the end i loved how the cards and envelopes looked!

cards

the back of our save-the-date cards, stamped and ready to be mailed!

i used the stamp for:

  • our return address on the front of the envelope
  • the words kuska wiñasun homestead on the back of the save-the-dates cards
  • a design i put over the flap of the envelop once it was sealed, that included our initials (with a little house symbol in between) and our wedding date (see the picture above)!

i also added a little bit of color to the black-and-white image of the farm, using a silver sharpie for some shine!

and that was it, really!

i’ve also made a spreadsheet which includes all households and has columns for the number of people invited for each household, if their save-the-date has been mailed, if their official invitation has been mailed, how many people are confirmed as coming, etc. although i won’t be looking at most of the columns in this spreadsheet until months from now, making it was very helpful in making sure that i didn’t skip anyone or address two envelopes to the same household! it makes me feel very on top of the whole thing–which is key for weddings, as i understand it!

almost 6 months until the wedding, now! wow!

.:.


Older posts

© 2024 KW Homestead

Theme by Anders NorenUp ↑