KW Homestead

Pasture Raised Poultry & Edible Landscaping Plants Since 2013

Tag: farm food friday (page 1 of 2)

Farm Food Friday: Gluten, Flour, & Sugar Free Breakfast Pancakes

I usually skip the simpler carbohydrates if I can, like rice and flour, but that doesn’t make me any less hungry…

After some trial and error, Jason created a fantastic and simple pancake recipe, loaded with calories but low in sugar! What a great and filling breakfast! Plus, it’s fantastic with one of my very favorite foods: grass fed butter.

It’s so simple, you’ll be surprised! You can make these into classic pancakes, or you can take the easy route and bake the batter in the oven as a thicker cake. I enjoy the texture of the baked pancakes better.

Ingredients:

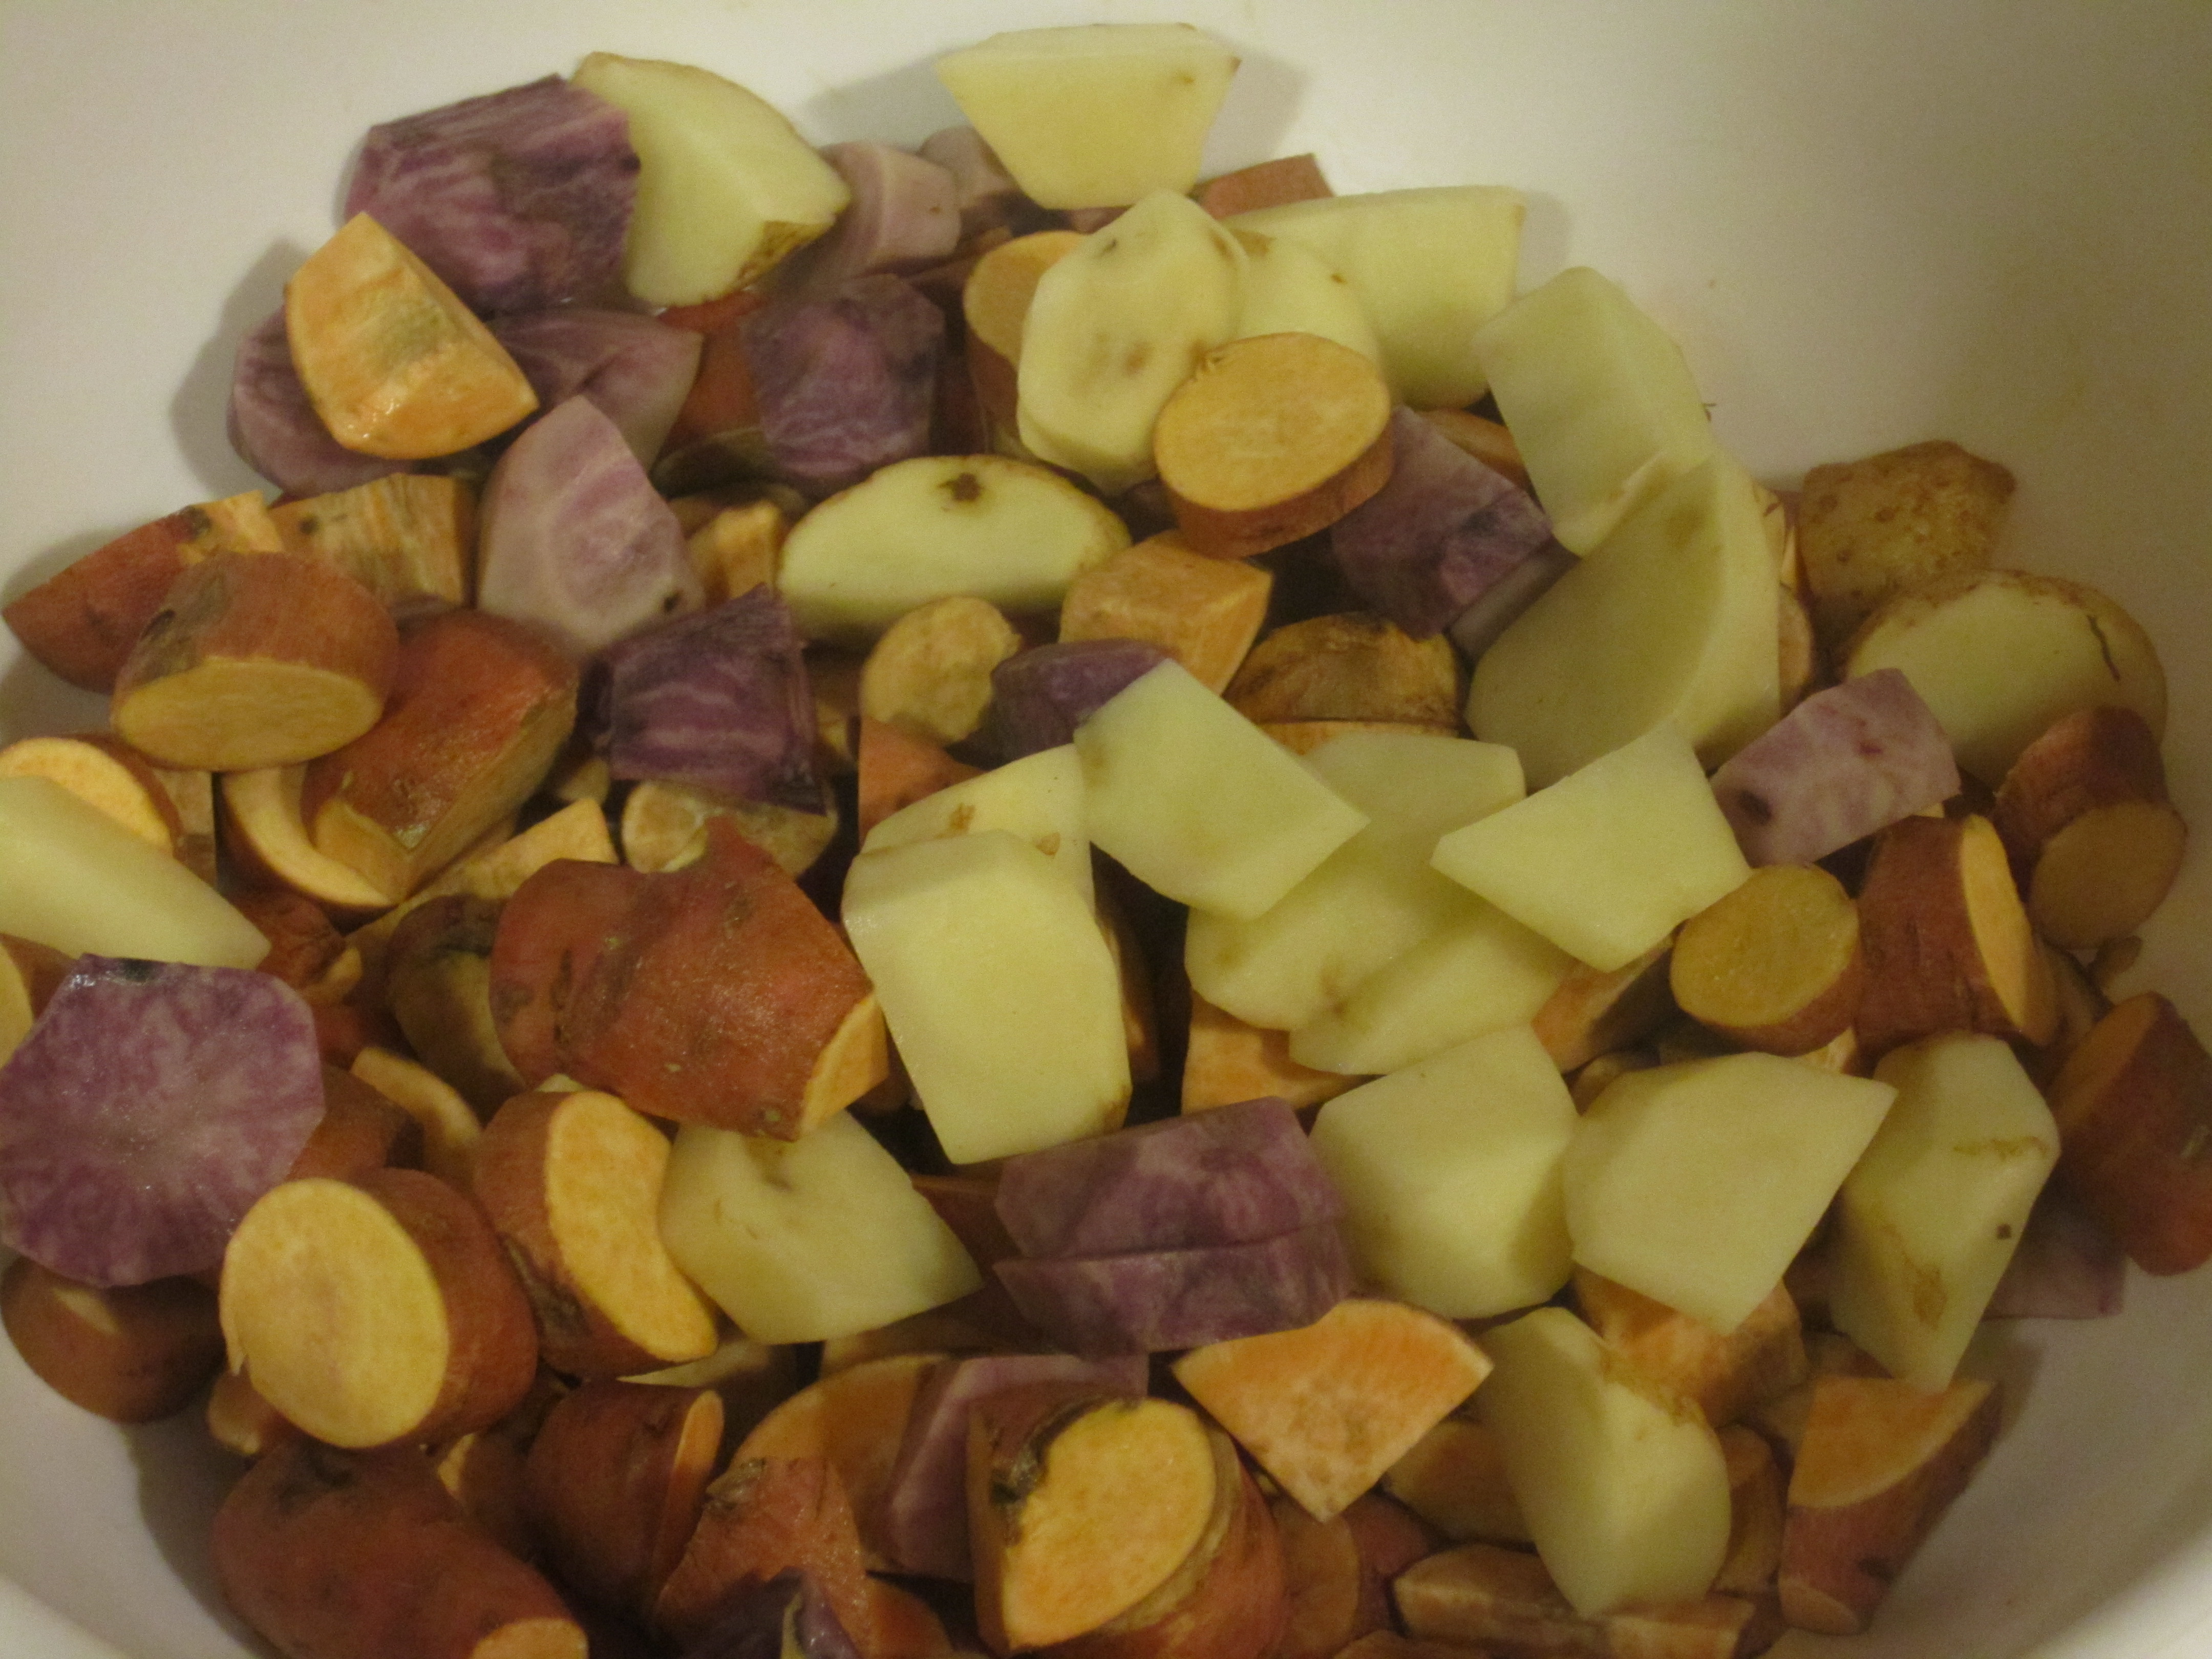
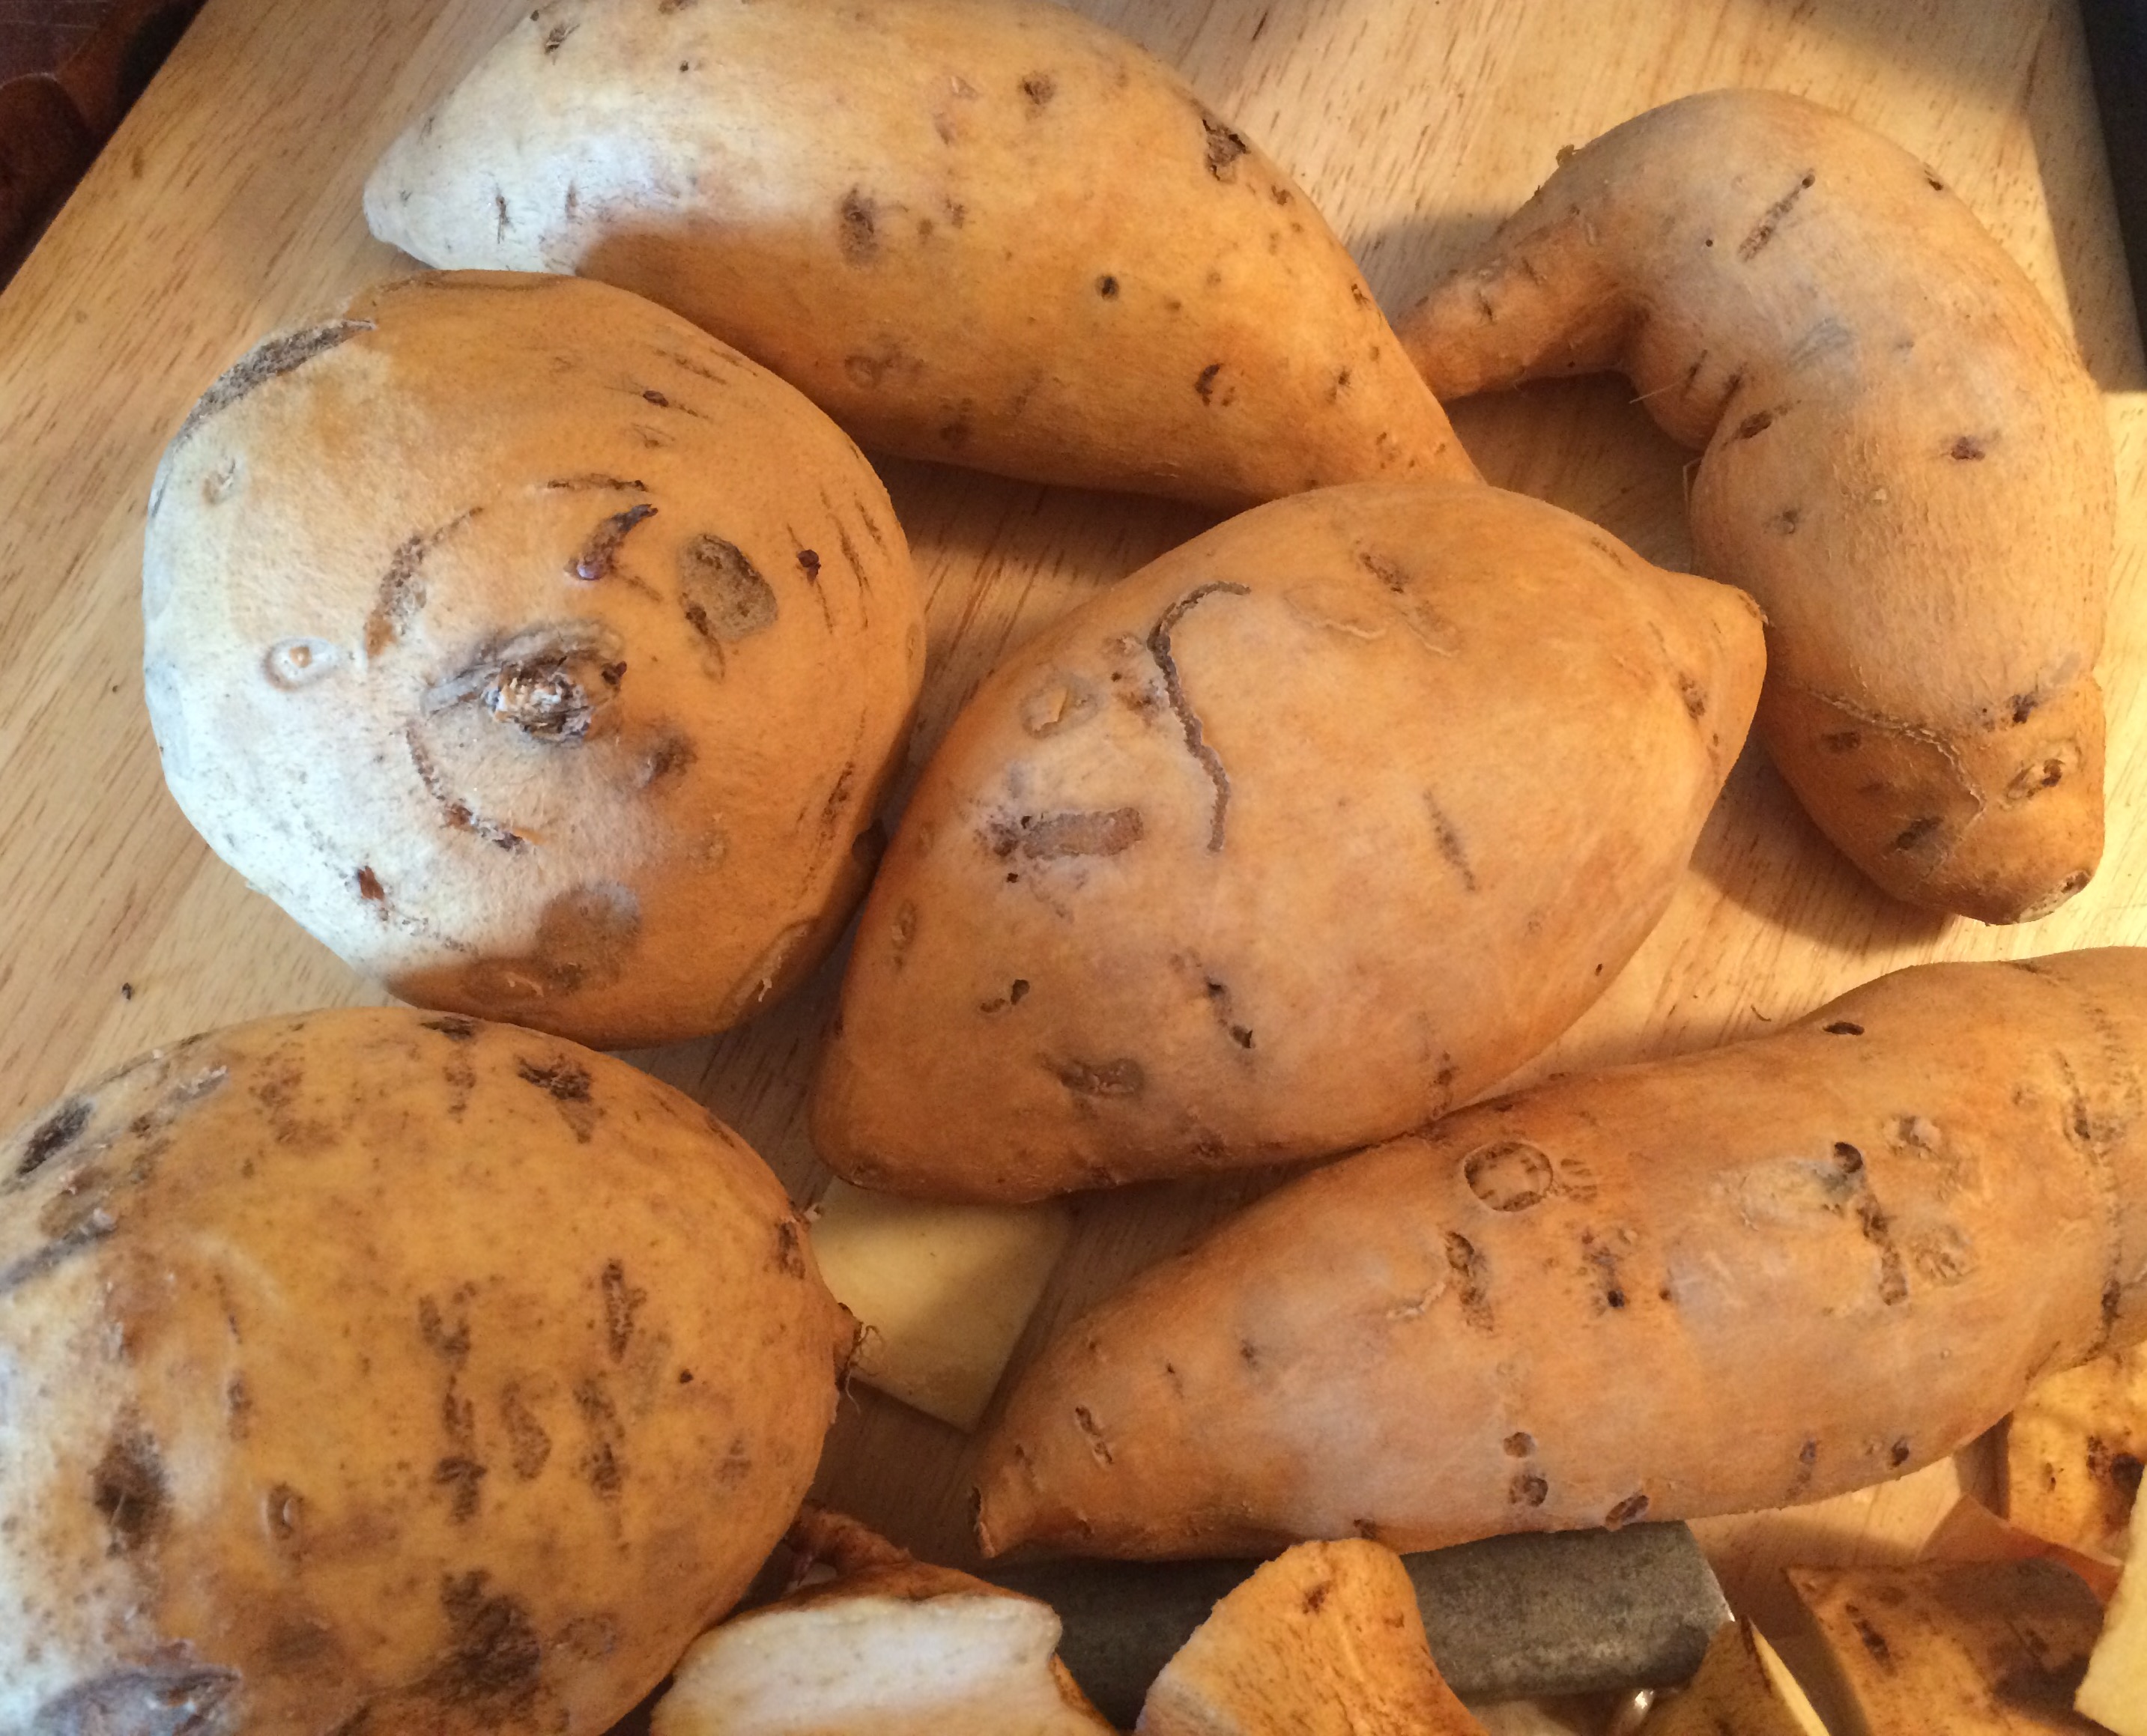
  • 6 medium/large sweet potatoes
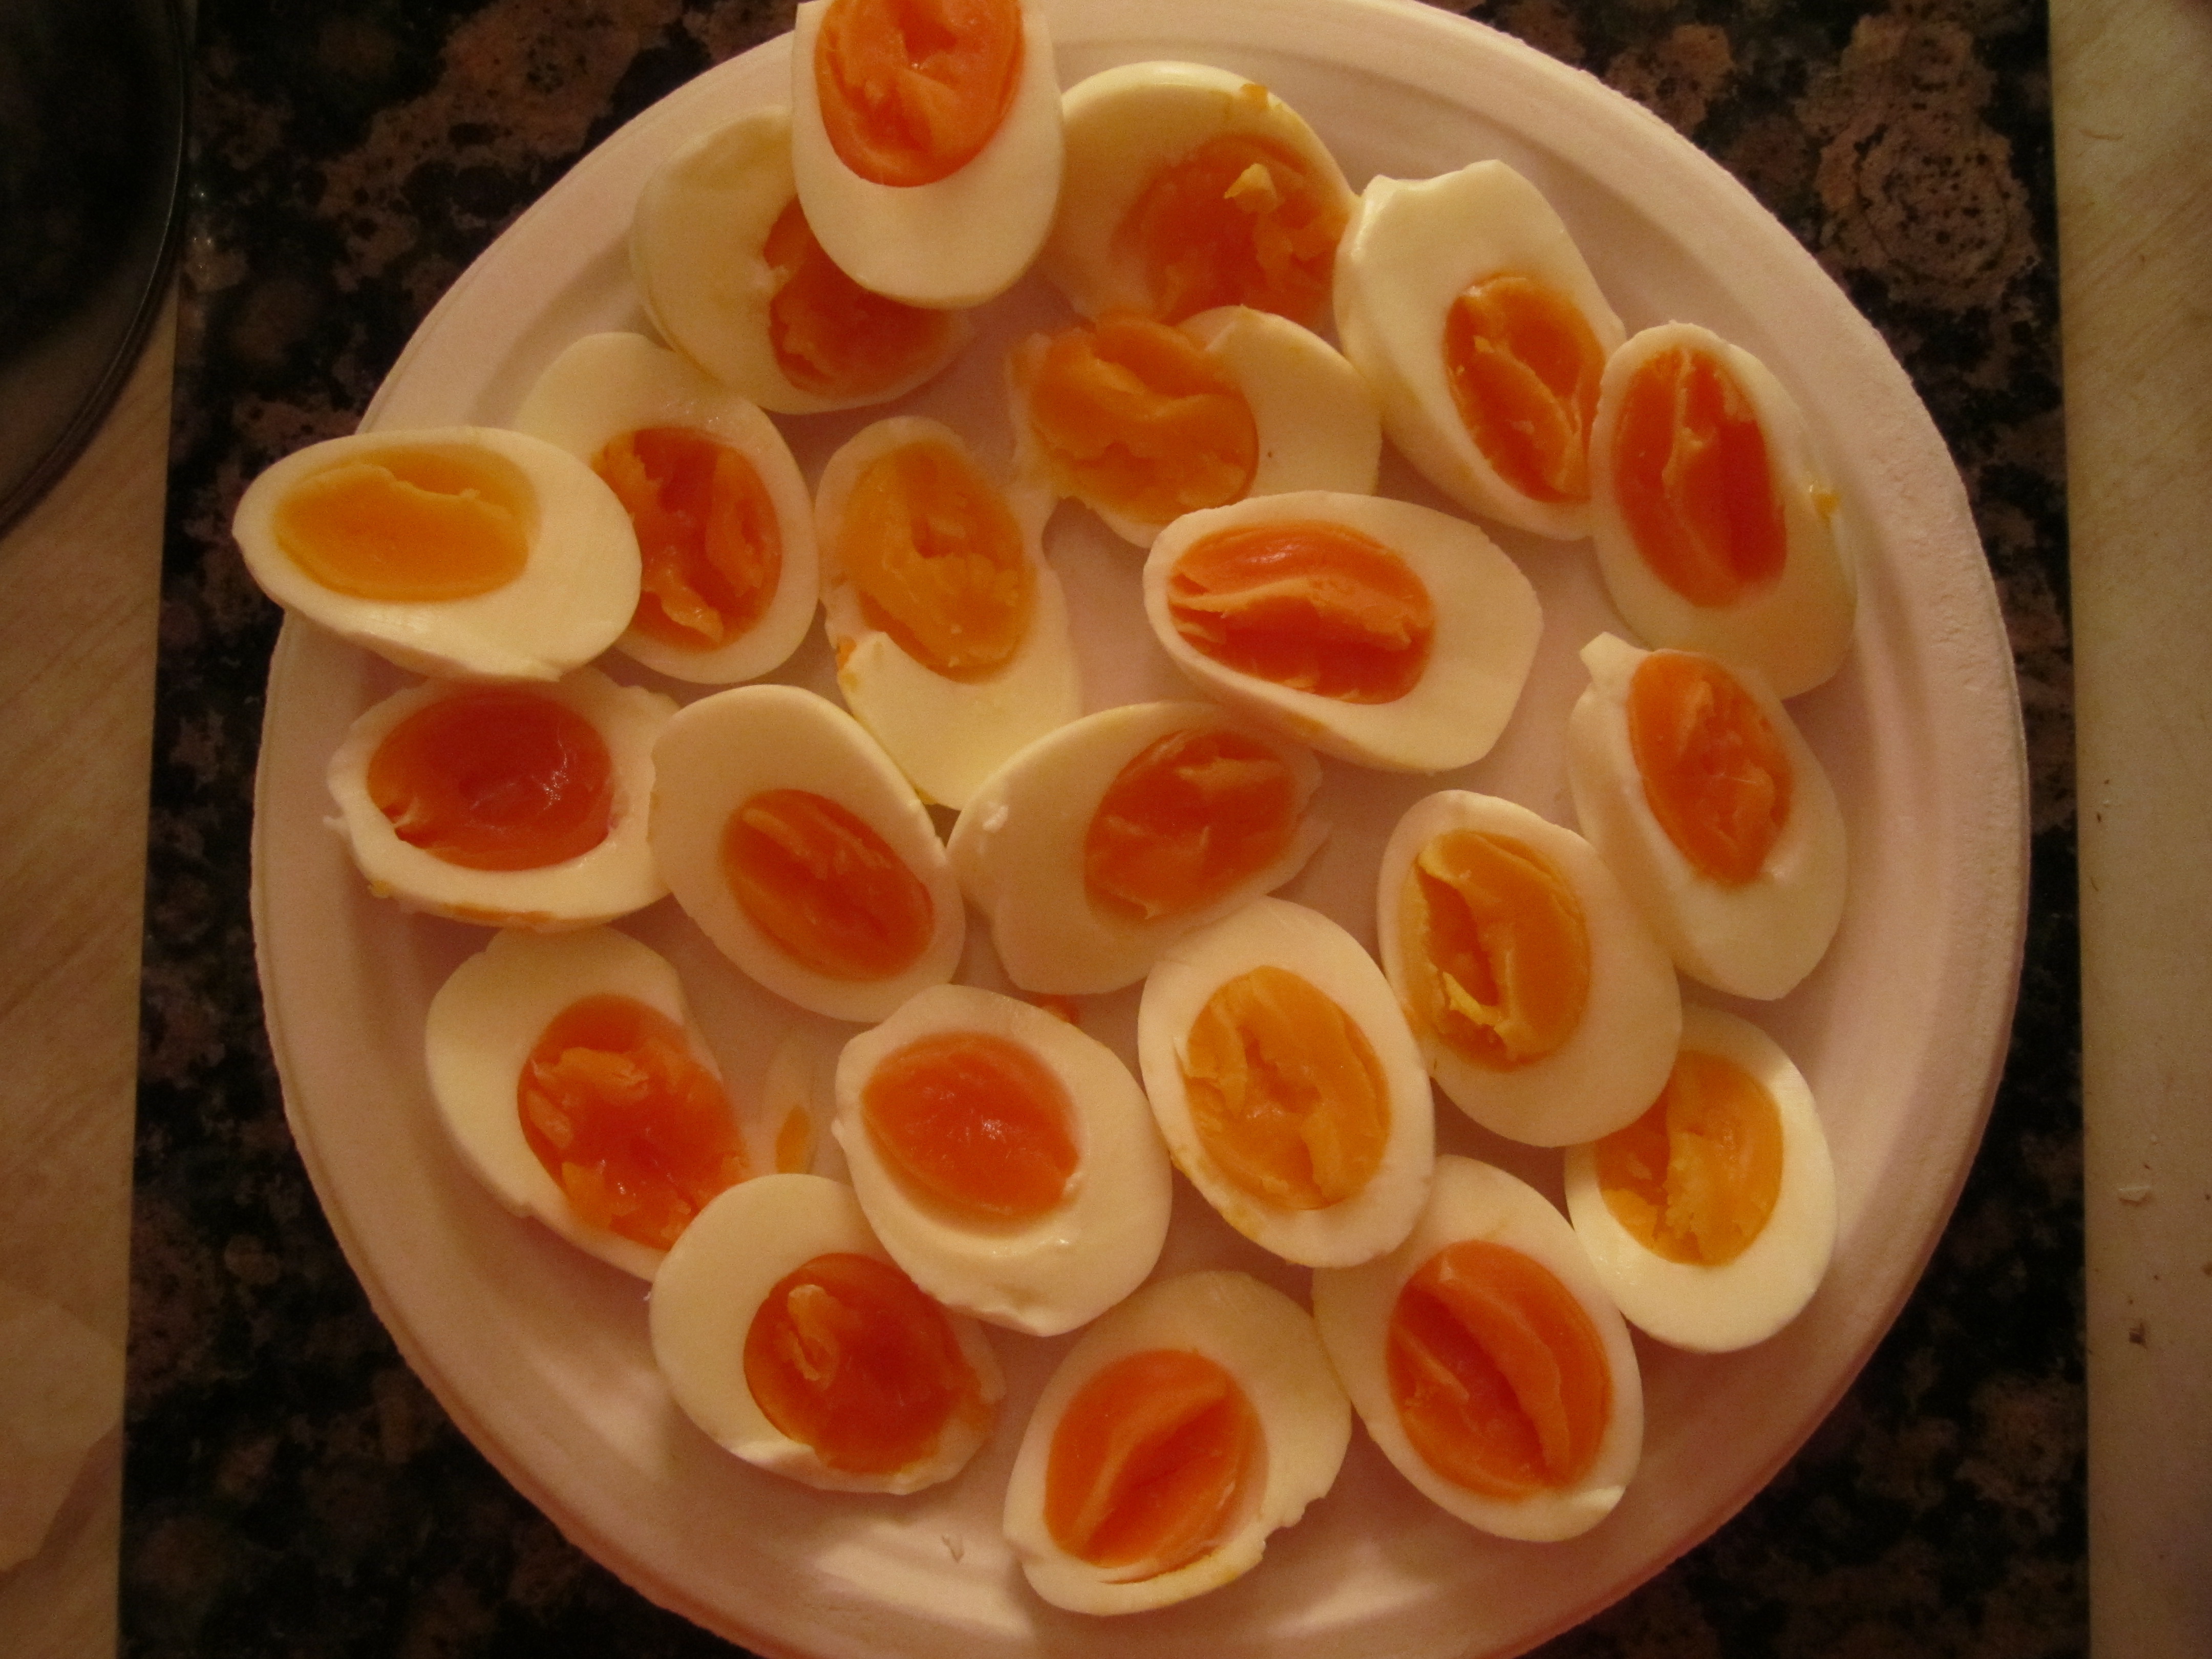
  • 12 duck eggs (or chicken eggs, if you prefer)
  • 1 banana (a browner one is preferable)
  • Powdered ginger
  • Powdered cinnamon
  • Salt

IMG_0646

Materials:

  • Large mixing bowl
  • Potato masher
  • Whisk
  • Mixing spoon
  • 8×11″ oven pan

Directions:

  • Wash sweet potatoes
  • Bake whole sweet potatoes in the oven on 350 until soft
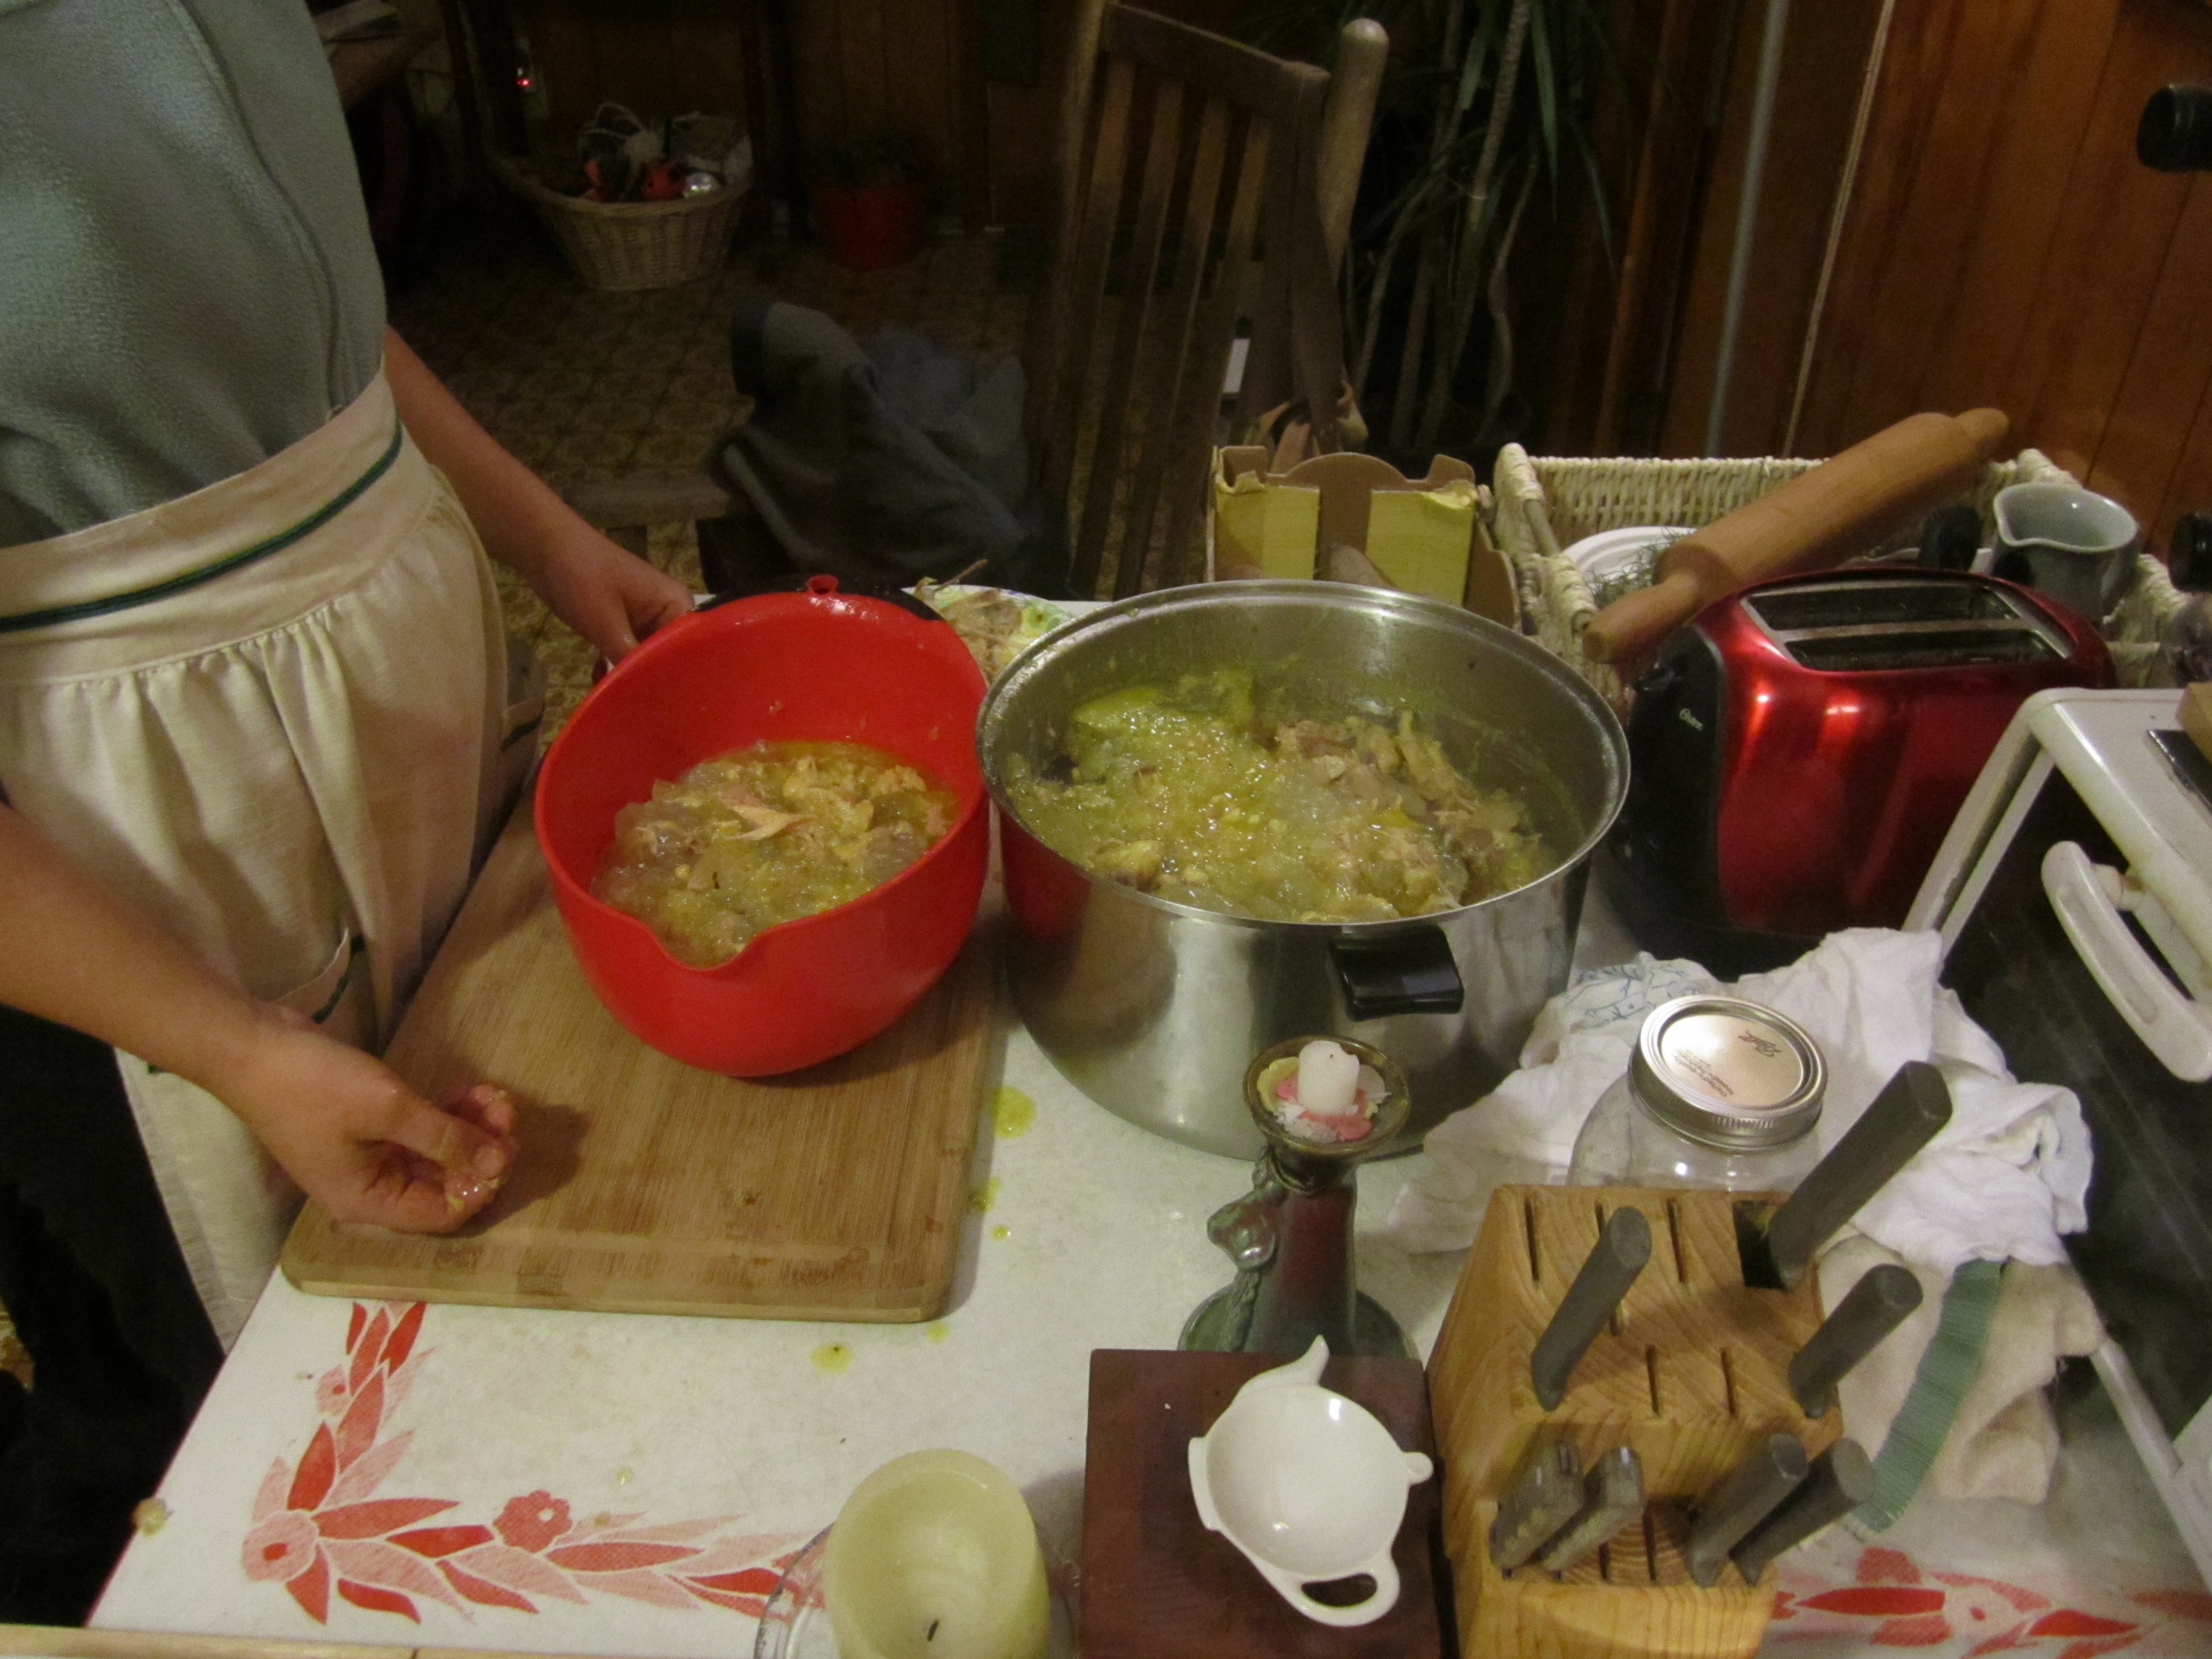
  • Once cool, peel sweet potatoes and place in the large mixing bowl
  • Peel banana and place with potatoes
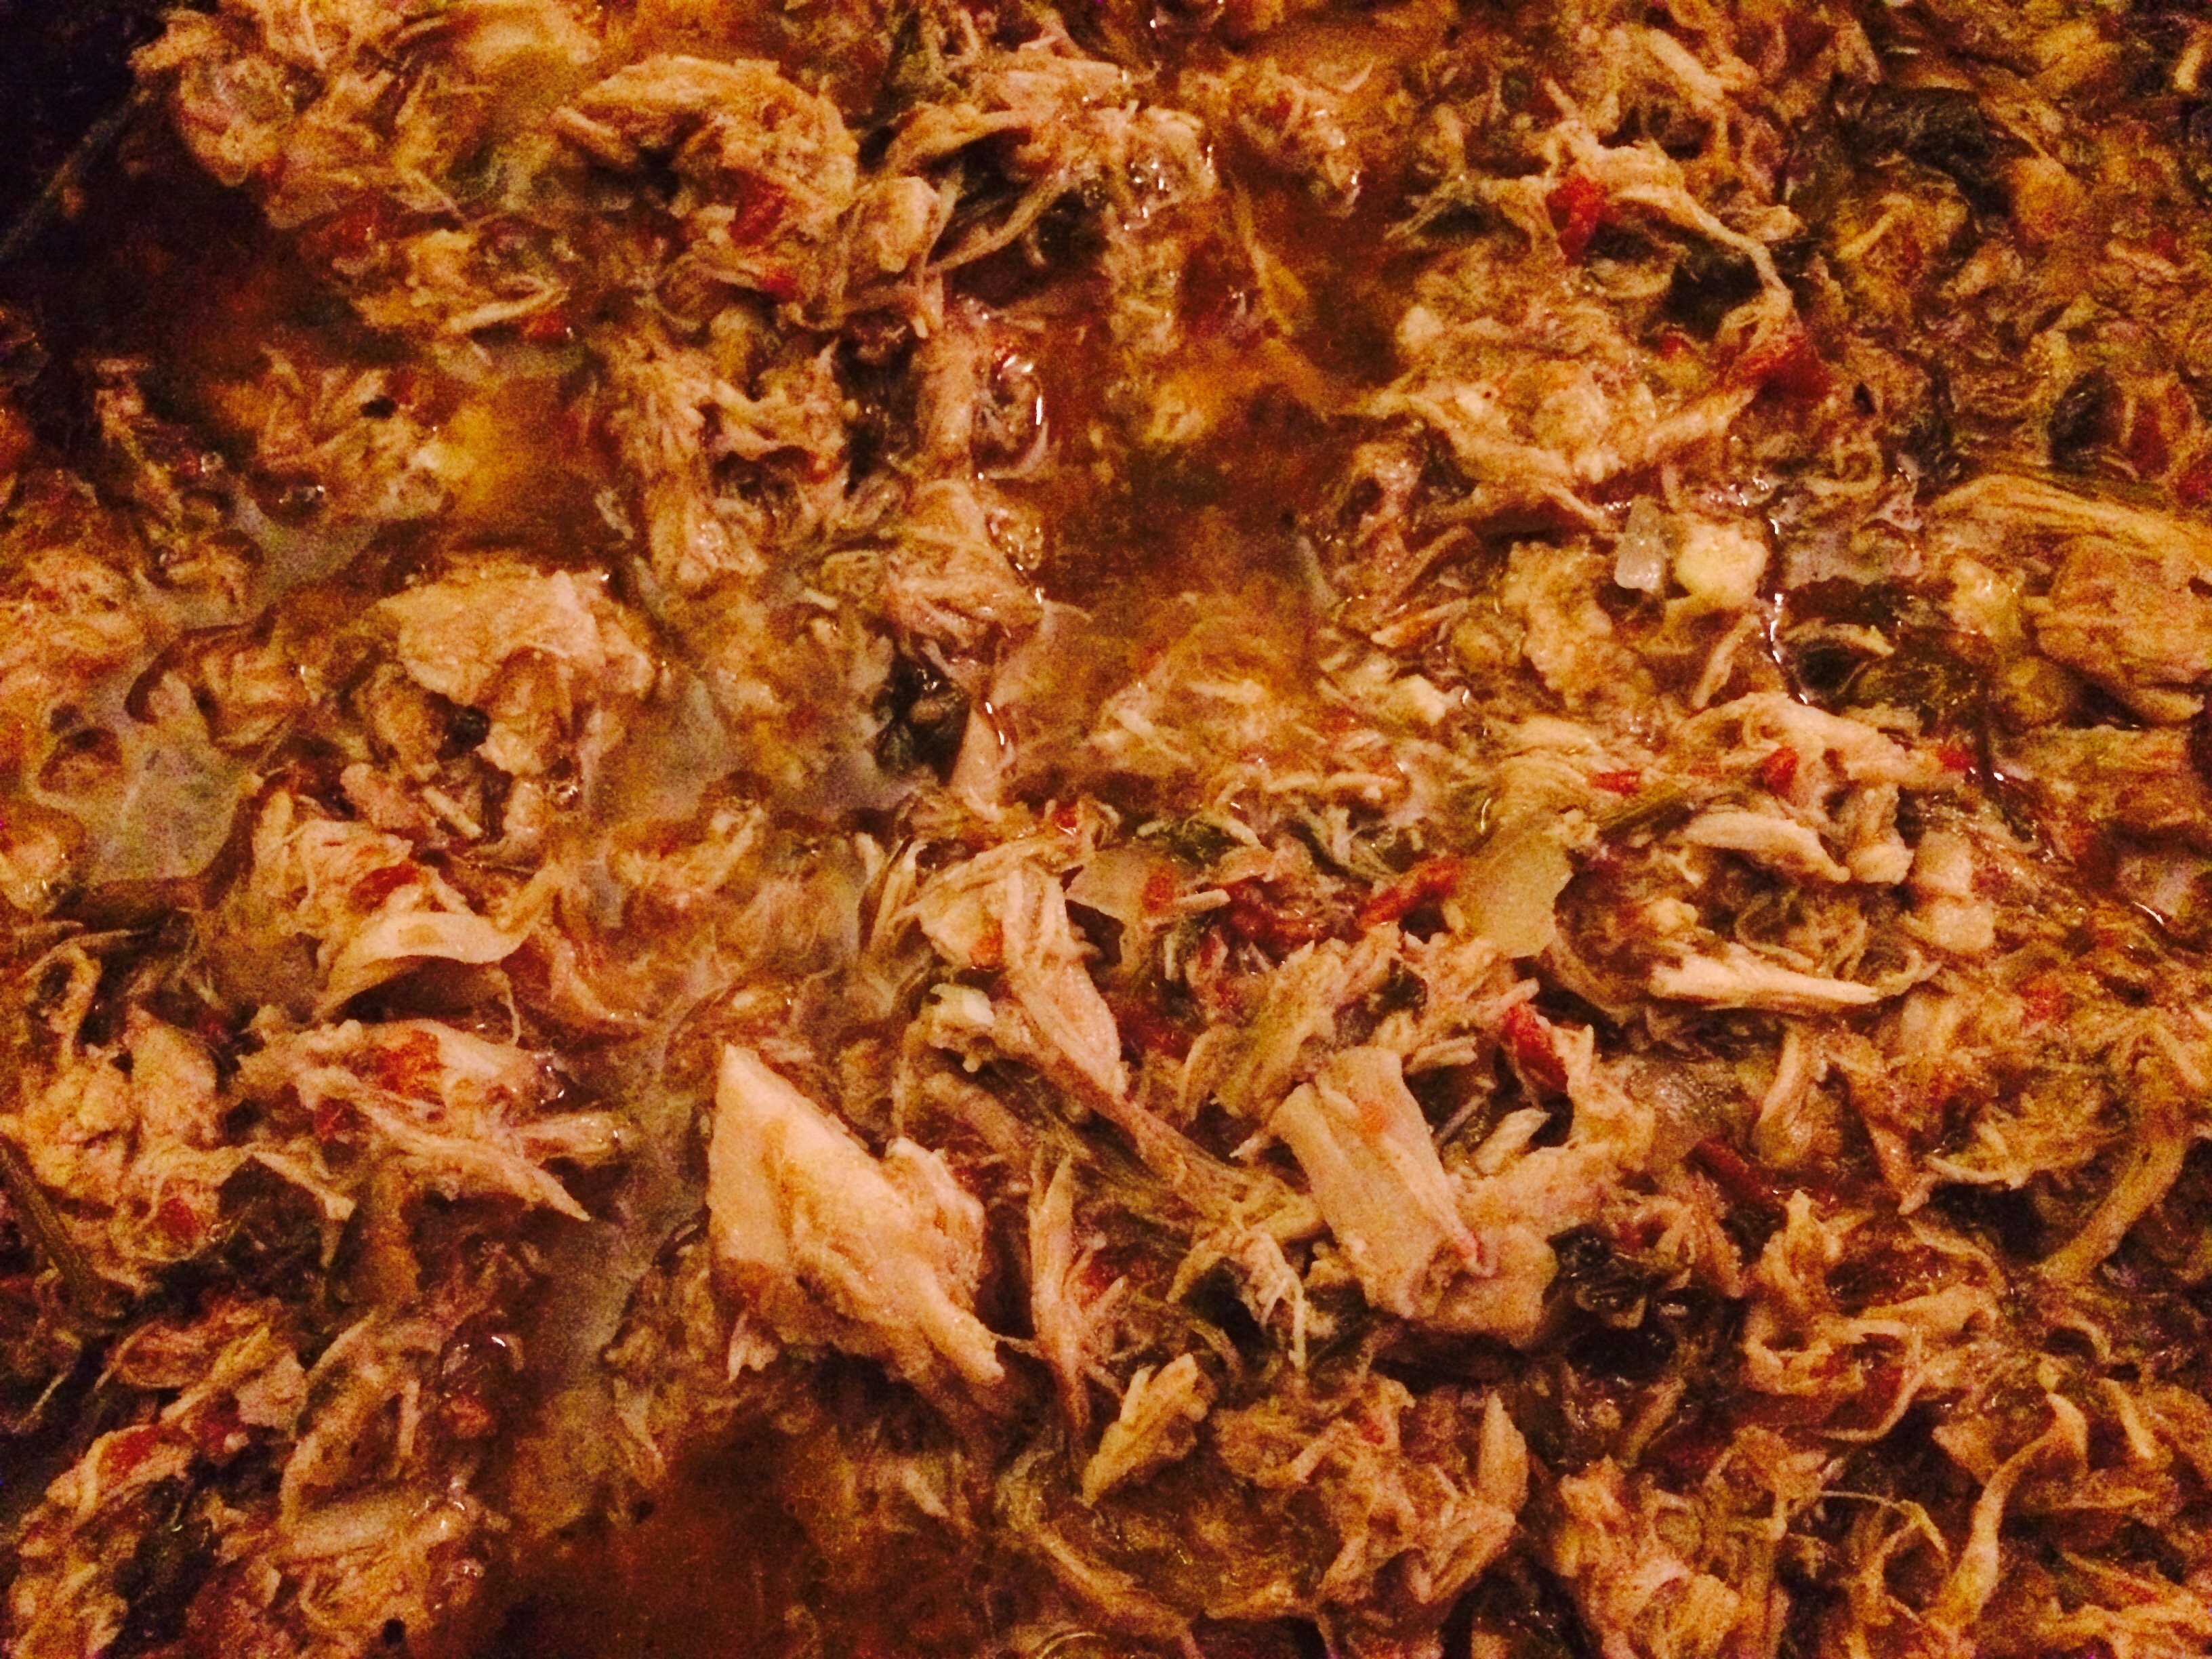
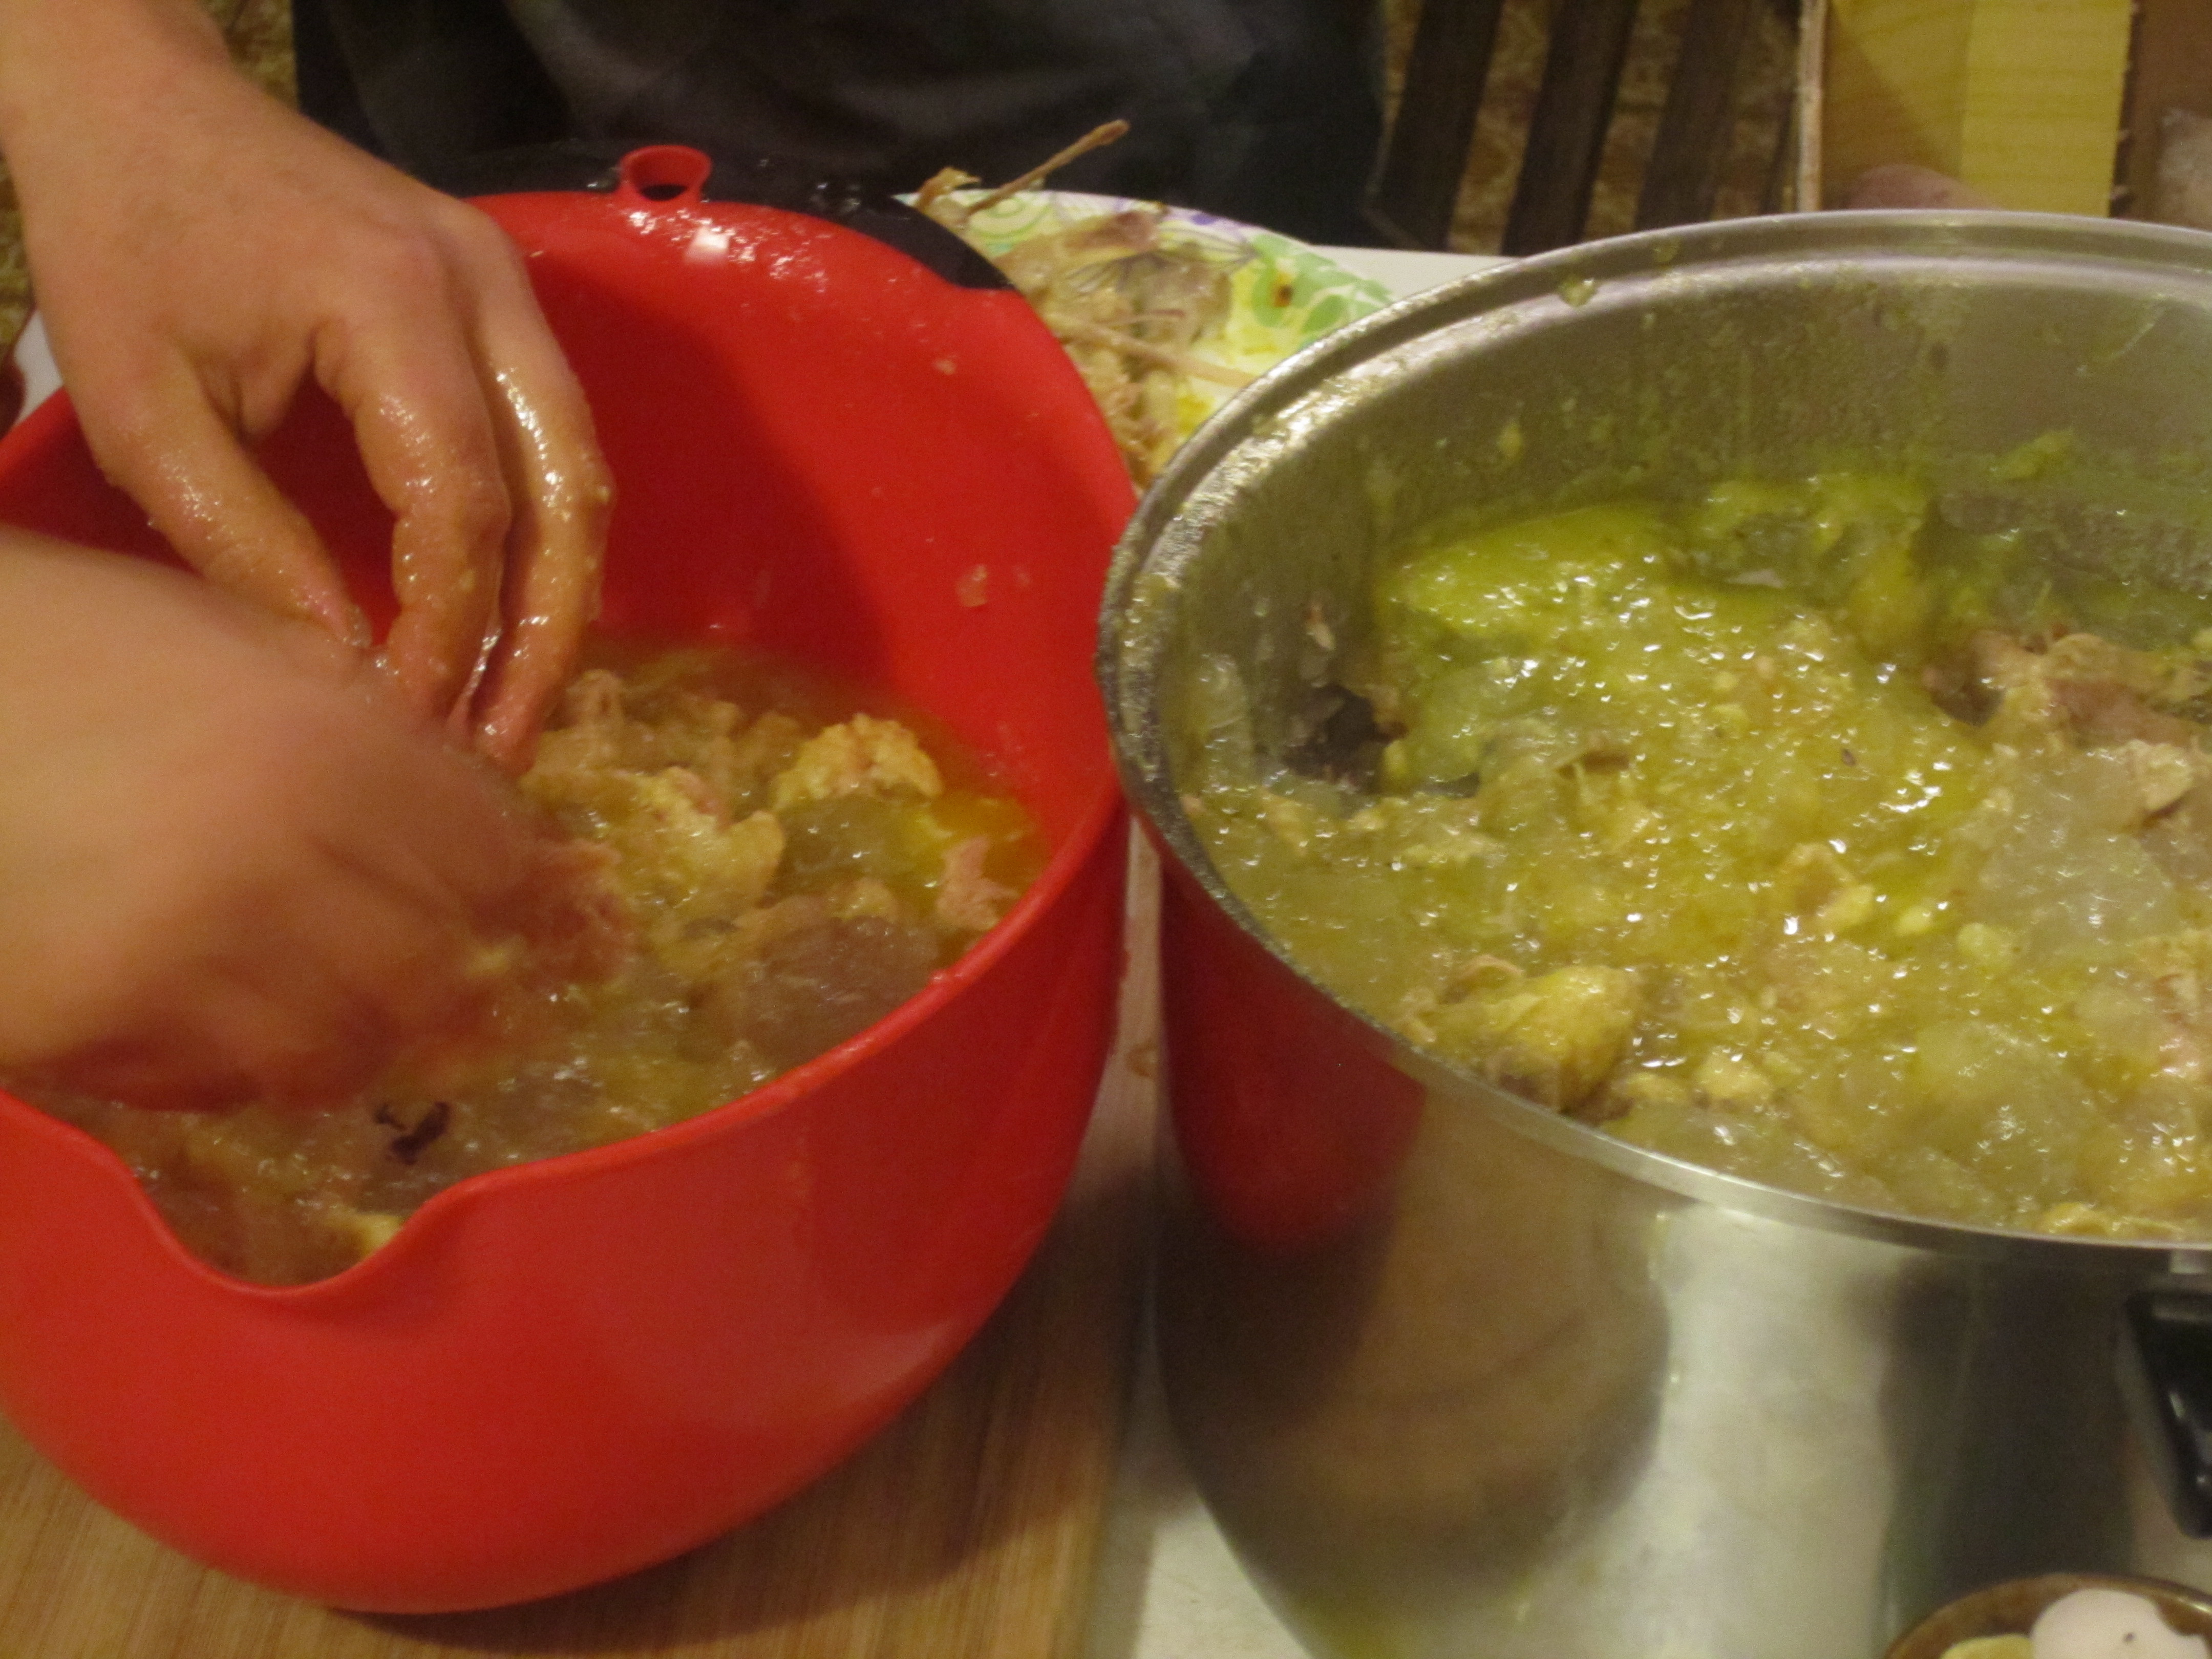
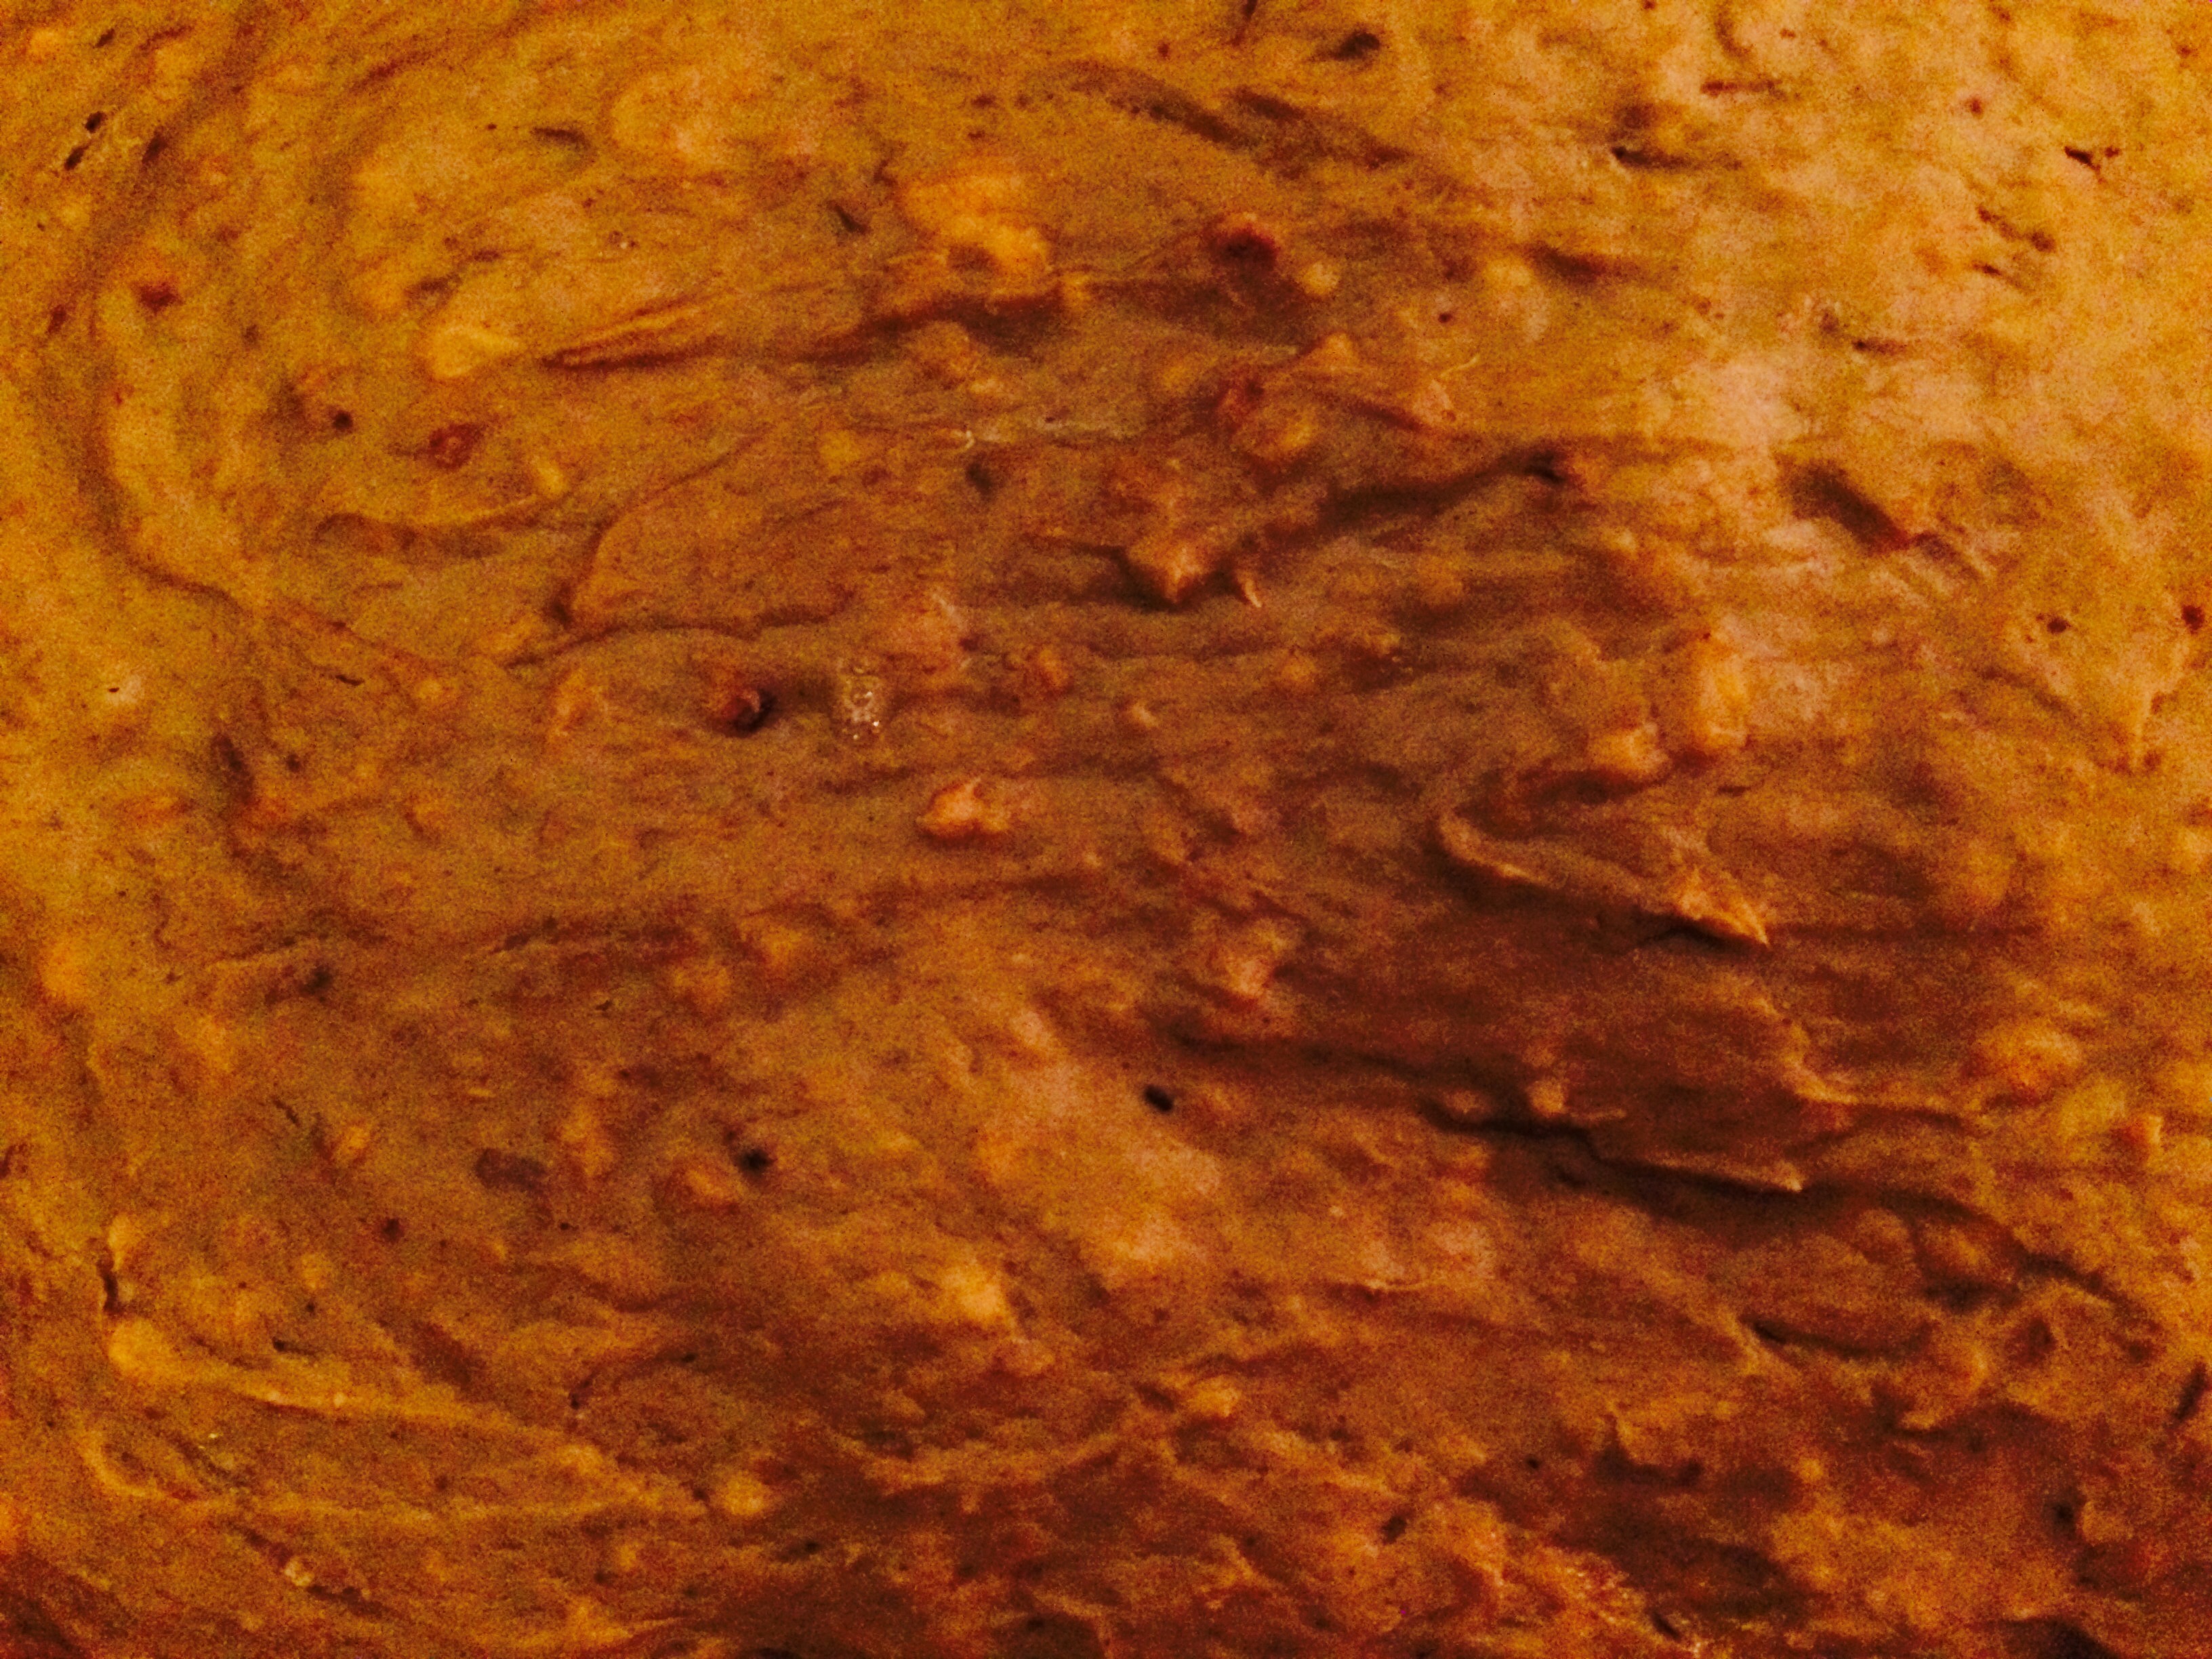
  • Mash potatoes and banana until moderately smooth
  • Add 1/3 of eggs and mash/stir together until mixed evenly. Add second and third 1/3 of eggs when previous eggs are mixed in properly and do the same
  • Add a pinch of salt and ginger
  • Add a pinch (or more, if desired) of cinnamon
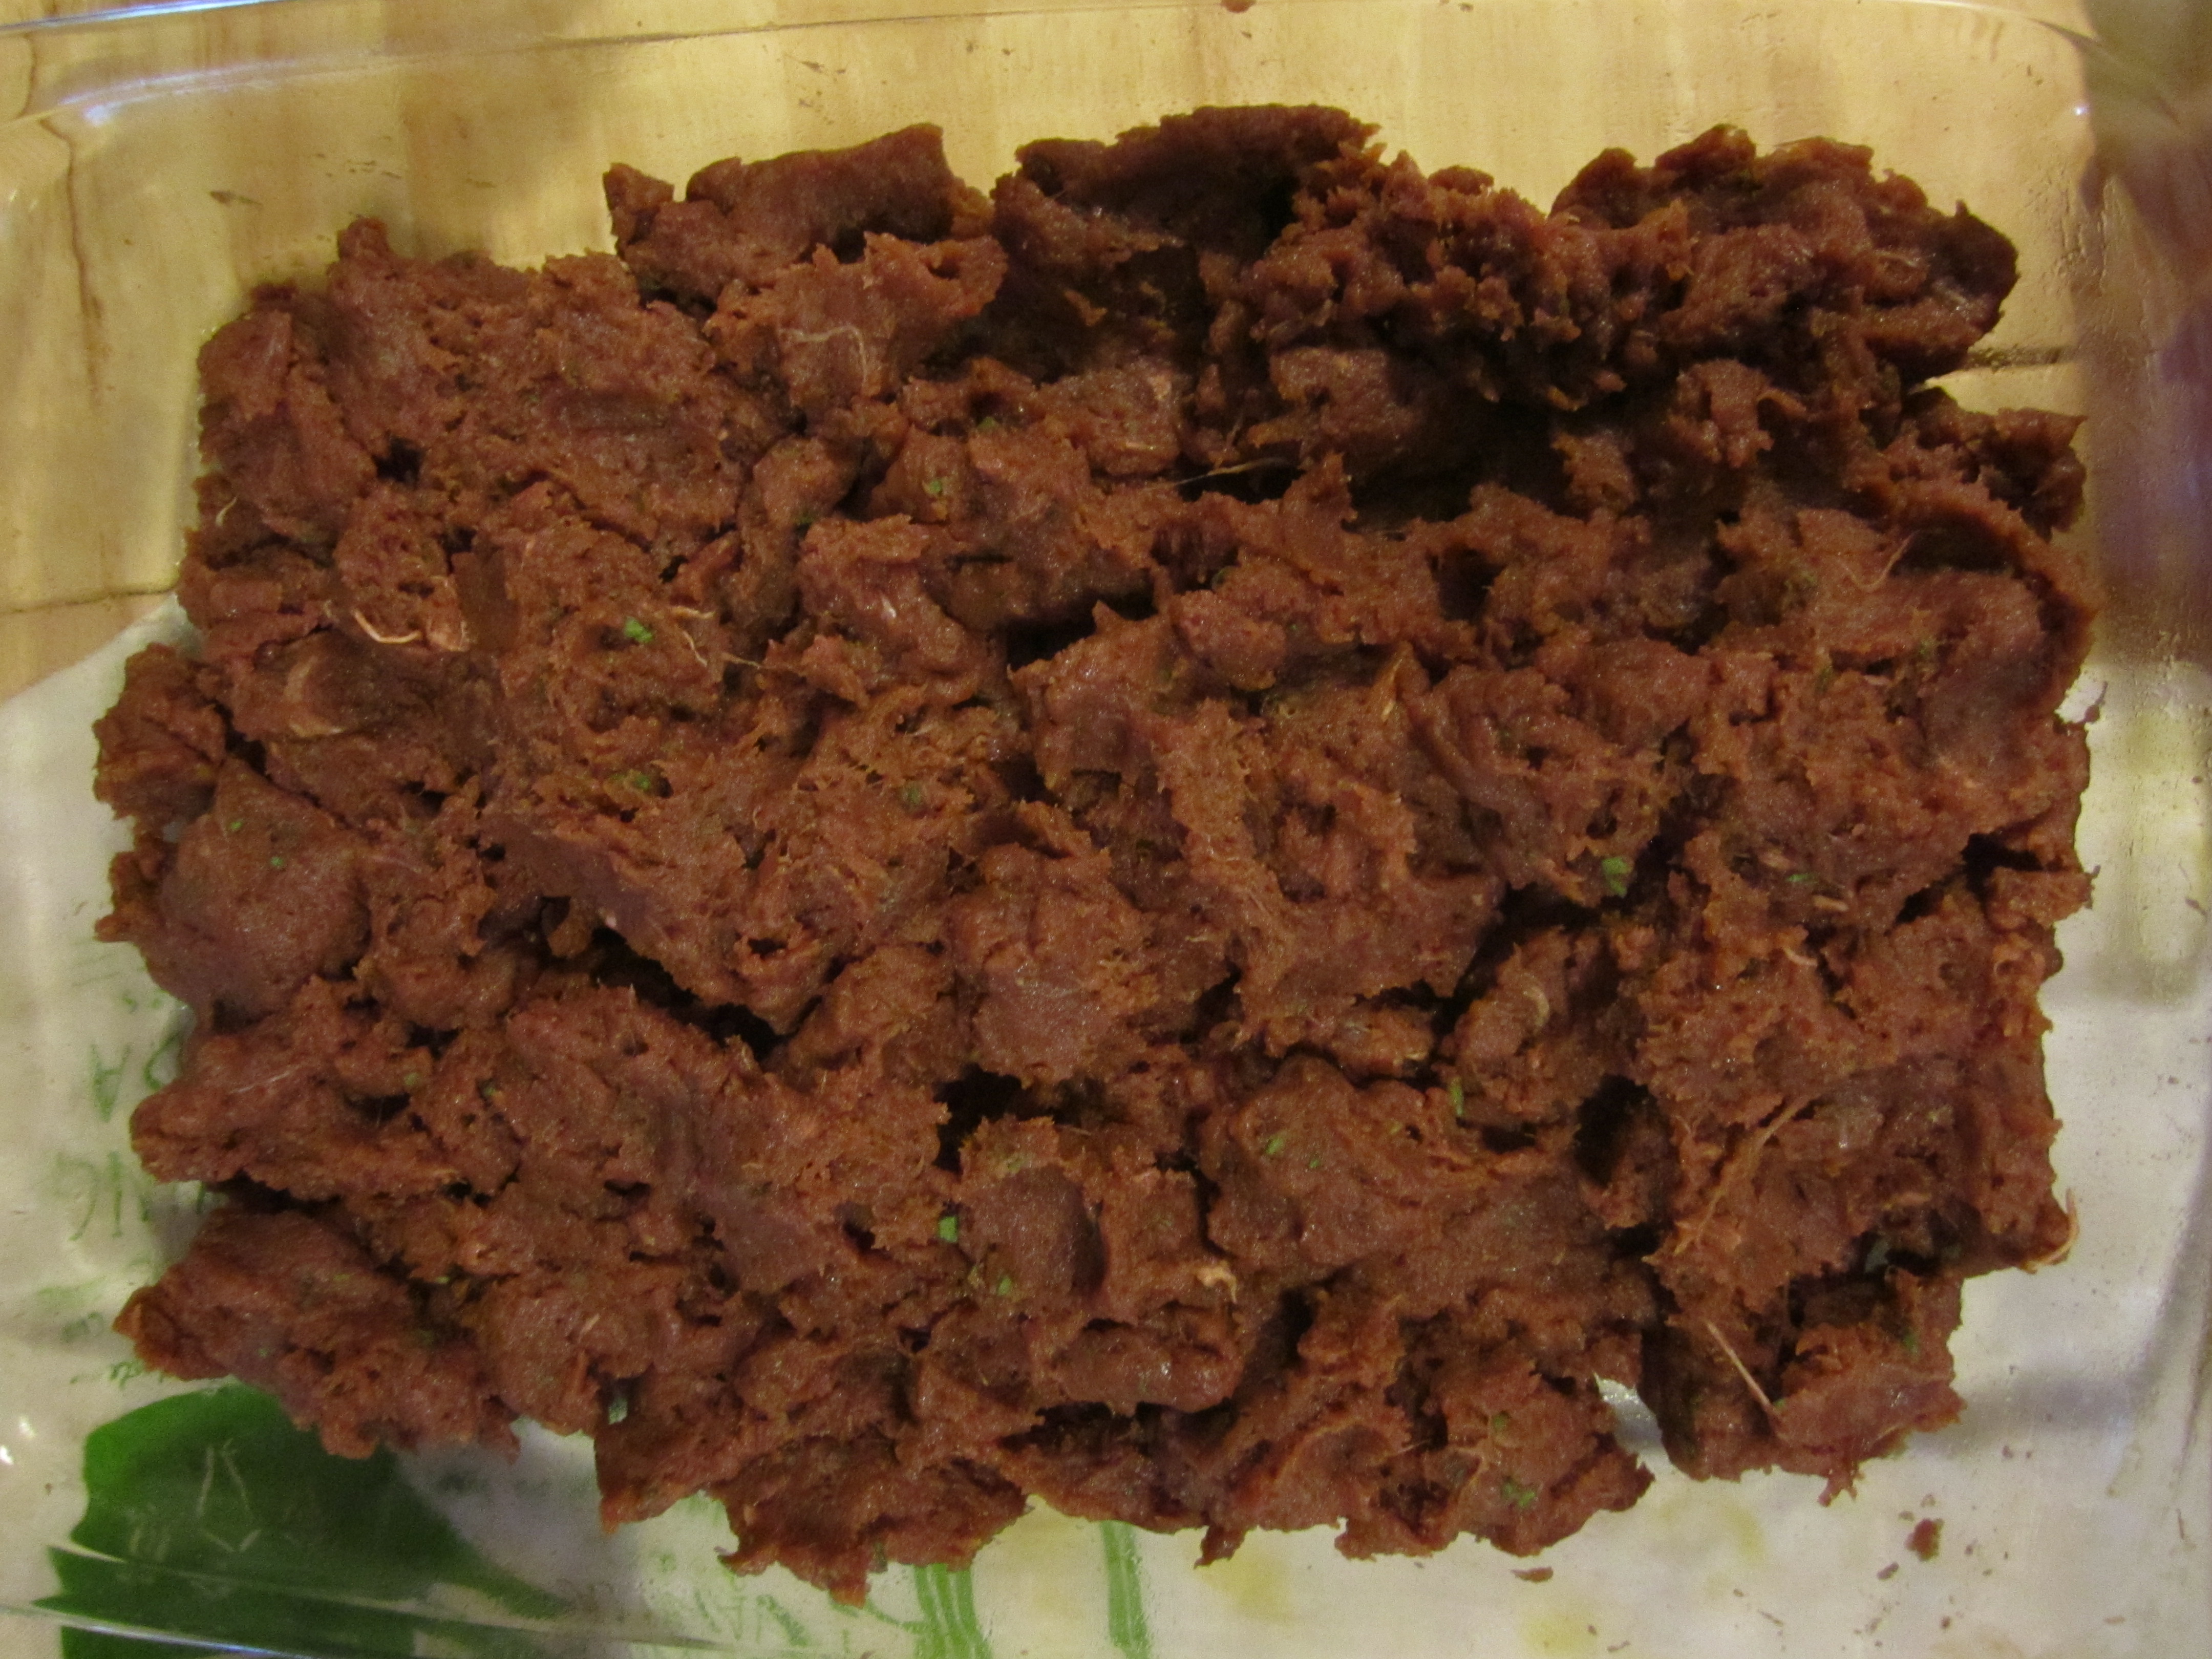
  • Mix thoroughly with whisk, spoon, and masher, attempting to make the mixture as smooth as possible.
  • Preheat oven to 350
  • Grease 8×11″ pan and pour in mixture
  • Smooth the top of the mixture
  • Bake on 350 for 1 hour and 15 minutes or until a knife can be removed cleanly from cake
  • Enjoy!

FullSizeRender

.:.


Farm Food Friday: Pulled Chicken Tacos with Tomatillos and Cilantro

We are a pretty hungry family, and making food in bulk is a great idea for us. Usually every Saturday we cook 2 of our Red Ranger Chickens, and this week was no different. This time we decided to make pulled chicken for eating tacos with the large pile of ripe and yummy avocados that we always seem to have in the house these days!

Here’s the details… Enjoy!

Ingredients:

  • 2 whole Red Ranger chickens
  • 3 pints of pureed tomatillos
  • 1 or 2 bunches of cilantro (this depends on how much you love cilantro)
  • 2 onions
  • salt, pepper, & garlic
  • cayenne pepper, paprika, & oregano

Materials:

  • 1 large pot
  • 1 large bowl
  • knife for slicing onions and cilantro
  • stirring spoon
FullSizeRender

This finished, pulled chicken was a version that we made with some pureed tomatoes added as well.

Recipe:

  1. First part up your chickens, but leave the skin on, folks! So many of the great nutrients are in the skin, and you can always shred the skin into small pieces that will be undetectable once you start eating your tacos.
  2. Place all the parts in your large pot with a little bit of water. We use a large cast iron pot and place the whole thing in the oven on 400, but you could always use your pot on the stove top and simmer the meat until it’s cooked and ready to fall off the bone.
  3. Let your meat cool and then shred it off of the bone (into the large bowl), making sure to remove any cartilage if you don’t want that kind of thing in your tacos!
  4. Add the shredded chicken back to your pot. If there’s a small amount of broth in the bottom of your pot from cooking the chicken, feel free to leave it in there to mix in with the shredded chicken. If there’s a lot of broth, remove some first (but save it and drink it… Yum!).
  5. Slice the onions and cilantro.
  6. Add the onions, cilantro, and tomatillos to the chicken.
  7. Add a small amount of salt, garlic, pepper, cayenne pepper, paprika, and oregano, to taste. Keep in mind that the cilantro and tomatillos really carry the dish, and so the spices are just for a little bit of added flavor… You don’t need to get heavy-handed with the spice. Mix everything together well with your spoon!
  8. Place this back in the oven or on the stove top, checking periodically until the onions are soft. Then it’s ready!

.:.


Farm Food Friday: Venison Meatballs

We’ve gotten a little tired of the same old venison dishes, so we decided to make some venison meatballs!

We pulled out the old meat grinder, and after cutting the venison into smaller chunks, we started grinding away.

We added some duck fat that we saved from our last roast duck, since venison is not very fatty and we didn’t want to meatballs to be too dry!

This is what our ground venison looked like after we were done:

IMG_0844

Then we added some of our sage:

sage

And our garlic:

garlic

And a couple of our eggs and some bread crumbs for texture.

Then we cooked them up in a little olive oil:

meatballs

We cooked up a rue (after the removing the meatballs from the pan) using the oils and fats from the pan, coconut milk, flour, and olive oil. We added some more garlic, salt, and pepper and once the rue was almost finished we added the meatballs back in to let the flavors meld.

We served it over rice and then promptly inhaled it:

meatballs and rice


Yummy!

.:.

Farm Food Friday: Rooster, Potato, and Tomato Soup!

The great thing about this soup, is that we raised almost all of the the ingredients!

Let me start by saying that the photographs do not do it justice… And you are going to need either a huge pot or two pots!

Ingredients:

  • Bones and the partial meat of 3 teenage roosters
  • Lots of sweet potatoes
  • Lots of Irish potatoes
  • About 25 garlic cloves
  • 2 quarts of cubed tomatoes
  • 2 Large onions
  • Celery
  • 1 pint of corn
  • Basil, parsley, oregano, garlic powder, jalapeños

Directions:

The first thing we did was butcher our roosters, and since that would take forever to explain, we’ll save that story for another time. We roasted and ate some of the roosters and left part of the meat on the bones for our soup.

We cooked the roosters in a large pot with water and a little salt to make the broth. We included all of the bones, even the feet (which had already been peeled). The next day is when we had planned to start the soup, and when we removed the pot from the fridge to de-bone the meat, we found that the entire concoction was gelatinous! Talk about good, healthy, fat! Even though these roosters were not fully matured and they are not a breed that is bred just for their meat, they had so much delicious fat on them!

soup

Yummy, fatty, chicken!


broth

Best broth ever!

I de-boned the meat and placed the bones in the crockpot so we could cook these down further and make bone broth.

Then we sauteed diced onions, the garlic cloves, and celery in some of the fat. The onions and the garlics were from my dad’s garden!

The rest of the fat/meat/broth jelly was added to the pot and it started to melt and become true broth again. We added some of our diced and frozen basil, parsley, and jalapeño from the garden and let this melt and mix together.

Next in was  the corn.

potatoes

A lovely potato medley!

Then we added the potatoes (all from our garden) and once the soup was up to temperature again, we added the tomatoes. The tomato mix we used was a frozen bunch of cubed Cherokee Purples, San Marzanos, and Black Plums.

Then we added more basil, some oregano,salt, and garlic powder and continued to let it cook until the potatoes proved to be done!

soup

The finished product!

And then we ate it! Last night for dinner and today for lunch and tonight for dinner… This soups is one of our favorites so far!

.:.

Farm Food Friday: Sausage Breakfast Casserole

This recipe is one of Jason’s favorites, and he insists on calling it “eggs” even though eggs are the least of its important ingredients. Oh, boys. :)

It is a variation on my Aunt Jill’s recipe. Here it is (a double batch, of course):

In a pot, cook 2 cups of dried grits (follow the directions on the bag to see how much water you need). Be sure to add salt to the water!

In a large pan, cook 1 or 2 pounds (it’s really up to you, meat-eaters) of Neese’s sausage. Once the sausage is nearly cooked, add a large onion (diced) to the pan. Also add 2 diced peppers.

Then add a lot of sliced mushrooms to the pan. Be sure to add salt, pepper, basil, and oregano (or whatever your favorite spices are).

When all this is done and the grits are also cooked, mix these ingredients and the grits together in a large mixing bowl.

Add 12 ounces of shredded cheddar cheese, 1/2 cup of butter, and 2/3 cups of milk to the warm mix. Stir all of this in thoroughly so that everything melts and blends together.

This is when I also add more of my spices: extra salt, pepper, basil, oregano, and some cayenne peppers for spice! Add more than you think of all of your spices (except maybe the cayenne)!

Beat 6 eggs well, and once the large, hot mixture cools down a bit, stir in the eggs. Be sure that the mix is not so hot that it cooks the eggs!

Butter your casserole dish(es) and pour in the mixture.

Bake at 350 degrees for at least 45 minutes but for less than 1 hour. Enjoy!

P.S. This recipe is so hearty that we usually eat it for dinner. But it’s also so easy to warm up for any quick meal, like breakfast. Just never freeze it! We tried that once and the texture was horrible!!!

.:.

Farm Food Friday: Jalapeño Jasmine Rice

Tired of having the same old kind of rice with your meals? Well, we certainly were, so we decided to do something about it! We spiced up our rice!

rice

Jalapeño Jasmine Rice!

This recipe came about because we had extra spices in our freezer. We’ve taken to putting different vegetables and herbs in the food processor and then putting the puréed concoction in ice cubes to freeze. Once they freeze, we take them out of the trays and store them in bags. It’s a great way to keep herbs on hand all throughout the year!

Here is the fun and easy recipe for Jalapeño Jasmine Rice (we made a huge pot!):

  • Put 4 cups of beef broth, 8 cups of water, 3 ice cubes of puréed jalapeño, 1 cube of puréed parsley, 1 cube of puréed cilantro, salt, garlic powder, and ground annatto in a large pot. Bring to a boil.
  • Once pot is boiling, add 8 cups of jasmine rice. Stir the pot and turn the temperature on low to medium-low so the pot simmers.
  • After about 20 minutes, check to see that the rice is done, and turn off the heat!

And that’s it! Enjoy!

Yummy!

Yummy!

.:.

Farm Food Friday: Vegetable Venison Soup

This recipe is one of my favorites… Because it is basically my mom’s vegetable soup recipe with venison added! Yummy!

I recommend using your biggest pot for this one. You can see how big the one we used is:

pot

What a big pot (with a medium-sized tea kettle for scale)!

1.  Begin by adding olive oil to your pot and cutting it on medium-low.

2.  Chop up 3 or 4 onions and approximately 1 head of celery. Add these to the pot with some salt and garlic powder and stir periodically while they saute.

3.  Chop your venison steaks up into small cubes and add them to the pot. Stir often.

soup

Onions, celery, and venison sauteing in the pot with olive oil, garlic, and salt.

4.  Slice 8 ounces of fresh mushrooms and add them to the pot. Also add more salt and garlic powder.

5.  Add tomatoes. We used frozen tomatoes from our garden last year, mostly Cherokee Purples, San Marzano, and Black Plum paste tomatoes, but a few cherry tomatoes found their way in there too! If you are using tomatoes from the store, I would use 2 large cans of crushed tomatoes.

6.  Add 1 small can of tomato paste.

7.  Now add a spoonful or two of honey and some sprinkles of cocoa powder (all of this is to taste). This minimizes the acidic taste from the tomatoes and adds a creamy darkness.

8.  Add spices: paprika, basil,and oregano, and of course more salt and garlic powder!

9.  As the dish begins to simmer, add carrots (I used a little less than 2 pounds of halved baby carrots).

10.  Add 1 large can of greenbeans (we didn’t have any of our own greenbeans left over from last fall).

soup

Adding greenbeans to the pot.

11.  I also like to add even more veggies… Frozen okra and frozen Lima beans (small bags of each) can also go in the pot now.

soup

Adding okra to the pot.

12.  Add 2 small cans of corn.

soup

Corn has been added!

13.  Cook the soup on medium-low for about an hour-and-a-half, and make sure to stir it frequently since this is a very dense soup and can stick to the bottom of the pot if you’re not keeping an eye on it!

14.  Check your soup and add more spices, if needed, and a little bit of soy sauce. Check to see how well softened the Lima beans and carrots are, and if you are satisfied with how done they are (and the spices), add 1 small bag of frozen peas. Stir them in and let the soup cook for about 15 minutes longer.

15.  Check your spices again… And if you like it, then it’s done!!! If not, add more spices!!!

soup

All done! Yummy!

.:.


farm food friday: homemade cherokee purple tomato sauce!

we’re finally back with another edition of farm food friday, and this recipe, once again, is all about tomatoes. i know we’ve been on a posting kick about tomatoes lately, but once you have one of our cherokee purples you’ll understand why…

the other day we made some homemade tomato sauce, and although i’ve frozen a ton of tomatoes for sauce ingredients, we had enough fresh ones to make use them for our sauce.

ingredients (keep in mind that you should add as much as you desire for each of these):

using our awesome new sauce pan (it's still shiny!).

using our awesome new sauce pan (it’s still shiny!).

directions:

  • we used our new, huge, awesome sauce pan to be sure we made a lot!
  • saute sliced garlics in olive oil and then add onions
  • once these have cooked for a few minutes, add your sliced/diced cherokee purple tomatoes (from the garden); cut the heat to medium
  • as this cooks begin boiling your water for the pasta
  • add capers, sriracha sauce, and salt and pepper to taste
  • let it cook down more, being careful to stir it often so the thickening tomato doesn’t stick to the bottom of the pan and burn
  • add sliced and diced bell peppers (our’s were from the garden)
  • add lemon thyme and basil (also from the garden)
  • continue letting it cook down and add a few pinches of parmesan cheese to thicken the sauce and make it a bit creamier… this also adds bite.
delicious cherokee purple tomato sauce!

delicious cherokee purple tomato sauce!

as i’ve mentioned before, cherokee purples are sweeter tasting and less acidic, so i find that there is no need to add anything to the sauce to tone down natural acidity. that makes this dish a delicious and easy-to-make meal any day of the week!

and the great thing about cooking in our kitchen: there’s always leftover scraps to feed to our flock of chickens!

this recipe's scraps... chickens here we come!

this recipe’s scraps… chickens here we come!

next up… making more of this sauce and freezing it in ready-to-go containers.

.:.

farm food friday: oma’s curried deviled eggs recipe

i love deviled eggs!

i know many people who don’t like them, and i suspect that that’s because they’ve only had simple deviled eggs made purely with mayonnaise. my mother’s recipe is far more delicious and when i make them, i eat one after another after another…

i do not have an exact recipe here, since most of the mixture is based on your own personal thoughts about how much curry or relish you enjoy. simply add the ingredients below to your boiled and crushed egg yolks.

a boiled egg thought: my method for boiling our eggs is to salt and boil water, add all of the eggs, cover and continue to boil for 1 minute. after 1 minute, i cut off the heat and let the eggs sit in the hot water for 10-12 minutes. afterwards, i place them in a bowl of cool water so they don’t continue to cook inside their shell.

once the eggs have cooled, i peel them and slice them in half, popping out the boiled yolks into a separate bowl (same way as most folks).

eggs

our orange-yolked aurora eggs. these were just sliced after boiling and ready to be made into deviled eggs!

and then… i add the extra delicious ingredients, adding a little bit of each to start:

eggs

the finished product! i admit, this batch turned out messy and a little bit ugly but i was in a rush and it was still yummy!

  • mayonnaise
  • garlic aioli mustard from trader joe’s. such a delicious, flavorful, and also spicy mustard that we love! if you don’t have a favorite or gourmet mustard, any sort will do!
  • relish
  • pickle juice. we use the juice from our very own greenbean pickles that have been pickled with salt, garlic, jalapeño, and dill. very delicious and great for intestinal health.
  • black pepper
  • cayenne pepper (certainly a little bit until you’re sure spicy is for you)
  • and the big, awesome ingredient: curry powder!

i always add a dab of this and a pinch of that in the beginning so that i can keep my ratios right. then i add more spice or liquid/sauce once i do a taste test.

enjoy! if you make this recipe, let me know how it turns out for you!

farm food friday: oma’s green bean casserole

my mom makes the best green bean casserole, partly because she always uses green beans from my dad’s garden and partly because, well, she doesn’t open up any cans while making it–she makes it from scratch. this is not the first or the last of oma’s recipes that you’ll see on our blog (oma is the german name for  grandmother–the name my mom wants to be called once grandkids arrive).

i just tried my hand at recreating her recipe a few days ago, and i can say that i think i did a pretty good job. maybe you’re thinking, “it’s not thanksgiving… why the sudden enthusiasm about green bean casserole?”

well, as is the tradition with farm food friday, i try to share some recipes that highlight a certain homestead ingredient that we (or you) might have a lot of or might just really love eating! hence the green bean casserole idea.

a little bit about my love for green beans: it started so early that i can always remember loving them, even as a young child. i loved them so much, in fact, that in my school days i would always say that green beans were my favorite food when asked. all the other kids would look at me like i was crazy, since they had all said pizza, ice cream, or spaghetti. i also can’t seem to write or type green bean as two words, and i have to backspace and correct myself each time because instead i type greenbean. i don’t think my interest in compound words is to blame, rather that i’ve always imagined that green beans are the beans, worthy of mono-word-dom. all other beans are secondary to me, and i imagine they always will be.

so now that you know what sort of greenbean fanatic i am (yes, the vote is in and i can now resume using greenbean rather than green bean), you might be even more interested in this week’s farm food friday recipe. yum!

the ingredients:

  • 3 pints of greenbeans (grown in our garden, snapped, boiled, and frozen in their own broth since september). greenbean broth is super nutritional, and once you use the greenbeans for the casserole, i recommend saving the broth for drinking later. it’s best when warm!
  • 1 or 1 1/2 large onion(s)
  • 10 garlic cloves
  • 6 medium or large baby bella mushrooms (optional). once our shiitake mushrooms come in we will be using them instead!
  • milk (i use unsweetened coconut milk, but whatever you use for baking or cooking will be fine)
  • olive oil or butter
  • flour
  • garlic powder
  • salt and pepper
  • soy sauce
  • french fried onions (optional)

the gear:

  • a large saucepan
  • a medium-sized casserole dish
  • large spoon, whisk, knife
  • cutting board
green beans

our greenbeans, frozen and preserved since september 2013

onions

diced onions!

veggies

sauteing veggies–after adding the garlic and mushrooms

casserole

the casserole mix, before baking!

the directions:

  1. before you begin cooking, drain the liquid from your greenbeans (but save it!) to have them ready to mix in when the time comes.
  2. dice and saute the onions (in plenty of olive or butter) on medium-low for about 10 minutes. add some salt and garlic powder while stirring.
  3. dice the garlic gloves and mushrooms and add them once the onions appear transparent. add a couple dashes of soy sauce while stirring.
  4. at this point you will begin to make the rue in the same pan as the vegetables. the key is to keep the ratio between the olive oil/butter and the flour equal. so, add as much of these ingredients as you like (depending on how much liquid you would like your casserole to have) but pay attention to your ratio and be sure to create enough rue so that once you stir in the greenbeans you still have some stir-ability. i believe i added about 1/3 cup of flour to my pan, and a little bit less than 1/3 cup of olive oil (since there was already a good bit in the veggie mix). use your whisk to stir this in well.
  5. add a couple more dashes of soy sauce and a bit more garlic powder, salt, and pepper.
  6. add around 1 cup of your milk and continue to stir the concoction with the whisk.
  7. this is the time to check your rue; taste it if you’d like. add any more of the spices or more flour, oil/butter, or milk if you feel like the recipe needs more balance.
  8. when you’ve decided the rue and veggies are good-to-go, stir in your pints of greenbeans.
  9. once the greenbeans are mixed evenly among the other ingredients, transfer all to your ungreased casserole dish. spread the mixture evenly throughout the dish and smooth the top.
  10. bake in the oven for 40 minutes, at 350 degrees.
  11. briefly remove the casserole from the oven and sprinkle as much or as little french fried onions over the top that you like (i put a ton of them on top, while my mom doesn’t put any).
  12. bake in the oven for another 10 or 15 minutes, depending on your desired crunch factor.
  13. serves 6-8 average folks, or 3 or 4 gluttonous jasons and emmas. enjoy!

p.s. an added bonus to this recipe… it tastes even better as leftovers, since the rue and vegetable flavors have had time to meld. next time i plan to make a double batch so that it lasts longer in our house than just for 2 meals.

.:.

Older posts

© 2024 KW Homestead

Theme by Anders NorenUp ↑