KW Homestead

Pasture Raised Poultry & Edible Landscaping Plants Since 2013

Tag: wood

Thoughts on Splitting Wood

Splitting wood! There may not be another homestead chore that lets you really get in the zone. That focused, thought provoking and rhythmic zone that can only come from the combination of manual labor, pattern recognition and strategic planning.

wood split patterns

chestnut oak; a few perfect splits

There’s just something about the realization of accomplishment after you split a tough, knotty piece of oak in 1 swing, or hit the exact spot where a piece of wood starts to check and it flies apart like cheese that makes you feel good. I don’t know if it’s endorphins or something like that, but it feels damn good.

split pine rails

you can also split longer pieces of wood into rails before sawing to length

That’s not to say that I don’t get tired, frustrated and mad at the odd piece of wood that won’t budge even after it has an axe, maul, and 2 wedges lodged in it, but it balances out in the positive in the end.

Instinctively, splitting firewood leaves you with a reassuring feeling in your heart as you face winter and its potentially icy storms. A stacked pile of split wood is a physical manifestation of security and preparedness. Something you can depend on when the power goes out to keep the family warm.

split wood homestead

The last few days have been great splitting wood, clear, sunny not too warm or cold. Wood splitting is a good cold weather chore because all of the activity warms you up nicely and has you shedding layers in less than no time. I finished splitting the chestnut oak that we felled and bucked last year, and even got started on some windblown pine.

No matter what you are splitting though, always remember to stay safe. One careless swing can do some serious damage to yourself or any innocent bystanders. Keep your feet clear, and take enough breaks to keep yourself focused and not helplessly tired, and in no time you’ll be on your way to a nice stack of security!


Using Hardwood Bark As Mulch

What do you do with all of that bark, wood chips, and woody debri that accumulate when you split wood? While all of this material could be burned in you fireplace or woodstove, I find that after I sort out the smaller pieces of wood for kindling, I’m left with chunks and larger pieces of bark. For me, this bark doesn’t burn as well as dried wood. I think it holds more moisture, is less dense, and isn’t great kindling.

bark as mulch

a fresh layer of bark under a Methley Plum tree in our food forest

So I prefer to use it as mulch. Now these pieces of bark are pretty big, anywhere from 2 – 12 inches long, so I don’t put them on our vegetable gardens. Instead, I dump these larger pieces of leftover bark in our backyard food forest at the base of fruit trees. Here they can break down slowly and won’t get in the way of any planting or harvesting.

bark as mulch

Mulch helps to conserve water, block weeds, and protect the soil


This also mimics a forest environment where dead and dying trees litter the forest floor and aid in the nutrient cycle feeding all sorts of microorganisms in the soil. Right now, in the middle of winter, most of the leaves have fallen off of the trees, and by adding a fresh layer of mulch over top of them, we create the perfect environment for decomposition and lock all of the new fertility in place with a protective layer of bark.

Managing Woodlands, Woodlots, and Forests for Fun and Profit

The millions of acres of American Woodlands have, for the last 2 centuries, been mined not managed. They have been stripped, clearcut, set on fire, and replanted with short rotation mono-crops to the point that many of our mature woodlands and forests bear little resemblance to healthy and natural woodland communities.This has been done in the name of short term profits, and while the logging companies and sawmills made-out great, more often than not landowners received a stumpage price way too low, and were left with a degraded and less valuable piece of forest in the aftermath.

clear cut timber permacultre

clear-cutting forests is rarely the best form of timber management

It doesn’t have to be this way though. Forests can be sustainably managed and designed to produce income for generations. With proper thinning, forest planning, tree selection, and management techniques, forest owners can ensure that their woodlot is not just a commodity to be firesold to save the farm, but a profitable ecosystem that increases in value over time, and can be passed on to future generations.

To do this e will have to go into these abused forests and asses the damage that countless “highgrading” cuts (a logging practice where all trees above a certain diameter are harvested, leaving the worst adapted and least valuable species standing) have left only stunted, poorly composed timber stands. Sometimes we may need to replant, or perform shelterewood and seed tree cuts to ensure proper forest regeneration, but often some thinning of poor quality trees, which can release trees of higher quality to achieve their full potential, combined with timber best practices like crop tree management, silvopasture, and coppice regeneration can bring degraded and abused forests back into sustainable productivity and profitability.


These thinnings wont always be of high enough value for commercial loggers, but this material does not need to be wasted. In fact,it can be extremely profitable. These crooked, small diameter and low value logs can be used for mushroom production on logs, firewood,craft wood, or even be sawed to length on portable bandsaw mills. Other uses can include fence posts,biochar prodcution, hugelkulture, and round timber construction.

logs

small diameter oak logs inoculated with shiitake mushrooms!

This is where the small woodlot managers have an advantage. It’s one thing to find uses for 2-10 acres of low value wood, but quite another when you are dealing with 1000’s of acres. Smaller forest owners, particularly those who live on the wooded acreage that they are managing, also have the advantage of constant contact and correction. They walk their property every week, sometimes every day and can notice things like diseased, dying and dead trees, and can quickly implement a strategy to deal with them. They can also easily diversify into many avenues of production. It’s very feasible for someone to combine a small shiitake mushroom operation on logs , a coppice grove for crafts, cut a few cords of firewood for home heating, put in a small food forest with edible tree and cane fruits, go hunting a few times a year for turkey, squirrel and deer, all while increasing the value of their timber, property and life.

timber management cruise nc

forest owners and managers should observe and interact with their woods in order to come up with goals, and management strategies

This is the key to timber management, the interaction between owner and forest. There cannot be a prescription for management until an owner knows what he/she want’s to achieve with their woodlot. After that, a timber inventory, and then a timber management plan can be created and implemented. From there, it transitions to the long and enjoyable phase of observations and interactions, all tailored to the goals laid out in the beginning. This can lead to many years of productivity, profitability, and sustainability, all from a woodlot that was worth only a fraction of it’s value, but with proper timber management, can be passed down for generations as it wealth accumulates.

Easy, Fun, and Attractive Wattle Fencing

Part of the process of clearing land is dealing with the abundance of small trees, branches and other woody material. On our property, we try to utilize as much of the wood as possible, either by burying the wood to make hugelkulture raised beds, dropping it as rough mulch, piling it in gullies to slow erosion, or as firewood. But the other day we came up with another way to use this surplus…wattle fencing.

simple wattle fencing

Wattle fencing is an easy and elegant way to re-purpose waste wood for good use.

Wattle fencing is an ancient technique that farmers, peasants, and the rest of humanity have utilized for hundreds of years. At it’s most basic level, it involves weaving long, thin pieces of supple wood around upright posts to form a solid fence. We decided that a wattle fence would be a great way to make an attractive dog enclosure for Bridey in our front yard under a nice shady maple tree. Much more appealing than the chicken wire paddock she has now.

wattle fencing homesteading

The natural variation among the different sizes and types of wood looks great in our homemade wattle fence.


Traditionally, coppiced woods like hazel, willow, and chestnut were used for both the vertical poles and the horizontal weavers, but we used the mixture of woods that we had piled up from our recent clearings, mainly oak, poplar, tree of heaven, and some maple. For uprights, we used fiberglass step-in-posts that are used for electric fencing and portable poultry netting. We decided on a circular shape that matched the shadiest area beneath the tree, and placed pairs of posts a few inches apart, every 4-5 ft to hold the fence together. We then slid the long pieces of wood between the pairs of posts, following the natural curve of the branches, and weaving the supple twigs together to form a pretty weave that is simple, strong, and sturdy.

wattle fencing technique

We used step in posts to keep the wood in place, but next time  we will probably just use wooden posts.

This is actually a lot of fun, and is half puzzle, half art project. Our mix of woods makes for a rustic look, and we are already planning where else we can build some wattle fencing, but first we’ll have to finish Bridey’s new dog pen. In the future we will definitely use wooden posts for a more authentic feel, most likely digging with a post-hole digger and setting the uprights in place like corner posts. Either way, wattle fencing is an age old technique, but a beautiful one that modern homesteaders should consider when designing and laying out their property.

soaking the mushroom logs and giving them a home

after inoculating our shiitake mushroom logs, we had to go about soaking them and figuring out where they would be living!

first of all, the few days after the inoculation were chilly (which wouldn’t matter) but the nights were below freezing (which would matter). so, once we got all of the logs inoculated, i stacked them inside our basement and covered them with damp sheets and a layer of plastic to keep in the moisture. this meant that we were not able to begin soaking them for a few days, which we decided would be alright considering the logs were cut only a few weeks before and still contained some moisture. it is important to keep the logs from freezing (in the beginning, at least) and to make sure that the logs do not totally dry out. it is likely that the logs would have been fine without being brought into the basement or without laying damp sheets over them, but we decided to play it safe.

logs

logs soaking in the footpaths of our raised garden beds.


once the weather warmed up a few days later, we filled the deep paths of our garden beds and soaked the logs in there, also using a small pond liner for soaking some of them. the paths slowly drained and we refilled the paths a couple times over the course of a few days to make sure that the logs were super moisturized.

logs

logs soaking in the footpaths of our raised garden beds.

logs

some logs getting a temporary soak in a pond liner.


then i moved the logs (with the help of my wheelbarrow and a good bit of cussing) to their permanent home leaned up against our corn crib structure. my dad and jason had already cleared a space for them, as well as space for 2 old enameled, cast iron bathtubs for use in soaking.

and man, moving the now-wet-and-much-heavier logs was tough. i put between 4 and 6 logs in my wheel barrow for each trip from the paths to the corn crib, and luckily didn’t dump a single load, even though there were a few obstacles along my way! i feel proud. keeping the wheelbarrow from tipping when loading and unloading the logs was the more difficult part, really, since each log weighed between 25 and 70 pounds. luckily, no accidents here either.

logs

leaned up and labeled logs!

once i leaned all of the logs up against the corn crib, i divided the 50 logs into 4 groups, and labeled these by nailing different colored tape into one end of each log. once we bring the second ceramic tub to the area for log soaking, 1/2 of group 1’s logs will be soaked in one tub overnight, and the other 1/2 will be soaked in the other tub. the logs will be soaked on a rotating schedule so that each of the 4 groups gets a soak every 2 weeks or less often depending on how quickly their bark dries completely out (that’s the sign it’s time to soak them again!).

logs

the final product: the logs leaned up by the corn crib (and me in the tub!).

and so, we begin the watering and waiting process. grow, shiitakes, grow!

.:.

mushroom log inoculation: it’s a family affair

i am finally writing about this, even though we inoculated our mushroom logs a few weekends ago. if you’ve read my other posts about selecting our mushroom varieties and about cutting our mushroom logs, you already have some idea about our plan. since these posts, though, our plans have changed slightly. we are still using 50 mushroom logs this season, but we are only inoculating with shiitake mushroom spore. this is for three reasons:

  1. shiitake mushrooms are the only gourmet grow-it-yourself mushroom and variety that i have tasted and i am confident in their deliciousness!
  2. shiittake saw dust spawn was cheaper to obtain than shiitake plus a few other varieties.
  3. shiitake is a mushroom that my father has experience growing and the other mushroom contenders had different, more difficult traits (i.e. maitake sometimes won’t fruit for years and some people say that reishi tastes not-the-best).

so, we decided to go with the trusty shiitake for our first year’s mushroom experimentation!

we ordered both our spawn and our inoculator tool from fungi perfecti and once we got our bags of spawn in the mail, we promptly stuck them in the fridge.

once the big day arrived, we enlisted the help of my parents. it turned out that jason and my dad did most of the hole drilling, i did most of the inoculating, and my mom did most of the waxing of the holes. even with all this extra help, jason and i still had to continue the process for 2 days after the “family work day.”

here’s how the experience went:

first of all, i set up 3 stations in our basement (one for each of the big steps in the inoculating process). the first station, where the logs were drilled by jason and my dad, is where the each log’s journey began. both of them toted in the logs in batches from where they were stacked outside the back door. they shared a palette that was on a table and used the palette to hold the logs that they were drilling in place. they used 7/16″ drill bits (the standard size for sawdust spawn… plugs are different) and went in 1″ deep (the depth of our inoculation tool). in drilling to a certain depth, we found that marking the drill bit with lots of tape worked better than stoppers (these slipped too often). jason and my dad spaced the holes in a diamond pattern, with 2 1/2″  between holes running perpendicular to the length of the log and 6″ between holes running parallel with the log. each row of holes down the log was staggered so that a diamond-shaped pattern was the result.


logs

jason and my dad drilling 1″ holes in the logs. dodger oversees the process.

the second station was my own, where i was set up with the saw dust spawn and the inoculation tool. once i got the hang of it, it was quite simple and fun, really (although my hand did start hurting). in order to make sure that i got enough spawn inside the cavity of the tool each time, i brought it down hard 5 times in the bag of spawn before placing the tool over the hole and rapidly and forcefully hitting (either with open palm or closed side-fist) the handle of the tool 6-7 times. once you do this a few times you’ll be able to feel and hear once the inoculator cavity has been fully emptied into the log, and you’ll be able to judge how many “taps” you need for each hole.

positioning the inoculator tool over a hole.

positioning the inoculator tool over a hole.

later in this process i used cinder blocks to raise the level of the log (it was beginning to hurt my lower back bending over so much) and to hold it in place and keep it from rolling when using the tool. my mom also helped hold some of the more wiggly logs in place. to make sure that you’re doing your job right, check to make sure that the spore is almost as hard as the wood itself. if so, then you know you got it packed in there well enough.

log

the hole near the upper center of the photograph has been filled with spawn, whereas the hole toward the top right has not.

station three was where my mom was camped out, and she “painted” over the holes with wax (we used the cheapest, white wax you can find on the baking/canning aisle of the grocery store). we used an old crock pot specifically for melting the wax, cutting it on “low” to melt the wax and then on “keep warm” once it was all melted (we do not plan to use the crock pot for anything else except wax in the future). the brush we used was a 1″ natural fiber brush, the cheapest that could be found at the hardware store. when my mom waxed each hole, she was heavy-handed to make sure that all sawdust was sealed inside… this is important because you don’t want to give any other fungi the chance to colonize the log through the open hole too.

log waxing

i demonstrate the waxing process.

once the logs had dried a bit, someone who had a break would move the completed logs back outside to be stacked and await their future soaking!

overall, the experience was exciting! i can’t wait to see how everything turns out months from now. for now, all the logs have been soaked and moved to their permanent location, to await fruiting. we’ll talk more about this process in future posts… hopefully coming very soon!

a video explanation and demonstration of these steps will be posted shortly!

.:.

creating new space for great things: cutting down a big oak tree

as jason mentioned in his post yesterday, this weekend we enlisted my father’s help to clear a dying oak tree in our yard. i’m hoping that we’ll decide to use most of the new-found space for garden beds and a small orchard! we both really love the idea of cutting the stumps (there were 4 large “fingers” that made up this tree) to make them into seats, a table, and perhaps even a foot rest! we’re also thinking about somehow incorporating the space into our wedding… perhaps where the ceremony itself takes place… but we’re not sure yet.

starting to work in this area around the tree, we weren’t totally sure what the final product would be. we had originally thought to start cleaning up around the barn by clearing and pruning, thereby opening up that spot for wedding antics–but jason and i couldn’t agree on how to approach it.

sometimes we have similar visions of what we’d like to do with our land/yard and other times we can’t agree at all–this was one of those times. that’s just the nature of love and partnership! we did both agree, however, that we wanted to clear the barn area but we couldn’t come to a consensus about what to do with the cut trees and the empty space we would end up with afterwards…

and so we dropped that idea and dove head first into working on the area around the oak!

tree

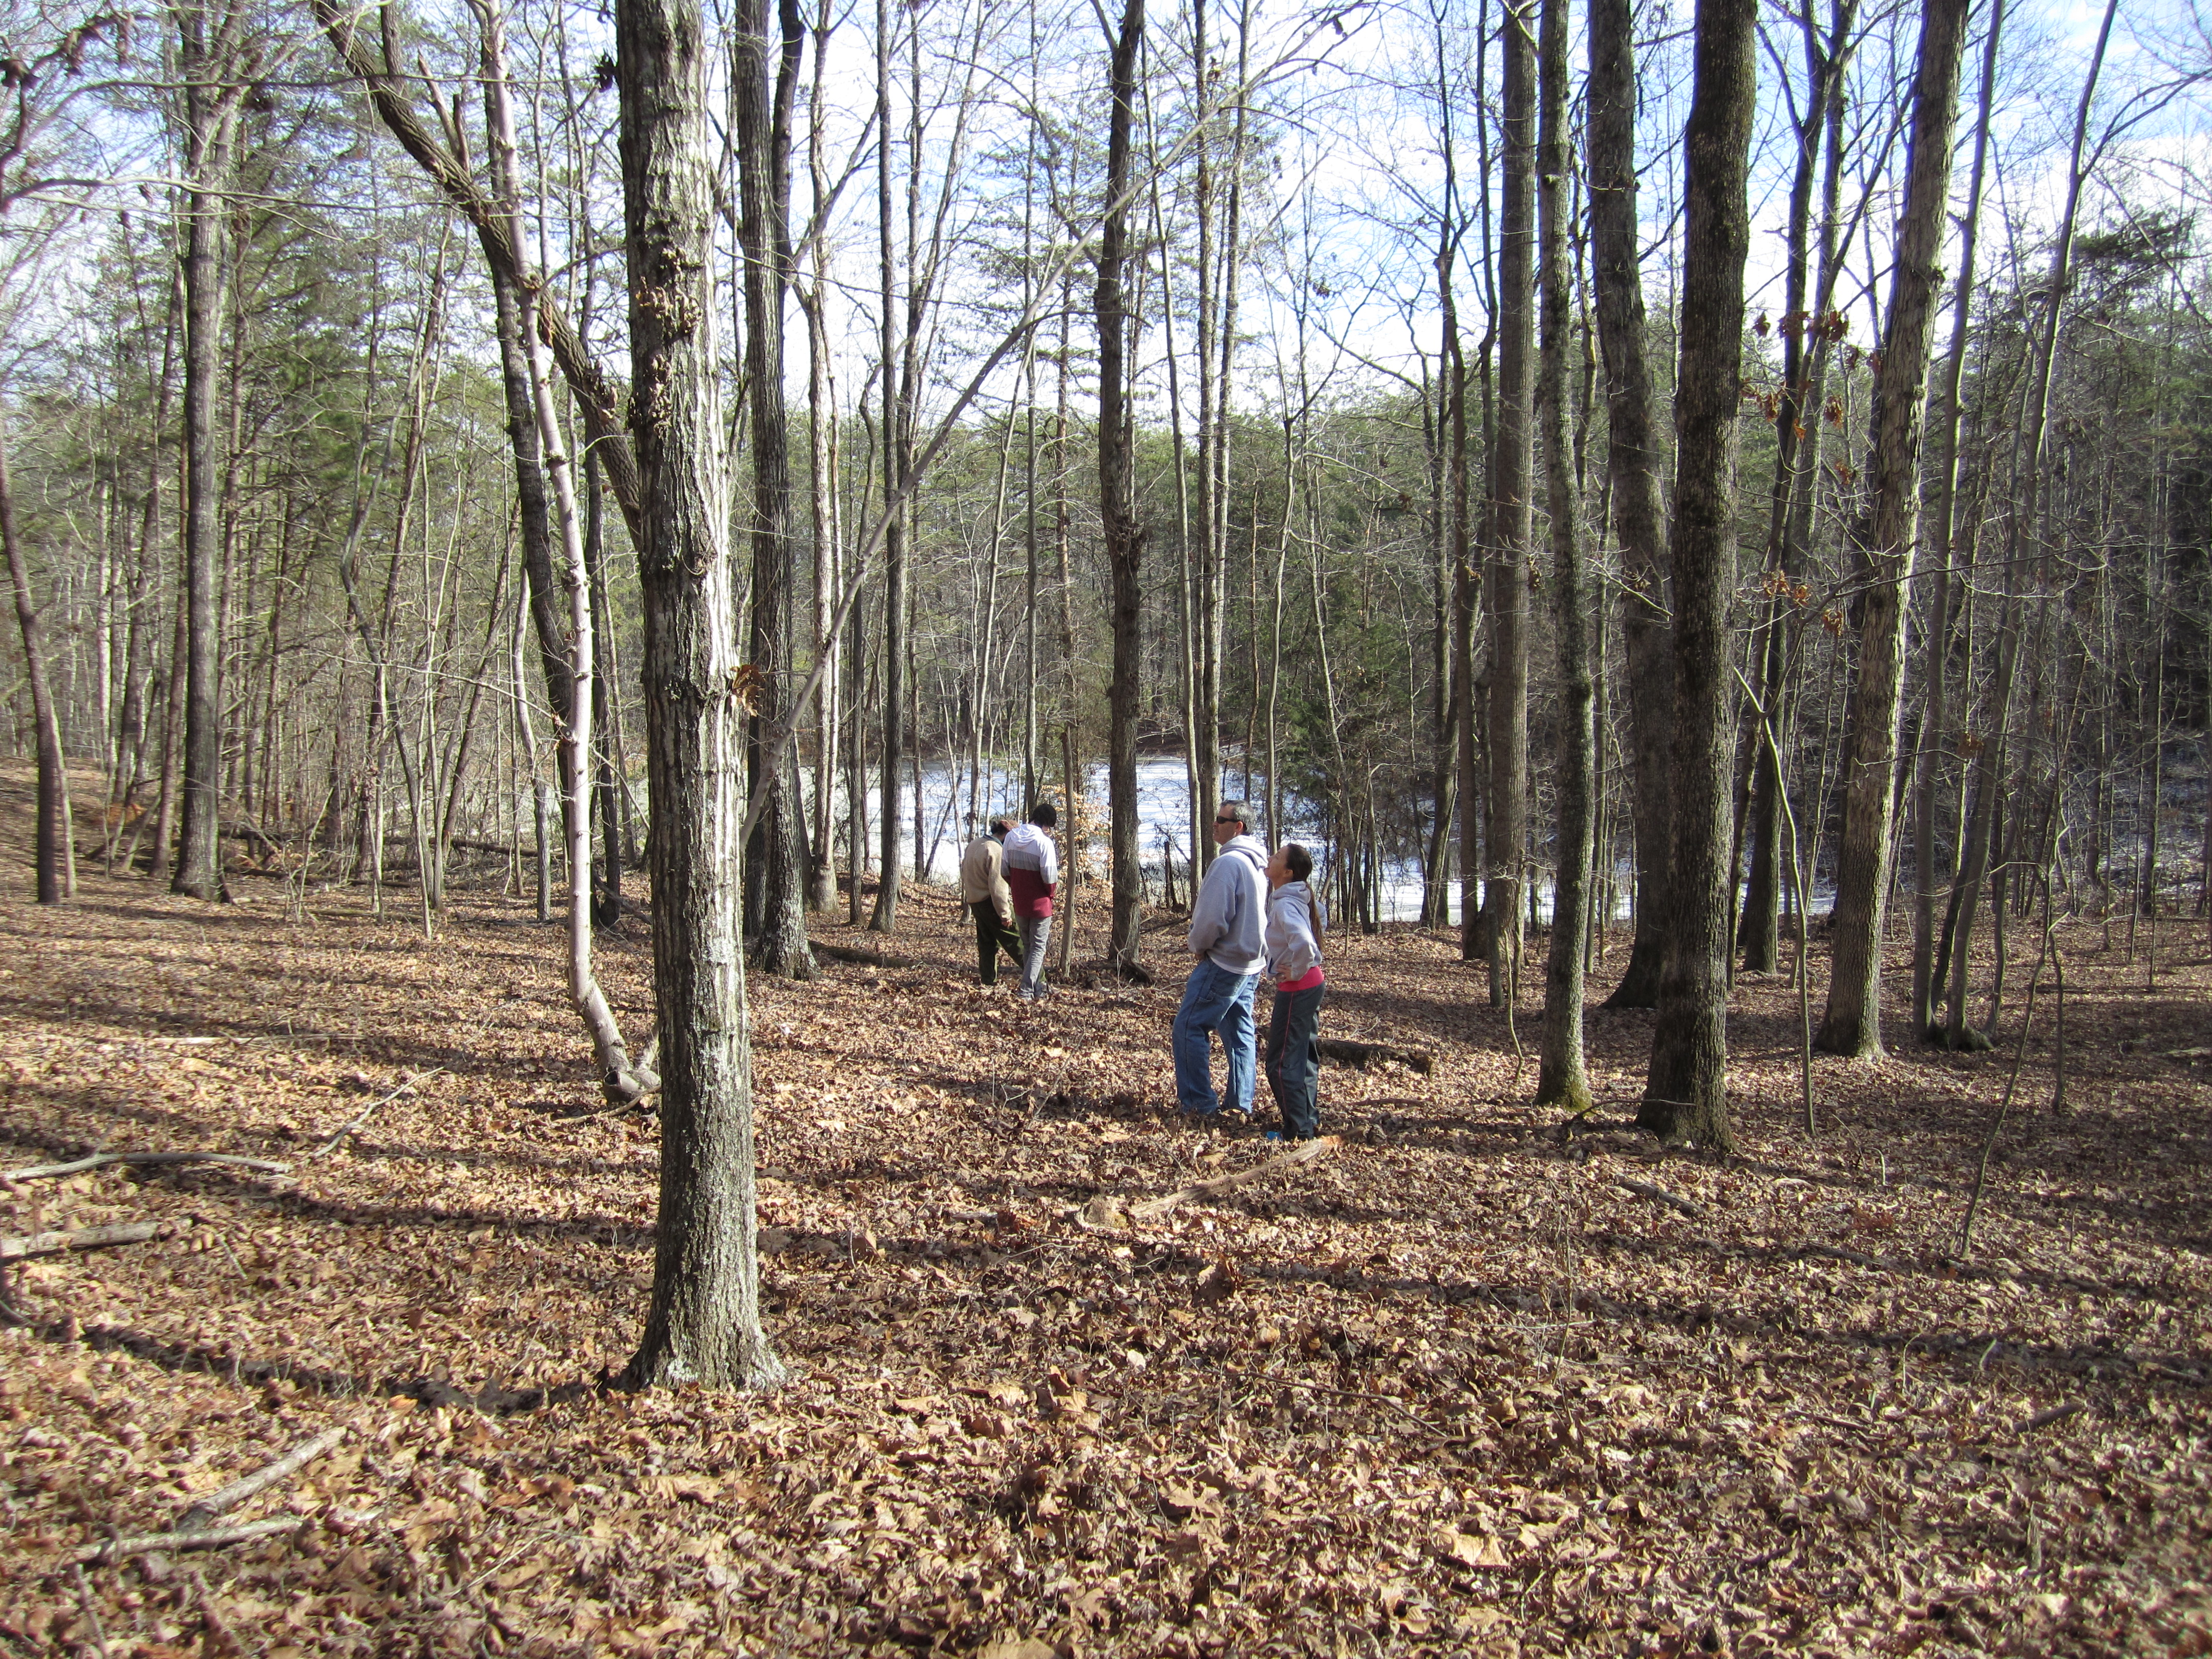
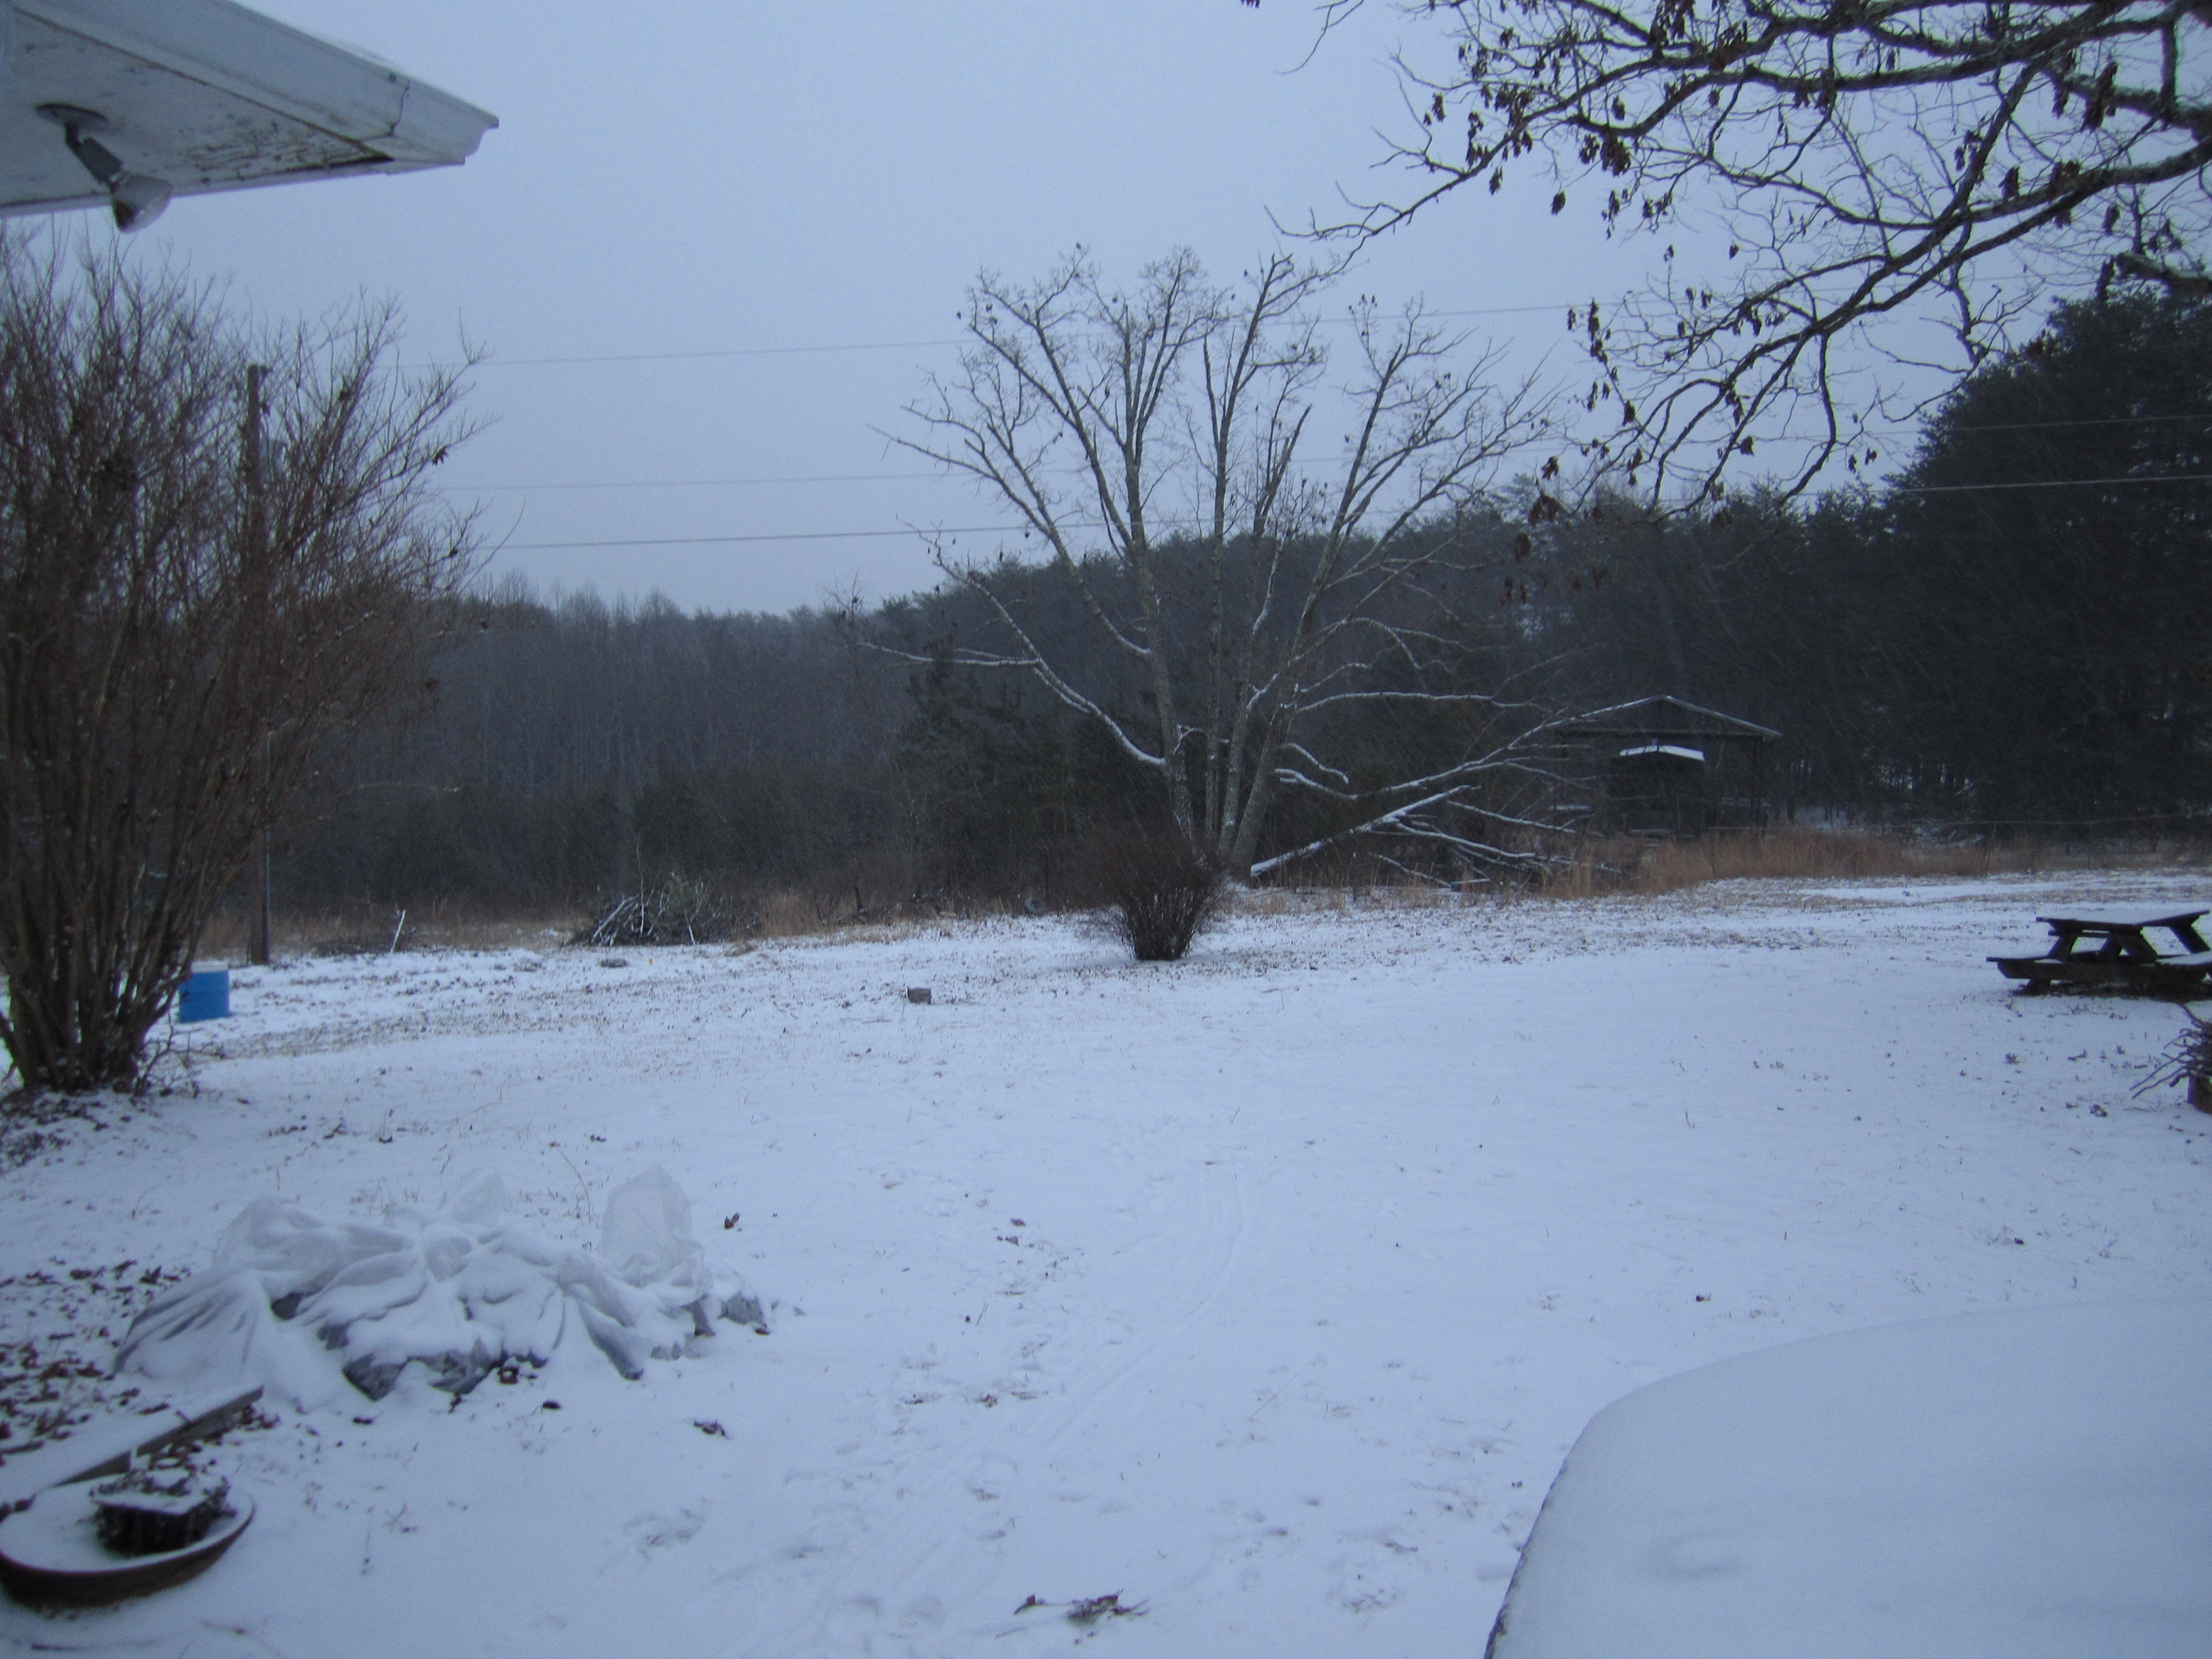
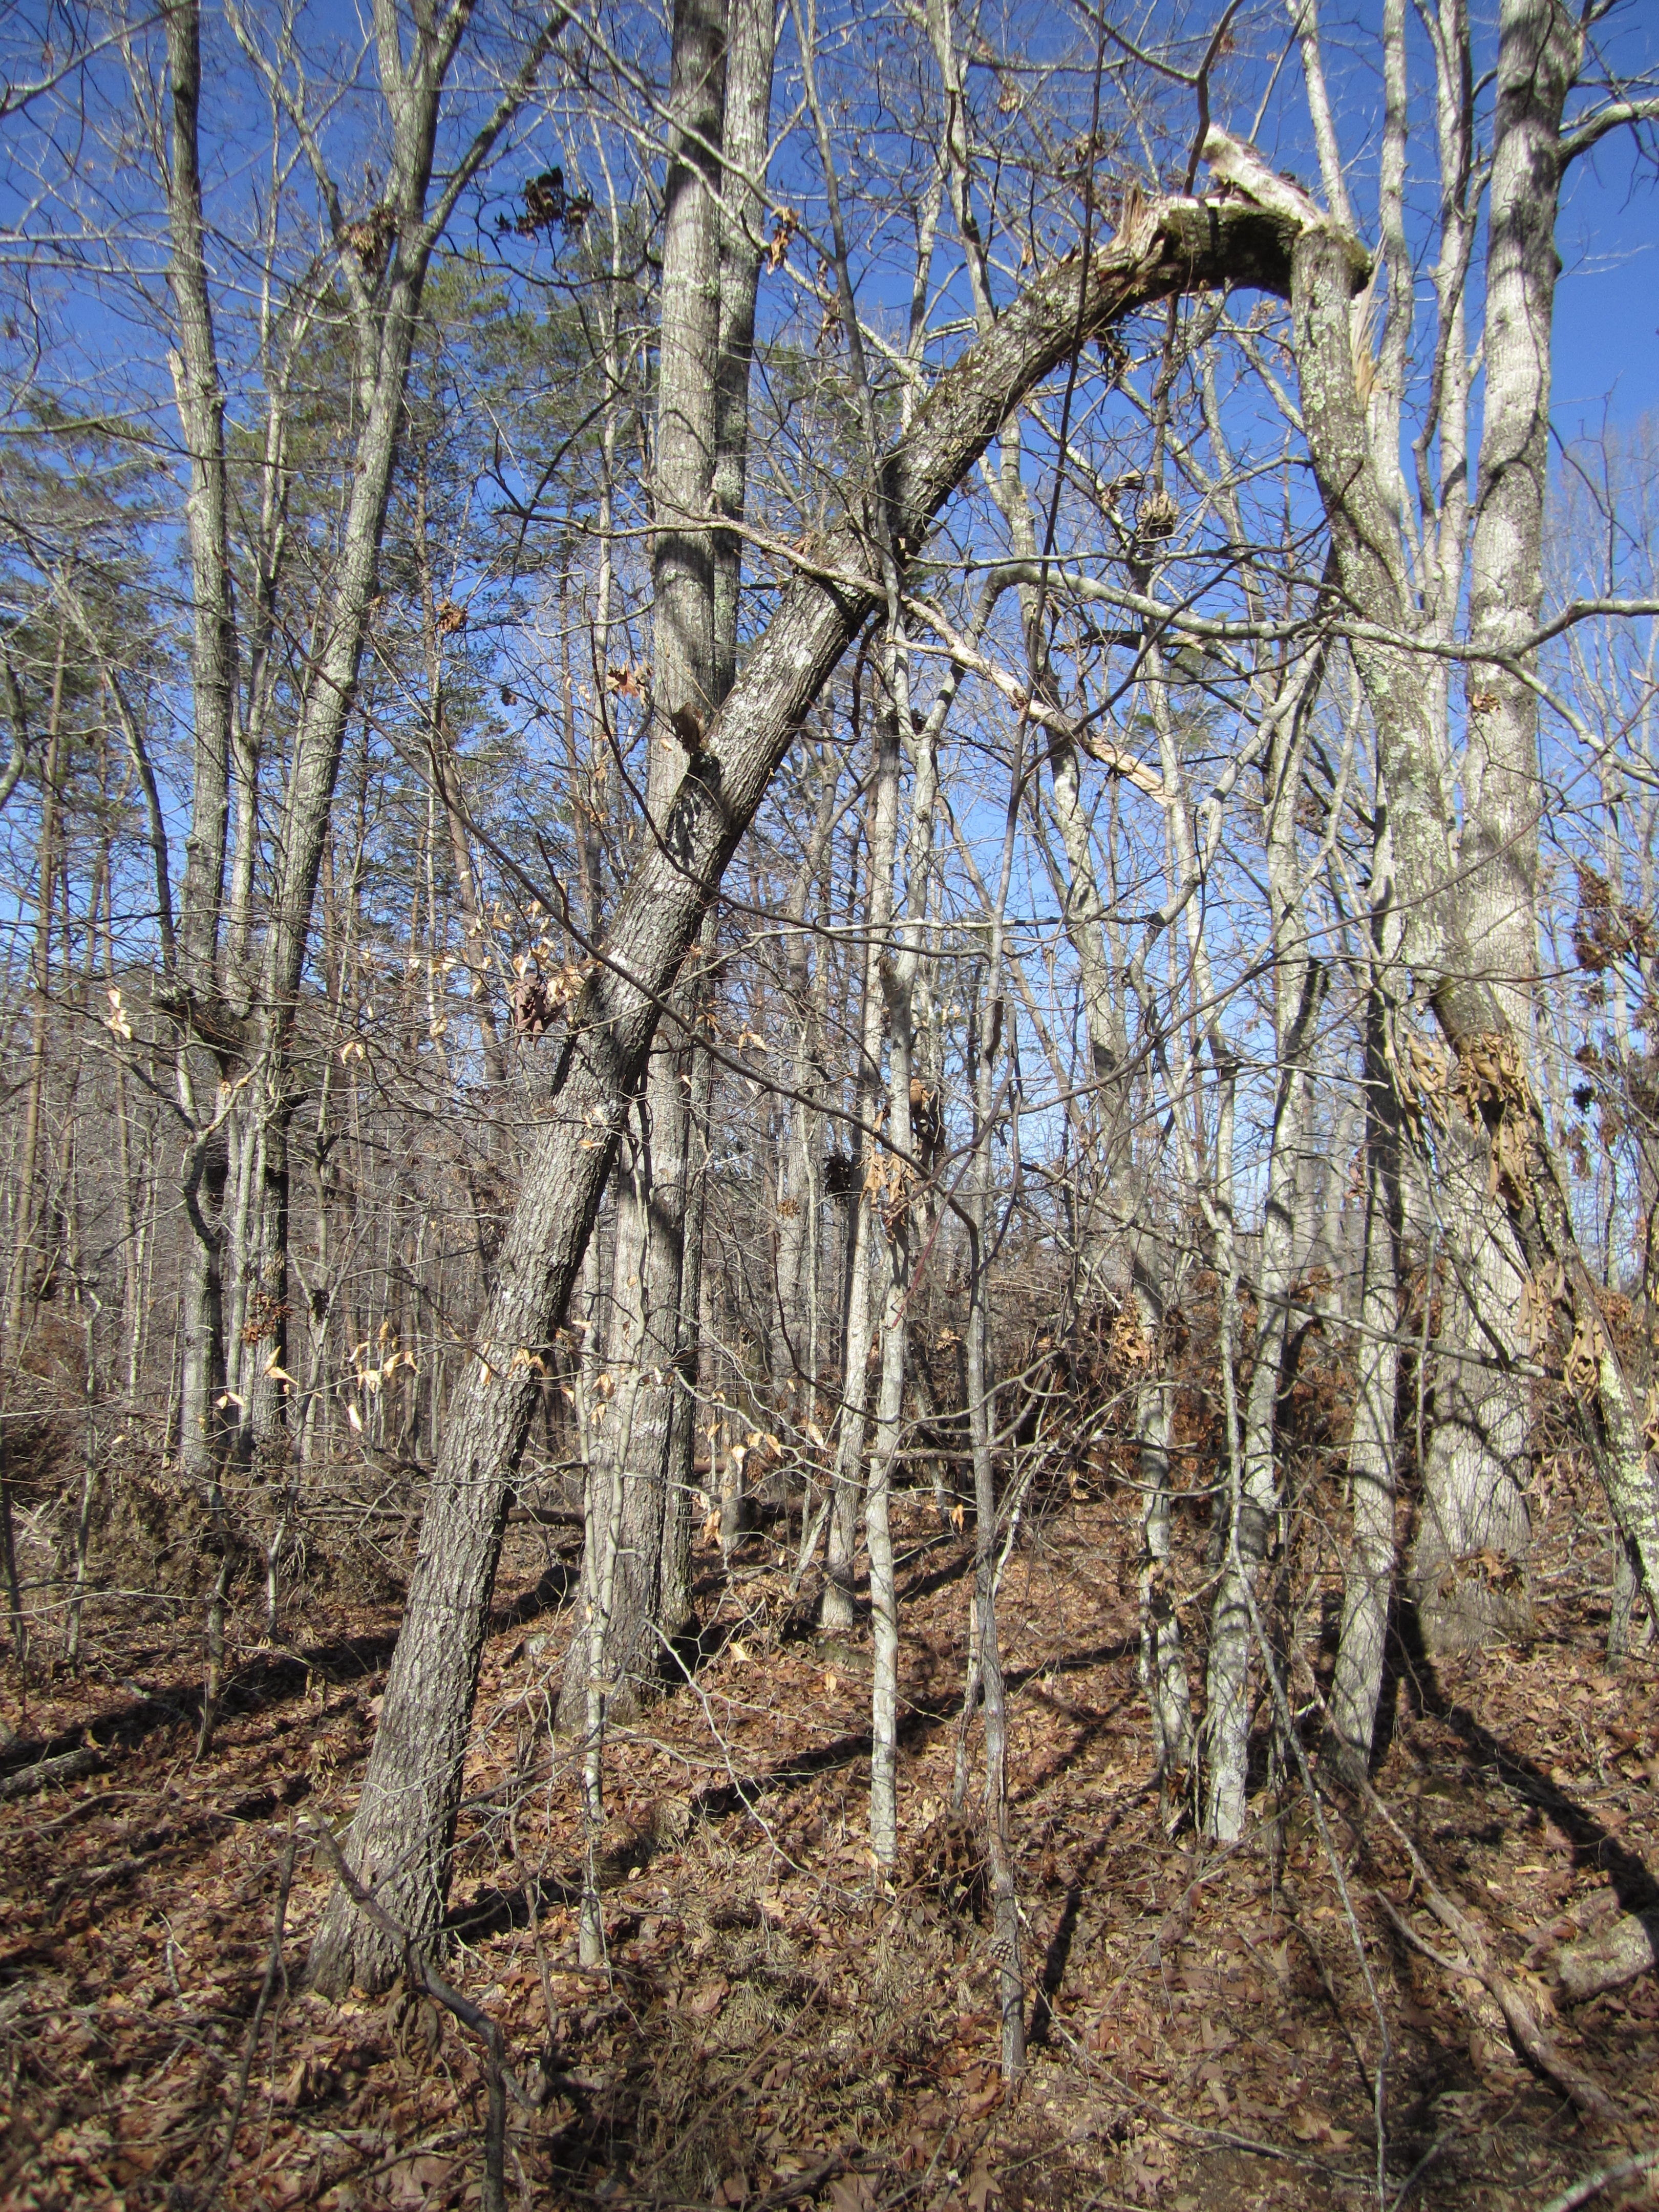
before: the many trunks of the oak tree (back and center, covered in snow)

there were a lot of pines and scrubby trees to cut and tons of green briar to rip out. as jason mentioned, poison oak abounds in that area, and although we killed a lot of it, we’ll certainly have to weed eat (or pig eat) in the near future.

we also found broken glass, tires, decaying lumber, metal (grates, tool boxes, cans, screws), plastic, and even a truck’s large tool rack. most items were trash but some were treasure!

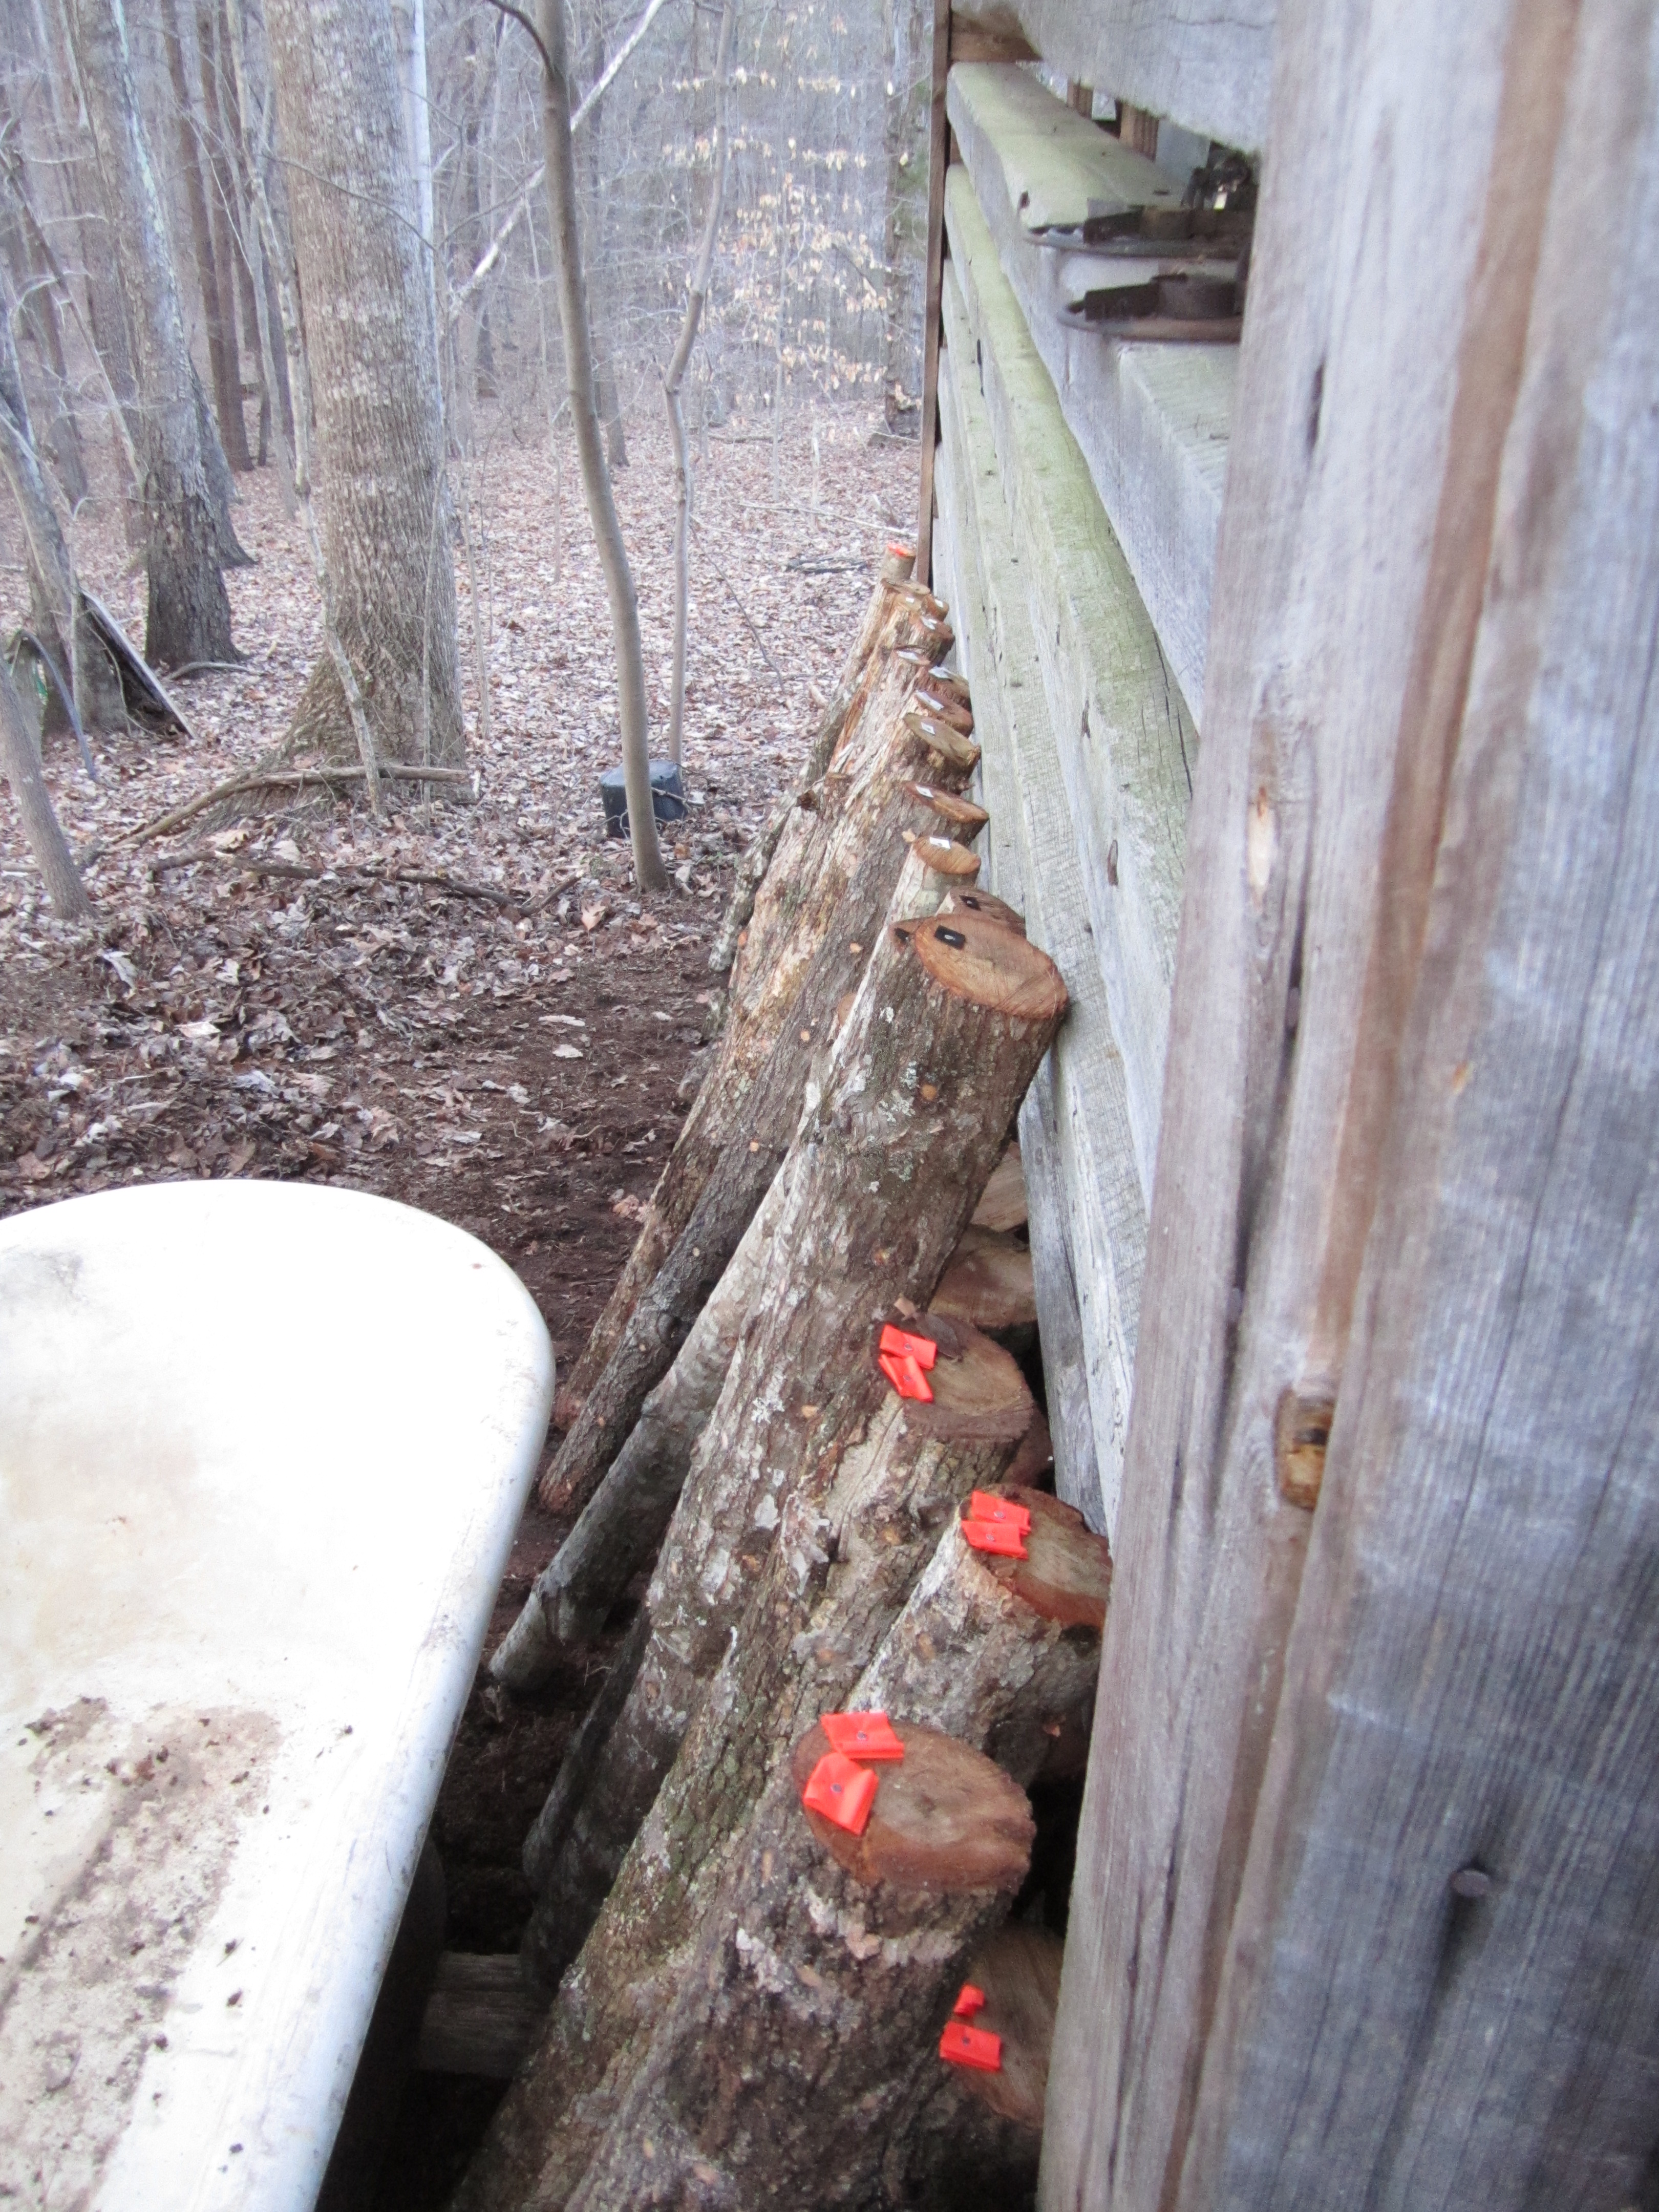
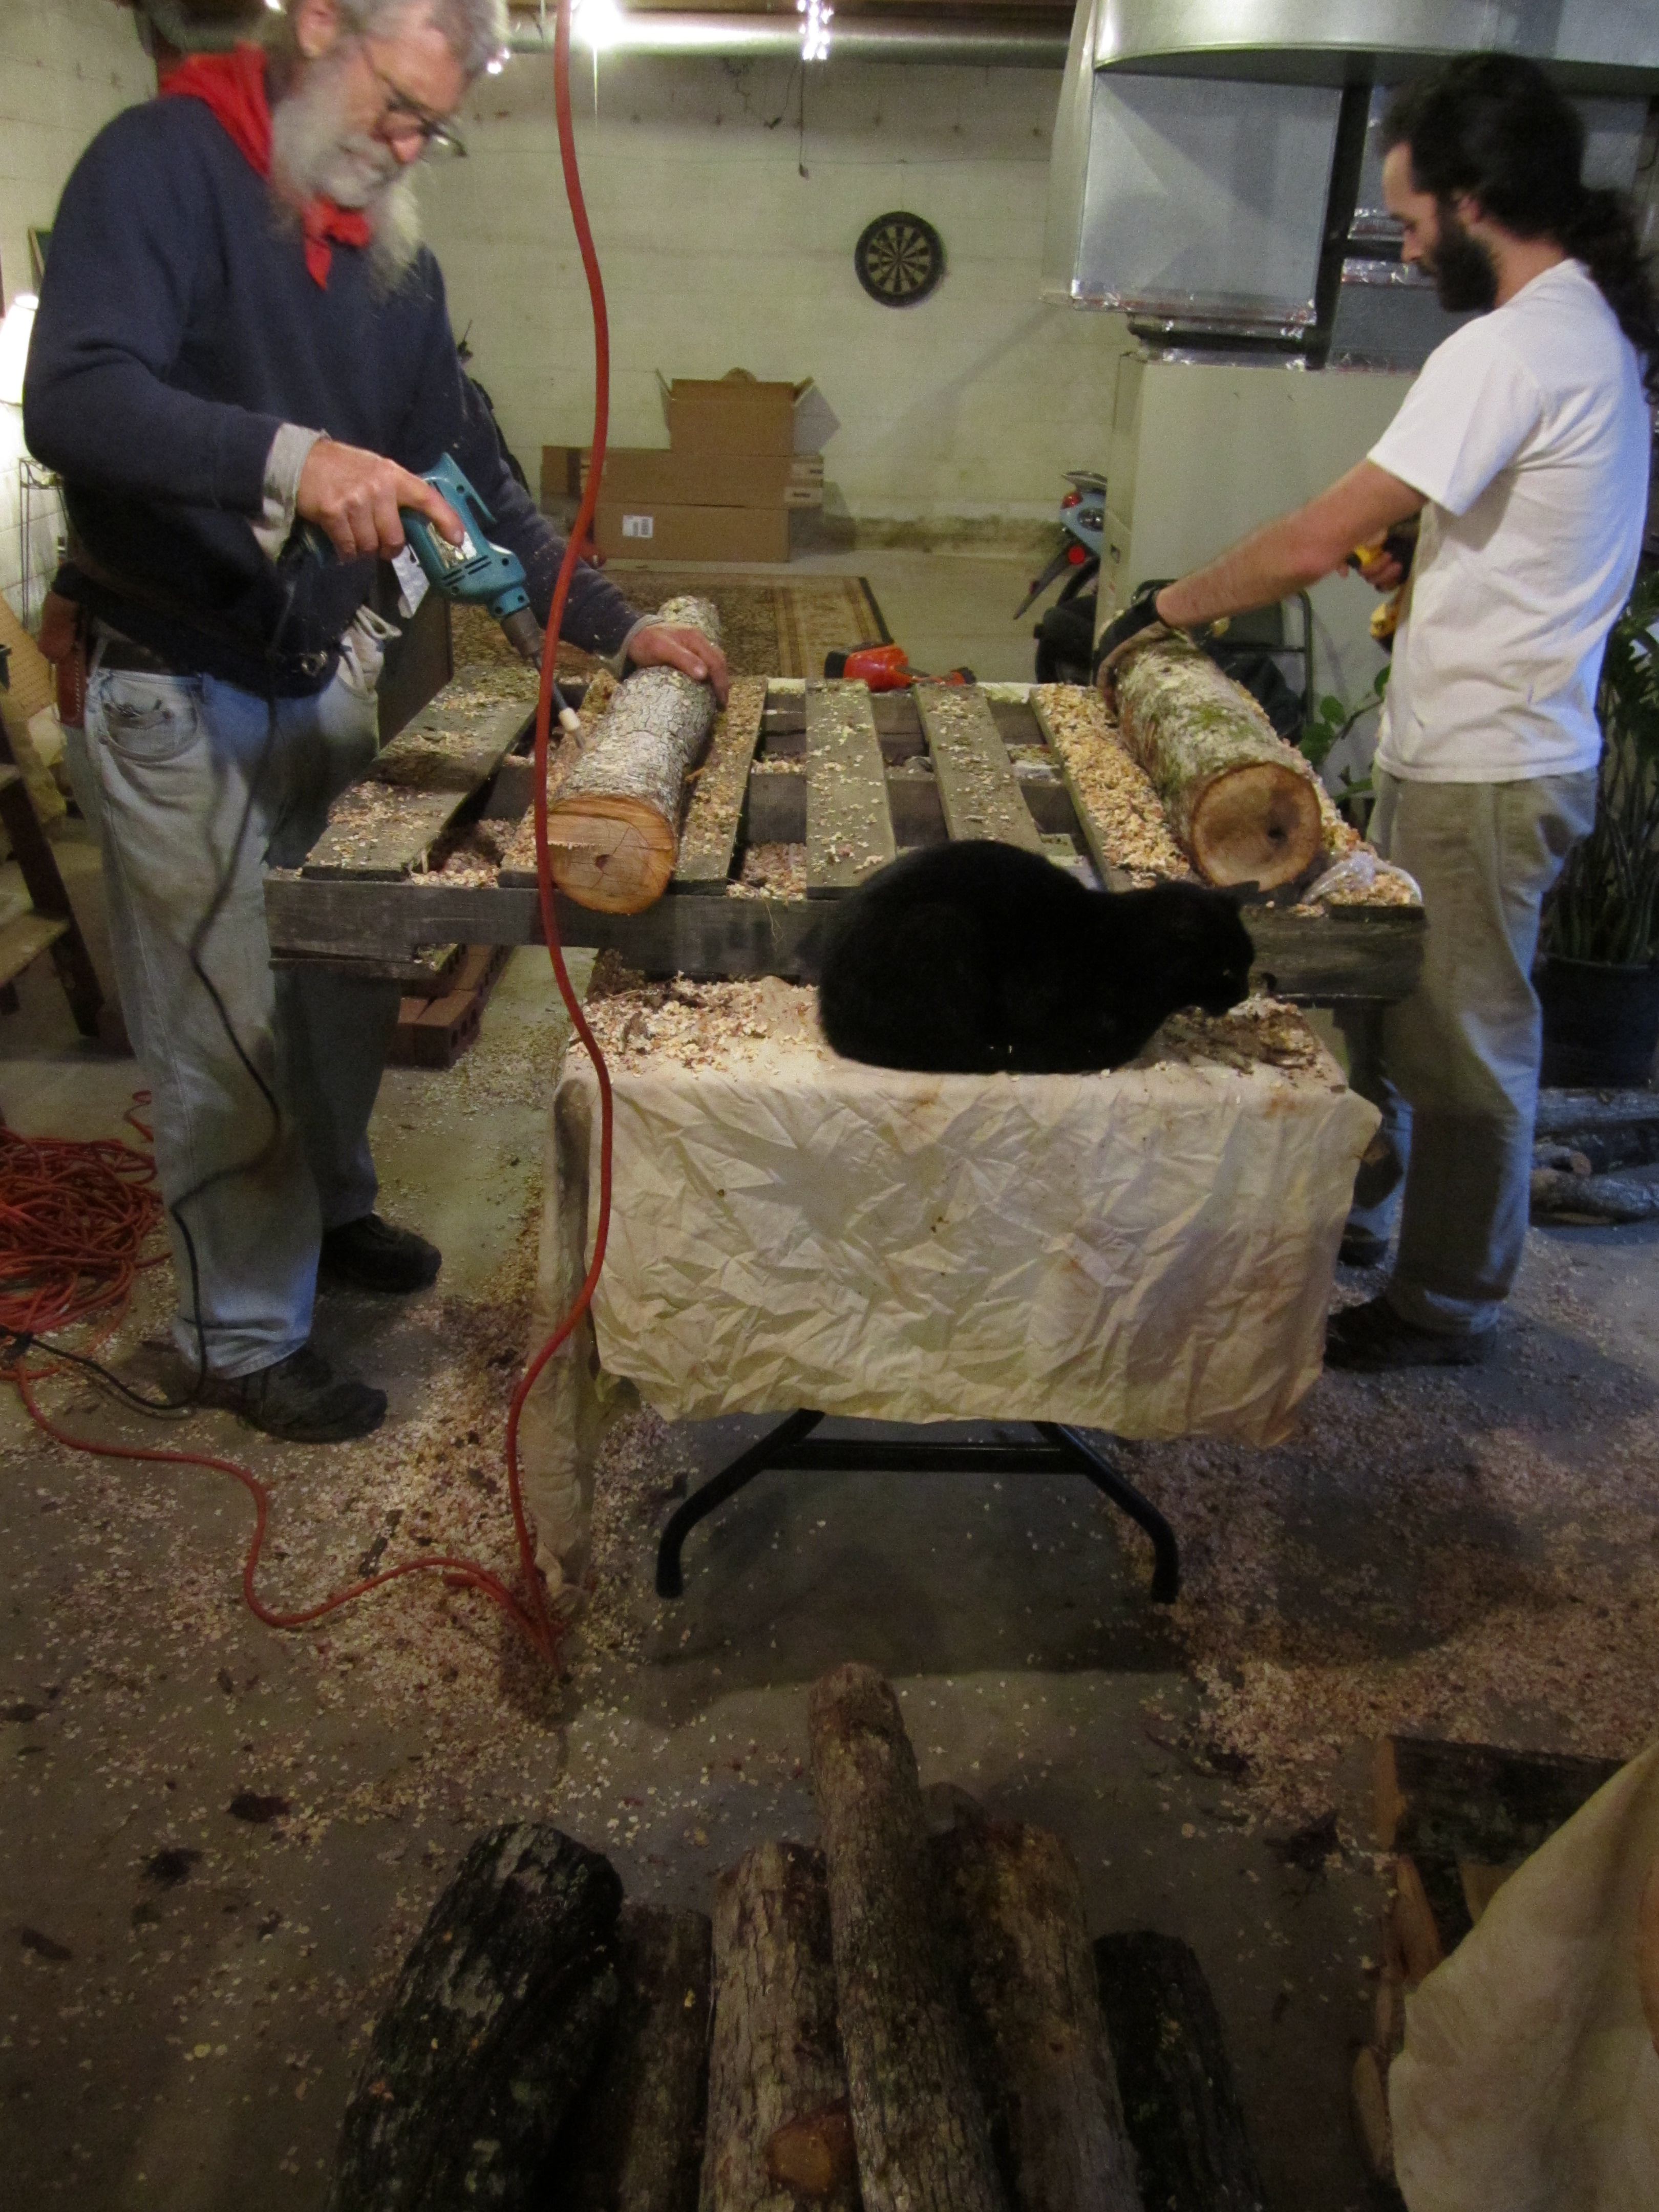
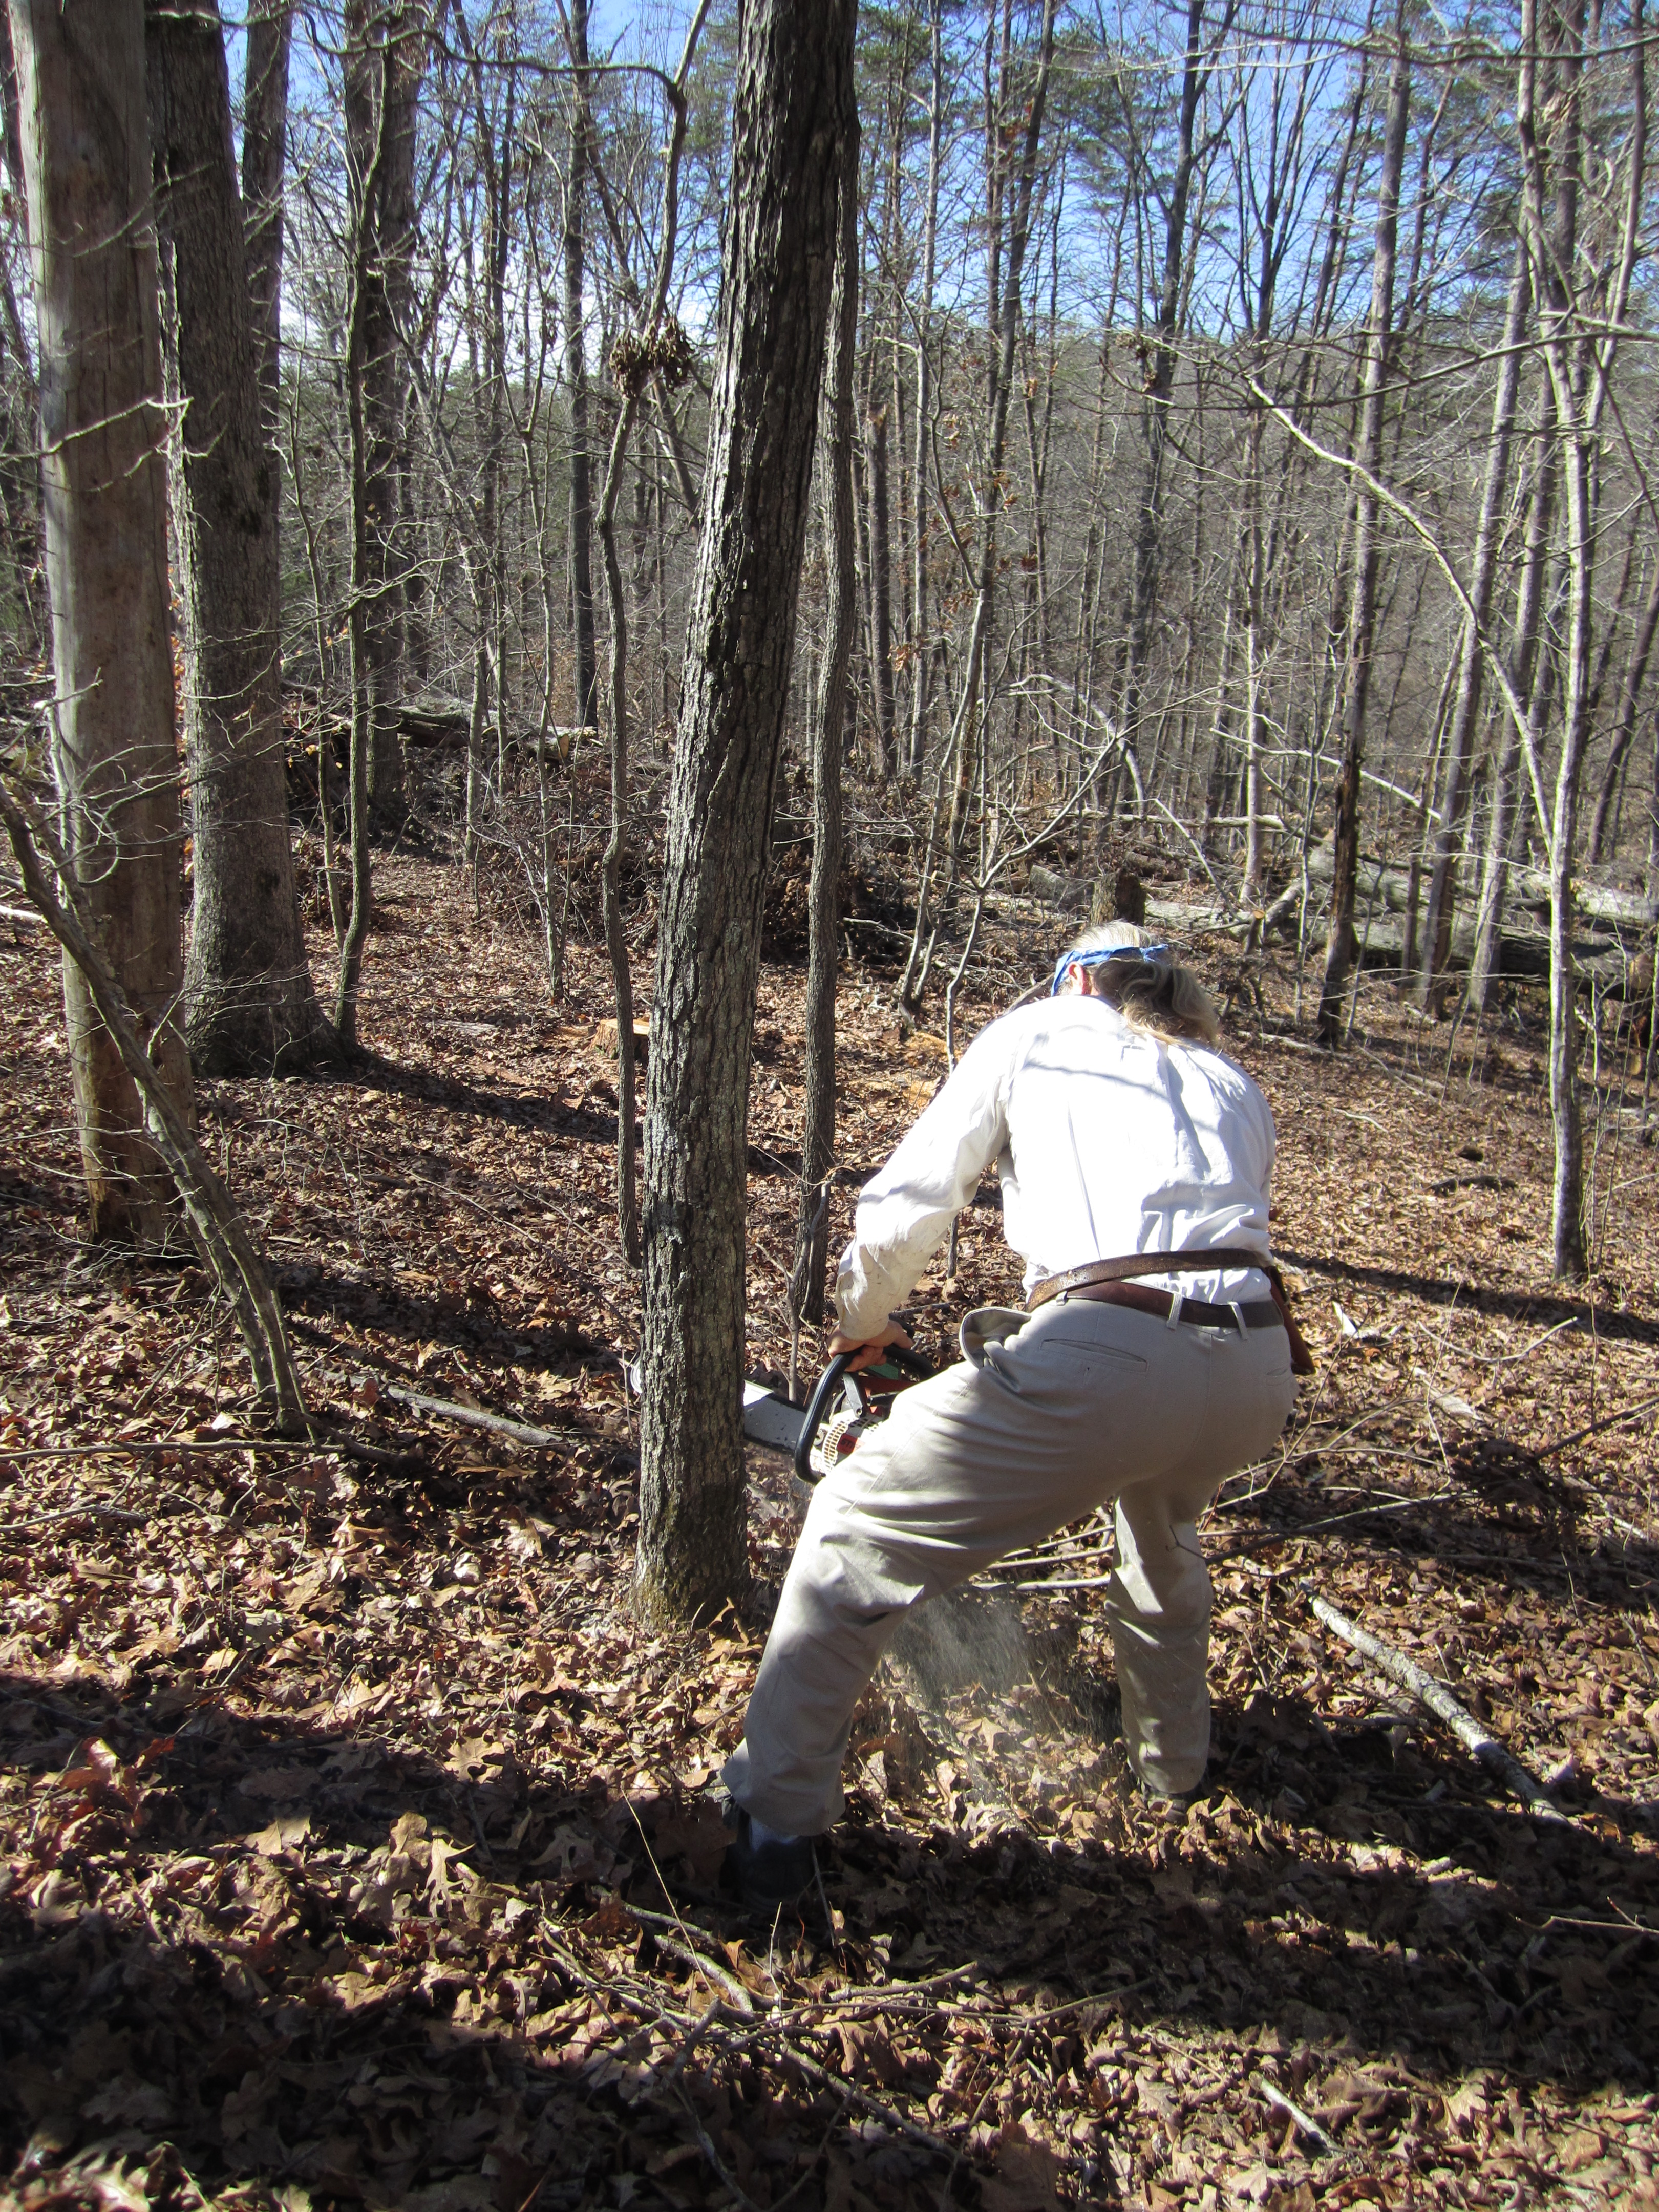
after clearing all of the junk and the smaller growths under the large oak “fingers,” the chainsawing began. jason and i do not own our own chainsaw yet, and it is a big help to have a trusted family member willing to help! my dad has also helped out by cutting oak logs for this year’s mushroom crop. even though chainsaws are super useful, they still make me somewhat nervous (even though i’ve been around them my whole life) so i’m glad to have my dad help. he cut all four trunks of the tree about 4 feet off the ground, notching each of the trunks first so they would fall the way we wanted… except one of them. as soon as this one trunk (that he didn’t notch) started to go down, we could tell that the not-notching approach was not the best idea. the tree did fall the way we had hoped, but it bent upon itself and stayed partly attached to the stump. just looking at the result made me nervous!

tree

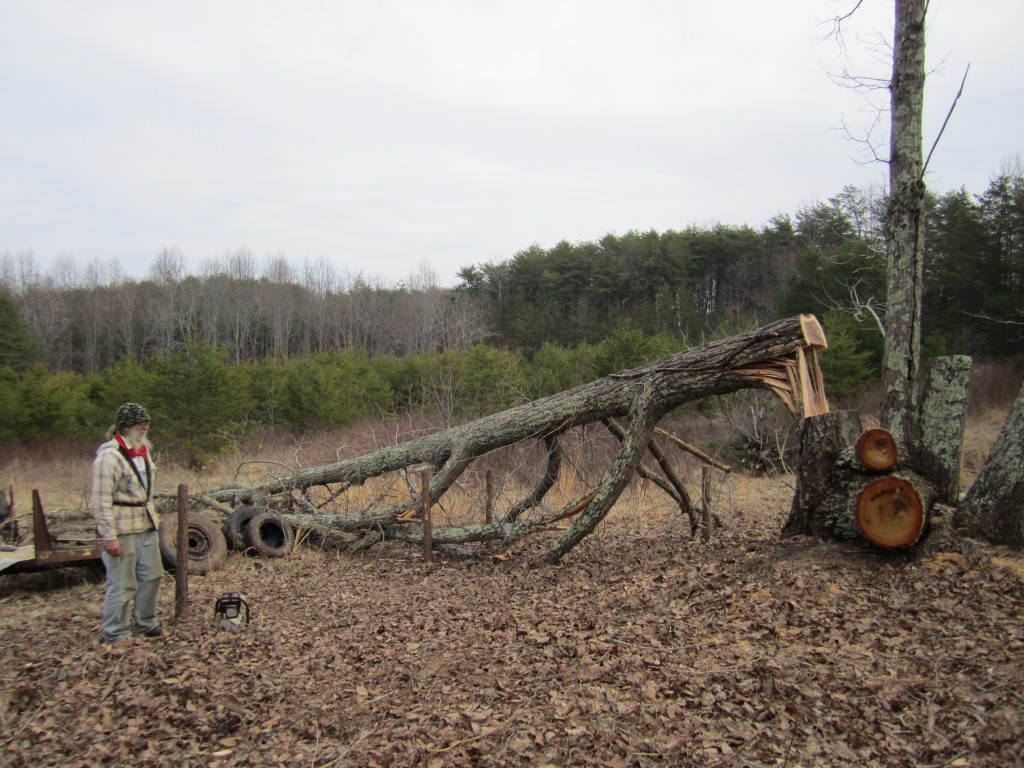
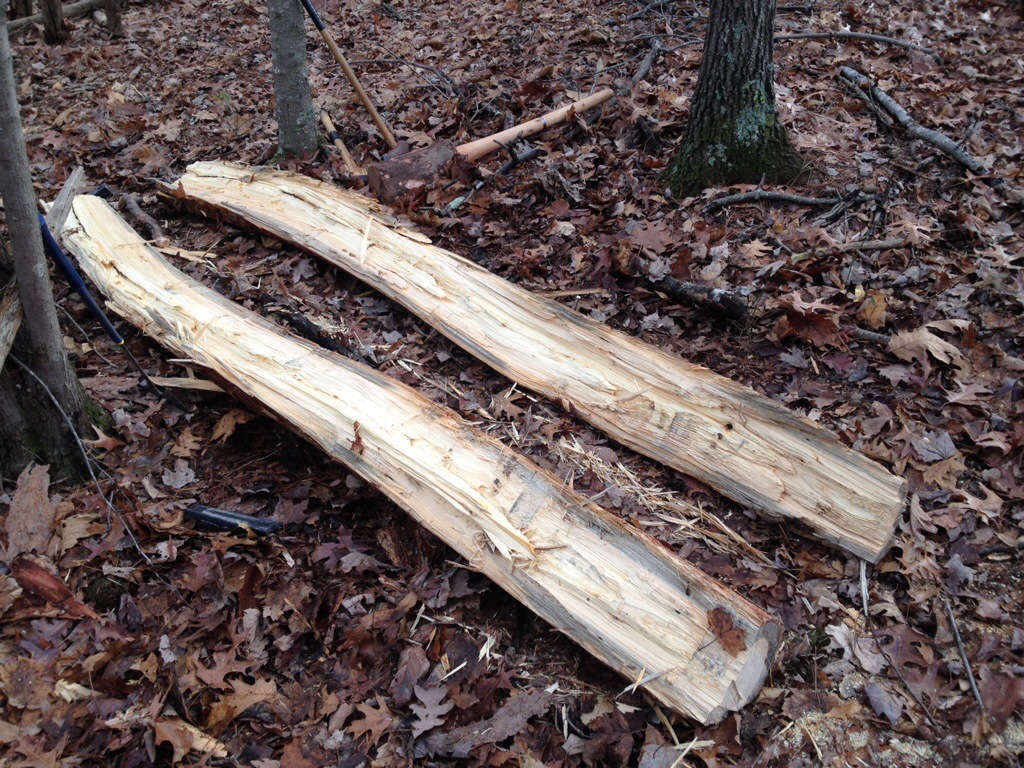
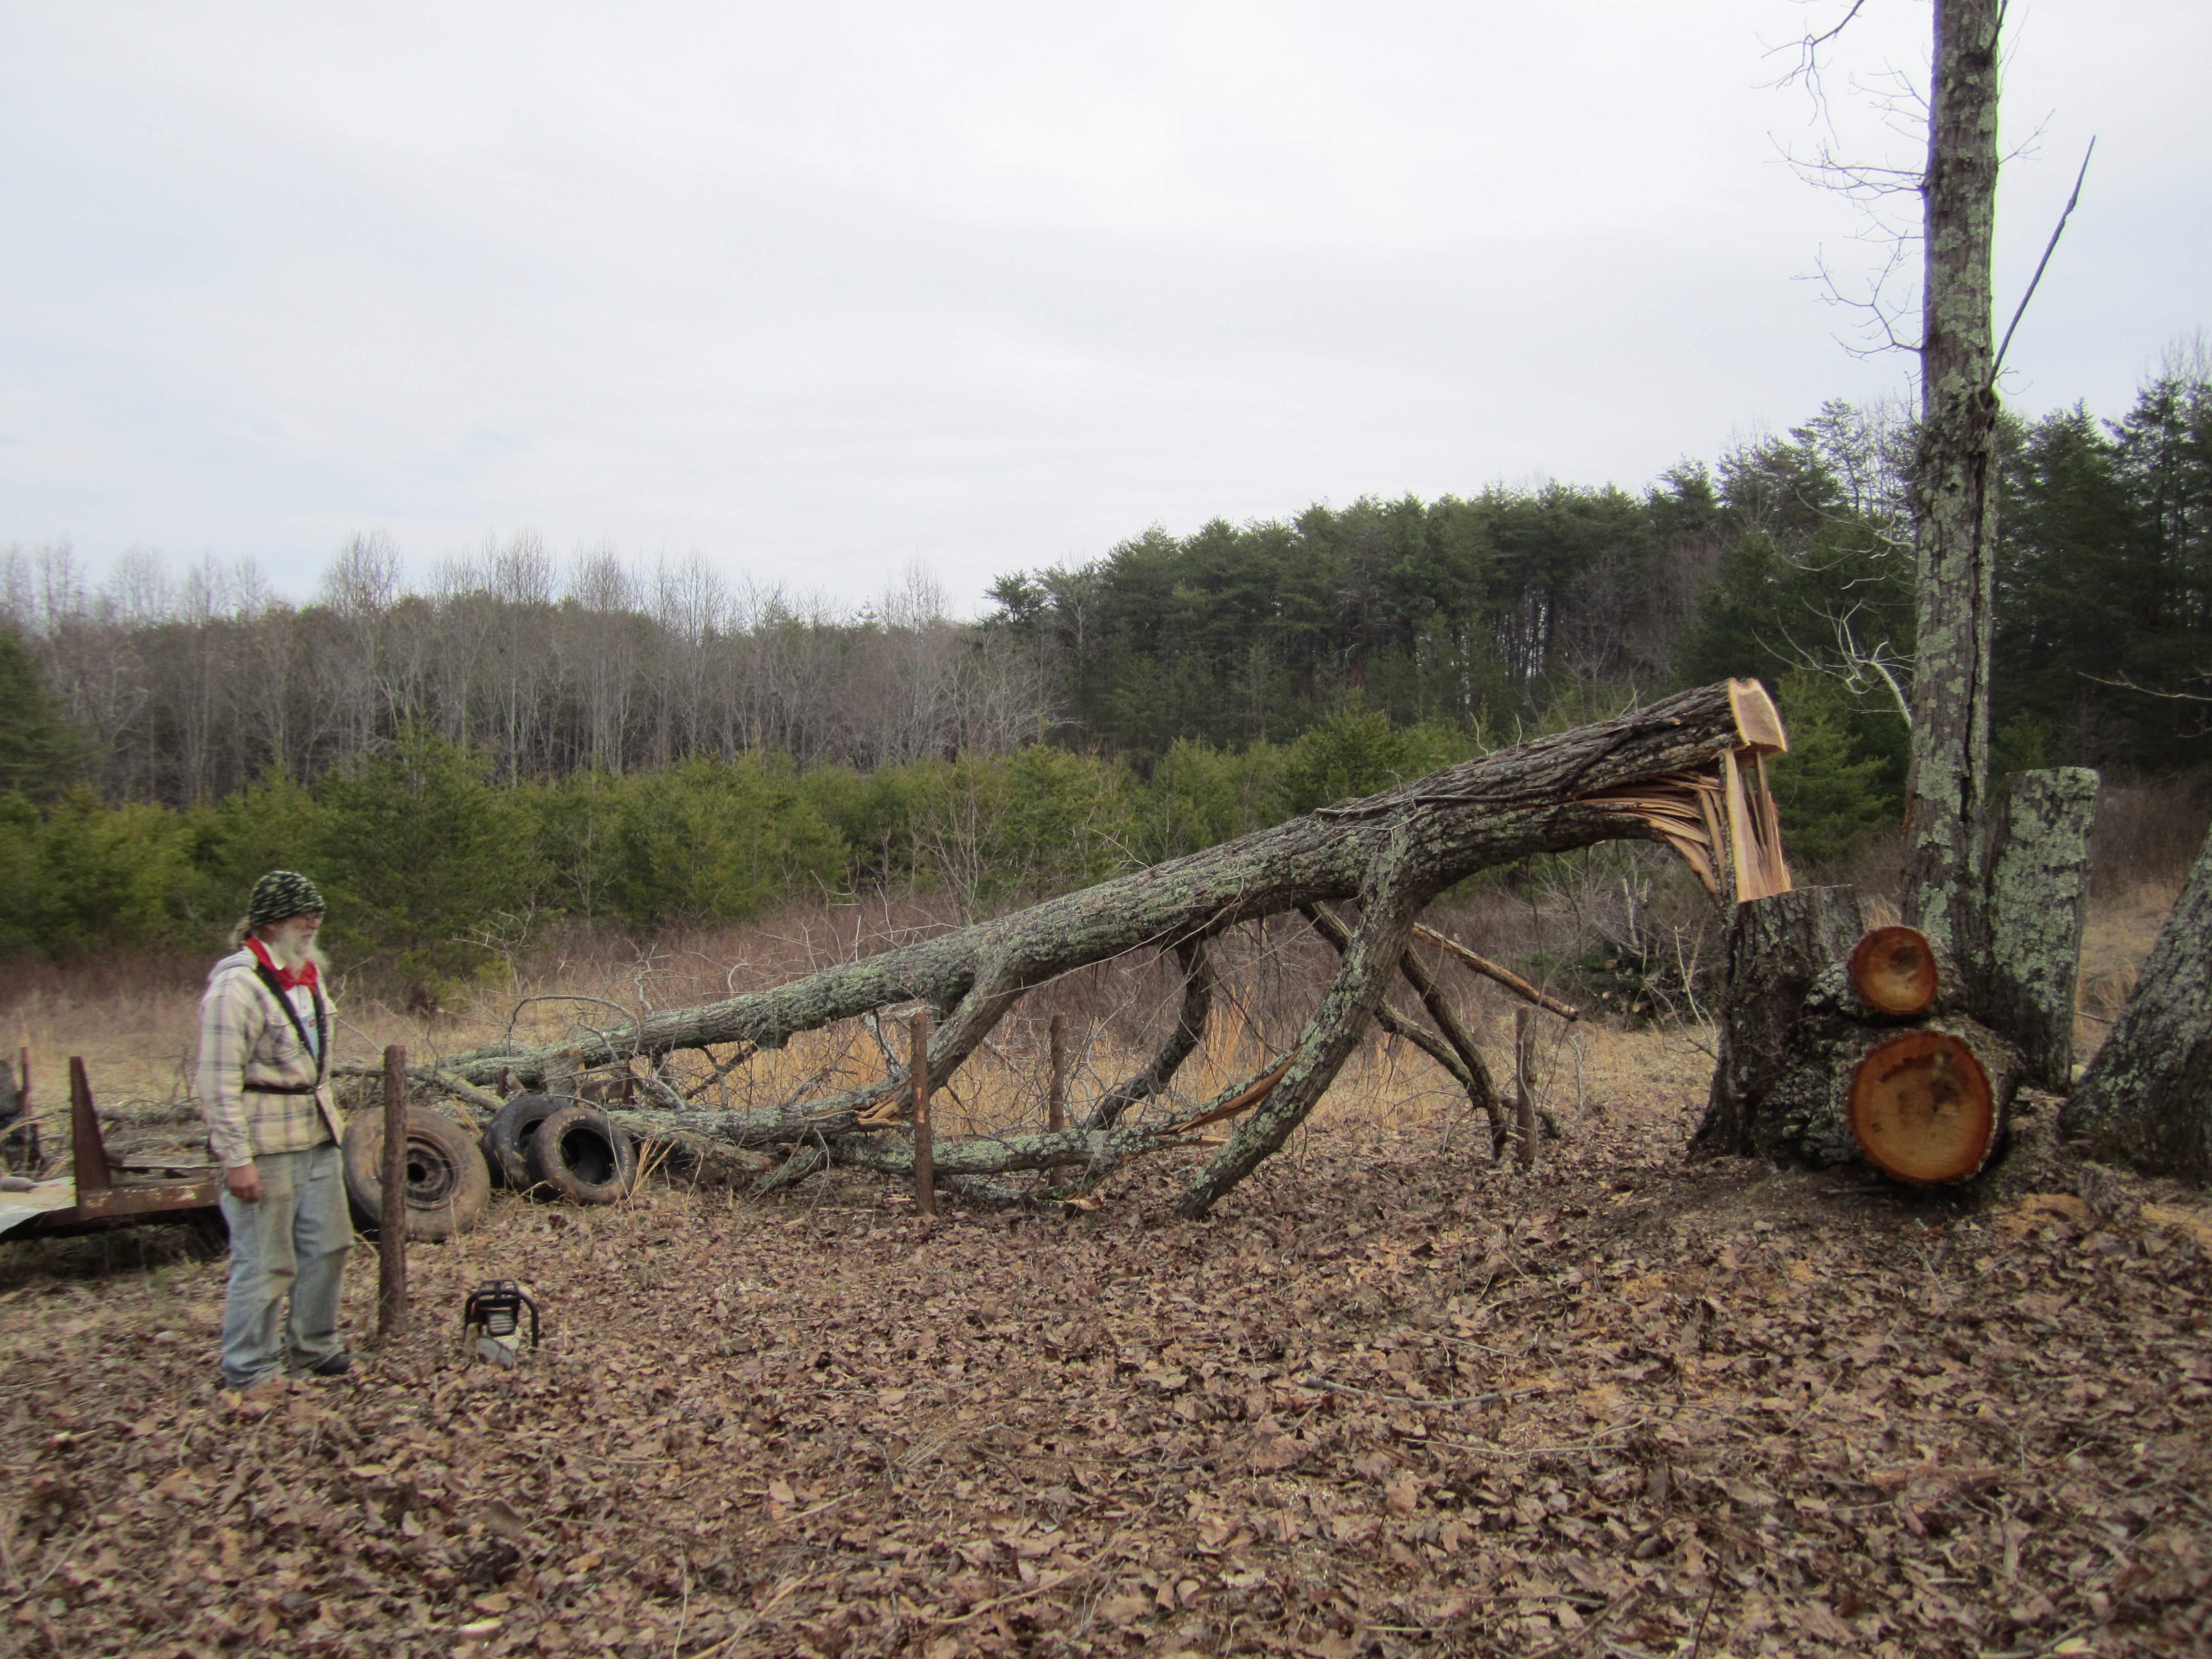
the aftermath of felling the oak trunk without the pre-cut notch. note the size of the tree and how much pressure is sure to be on the bent pieces.

jason and i stayed far away while my dad slowly tried out a couple options for bringing the tree the rest of the way down. first he cut off some larger limbs that appeared to be holding up the trunk. that made the tree shift but did not bring it down. then he tried to cut at the taught pieces of wood that were still attached at the location of the cut (keep in mind that all of the weight of the tree was bowing down these pieces, and it was a surprise that they had not already snapped when the tree fell). needless to say, during this time i yelled at my dad not to make the cuts into the taught, flexed, “wooden slingshots,” but he only grinned at me and went for it anyway. uggghhh… fathers! they can be such punks!

despite my anxiety, his cuts to this part of the tree did not result in injury, and he stopped cutting in that area once the tree shifted a little bit more. then he cut the rest of the limbs off that might have been holding the trunk in the air and we discovered that the tree was actually balancing on a single pine pole coming out of the ground. annoyingly, my dad decided that kicking the pine pole would knock the heavy trunk off and make the tree finally hit the ground. he did this, and in my mind, barely got his leg out of the way before the heavy trunk hit the dirt.

i was horrified by what i perceived to be an exercise in idiotic risk-taking, but he simply laughed at me and said “i knew what the tree was going to do… and my leg was out from under it well before it hit the ground. it didn’t even come near me!” yeah, right!

anyway, we all escaped without injury (which is not surprising for jason and i since we were well away from the action the entire time).

this video shows my father notching one of the trunks and then sawing through it… a much safer tree-cutting practice than the other!

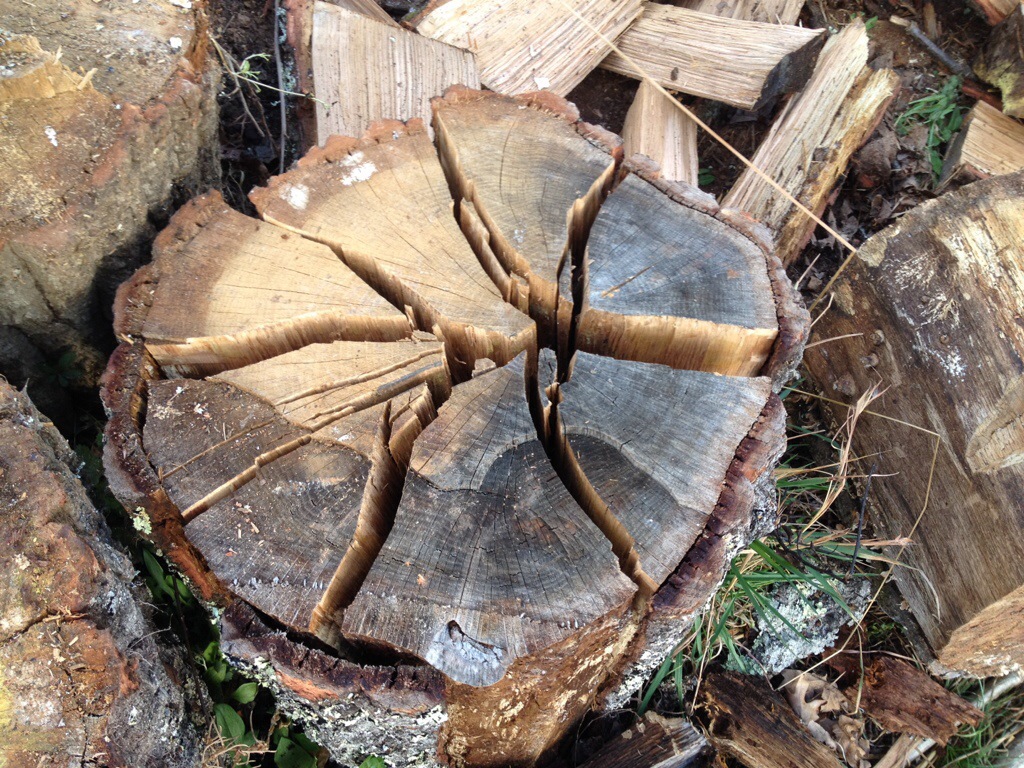
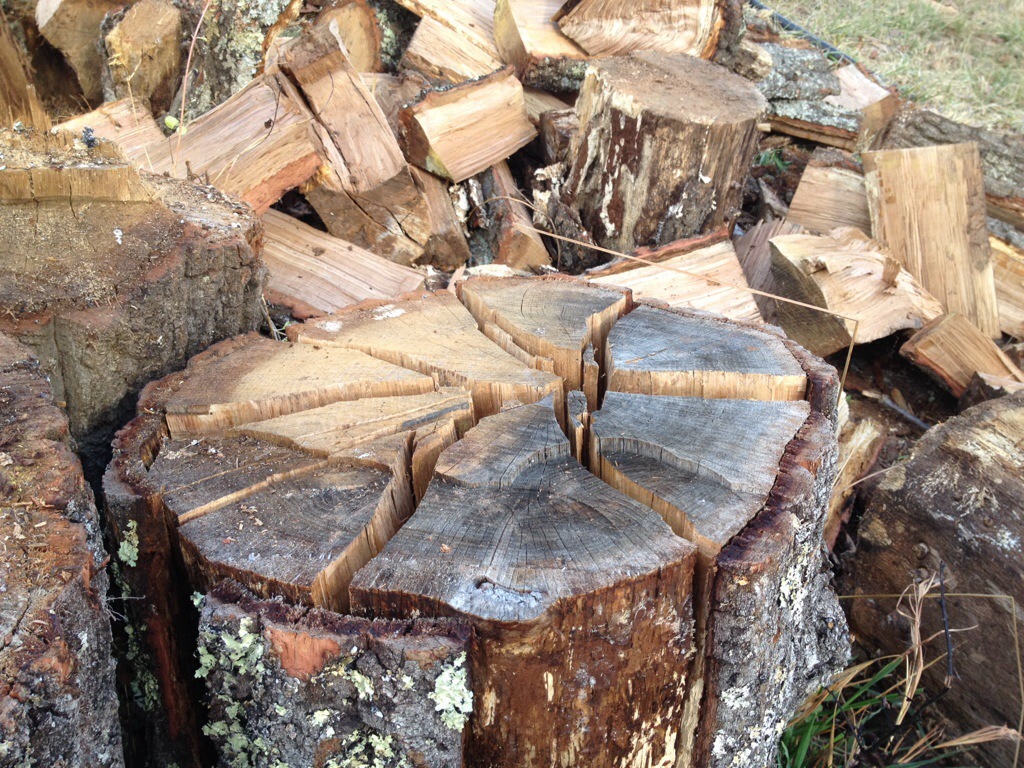
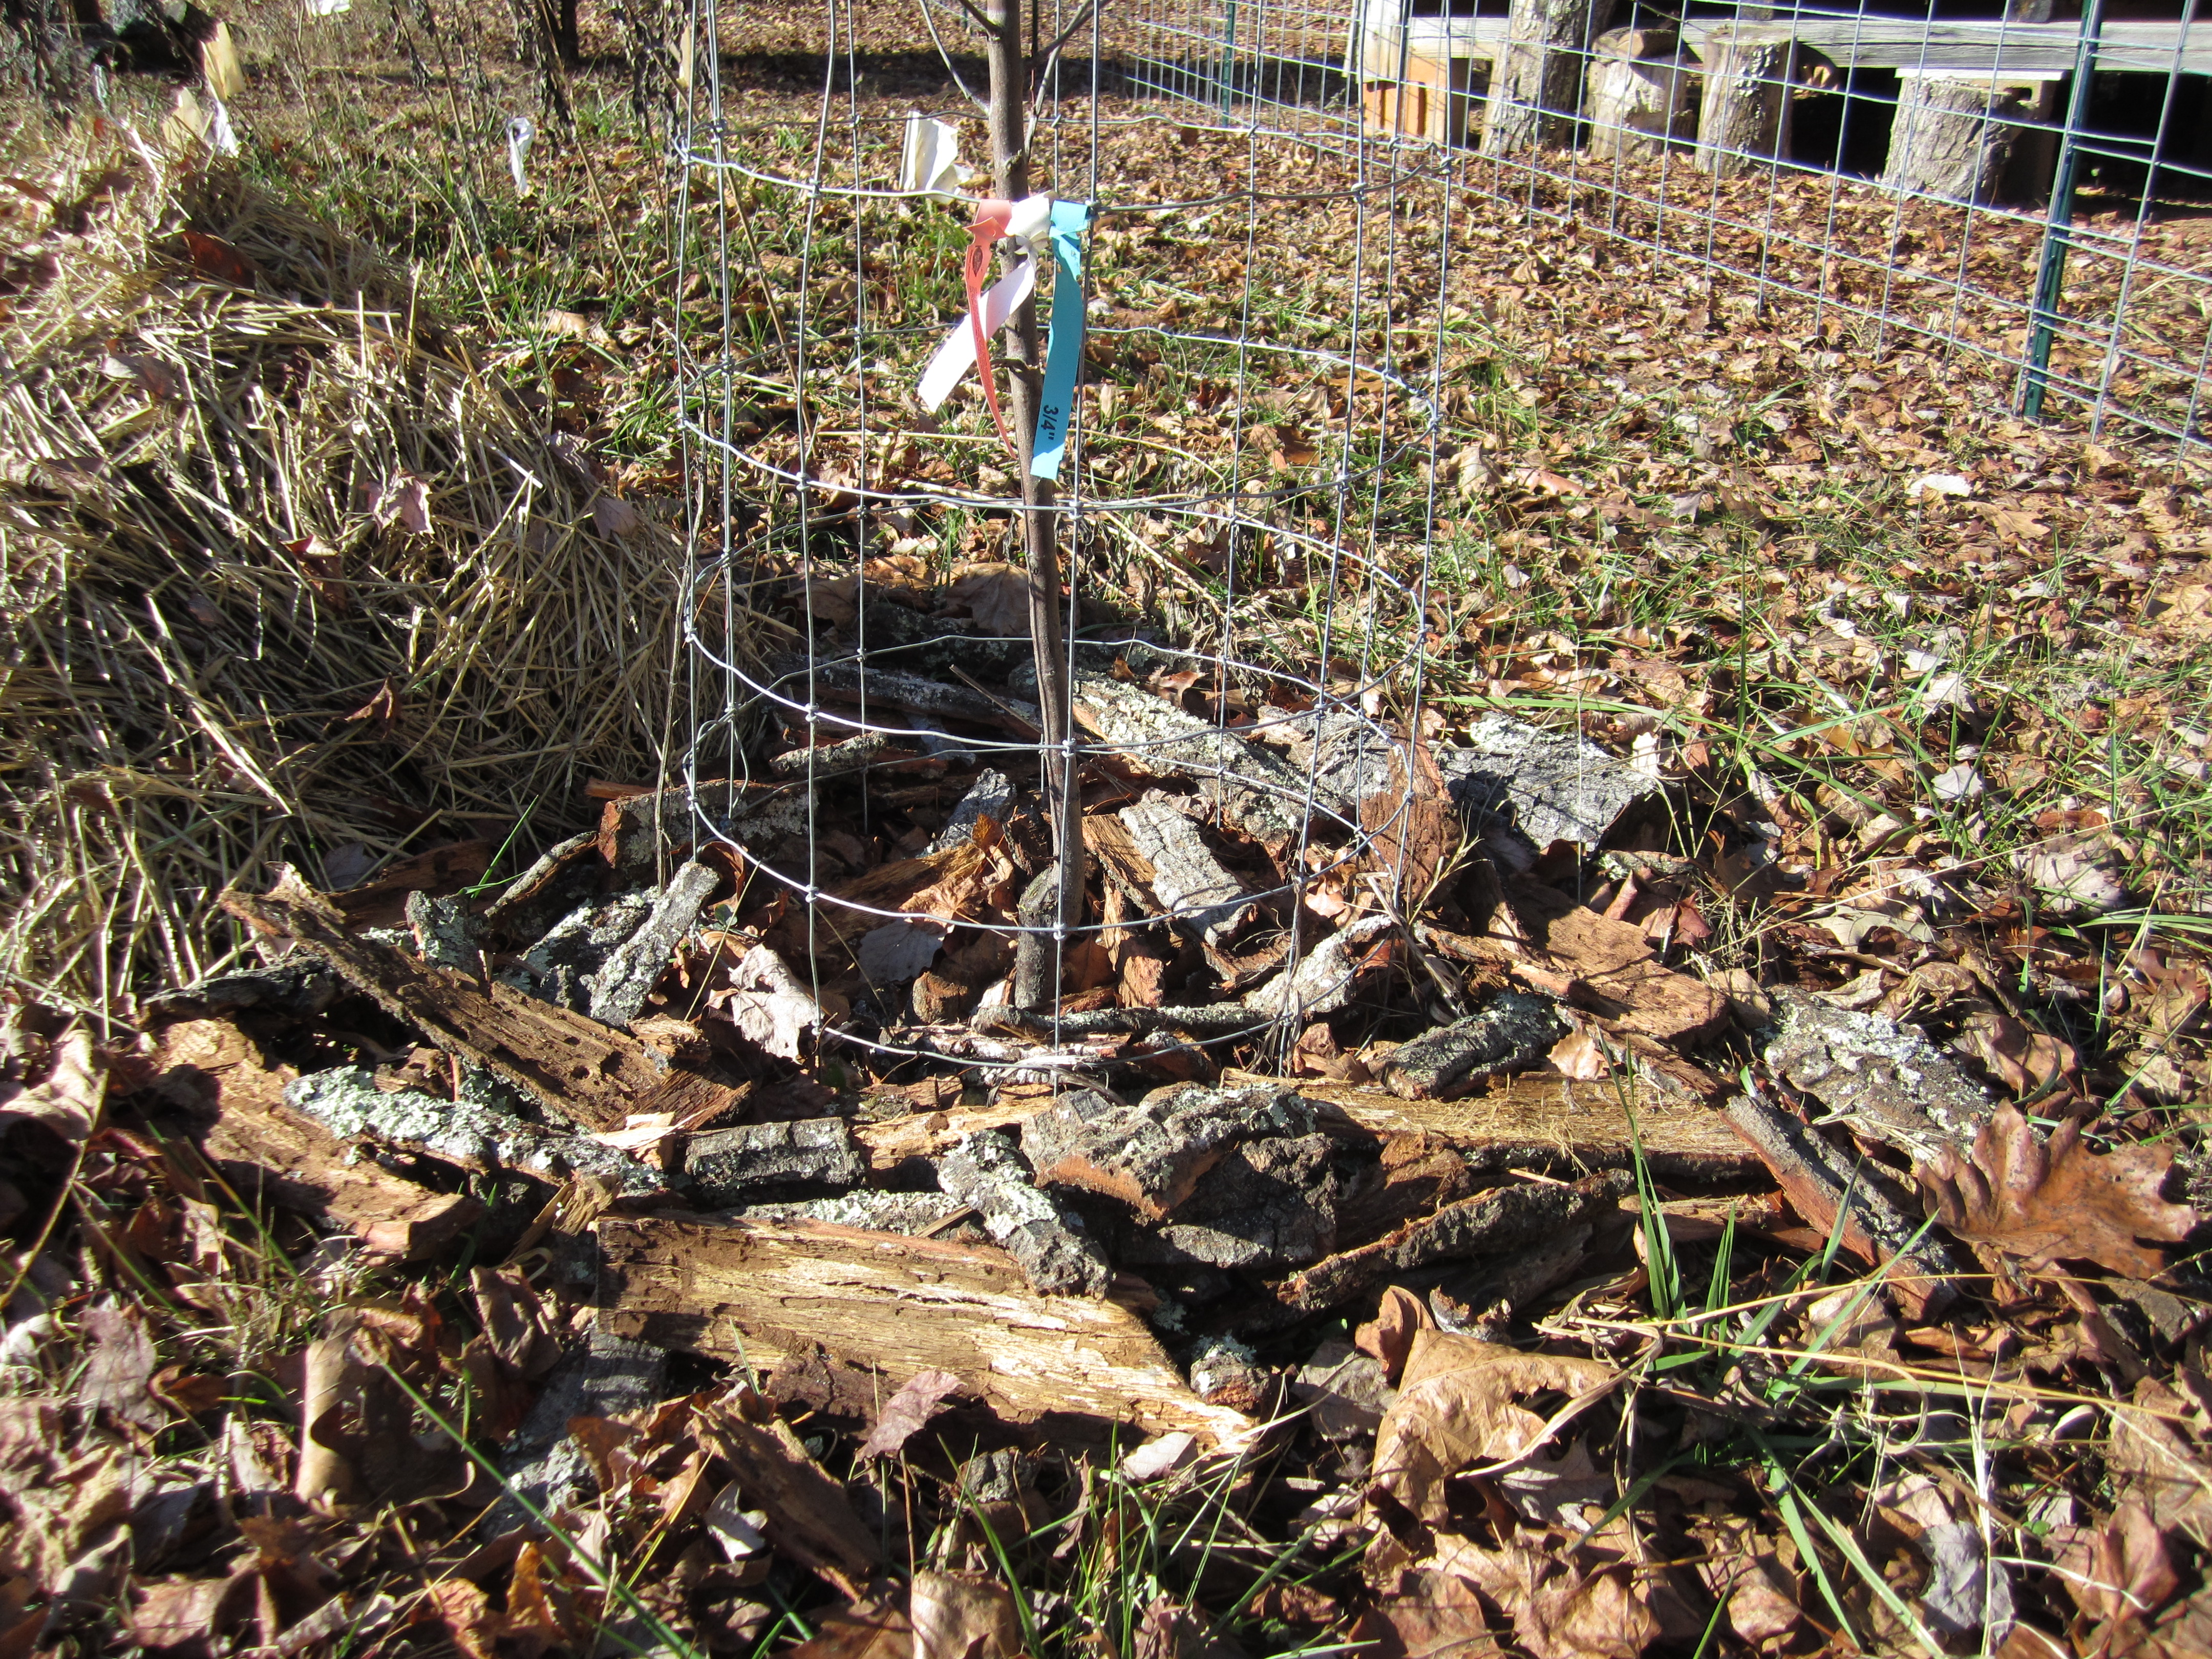
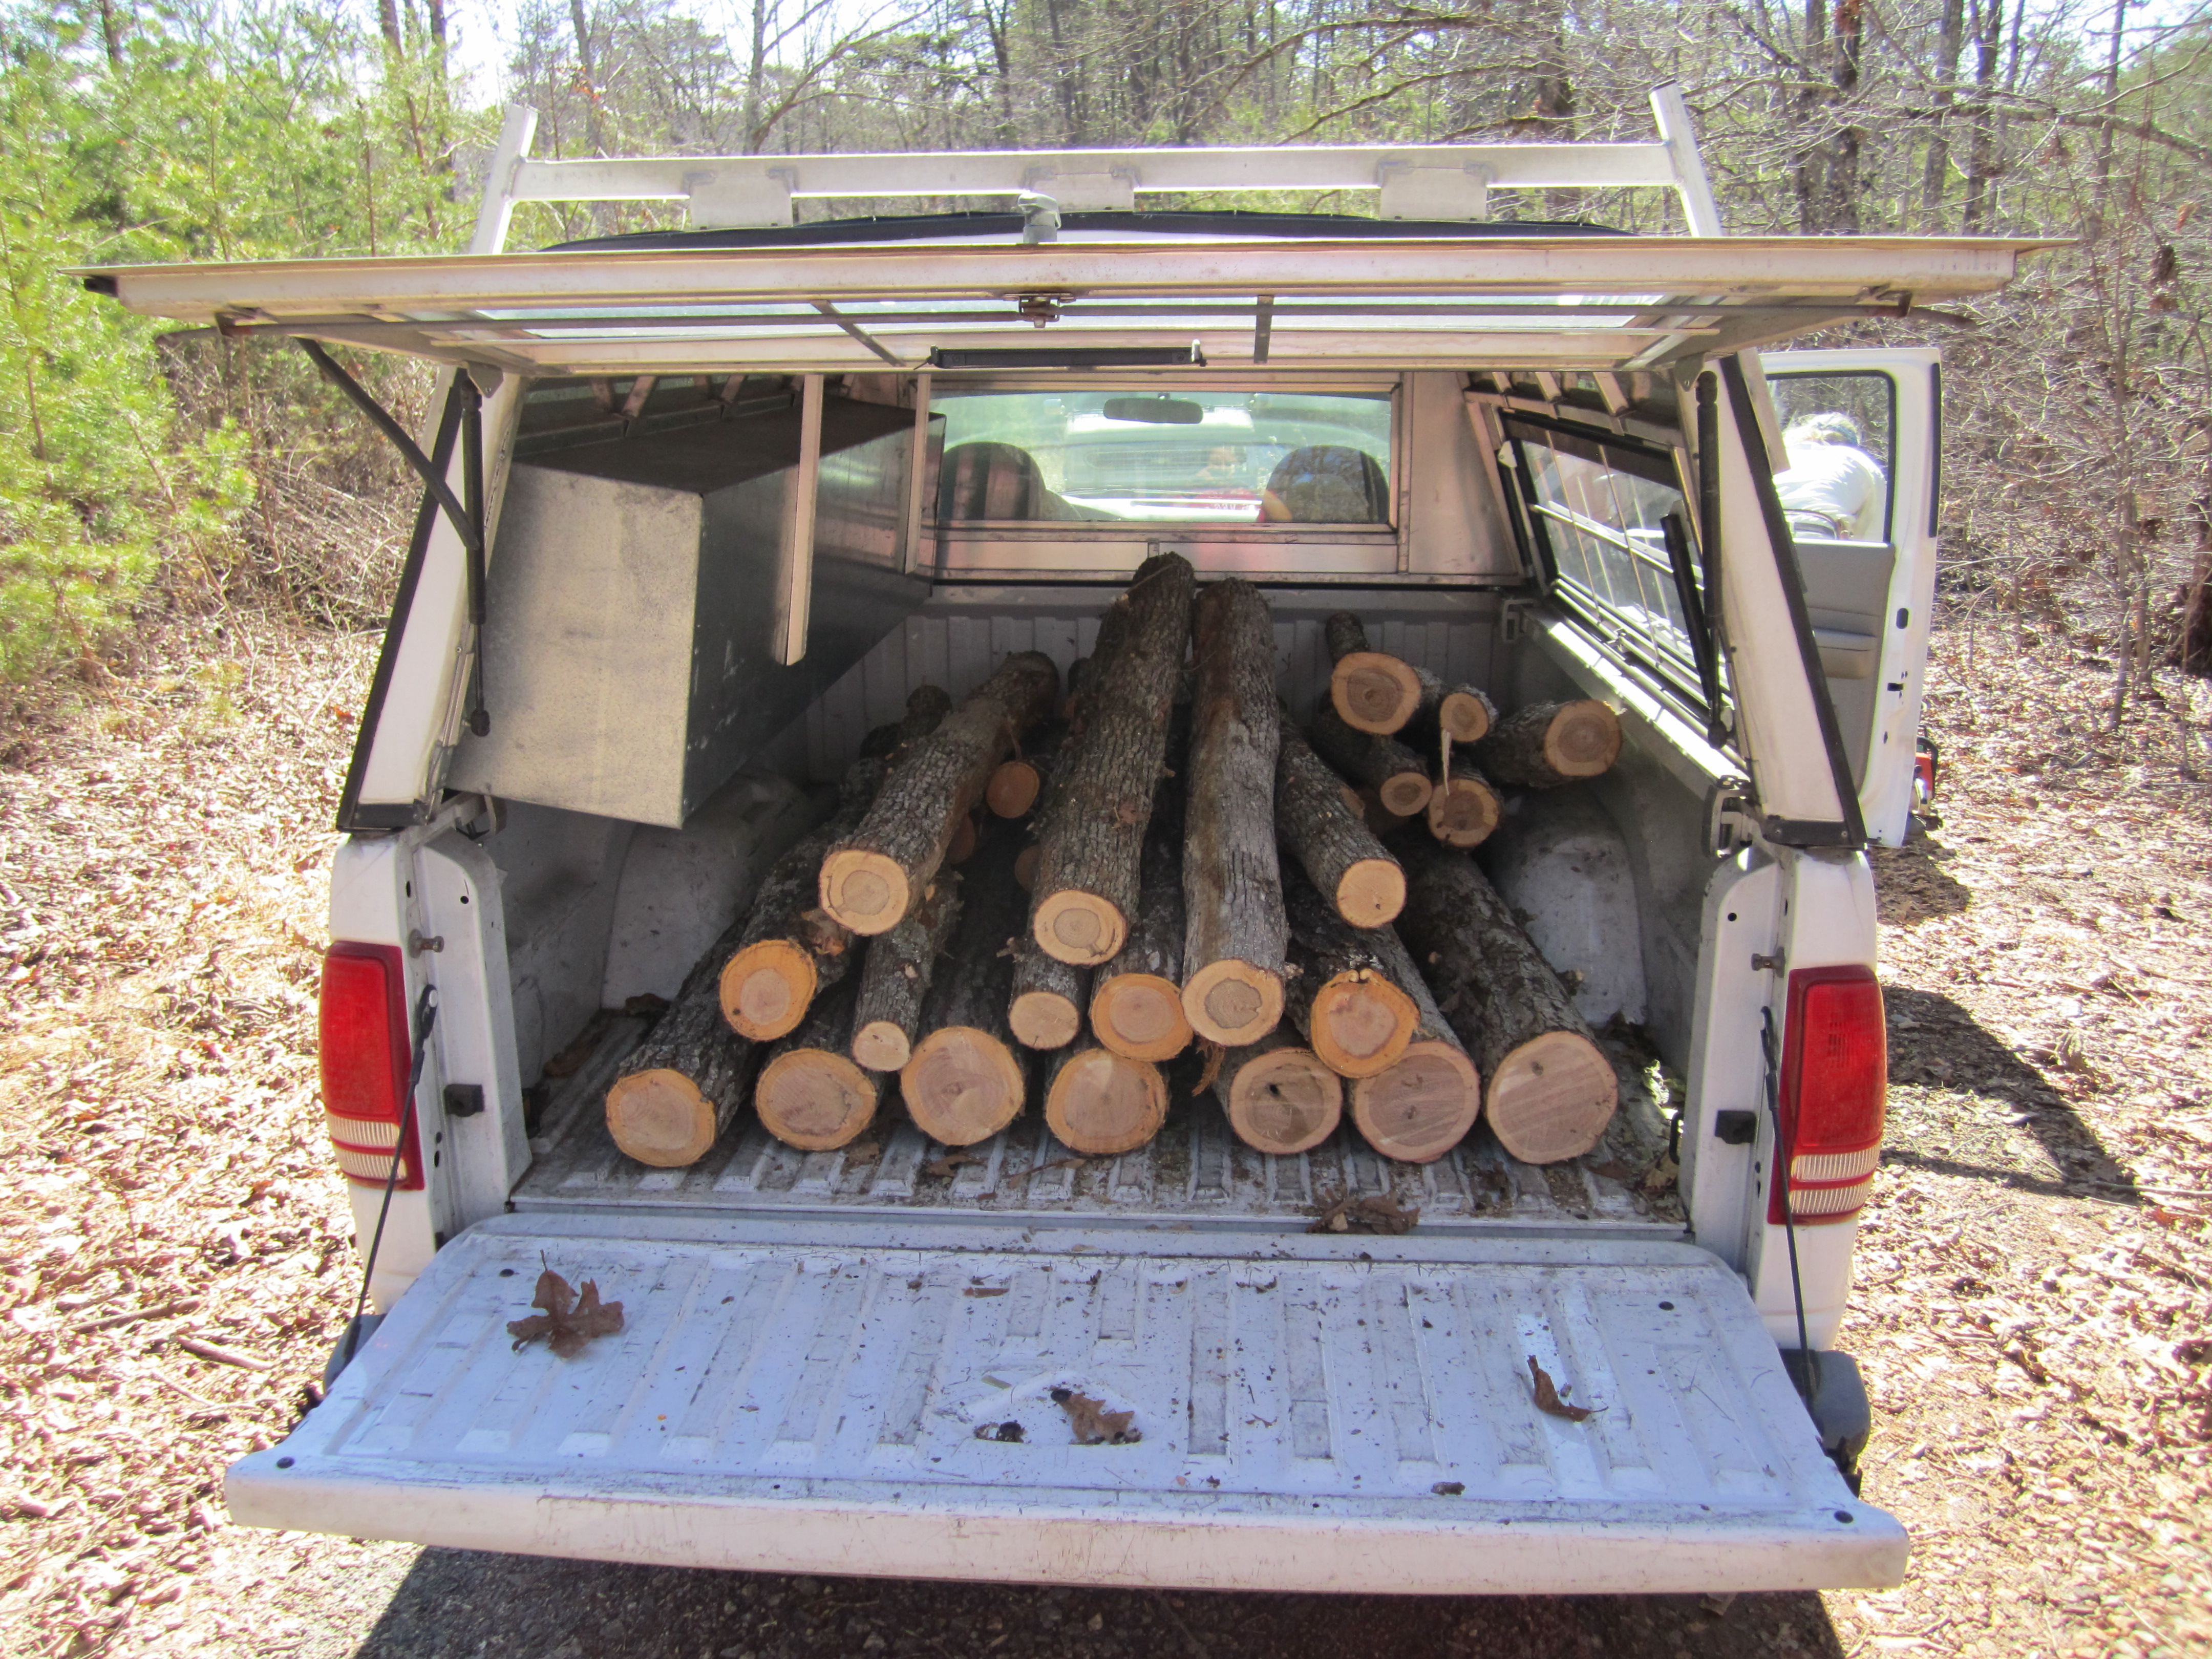
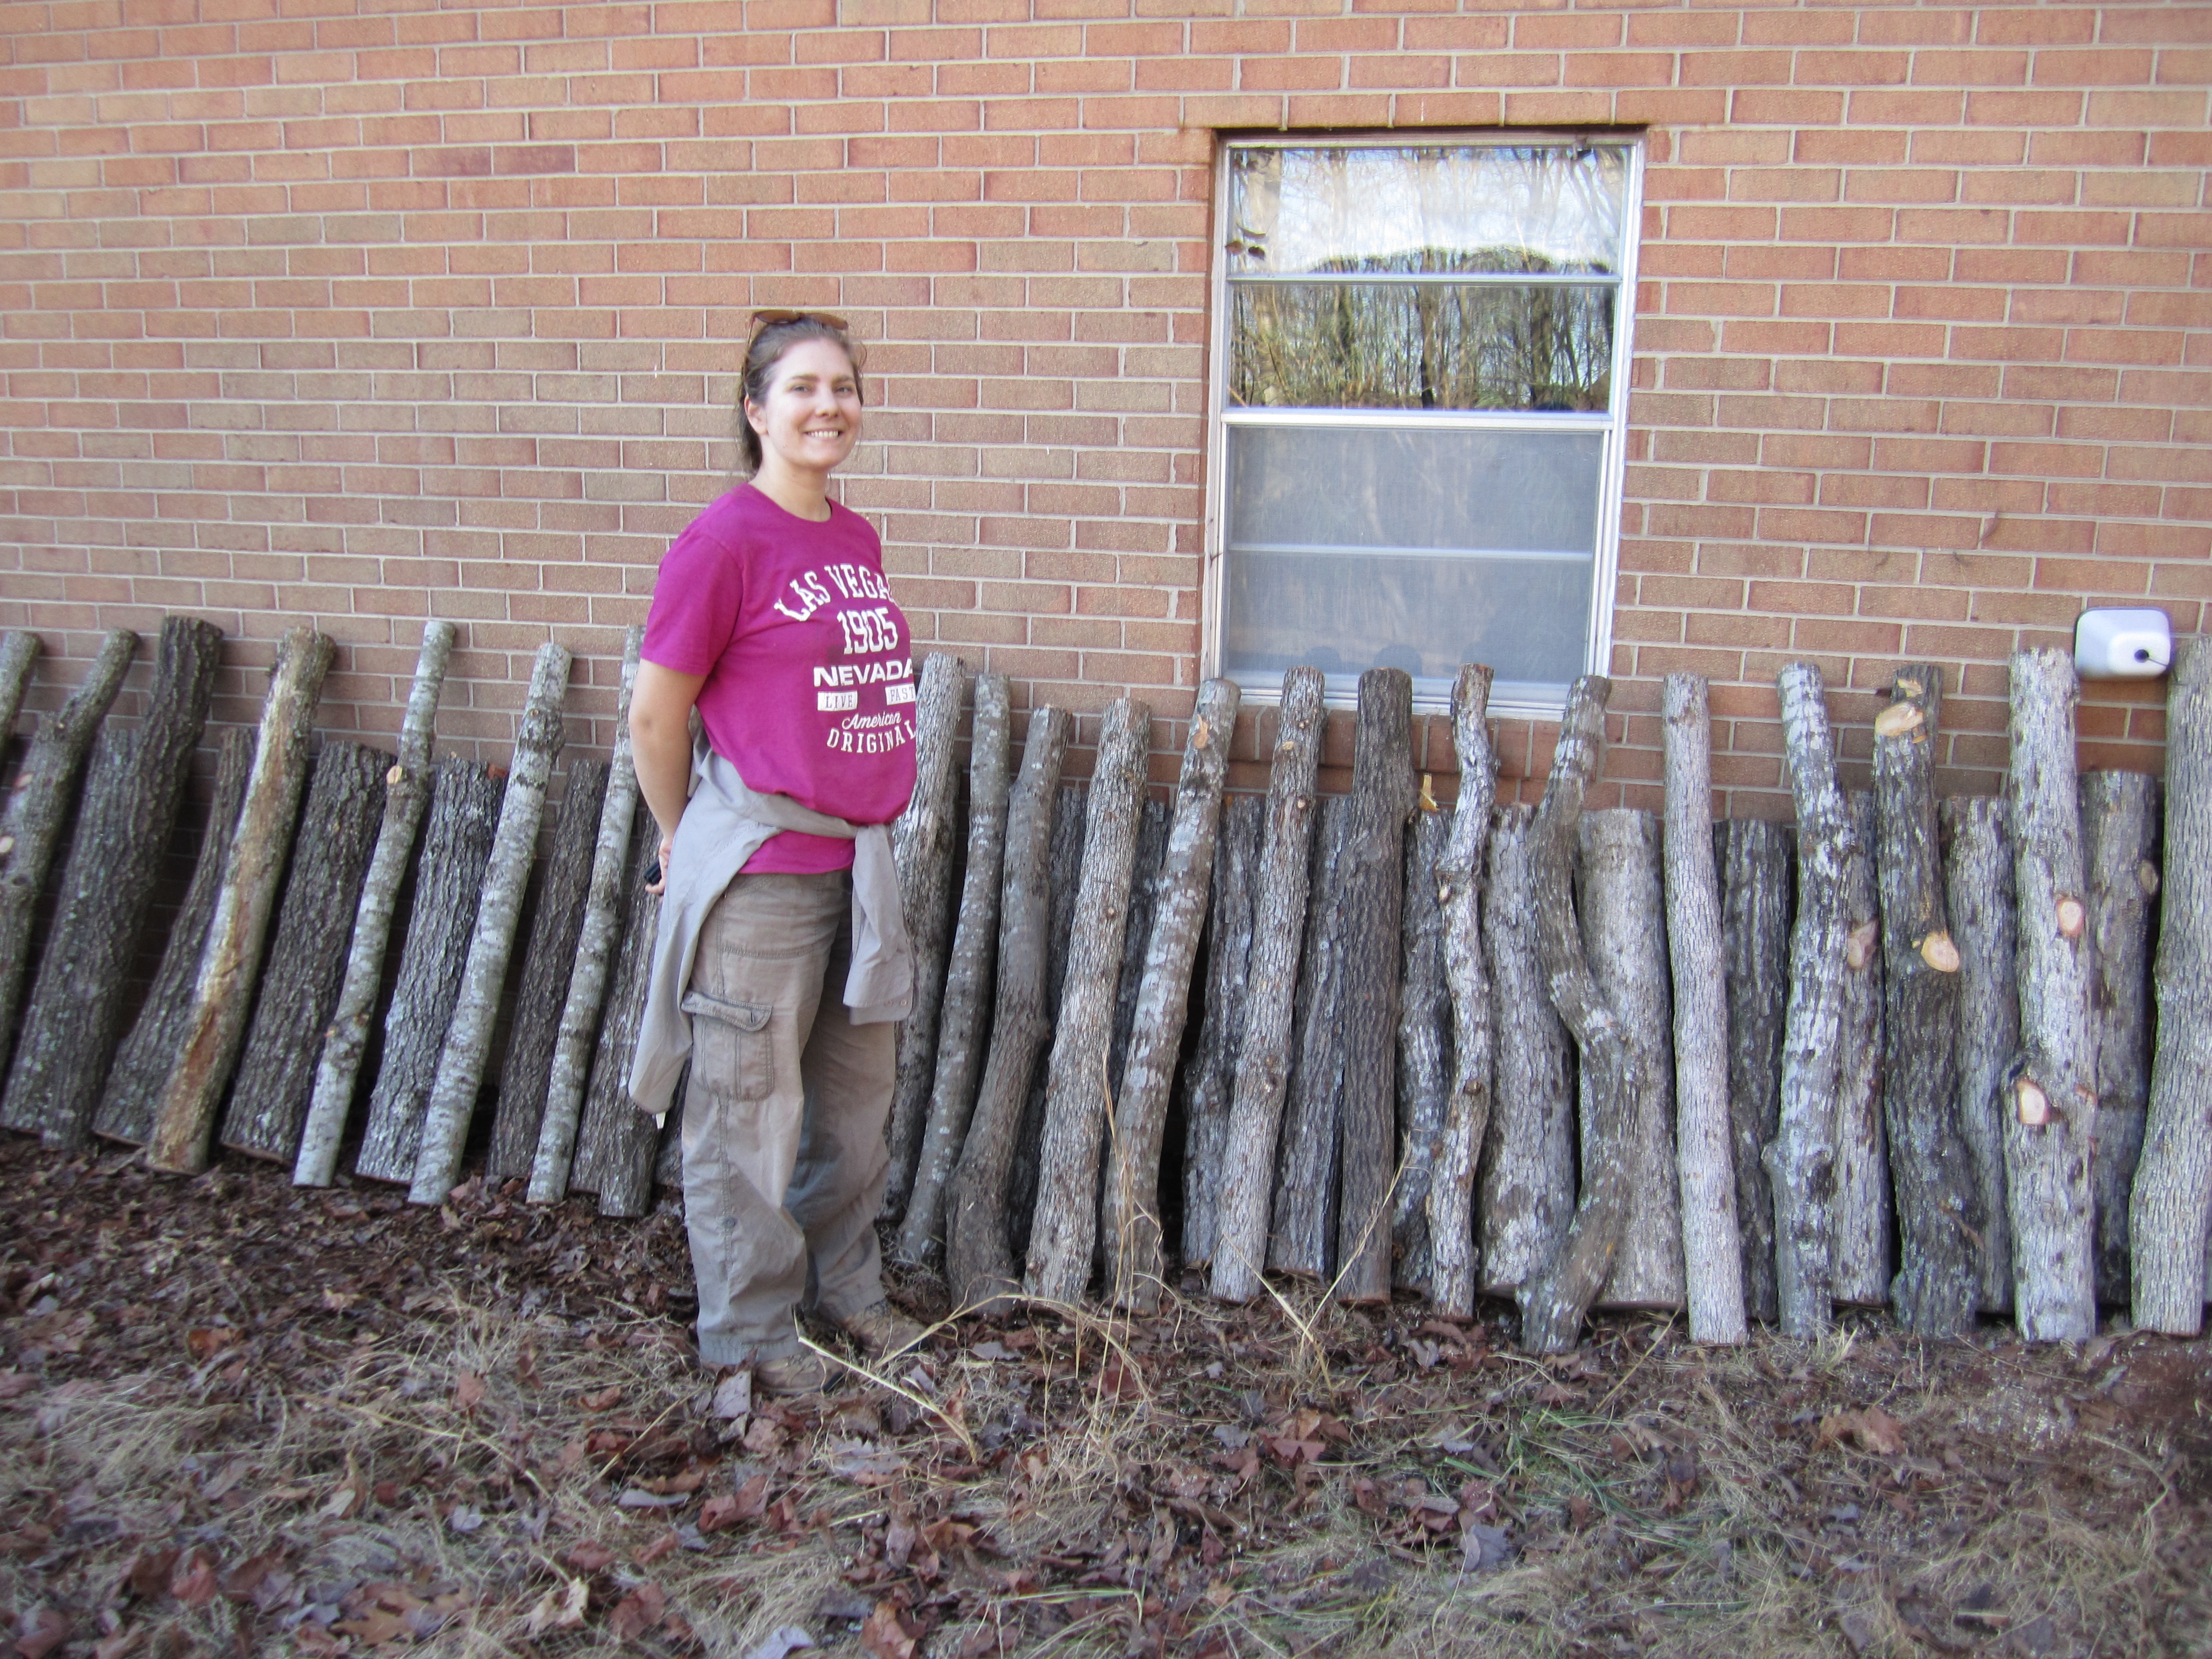
once the portions of the tree were laying on the ground, my dad cut them into manageable rounds and jason and i stacked them “tipi style” so that they would dry better… and now we have two great mounds of firewood that we will need to process, split, and store in the near future.

tree

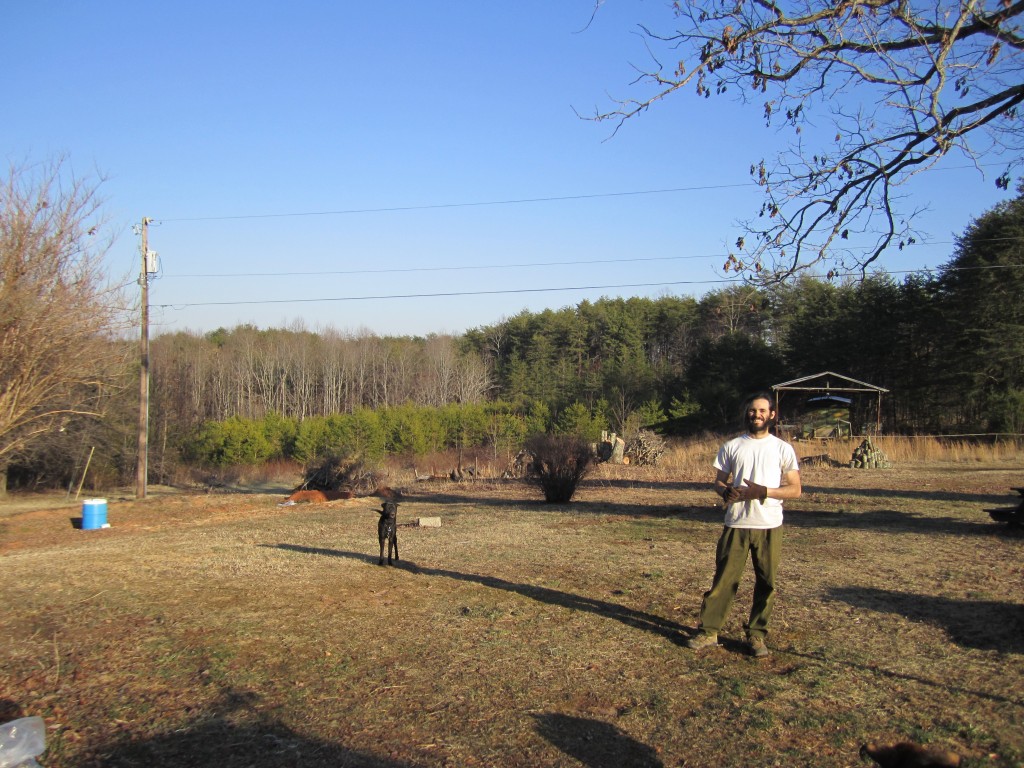
after: jason and bolt posing with the oak stumps n the background. what a changed view of our land!

so, not only did we clear the area of a dying tree and make way for future gardening and livestock practices, we also gained a lot of wood for next winter’s woodstove heating adventure! and although i hate to admit it, sometimes it is ridiculously fun to watch my dad act like a stupid teenager!

.:.

cutting mushroom logs: the magic begins!

i’m excited to report that we’ve officially begun our magical, mushroom adventure! this weekend my father and i cut 50 oak logs to serve as mushroom homes for the next 5 years!

we cut both white and red oak logs, to compare them as growing mediums and for the visual variety. the mushrooms that we are growing this year love oaks the best! we made both 3-foot and 4-foot logs, based on diameter of the limb/trunks (i have to be able to lift each of them for soaking in the future!). as luck would have it, 24 of the logs ended up as 3-footers and 26 as 4-footers. talk about balance!

red oak

a red oak (leaning in the foreground) that we cut, only using the bottom portion that was alive at time

oak tree

my dad cutting an oak!


when selecting trees, we picked ones closer to the road and ones that we could use most, if not all of, once felled. one of the trees we picked was broken off and hanging about 15 feet above the ground, so we cleared the area of the danger of the hanging wood while also getting our logs. we did not use the hanging portion of the tree, though, because that part had been dead for some time. we left that behind for future firewood and selected the green portions of the tree. choosing green wood is important because you don’t want to give bugs or molds and other fungi time to move into the dead wood before you inoculate. bugs might eat your spores and other fungi might compete with your own mushrooms!

my dad felled the tress with his chainsaw. ever since i was a kid he has impressed upon me the importance of chainsaw safety. the approach to felling these trees was no different than other times i have done tree work with him: i stood well away and was “ready to run” even though the trees were certainly on the small side!

after each tree hit the ground, i walked a wide circle around him (never walk up behind a chainsawing person!) and pulled the measuring tape to 3- or 4-foot lengths, depending. dad made a shallow cut at each measured length and once the entire tree was sectioned he cut the logs into individual pieces. some of the white oaks we chose were dead at the top (one of the reasons for choosing them), and this dead wood was also left behind for firewood or perhaps adding to hugelkulture beds soon.

after finishing each tree, we carried the logs to the road, taking careful not to scratch the bark too badly (the bark is important here, folks!)

in all, we cut 6 trees, half in the red oak family and half in the white oak family. our mushroom logs’ diameters range from 3-inches to 8-inches. once all the trees were done we loaded our trucks and drove them to the house.

logs

mushroom logs loaded in our truck

when we unloaded we were once again careful with each log, and i pruned the logs of any small limb nubs with a hand saw and held the logs still while dad chainsawed larger knots off. the purpose of this is to make sure that we can drill holes uniformly over the log before inoculation, as knots can be tough on drill bits.

our drying oak logs (with emma)!

our drying oak logs (with emma)!

now that we’re done “cleaning up” the wood, the logs have been stacked against the back of the house to dry for about 3 weeks until the wood’s natural anti-fungal defenses have mostly broken down (this decay generally gets into full swing about 2 weeks after cutting).

and there the logs will sit until we inoculate them in 3 weeks. now it’s time for stage 2: ordering our spores and other related gear (wax, drill bits, etc)!

.:.


Hugelkulture: Which Wood is Best?

What kind of wood should I use for my hugelkulture or wood-core bed? Whichever you have access to. With a few exceptions of course.

This question seems to come up all the time after someone discovers the benefits of rotting wood in a hugelkulture bed and permaculture garden. Is pine okay? Oak? Softwood vs. Hardwood, alleopathic woods, fresh or dead? The list goes on, and I’ll try and answer some of the most common ones today.

Maple Hugelkulture

Maple filled hugel bed by of Paul Wheaton at permies.com

First, a general rule.

Use whatever wood you have easy access to.

Now, an exception to that rule.

Don’t use alleopathic or rot resistant woods like cedar, black walnut, and black locust.

Okay, that makes it easy. Pine is okay for hugel beds, so is oak, maple, sweetgum, apple and most any other species of tree around.

That includes softwood species as well. These trees, like pine, will typically rot faster than hardwood trees in a hugelkulture mound. This can be good or bad depending on your garden design, and your wants and needs. Sepp Holzer, the father of Hugelkulture, uses primarily softwoods on Krameterhof in the Alps because those are the trees most readily available.

For example, a hugelkulture bed that is used to support and establish a perennial system of trees, shrubs, and bushes, can be made of quicker rotting wood. This is because once the wood is completely decomposed into rich hummus, the deep roots of the plants are so well established that the benefits of the hugel mound are less needed and appreciated by the system at large.

But what about acidity? Isn’t pine acidic?

Yes and no. Pine trees, especially in the Eastern United States, are often found in old fields and clearings as a pioneer species. Their needles are full of ascorbic acid (vitamin c) and can acidify soils. This is useful in some circumstances, around acid lovers like blueberries and azaleas, but can be detrimental in other areas if allowed to swing the pH too far to the acid side.

So, you should avoid pine trees in your hugelkulture raised bed, right? No, while pine needles are acidifying, the wood is not, and neither are the brown needles. Pine is fine, just don’t fill your bed with bales of green needles.

black walnut hugelkulture

Black walnut and hugelkulture do not mix
Photo courtesy of Jim Linwood

Okay, what about these alleopathic trees that should be avoided in the garden? These are plants that for one reason or another (usually to provide an ecological advantage) inhibit the growth of nearby plants with chemical warfare. The most famous of these is black walnut, which secretes juglone, a chemical only a select number of species can tolerate. Pecans also secrete juglone, though not as much as black walnut.

Some other plants to avoid are the cedars, and black locust which is highly rot resistant and composed of high levels of fungicidal components, not the best combo for a hugelkulture or woody bed. These woods are also generally higher value woods and have many other uses, such as firewood (black locust firewood may be the best firewood available), cooking and smoking, furniture making, wood carving, and fence posts.

So, what is best material for a hugelkulture bed? Whatever you have lying around–it will all rot–some just at a different pace than others. The most important thing is to not over analyze it and start digging, because regardless of the wood chosen, it takes time to start to decompose and harvest nitrogen before you can see the effects of the wood core in your garden or permaculture system.

What woods have you used in your hugel beds? Let us know in the comments if some worked better than others in certain applications.

Winter Homestead Chores: Splitting Wood, One Cord at a Time

In my last post on Winter Homestead Chores I talked about using the shortened days of winter to hibernate, contemplate, and observe nature and your land. For some, especially those of us in colder climes, the best hibernation and contemplation is accomplished while enjoying the warm heat of a wood stove on a cold winter night. But wood stoves, while saving money and energy, require an investment of energy (or money) before they pay toasty dividends.

Basically, you can’t burn without wood. Dry wood. And split wood dries faster, and is easier to carry and load into a hot wood stove.

Split Wood, Chestnut Oak

A little more than a cord of firewood.

So today I grabbed my wood splitting tools, and made a nice dent in our stacked pile of chestnut oak rounds. I’ve heard different names for different tools, but today I grabbed a metal splitting maul, or “go-devil,” and a light single-sided ax. Emma’s father made and gave us a wooden maul for splitting wood this Christmas, but I haven’t used it yet. It’s sheer size should help with some of the knottier and hard to split wood we come across, though.

After cleaning out a section of our corn crib turned woodshed, i got into a groove and split about a cord of firewood. One important thing to note when splitting wood is to take some breaks (preferably with sweet potato ginger soup), and to stop when you’re tired. Splitting wood when tired is dangerous and a good way to end up observing the inside of hospital room, or worse.

But if you pay attention to basic safety, splitting wood is a great way to spend a winter afternoon on the homestead. Not only is there a great feeling of accomplishment as each log succumbs, but the addition to the family’s energy independence and reduced fuel costs–as well as the exercise–make wood splitting a great winter homestead chore.

© 2024 KW Homestead

Theme by Anders NorenUp ↑