KW Homestead

Pasture Raised Poultry & Edible Landscaping Plants Since 2013

Tag: animal houses and pens (page 1 of 2)

A Heritage Turkey Update: Greener Pastures!

It has been a while since we have updated the website, but we’re finally back in the swing of things here!

So much has happened in the last few months (so much that we just couldn’t find the time to post!). We thought that one of our more important updates is to share with you the status of the heritage turkeys...

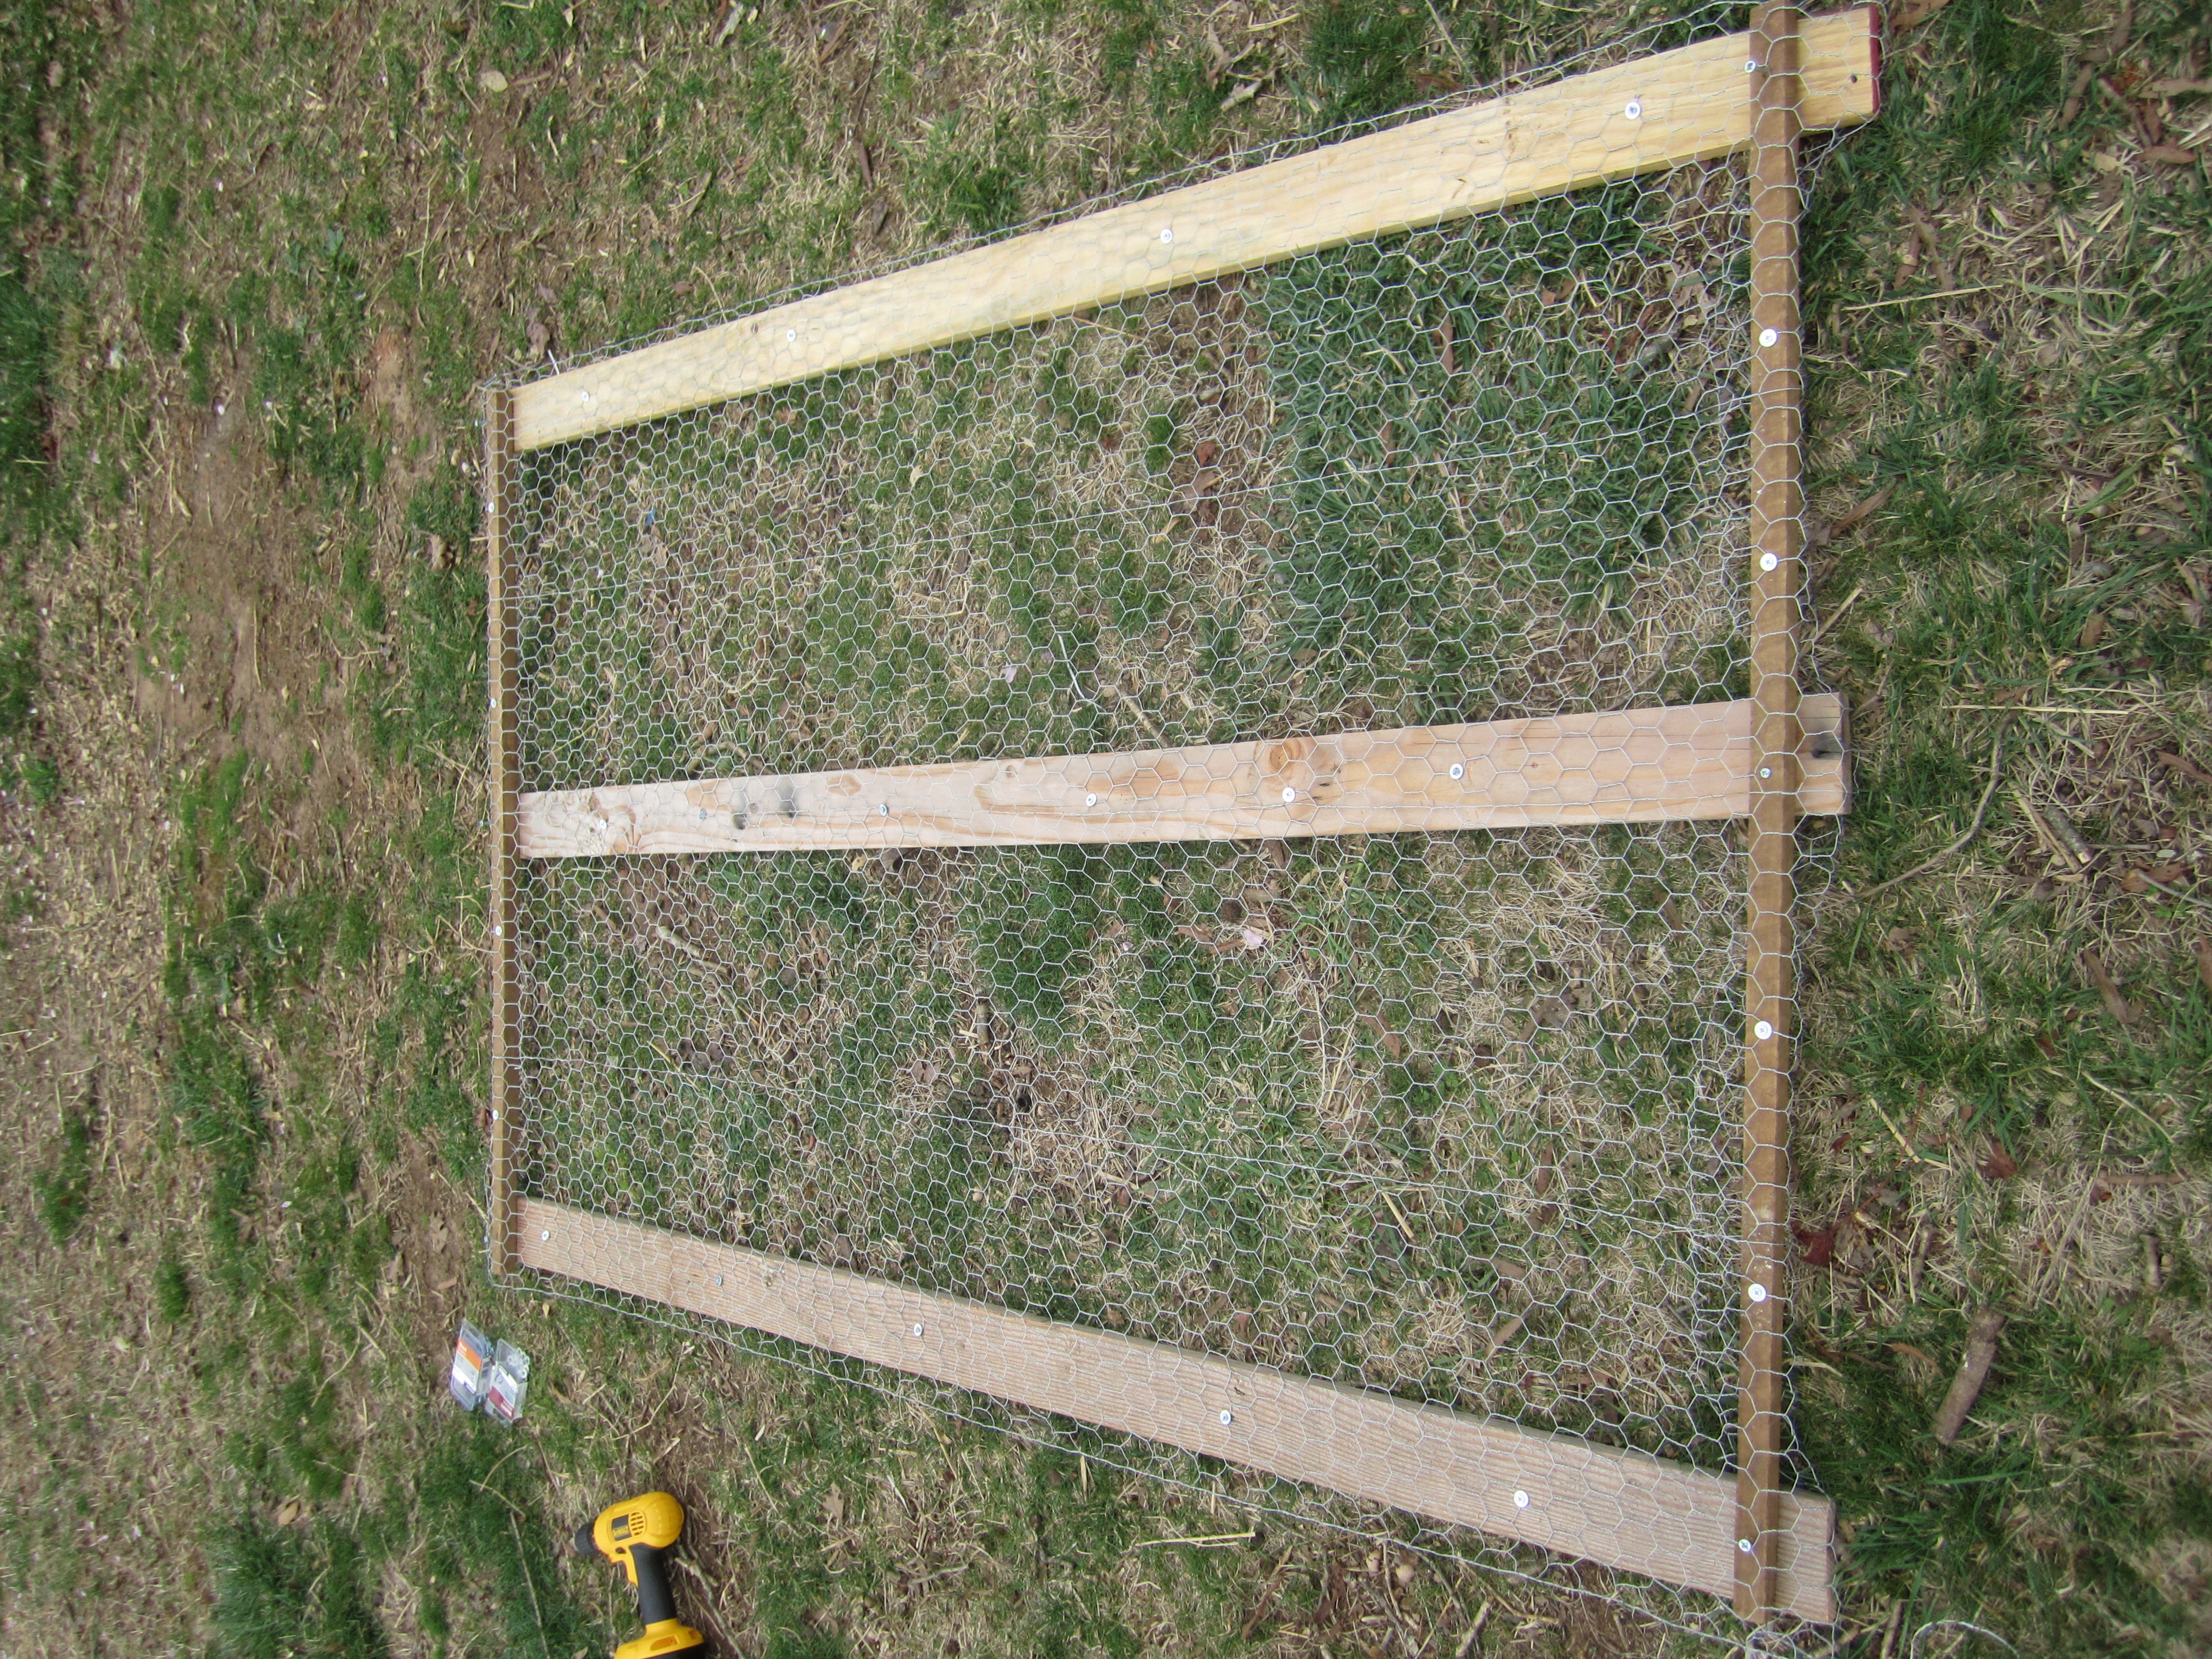
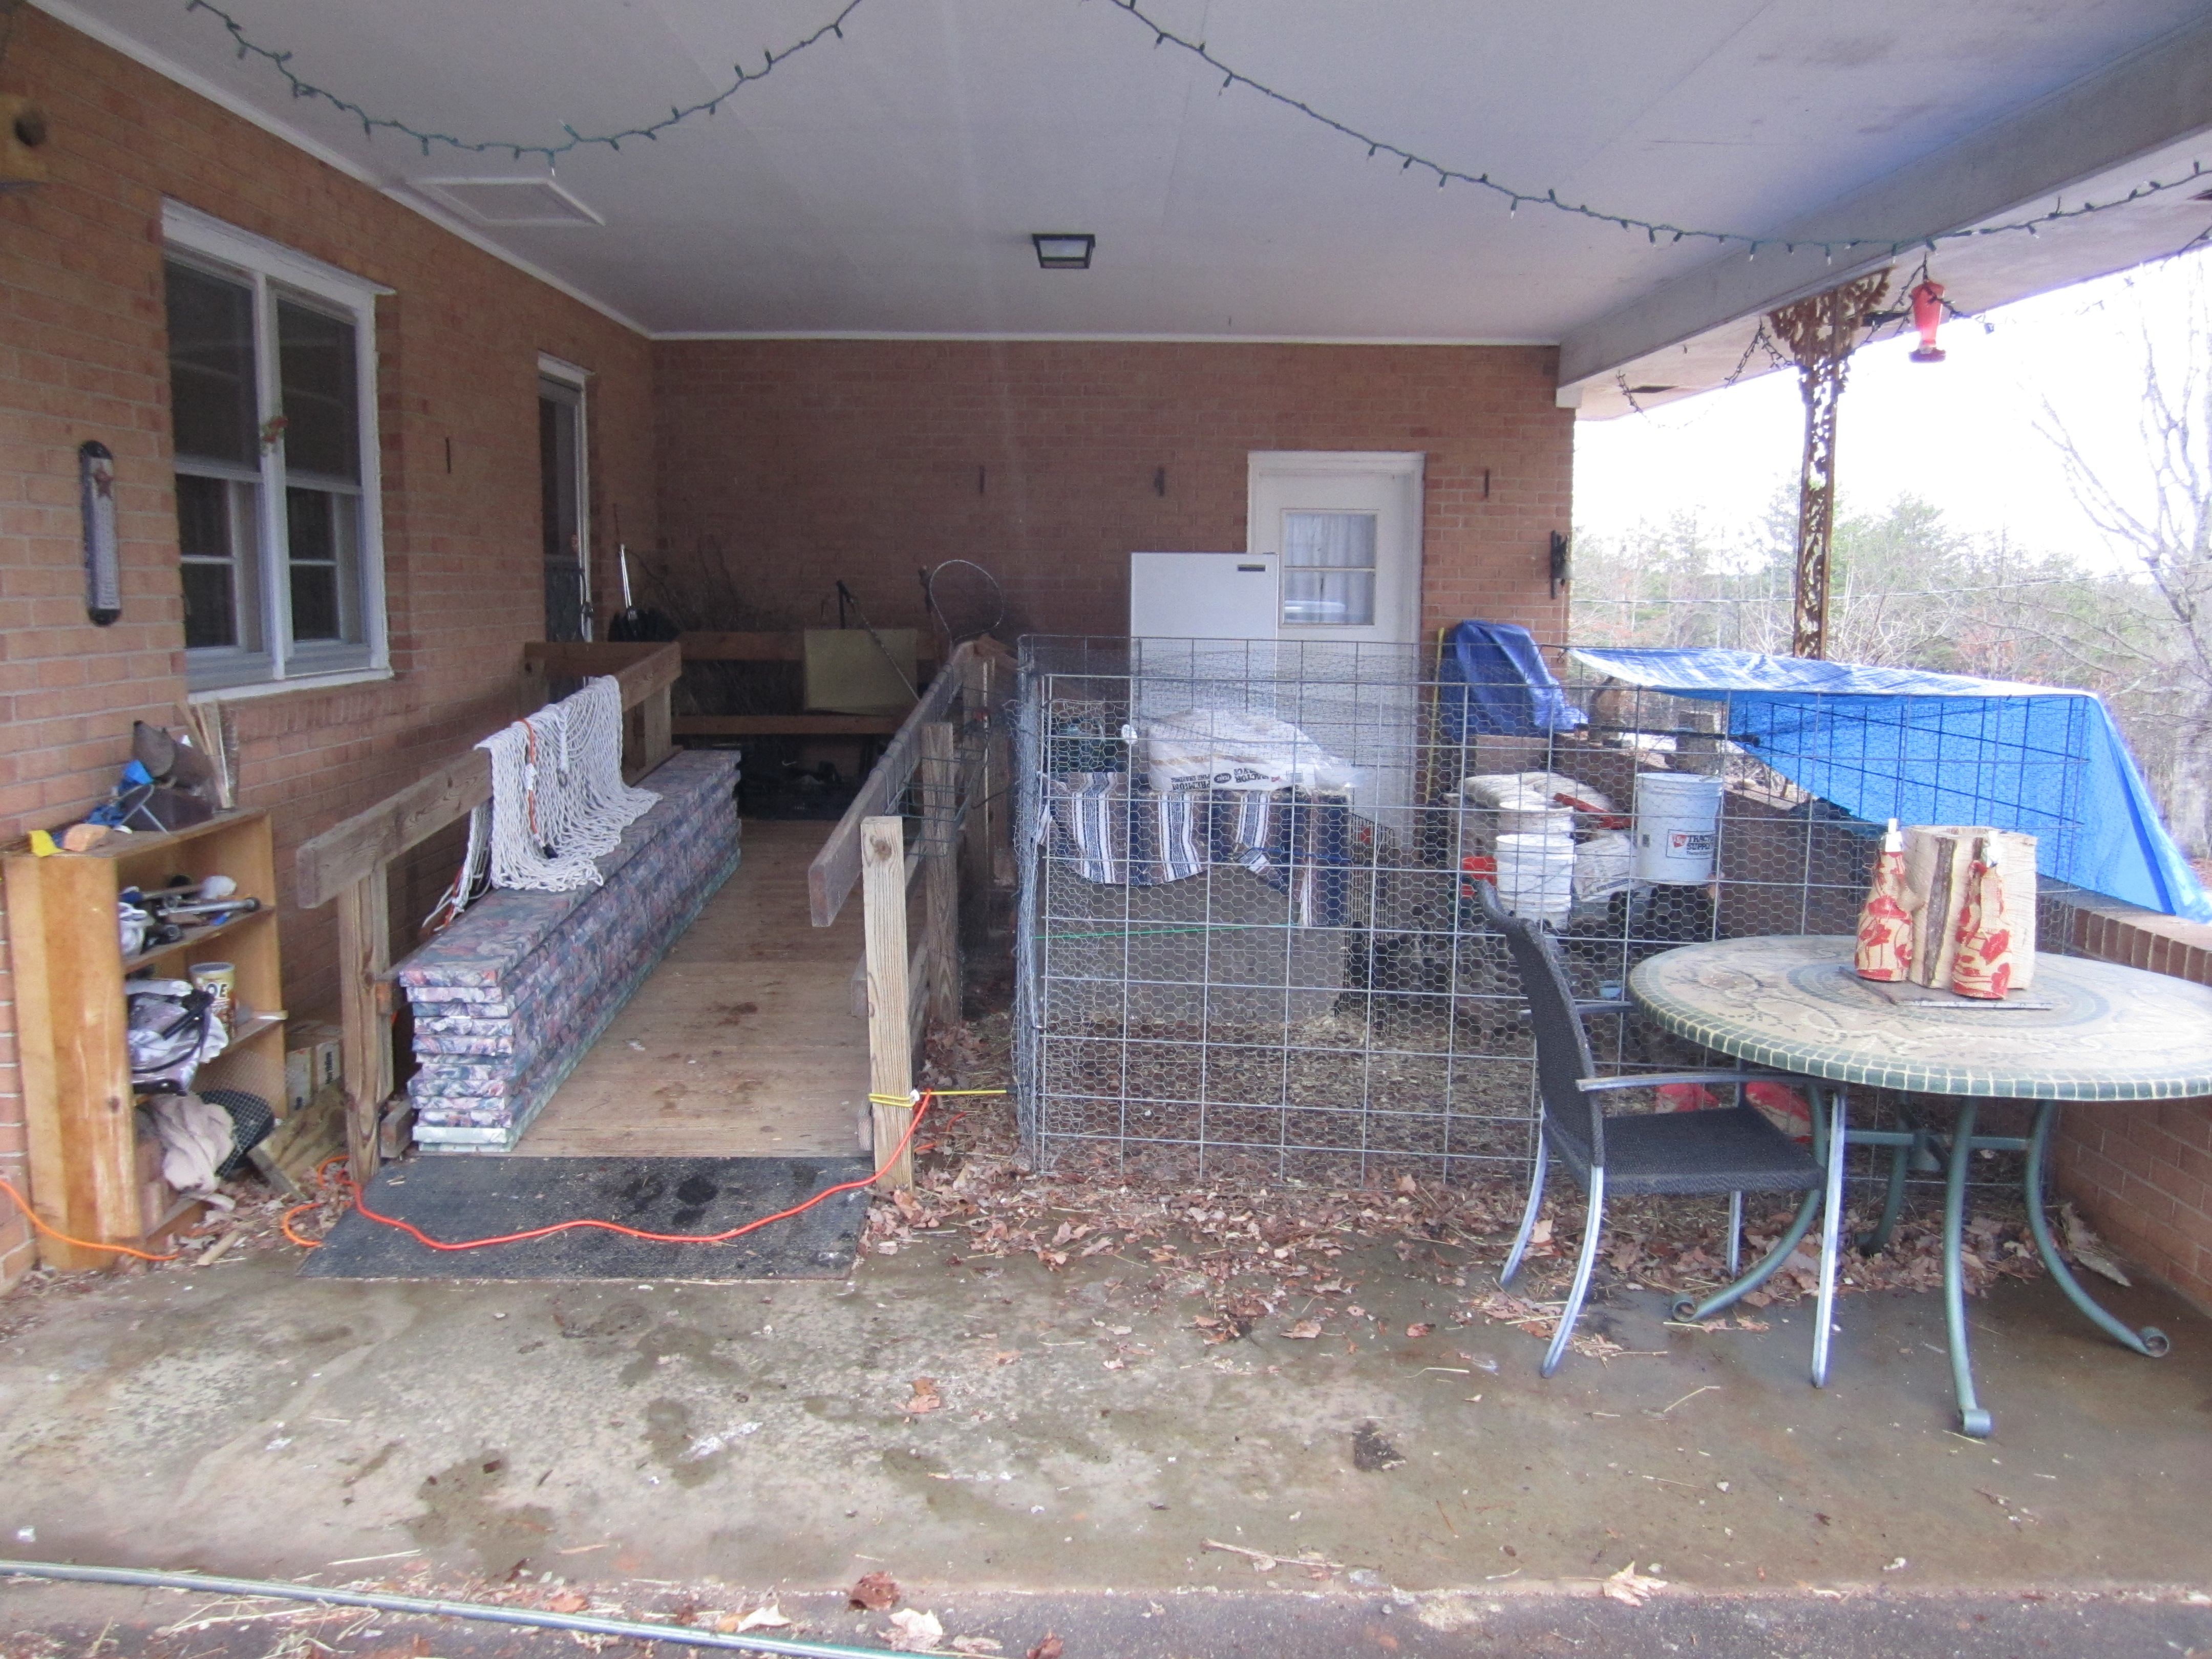
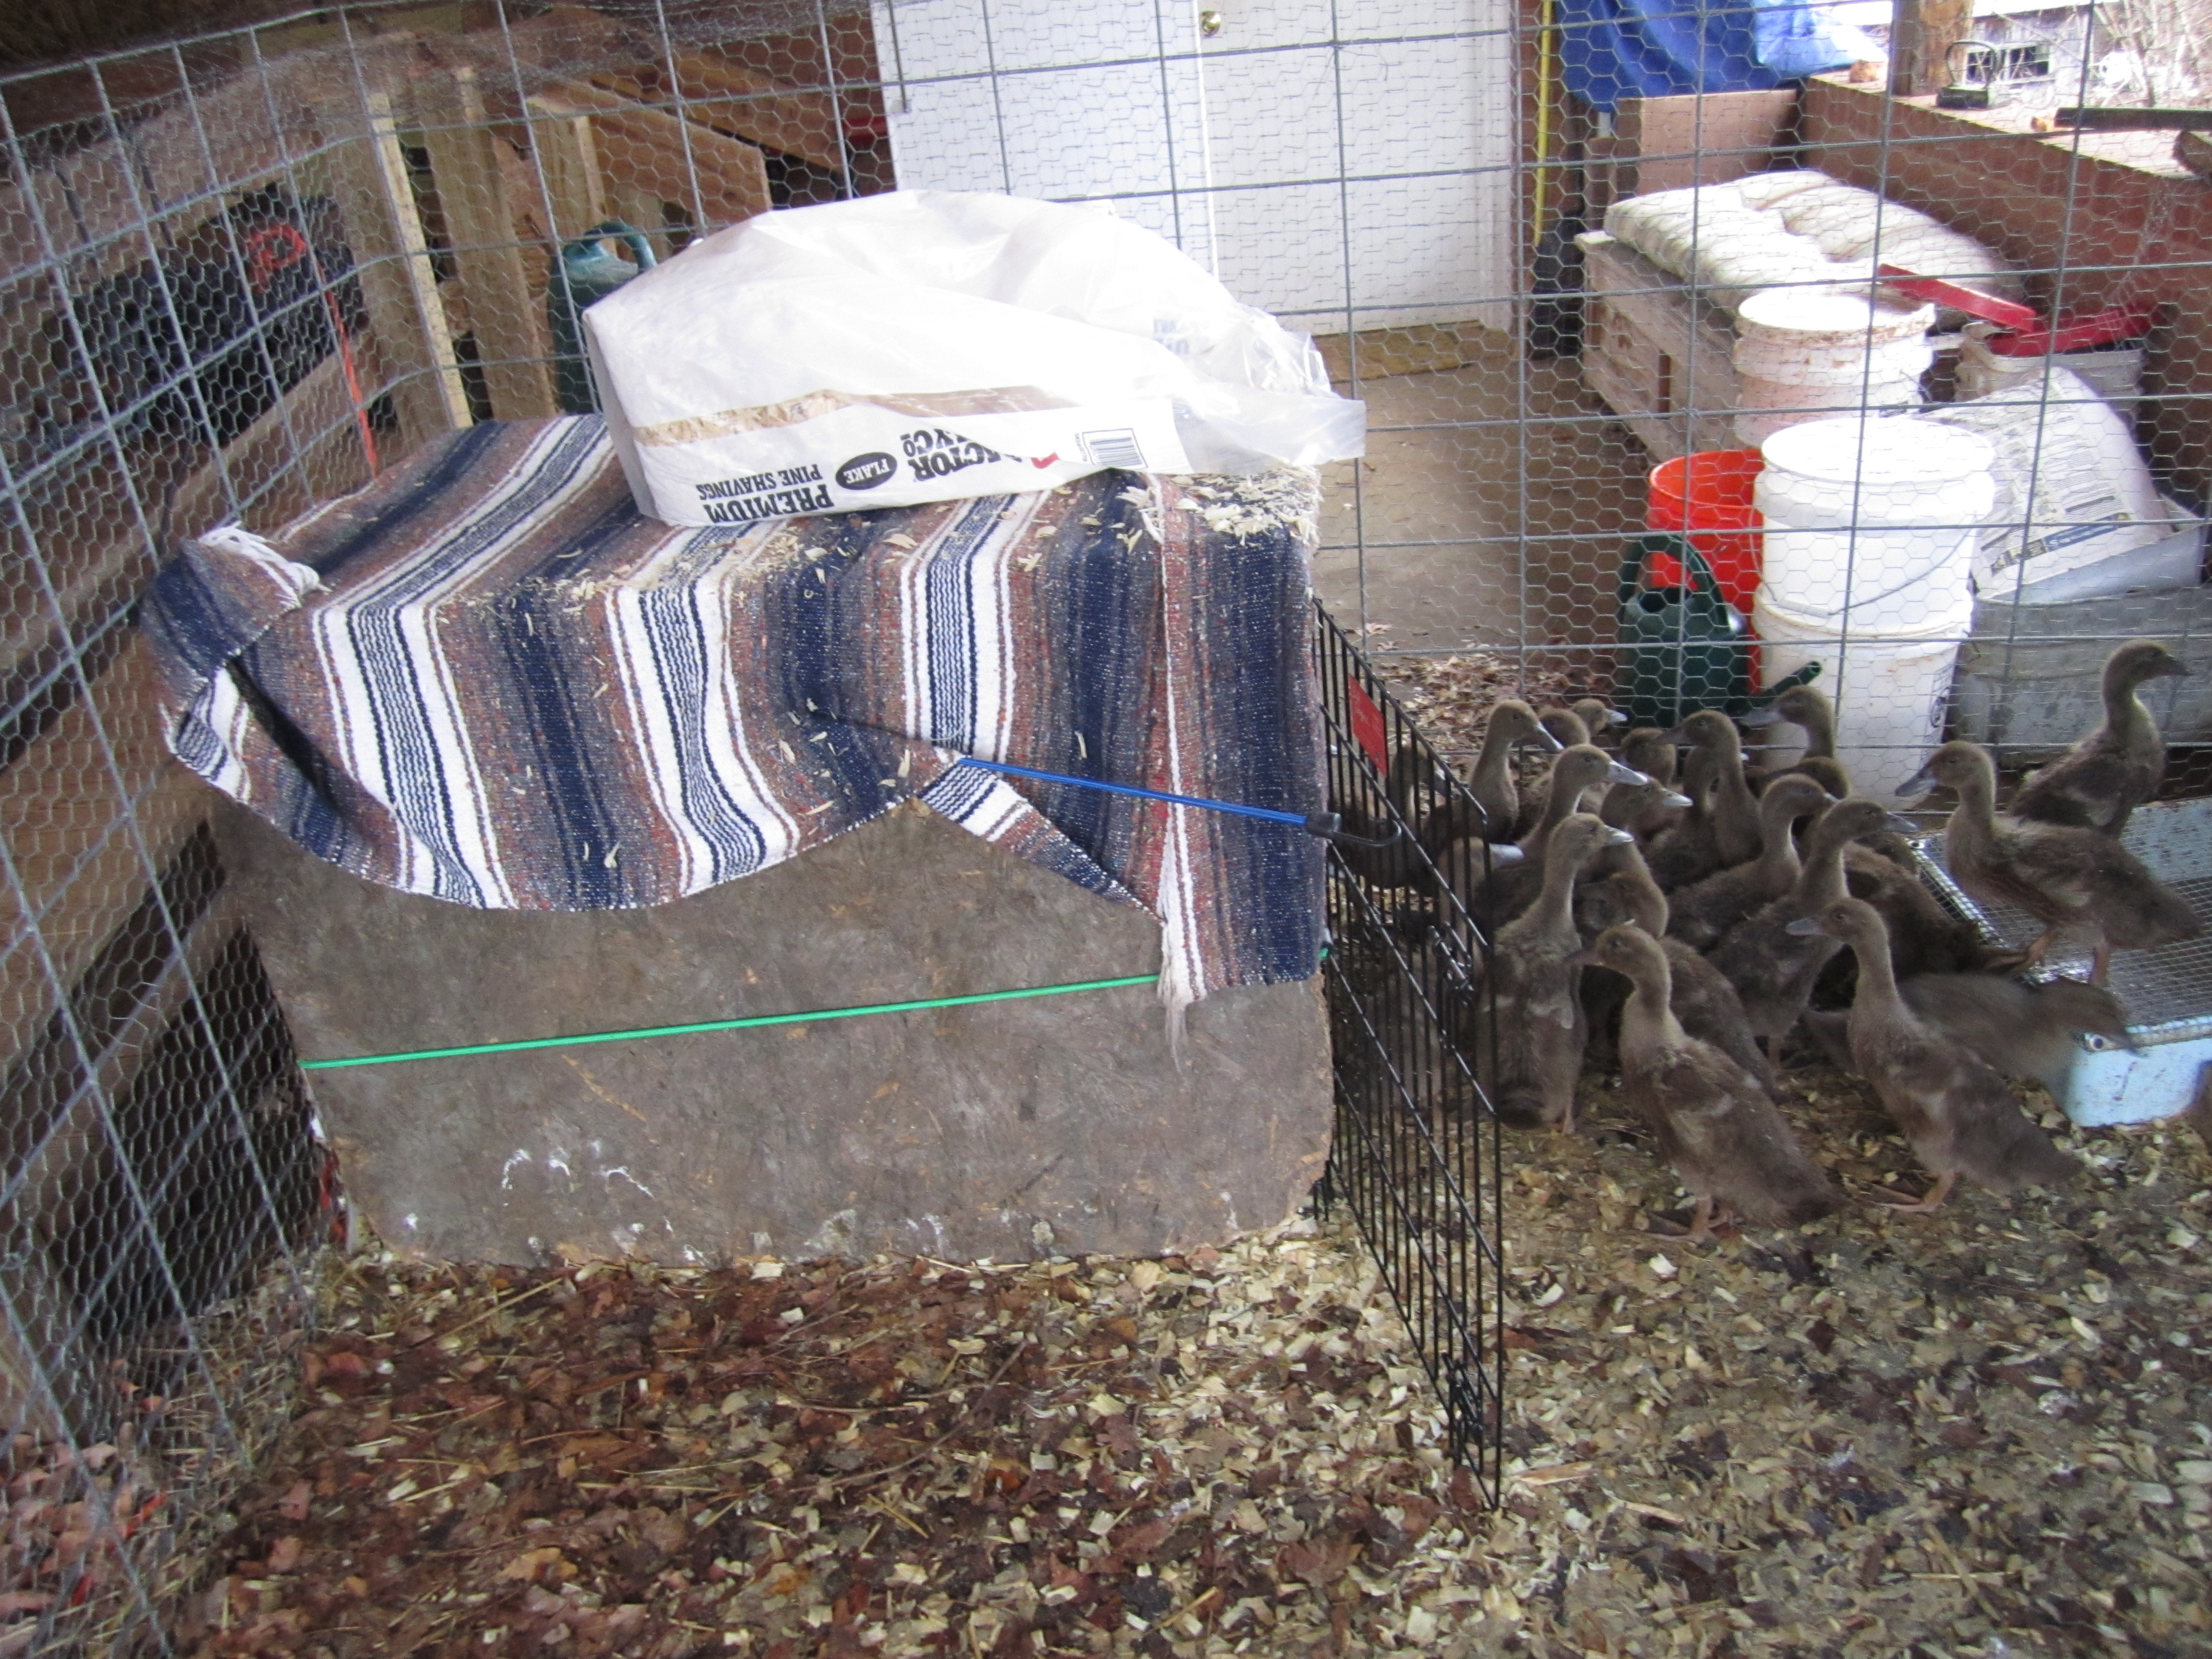
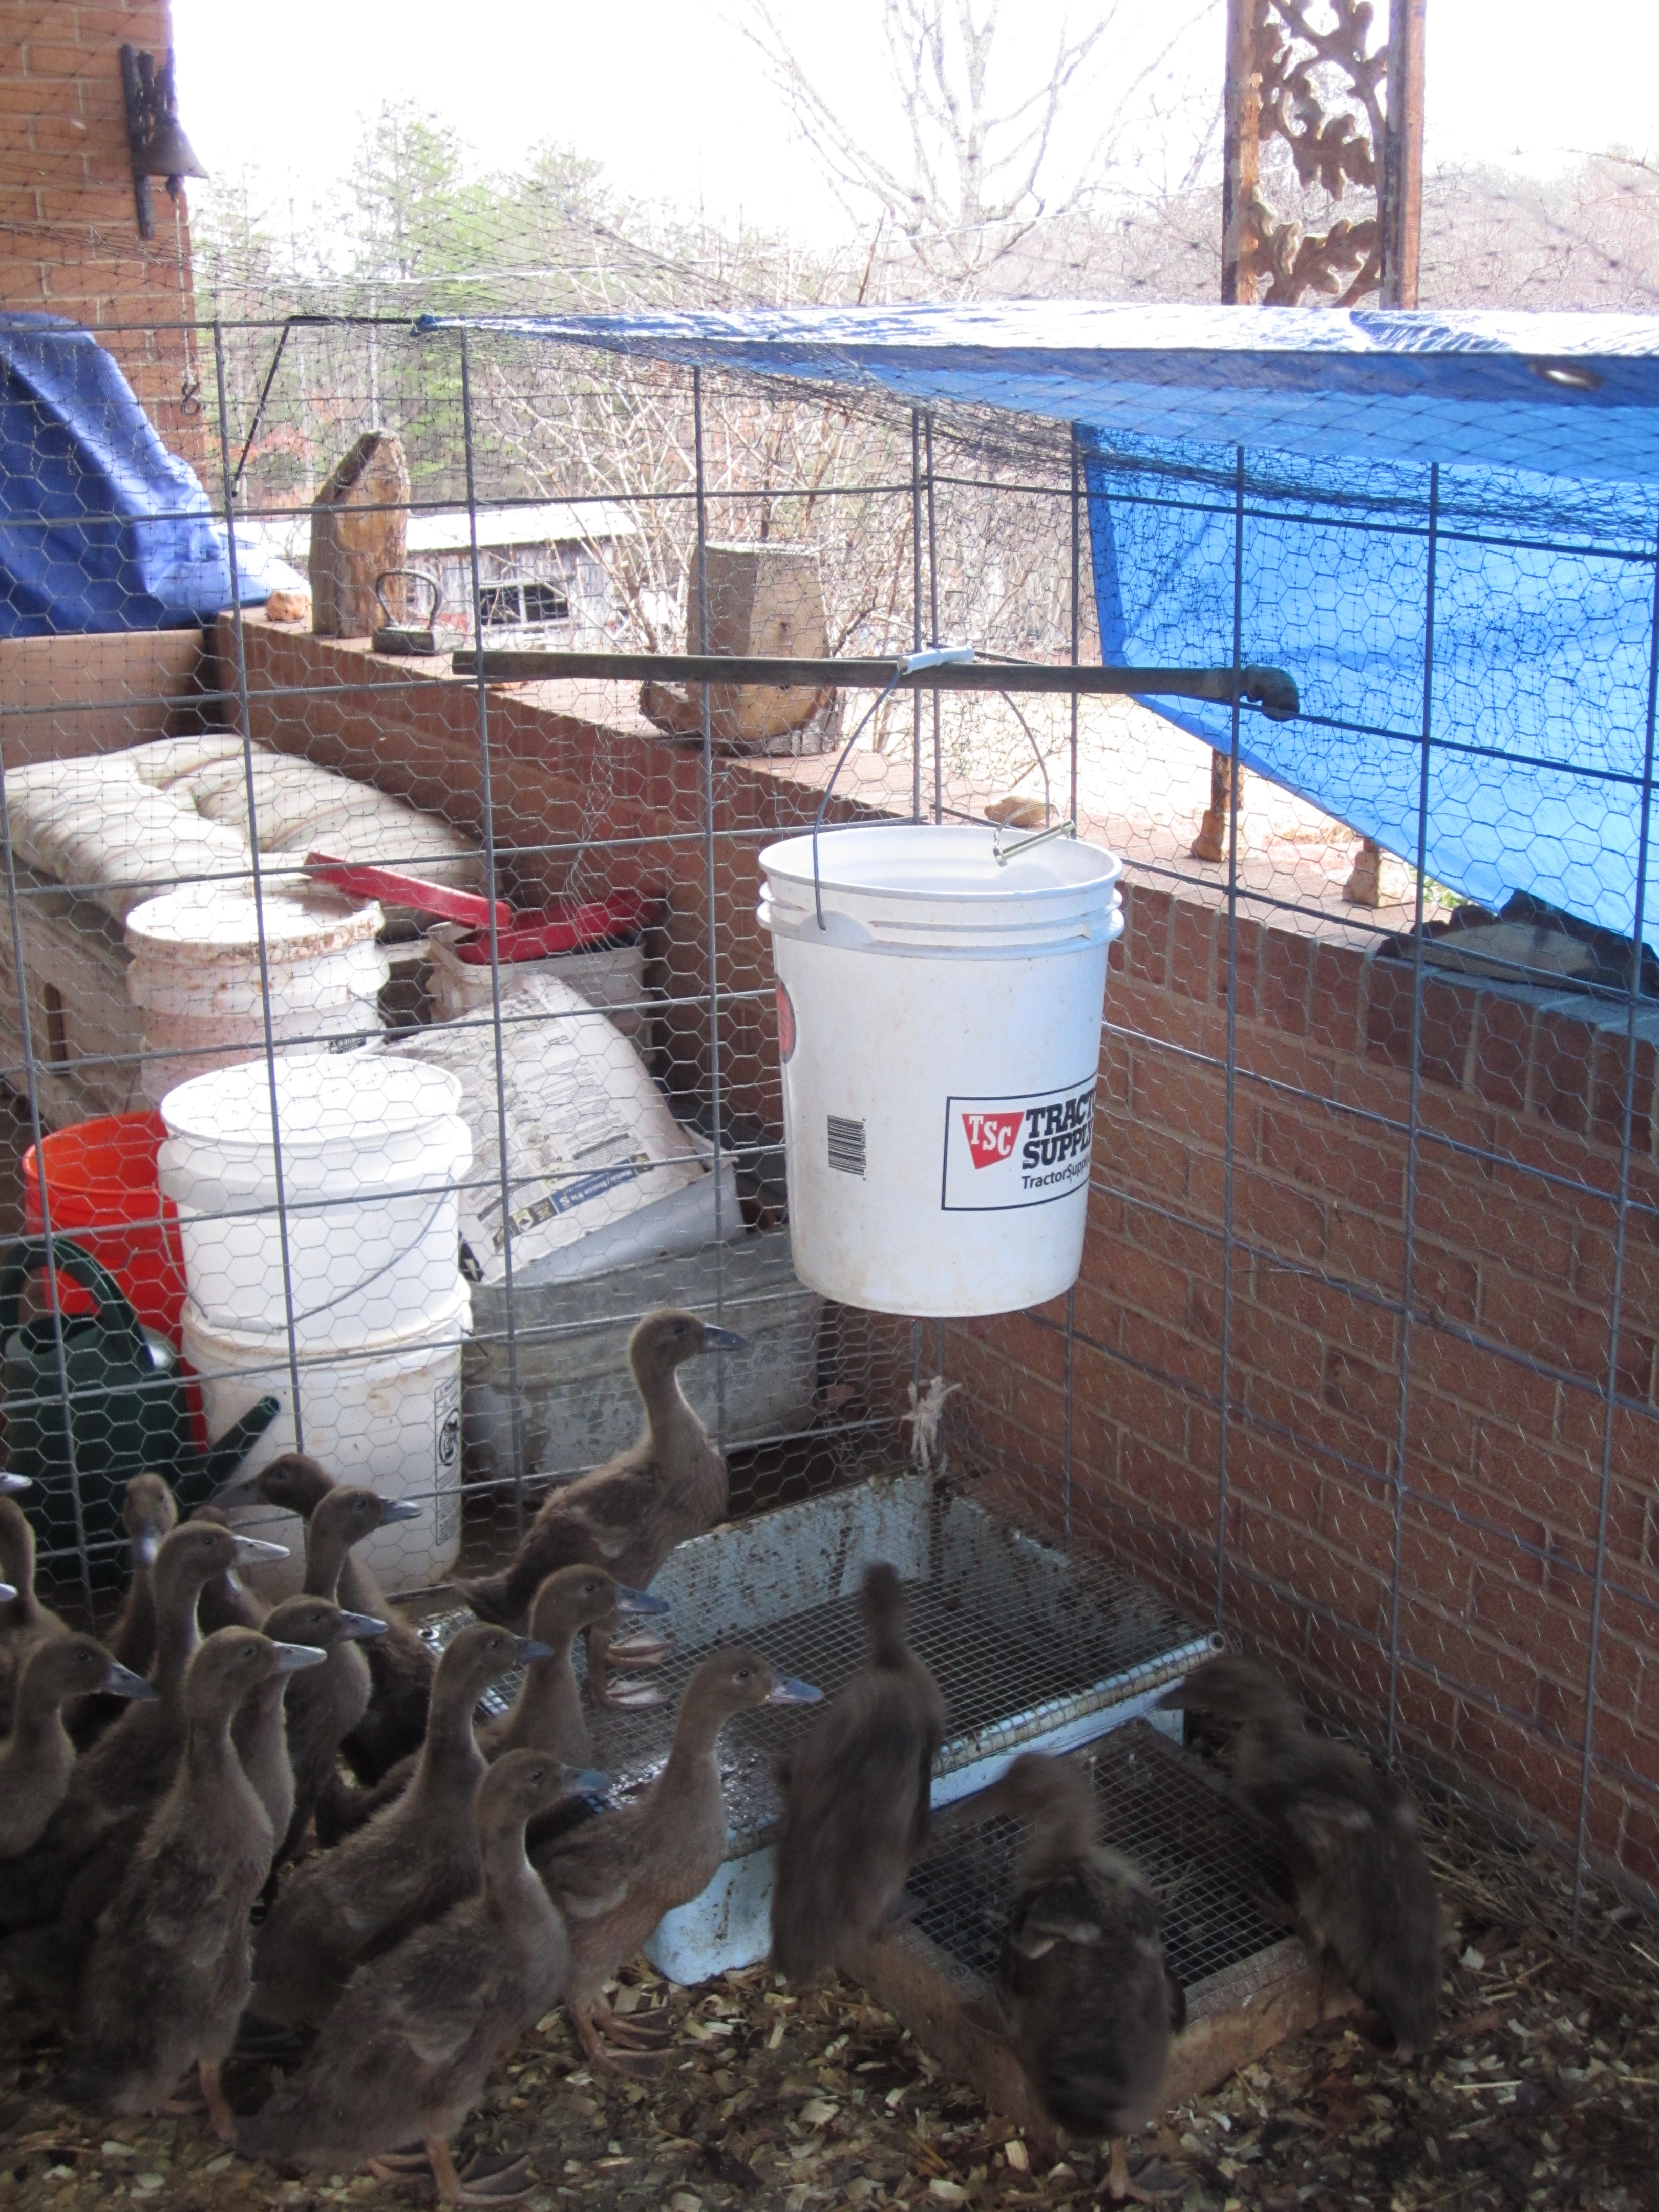
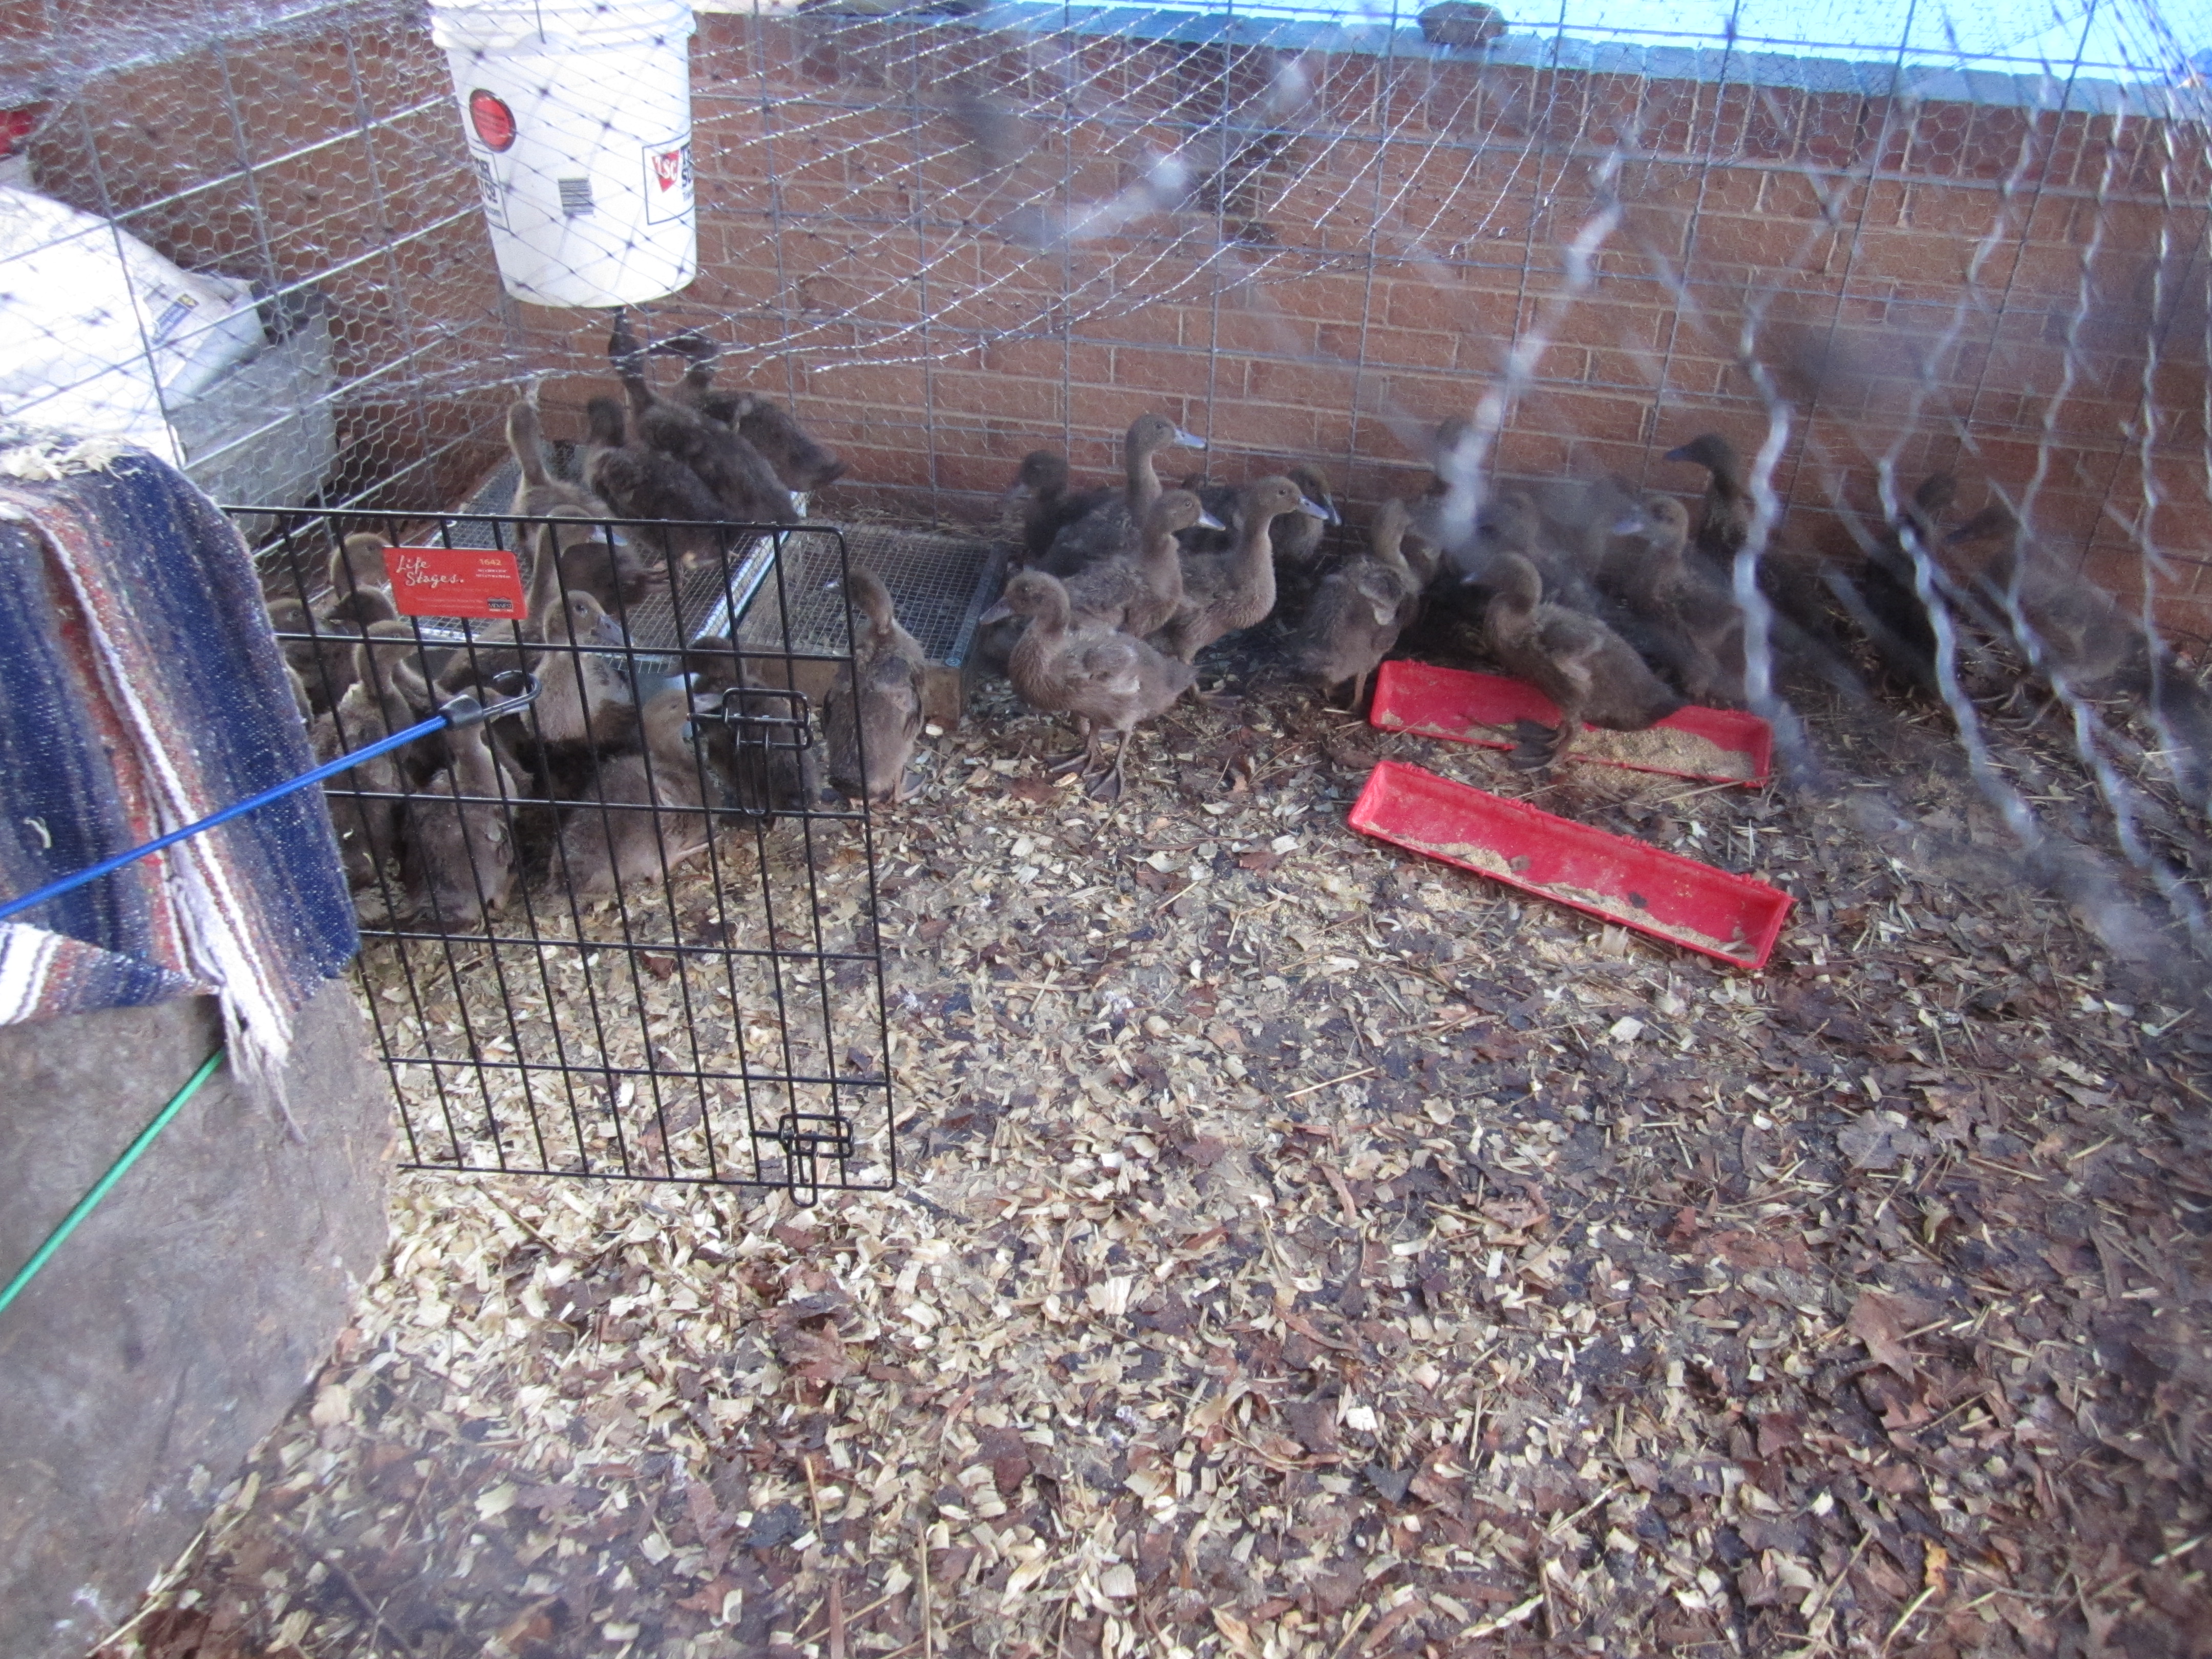
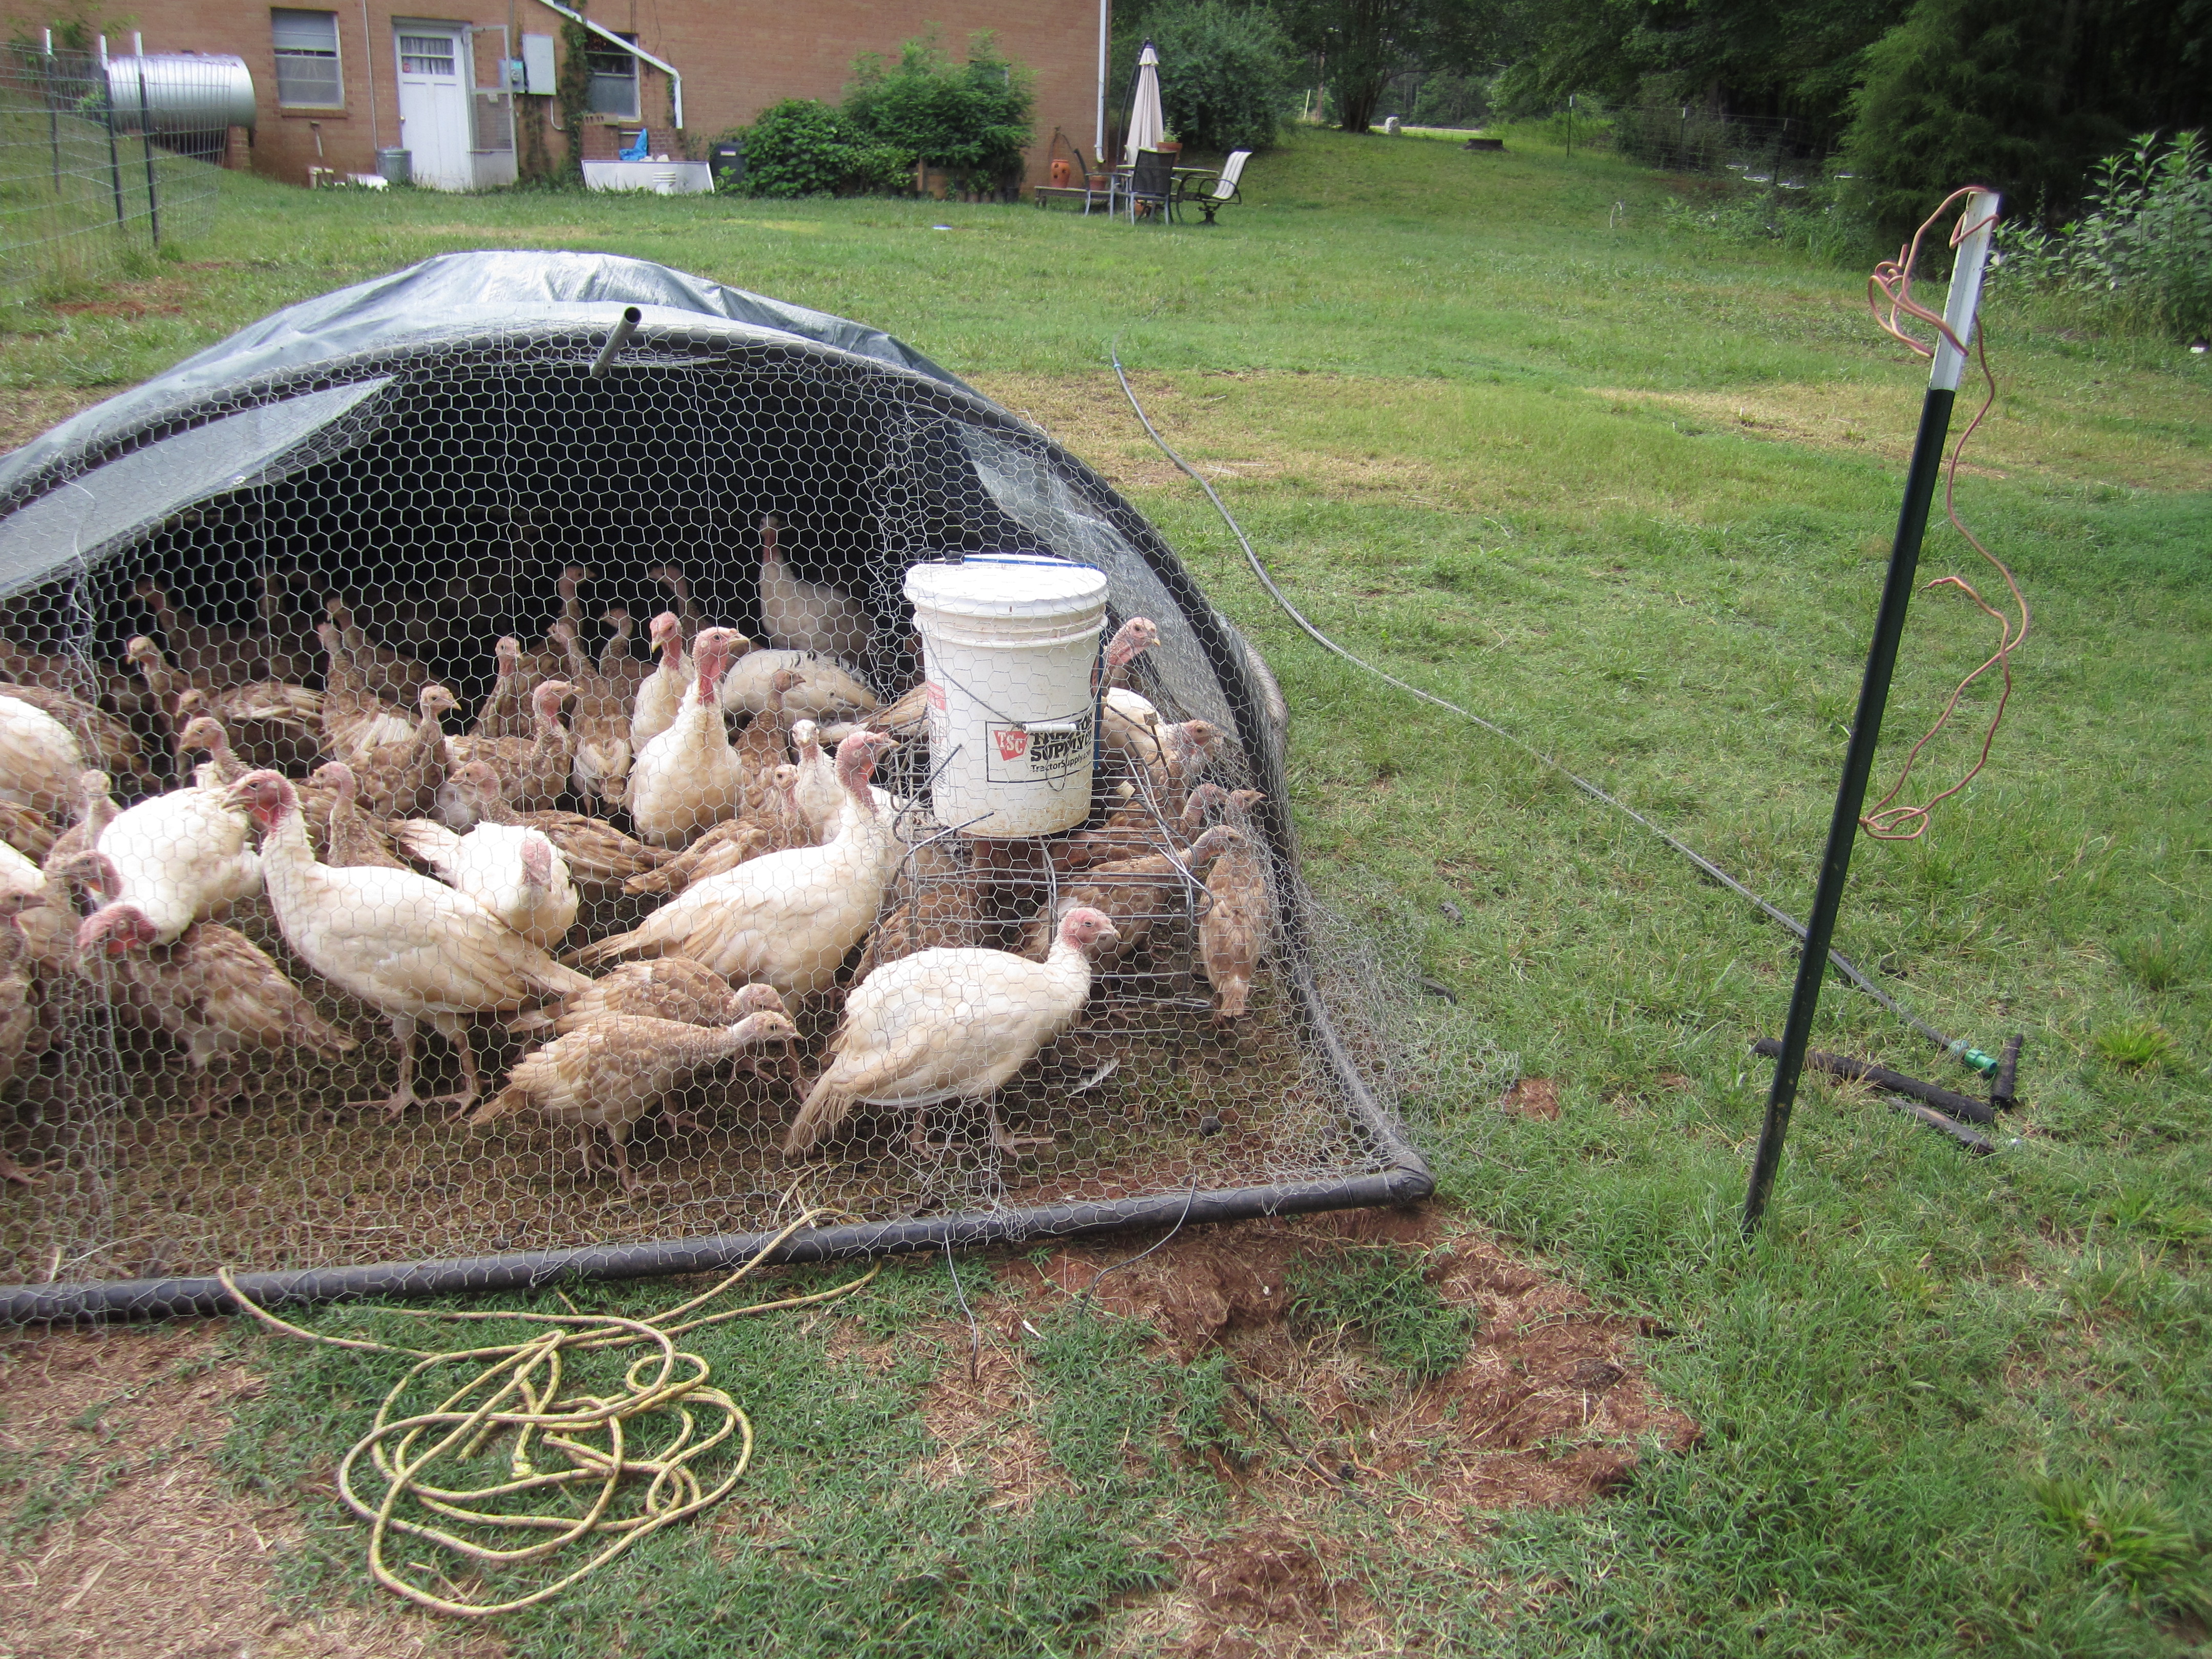
About a month ago they took over the residence of our crazy, nervous Khaki Campbell ducks! This means that they now have a tractor to live in, which protects them from the elements and keeps them safe. The great thing about raising animals in a tractor is that they get new forage and grass every few days. This makes them much healthier animals because there is always fresh greenery and bugs to eat and because their mobility cuts down on disease. Talk about Thanksgiving deliciousness!

turkeys

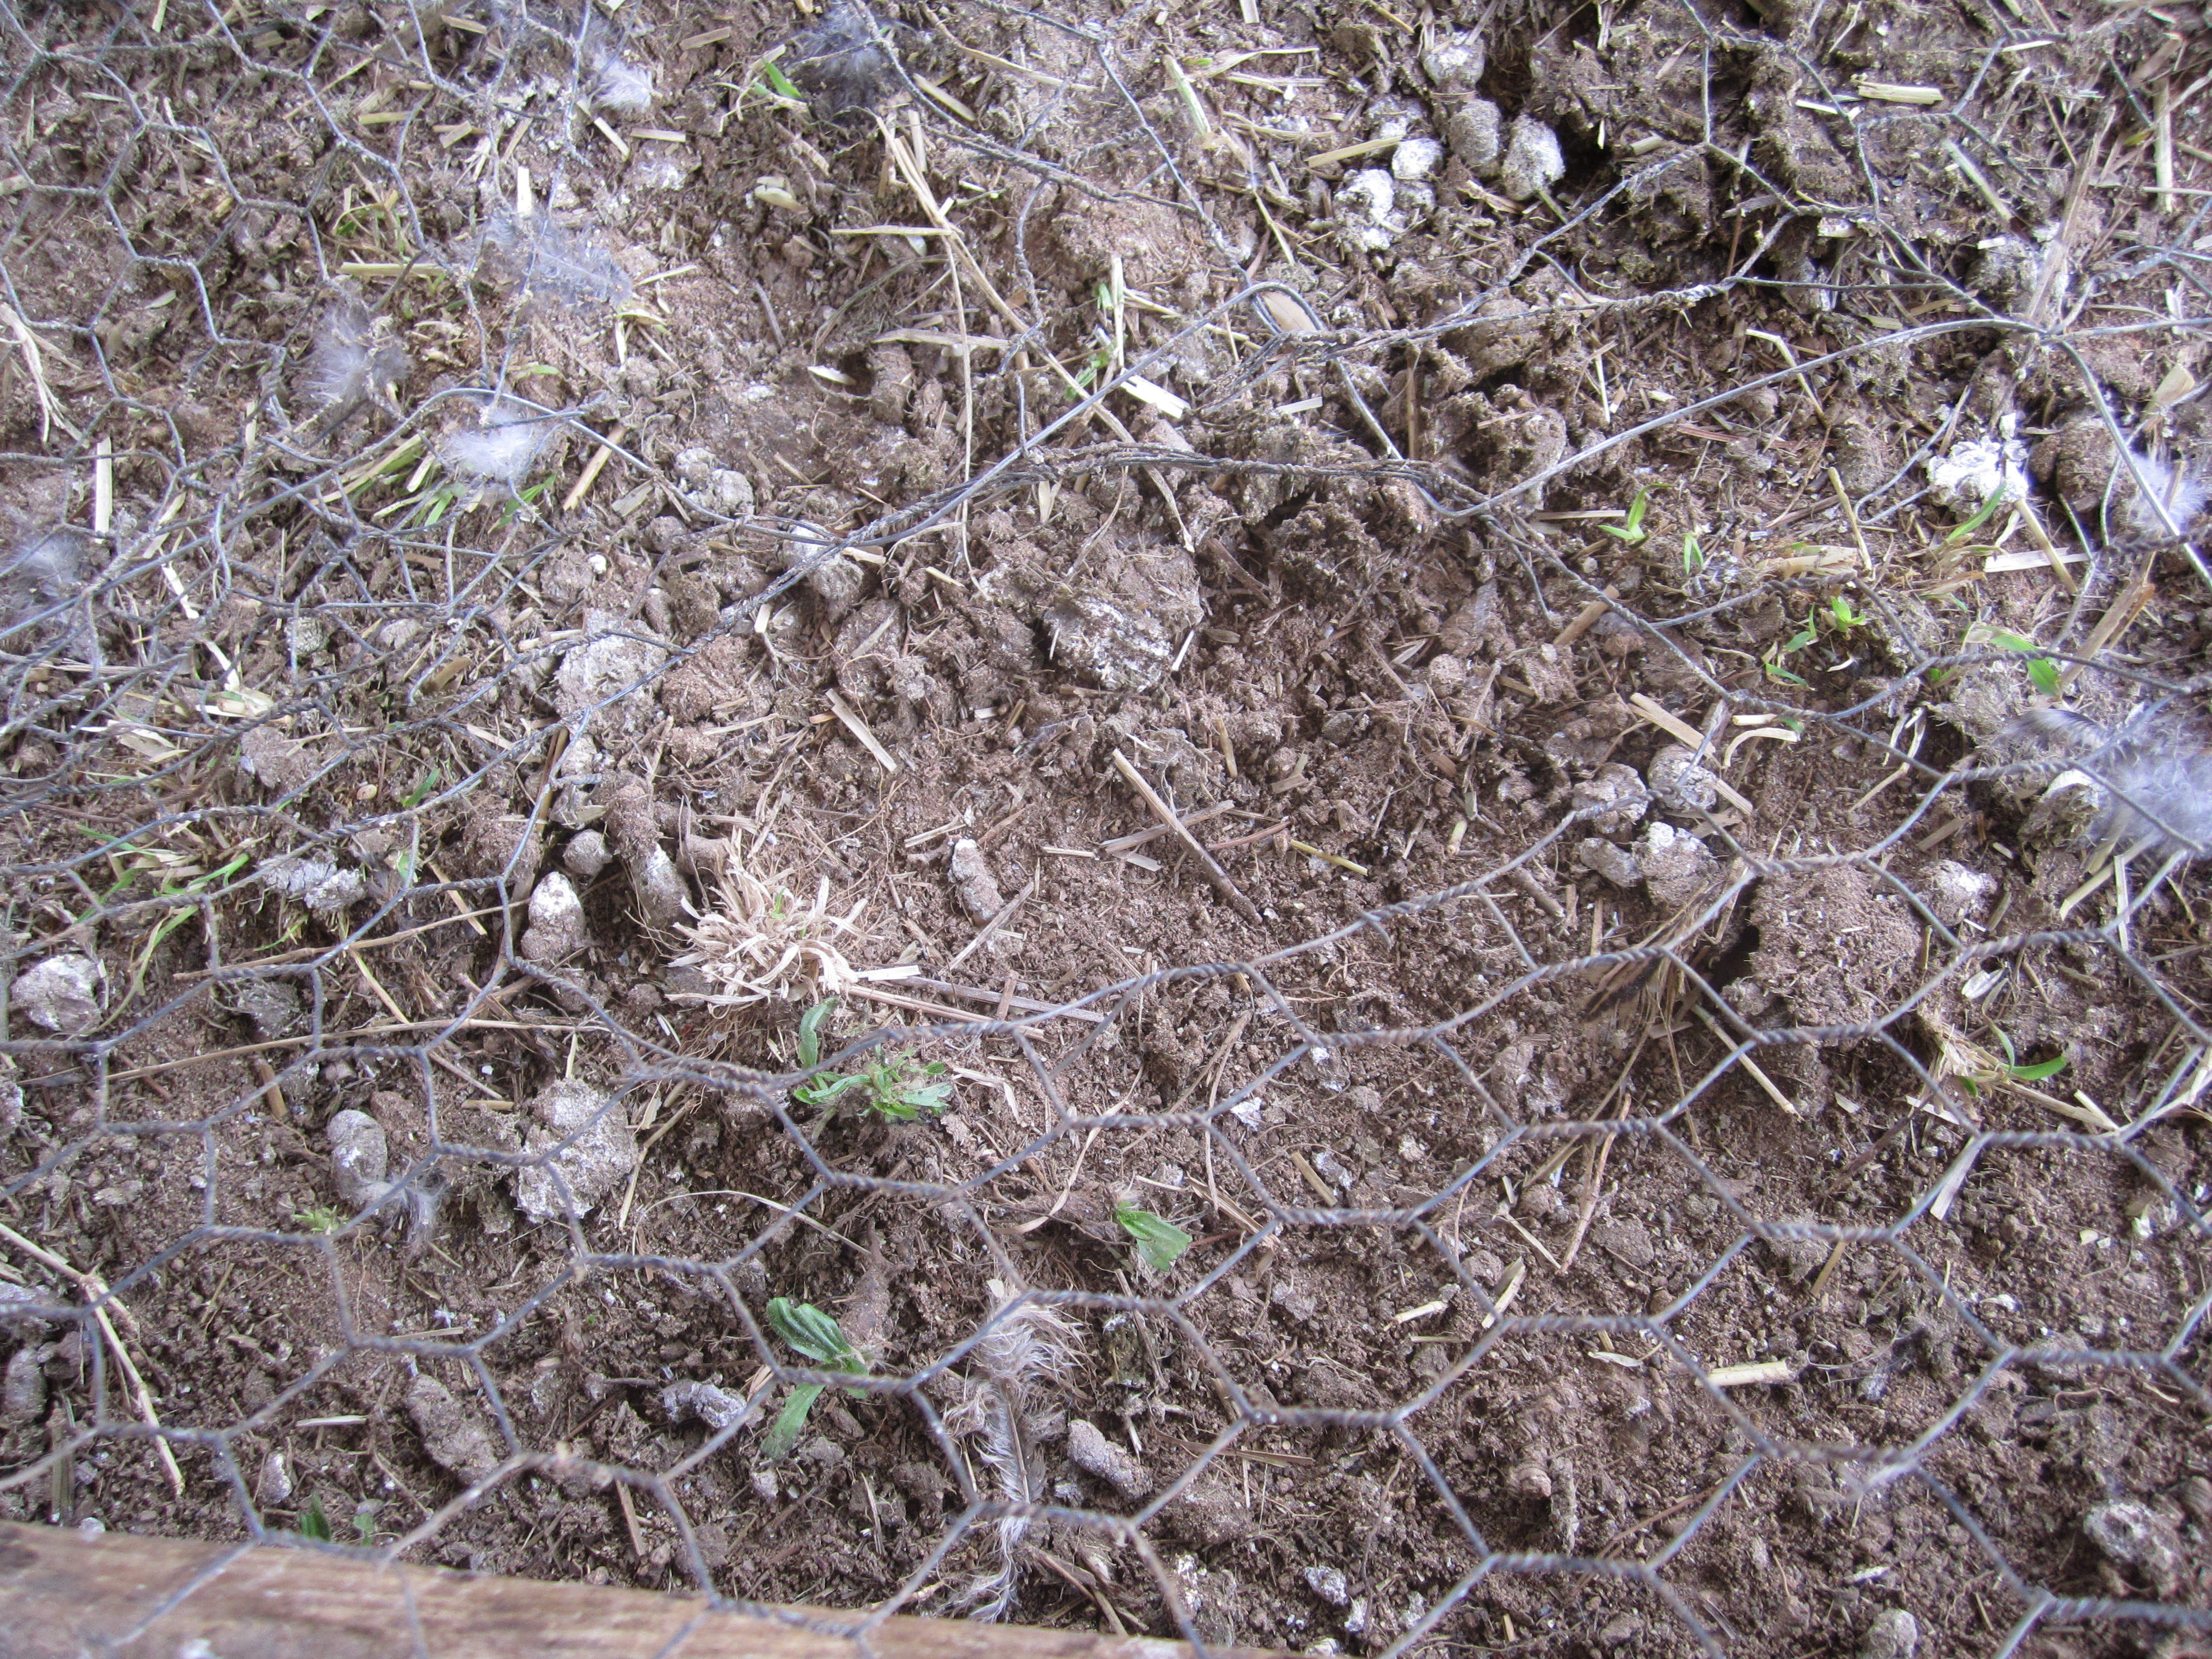
They have been in their grassy place for a day, and later will be moved to the green place to the right.

turkeys

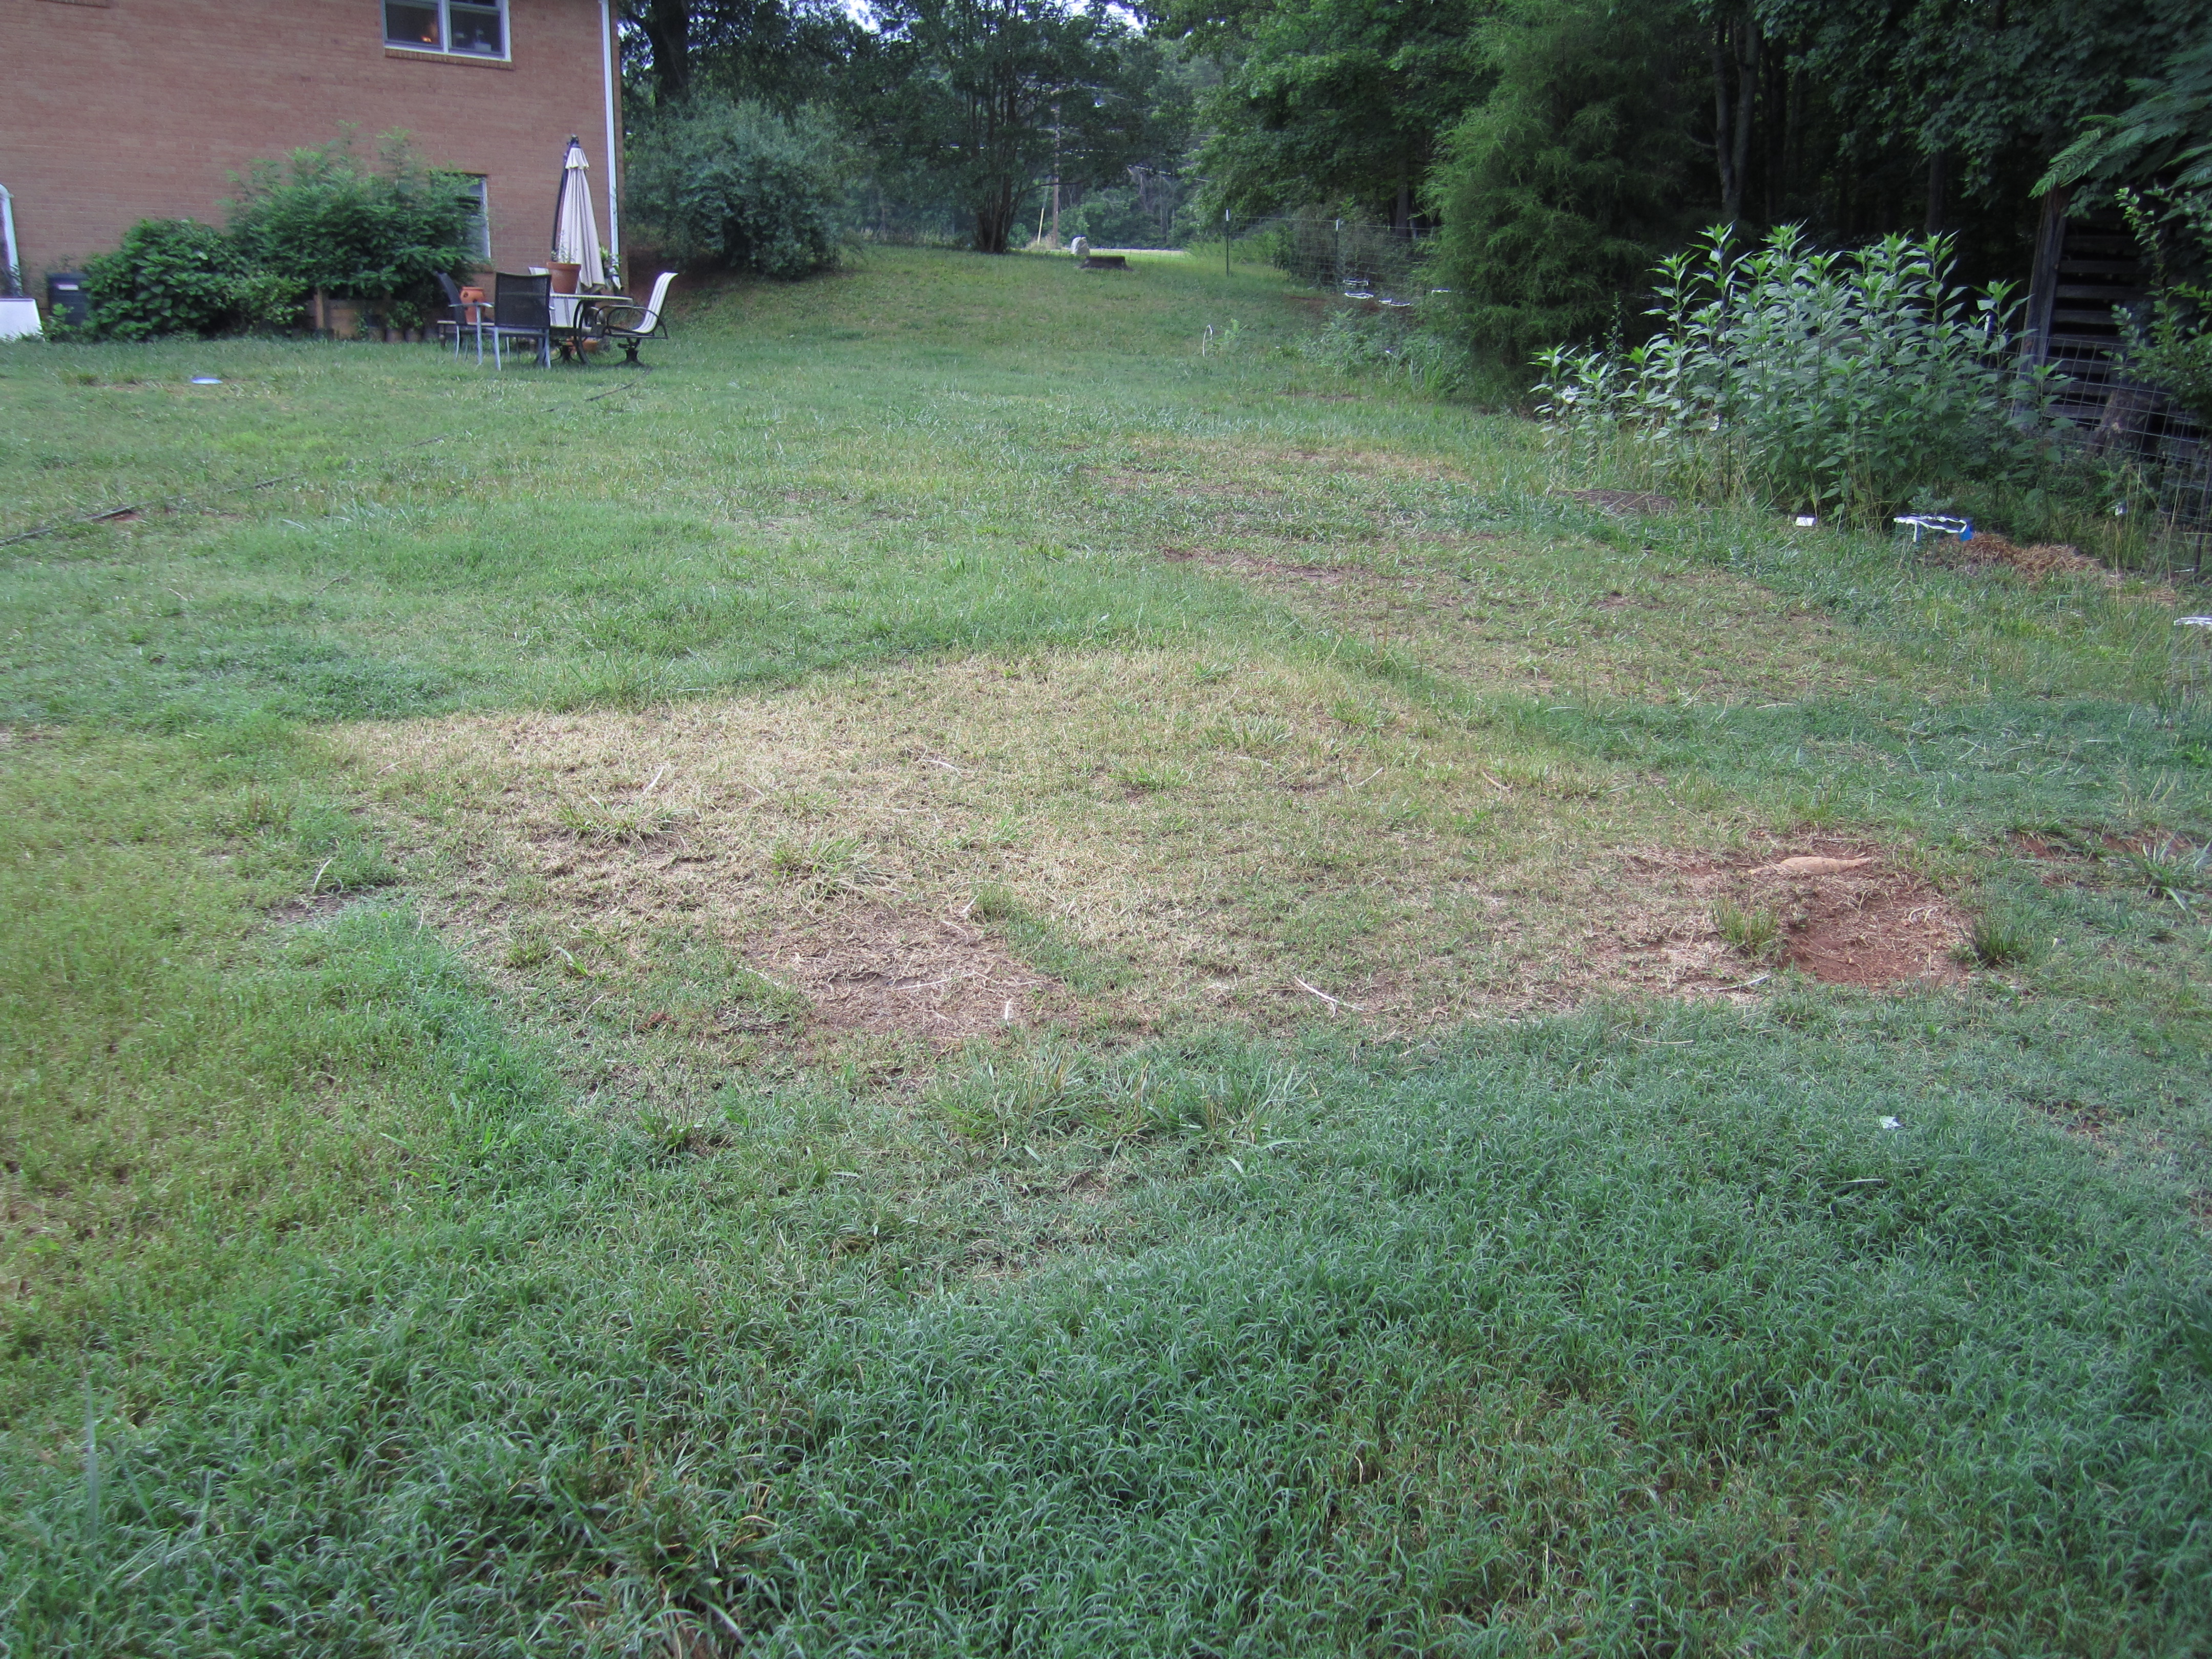
The brown spaces are places they were in the past. See how much they like grass?

turkeys

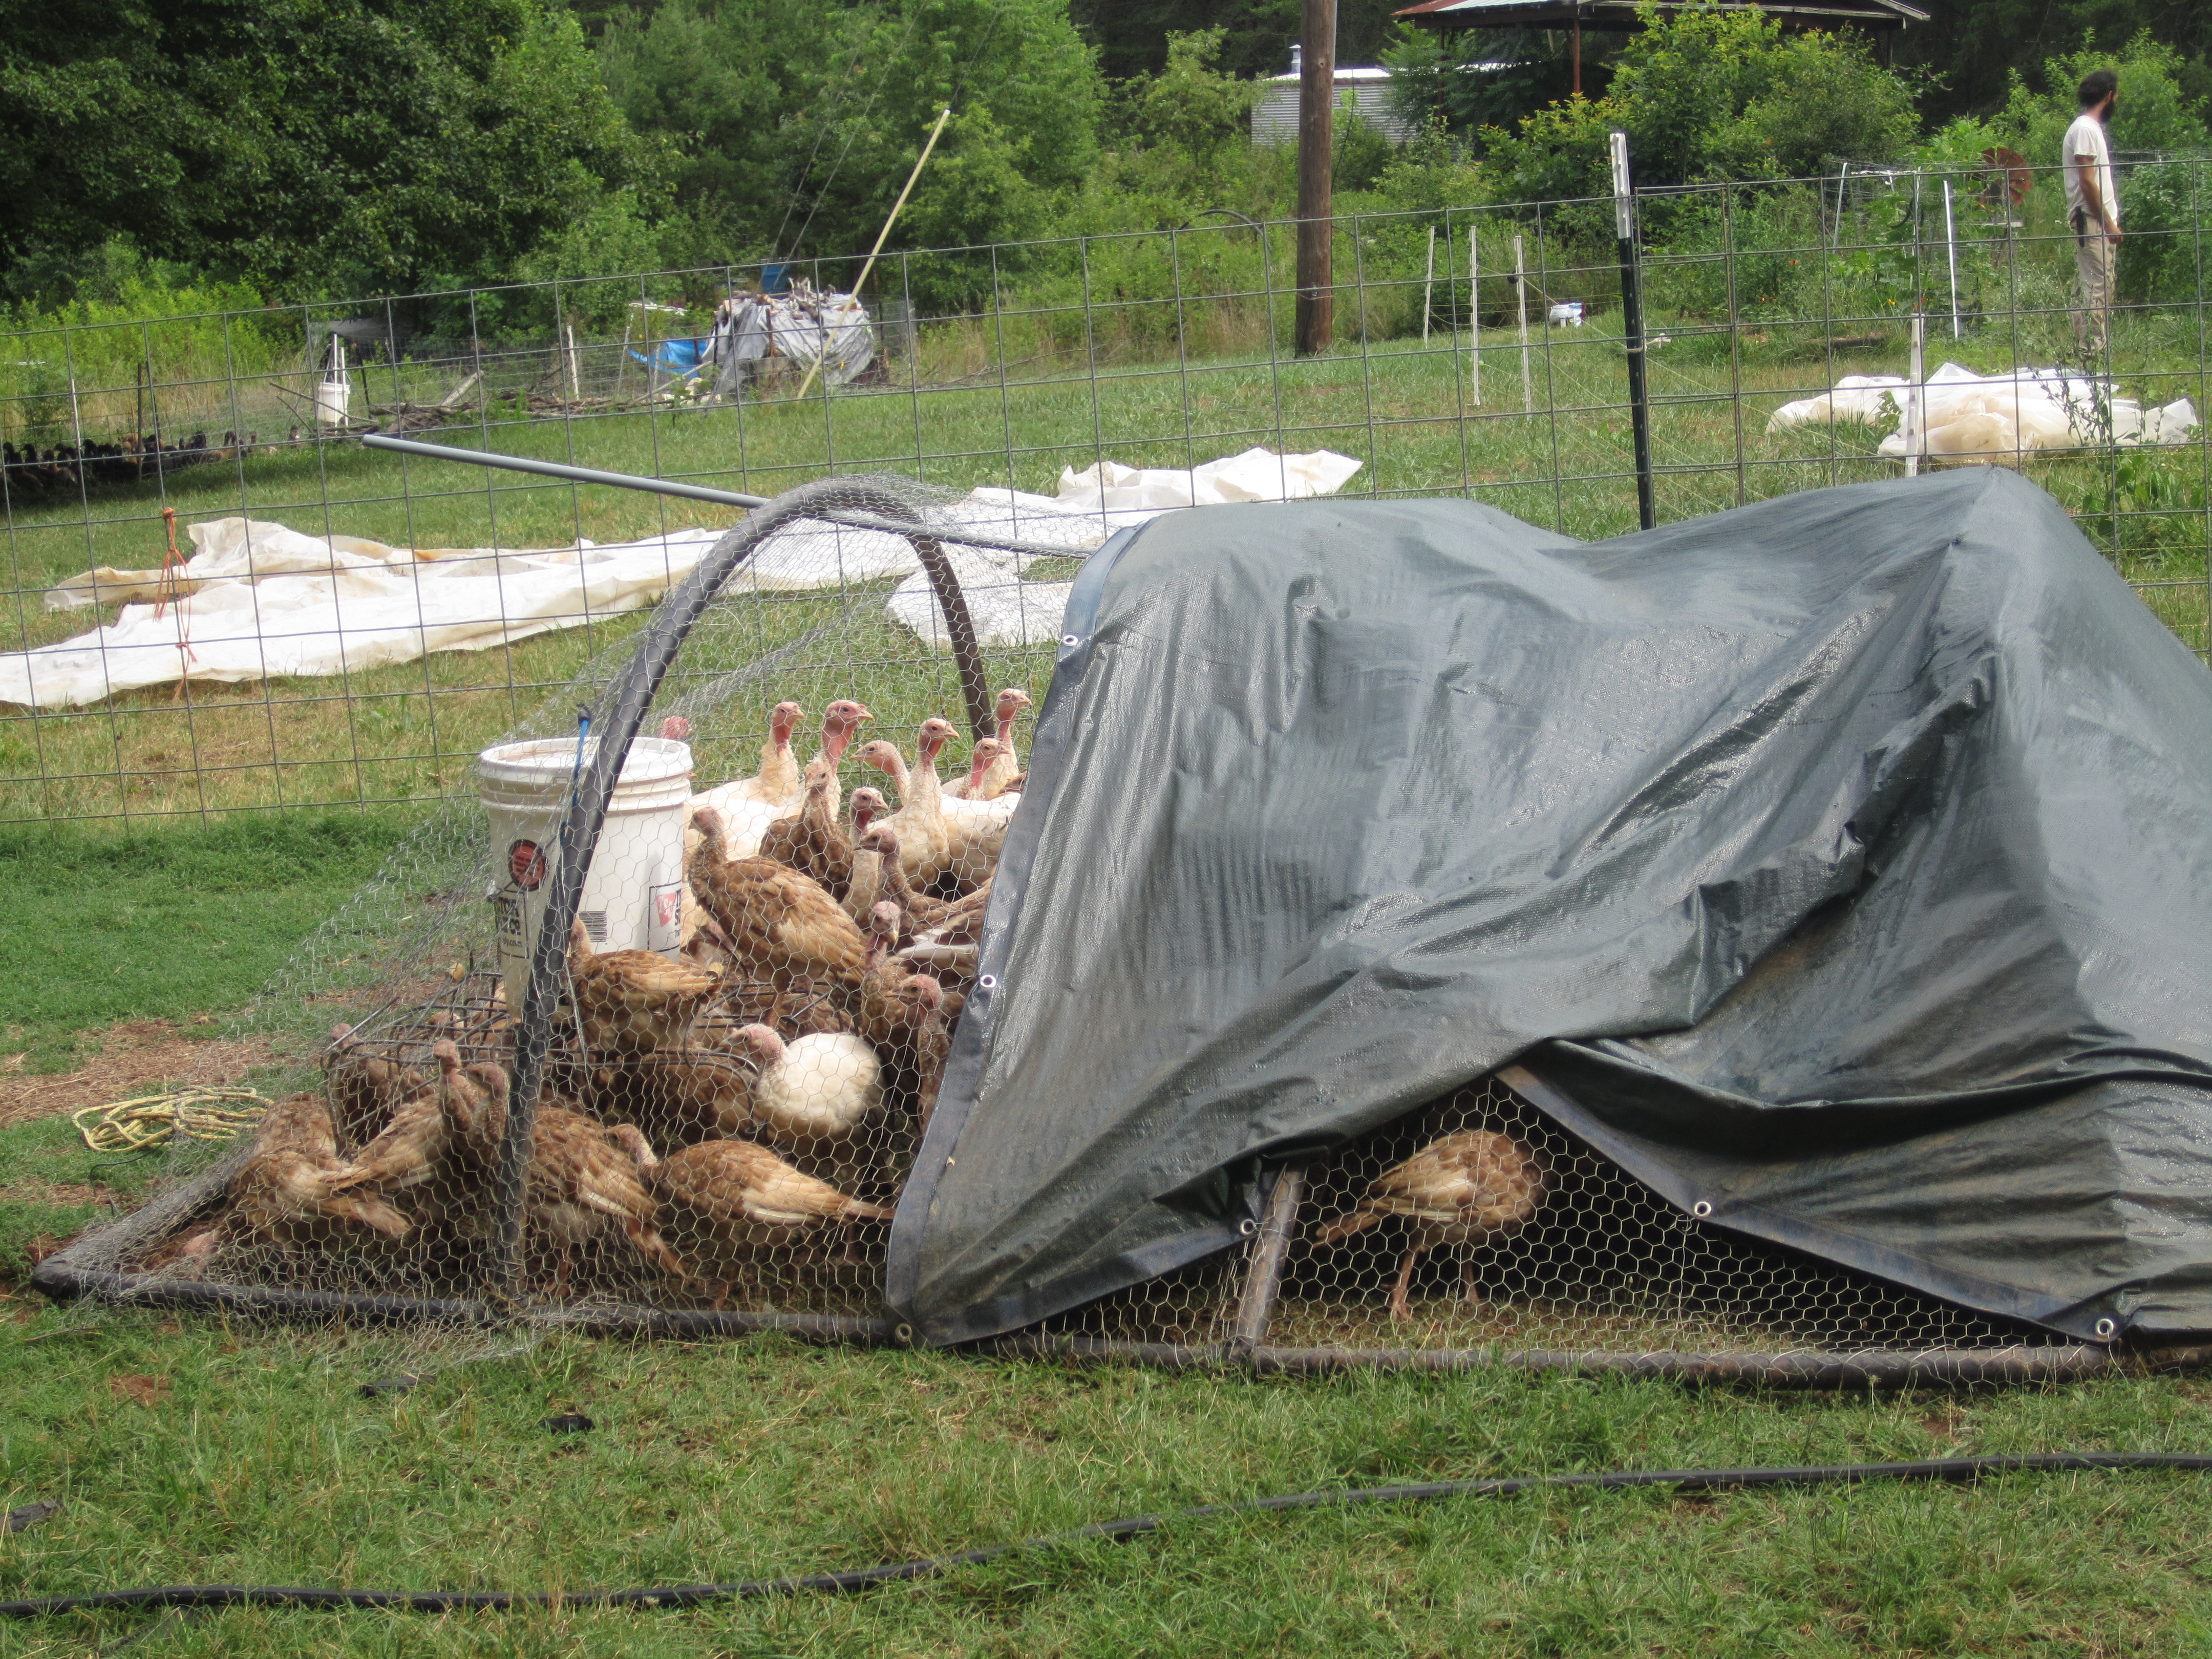
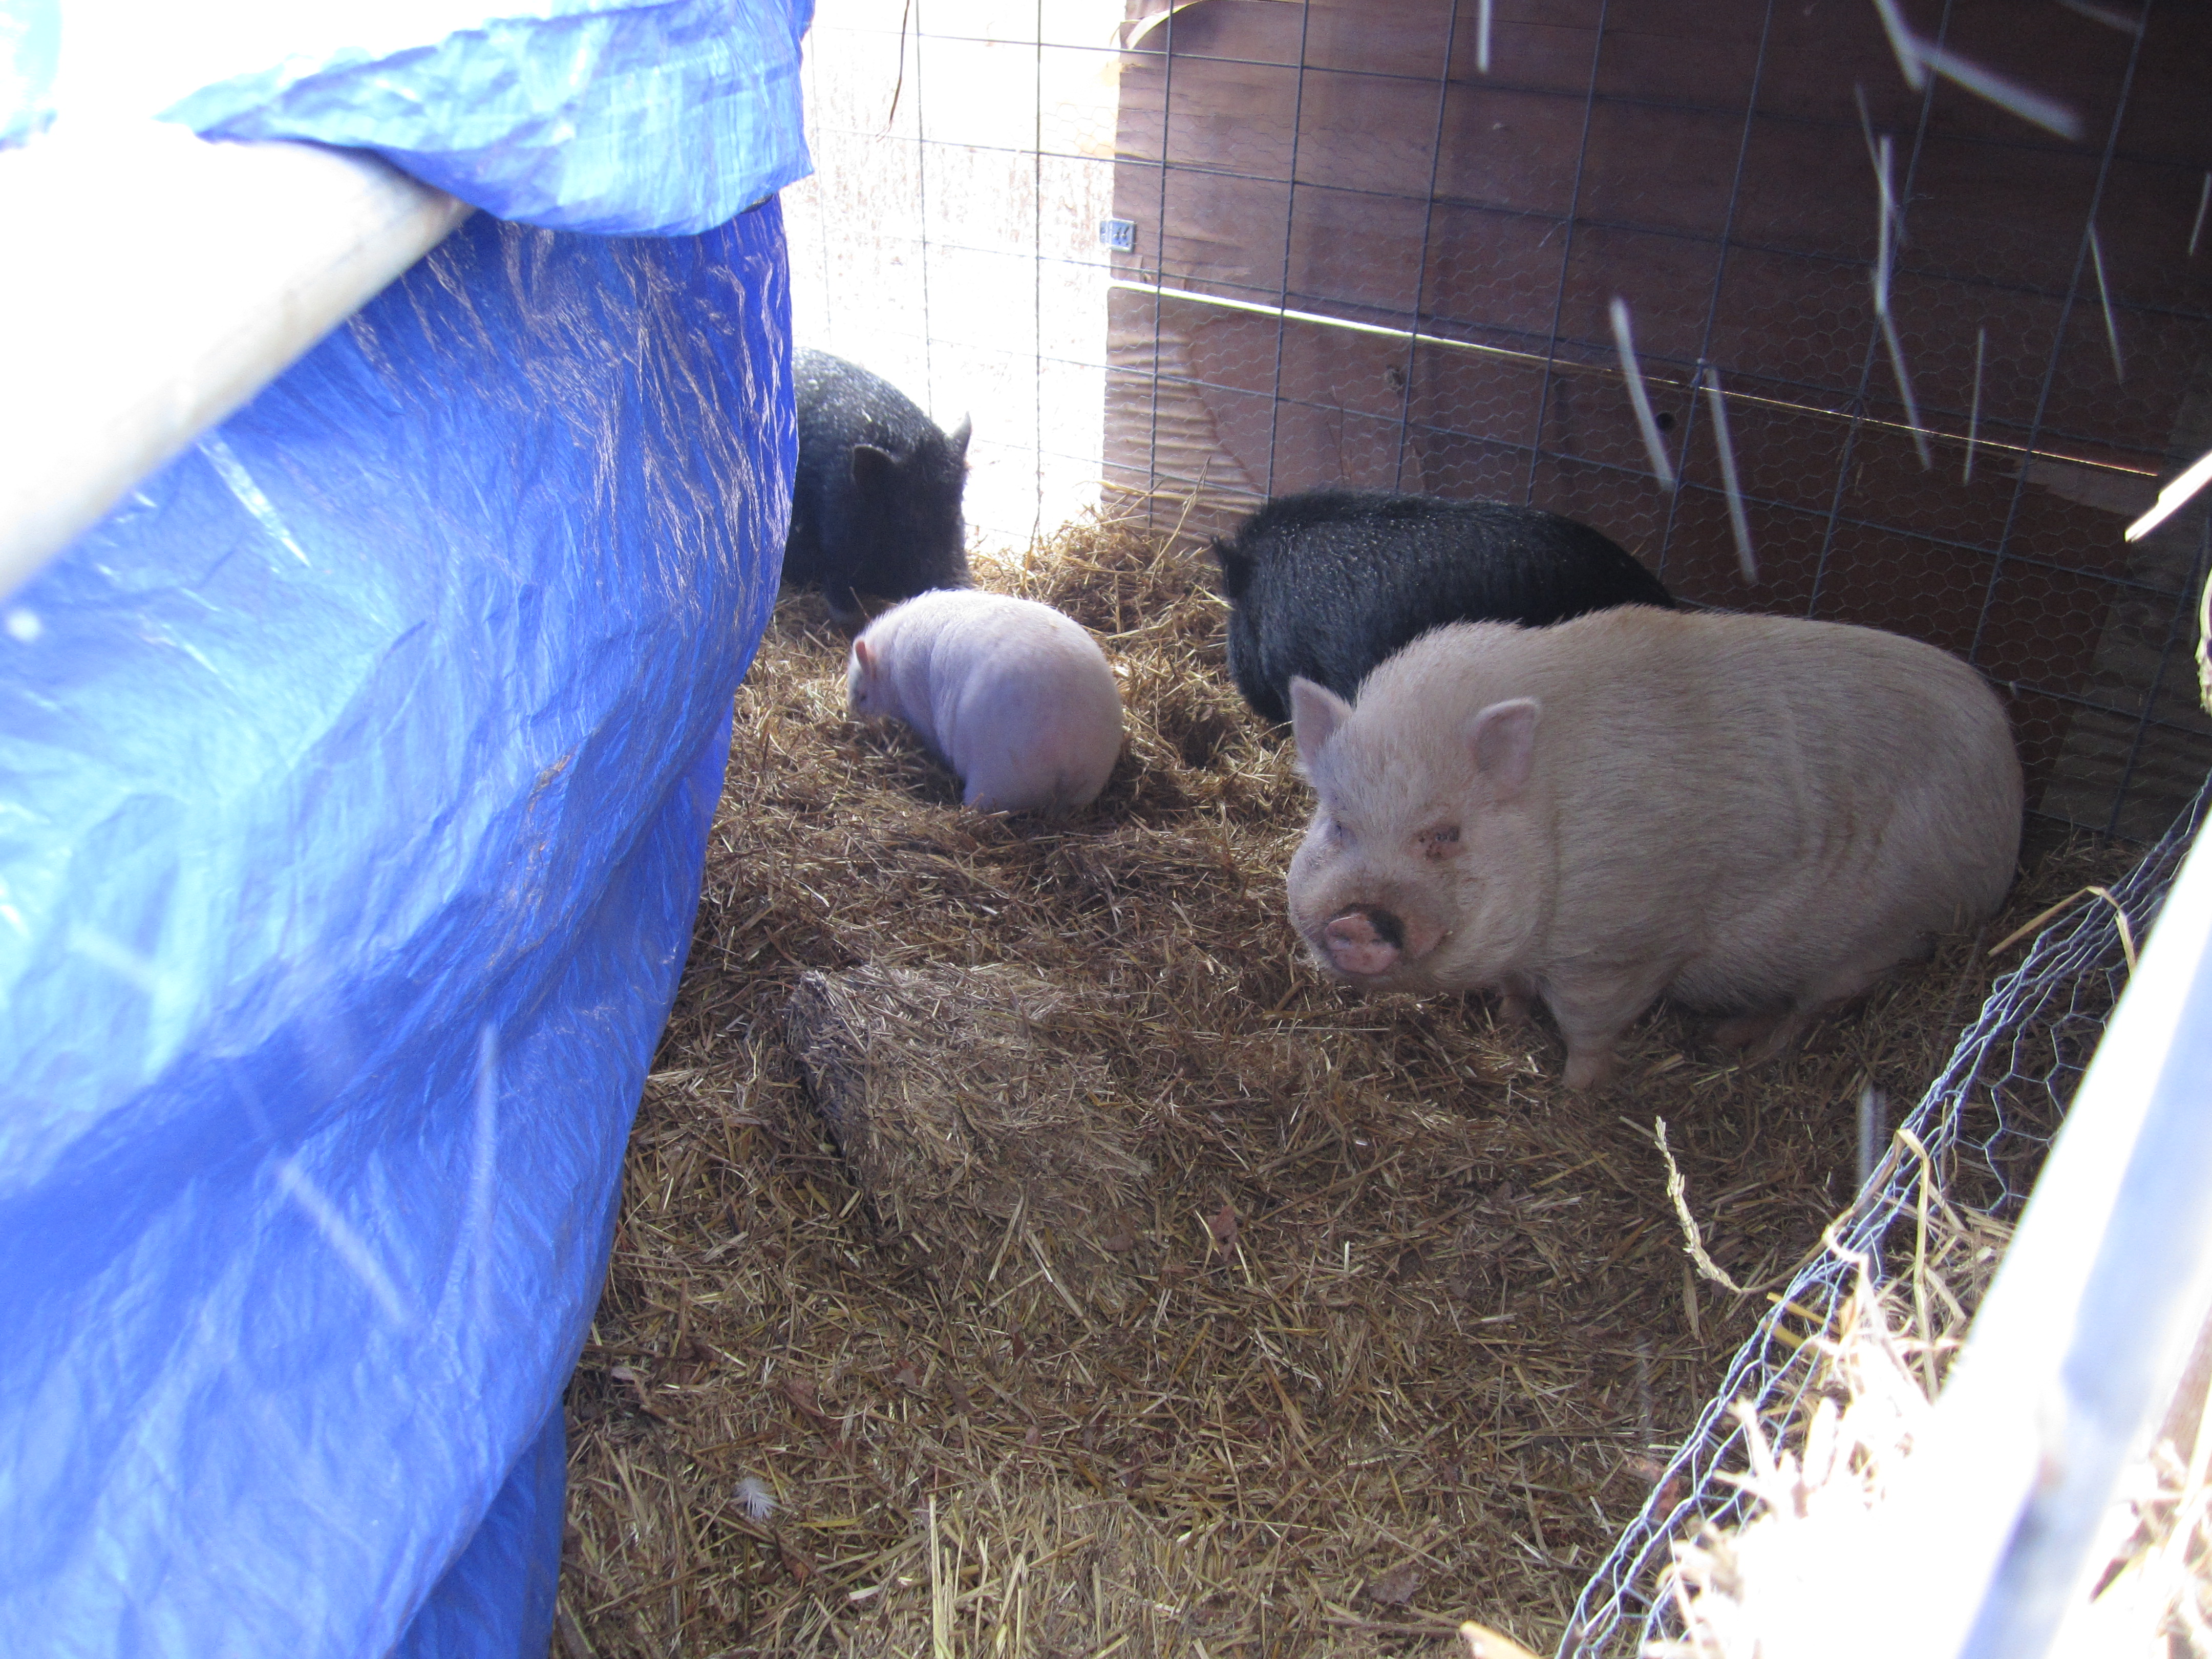
The tractor provides shade (a tarp) although they usually like to bunch together in the sun!

We moved them to the outside tractor because they matured enough that they didn’t need their heat lamps any more and because we slaughtered the Khaki Campbell males that were living in the tractor. We’ve kept the females for laying eggs and integrated them into the larger, newer duck flock, but we decided it was time to finally taste some duck! Details about the slaughter and butchery to come…

You can see in the video below that the different breeds of turkey are becoming apparent. The white turkeys with the black striped feathers are Royal Palms and the pure white ones are Midget White, Giant White, or White Hollands (I guess we’ll find out as they mature). The majority of the turkeys are Bourbon Red Turkeys, with brown and reddish checker designs on their feathers. When this breed matures they will have solid brown and white patches.

Be sure to check out our Heritage Turkey page for information about ordering your Heritage Thanksgiving Turkey today!

.:.


Turning the Shed Into Our New Broodhouse (Upstairs)

Finishing up the upstairs portion of the shed was much less time consuming than predator-proofing the structure and completing the downstairs. I was able to finish this up by myself, which was nice because the drill gun and I got some time to ourselves!

The first thing I did was frame in the area that was going to be the gate inside the upstairs. I did this with old lumber we had lying around and some old tobacco sticks that we found while cleaning out the shed!

wire

Framing and adding wire.

Then I tacked chicken wire on the outside of the frame, essentially walling in the upstairs so the turkeys won’t fall off the ledge!

Then I climbed on up there and used 1 foot chicken wire to cover the gaps in the wooden walls. We decided to do this so that no baby turkeys could climb up on the ledge between the wood and get stuck.

IMG_0660

The last (and most fun) thing that I did was make the gate/door out of a cut-up cattle panel that I wrapped in chicken wire.

gate

A gate, what fun!

I made sure that all overlapping wire was tight or woven together, just to be sure that the babies don’t fall through of get stuck.

What a successful day!

.:.

Fixing Up the Chicken House!

It felt wonderful last week to have more time to devote to my homestead to-do list, and I felt super productive!

One of the things that I had been meaning to do for a long time, was fix up some things in the chicken house.  The chicken netting floor was caving in and holes were forming that were big enough for bantams to escape and potential predators to get in (altough none had yet), the walls of the nest boxes were caving in, and the roost bars were sliding around and making 3 roost bars bunch up into 2.

caving

The caving floor of the house.


holes

Lots of holes!

I decided to start with the floor. After some brainstorming I realized that it would be too hard to replace the netting on the floor since when Jason and my dad made it, they had the entire coop upside down so they could get to the best spots to drill. Instead I opted for a removable frame that fit the dimensions of the floor perfectly but had extra support so that when the chickens walked on it, it didn’t cave in so badly.

I was lucky that the dimensions of the floor frame would allow it to fit in and out of the door to the house perfectly (with a little squeezing).

I made a frame outside of the house and attached chicken wire to it, using washers and screws to grab the holey netting better.

floor

The new floor!

Then I fit in the floor!

floor

A perfect fit!

Next I rescrewed the walls of the nest boxes into the base so that  the. Hens wouldn’t knock them over and replaced those and added straw.

Last, I cut some tobacco sticks into short spaces to place between the roout bars so they wouldn’t slide towards each other. This will really help the teenagers learn to roost! Since there wasn’t room up there for them before, they were sleepin on top of the nest boxes. Now they should learn how to sleep like a real chicken!

.:.

Turning the Shed Into Our New Broodhouse (Downstairs)

A few weeks ago, Jason and I were really excited to complete the first big step in getting our old, junk-filled shed emptied out and fixed up for our ducklings and our turkey poults.  Before we were able to start the construction on our grand idea, we enlisted the help of my dad so we could clean out the shed and get all of the crazy junk moved out!

After all of the heavy lifting, sweeping, and cleaning we finally had an empty shed made from old- fashioned pine poles and aluminum siding.

When we peeled the old, stained cardboardish material from the inside of the walls, we found a squirrel’s nest, with 2 babies inside. The mother ran just as I peeled off the cardboard that covered her nest, and darted out of a hole in the roof. We decided to ignore the nest while we worked and to leave it intact, and sure enough, the mother came back overnight and relocated her family.

Baby squirrels!

Baby squirrels!

Once the squirrel family moved out, we could start on our construction. We used 2 heavy, pine poles that were made to fit the shed as supports, and added 6 of the  10 foot x 10 inch boards that we covered in cloth and used as seats for our wedding. On top of these supports, we layed down heavy plywood and a couple other miscellaneous pieces of wood to make sure the floor would be solid.

pine poles

Pine pole supports!


boards

Emma removing fabric from the boards.


boards

The boards go on the pine poles…


The second story!


2nd story

The second story!


boards

A view from below!

A view from below!

This created a second story in the shed, about 4 feet high, that will be the turkey loft!

More about the downstairs and about predator-proofing the shed…

Jason attached pieces of hardware cloth to the natural openings near the top of the building, so they could still provide ventilation and light, but so that no racoons or oppossoms could get in. This took a really long time and lots of energy!

fixing

Jason attaches hardware cloth.

While he did this, I patched holes or gaps in the floor, sometimes with skinny tobacco sticks and sometimes with hardware cloth.


I also made the gate that would keep the ducks from having the entire downstairs area for themselves. The gate blocks off one half of the front, walk-in space so that we can store feed there and have access to the turkey space above.

gate

The duck-free space beyond!

patching

Patching holes.

We used the old, cardboardish material to line the floor and on top of that we put a layer of plastic with “skirts” that ran up the walls to protect the wood from duck poop. A third layer was added: more plastic! This way we can be more certain that the duck poop and bedding will be easy to drag out and clean!

plastic

Adding plastic “skirts.”


plastic

Dodger helps with the last layer of plastic.


straw

One must duck in the house!

When we were finally done with  the predator-proofing and the downstairs area, we ready for dinner!

.:.

Clipping Goose Wings (and a Big Honking Update)

A couple new goose updates here on the homestead:

1.  First of all, we decided that utterly free-ranging geese was no longer something we wanted. Too much goose poop in random places (i.e. the carport or even the front porch) that always made me want to scream and then chase them around the yard in frustration. Also, the quartet was often found standing in the road and I don’t need to explain to you just how dangerous that is!

2.  We started incubating 14 goose eggs a few weeks ago, but we’re not sure how things will go with them… (Explanation of why we’re unsure is below)

3.  The goose nest that we once discovered was abandoned by all of the geese, so that’s a no-go!

4.  We’ve built a new fence for keeping the geese confined. The fence moves every few days (just like their old home that now houses the pigs) and is lower (about 2.5 feet tall). The fence is made of cut cattle panels, that are able to be “stepped in” to the ground so we can change the shape and layout of their area whenever we come across any garden beds or plants that we need to avoid having in their space.

5.  During the beginning of their renewed confinement, Audo somehow learned how to climb/fly over the short fence (which was weird since he is the heaviest one) and would escape any time he wanted. After clearing a couple of their favorite yard-nest spots of eggs, and after a few days of only Audo roaming around outside the fence, we discovered that Audo was laying eggs!!!!!!!!!

Which, of course, means that Audo is a female!!!!!!!!!!!!

So, we’ve been operating with the information that Audo was male this entire time, understanding that the rest were females.And now it seem that we might not even have a male at all! There are ways to tell that I will not go into here, but Google it and prepare to be freaked out if you are interested in knowing more about sexing a goose (yes, I did just write those words).

Audo’s femaleness might mean that all of our incubating is for naught, unless another goose has been a male all along!

6.  The last goose update was actually meant to be the sole subject of this post, but I got a little bit carried away…

In order to keep Audo inside the fence, we had to clip her wings so she can’t catch enough wind to lift herself over the wire. Clipping a bird’s wings of is not what it might sound like to you (a horrible inhumane act that hurts the bird). Instead, it only involves catching the bird and trimming her feathers, not hurting her at all.

This video is a bit funny, actually, since we hadn’t clipped goose feathers before and we weren’t sure how Audo would respond. Watch and see how we did it…

Jason held her and I did the clipping of just one wing to keep her off balance and to make sure that her flying would be crooked if she ever tried to fly over the fence again. If you try this yourself, be sure to have tin snips to use as scissors, since the heavy duty shears and scissors I used really weren’t tough enough for goose wings!

.:.

Duckling House and Bedding

This video features our ducklings again!

Also included is an explanation of their house and bedding…

.:.

Holy Duck: A Home for the Babies

Spring is here and you might already know about our first batch of Spring babies… Our 30 Khaki Campbell ducks!

We kept them inside for a little while and after the weather became consistently warmer we decided that it was high time they got kicked out (they were smelly and so messy!).

We wanted to be sure to build them a space that was near the house so they would be safer and easier to feed and watch. We also needed their space to be sheltered and secure, so a perfect spot seemed like the carport! Mind you, once we finish the poultry brood house (posts about this forthcoming) most ducks and other babies will grow up in there!

We need a bigger space than before so they would have room to run and spead out, but we were limited by the carport space, which actually worked out well… 2 cattle panels (oh, how we love to use cattle panels!), folded in the middle at right angles made a great 8′ x 8′ space for them. These panels were covered with chicken wire to keep ducks in and sneaky bad guys out (foxes, raccoons, possums…).

cage

The carport pen!

The dog crate that was their only home before, became the space where they could escape the wind and bask under the heat lamp.

crate

Inside their cozy dog crate.

We learned quickly that they really didn’t care much about the heat lamp beginning around 3 weeks old and for the past week or two we haven’t been turning it on very often! The dog crate was surrounded with plywood and cardboard which act as walls, and covered with a blanket to keep in their warmth.

crate

Not beautiful, but very functional!

The first few days they were outside we locked them in the dog crate at night to be sure they were warm and safe, but we’ve since realized that leaving the carport light on makes them safe enough and they really enjoy spreading out!

The entirety of the 8′ x 8′ pen  was lined with large cardboard pieces to keep the floor of the carport from becoming too stained and gross, and the cardboard was covered with leaves, straw, and pine chips to absorb their pooping and bathing shenanigans.

In one corner of their pen their 5 gallon water bucket hangs, suspended by an old metal pipe. Nipples (plastic ones, folks!) hang from the bucket and we refill their supply by pouring in water from the top. Pretty easy! Underneath the bucket is a large metal pan with hardware cloth attached on top. This collects any stray water droplets (and there are a lot!) and keeps the rest of the pen from getting totally soaked. We have to dump this pan out every few days so it doesn’t overflow.

water bucket

Water for the ducklings!


ducklings

The flock, keeping as far away from me as possible!

We finished the cage off with bird netting on top, just in case. We doubted that any hawk would be audacious enough to fly into the carport to snatch baby ducks, but stranger things have happened and we wanted to be safe.

The ducks are 5 weeks old now, and they are really starting to get adult feathers. Soon they’ll be big enough to move out into the real world–just in time for ducklings-batch-2 to arrive in about a week-and-a-half!

.:,

Chicks (Now Teenage Chickens) Enter the Real World!

Last weekend we finally felt comfortable enough with the weather to kick the teenager chickens out of the house and make them grow up!!!

We have an empty nest now! Except, not really because we have the new ducklings to take care of!

Anyway, we decided to put the female teenagers in with the adult standards and add the bantams in with them. The teenage boys are in the old bantam tractor and Gimpsy gets to live in his own cage in the carport (except during cold weather).

Getting them out of their basement home was simple since they are so used to me picking them up and petting them.

chickens

Teenage boys waiting in the cage to be moved to the bantam tractor.

The boys have adjusted just fine in their tractor (likely because they don’t have any other chickens picking on them).

The girls… Not so much.

chickens

Some teenage girls trying to find their way in their new home.

When we first put them in the yard with the other chickens, they acted catatonic and really confused about life. Since that day, most of them are more well-adjusted. Others still run from all other contact with chickens and hide in the corner of the fence or the house. We think that given time, all of the teenage girls will integrate just fine with the rest of the flock (i.e. their mothers and father).

Gimpsy is doing fine in his cage, and has become more vocal since feeling like he is the king of his castle (that is, except when Bolt sticks his big, ugly mug up next to his cage).

chicken

King of his castle!

More updates to come!

.:.

Pigs in a Blanket (and Hay)!

Yesterday and today have been pig-filled days… Tonight we ate pigs-in-a-blanket while watching an awesome video about butchering pigs, but not until after we finished creating the wind-and-snow-proof, new pig hideaway. Our original fence was working just fine for mild weather, but we knew that we need something a lot sturdier and weather proof considering the incoming 6+ inches of snow!

The side of the shelter

The side of the shelter. Old doors we found in the barn are lashed down for sturdy wind breaks… Emma’s idea! The 2 perpendicular sides of the shelter are situated like this.

The 3rd side of their shelter... A partial cattle panel with a tarp wrapped around it for blocking the wind.

The 3rd side of their shelter… A partial cattle panel with a tarp wrapped around it for blocking the wind. This side runs diagonally across one corner of their pen… This was Jason’s idea!

The one small opening they have for getting in and out… This minimizes the wind and snow that can fly in!

Hello pigs!!!

pigs

Looking in at the pigs from a little peep hole in the opposite corner from their entrance… We’ve stuffed it with hay so they can fully bury themselves if desired (since they love this so much!).

Pigs in the hay! Stay warm tonight!

.:.


Starting the New Mobile Chicken Tractor!

With the chicks getting bigger and bigger (and messier and messier!) it is high time to get them outside and into the “free” world!

This weekend Jason and I started with our new chicken house/tractor idea. Since we started the homestead almost 2 years ago, our idea of the best chicken houses and pens have changed. Our first chicken house is still in use, housing our standard chickens and just a few bantams (these standards are the parents of our new chickens). This house is larger than the newer one and the associated pen once enclosed the house but now uses the house as a fifth side of the pen, giving the chickens almost as much space and making the entire contraption easier to move. More recently, the bantam mobile has become even more of a favorite. Its small size and light weight allows us to move it everyday, which gives the bantams access to fresh turf and cuts down on damage to the yard and grass.

So, based on our experience with a semi-mobile house/pen and a very-mobile house/pen, we realized that we really like the very-mobile design better. Our idea of the new house is this: a 12 foot by 8 foot chicken tractor that can be moved as often as we desire, by dragging the entire structure.

This structure is being made out of 1 1/4 inch black polyethylene pipe, the flexible kind! This will be really lightweight and allow for easy sliding!

We started on the base of the tractor, cutting the pipe to the right length and attaching plastic connections so that 3 arches can be added to the top of the frame. We anticipate that the arches will be about 4 feet tall at their highest point.

piping

The joints that will allow us to add the arches.

piping

The corner joints!

The final product will be half-cylinder shaped, like many greenhouses. But for now we have to deal with the issue of straightening out the pipe, since it has been tied in circles and kept behind the barn for the past half-year!

piping

Look how crooked these pipes are now! Don’t worry, though! We can straighten them out in the heat of the sun.

After we get the pipe straightened out a bit, we’ll add the arches to the frame and finish connecting the corners. The entire house will be covered by chicken wire (but the bottom will be open) and one half of the structure will be also covered in something (perhaps black roofing liner and a tarp) to keep out the rain and the wind and also house the roost bars.

We have yet to figure out where the egg box will be and how the water and food trays will be designed, but it’s exciting to finally get started!

Wish us luck!

.:.

Older posts

© 2024 KW Homestead

Theme by Anders NorenUp ↑