KW Homestead

Pasture Raised Poultry & Edible Landscaping Plants Since 2013

Tag: harvesting (page 1 of 2)

Muscadines: Wild, Domestic, and Encouraged

There’s nothing quite like a fresh picked muscadine grape that has only traveled the distance from the vine to mouth via your hand. No sprays, waxes or added sugars necessary. These delicous fruits are a great pick for organic gardeners, and others interested in edible landscaping in the South.

Muscadines (Vitis rotundifolia) work so well here in North Carolina because they are our native grape. They are resistant to our most common pests and diseases, such as Pierce’s disease and Phylloxera which can wreak havoc on popular V. Vinifera cultivars like Merlot, Cabernet, and Chardonnay. While these familiar favorites can be grown in NC and other Southern States, you have to be careful with variety and site selection for your vineyard, and pay particular attention to rootstocks and soil characteristics before planting your backyard vineyard.

Muscadine Harvest

Fresh picked Muscadine Grapes

While planting muscadines on your property is definetly a productive option, wild muscadines are extremely common in our forests and woodland edges and are a great option for wildcrafters and foragers. In fact, this harvest of grapes was one we foraged from wild vines growing along the edge of our pond.

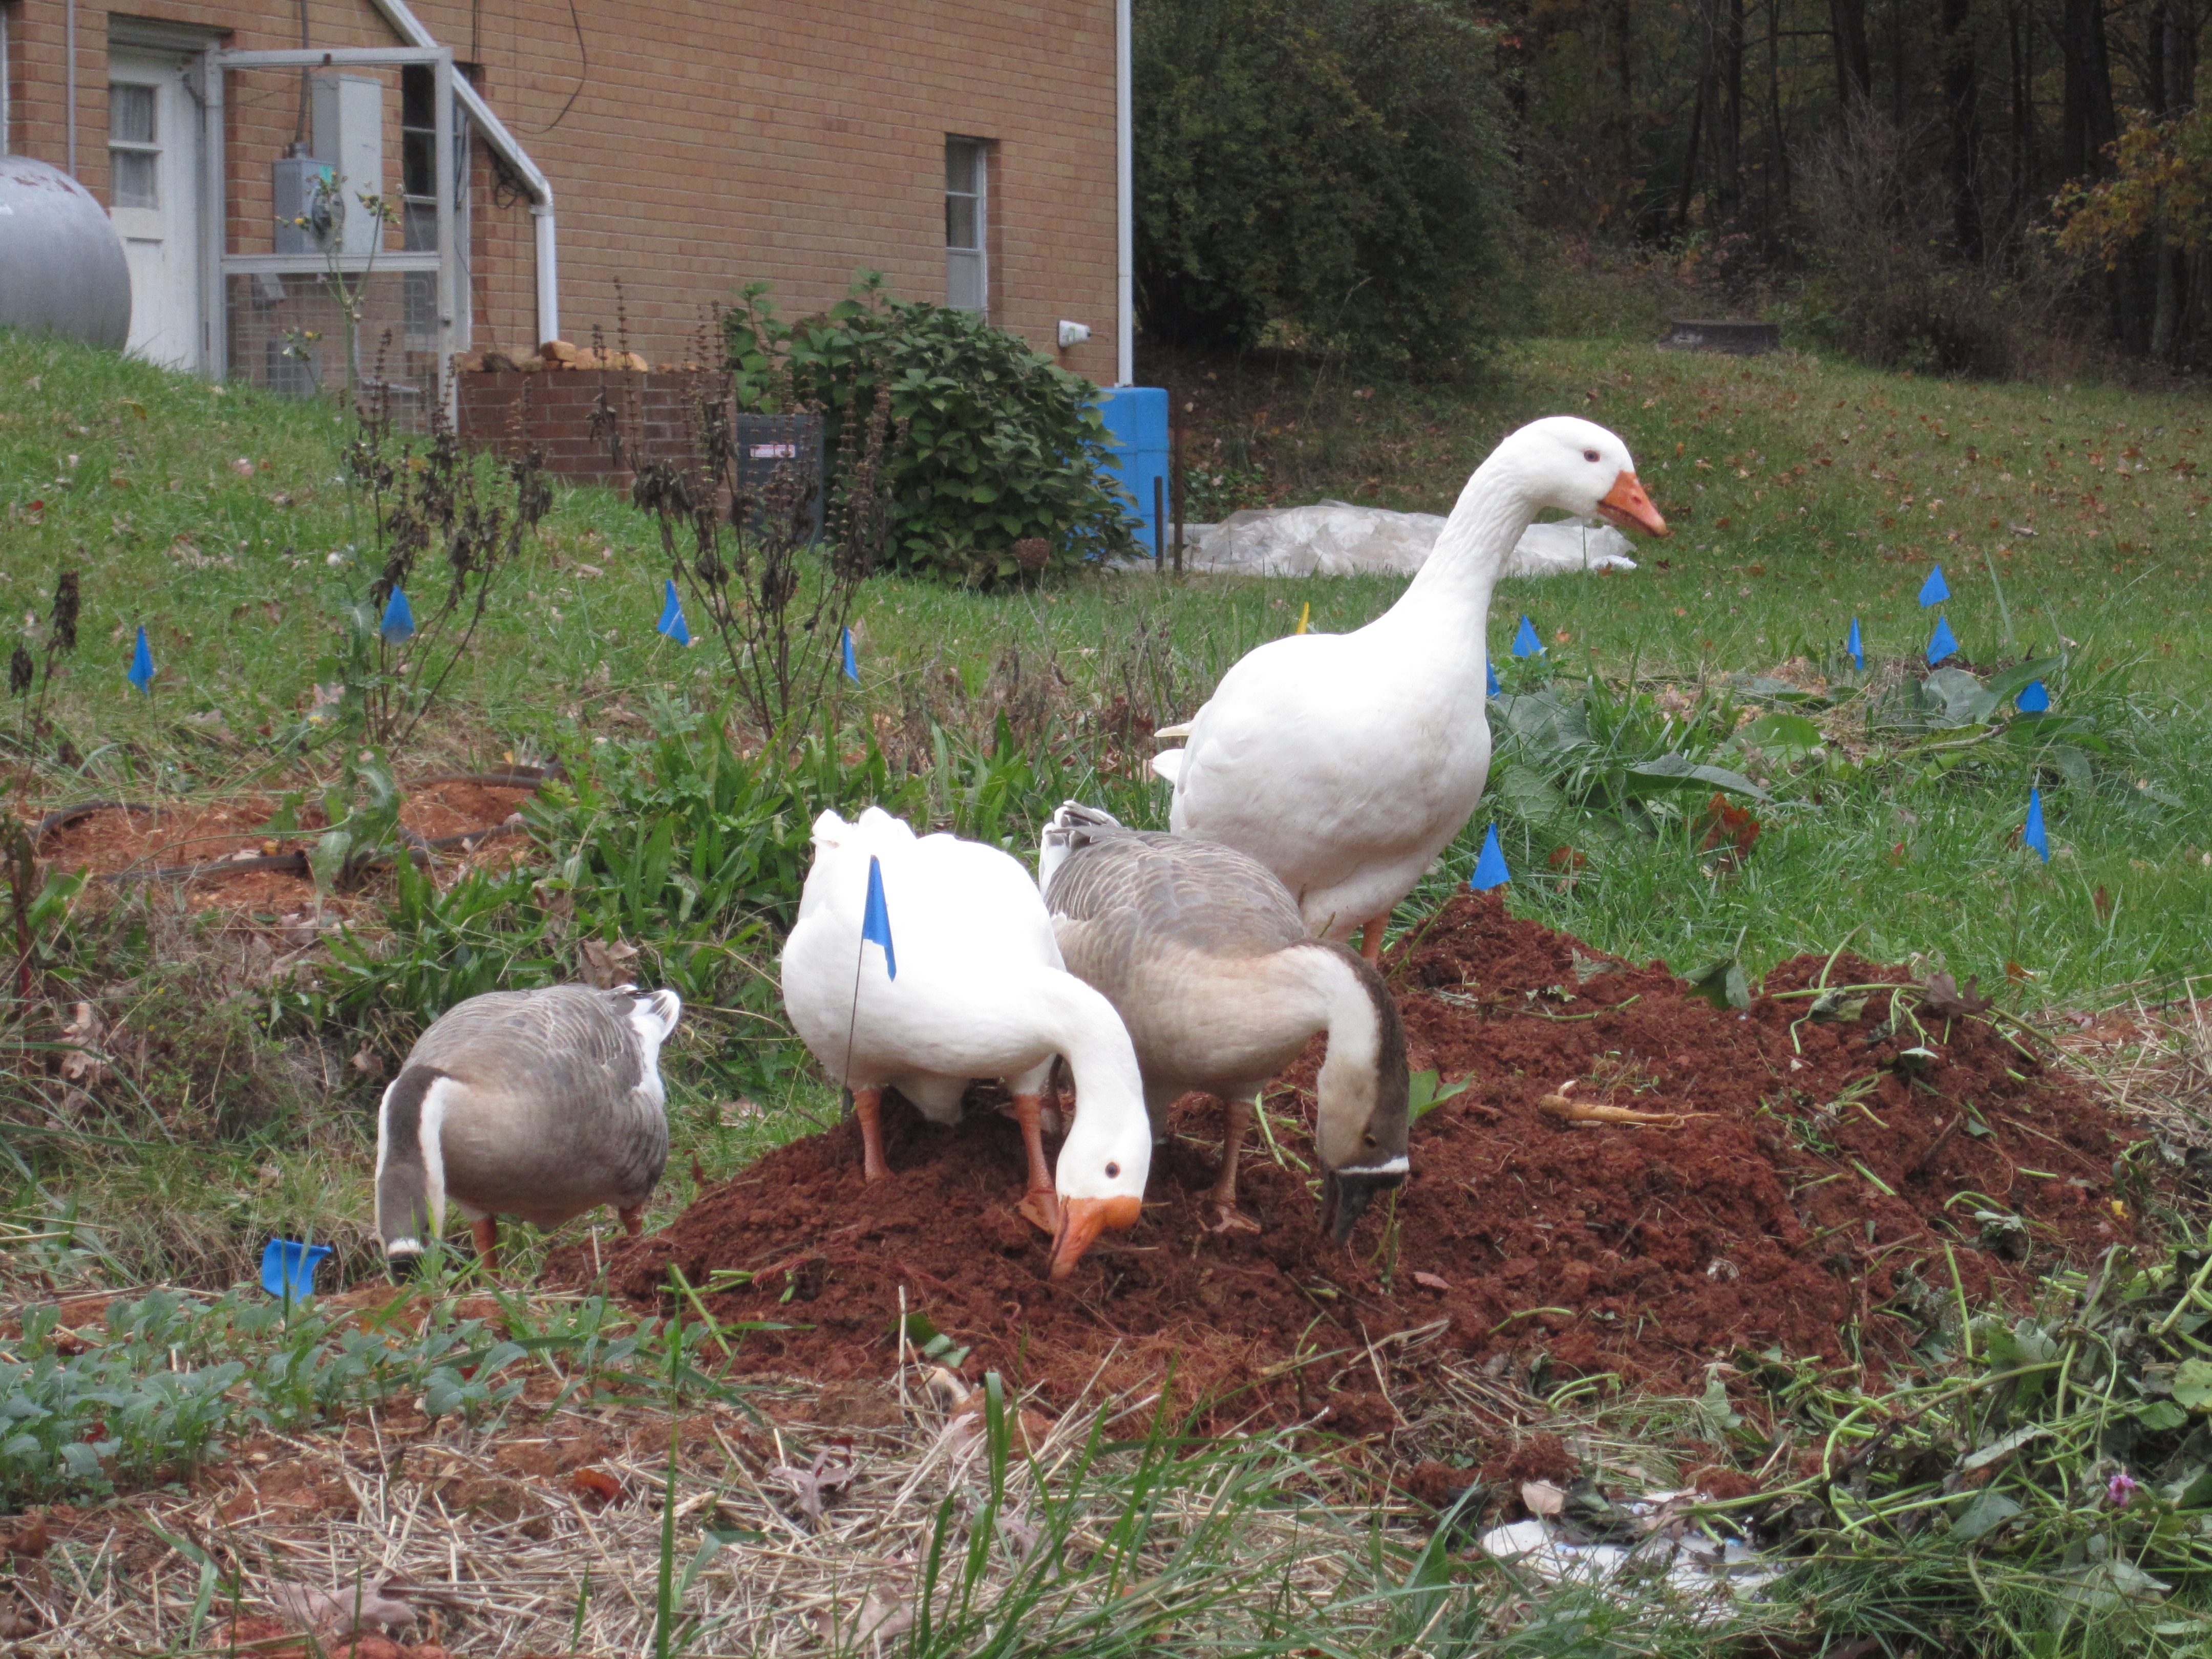
Wild muscadines tend to ripen over a period of a couple weeks in late summer/early fall, so it often takes multiple trips spaced out over time to gather the fruits from one vine. Of course you won’t get them all, and many birds and mammals will feast on the ones left behind or drop to the ground. On our farm, the free range ducks, chickens, and heritage turkeys relish these sweet treats as they fall from vines that can reach up to 60 ft tall in the canopies of oaks, hickorys, and pines.

Wild Muscadine Grapes

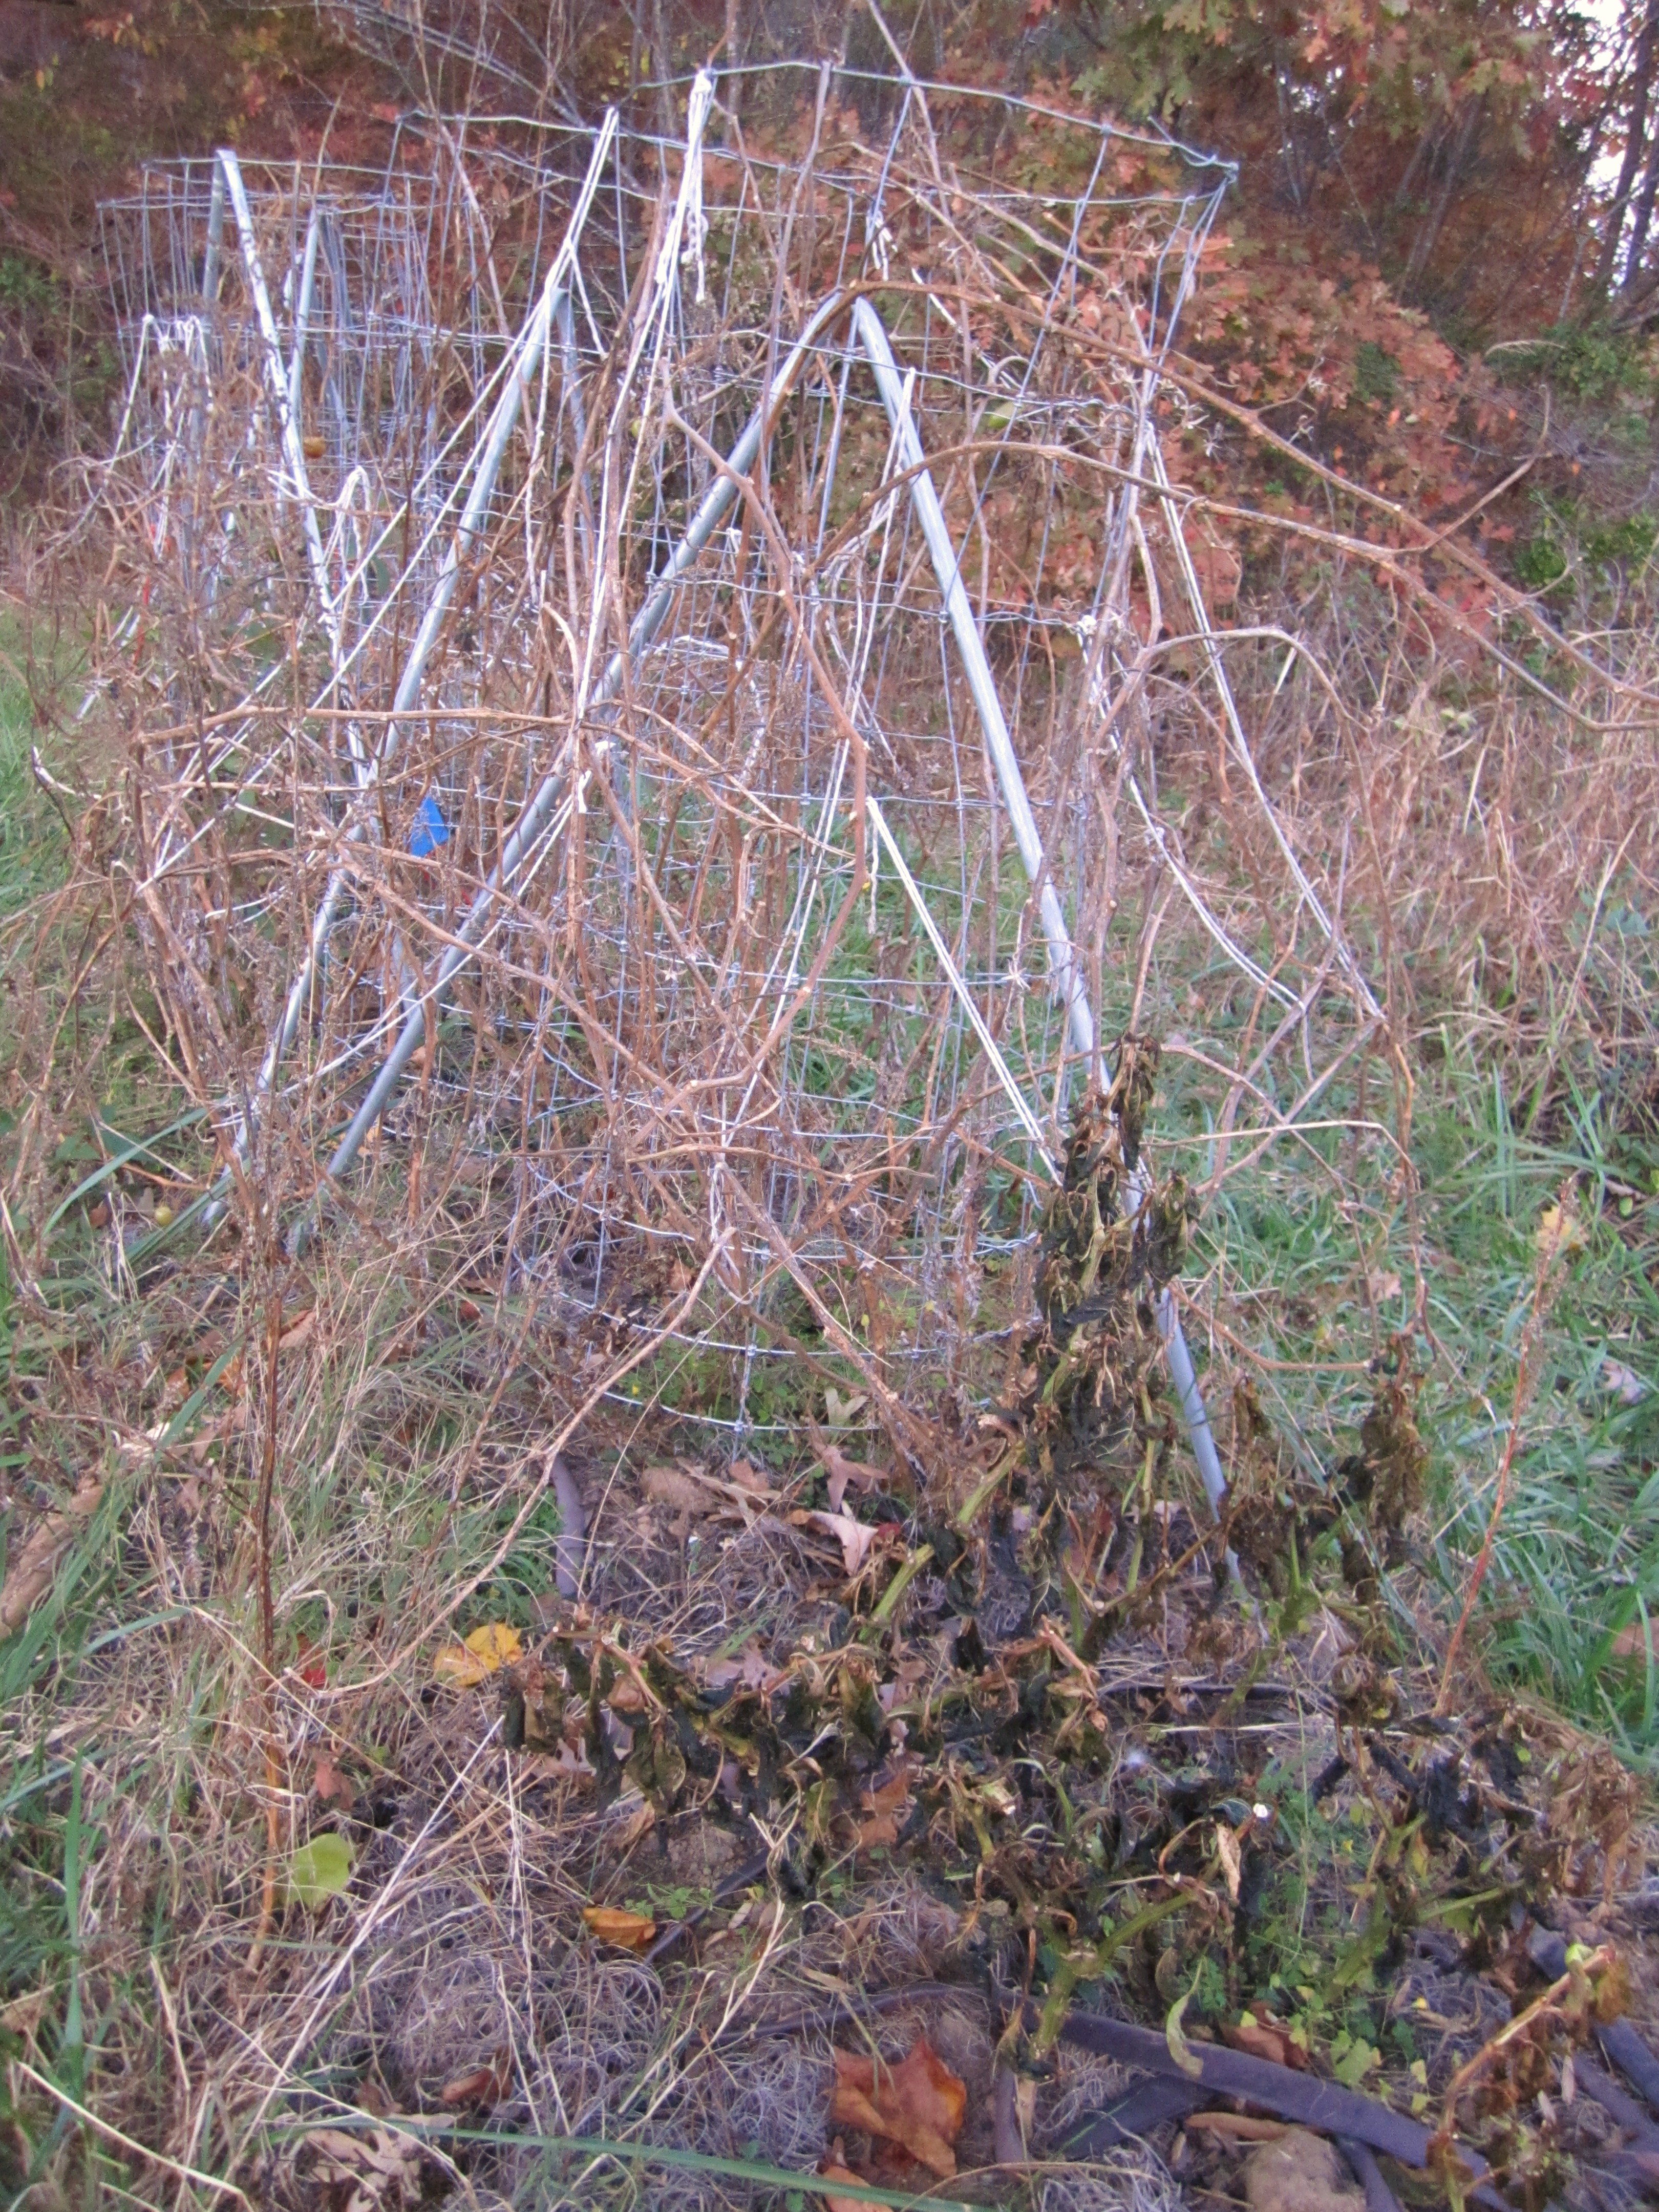
Wild Muscadine Grape Vine Ready to Harvest

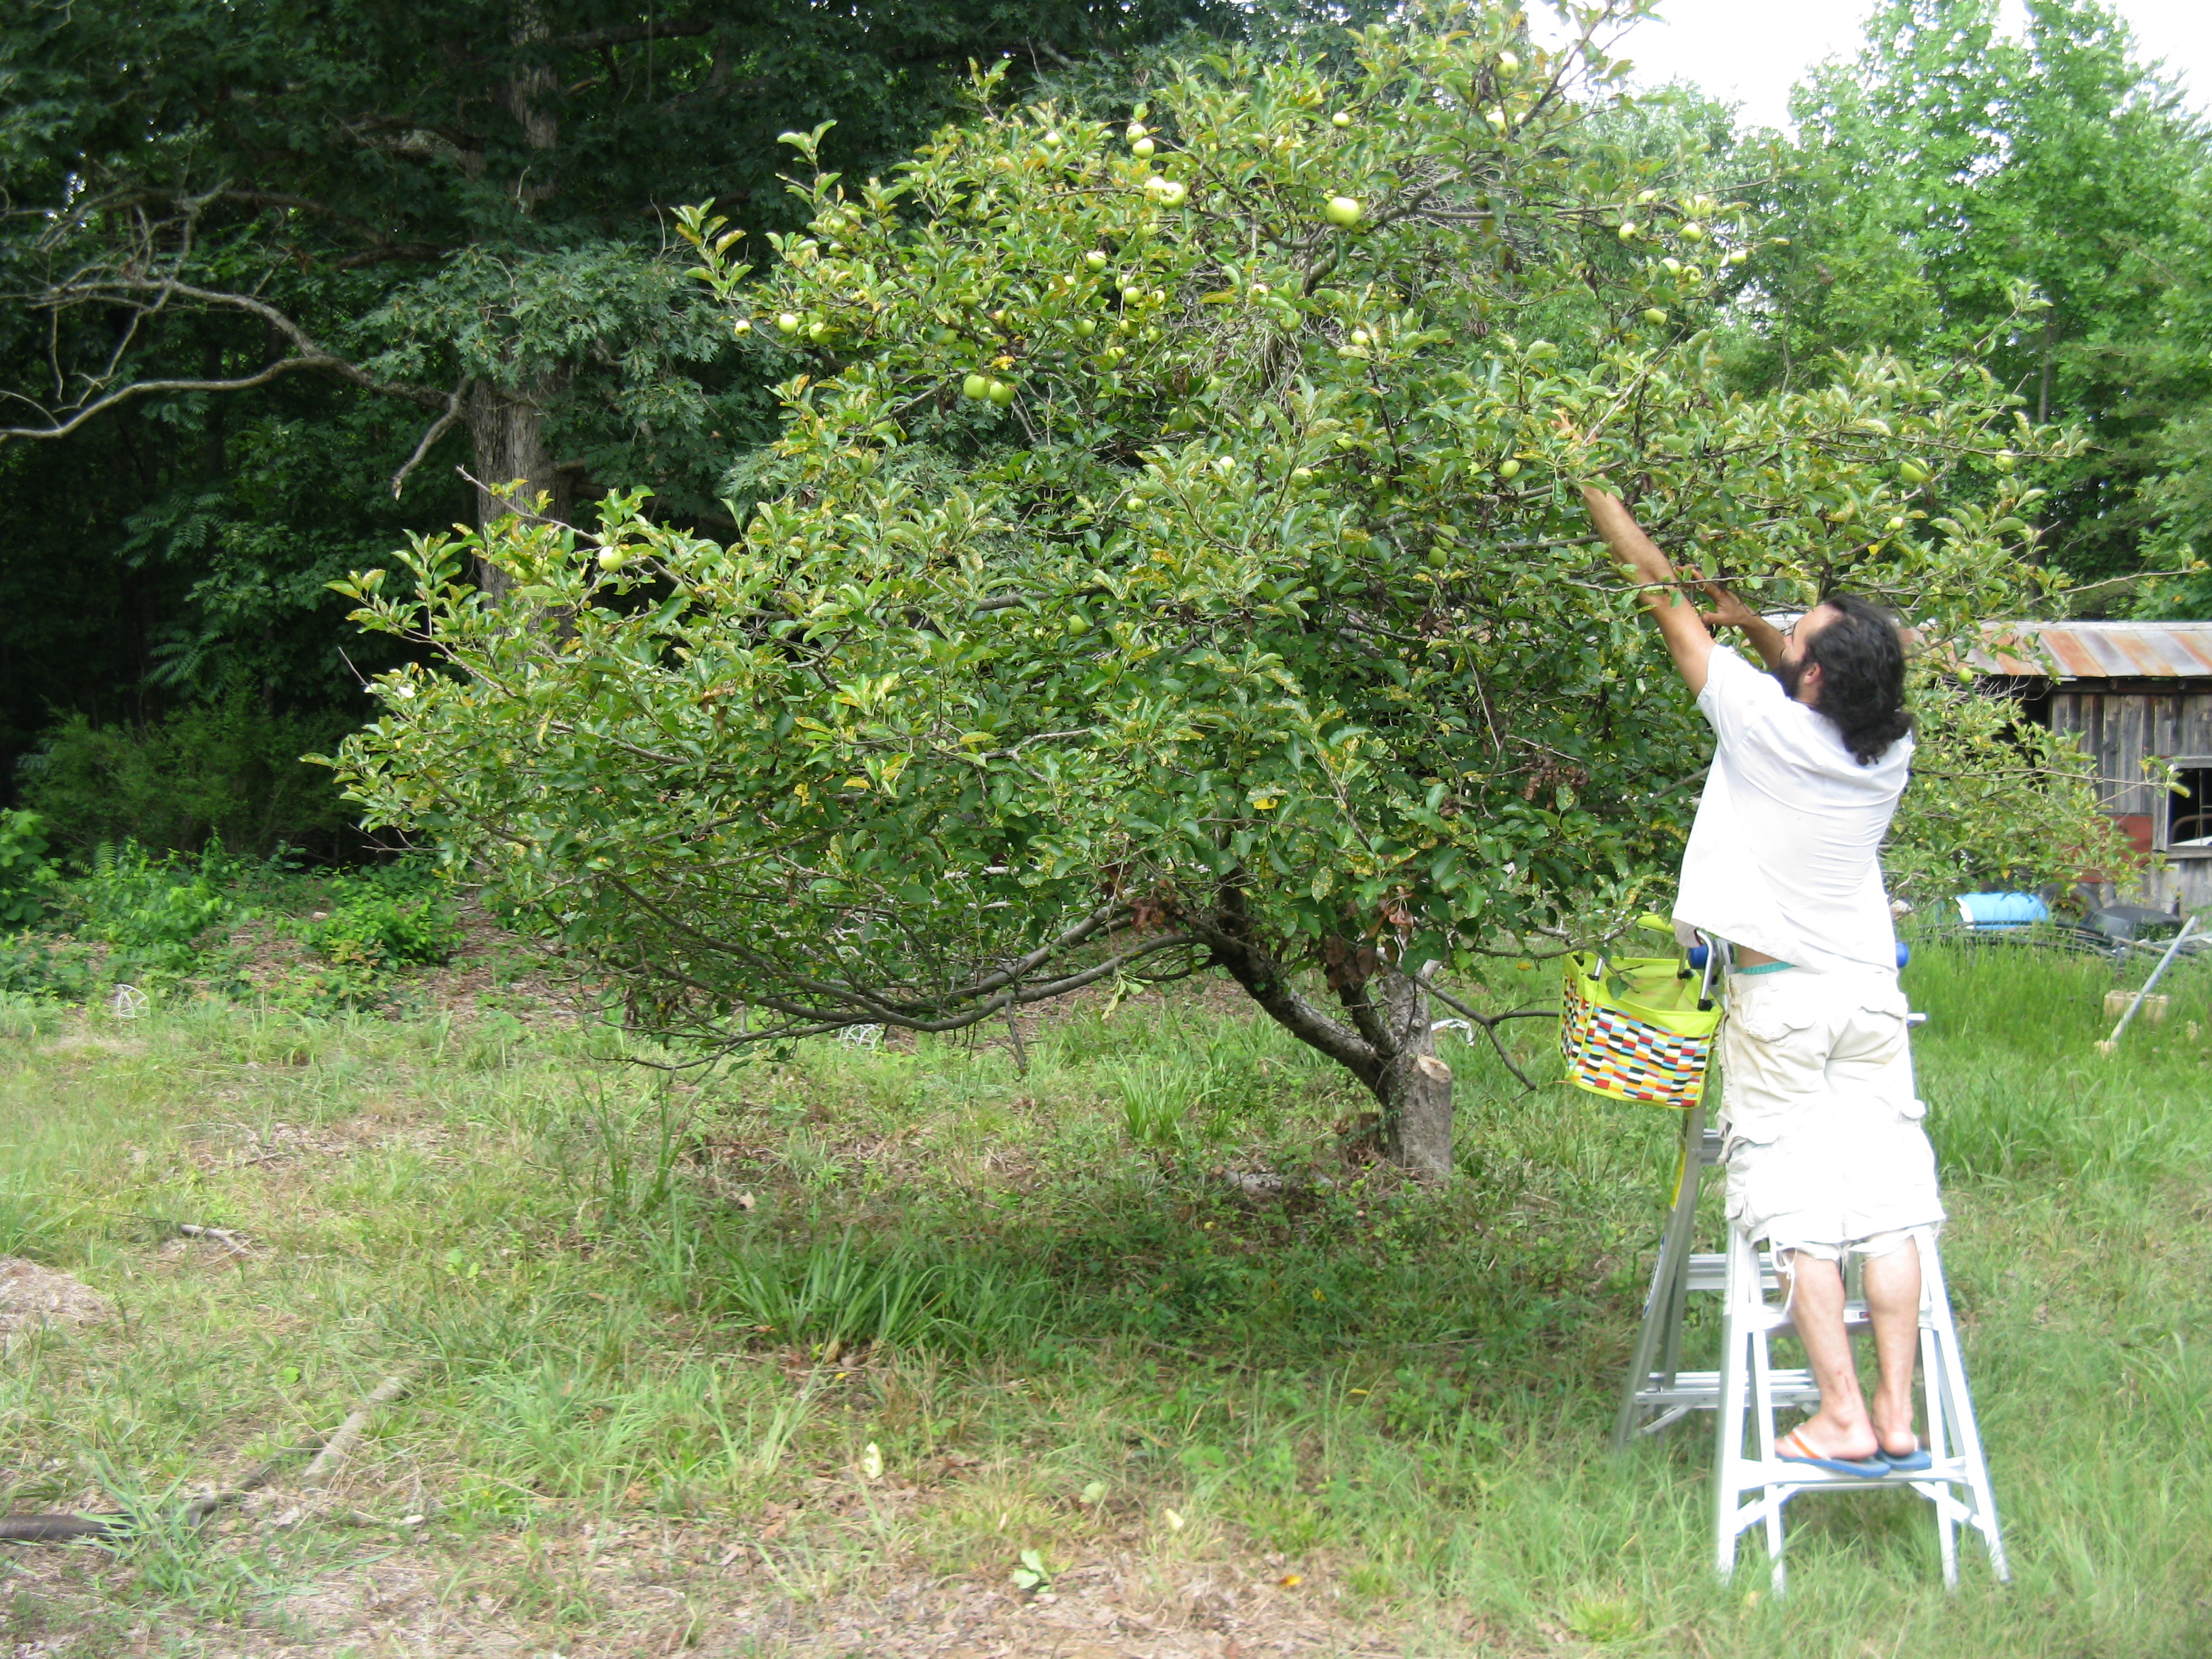
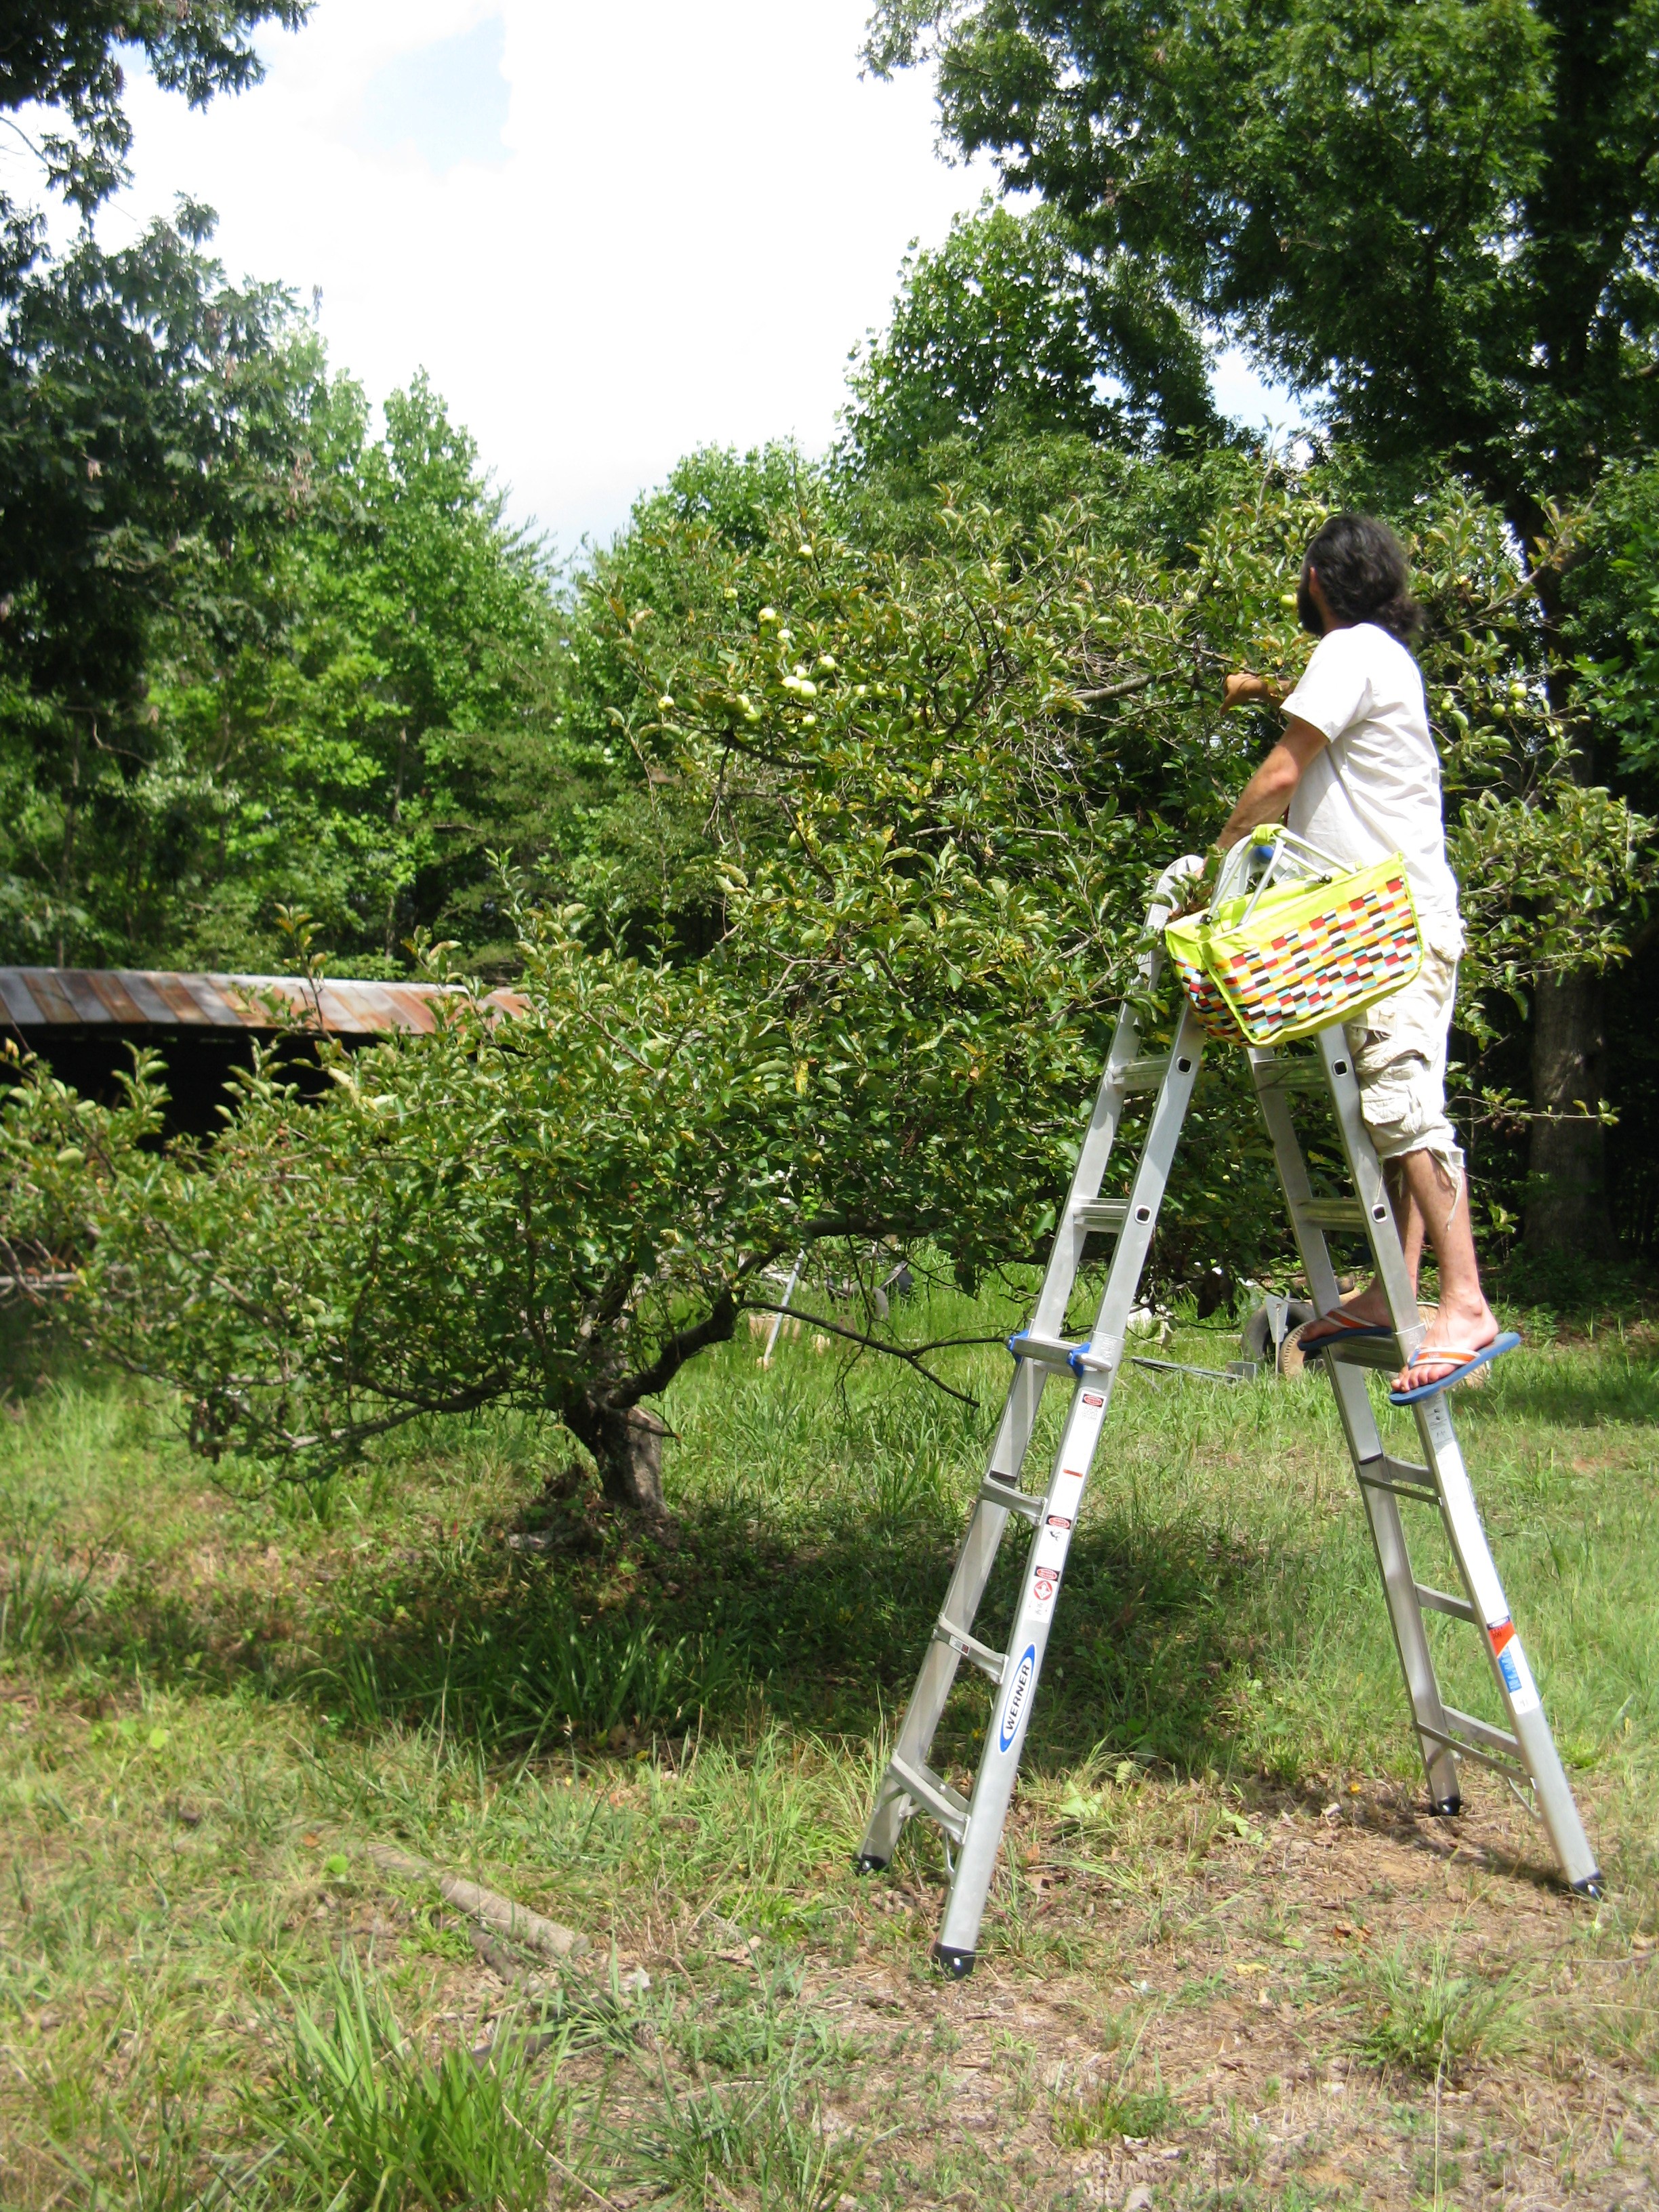
Wild vines aren’t always the most productive, and the ones that are growing in mature trees are often too high to harvest anyway. The best vines are those that are growing along smaller trees and shrubs that are easily accessible to human hands.

Once you find a vine like this, one option is to tend to it like you would a planted vine. Selective pruning to remove dead wood and overgrowth of foliage, as well as some light pruning of nearby vegetation to let in some more light will help to ripen more fruit. Some vines can even be lowered onto supporting vegetation that is makeit easier to harvest these delicous grapes.

This type of “wild encouragement” is an easy way to increase fruit yields that benefit both you and nature. As long as you are careful, and make sure you aren’t messing around on protected property, this can be a very positive human interaction with the landscape.

Whether you’re planting improved varieties of muscadines or foraging from wild vines, these vigorous natives are delicous fresh out of hand, or in wines, jellies and jams. Happy picking!

2015 Apple Harvest

Harvest season is upon us! In addition to the wild blackberries we put up, we harvested apples the other day from our somewhat deformed backyard Apple tree. This tree was planted by the previous owners of our homestead and forgotten to the point that it was almost completely engulfed by a massive honeysuckle vine.

Our first year here, it produced only a few small and tart apples that were eventually all eaten by deer, but after removing the honeysuckle and some heavy pruning, we were rewarded with a 32 pound harvest last summer.

This winter, I pruned it even more, and actually grafted some Roxbury russet scion onto a few potential leaders. Serious pruning of any fruit tree should be carried out over several seasons, so as not to shock the tree too badly.

apple harvest yield culls

our 2015 apple harvest, sorted and ready for processing

This year, we harvested a little over 40 pounds of apples. Now that’s not the 4-7 bushels that I talk about in my post on the value of a fruit tree investment, but it is a lot of apples for, other than a little pruning in winter, and 20 minutes of picking in Summer, essentially no input. No fertilizer, insecticide, fungicide, herbicide, or irrigation.

Now of these 40 pounds of apples, I’d say that only 15% are “grocery store” apples. That is nice and plump, with no blemishes, bruises, funny shapes or insect bites. We’ll eat these fresh and savor every bite.

the grocery store apples: blemish free and plump.

The rest of the apples will be processed and preserved. We are plan on drying/dehydrating them.  Of these apples, the non grocery store apples, most of them contain either a few minor defects, or 1 large defect. They also tend to be a bit smaller, and more oddly shaped. This doesn’t effect the flavor though and they should dehydrate fine. 70% of our apples fall into this category.

processing apples with minor defects, nothing major to see here

The next batch of apples have more serious defects, often a major soft spot that will effect its shelf life, or many medium sized defects. These apples are often small, and we are going to have to cut around the bad parts when we dehydrate them. They are still usable, but the yield of fruit on them is low. I’d say about 10% of the apples fit this category.

these guys are still usable, but the yield is low and they don’t store well

The last category are the culls. They’re pig food. These apples are either too small to mess with, or almost completely covered in defects and soft spots. Drops and rotten apples fall into this category and they will be fed to the pigs who will enjoy them thoroughly. The remaining 5% fall into this category.

culls. not worth messing with, a.k.a. pig food.

All in all not too bad, and we will definitely update you when we start dehydrating apples!

A Blackberry Adventure!

It seems now, as I write this, that blackberry season is over on the homestead. We were hoping to harvest 50 quarts but we fell short this year, landing somewhere around 15. Not nearly as much as we wanted, but it definitely is a great start since last year we harvested 0 quarts!

The picking process is simple, really. You just have to be a little thicker skinned than usual and get used to getting scratched and hurt (not such a new concept around here, really!).

We both got suited up with long pants, a long-sleeved shirt, a hat (the brim really helps by keeping briers from smacking you in the face), and a glove.

jason

Jason after a round of picking.

We tied the baskets to our front, as though we were carrying basket-baby-bellies which allowed us to keep both hands free. We could fit about 4 or 5 pounds in the basket before it got too full and heavy, which meant that we could pick for at least an hour without having to go back to the house to drop off our fruits.

Emma

Emma wearing a basket.

Jason had a different tactic than I did. I chose to wear a glove on my left hand so that I could grab briers and pull them closer to me to pick the berries with my right hand. I would pick up to 10 berries, letting them collect in the palm of my hand before dropping them off in the basket. Jason chose to pick with both hands, without gloves.

We decided to have a competition to see who could pick the most, with points lost every time you yelled out in pain from a brier sticking you (which was often). We imagine that the game is one we can use to get our kids to pick blackberries with us (and one that we imagine will make them tough!).

Once we were done for the day we weighed our fruit (I won!) and we rinsed them outside with the hose.

blackberries

Then we brought them in to dry. We spread them out on a towel and turned on a fan.

blackberries

And once we decided they were dry enough, we filled up quart Ziplocs with them and labeled them.

bags of blackberries

Now we have at least 15 blackberry pies for the fall and winter. Yay!

.:.


Sunchokes! A Tasty and Reliable Homestead Crop

This year, in addition to growing vegetables in the garden, raising chickens in tractors and mobile coops, and planting a backyard food forest, we also experimented with some unusual crops. One of these in particular, the sunchoke or Jerusalem Artichoke, was a huge success.

sunchokes permaculture

Sunchokes are both pretty and productive!

Sunchokes are related to sunflowers, but instead of delicious seeds, they form crisp and tasty tubers. These can be dug anytime after frost, and have a slightly nutty and pleasant potatoey flavor. One great thing about them is their lack of starch, and high proportion of inulin. This makes them a great food to help regulate blood sugar issues, and possibly one for diabetics to consider trying. Sunchokes are often found growing along side roads and at the edges of fields and forests. They spread readily from their roots and are a perennial staple crop that requires little care. I think we watered them about 6 times this summer, and they never once looked stressed.

sunchokes harvest

Freshly dug sunchokes!

I dug the first batch of tubers the other day and was pleasantly surprised to harvest about 1 pound of tubers from 1 plant. That’s about an 8 to 1 return.

sunchokes cooking

The tubers are somewhat knobby, which can make cleaning difficult.

Once I cleaned up the knobby tubers in warm water, I chopped them into bite sized pieces and added onions, peppers, basil, garlic, oregano, a healthy amount of olive oil, and to top it all off, some hot Italian sausage. I roasted this at 375 until everything was cooked, and then served it with a runny egg on top. Kind of like a homestead hash. Yum. We usually make this dish with potatoes, but the sunchokes were great in it.

sunchoke recipe

You can use sunchokes in any recipe that calls for potatoes.

Another interesting fact about sunchokes is that you can eat them raw. They are crunchy, and less digestible, but have a refreshing and crisp taste. Other ways to prepare them include frying, boiling, mashing and any other way you cook a potato. You can often find them at health food stores (I know I’ve seen them at Whole Foods) or ethnic markets. They are also fairly prevalent throughout much of the US and if you’re quick, brave, and good with a spade-fork, you can harvest an unlimited amount from wild “roadside stands.”

For us though, we plan on expanding this easy and productive crop to many areas of our homestead. I did notice that it prefers to be planted earlier rather than later in the season, and likes a little bit of shade at some point in the day to keep its roots cool. Our original planting stock was purchased from ebay, but I have seen them for sale at many mail order and online nurseries. We plan on eating all of the larger tubers and using the smaller ones to replant in other areas!


frosted plants and crunchy leaves

a sure sign that fall is here and winter is coming… frost! we had our first frost of the year on november 1st, which was close in date to first frosts of other years. luckily, we were proactive; we watched the weather and were poised to harvest the crops before the frost came in. among the things that we harvested:

peppers

  • jalapeño peppers
  • aji peppers
  • sweet bell peppers
  • cayenne peppers

sweet potatoes (these we harvested after the frost because jason cut off all of the greenery and covered them up with sheets to protect the tubers for a little while longer)

  • red porto rican
  • yellow porto rican (see jason’s post to learn why their name is spelled this way!)
  • korean purple

chia

herbs

and a good thing  we did, too! check out how frosted (and killed and blackened) the peppers became…

frosted peppers

the aji pepper plants after the frost!


frosted peppers

the bell pepper plants after the frost!

some crops do well with a light frost, though. kale is one of them, and the frost even makes the leaves sweeter. our kale is still going strong and we ca’t wait to eat some!

baby kale

baby kale, oh baby!

jason also just put some garlic in the ground, which withstands even the coldest winters like a champ. our oca tubers are still in the ground, too, and they won’t get harvested until after winter is winding down.

i’ve also noticed the lovely trees and leaves on the ground (and since we don’t rake or leaf-blow them around, i get to enjoy their crunch for a while to come (even though they’ve piled up in the carport too!)!

maple tee losing leaves

topless tree… our front yard maple.


oak tree

our front yard oak

leaves in yard

my pile of leaves!!!

.:.

Sweet Potato Harvest 2014

Today was a great day to harvest sweet potatoes. The slips we planted months ago have done okay in the garden and it was time to dig them up and see how they made.

geese  sweet potatoes

The goose troop making sure I didn’t miss any sweet potatoes

In preparation for our first frost the other night we cut off the tops off of the sweet potato plants because frost damage enters the tubers from the vine part, and by cutting off the top and leaving the potatoes in the warm ground, we can delay the harvest a few days until it’s more convenient.To add a little bit of extra protection, I covered the sweet potato beds with old bed sheets to keep in a little extra warmth. It definitely worked, and there are no signs of any frost damage.

covering sweet potatoes

cutting the vines off and then covering with a bed sheet can give you a few extra days to harvest your sweet potatoes

We planted 3 different varieties; 1 red porto rican sweet potato (I know, it should be Puerto Rican, but that’s what they call it), 1 yellow porto rican, and 1 korean purple. The porto ricans we grew last year with great success, and the purples were started from tubers from Super G, and international grocery store in Greensboro. They were planted in 4 different locations in the garden. About 1/4 went into one of our new hugelkulture beds, where they were inter-planted with sorghum and cowpeas as a southern style 3 sisters garden. These did the best.

sweet potato varieties

red porto rican, yellow porto rican, and korean purple sweet potatoes

Overall, the yields were not as great as last year, but still okay. We planted them much later than last year, and the fertility in many of the plots were on the low side. Still, we should have plenty of sweet potatoes to last us through the winter and into next year. This means plenty of sweet potato ginger soup! Yes!!

When is the Best Time to Harvest Chia Seed?

When is the best time to harvest chia (salvia hispanica) seed?  

After the flowers have dropped, and the seed pods have turned brown. You can pinch a few of the pods and smush them between your fingers to see if the seeds are black and fully ripe.

when to harvest chia

chia is a great homestead crop.It even grows well inter-planted among the sweet potatoes!

Last year we snipped off individual stalks of seed pods, there are anywhere from 1-20 on a plant depending on vigor, but this took a bit of time. Because the seeds seem to stay in the pods fairly well and not shatter and fall off when the plant is disturbed, I think this year we will just snip the chia off at the base with pruners and then shake the seeds out in one go.

harvesting chia seed

the pods on the stalks turn brown when the chia seed is ripe

These plants are all volunteers form last year and have done fairly well. Chia,  which is related to sage, is an ancient crop from central Mexico, with high levels of omega-3 fatty acids and other micro-nutrients.  It is said that 1 tablespoon of chia seeds could supply a long distance Aztec runner with all the nutrition he needed for a days journey. We add the seeds to water, where the germinate into gooey globs of goodness that take the edge off of an empty stomach and just make the water taste better. Chia!

loads of peppers and tomatoes

after what seemed like a very long and tiresome weekend, we were finally able to get back out in the garden and do some much needed picking!

our black plum and san marzano paste tomatoes are doing really well right now, and some of our cherokee purples are still making it.

also, the jalapenos have kicked off to an unbelievable degree (i got 20 large ones from one plant yesterday, still leaving tons of medium-sized and smaller ones)!

some of the cayennes were ripe and also some of our aji peppers (a delicious pepper that jason and i learned to love while we were in peru).

my heavy picking basket, filled with tomatoes, peppers, and some basil.

my heavy picking basket, filled with tomatoes, peppers, and some basil.

after picking,i estimated that i got about 20 pounds of these ingredients all together. i made a blended up, salsa-like concoction that we’ve frozen to use in sops and pastes in the future. it’s probably very spicy (considering the amount of jalapenos in it), so it will have to be added to other ingredients when we cook with it.

yum!

.:.

apple picking, filling up our bags!

last week jason and i picked all of the apples on our one, mature apple tree. this one we did not plant and it was here when we bought the house and land. it is the very first tree member of our food forest. last year this apple tree did not make apples larger than the size of small crab apples, but this year, after being pruned, it made a great first harvest for us!

our (golden delicious?) apple tree

our (golden delicious?) apple tree

we’re not sure what variety of apple it is, but the apples are very similar in taste and appearance to the golden delicious apples that my parents grow. this year the apples grew to be much larger and they taste wonderful! a little sour and a little sweet–my favorite!

jason climbing the ladder to get to the apples at the top.

jason climbing the ladder to get to the apples at the top.

first we picked the lower apples on the tree, placing them into our picking bags and baskets and afterwards we brought out the ladder to get to the apples at the top of the tree. we were surprised by how many apples were actually hidden on the branches of the tree… we got so many more than we expected!

jason's picking basket.

jason’s picking basket.

my picking basket. a backpack hung over my front makes it easy to place the apples i pick inside. plus, it's practice for being pregnant in the next few years.. ha, ha!

my picking basket. a backpack hung over my front makes it easy to place the apples i pick inside. plus, it’s practice for being pregnant in the next few years.. ha, ha!

after we picked all of the apples, we sat in the cool basement and sorted them, separating the apples with blemishes from those without them. the apples that are the worst shape are in the kitchen now, awaiting their turn to be consumed. other apples with blemishes are in the fridge downstairs, to be eaten before the other refrigerated, blemish-free apples.

after we sorted the apples we weighed them and we got 32 pounds! how exciting!

next on our plate (besides the fresh apples)… german pancakes with apples and apple pie! stay tuned for some of these recipes…

.:.

First Potato Harvest Taste Test of 2014

The other day we harvested the first of our 2014 potato crop. We planted 9 different types of seed potatoes, and we figured it was time to check on 2 of our early varieties, Cobbler and Early Ohio. The vines still had some life to them, but we decided to check on their progress anyway and dug up 1 plant of each. We jumped the gun a bit, but between the 2 plants, there was enough for a nice side dish of boiled new potatoes.

early ohio vs cobbler potato

Early Ohio potatoes on the left, and Cobbler on the right.

The Cobblers were noticeably larger, and the plants had just begun to die back, whereas the Early Ohio’s were tiny, and they were many more pea sized potatoes that were still in the process of growing. We harvested some of the bigger tubers from each plant, and then replanted and watered in the rest to give the tiny tubers some more time. All told, we got 3/16 of a pound of Early Ohio, and 5/8 of a pound of Cobblers.

After a quick rinse and scrub, we cut the cobblers into pieces about the size of the tiny Early Ohio potatoes, and boiled them in salty water. Fresh potatoes cook much quicker than store bought ones and in almost no time we began our first of many potato taste trials. The two early white potatoes were similar in flavor and texture but still different. I enjoyed the sharpness of the Early Ohio, while Emma enjoyed the more potatoey flavor of the cobbler which is better suited to boiling and steaming.

Because these early potatoes still needed more time, I fertilized all of the potatoes today with a mix of bone meal, alfalfa meal, and greensand. I for one can’t wait until we have all 9 varieties harvested, and can review and compare them all at the same time!

Older posts

© 2024 KW Homestead

Theme by Anders NorenUp ↑