Last year’s sweet potato crop was a great one. We are still eating them to this day, and have a few dozen more to go through. This will probably coincide nicely with the first round of early potatoes from the garden, which is exciting because that means we have not had to buy any sort of potato or root tuber since we harvested our potatoes last September, and our sweet potatoes last November. This is definitely one area where even a small homestead can achieve self sufficiency.
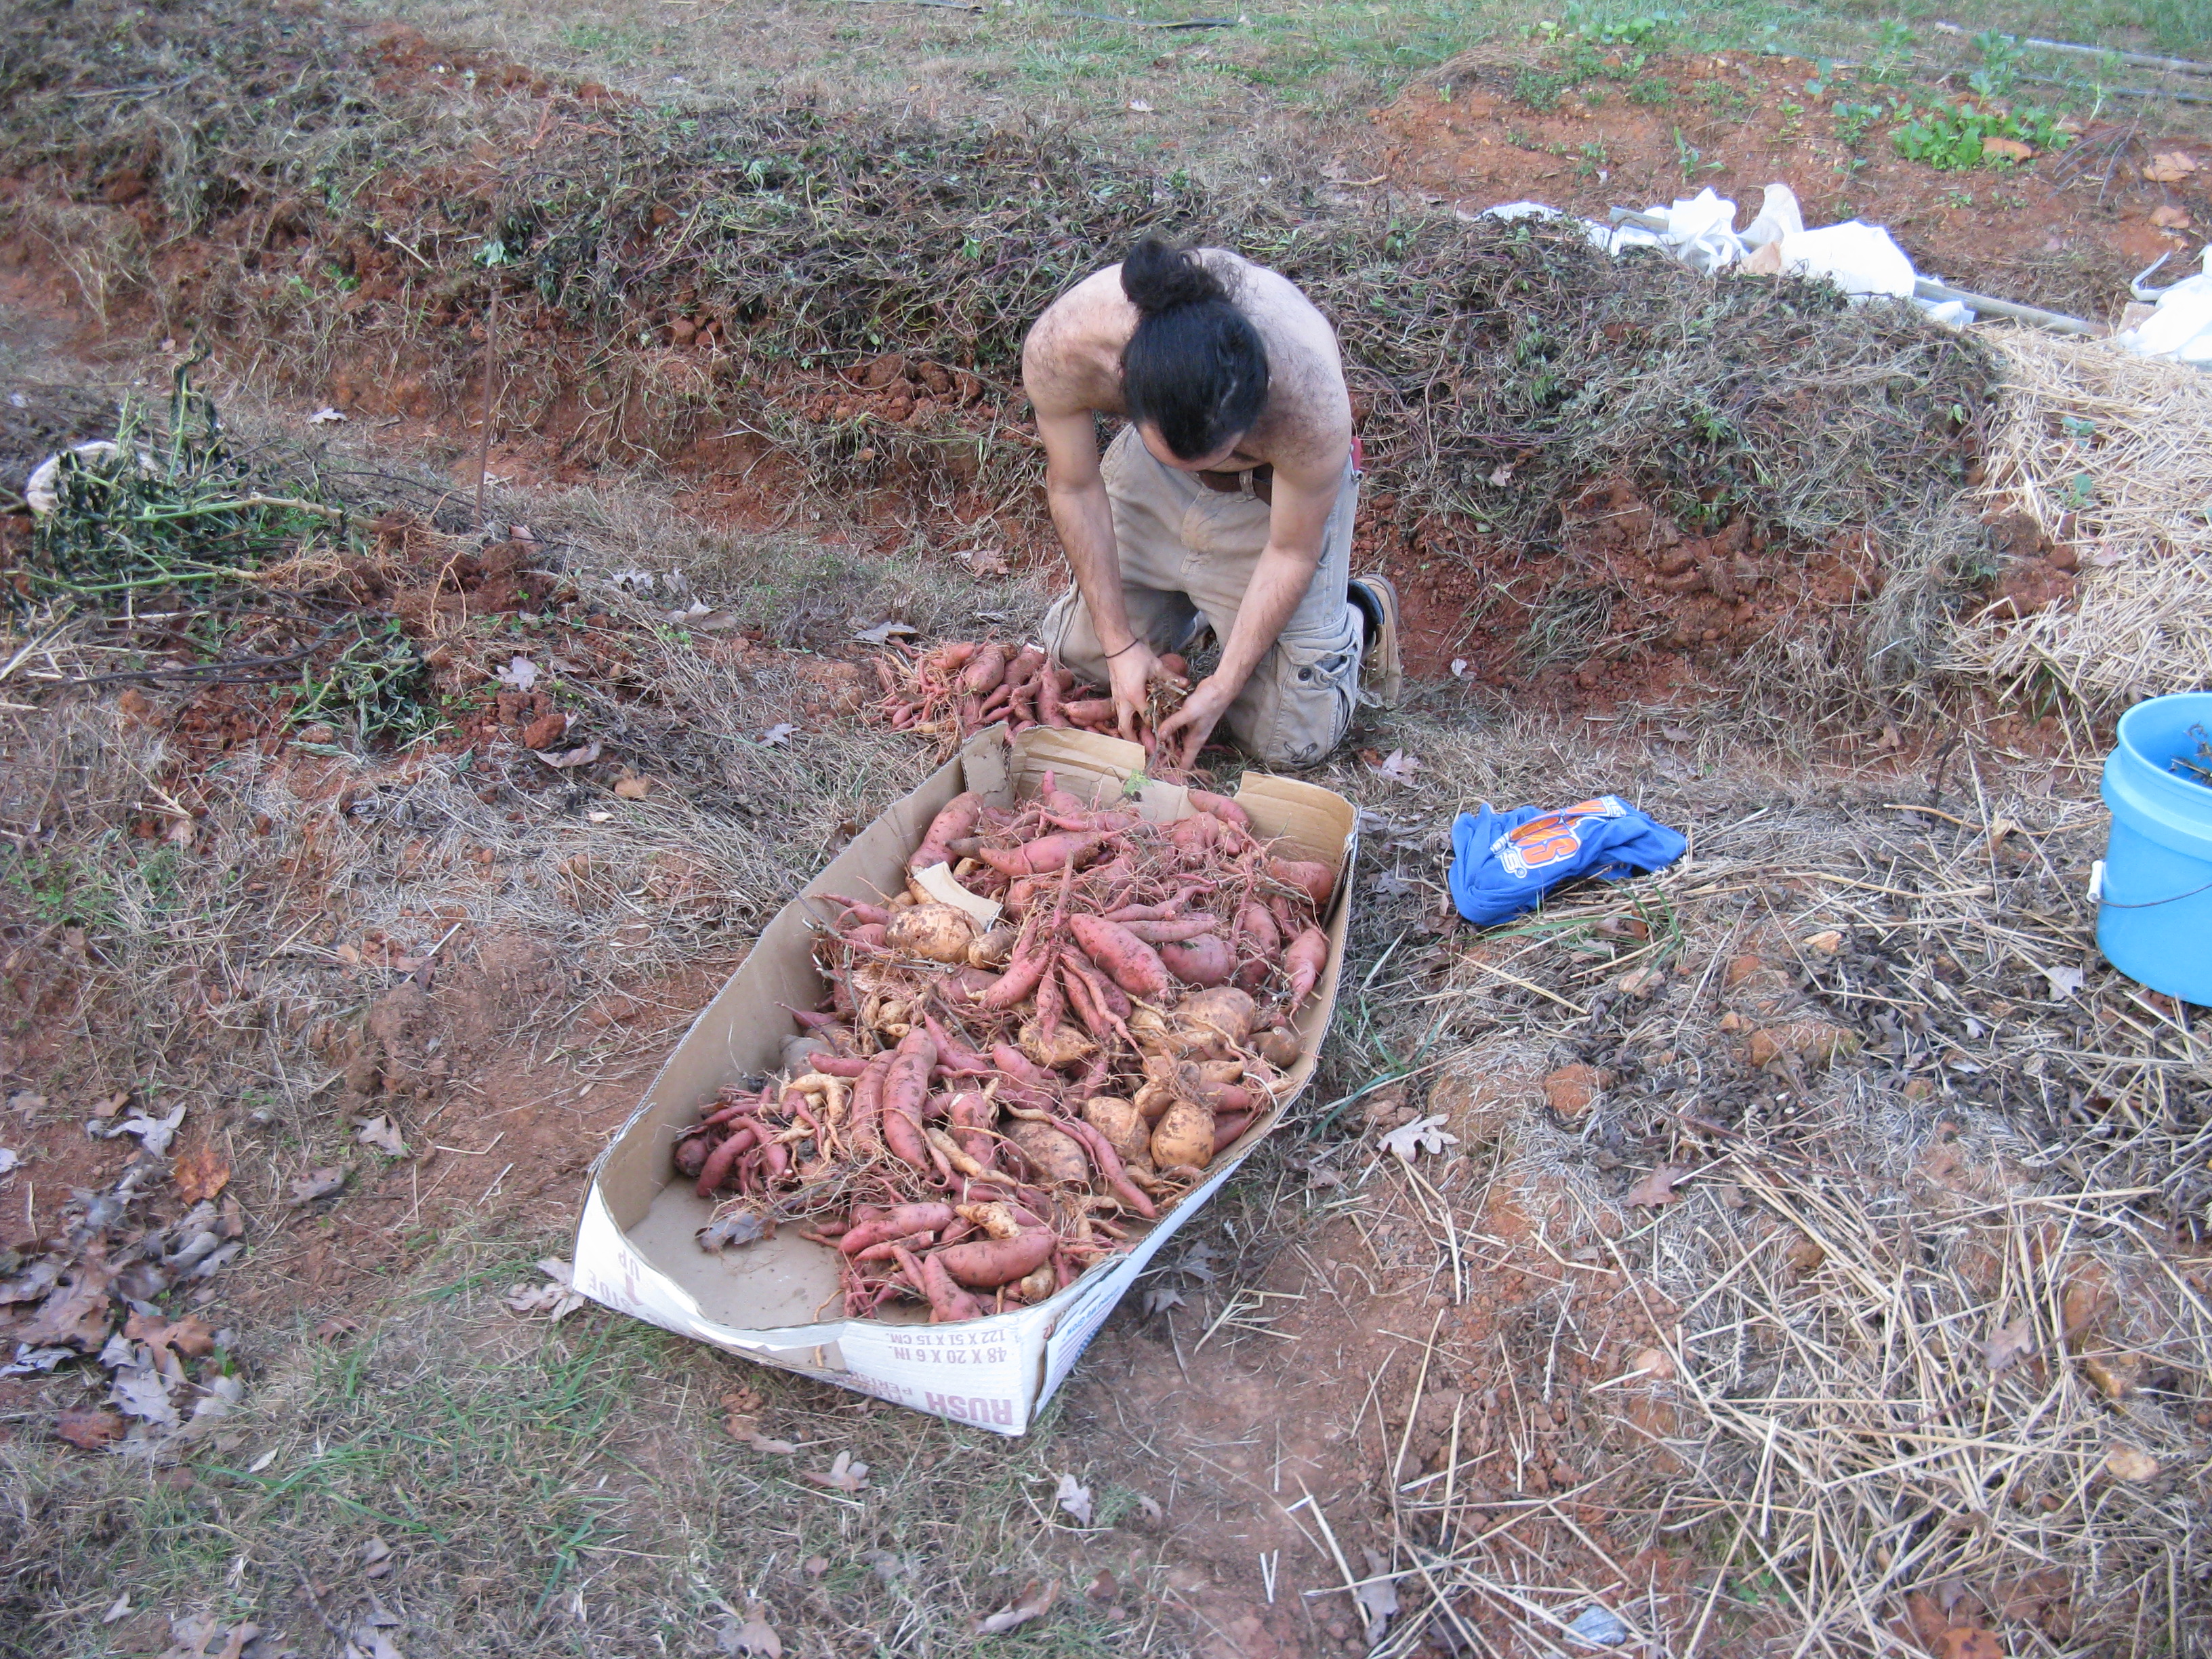
Some of last years harvest
In that regard, I tend to favor sweet potatoes as a self reliance crop. They store better, are healthier, are more adapted to our humid summers, are more tolerant of drought and pests, and they are easier to propagate. To start a new crop of sweet potatoes, you must produce slips, small green shoots that sprout from the tubers. These shoots are then pinched, cut, or slipped off and transplanted into the garden. 1 small tuber can produce over 1 dozen slips, and will do so readily in many conditions. Compare this to Irish potatoes, where you plant seed potatoes. These are small potatoes, or chunks of larger potatoes with at least 1 eye. These must be stored from last year’s harvest, and we have found it much easier to store sweet potatoes, which seem to only get better with age, than Irish potatoes, which want to shrivel up and grow numerous long, creepy, eyes.

a tire makes a nice place to start some sweet potato slips
Last year, Emma’s father got some sweet potatoes from a local farmer, and started the slips for us. This year, we tried a few different methods on our own and are now overrun with sweet potato slips ready to be transplanted. Some of our slips were started from tubers planted horizontally in tires filled with garden soil. The black tires absorb the heat from the sun, and stimulate slip production and growth. These slips are nice because they are already partially hardened off to the outside world, and are growing roots from the parts of the shoots that are under soil.
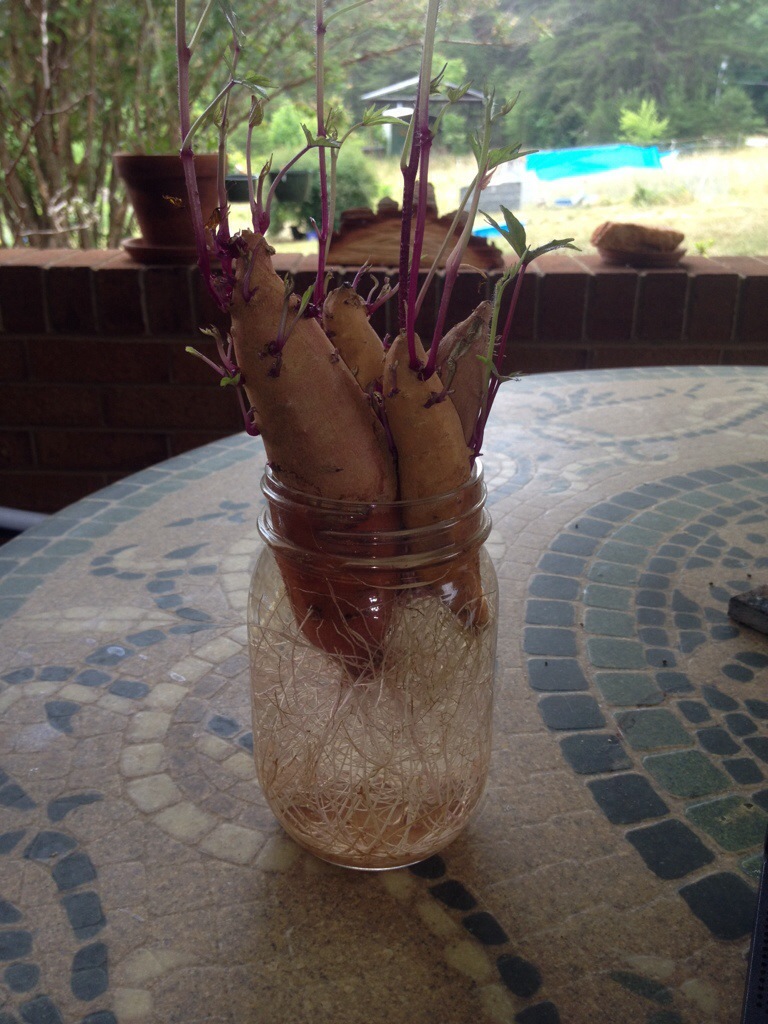
The shoots growing out of the tubers are the the slips.
We also started some slips in mason jars. We picked small tubers for these and jammed them together in the jars making sure that about half of the tubers were over the top of the jar. A few toothpicks helps to keep everything in place. We then filled the jars with water and placed them in a sunny window. By keeping the jars inside, the temperature never got too cold and was often in the 70-80 degree range that triggers slip production. Slips began to form in about a week, and when they were 5-8 inches long, we separated them from the tuber by pinching, nipping, or cutting it off at the base, and then put them in water to produce roots.
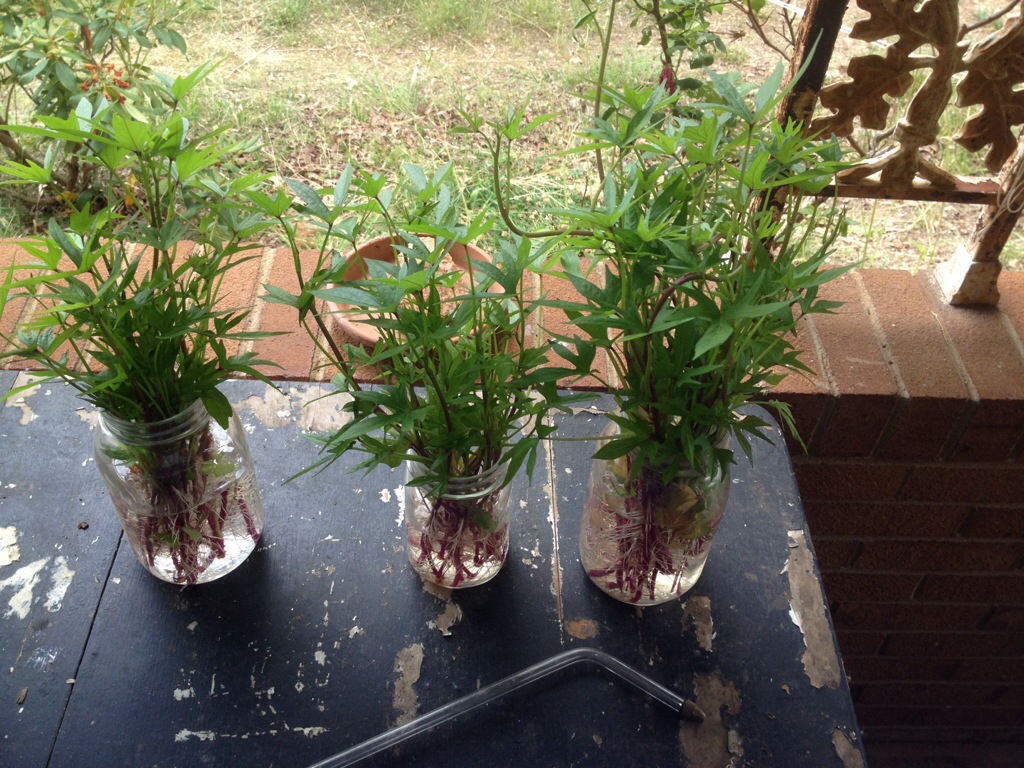
Store the slips in water before transplanting so that they start to grow roots.
These slips, along with some given to us by Emma’s dad, will be transplanted soon. Some will go into the new hugelkulture woody beds we are in the process of making, some will go into other beds in the garden, and I want to experiment with some as a ground cover around the fruit trees in our new food forest. I know that this is often done in the tropics and sub-tropics where sweet potatoes are perennial, so I don’t think its too far of a stretch to try it in our temperate climate as an annual herbaceous support species. Either way, we hope that this year’s will match last year’s sweet potato harvest, and we look forward to dining on sweet potato ginger soup, sweet potato fries and hashbrowns, as well as roasting and adding them to hearty stews. Mmmm….