KW Homestead

Pasture Raised Poultry & Edible Landscaping Plants Since 2013

Tag: planting (page 1 of 2)

Black Friday Plant Specials!

Why not buy something this holiday season that will continue to grow in value and provide high quality food for your friends and family for years to come?

20% Off Fruit Tree Pre-Orders!!!

Apple, Cherry, Plum, Pear, Peach, and Asian Pear!

Ready for Late Winter and early Spring planting! Dozens of varieties available, chosen for producing well in North Carolina!

Save big on  our Instant Orchard Installation!!!

All you need to do is pick the types and varieties of fruit trees (we can help with figuring out your pollination requirements), and we take care of the rest! Your trees will be delivered and professionally planted, pruned, and fertilized! Dwarf and semi-dwarf trees that yield quicker and take up less space than full size trees!

5 fruit trees: Regular price $365, Sale price $295 (Save $70!)

10 fruit trees: Regular price $710, Sale Price $545 (Save $165!)

Additional fees for locations outside our delivery zone, and for upgrades to premium trees like Paw-Paw and Persimmon.

Call or email for more information!


Give the Gift That Keeps on Growing!

If you know someone who is planning on planting edible plants this spring, like fruit trees and bushes, why not help them plan ahead and feel prepared? 

Sometimes it’s hard to know where to start when you’re looking at the blank canvas of your own backyard. Should the apple tree go here or there? And what about those raspberry bushes… How much sun do they need? These are all key questions when planning a successful edible landscape, and Jason can help you sort everything out with no stress. 

We offer Edible Landscaping Consultations at any time of the year, and you can purchase a KW Homestead gift certificate for this purpose. The same goes for your spring plants… When we have those ready to be taken home, our gift certicates can be applied to those green babies, too! You can give your loved one the gift that keeps on growing! 🌱

With a landscaping consultation or the promise of fresh, fruiting plants in the spring, your Christmas gift will be a big hit with your green-thumbed loved ones! Gift certificates are available now! Email us for details at kwhomestead@gmail.com.


Semi-Dwarf Apple Trees for Your Family

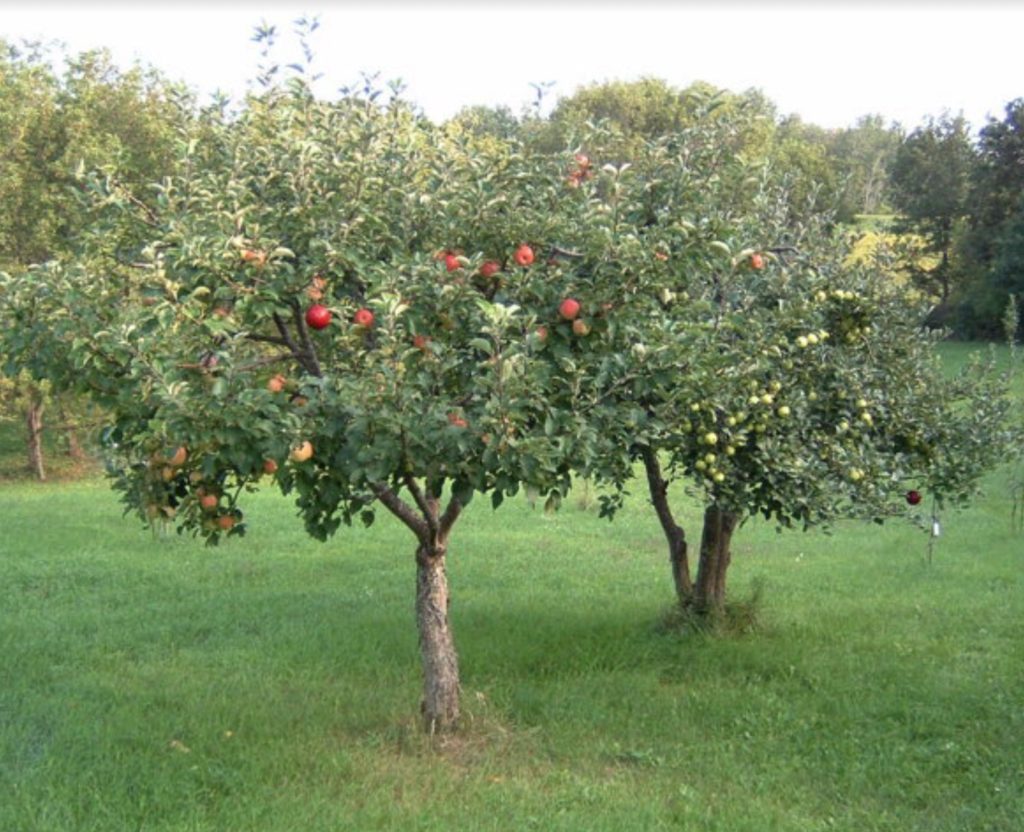
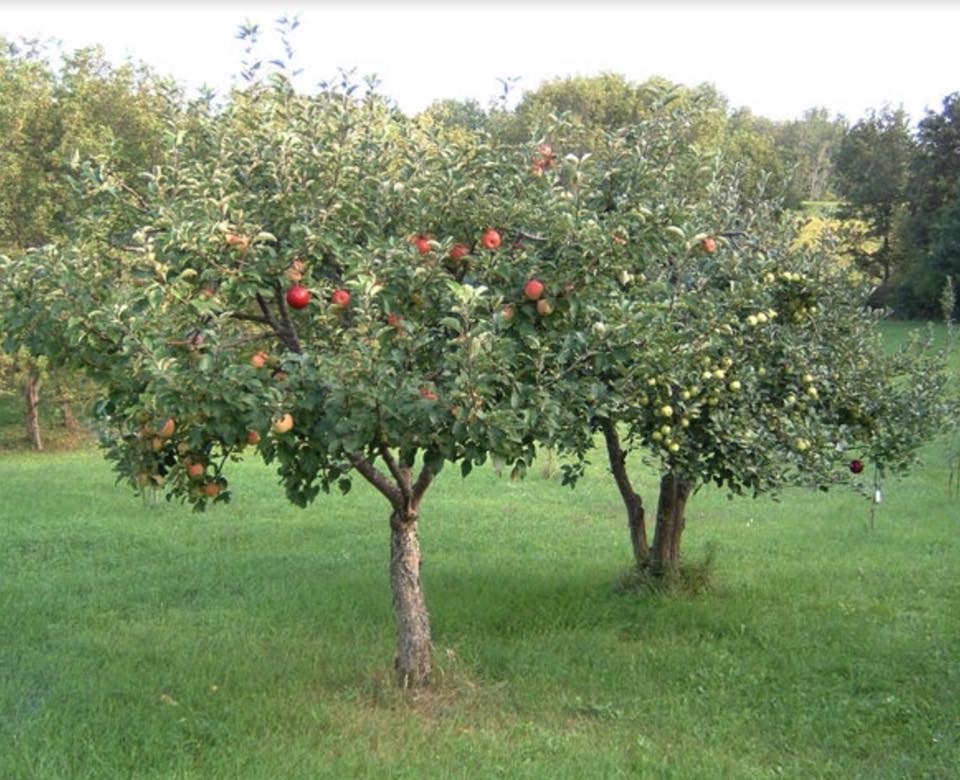
Semi-Dwarf Apple Trees are a good choice for your family and yard because they will grow to be 12-16 feet tall and will yield twice as much fruit as a dwarf-sized tree without taking up much more space! This size tree is great as a climbing tree for the kids and will yield plenty of apples for your family during apple season. Semi-dwarf fruit trees have well-anchored roots and a greater surface area to yield ratio than dwarf fruit trees. With appropriate care and pruning management, a semi-dwarf apple tree is the perfect fit for almost any yard or garden!

Semi-Dwarfs bear 4-10 bushels a year, and since there are an average of 125 apples per bushel, you’ll be harvesting 500-1,250 apples a year when the tree is mature! WHOA! Apple pie and applesauce, anyone?

This year we have 5 varieties available: Gala, Golden Delicious, Honeycrisp, Stayman, and Liberty. You’ll need at least 2 varieties to ensure cross-pollination, so talk to us to help determine what varieties work best for you.

Also, don’t forget that Jason offers planting services for your fruit trees or bushes, so you don’t have to worry about planting depth and method! He also offers on-site consultations to assess your land and help you determine the best place for your edible or fruit bearing plants. He can work with you to create an edible orchard that includes fruits and other goodies that your family will enjoy for the next decades. Contact us for more info!

What’s Happening in the Garden…

We planted some more today, and checked on a lot of our little plants. Here’s what’s growing around here… 

beans

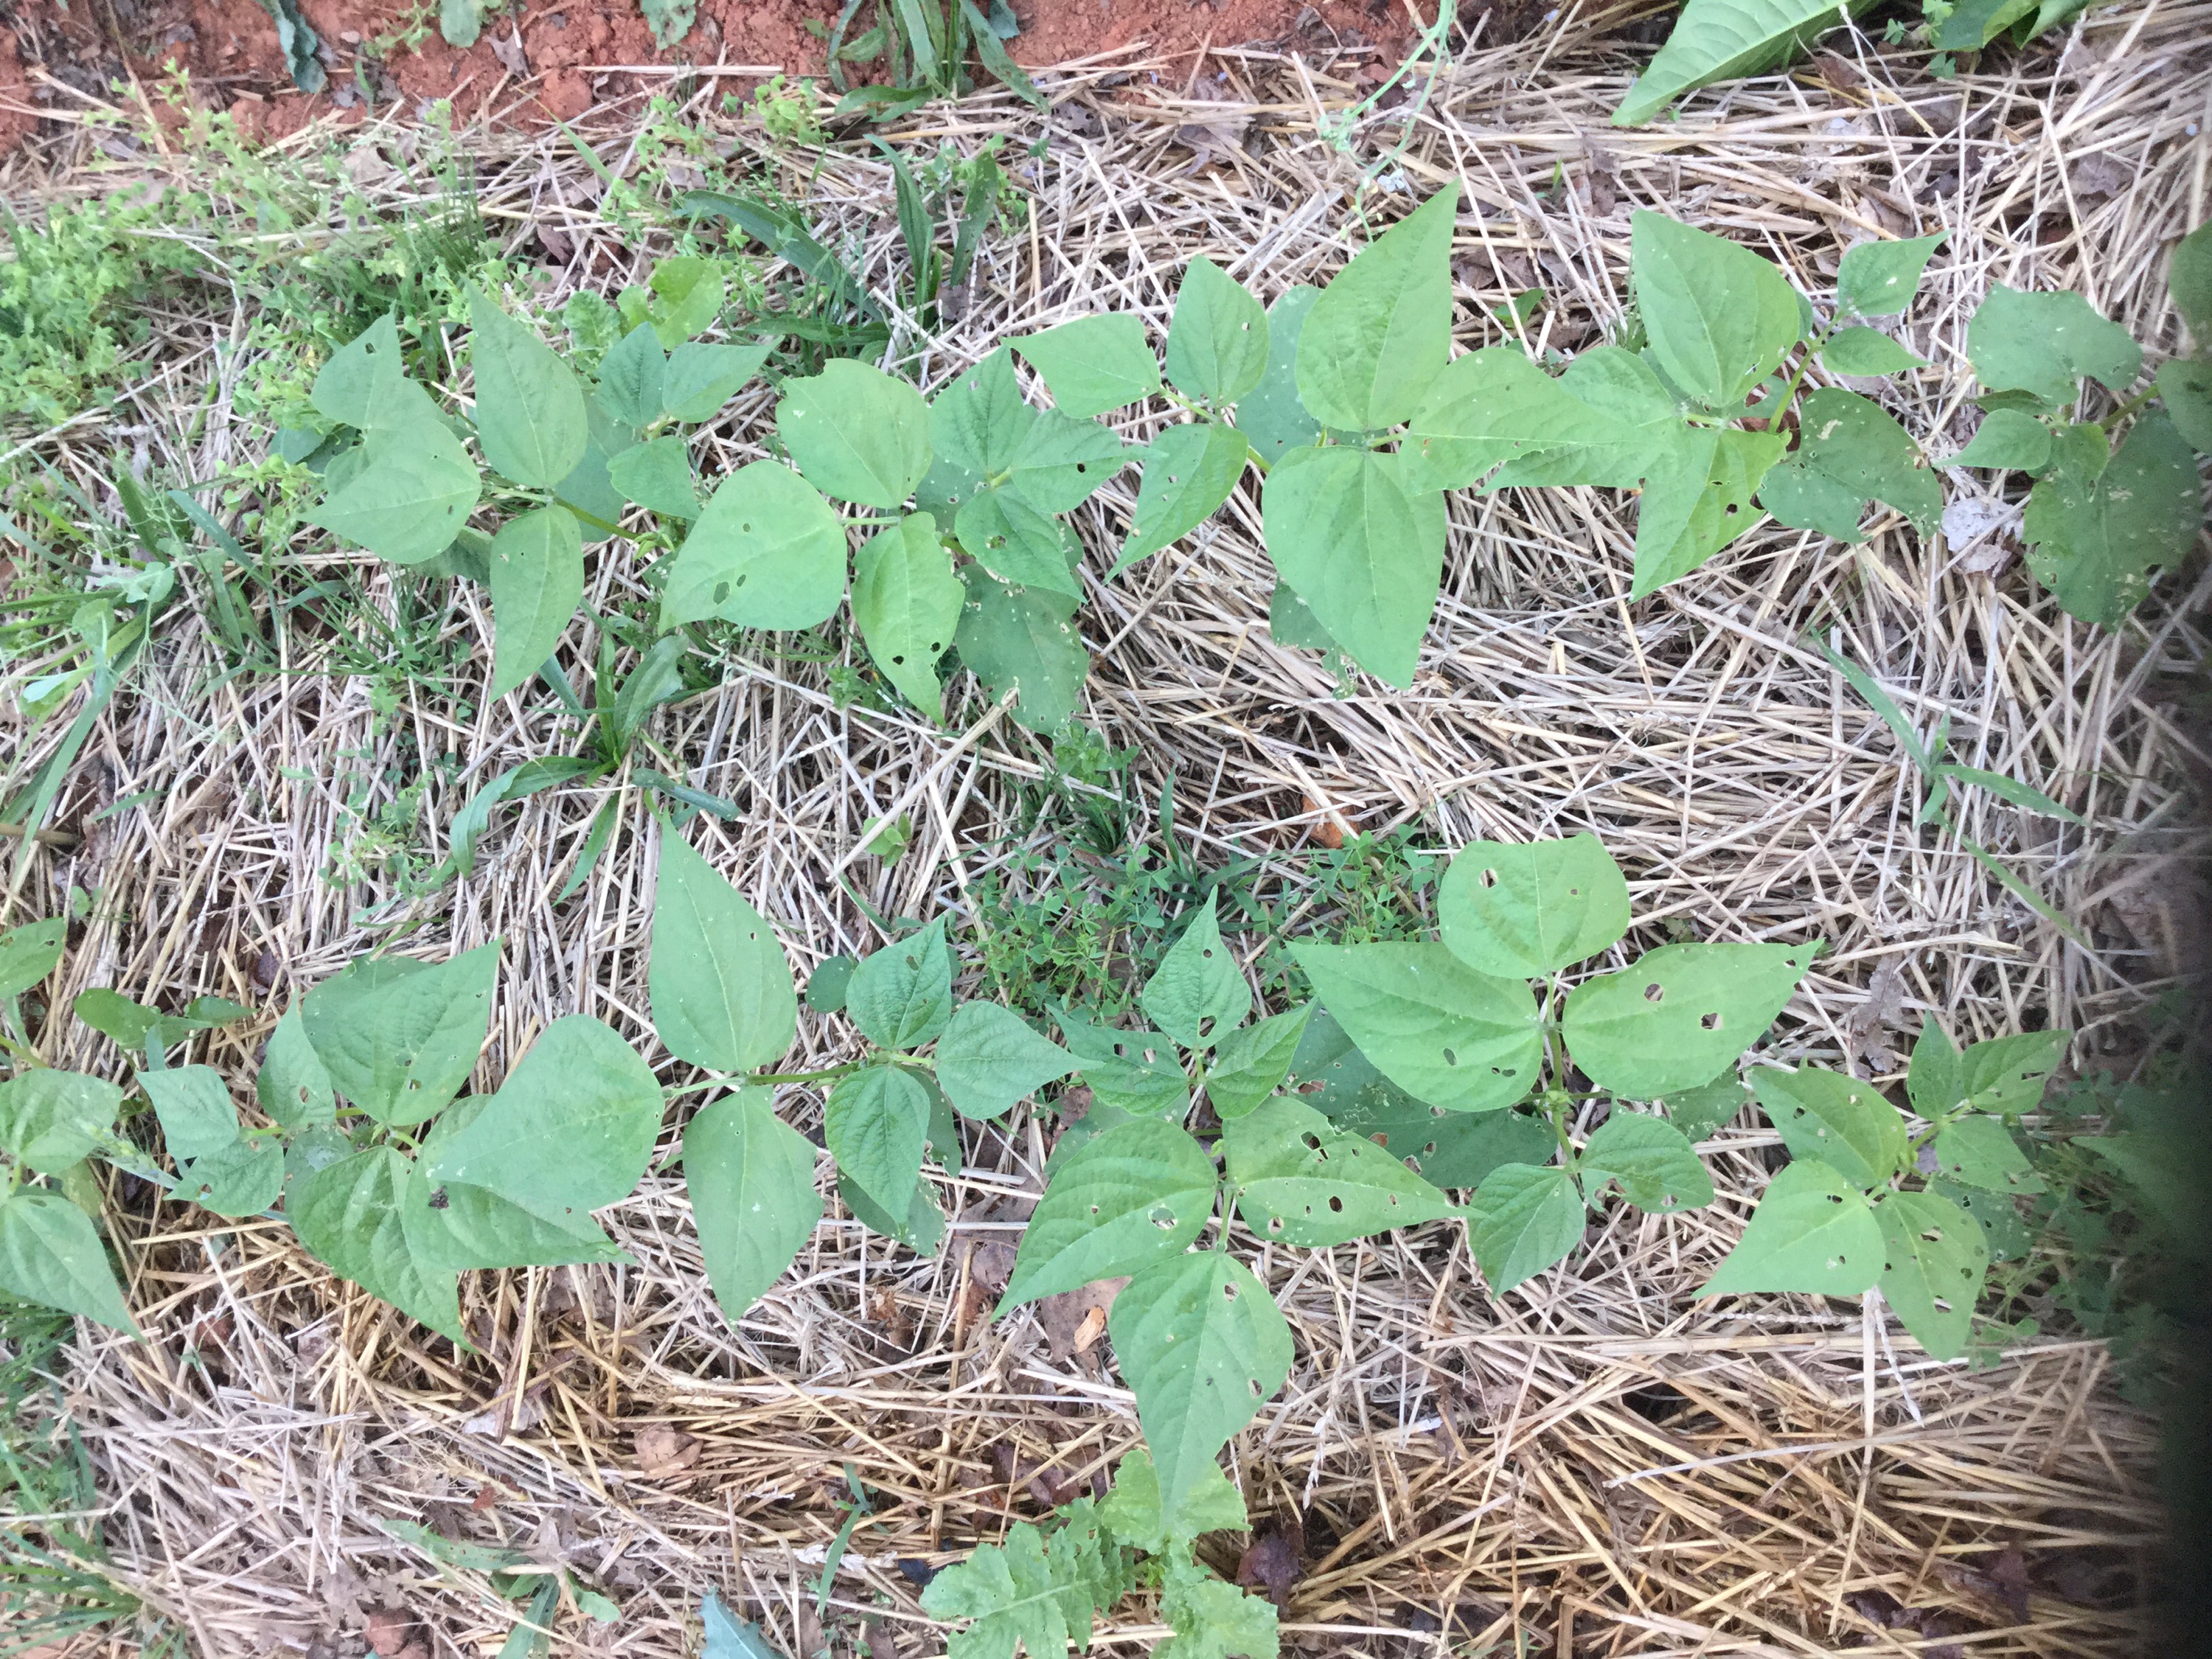
Provider greenbeans (first planting of three so far)

peppers

Baby pepper plants: bell peppers, cayennes, jalapenos, and aji.


harvesting

Jason harvesting some greens for the chicken soup!

plants

Baby paste tomato plants and their friend, basil!

herbs

Oregano and thyme that came back strong from last year’s planting.

spearmint

Spearmint… What a wonderful smelling intruder!

beans

Beans round 2.

tomatillos

The tomatillos are looking great!


zucchini

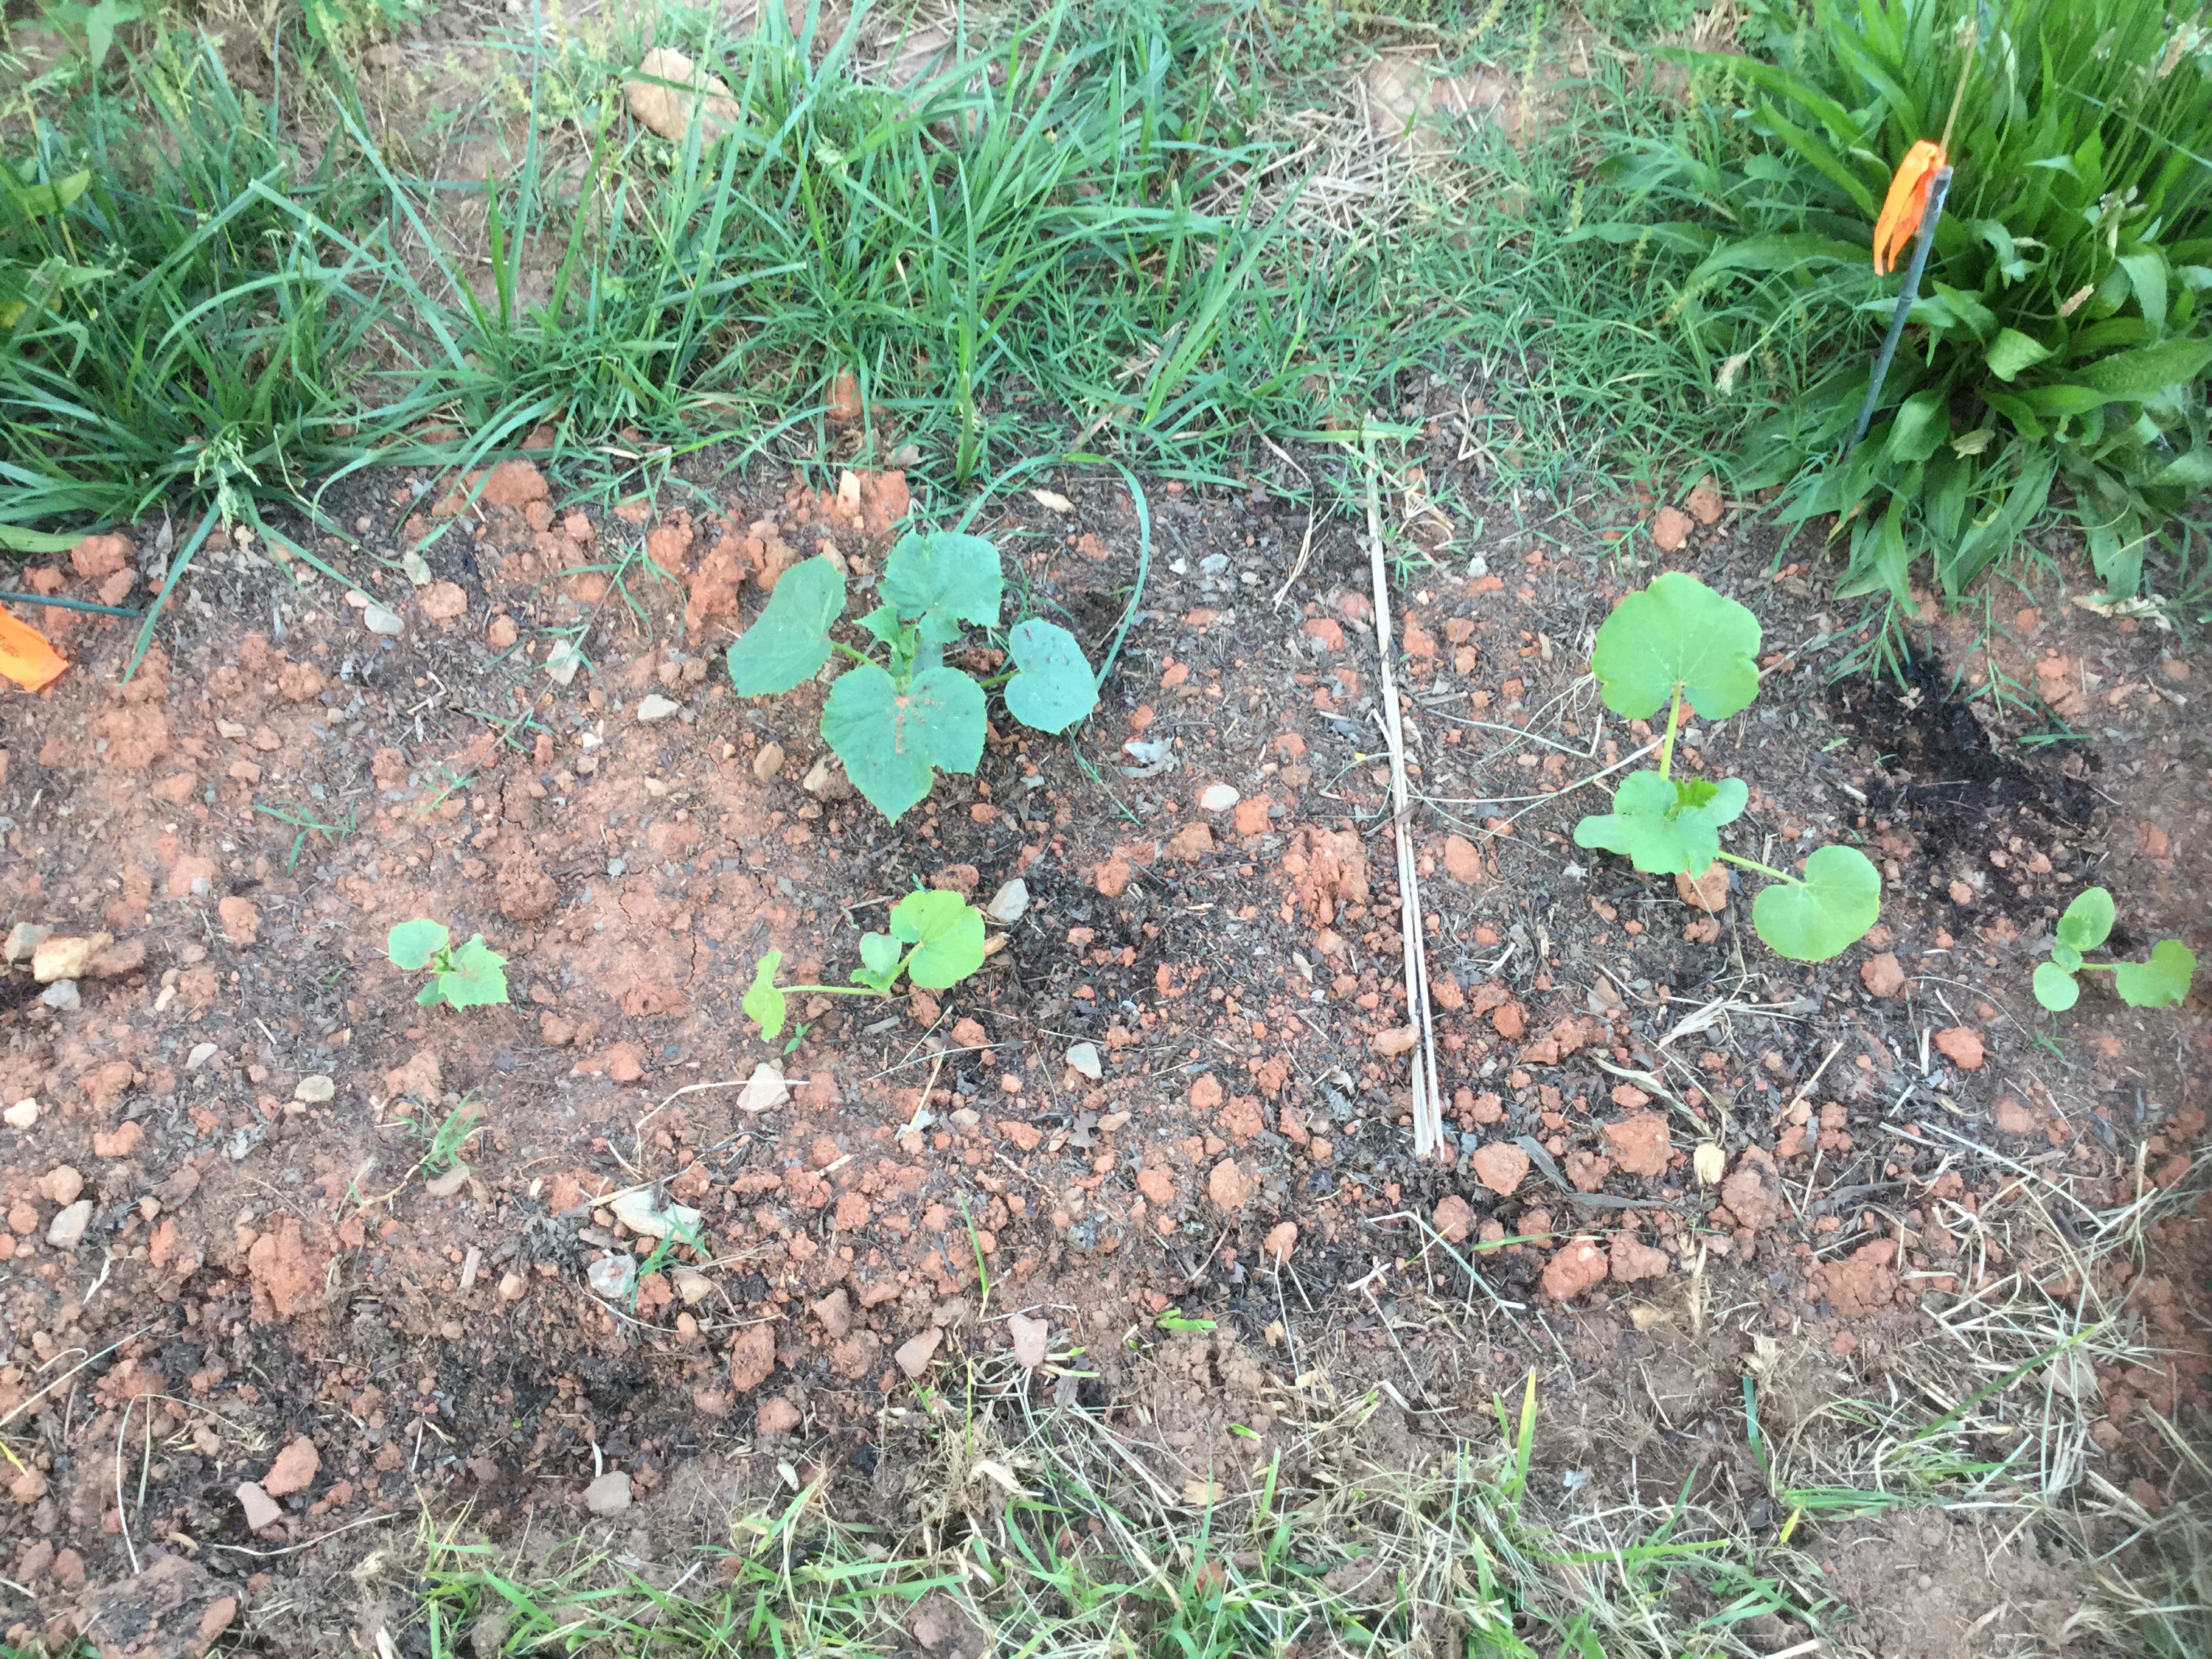
Zucchini!

pond

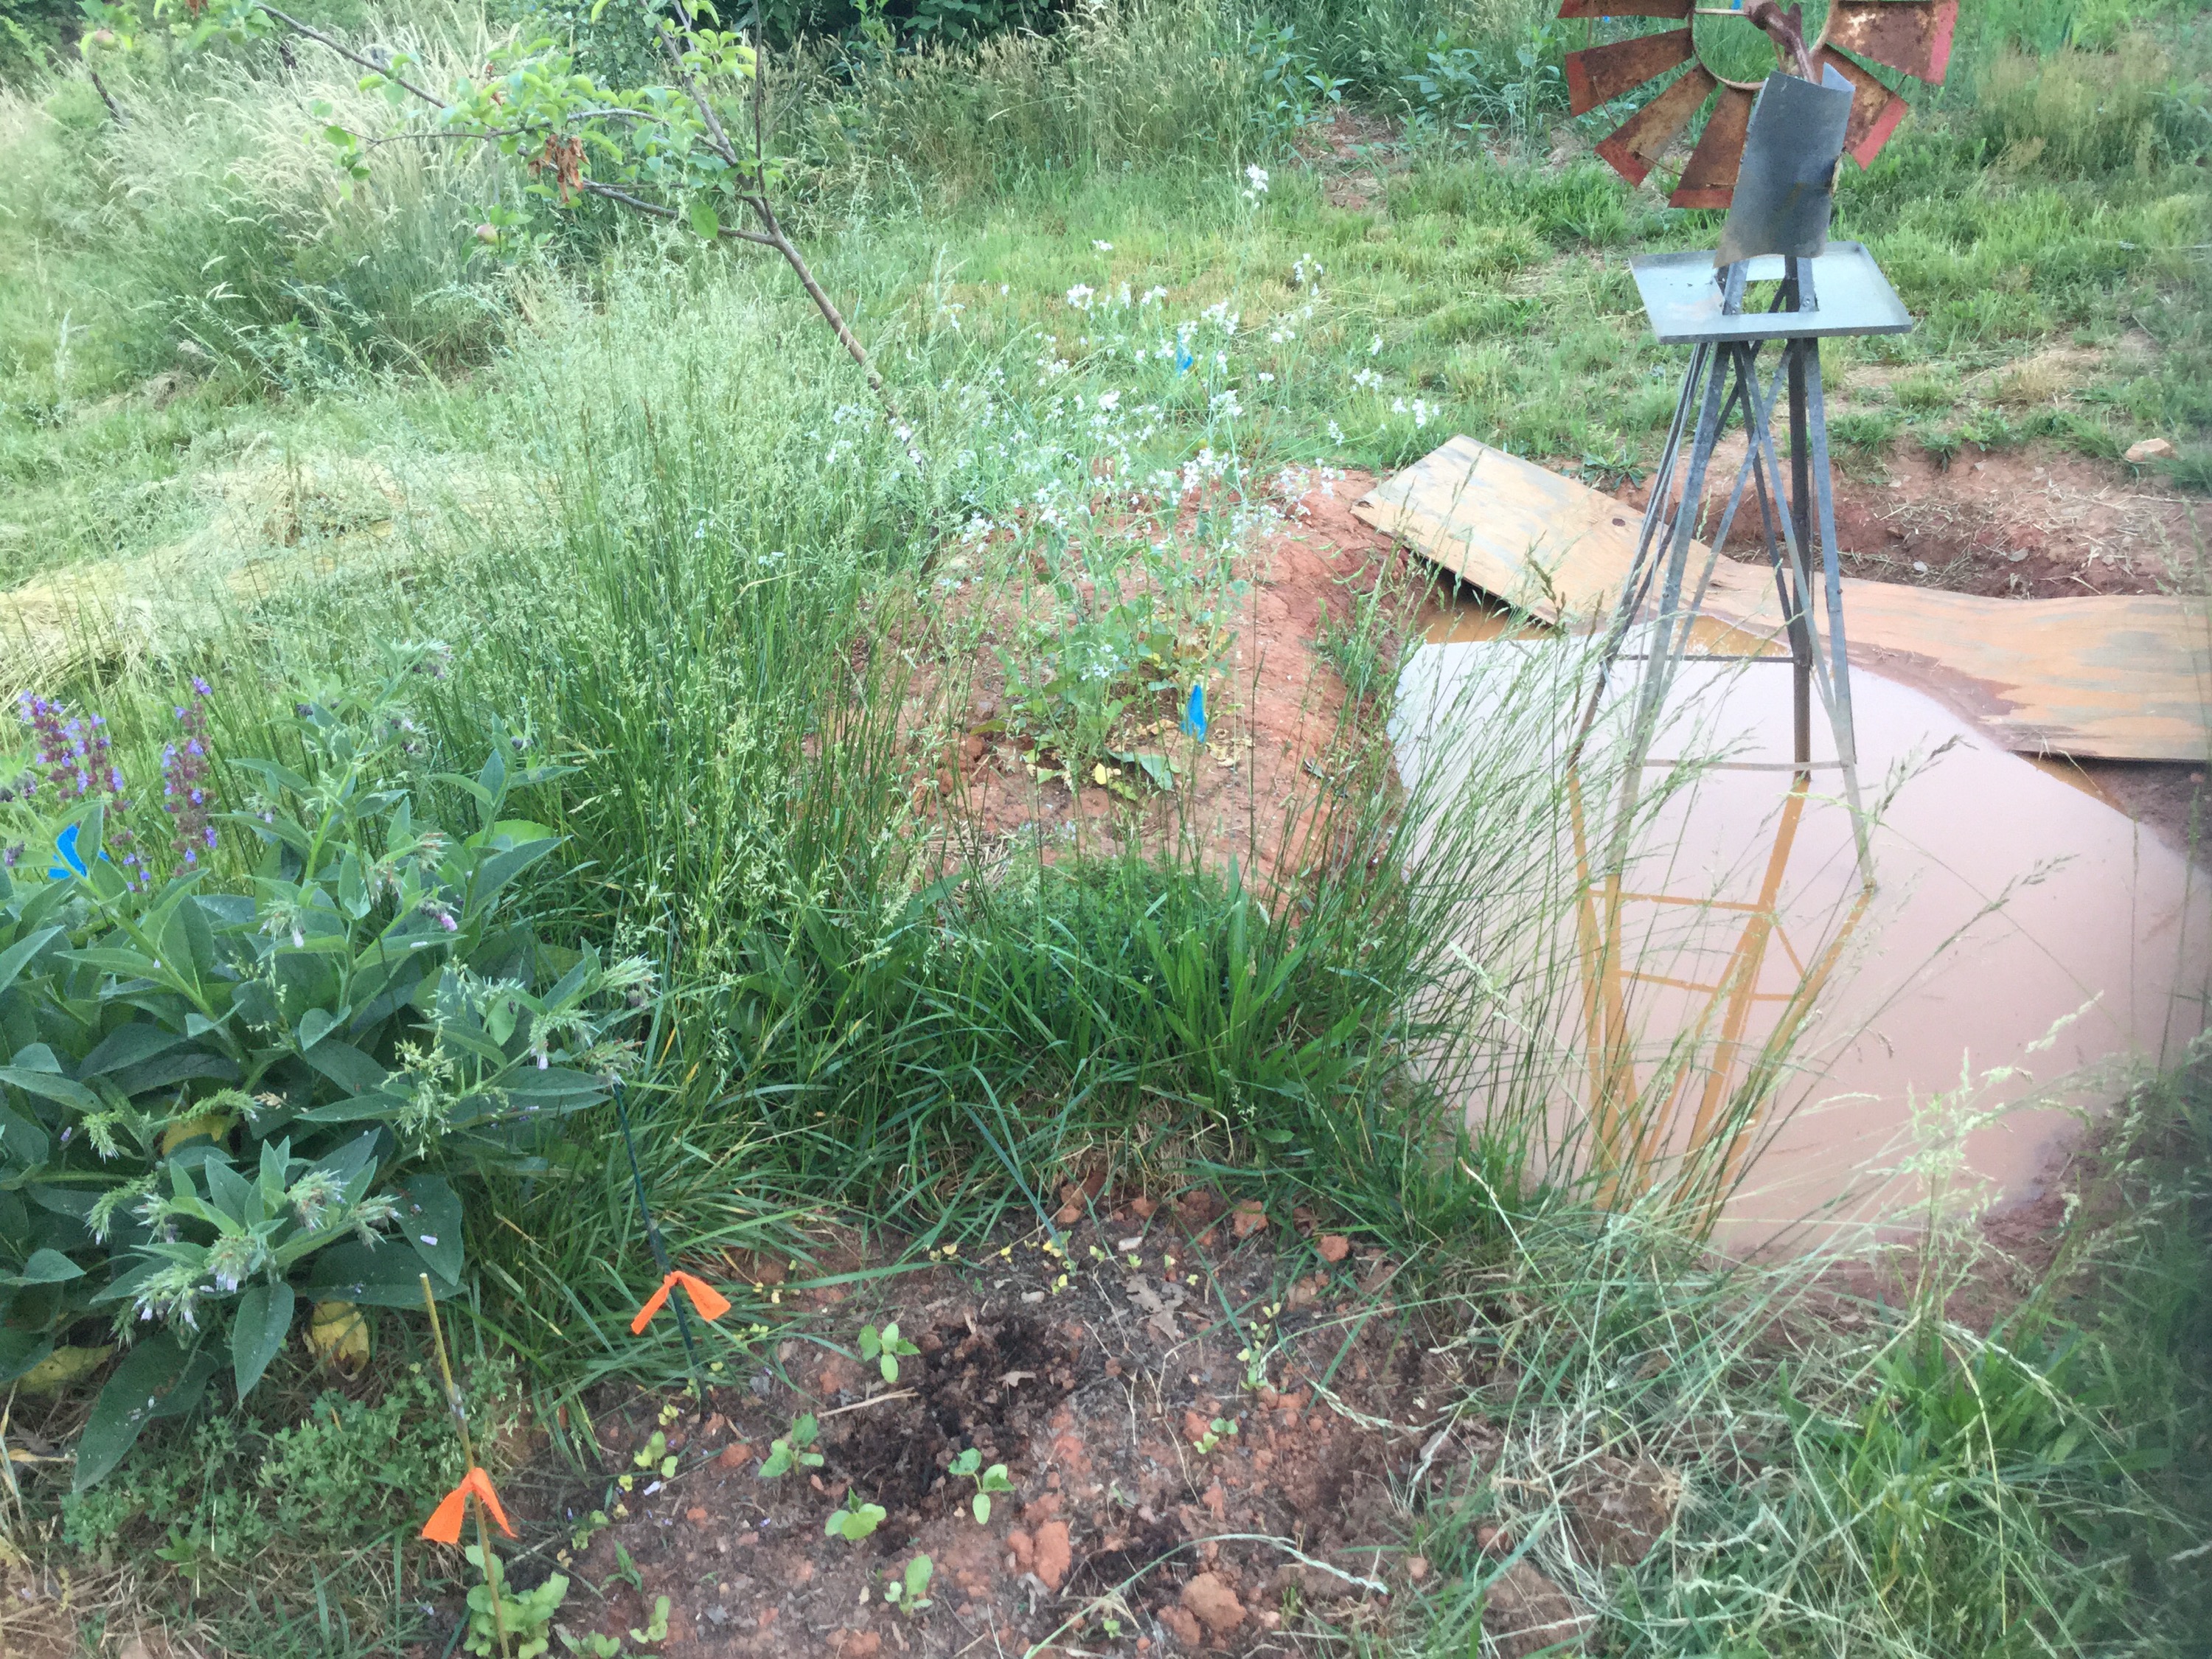
Our little garden pond, beloved by fish, frogs, and our flowering comfrey plant.


potatoes

This year we’re growing our Irish potatoes in straw instead of in the groind… Should be easier to harvest!


cilantro

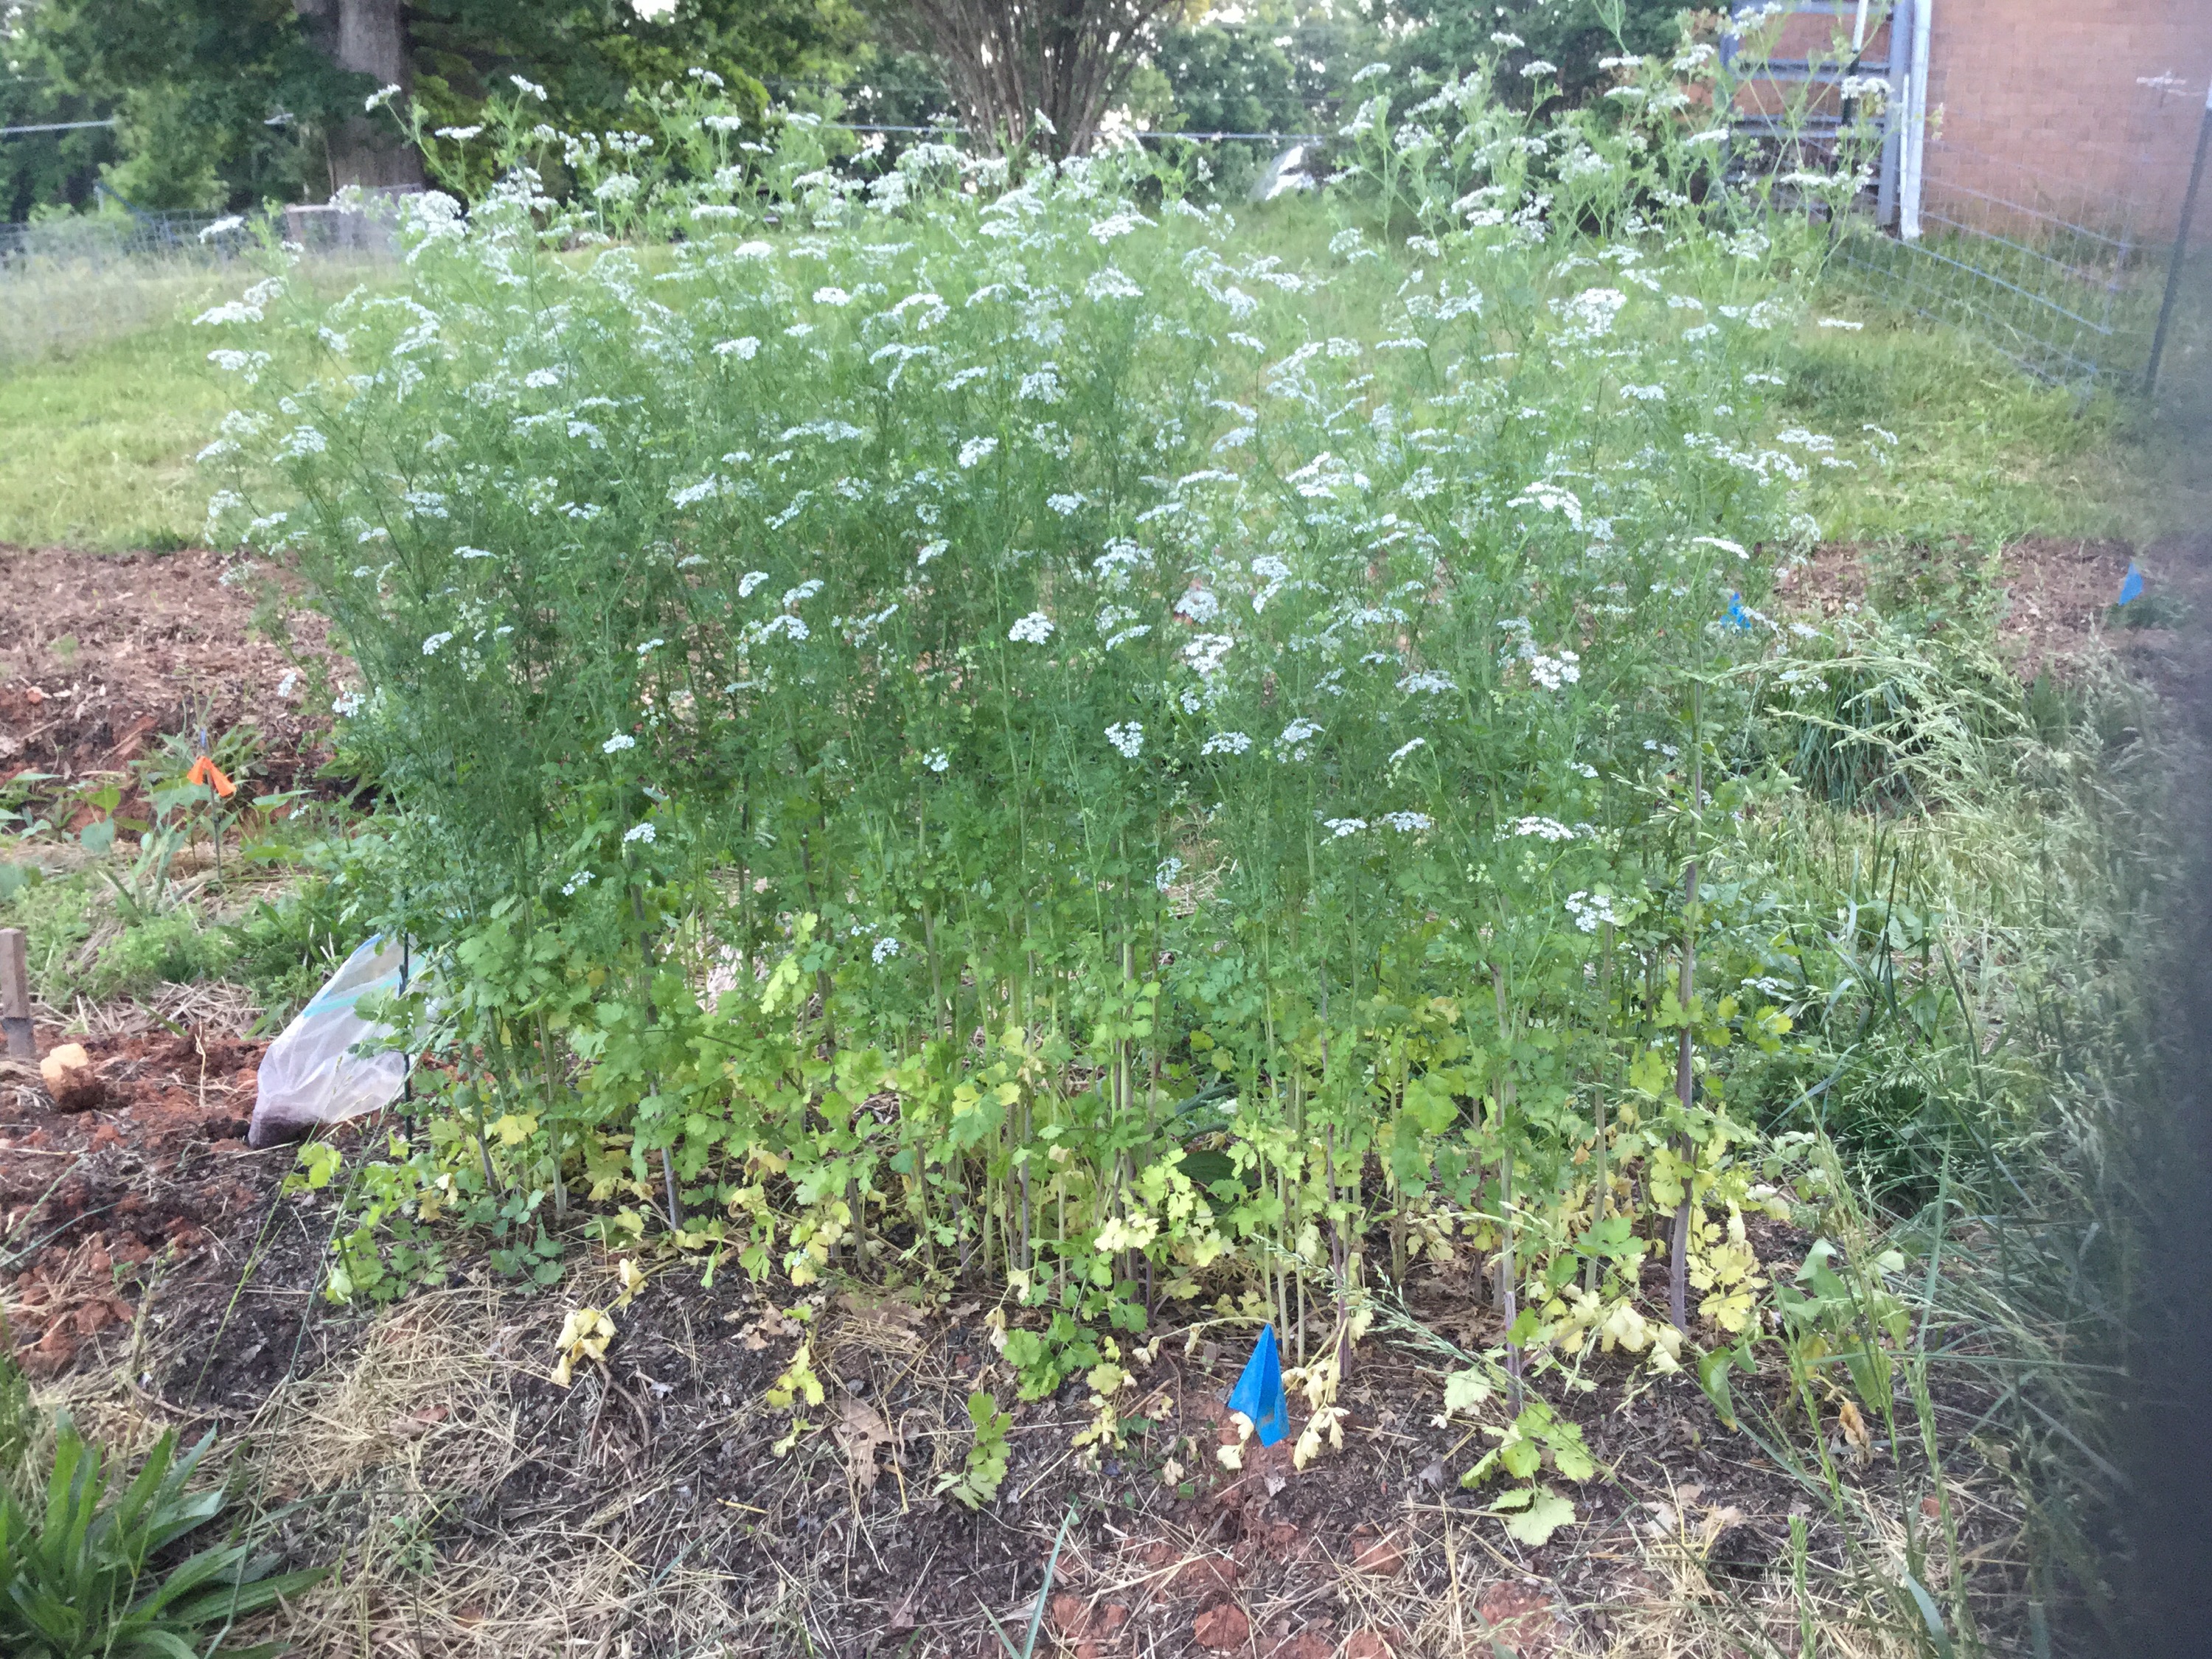
Our cilantro went to seed very early this year!


thyme

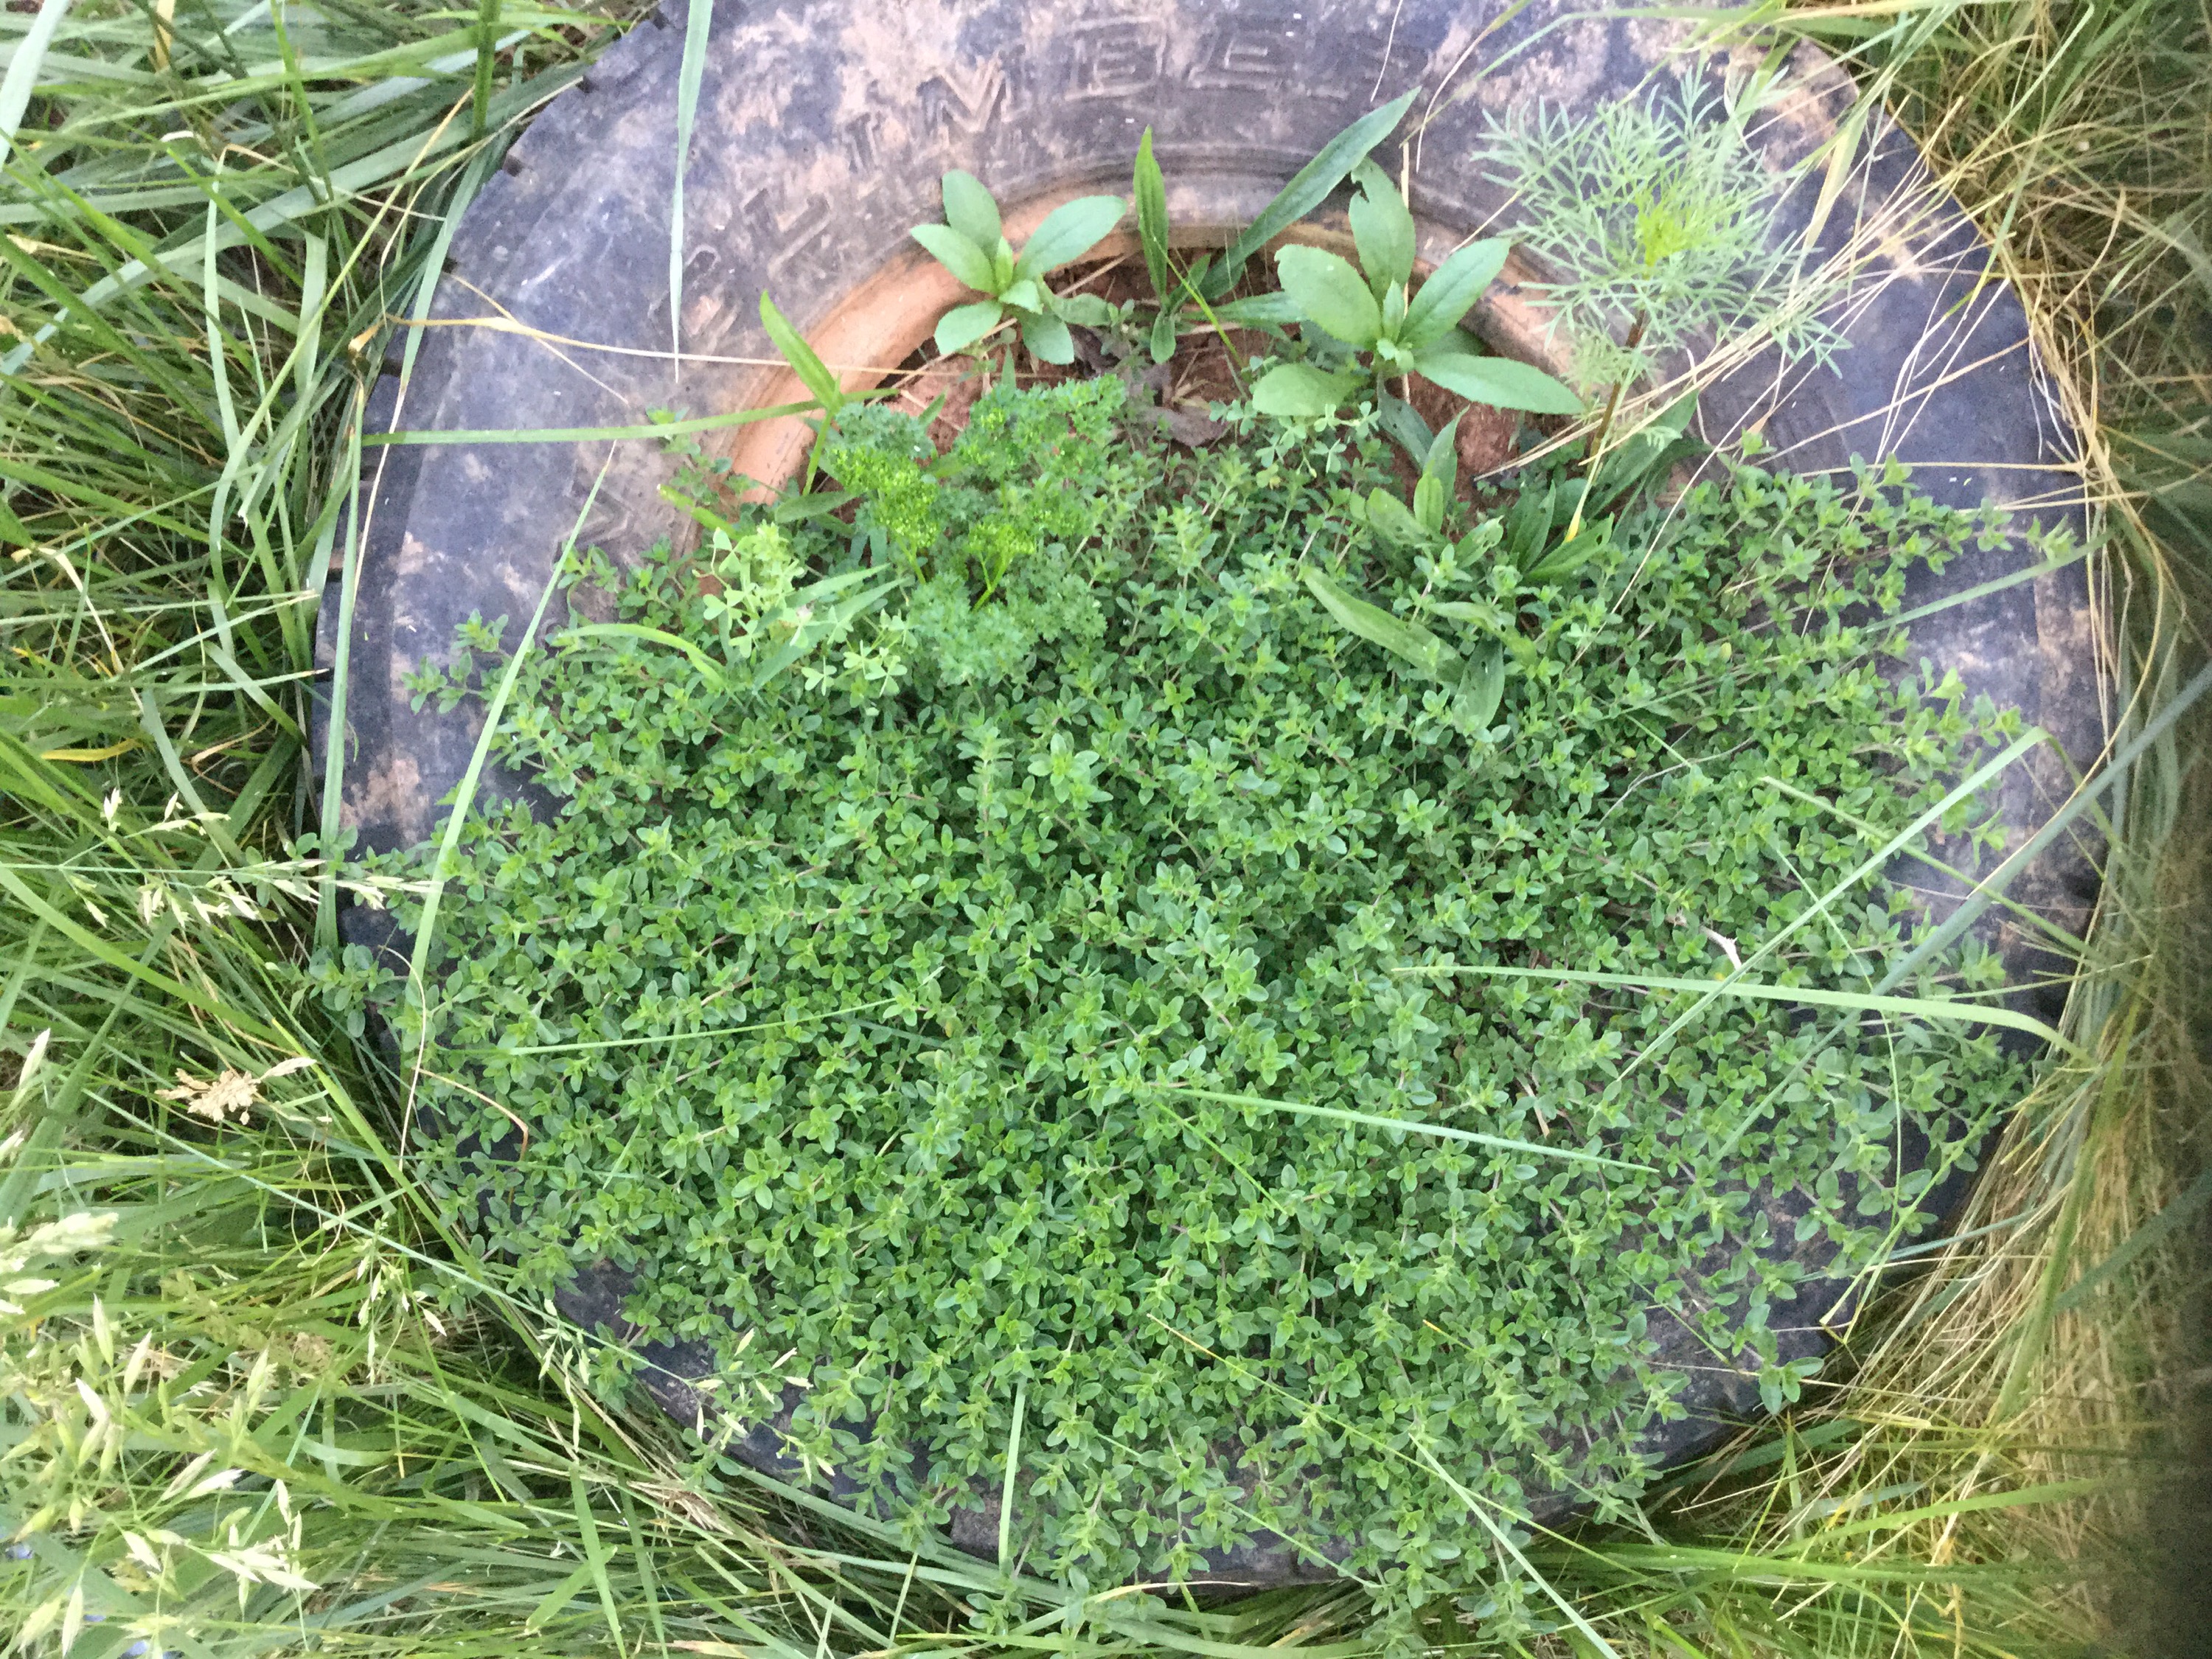
Thyme in a tire… What a perfect planter!


bed

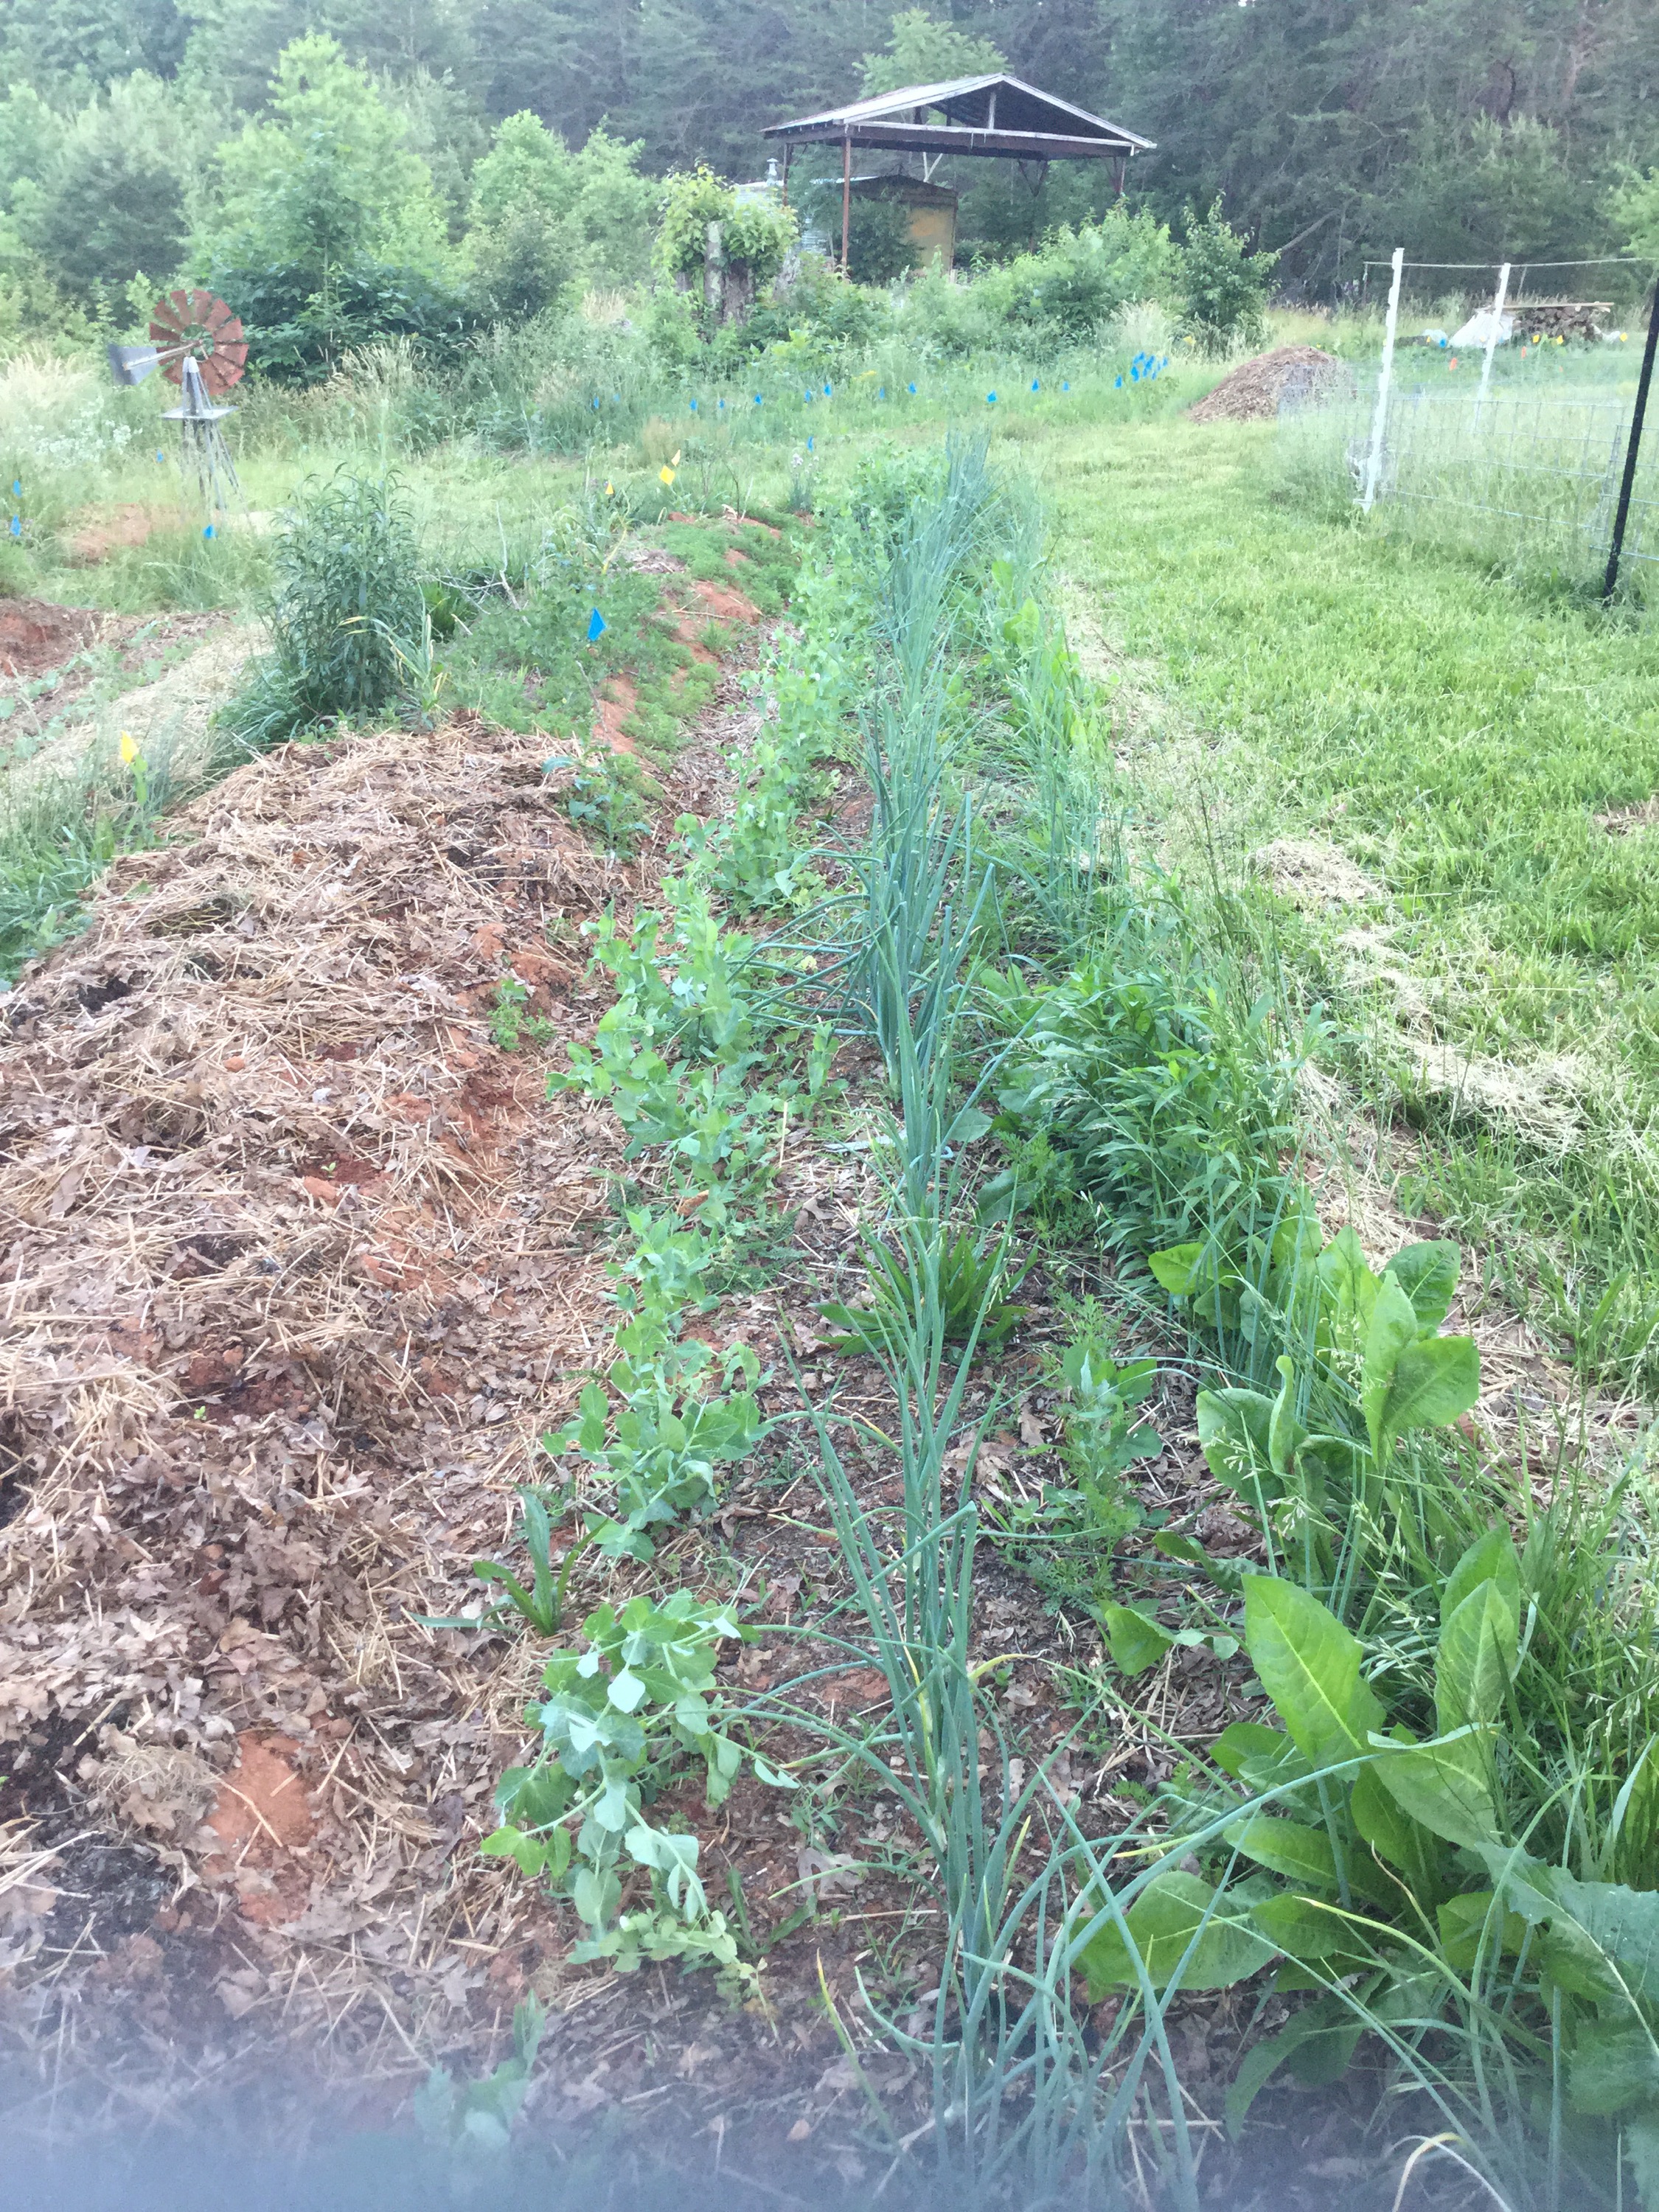
A bed of snow peas, green onions, and carrots.


snow peas

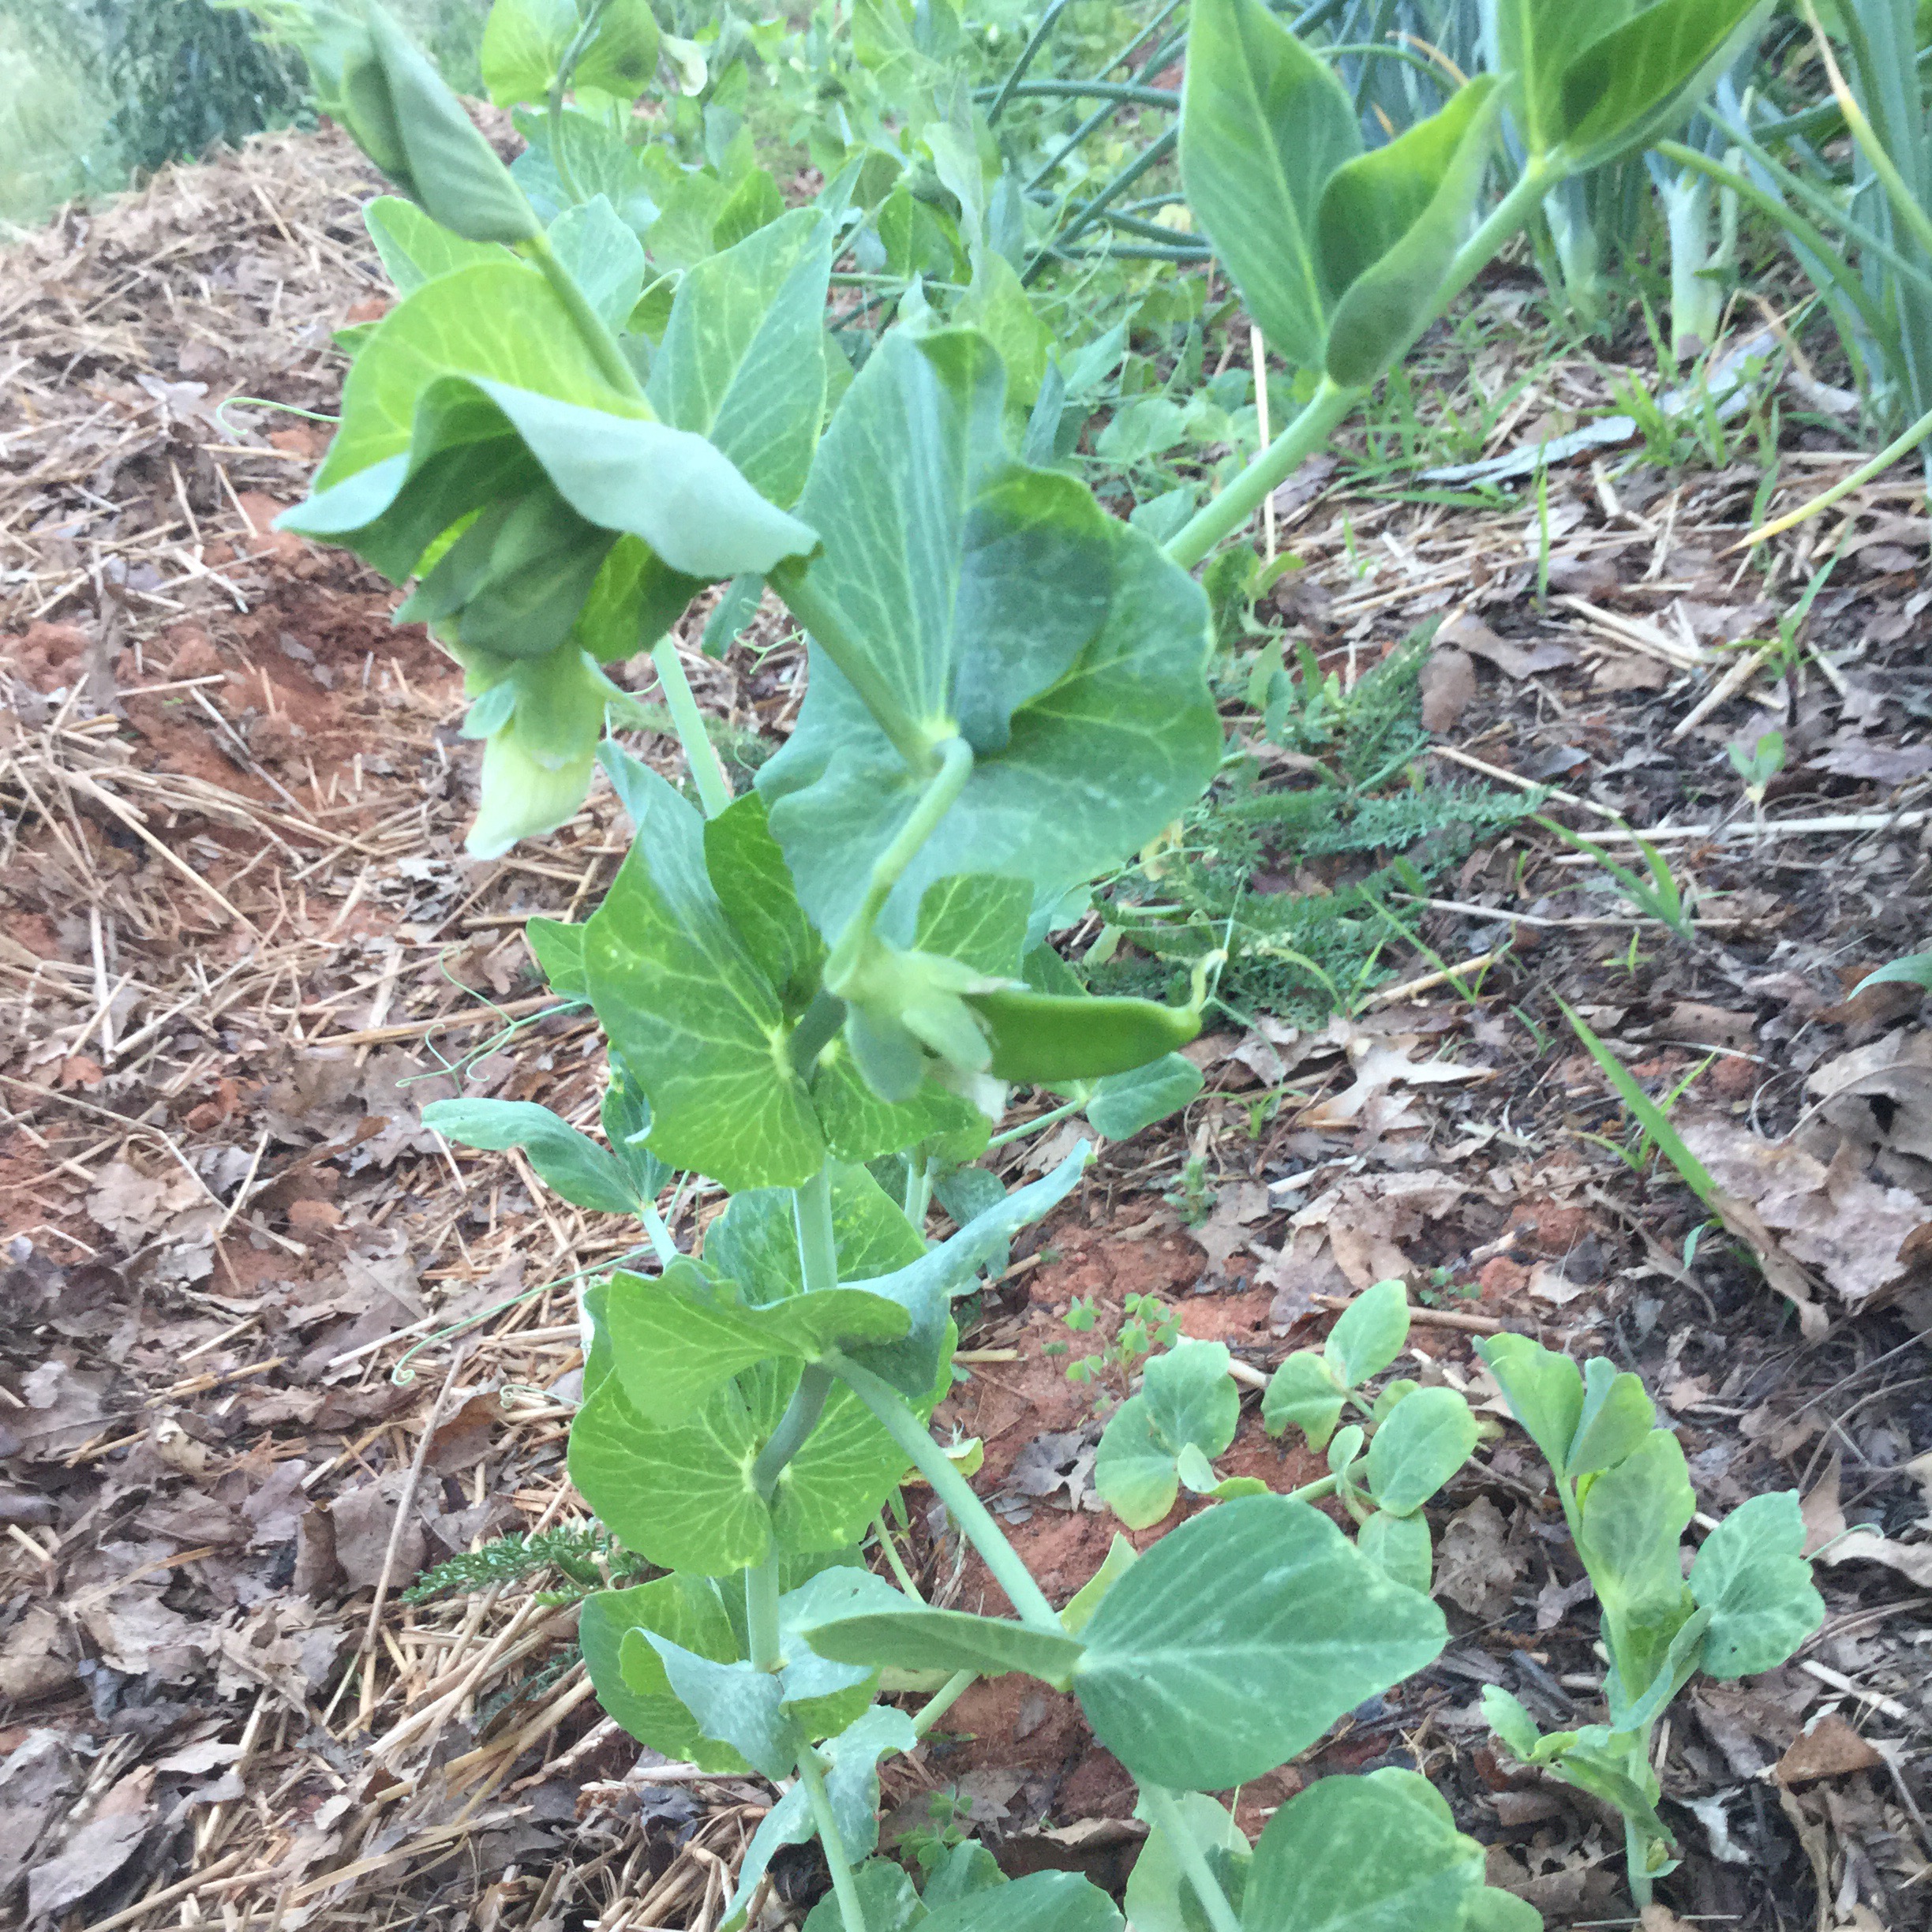
Snow peas!


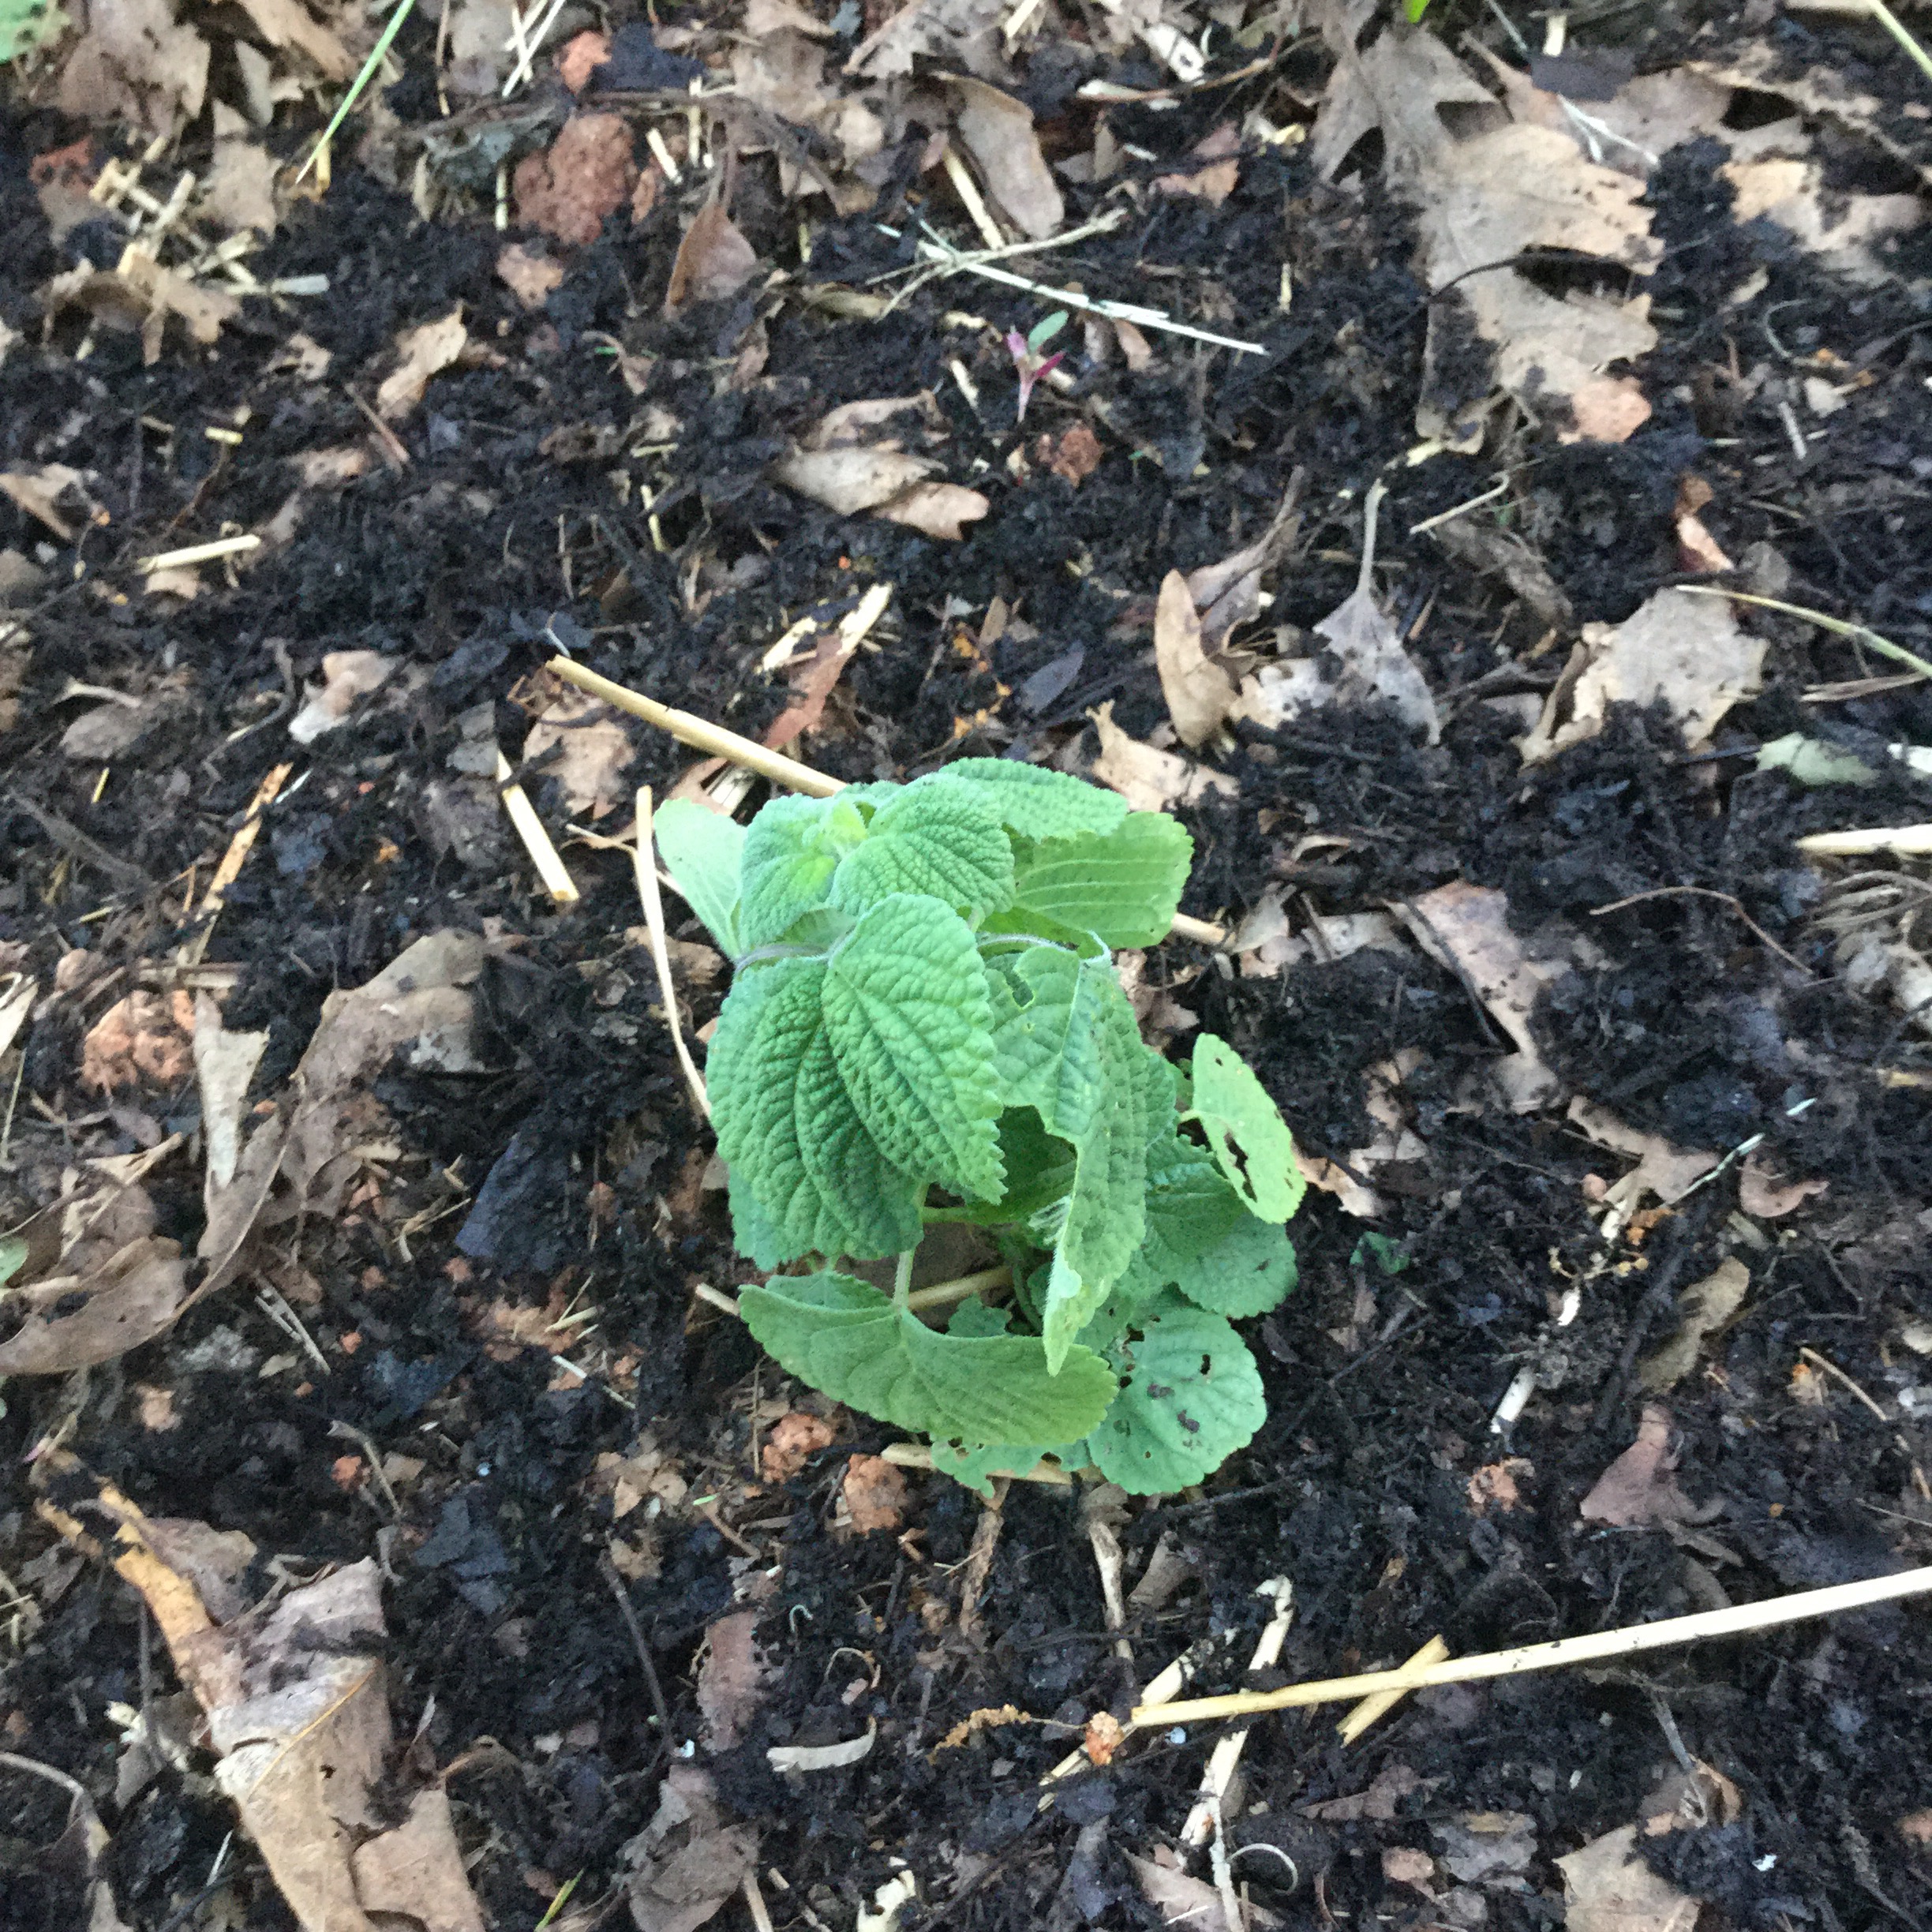
A beautiful, volunteer chia plant. What symmetry!

 
.:.

Pseudo Straw Bale Potato Gardening

Last year we grew 9 different varieties of Irish Potatoes in our garden. We also grew sunchokes and sweet potatoes, and while there’s nothing quite like a fried potato, this year we decided to focus less on Irish potatoes, and more on other tuber crops.

Still, we figured we would try a low risk garden experiment this season by planting our seed potatoes in raised straw beds. Some advantages to this approach are that as the potatoes grow, instead of hilling them up with soil, we simply add more and more straw to cover the stems and encourage more tuber development. Because the potatoes grow in straw instead of soil, harvesting is easier and the tubers come out cleaner.

creative wedding seats

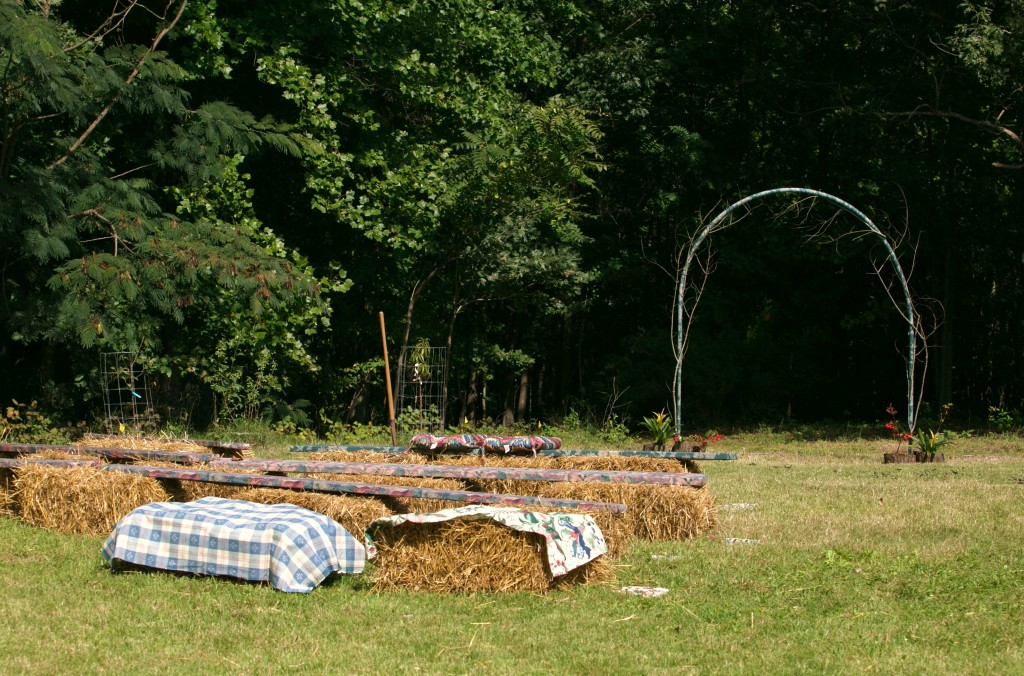
the first function of our wedding strawbales…. photo by Jenny Tenney Photography

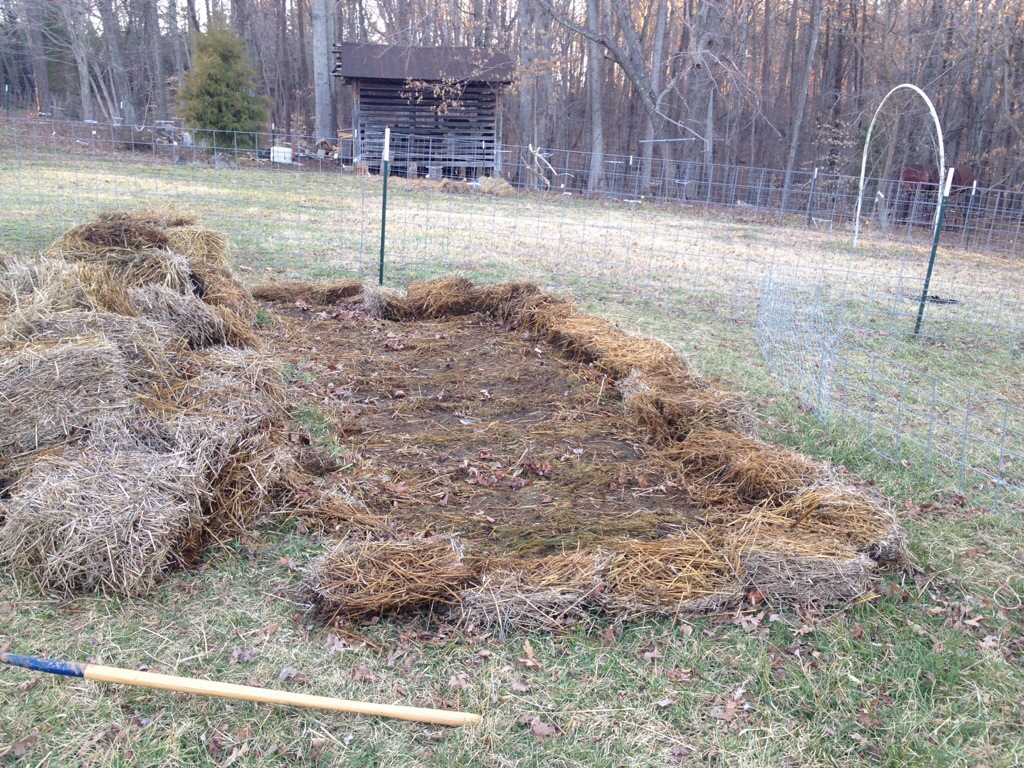
Last fall, after our homestead wedding, where we used straw bales benches, we strategically stacked the leftover bales in our garden area along the same contour layout of our raised beds. The thought was to simultaneously kill off the weeds and grasses underneath the bales and prepare the soil for new beds while conditioning the bales for planting.

We ended up going in a different direction though when spring came around, deciding to instead raise potatoes above the ground, and constantly add layers of straw to the growing stems.

straw mulch garden

well muclhed and weed free

First, I had to move the strawbales into a big pile next to the planting area. This exposed the nicely prepared and weed free “bed”. Hopefully this new pile will smother any weeds under it and allow us to expand this experiment in a few weeks.   I then added a sprinkling of organic fertilizers and compost. I used a mixture of bone, blood, alfalfa, kelp and greensand, and then covered it with a nice layer of decomposing straw.

potatoes straw bale

Densely planted for high yields of tasty potatoes!

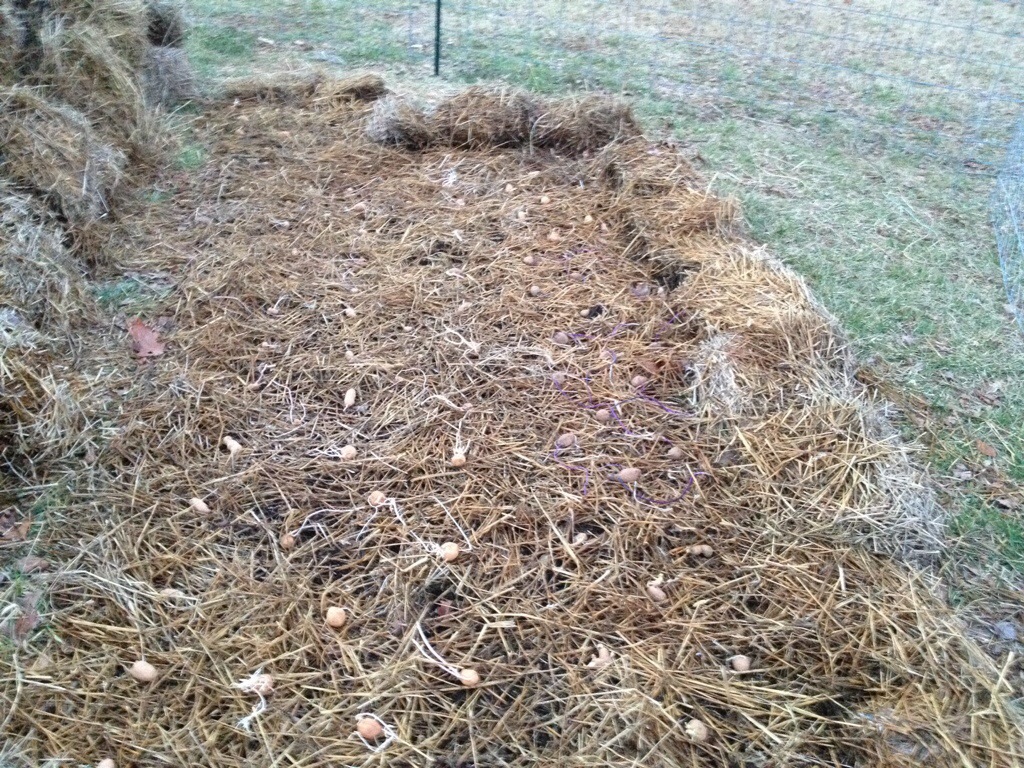
This is when I added the seed potatoes. I laid them out in multiple staggered rows, about 1 foot apart. I then went through and liberally gave each seed potato a handful of compost, and another pinch of fertilizer.

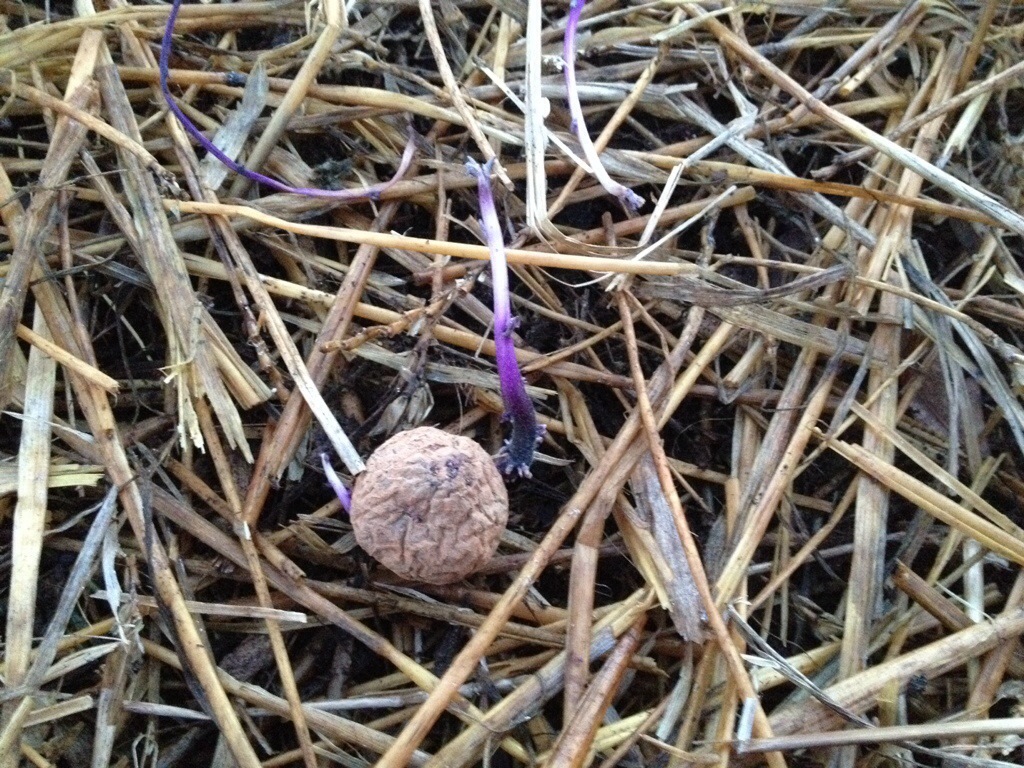
purple majesty seed potato

purple majesty seed potato

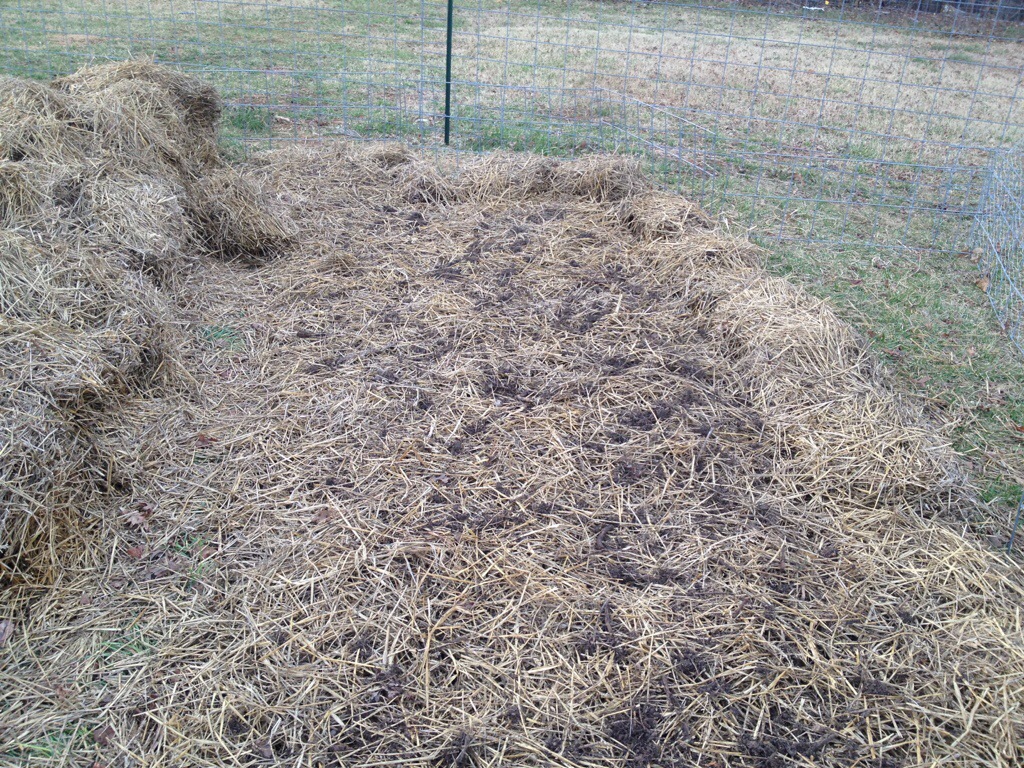
On top of this went a big layer of straw, probably 4-6 inches high, and then another light dusting of compost of fertilizer.

straw bale gardening potatoes

the compost and organic fertilizer should help break down the straw into humus and keep our potatoes healthy

I am fertilizing this patch heavier than I would normally because the straw is high in carbon, and will require some extra nitrogen to fully breakdown. The end result should be a beautifully composted soil, and a nice harvest of potatoes as a bonus.

This kind of planting will need a little extra attention in the beginning, especially during dry spells, because the upper layers of straw have a tendency to dry out. Once the straw is 18 or so inches high I don’t think it will be problem anymore. If the potatoes seem to do okay, we may just try some sweet potatoes this way as well. I can’t believe that it’s almost time to start sweet potatoes slips again!

First Planting of 2015!

We’re really excited to have finally planted our first crops for the new year!

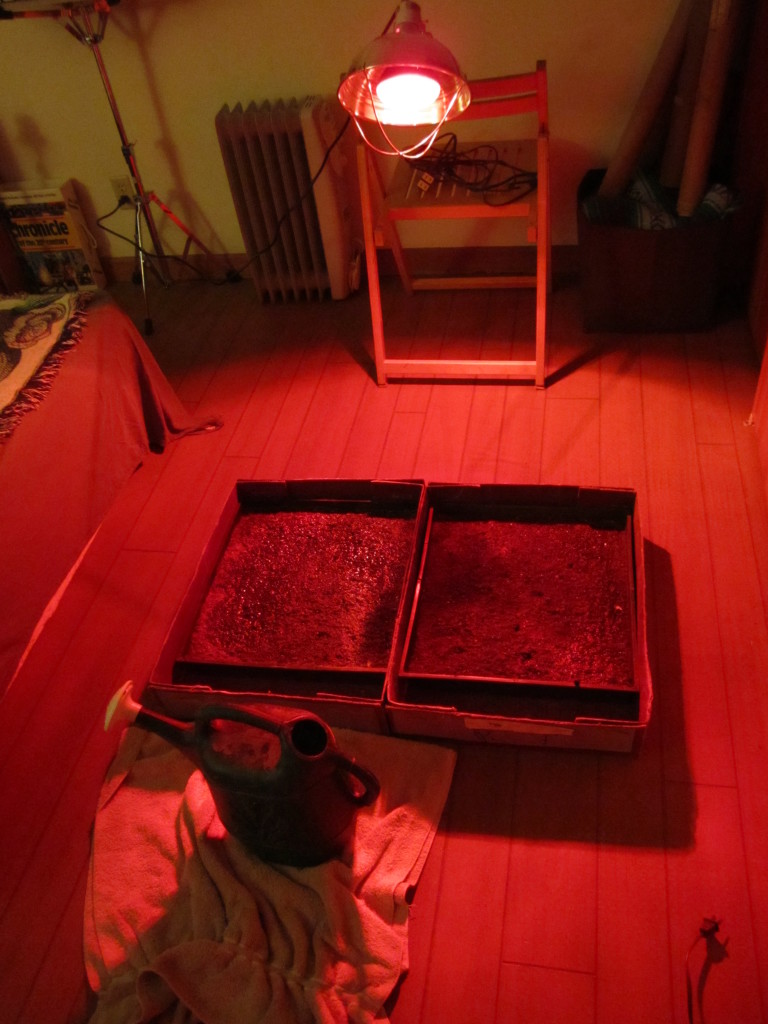
They have a temporary, cozy home… Set up in our guest bedroom with the chicks’ old heat lamp pointing at them, willing them into existence through the warmth and wetness that is their damp, soil filled tray! So poetic (can you tell we’re excited?)!

heat lamp

Our two trays of cabbage varieties, basking in the warmth!

The first crops we’ve planted are both cabbages! Sauerkraut is not only one of our most favorite side dishes, is also super good for your body. Filled with plenty of healthy bacteria that promotes your digestive and intestinal health, it’s a “medicine” worth having around during all time of the year (especially during hot dog season).

We decide to great started right on time this year, since last year we waited too long to get some of our crops started. Planted a few days ago, the seeds have not yet sprouted, but it’s just a matter of time! We’ll allow them to grow in the their trays until they get a few leaves and/or until we think the threat of freezing has passes. Cabbage can take some chilly temperatures, but we want to be sure they grow up into large and delicious (multiple) cabbage heads!

The two varieties that we’ve planted are the Early Jersey and the Golden Acre. We’ll keep you posted about when these great varieties finally sprout!

.:.

The Value of a Fruit Tree Investment

I wrote yesterday on how to plant fruit trees and it got me thinking about the potential value and return on investment that a food forest, or even just 1 fruit tree can provide. Today I want to look at what an apple tree can yield during it’s lifespan, and maybe try and persuade you that planting one just may be the best investment opportunity around.

value of an apple tree

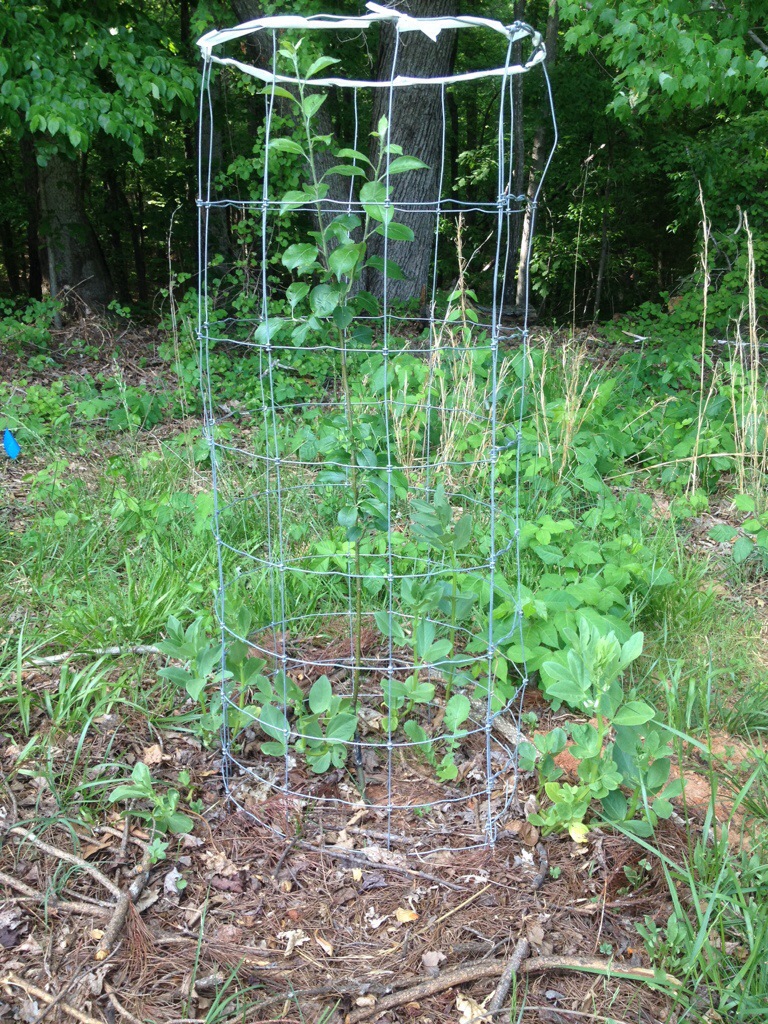
One of our heritage apple trees with a tomato cage to protect from deer, and fava beans planted around it to produce mulch and fix nitrogen.

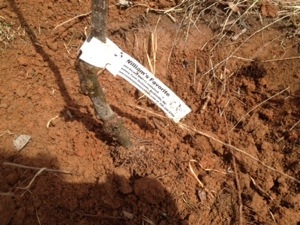
Okay. Let’s look at a semi-dwarf apple tree, like the William’s Favorite apple that I showed in the pictures of yesterday’s post. A semi-dwarf apple tree will cost anywhere from 15-40 dollars and you can definitely find a high quality, heritage variety for under 30 dollars. After planting, you can expect some yield in 2 years, but 3-5 years is when this tree will really hit it’s stride.

How much does a semi-dwarf apple tree produce? Around 4-7 bushels of apples per year. A bushel of apples is about 45 pounds, so that makes 180-325 pounds of apples every year. That’s a lot of apples. It’s actually 500-880 medium-sized apples, and would likely satisfy your “apple a day”.

How much are these apples worth? Well, first off, go down to a store and try to buy a beyond organic, no spray William’s Favorite apple. How much is it? It doesn’t exist. You can’t buy it at a store, but we’ll substitute organic apples for our calculations. So, organic apples run anywhere from 1.99/lb. to 3.99/lb., but I’ll use the lower number to be on the safe side. So, at 2 dollars per pound, 1 tree will produce $360-650 worth of apples per year.

But what can you do with hundreds of pounds of apples? Well, you could make homemade apple pie, 60 -100 pies per tree actually.

What about cider? Did you know that President John Adams would drink a tankard of hard cider every morning to prevent gas? Well, your mature apple tree can produce enough apples to make 12-24 gallons of cider per year. That’s 128-256 bottles, or 21-42 6 packs of craft cider. If you’re not a cider drinker, I’ll tell you that a 6 pack of quality cider costs about 10 bucks, and most of these are made from the rejects of the fresh fruit market.

Now, for how long can you expect this investment to return? While standard apple trees, those grown on full size rootstocks, can easily live 100 years, semi-dwarf apples typically live from 20-25 years. So your $30 apple tree will produce around 5000 pounds of apples, enough to make 1500 apple pies, or 600 6 packs of apple cider. And thanks to inflation, who knows how much these will cost in the next 25 years.

I’d say that’s a pretty good deal. And after the first year, once the tree is established, it will require very little maintenance. Now if this 1 tree is surrounded by support species plants that fix nitrogen, attract pollinators, and provide mulch and predatory insect habitat, and maybe a small swale to hydrate the soil and reduce water needs, then this 1 tree becomes a self-supporting, and highly valuable aspect of your property.

And while you can drive out right now and buy a 2-3 year old apple tree to plant, you cannot buy a 10 year old tree that is in full production, with a root system 20 feet deep and capable of surviving drought like no corn field or garden can. All of these, and many more, are reasons to consider planting a fruit tree or two on your property. It’s not that hard, and can be an extremely profitable investment.

Planting Trees: A Quick How To

As we wrap up the initial planting of our backyard food forest, I thought it made sense to put together a post on how exactly we plant our fruit trees. We already uploaded a video about protecting fruit with tomato cages, so check that out if you haven’t already, but today I’m going to give a quick how to on planting bare-root fruit trees.

apple tree location

This spot in the front yard is just out from the dripline of a big oak tree and should get plenty of sun.

First off, decide where the best place to plant your fruit tree is. Some things to consider are the directions of your primary winds, how much sun the tree will get, what sort of shade the surrounding trees or structures may provide, and also how much shade your tiny fruit tree will provide when it is mature. It’s also nice to be near a source of water for both irrigation and planting if you can.

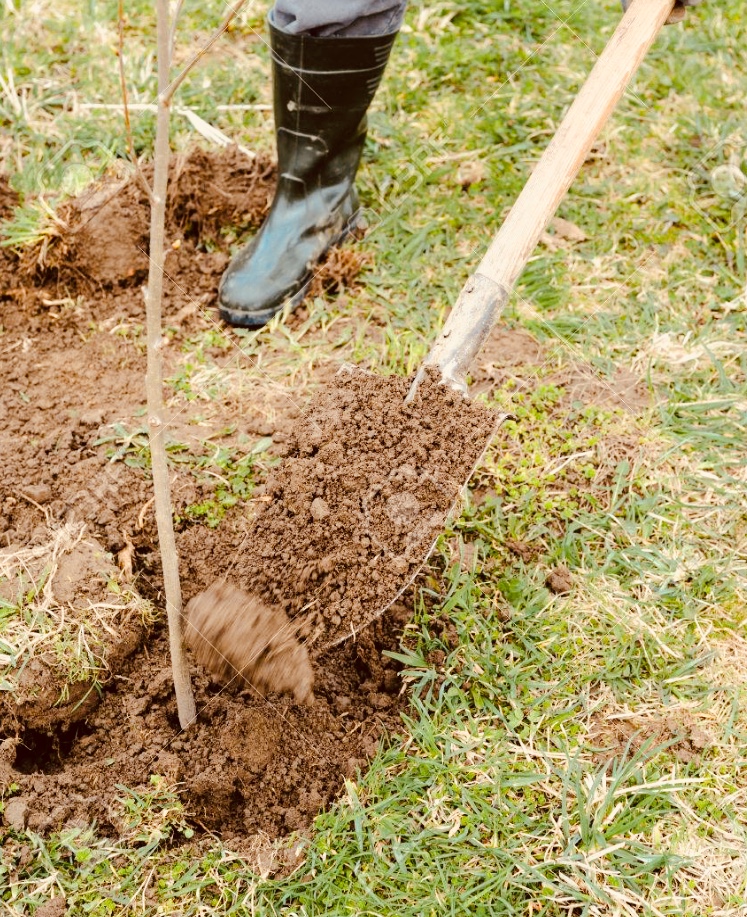
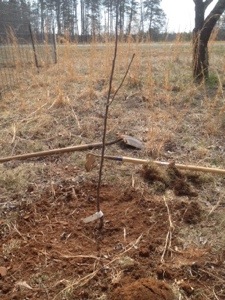
Next, I like to scratch off the top layer of sod or leaf litter, depending on where I’m planting, with either a mattock or shovel. This makes it easier to break ground, and also disrupts weed and grass growth in the area right around the young tree. Now it’s time to start digging. I like to dig a hole that is bowl shaped, with gently sloping sides, and a little deeper than the root ball on the dormant tree. For most of the trees we planted this year, this turned out to be a hole that was two and a half to three feet wide, and 18 to 24 inches deep.

fruit tree hole

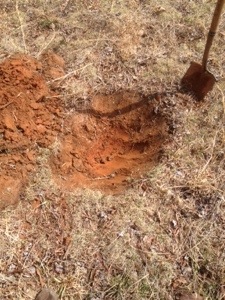
Make sure your hole is big enough and you don’t cram the roots in!

After the hole is dug, I like to rough up the sides and bottom a little to make sure the tree roots can grow out into the native soil. I now backfill the hole a bit, and place the root ball of the tree on a small pile of dirt and see if the depth is right.

I try to plant the tree at the same level is was planted at in the nursery, a couple inches below the graft union. This is important because if you accidentally plant the graft union below ground, the tree will grow as a full size tree and you will lose any semi-dwarfing or dwarfing effects. Now this isn’t necessarily a bad thing, but if you spend money on a dwarf apple tree that only gets 6 ft. tall, you probably won’t be happy when it ends up being 60 ft. tall.

planting apple tree

Start packing in the dirt around the roots, making sure to bust up any big clumps.

Once I have the right depth, I pack dirt around the roots of the tree, being careful to try and break up any large clumps of our beautiful, red Carolina Clay. At this point, I may add a handful of our native forest soil, in order to inoculate the young tree’s roots with mature soil bacteria and beneficial fungal mycelium to help with the uptake and cycle of nutrients.

heirloom apple tree planting

Fill in the rest of the hole and water deeply to remove any air pockets.

After that, I fill the hole in completely, and perform any grading or minor earth shaping to channel runoff and rain water. Ideally, now is when you would plant a few support species next to the tree, to help it grow. It’s also the best time to add a thick layer of mulch around the base of the tree, and then give it a good long drink to water it in.

And that’s pretty much it. All in all, after you get a few under your belt, it takes about 15-25 minutes per tree, depending on the size of the roots. Not too bad when you consider the value of a mature fruit tree, and how much food security it provides.

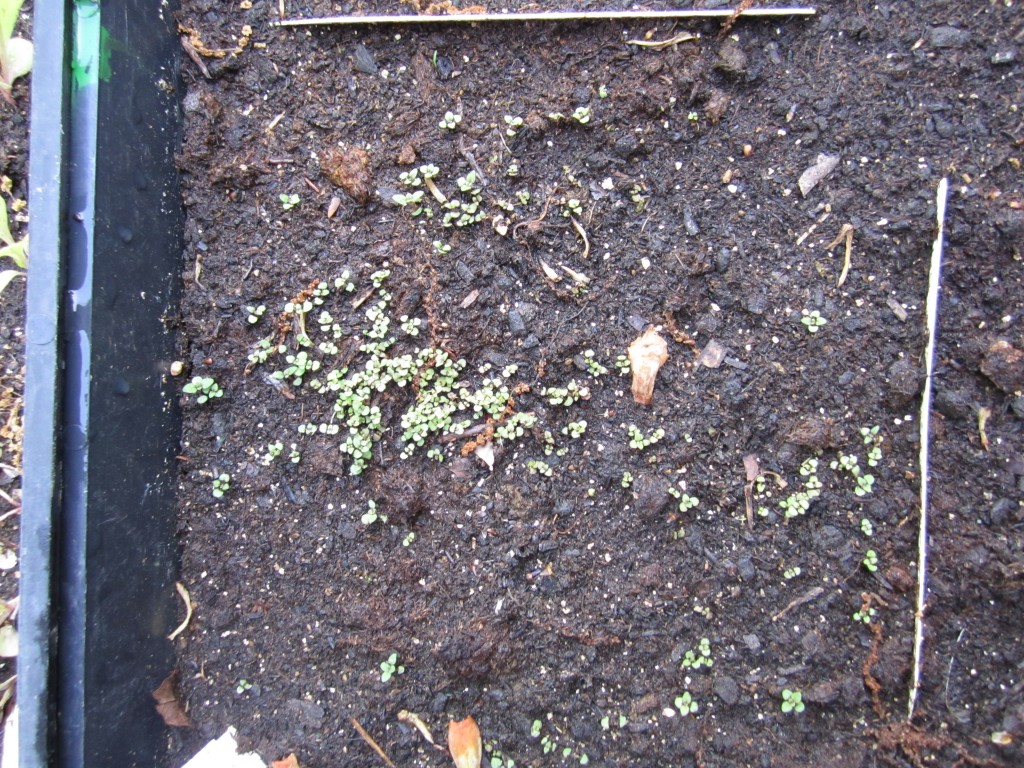
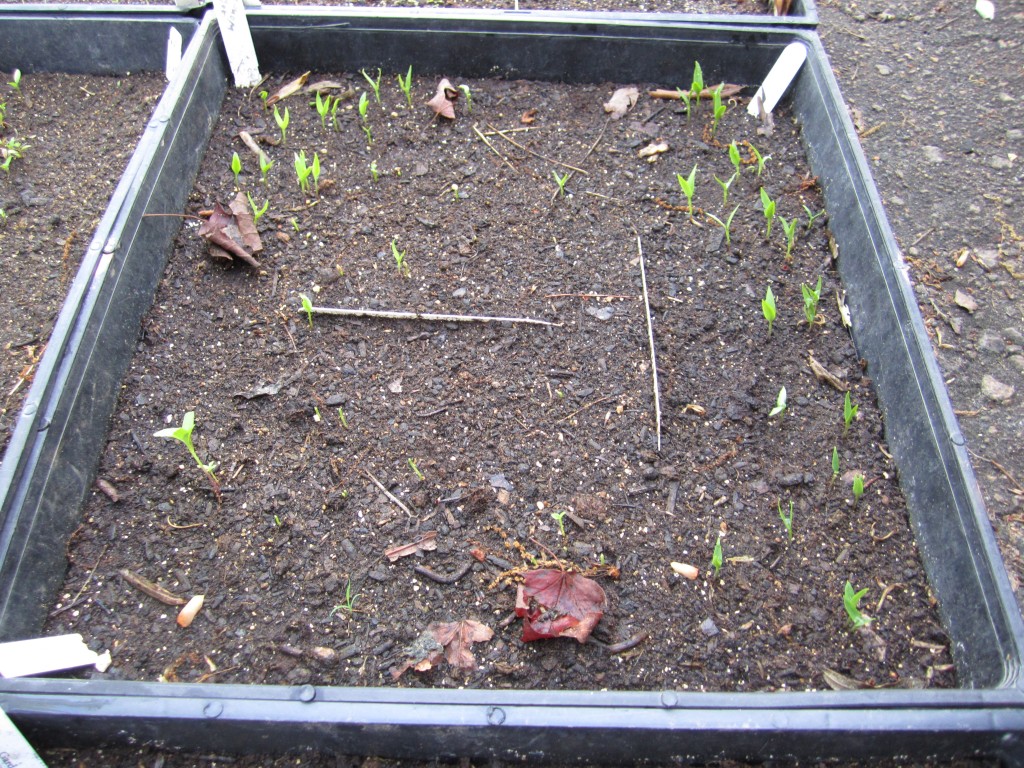
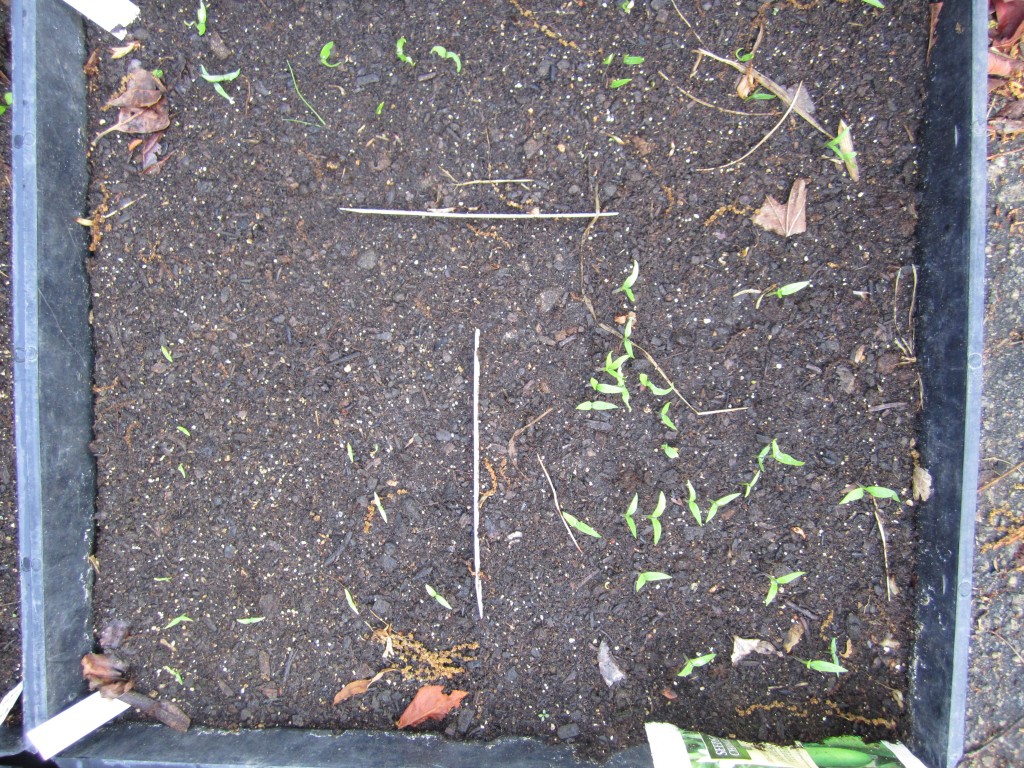
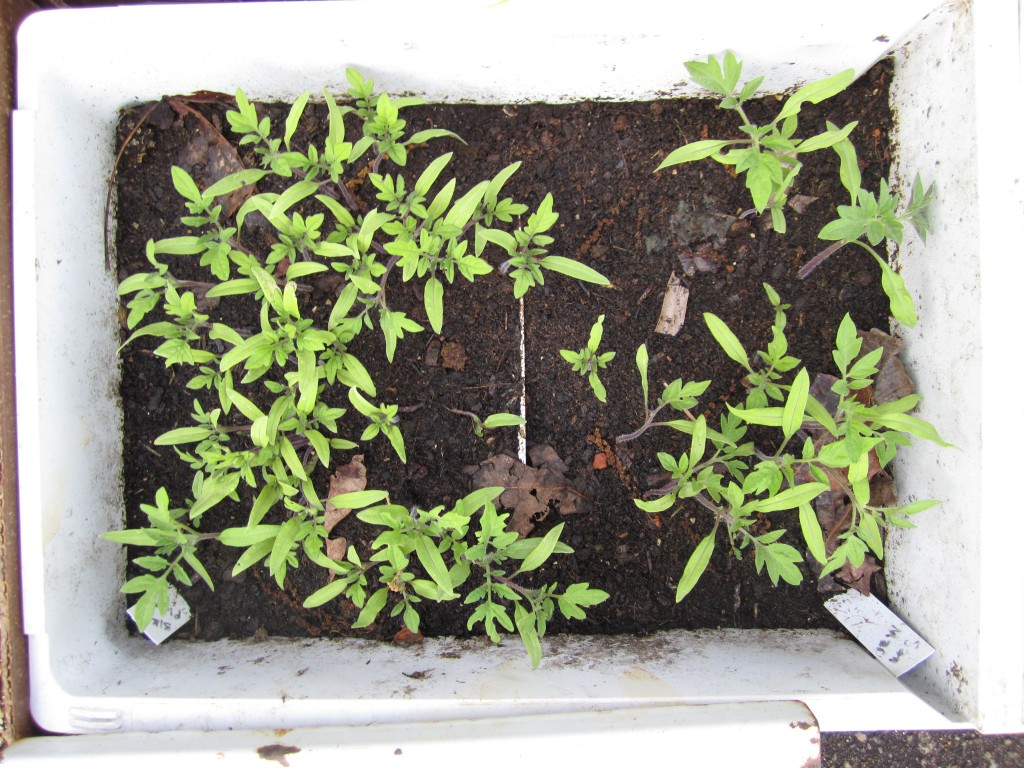
meet the homestead’s happy seedlings!

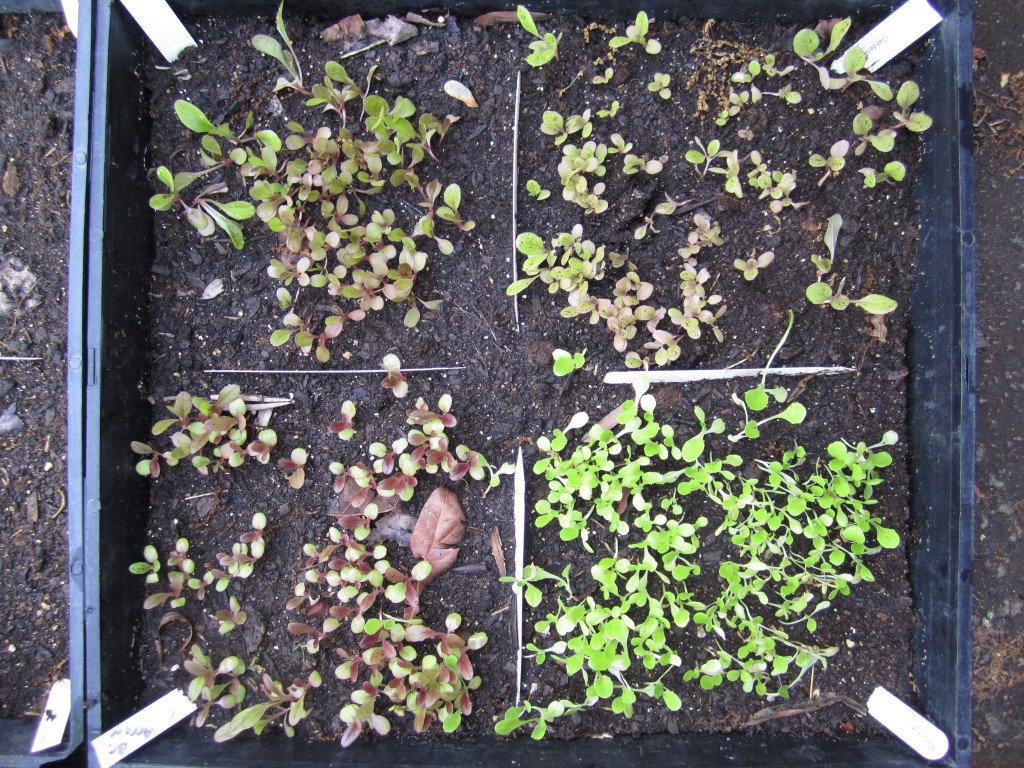
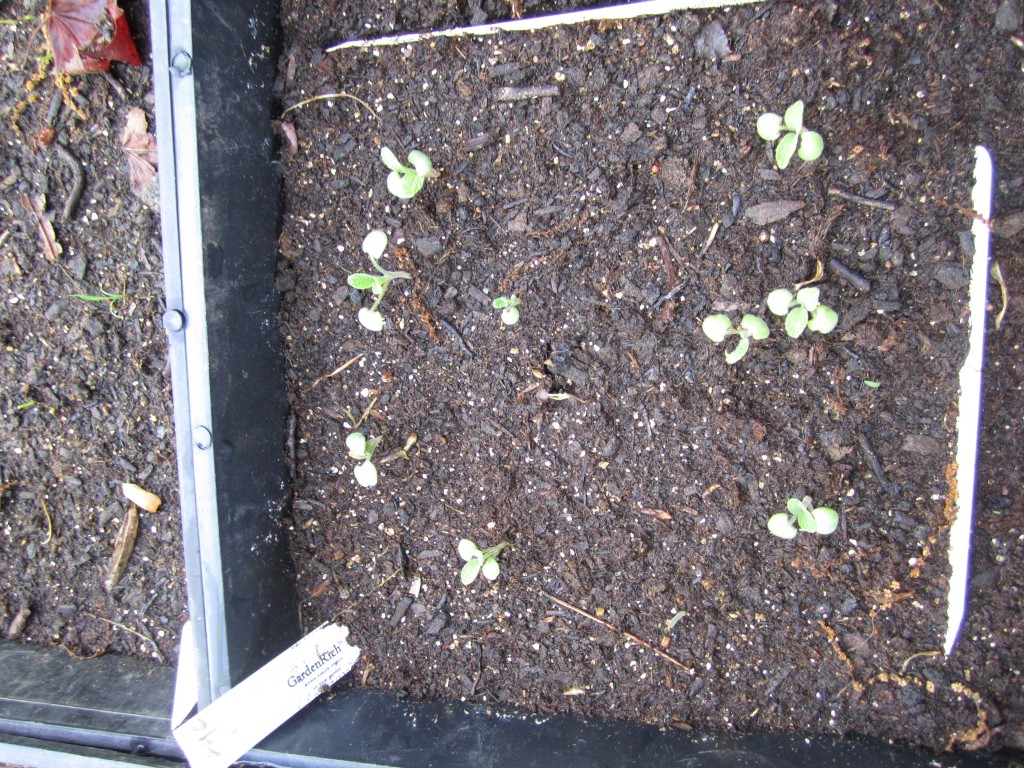
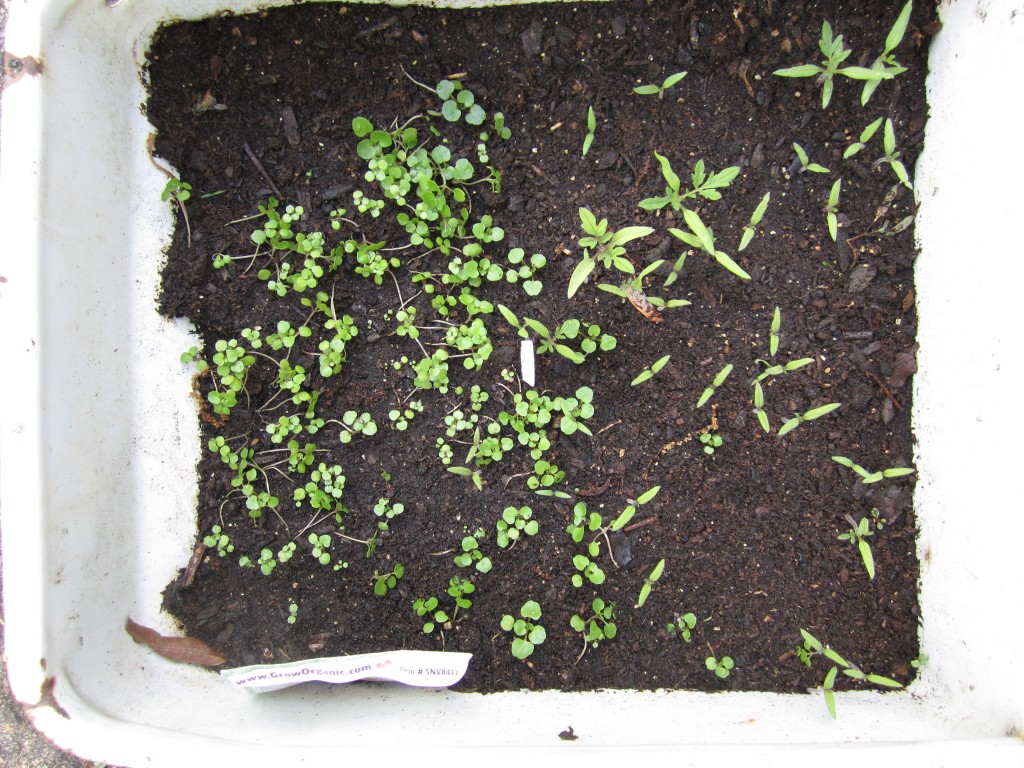
i recently wrote about all of the plants we started from seeds in pans and trays. i wanted to provide an update about how some of these guys are doing and show you what some of our plants look like in their infancy:

lettuce

the four lettuce varieties that we chose this year: speckled bibb, anuenue, bronze arrow, and sweet valentine.

sage

baby sage plants!

thyme

“thyme” for growing!

peppers

three delicious treats: jupiter red bell peppers, golden california yellow peppers, and tomatillos.

peppers

our spicy pepper tray: jalapeno, cayenne, and aji.

tomato

thriving paste tomatoes: black plum and san marzano. anyone ready for homemade tomato sauce?

tomato

black cherry tomatoes (right) and watercress (left). watercress is so cool… it can be grown in running water, i.e. a stream!

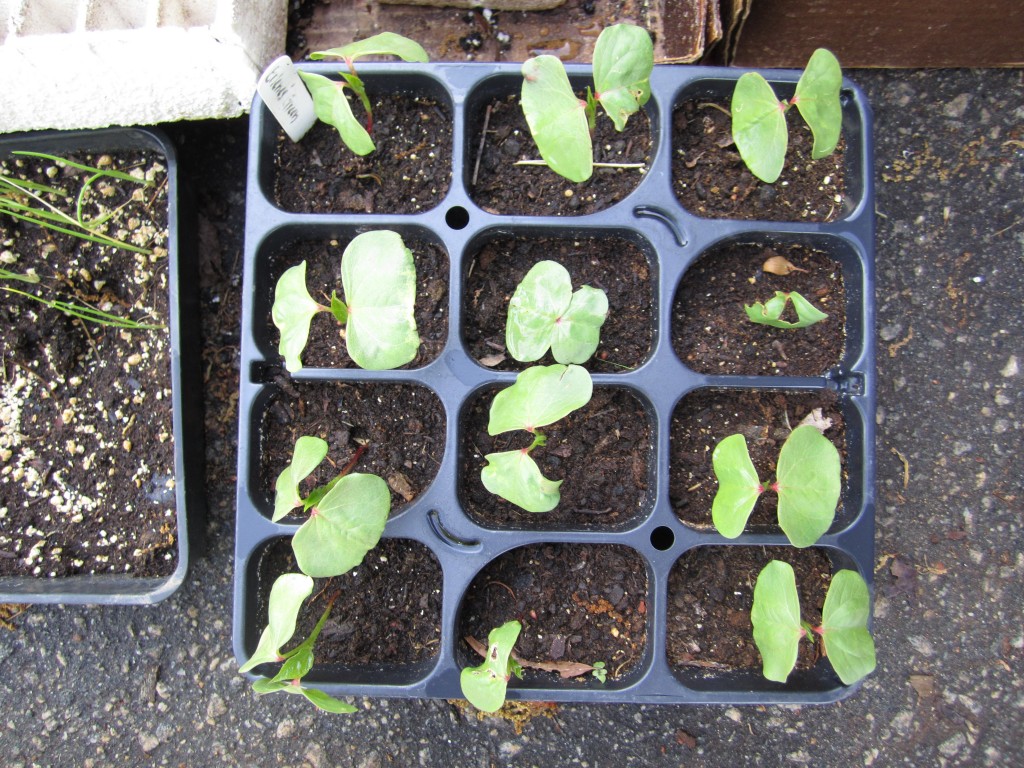
and the star of this season's seeds... erlene's green cotton plants.

and the star of this season’s seeds… erlene’s green cotton plants.

i’m not really sure yet what i’ll do with the cotton once/if the plants are fruitful but i am so excited to have green cotton! wow!

the lettuce and the cotton need to be transplanted into the ground soon, while the tomatoes and peppers will be transplanted into larger and deeper pans so they can grow a little tougher and larger before we put them in the ground.

and the other seedlings needs a little more time to grow in their current locations before they graduate up the “food chain.” just thinking about it is making me hungry!

.:.


The Where and Why of Our Backyard Food Forest

Over the past few weeks Emma and I have been busy planting over 100 trees, vines, bushes and shrubs as the foundation for our new food forest. A food forest, for those who may never have heard the term before, is a forest designed to provide food for its stewards. They often consist of perennial species, like fruit and nut trees, and are therefore inherently stable and resilient.

A well designed and established food forest is able to cycle nutrients, capture energy, and produce a yield with few human inputs, such as irrigation, fertilization, and planting. Our food forest will take some time to reach this mature, self supporting state, and for now we will have to nurture our young plants to ensure that they become well established and provide for us for decades to come.
food forest

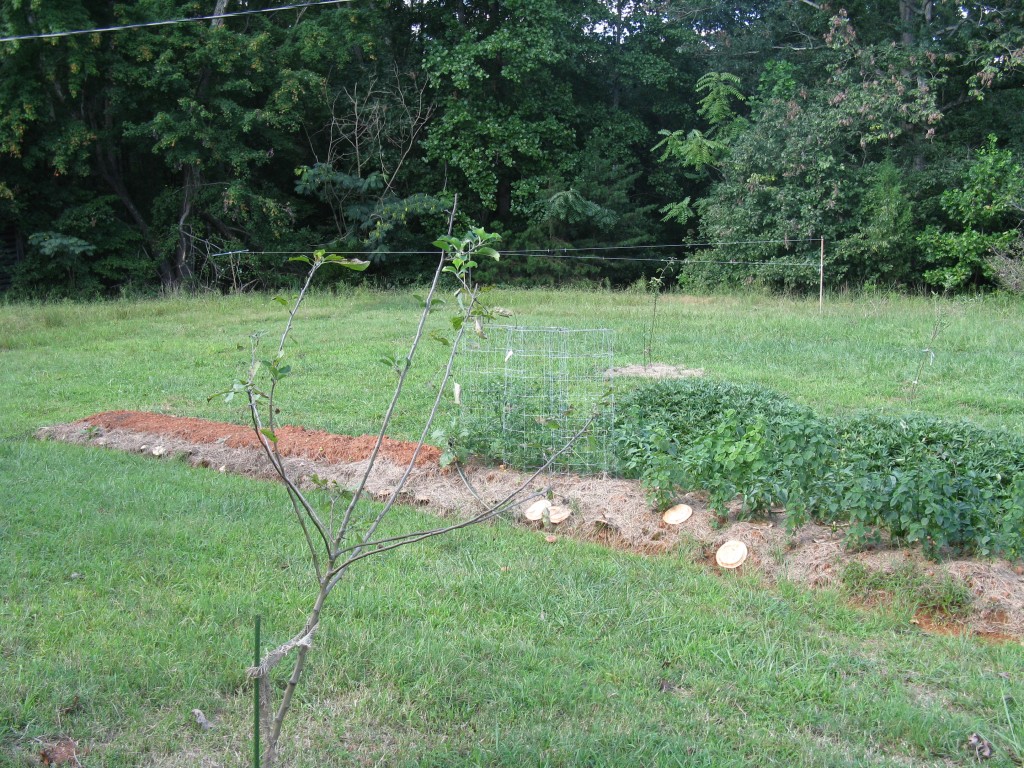
Last year, the forest edge, the location of our new food forest, was an impenetrable tangle of small trees and shrubs.

This longevity is one of the key benefits of forest gardening. There are food forests that are over 2000 years old which have provided for many generations of humans caretakers. This is what we are shooting for. Designing a system that will feed not only us, but our progeny for years and years.

Our new food forest is only the home base for our future plans, and is located right outside our back door, in, what in permaculture is referred to as zone 1 or zone 2. The backyard area forms a u shaped, open glade that faces south, and is bordered by native woods made up of oaks, poplar, hickory, maple, and pine among others.We are expanding out from this hardwood forest with our fruit trees, replacing the shrubby undergrowth, and following the curved shape of the woods. This was a conscious design choice and has numerous advantages.

First, we replaced many undesirable and inedible species with productive species. As anyone who has ever walked into a forest knows, the edge is usually where you encounter the thickest undergrowth of thorny bushes and vines that seem impenetrable.

Second, by planting along the forest edge we, and our plants, are able to tap into the complex and well developed fungal network that supports and coexists with our woods. Plants usually prefer to grow in 1 of 2 environments.The first is a bacterial one that is primarily found in grasslands, meadows, and prairies. These environments rely on grazing animals to digest large amounts of plant material and poop out partially decomposed manure that is full of bacteria that complete the nutrient cycle from plant-animal-plant.

The other is a fungal environment, where moist, and shady conditions, as well copious amounts of woody material support millions of miles of fungal hyphae, that break down dead wood, help tree roots obtain and take up nutrients in the soil, and act as a sort of internet that connects the trees in a forest. Thus, by planting our trees on the edge of the forest, their roots are able to seek out the fungal network that forests and woody trees depend on to thrive.This is much easier than having to establish this fungal network from scratch by mulching with woody material, or trying to establish a fungal based system in the middle of a bacterial environment, like a lawn.
food forest edge

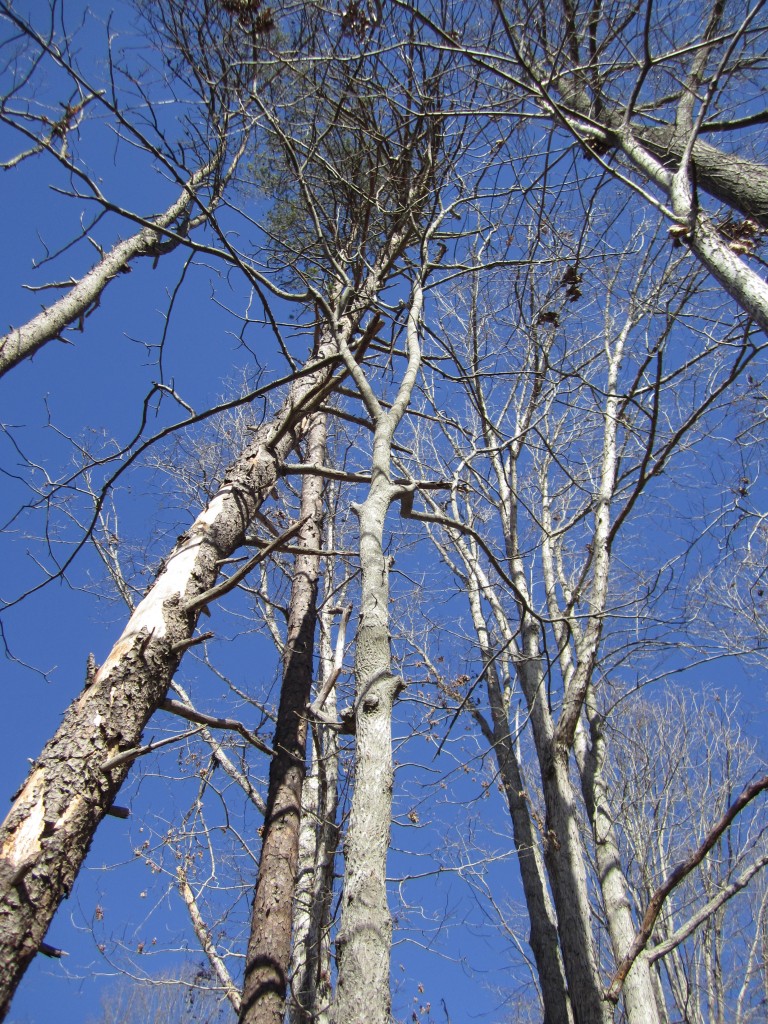
forest systems rely on fungal networks to cycle nutrients , maintain balance, and grow large trees

Third, in addition to tapping into the fungal network of the forest, our new food forest will benefit from the established nutrient cycle that is already in place. Our towering hardwood trees have roots that have driven deep into the soil, and are able to pull up nutrients and minerals unavailable to most plants. They then store these nutrients in their leaves, and when fall comes, shed huge amounts of organic fertilizer and mulch all around our young food forest.

In addition to gathering and cycling nutrients, these massive trees are also able to soak up and “sweat” out water. This dew will fall directly on top of our new food forest, supplying it with a decent amount of moisture and reducing our need to irrigate.

All of these benefits are part of the reason we planted our food forest on the hardwood forest edge. Because the mature system can provide so much for our new, immature system, we won’t be planting as many support species. There will be some, but no where near as many as would be planted in a typical food forest.

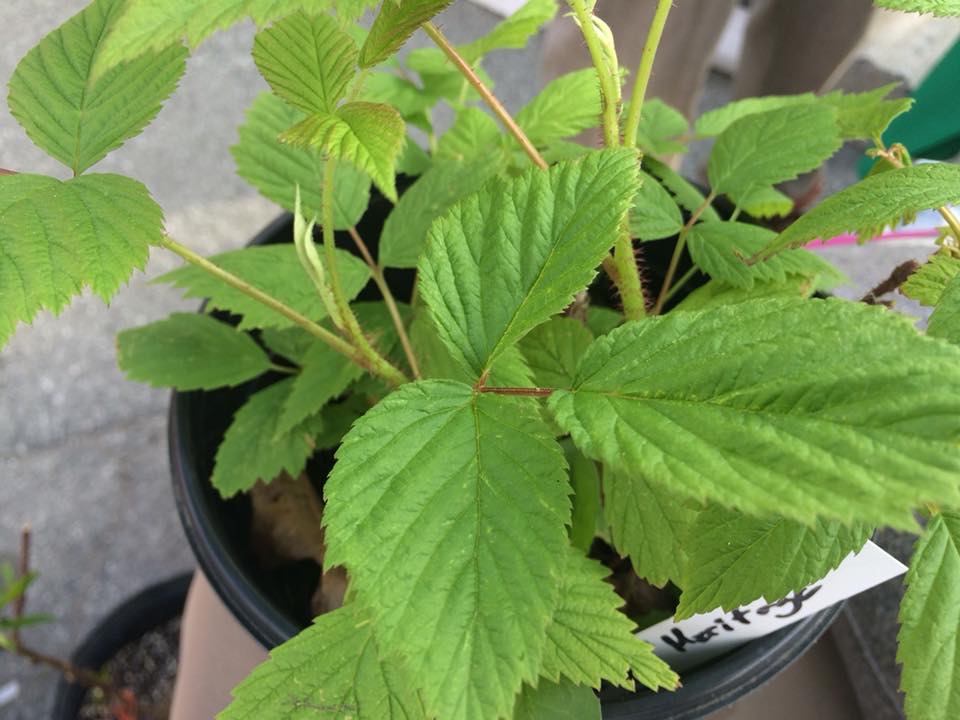
This diverse forest system will be made up of an extremely diverse group of fruiting and medicinal plants. In addition to the overstory of hardwoods (which also provide shade and moisture for our mushroom logs), we planted apple, pear, peach, pluot, plum, paw paw, cherry, and asian pear trees as the main food species. We then planted shrubs and bushes like raspberry, blackberry, blueberry, currants, gooseberries, seaberry, autumn olive, goumi, goji berry, aronia, and elderberry. We also planted a few vines, like groundnut, grape, and passionflower, as well as herbaceous species like sunchokes, comfrey, fava beans, and, soon, a dozen more medicinal, perennial herbs like black cohosh, astragalus, marshmallow, yarrow, and valerian. Among these will be nitrogen fixers like honey locust, black alder, and siberian pea shrub, as well as a mix of clovers.

All of these species are in an area smaller than an acre, and primarily along the border. Most are perennial, and should provide for food for many years, as well as serve as nursery stock for propagation, ans the expansion of our food forest to other spaces on our property. It has taken a great deal of effort to plan and plant, but our new food forest should start paying dividends in a few years, and then on for as long as there is someone here to harvest.
Older posts

© 2024 KW Homestead

Theme by Anders NorenUp ↑