KW Homestead

Pasture Raised Poultry & Edible Landscaping Plants Since 2013

Month: December 2014 (page 2 of 2)

A Visit to Old Salem

Looking for something to do this holiday season around Winston Salem? Do you like old things? Then check out Old Salem.  We went for a visit the other day and really enjoyed ourselves. If you’re into architecture, history, archaeology or homesteading, I think you’ll find Old Salem a fun and informing trip.

old salem bridge

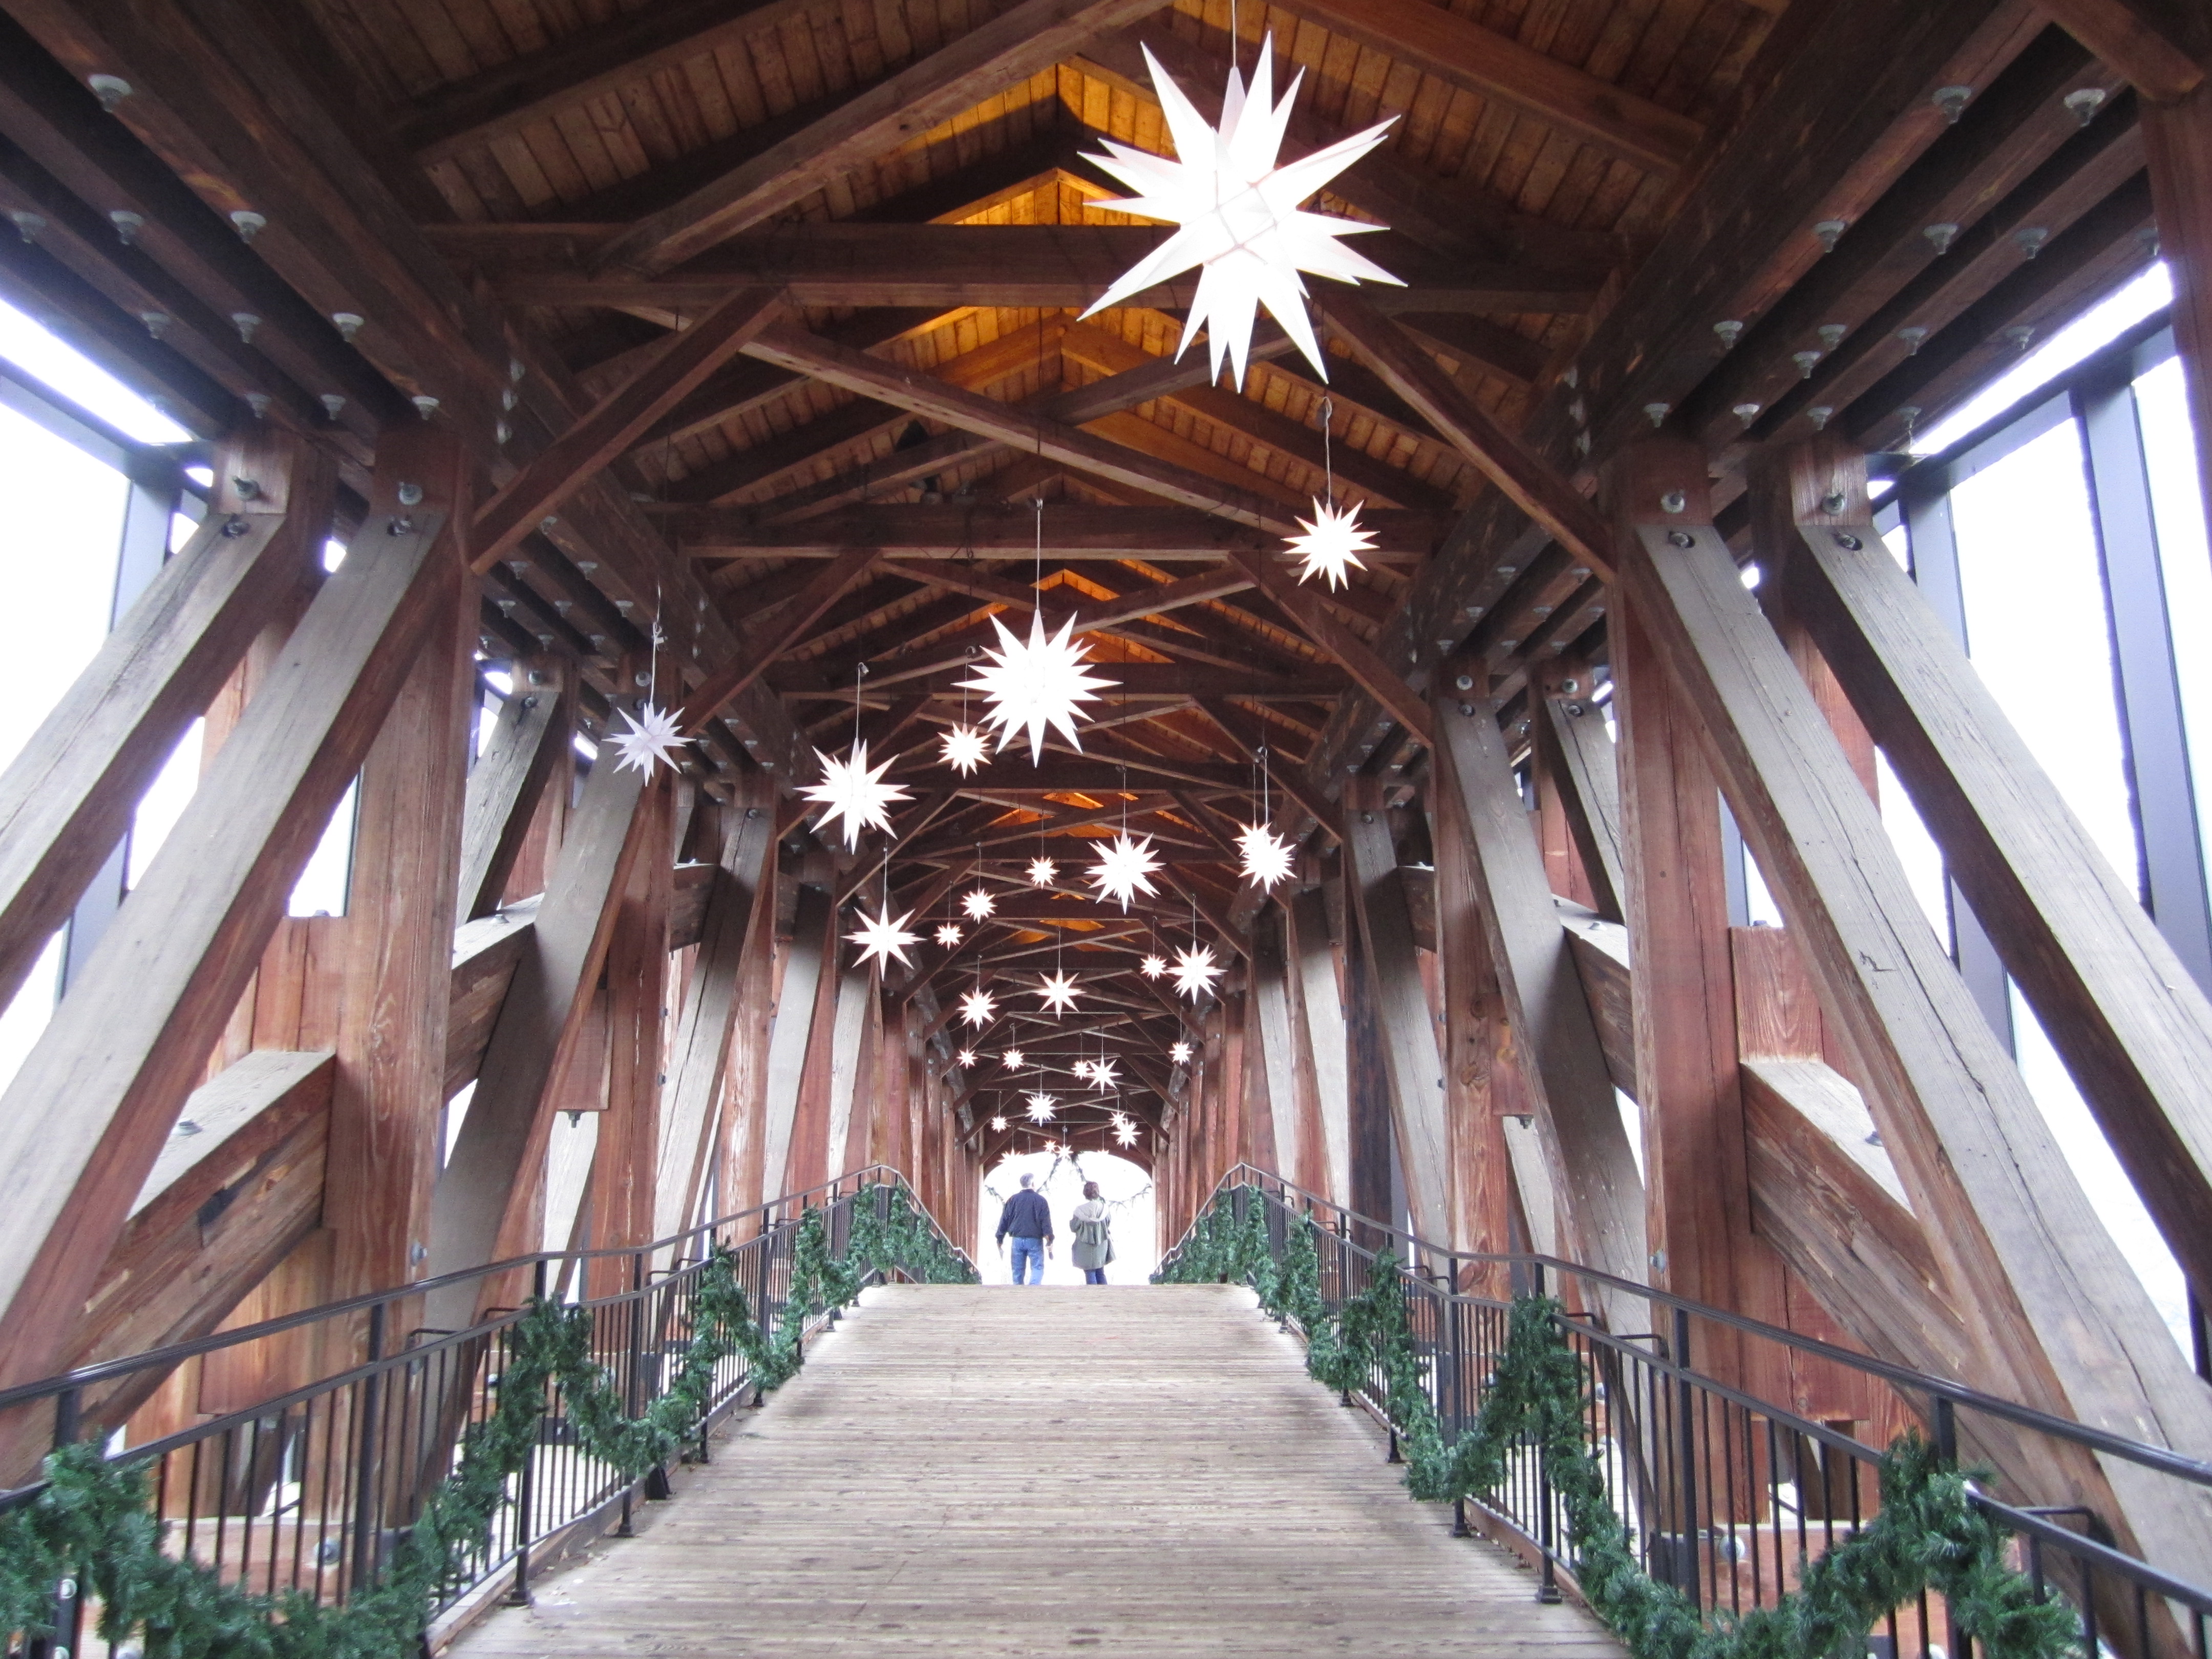
Moravian Stars on the Covered Bridge are just an appetizer

Old Salem is a living history museum based on the local Moravian community during the 18th and 19th centuries. As you wander the streets, you are able to interact with and question gunsmiths, bakers, doctors, and other members of the community.

Dressed in historically accurate garb and often performing traditional activities like candle making, baking, and soap making, these members recreate and help you to re-imagine life in a simpler time.

old salem santa

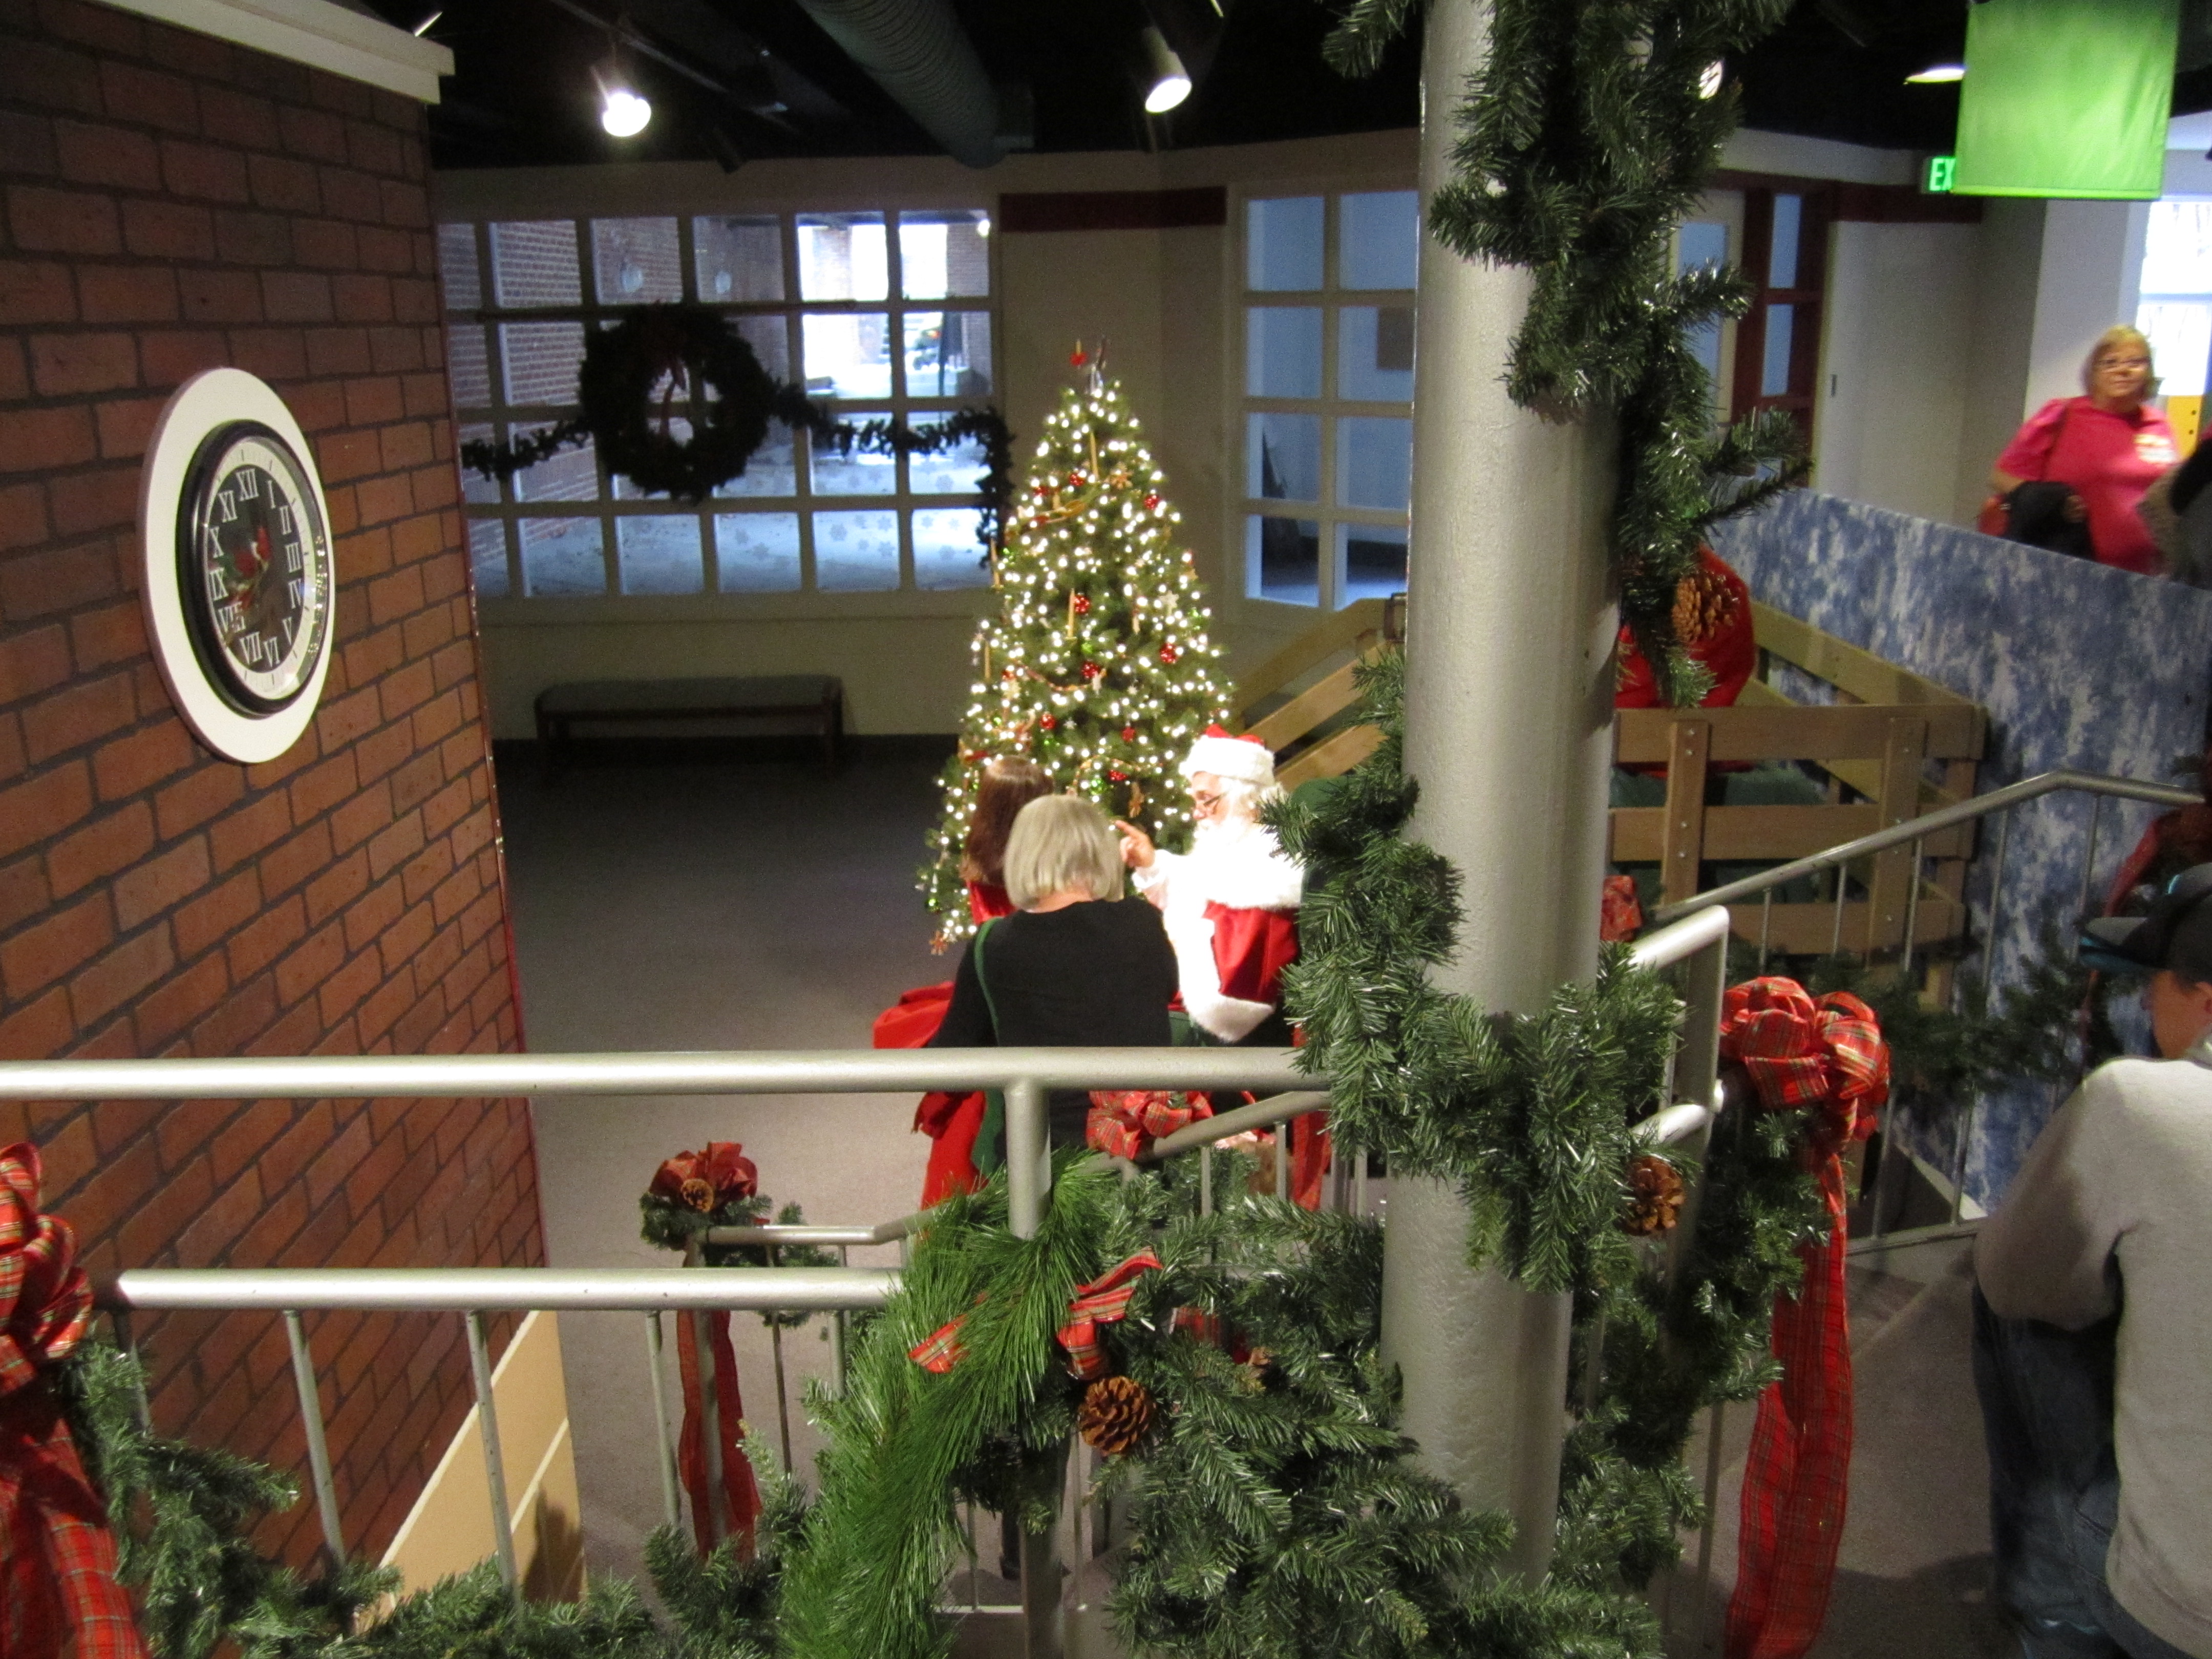
St. Nick at Old Salem

As someone interested in homesteading, and deeply curious about the skills and techniques of the past, our visit to Old Salem had my head spinning with new ideas fro our own homestead. Particularly, we enjoyed the old rail fencing styles, as much an art form as anything, and the candles made from beeswax and tallow.

old salem barn

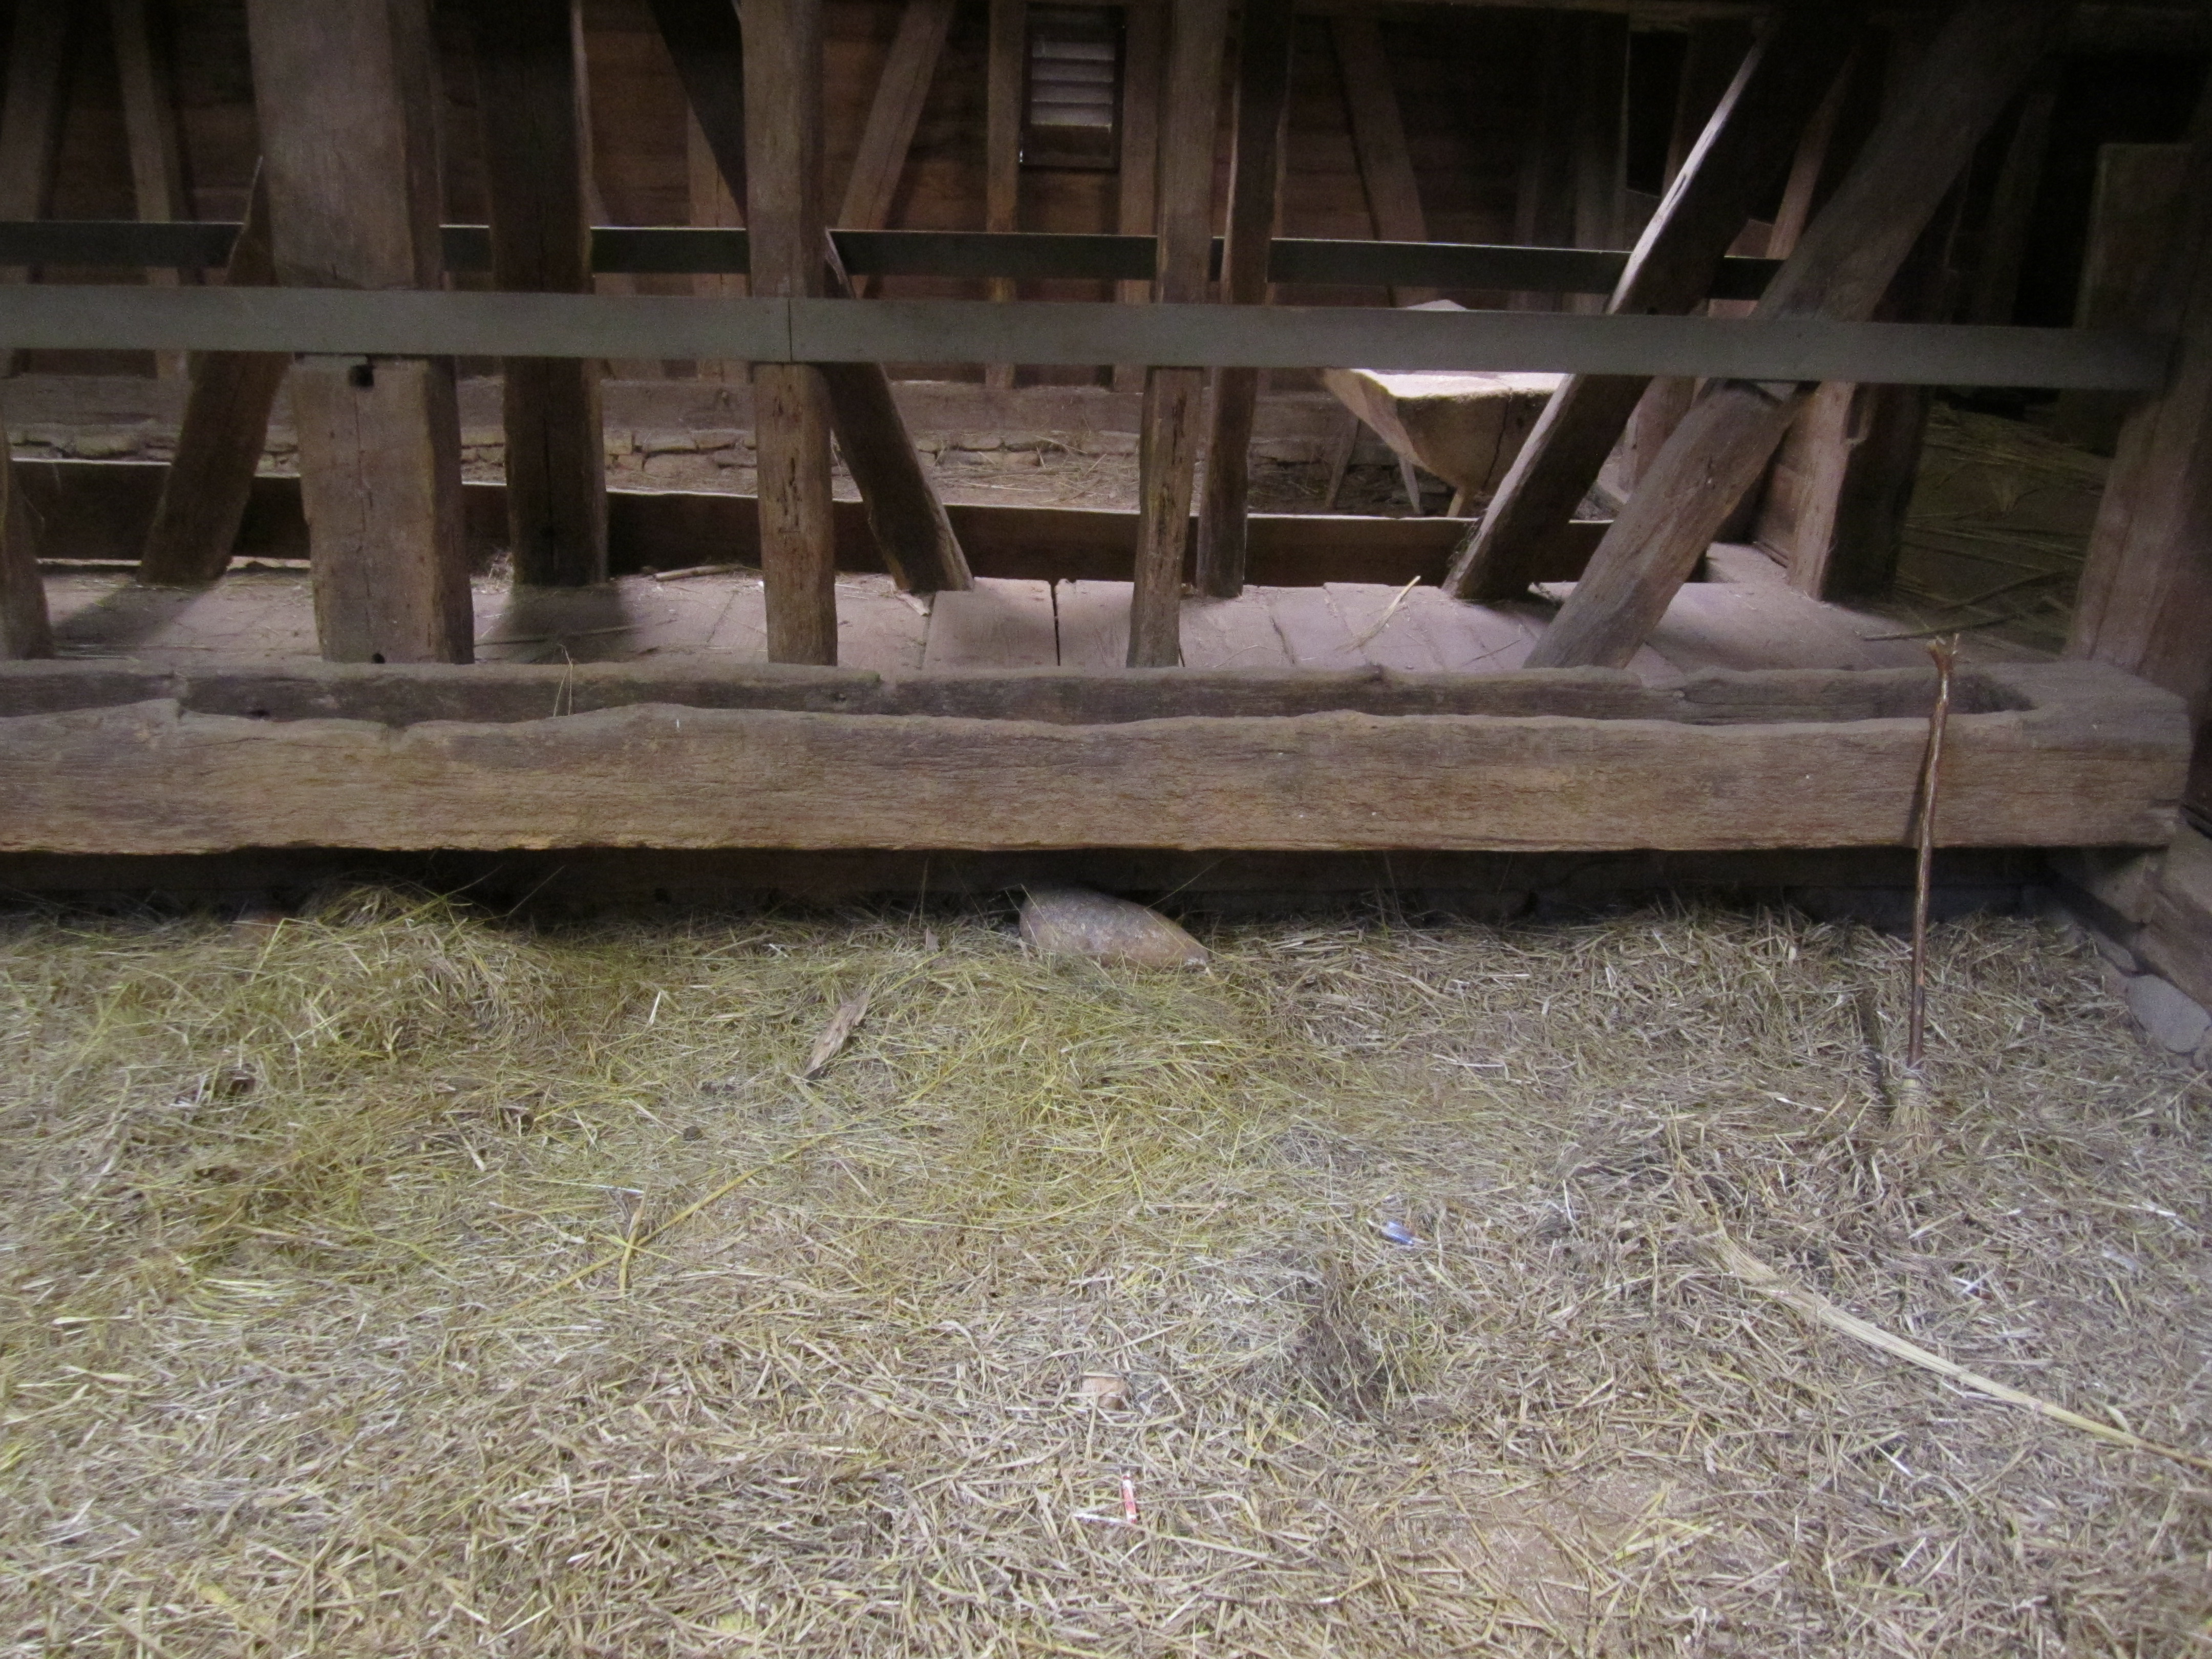
a cool trough made from half a tree in a 200 year old barn

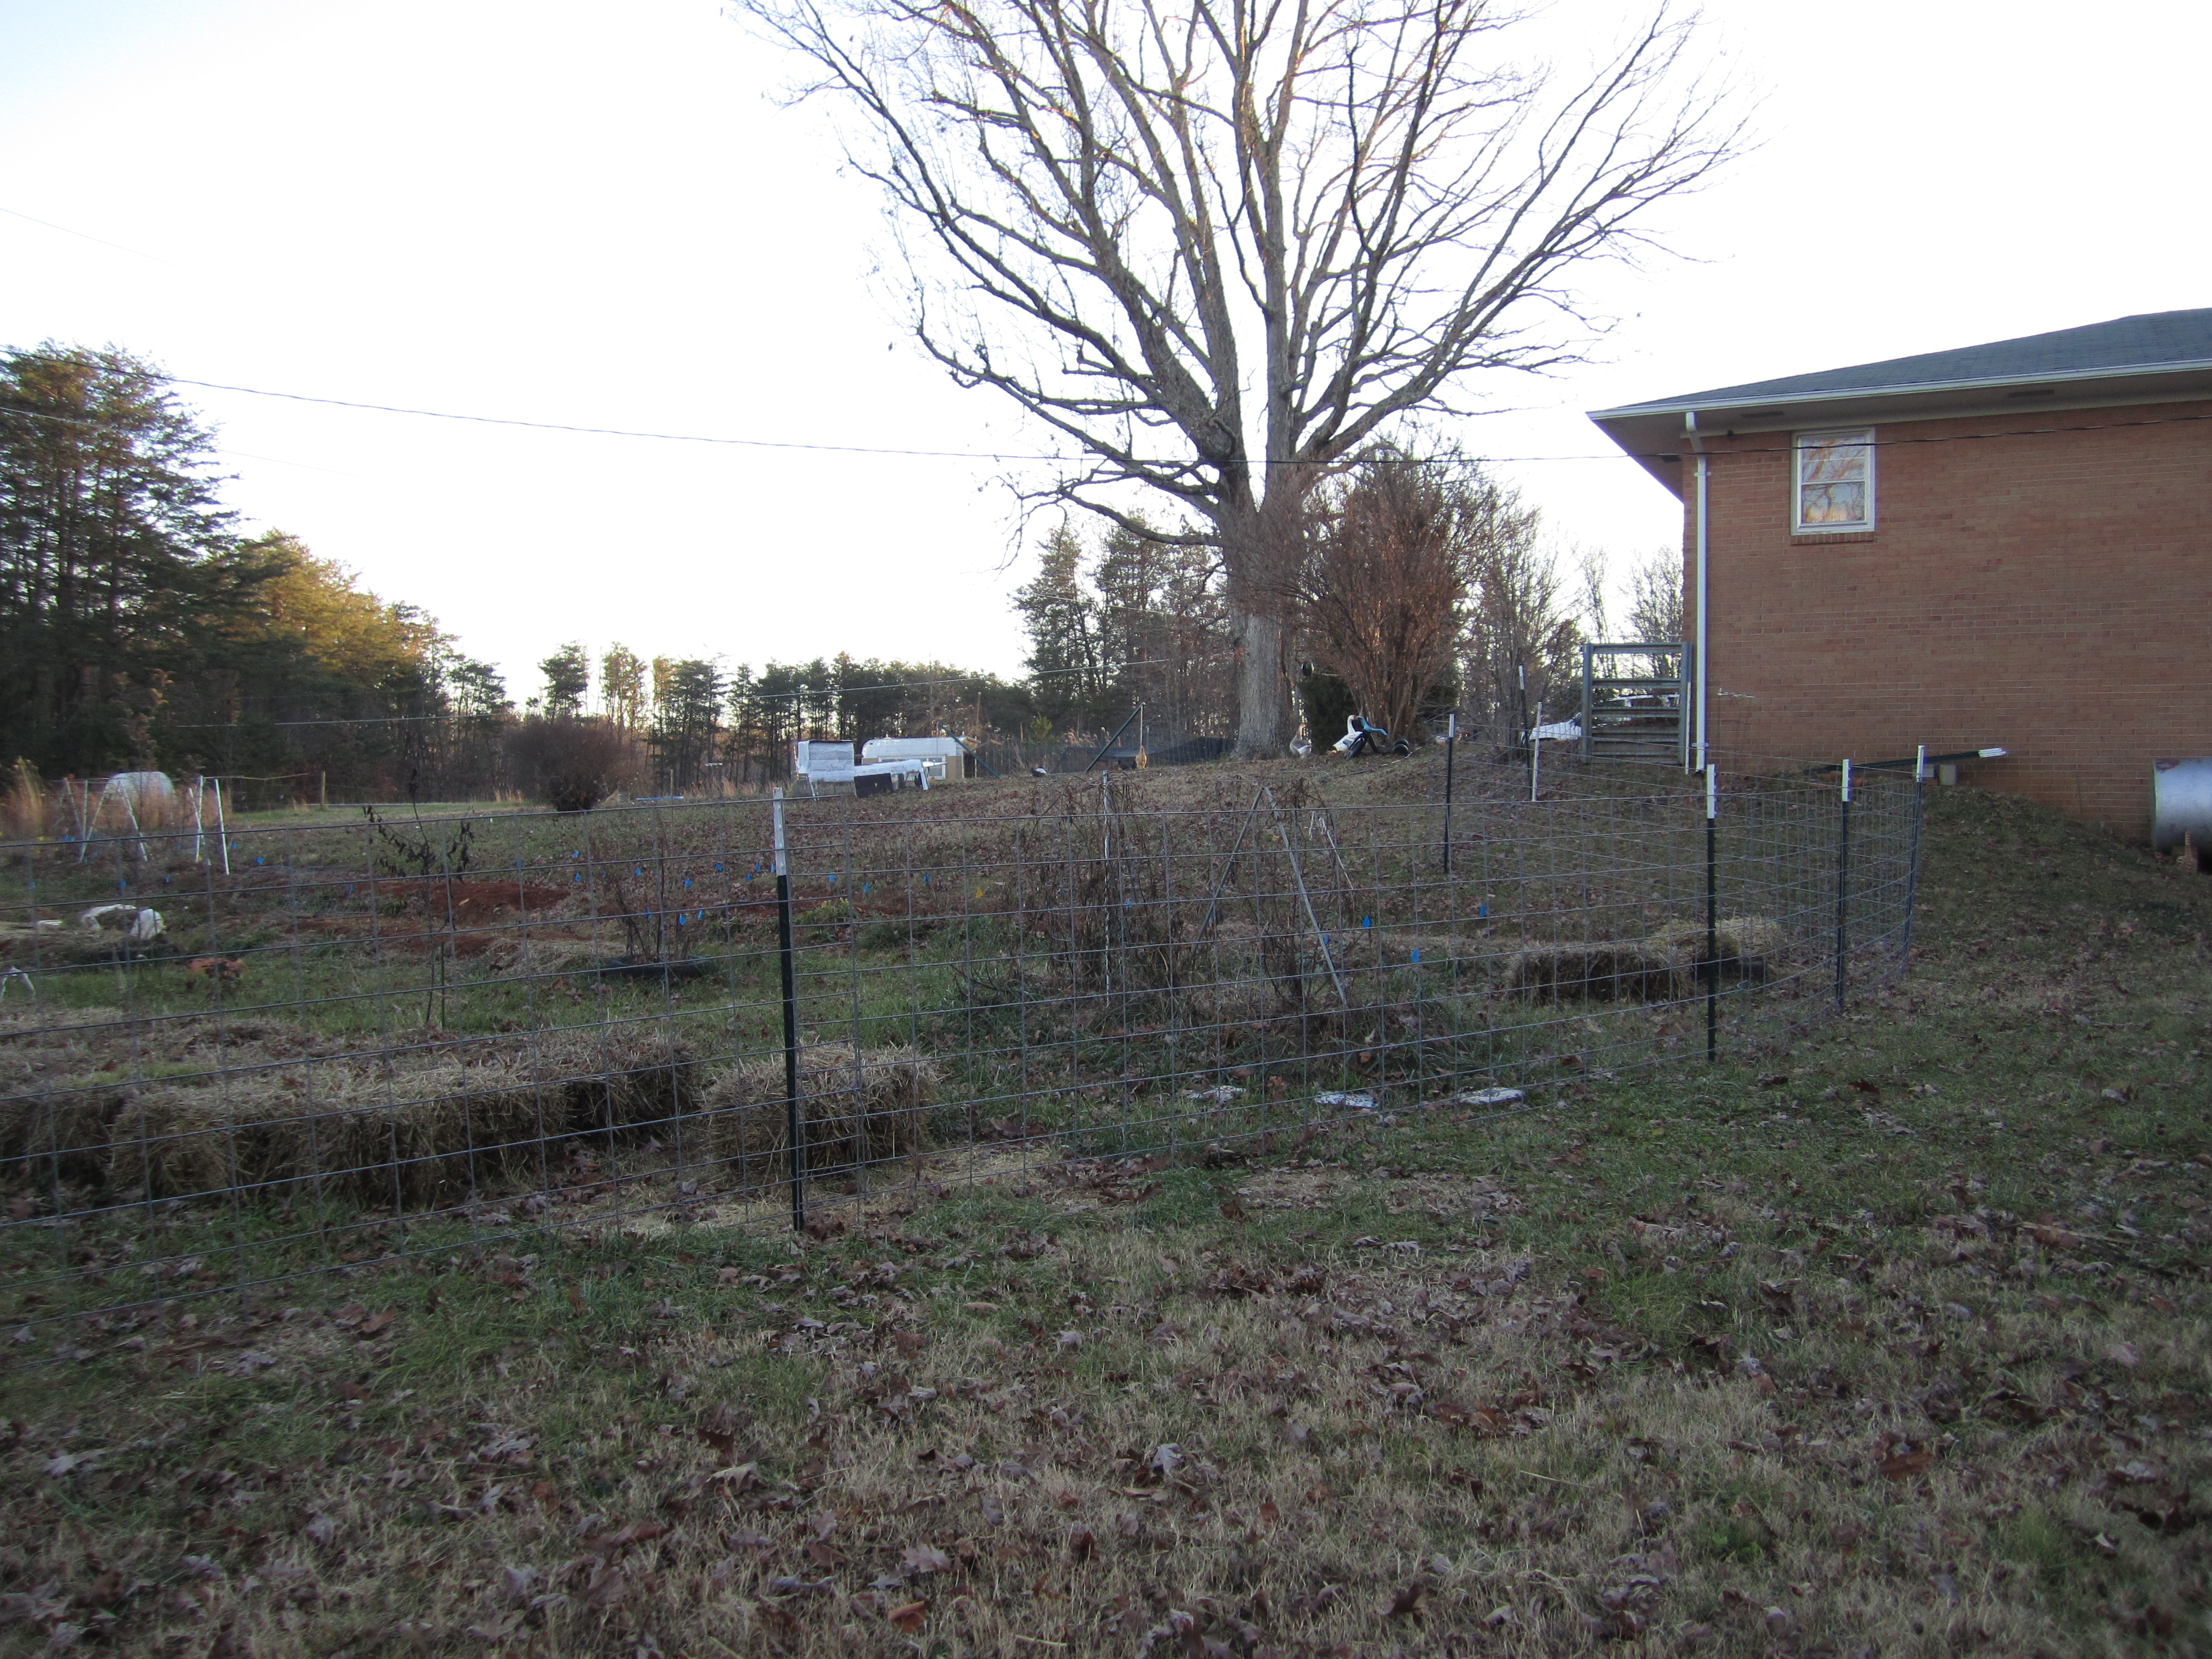
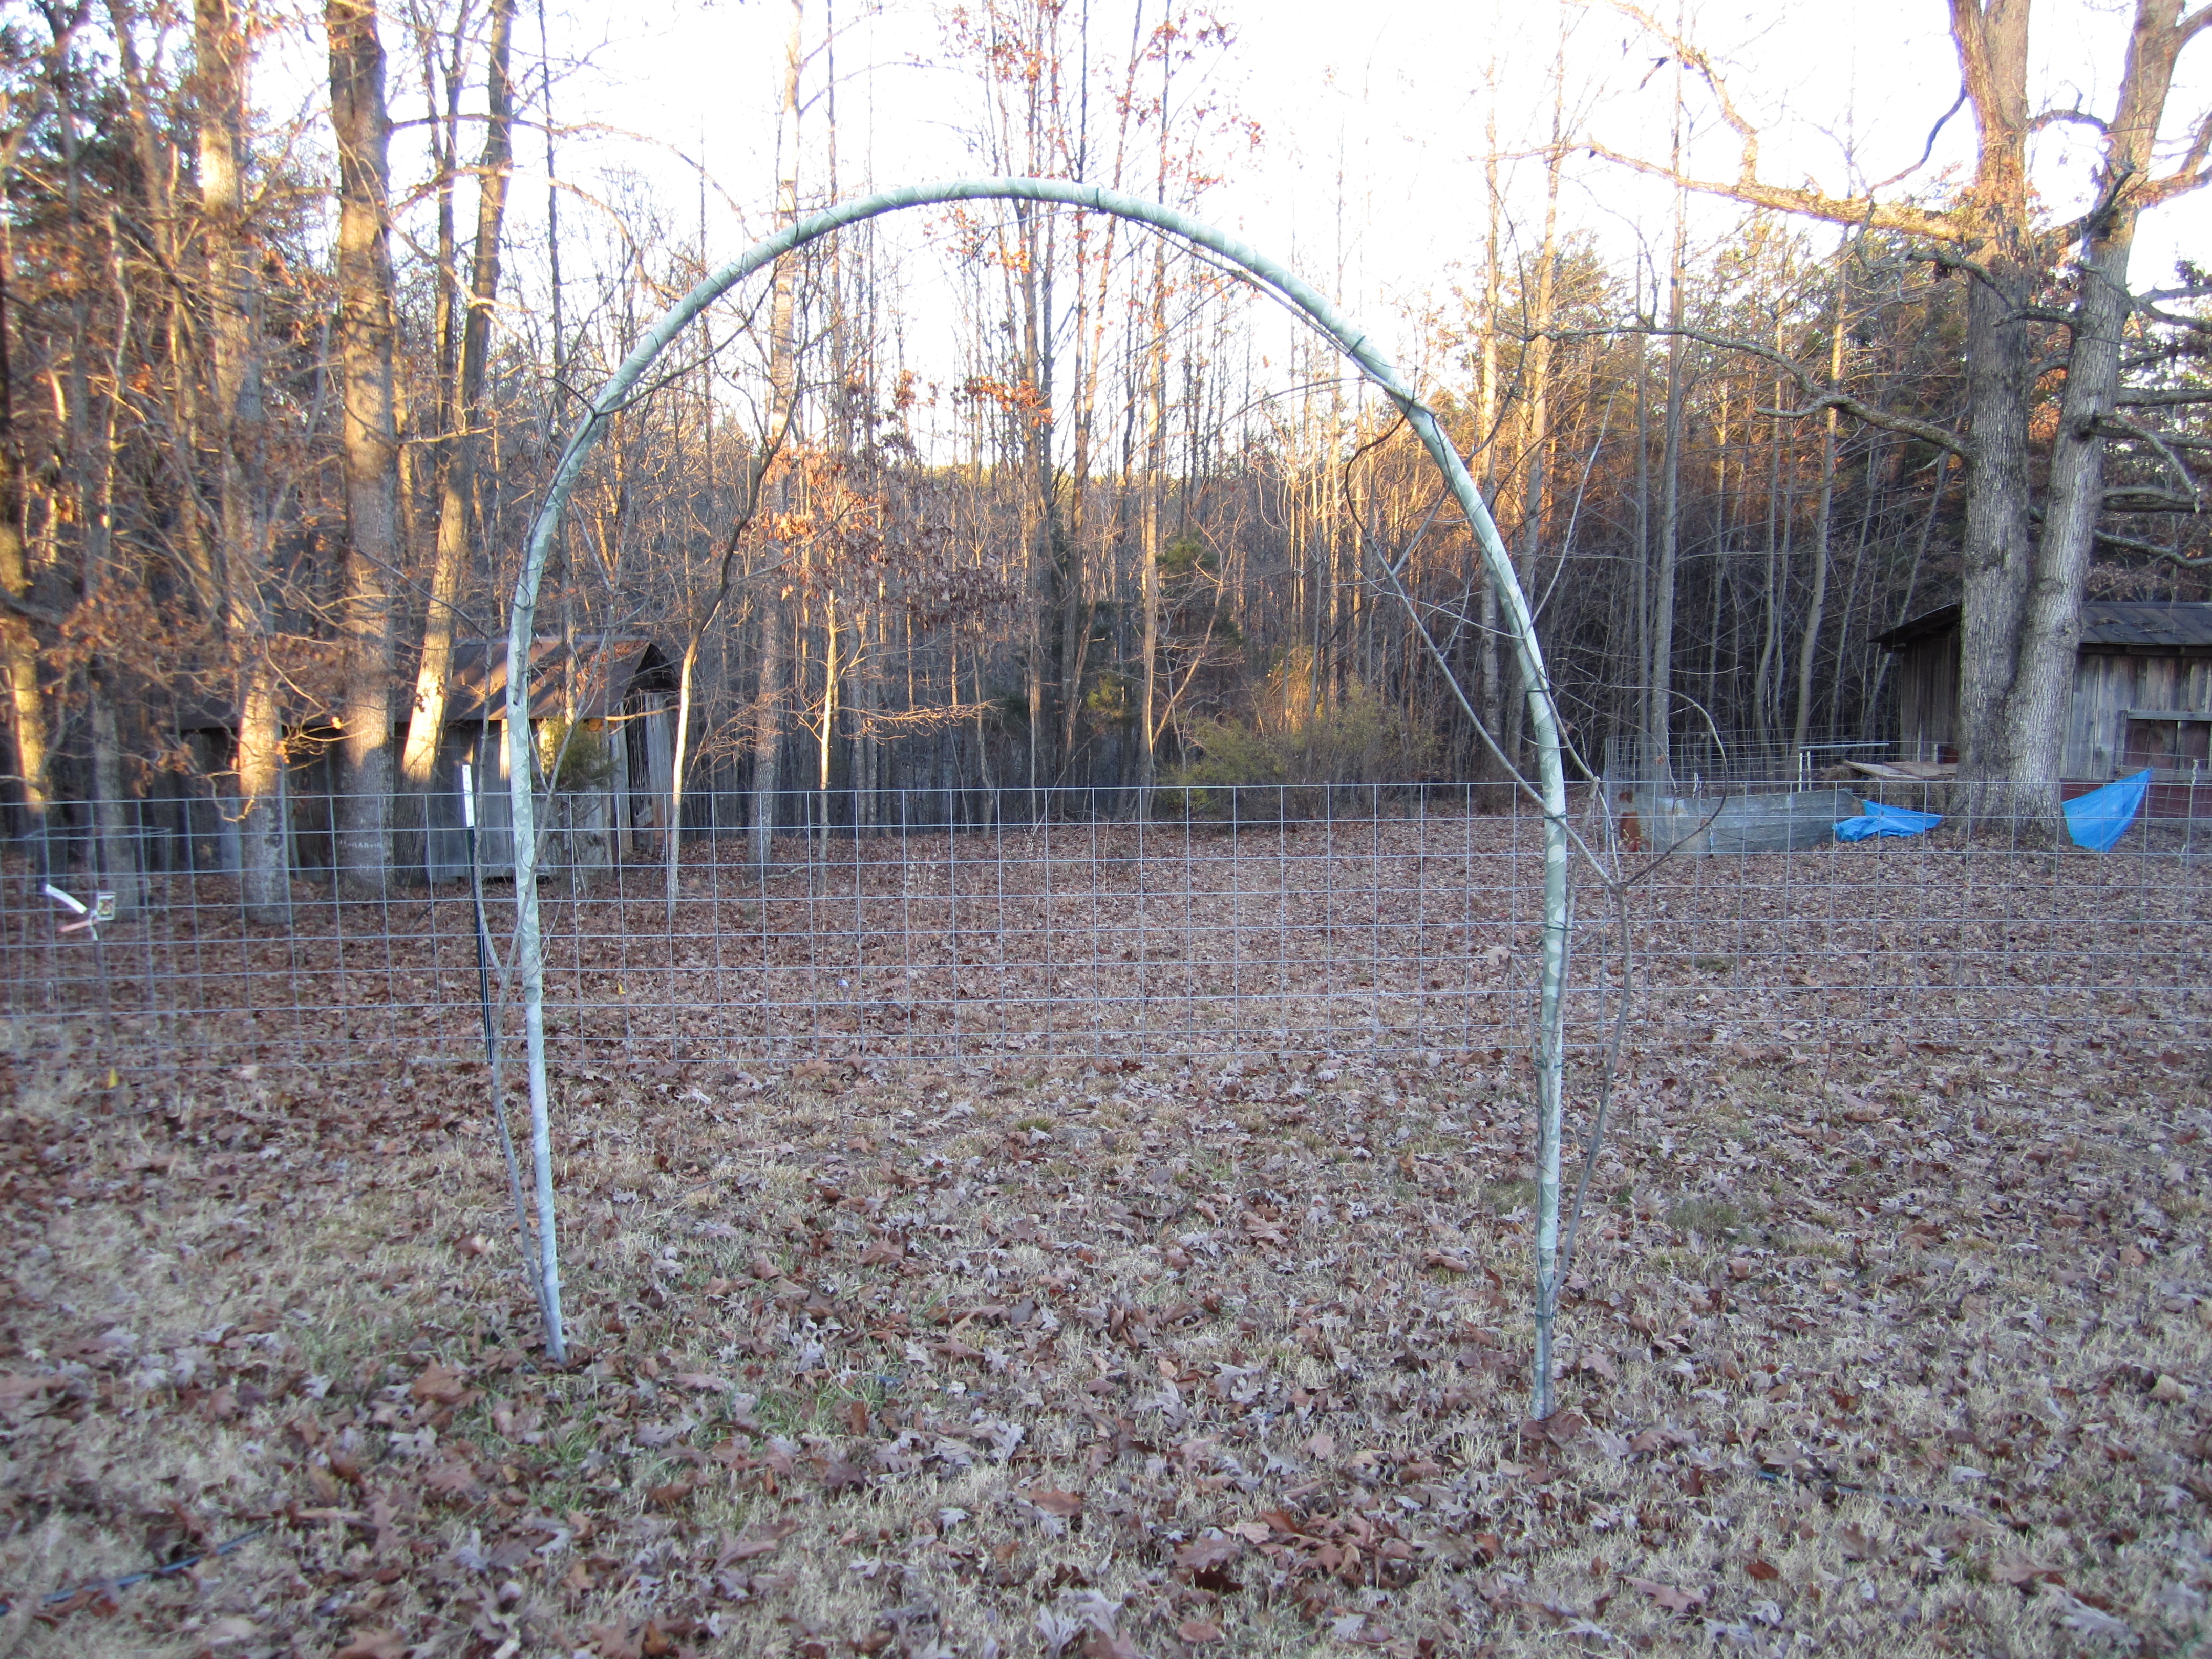
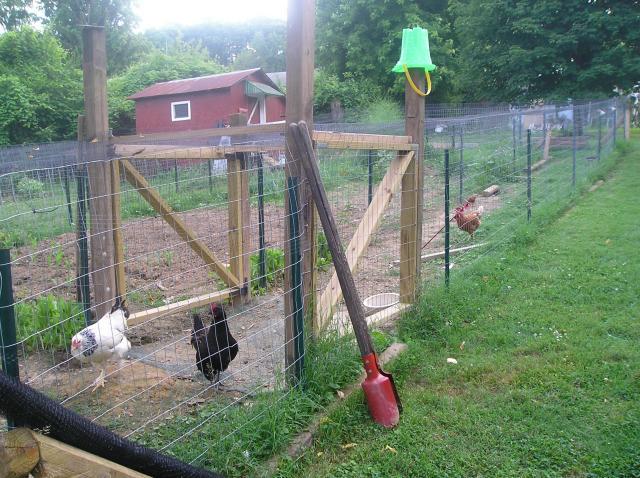
Because it was winter, the gardens weren’t in full production, but it was nice to see examples of espalier fruit trees and trellised vines in most of the gardens. I couldn’t stop admiring the different types of wooden fencing and can’t wait to try some out on our little homestead.

old salem fences

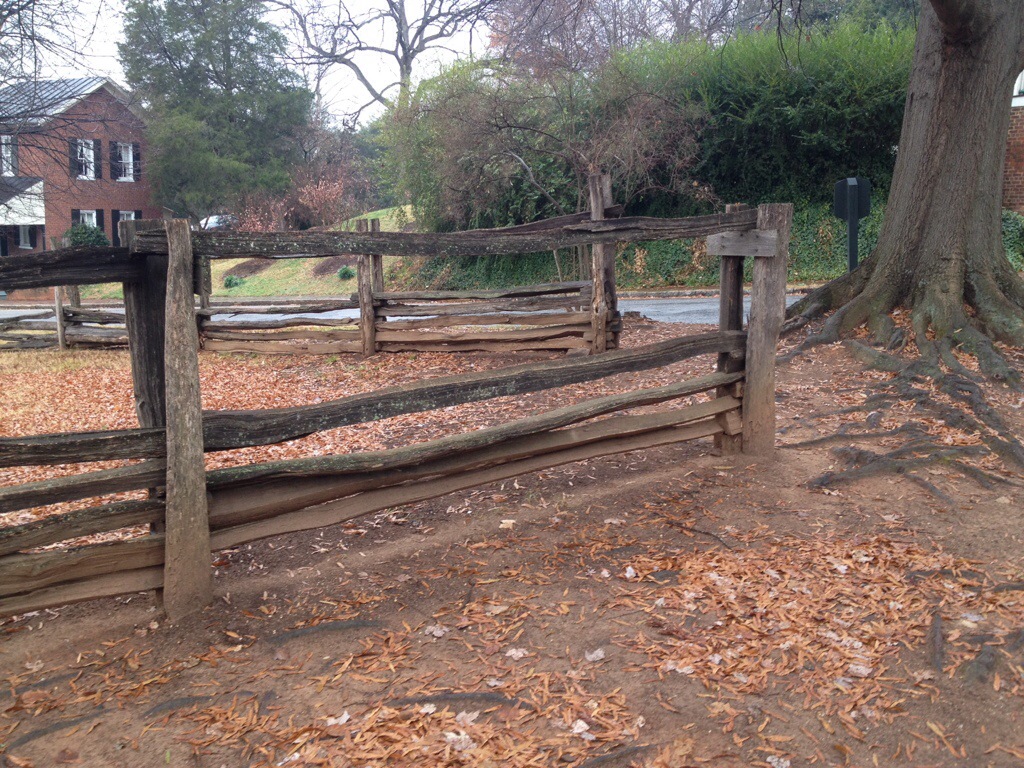
an example of some of the beautiful fencing

old salem doctors

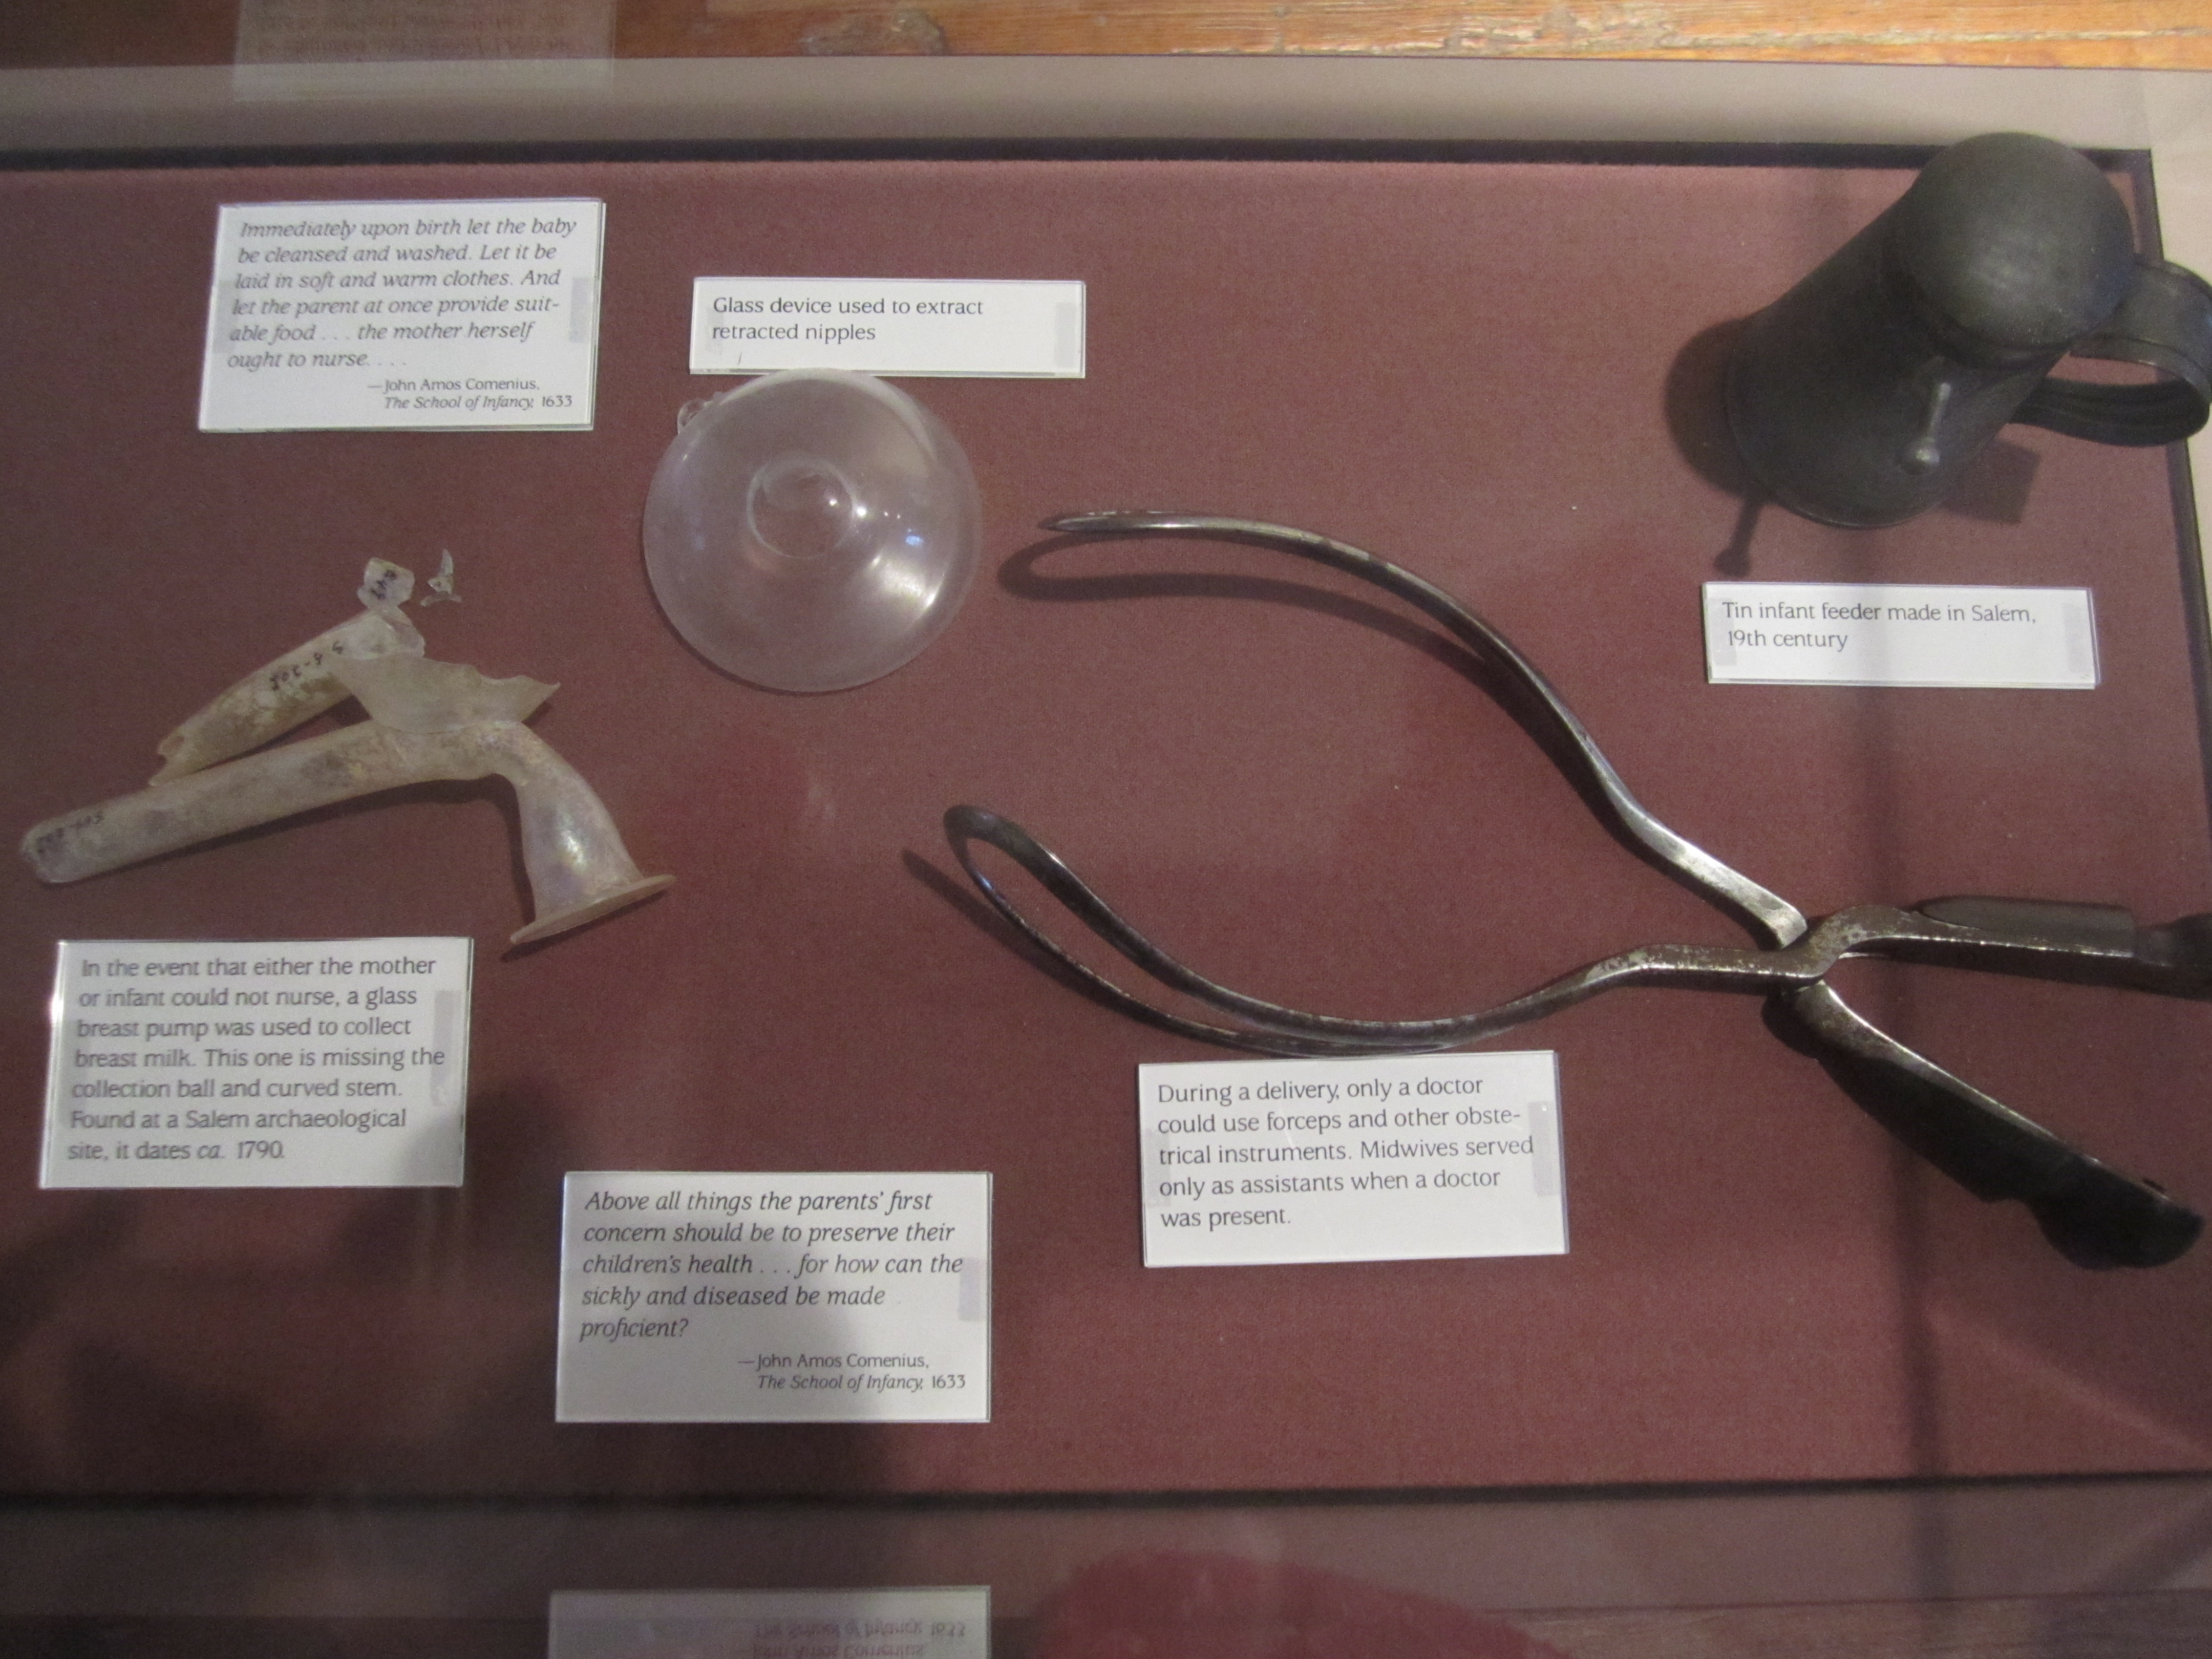
medical paraphernalia from the past

There is a lot to take in, and we will definitely be visiting again. Old Salem is a great place to bring kids, and I can see us going there for “field trips” in the future. You can buy tickets and memberships online at  http://www.oldsalem.org/, and while anyone can wander the streets and enjoy the architecture and atmosphere of Old Salem, the exhibits do require a pass.

Be sure to check it out if your in town!

chicken birth anomalies, part 1: an unabsorbed yolk sac

despite having a really great hatching experience for our first batch of chicks, there were still some anomalies in our new population of chicks. of course we’ve had some chicks who took longer to hatch then others, or some chicks that appear to be smaller (a little more runty) than the others, but this is to be expected. no chick is the same, of course!

beyond these “average uniquenesses” among our chicks, three particular anomalies stand out from this experience:

  1. a chick born with part of her yolk sac unabsorbed
  2. a chick born with an underdeveloped leg
  3. a chick that actually needed help hatching

i want to describe these three different anomalies and how we’ve dealt with them/plan to deal with them. this post focuses on the first…

anomaly #1

the fourth chick that was born hatched with part of its yolk sac unabsorbed. i’ve mentioned this in previous posts about the chicks, but i’ll explain again… during the last few days of incubating, the chick begins to absorb the yolk sac that was external throughout the others stages of their development. they absorb it into their abdomen region and this allows them to last without food or water for a few days after they hatch. it also gives them the extra energy that they need to start pipping through their shells and busting into the world (a tiring task indeed). sometimes a chick’s timing if off and they hatch out before their bodies are actually ready. this happens way more often in artificially incubated eggs than eggs hatched under mother hens. another testament to nature always being better…

perhaps it was the temperature of the incubator or a temperature or humidity fluctuation that caused this one chick to think that it was the right time to be born, but part of the yolk was still dangling from its abdomen when it hatched.

unabsorbed yolk sac

part of the unabsorbed yolk sac

this chick acted totally fine and healthy after being born, but after doing some research we determined that it was best to keep her separate from the others until her dangley bits dried up and fell off. we did this for a day or two and gave her separate food and water.

the video above shows the chicks when they were about three days old, and you can see the little chicken in her own box under the heat lamp. if you look closely, you can see part of her yolk sac hanging underneath her.

after keeping her in her box for a few days, her yolk sac area was still not drying well and the areas was starting to smell very bloody. her sac was also beginning to partially dry against her stomach, and that whole area seemed sticky. she also seemed really “cheepy” (noisy and restless) and i became worried that she might get an infection in that area. i decided to apply some plaintain on her stomach and so i chewed up a batch and spit it on her stomach area.

we have no way of knowing if getting chilled, or refusing to eat and drink, or simply being sick was the reason why she died, but when i woke up the next morning i saw that she had died. later we put her in the wood stove so she could be cremated (this just seemed like a better idea in the winter than a burial).

another lesson learned from the animal world: not all things live. and although her death made me sad, i knew in my gut early on that she was probably going to die because of her birth defect. some things live and some things die, as always, and having 21 lively, goofball chicks running around as i write this, i am reminded that nature really has a great plan set up for living.

.:.

Bolt’s New Cattle Panel Fence!

Bolt has a new fence! We built him a cattle panel and t-post fence in the backyard so he can stretch his legs a bit and burn off some extra energy.

cattle panel dog fence

bolt enjoying his new fenced in area

We used 16 foot  welded wire cattle panels to enclose approximately 1/6 acre. We secured them to 6.5 ft. metal t posts that were pounded a few feet into the ground with a heavy duty post driver. A pair of bolt cutters helped to make three easy access gates, 1 to the garden, 1 to the corn crib/wood shed, and 1 to the side yard.

cattle panel fence

cattle panels make great fences for sloped land and small spaces

This fence also fences in our backyard food forest, and forms 1 edge of a future garden fence/chicken moat. I for one am excited to do some more fencing on the property, particularly fencing that establishes and defines permaculture zones and use areas. The fencing also can serve as a trellis for grapes, air potatoes, kiwis and even annual climbing vines.

cattle panel fence

I highly recommend cattle panel fencing to any homesteader out there needing to fence in a small area. They are easy to put up, take down, and last for decades. Stay tuned for a more in depth post on exactly how 1 person can put up a whole lot of fence in a short period of time with cattle panels.

Hawk Attack and Chicken First Aid!

We had another hawk encounter today, or rather our new bantams had a hawk encounter. I was outside working on bolt’s cattle panel fence when I heard strange chicken noises coming from the side yard. I looked over, and saw our banty hens and Roosty jumping and flying about making all kinds of racket. As I started in that direction, one after the other began to run away, and that’s when I noticed 2 black shapes off to the side.

bantam hawks

cleo, recovering after a hawk attack.

1 was Cleo, an older black bantam hen, and the other was a small hawk! Once I realized this, I started running, and the hawk made one last effort to fly away and carry off the small hen. She got about 4 feet high, but dropped her, thankfully. The little bantam hit the ground running and shot straight into the new chicken tractor.

hawk chickens

the hawk returns!

hawk chickens

She let me pick her up, and I noticed that she had a few good cuts on the side of her head, but didn’t seem too bad off. her heart was racing, but she let me apply some plantain to her wounds and was soon drinking water and scratching around.

The other bantams, including Roosty the not too brave rooster, spent the rest of the day on the lam, hiding out in bushes, and even making their way into the standard chicken coop. I dont know if they felt safer there because of Rex, but it was funny to seem them all huddled in their together.

bantams hawks

the rest of the banties taking cover in the old chicken yard

The hawk came back a few hours later, but with everyone well hidden and on the alert here wasn’t much for him to do. I was bale to snap a few pics as he sat atop a strawbale, looking for his next victim, before he flew off into the woods.

All in all, a pretty eventful day for the banties, and one we learned a few lessons from.

1. Little Roosty ain’t that bold.

2. The geese were not about to come in and save the day.

3. The Hawks around us much prefer to target the smaller bantams vs. the larger standard chickens.


hatching chicken eggs: let nature take its course!

let me first start by saying that jason and i decided early on in the incubation process that chicken are chickens and we can’t be too worried about their growth and development as long as we were doing as much as we can to take care of them and protect them. sometimes incubated eggs die, and sometimes chicks die, and although it is sad, that is the cycle of life.

so as we began to incubate our 27 eggs, we were determined to do what was the best for the chicks when the time came: letting nature take its course. as with human babies, chicks know what time to emerge into the world and generally do a very good job of it once they’re ready (just like humans).

there is always variation in birth, both with humans and chicks, and i was reminded of this while i waited on many of the eggs to hatch. i thought… “this egg has pipped and then done nothing for 24 hours… what’s wrong?”

the answer was: nothing! nothing at all. the chicks were simply waiting to be ready to come into the world. sometimes this included absorbing all of the yolk sac into their abdomen (from which they are provided with enough nourishment for a few days and do not need food or water). other times it might mean that they are still absorbing all of their blood (that was once coursing through the vessels inside of the egg) so that they are born will all of their necessities!

when the chicks are born, they are flopping, gooey creatures that seem spastic and sleepy all at once. they break their own umbilical cord through their writhing and struggles, and generally all other birth residue will dry and/or flake off of them once they become the cute, fluffy boogers that we all know and love.

i wanted to write this post today to show you the variation in birth time and circumstance for our chicks so that you don’t worry if you hatch some chicks of your own!

first of all, i noticed that once the first pip happens, it might be anywhere from 2 to 48 hours before the chick emerges. it is important to be patient during this time and let them follow nature’s guide. i did notice however, that once the chick has pipped all around the circumference of the egg, making it ready to bust the top off, it usually takes about 15 or 20 minutes for the chick to break out. this was the case with all of our 22 hatched eggs, except 1 (i’ll explain the details of this in a future post).

the following is the breakdown of the births, beginning on the 21st day (when chicks are supposed to be due). i’d like to note that eggs were turned for the first 18 and a half days, and then left still afterwards. the incubator was kept at 99.5 degrees and the lid was only removed a few times for candling or adding water to increase humidity.

day 21

  • first at 9:39am
  • second at 4:26 pm
  • third at 6:49 pm
  • fourth at 7:50pm (born with a partially unabsorbed yolk sac and died a few days later)

overnight of day 21/early morning of day 22

  • fifth-tenth born

day 22

  • eleventh at 8:25 am
  • twelfth at 11:11 am
  • thirteenth at 4:41 pm
  • fourteenth at 4:51 pm

overnight of day 22/early morning of day 23

  • fifteenth-seventeenth born

day 23

  • eighteenth-twentieth born while we were at work
  • twenty-first at 9:15pm

day 24

  • twenty-second at 9:00pm via my intervention… more details about this intervention and how i knew to intervene in a future post!

i hope this shows how much variation there can be in a chick hatching, just like in human births!

stay tuned for more chick updates!

.:.

Cattle Panels for Bolt’s Fence

We have a new batch of cattle panels at the homestead ready and waiting to be put to use. Cattle panels are a versatile farm tool and can be used for fencing, trellising, flood gates, or even greenhouses. They are 16 feet long, about 4 feet high and have rows of welded 5 gauge steel wire that make 6 or 4 inch boxes. These babies are strong, and with some t-posts, can fence in/out bulls, goats, dogs, and men.

cattle panel dog fence

16 foot cattle panels and t-posts will make up bolt’s new fence

We have used these panels as part of our movable chicken coop, and our portable goose enclosure. It’s easy to tie chicken wire or bird netting to the panels as an extra later of protection for small animals and birds. The panels are sturdy enough to stand on their own if made into a small square or circle, but light enough that 1 person can heft them from place to place.

We’re going to use these new panels to fence in a section of our backyard as a dog yard for Bolt. We’ll pound in 6.5 ft. t-posts and create an area that he can safely run around and exercise in. This will also fence in some of our food forest, and form one part of a future garden fence–a chicken moat perhaps.

These panels should last 50 years easily and are well worth the 16-20 dollar cost. They hold their value well, and used ones never seem to sell for much of a discount, so they make a good homestead investment and definitely deserve a place on small farms across the country.

a chick is born: a complete birth video

i debated about what to post about today, and since so much has been happening lately in chicken-ville, i certainly have a lot of experiences i could write about. and then i realized how worn out i am from constantly checking on the chicks (although i know they should be fine without my constant vigilance)!

chick

baby #1, drying and looking fluffier!

i have so many topic ideas for future posts about my experience with the hatching eggs and the new baby chicks, and we are only on day 4 for one of the babies and day 2 or 3 for most of them! some future posts that i will be writing about the great (and tiring) time we’ve had:

for today i’ll leave you with this 10 minute video that shows the best part of the hatching process. this is the video of our first chick being born!

.:.

Chicken Moats: Permaculture Ideas in the Garden

I just came across a new concept while researching fencing and it’s pretty cool. Chicken Moats.

A chicken moat is essentially a perimeter chicken run that performs the functions of insect pest control, weed control, deer fencing and protection, trellis, and off course chicken protection and grazing control.

chicken moat permaculture

chicken moat diagram from Edible Forest Gardens

The basic concept is to have two fences spaced a short distance apart that encircle a garden or orchard. This creates a laneway where you let chickens graze and scratch. Here they are able to much on bugs, and help control some of the tougher weeds that spread by rhizomes and runners. They are also in a prime location to receive garden scraps, fallen fruit, and pulled weeds and because the two fences create a hallway effect, deer are less likely to try and jump over them, keeping another potential threat out of the garden.

Other benefits include a nutrient flow, where chicken manure washes from the moat into the garden area, or perhaps deep litters are simply thrown over the fence and into the garden as compost. This type of structure can also be used as laneway and set up strategically with gates that allow the homesteader to graze their chickens in certain paddocks at certain times, or even let them loose in the central garden space to clean things up for winter.

chicken moat homesteading

an example of a chicken moat in action

Edible vines (kiwis, grapes etc.) and fruiting plants can be planted along the fences of the moat providing both shade and snacks for the birds, as well as pollinator habitat, and fruit for the farmer. Herbs like comfrey and rue can be planted on the edge of the moat, outside of the fence, where the chickens can eat some, but not completely scratch it to pieces.

A concept like the chicken moat is permaculture thinking at it’s best. It demonstrates the principal of function stacking wonderfully, while producing  a yield, caring for the earth, animals, and people. As we think more and more about fencing, and multi-species rotational grazing, concepts like chicken moats make me excited to see what our farmstead will look like in the next few years.

Funny Ducks!

This is a short post today, but these are the funniest ducks on the planet. They are called Indian Runner Ducks, and they look like cartoon characters. Enjoy!

Newer posts

© 2024 KW Homestead

Theme by Anders NorenUp ↑