We’ve been experimenting with Pekin duck recipes over the last few weeks, learning about the best ways to cook our new favorite meal! We want to offer you some of our thoughts about our simple recipes, in case you are new to cooking duck and wonder how it should be done. So far we’ve cooked 4 ducks in 4 different ways, and we do have our favorite techniques! The exciting thing that we’ve learned from all this cooking, is that it’s really hard to ruin duck, short of burning it. There is so much fat that the meat never dries out the way chicken or turkey does when overcooked. Knowing this should help quell your fear about cooking duck… Just go for it!
Here is the third recipe we tried!
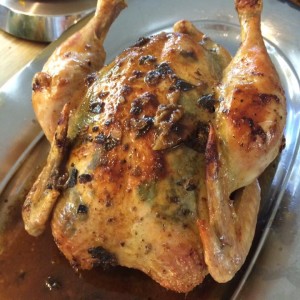
Medium Heat, Pan-Seared Breast: 325 degrees for 1.75 hours
Score the skin on both sides so that the fat will cook out of the bird and pool in the bottom of the dish. This allows the meat to stay moist but the skin to get crispy! Do not score the skin over the breast!
Cover the duck liberally with salt and garlic powder.
Place the duck in a dish and cook for 1 hour. At the end of the hour, remove duck from oven and cut out the breast. Return the rest of the bird to the oven and continue cooking 45 minutes longer. Be sure to flip the bird a few times during the total cooking period.
Now, finish off the breast in a skillet on the stove. Cook it on medium heat, skin side down so the skin becomes crispy and the fat runs out into the pan! Cook it to the desired color (pink is the best)!
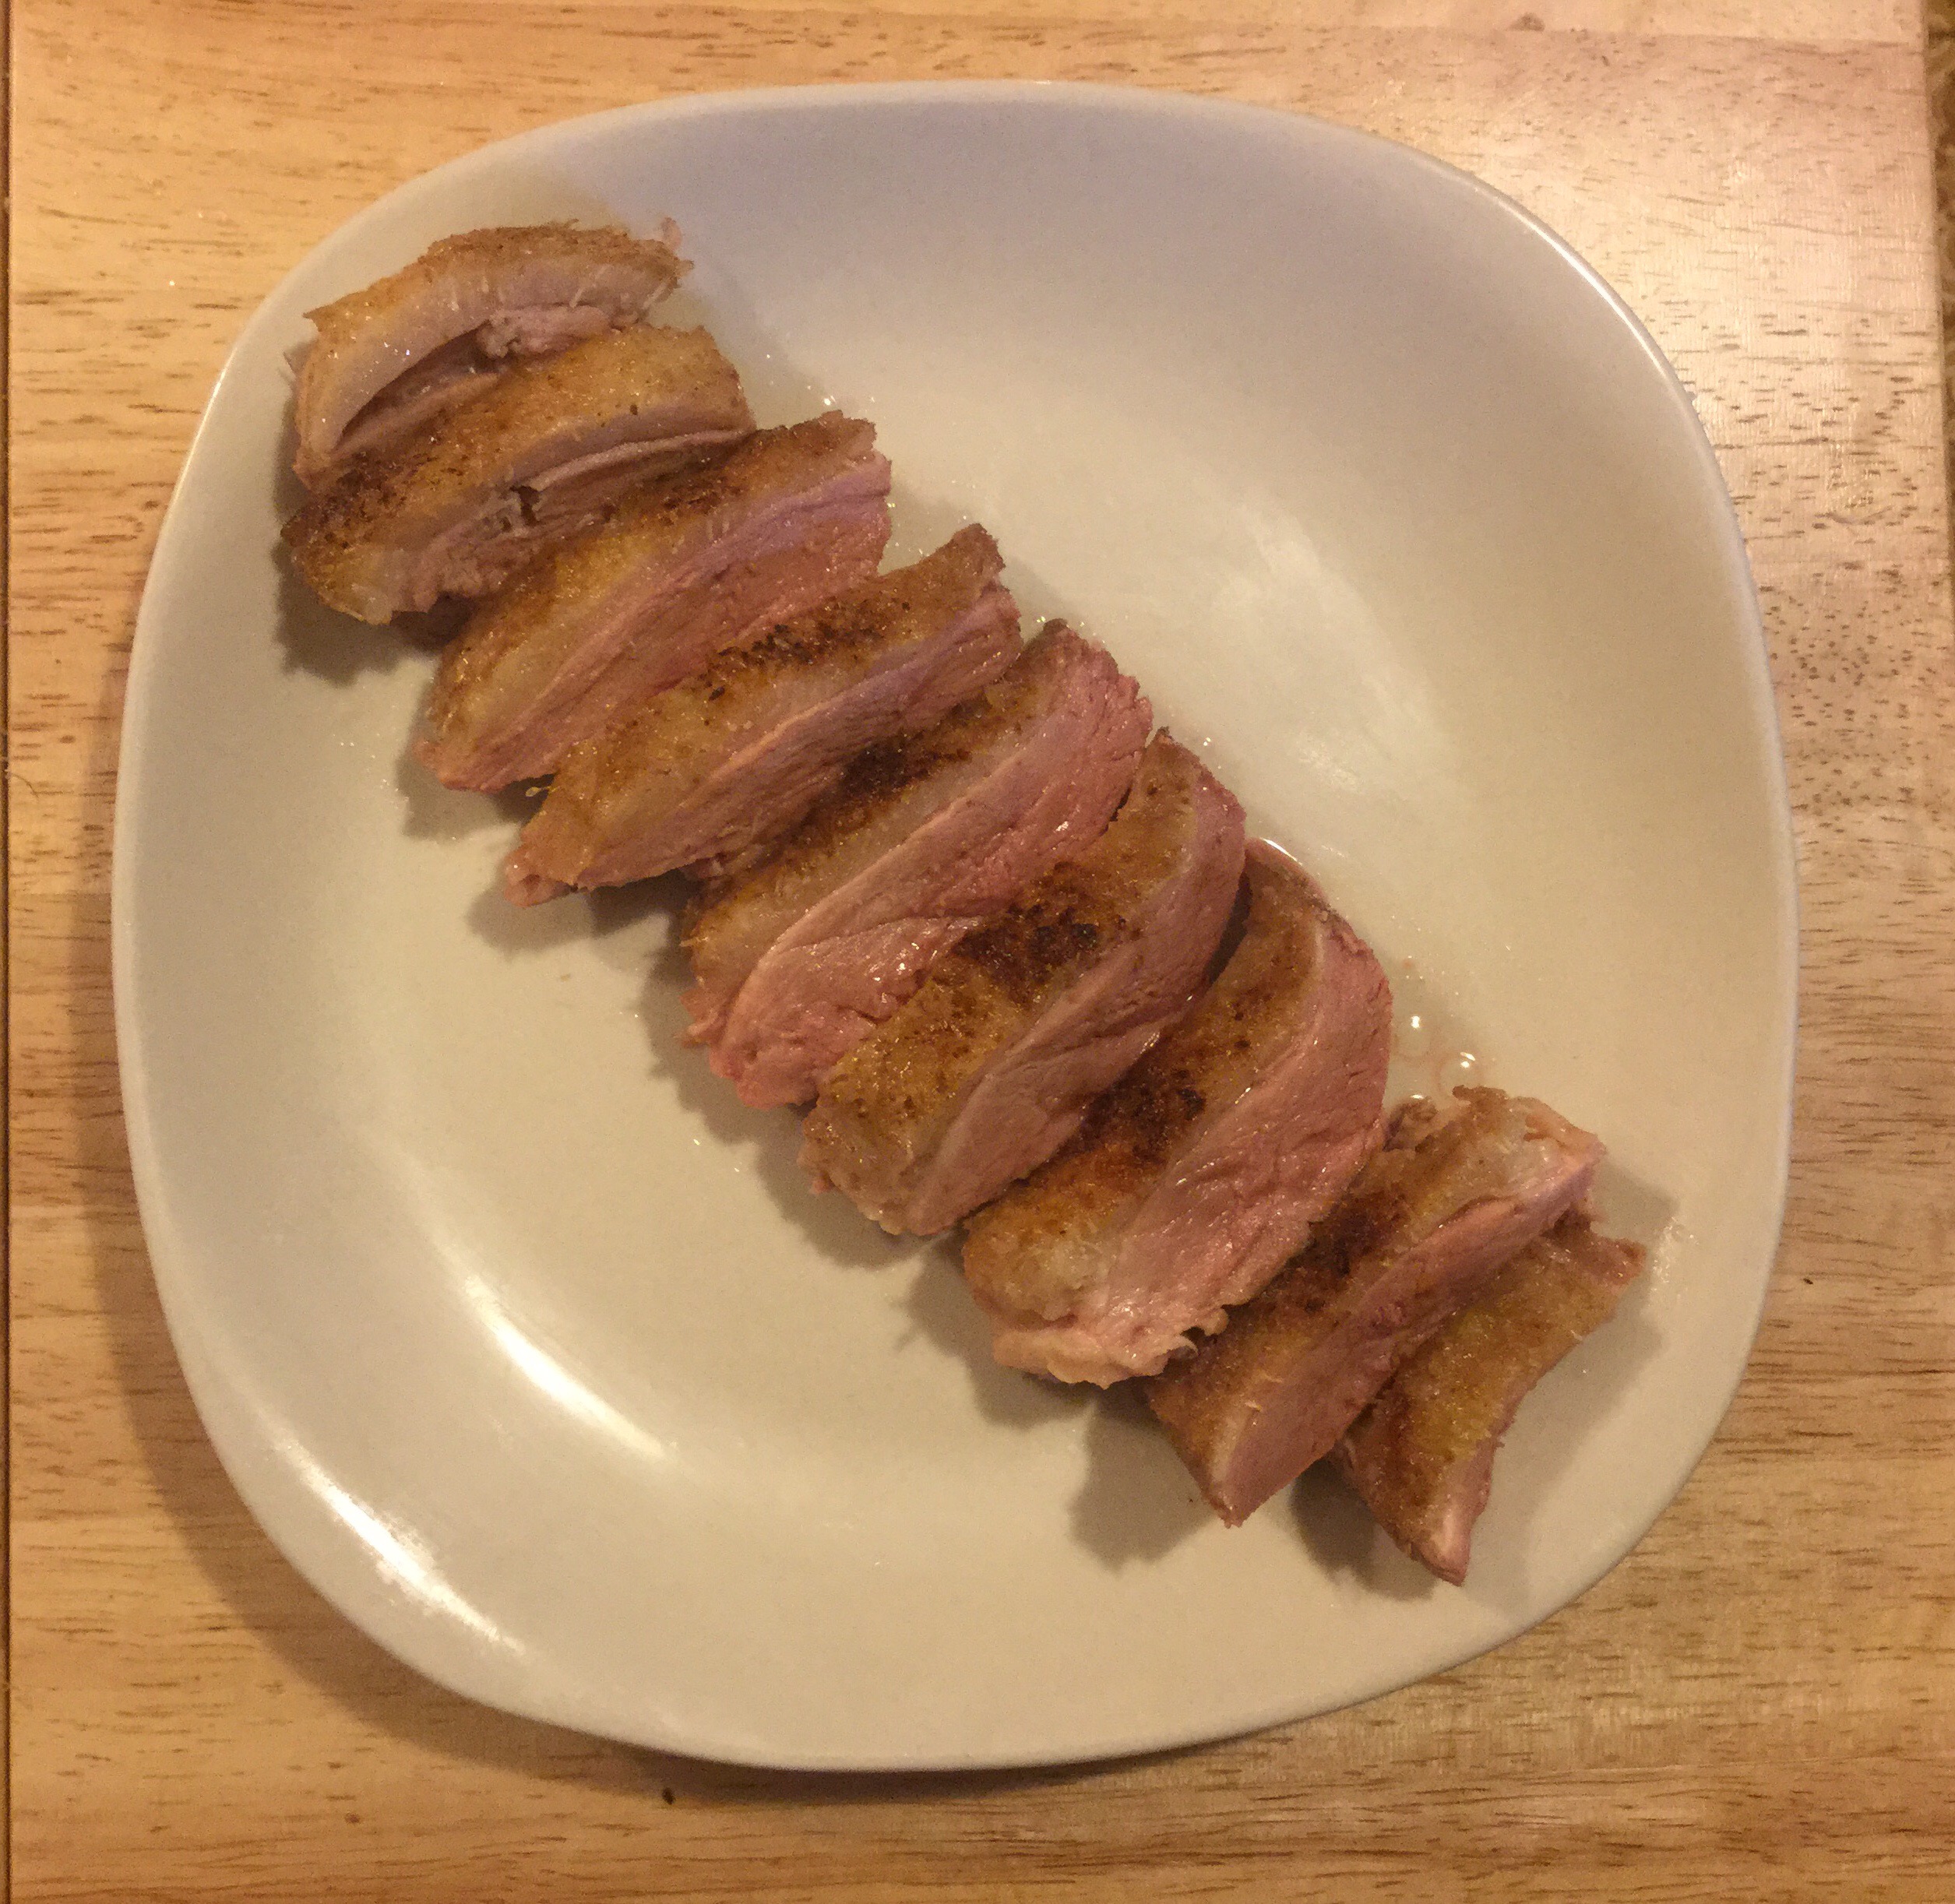
Pan-seared duck breast!
Taste Test:
The breast was moist and delicious, with crispy skin! It tasted like a tender cut of beef, and was best served pink. Our second favorite breast, since we thought that we could have cut it out of the bird earlier, around 30 minutes…. Then pan-seared it.
The legs were moist and very good, but not our favorite thighs to date. In fact, the entire bird remained moist (just like with the second recipe)!
The skin was crispy–perfect for me! Jason thought that we could have cooked the bird maybe 30 minutes longer for even crispier skin.
Stay tuned for the fourth recipe we tried!
.:.