after inoculating our shiitake mushroom logs, we had to go about soaking them and figuring out where they would be living!
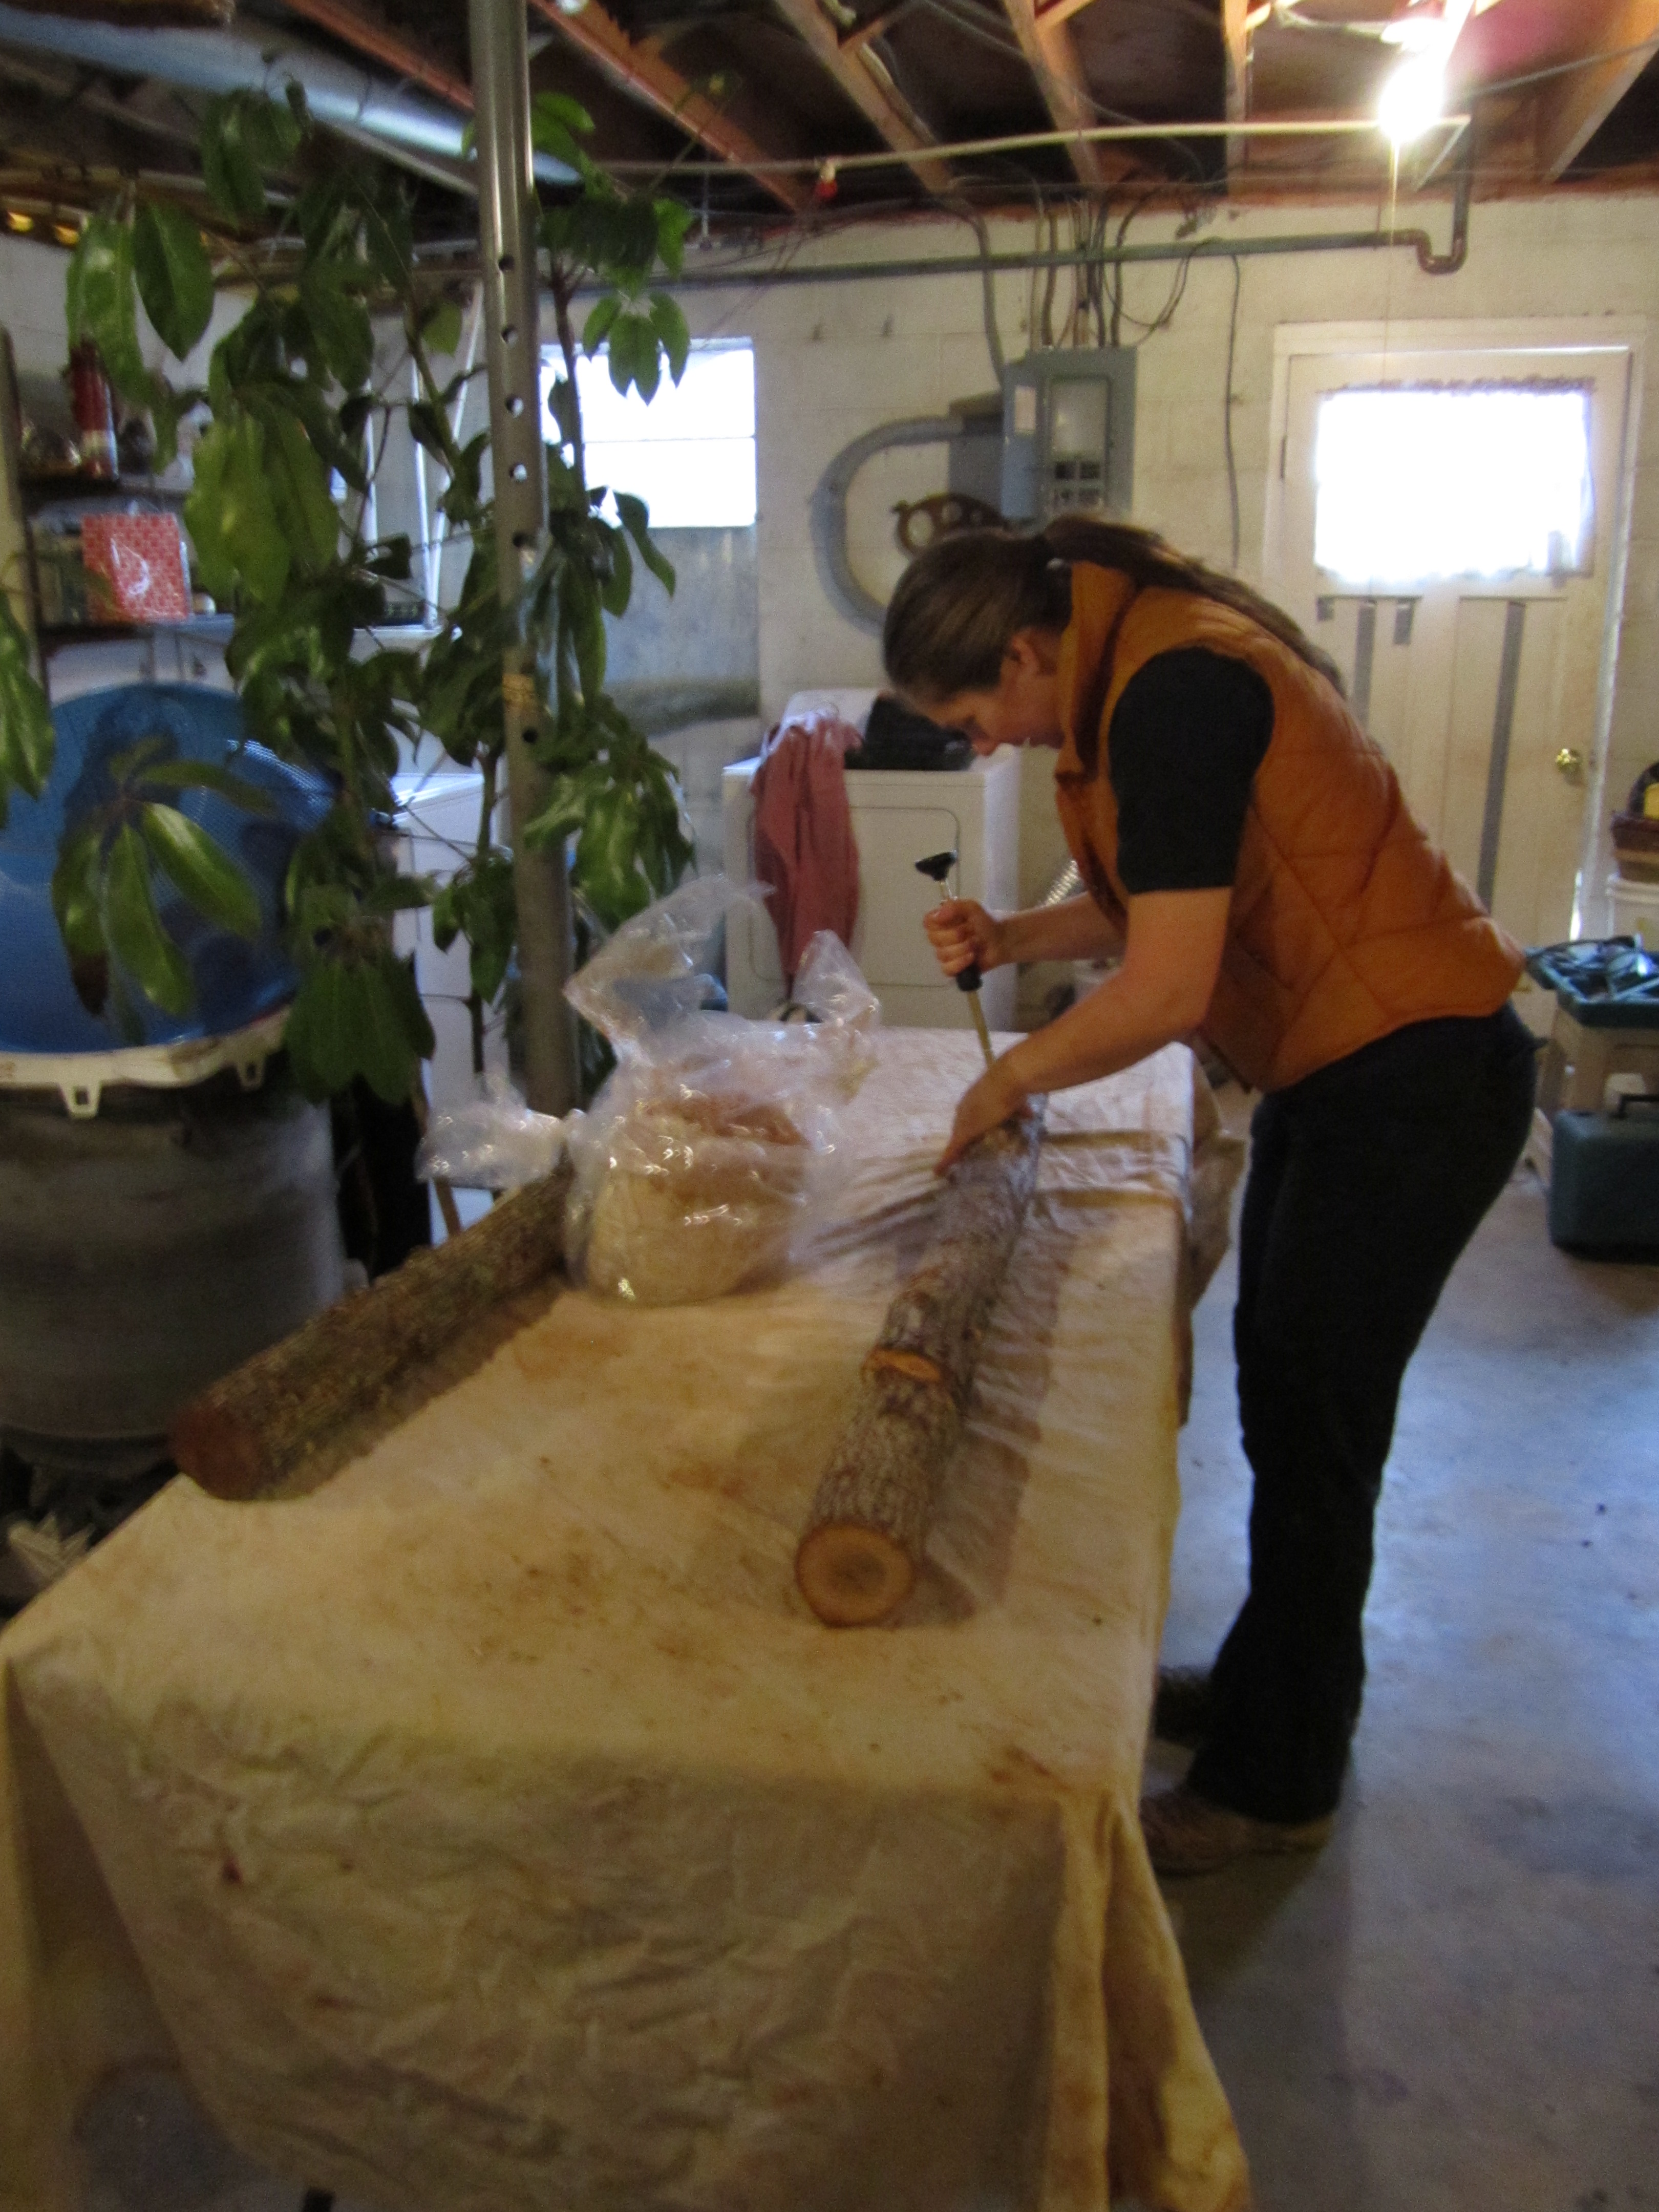
first of all, the few days after the inoculation were chilly (which wouldn’t matter) but the nights were below freezing (which would matter). so, once we got all of the logs inoculated, i stacked them inside our basement and covered them with damp sheets and a layer of plastic to keep in the moisture. this meant that we were not able to begin soaking them for a few days, which we decided would be alright considering the logs were cut only a few weeks before and still contained some moisture. it is important to keep the logs from freezing (in the beginning, at least) and to make sure that the logs do not totally dry out. it is likely that the logs would have been fine without being brought into the basement or without laying damp sheets over them, but we decided to play it safe.
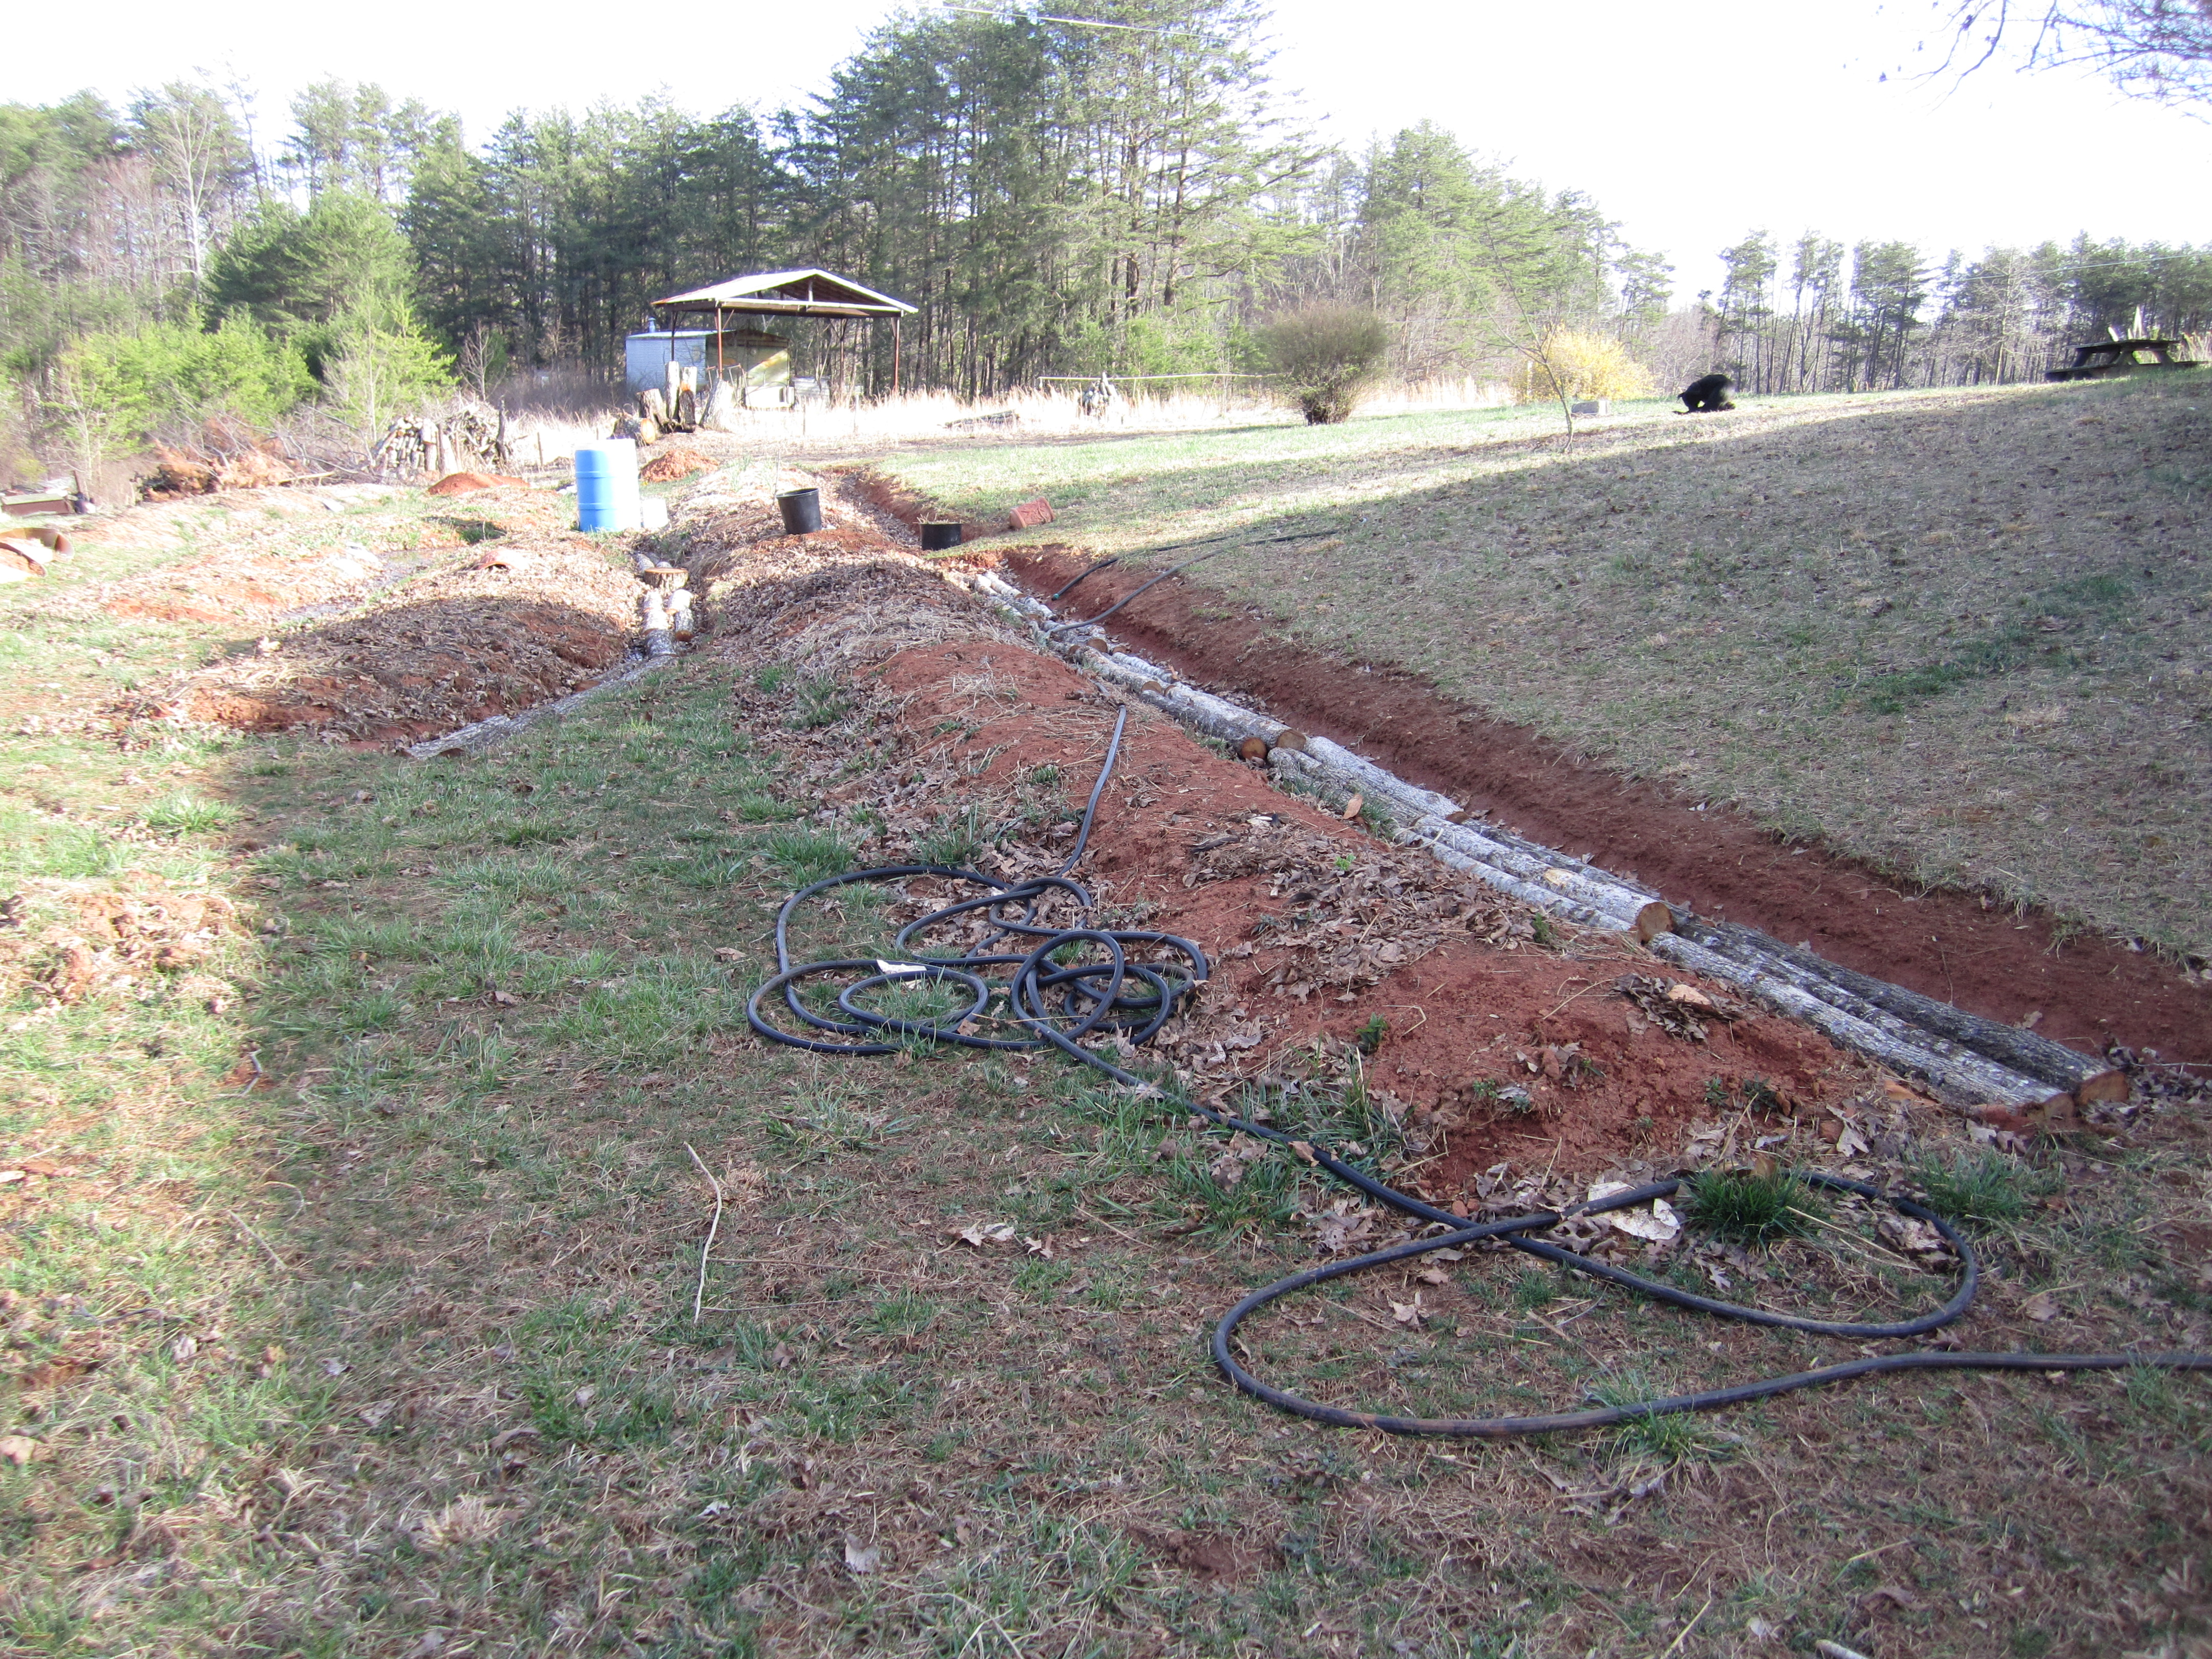
logs soaking in the footpaths of our raised garden beds.
once the weather warmed up a few days later, we filled the deep paths of our garden beds and soaked the logs in there, also using a small pond liner for soaking some of them. the paths slowly drained and we refilled the paths a couple times over the course of a few days to make sure that the logs were super moisturized.
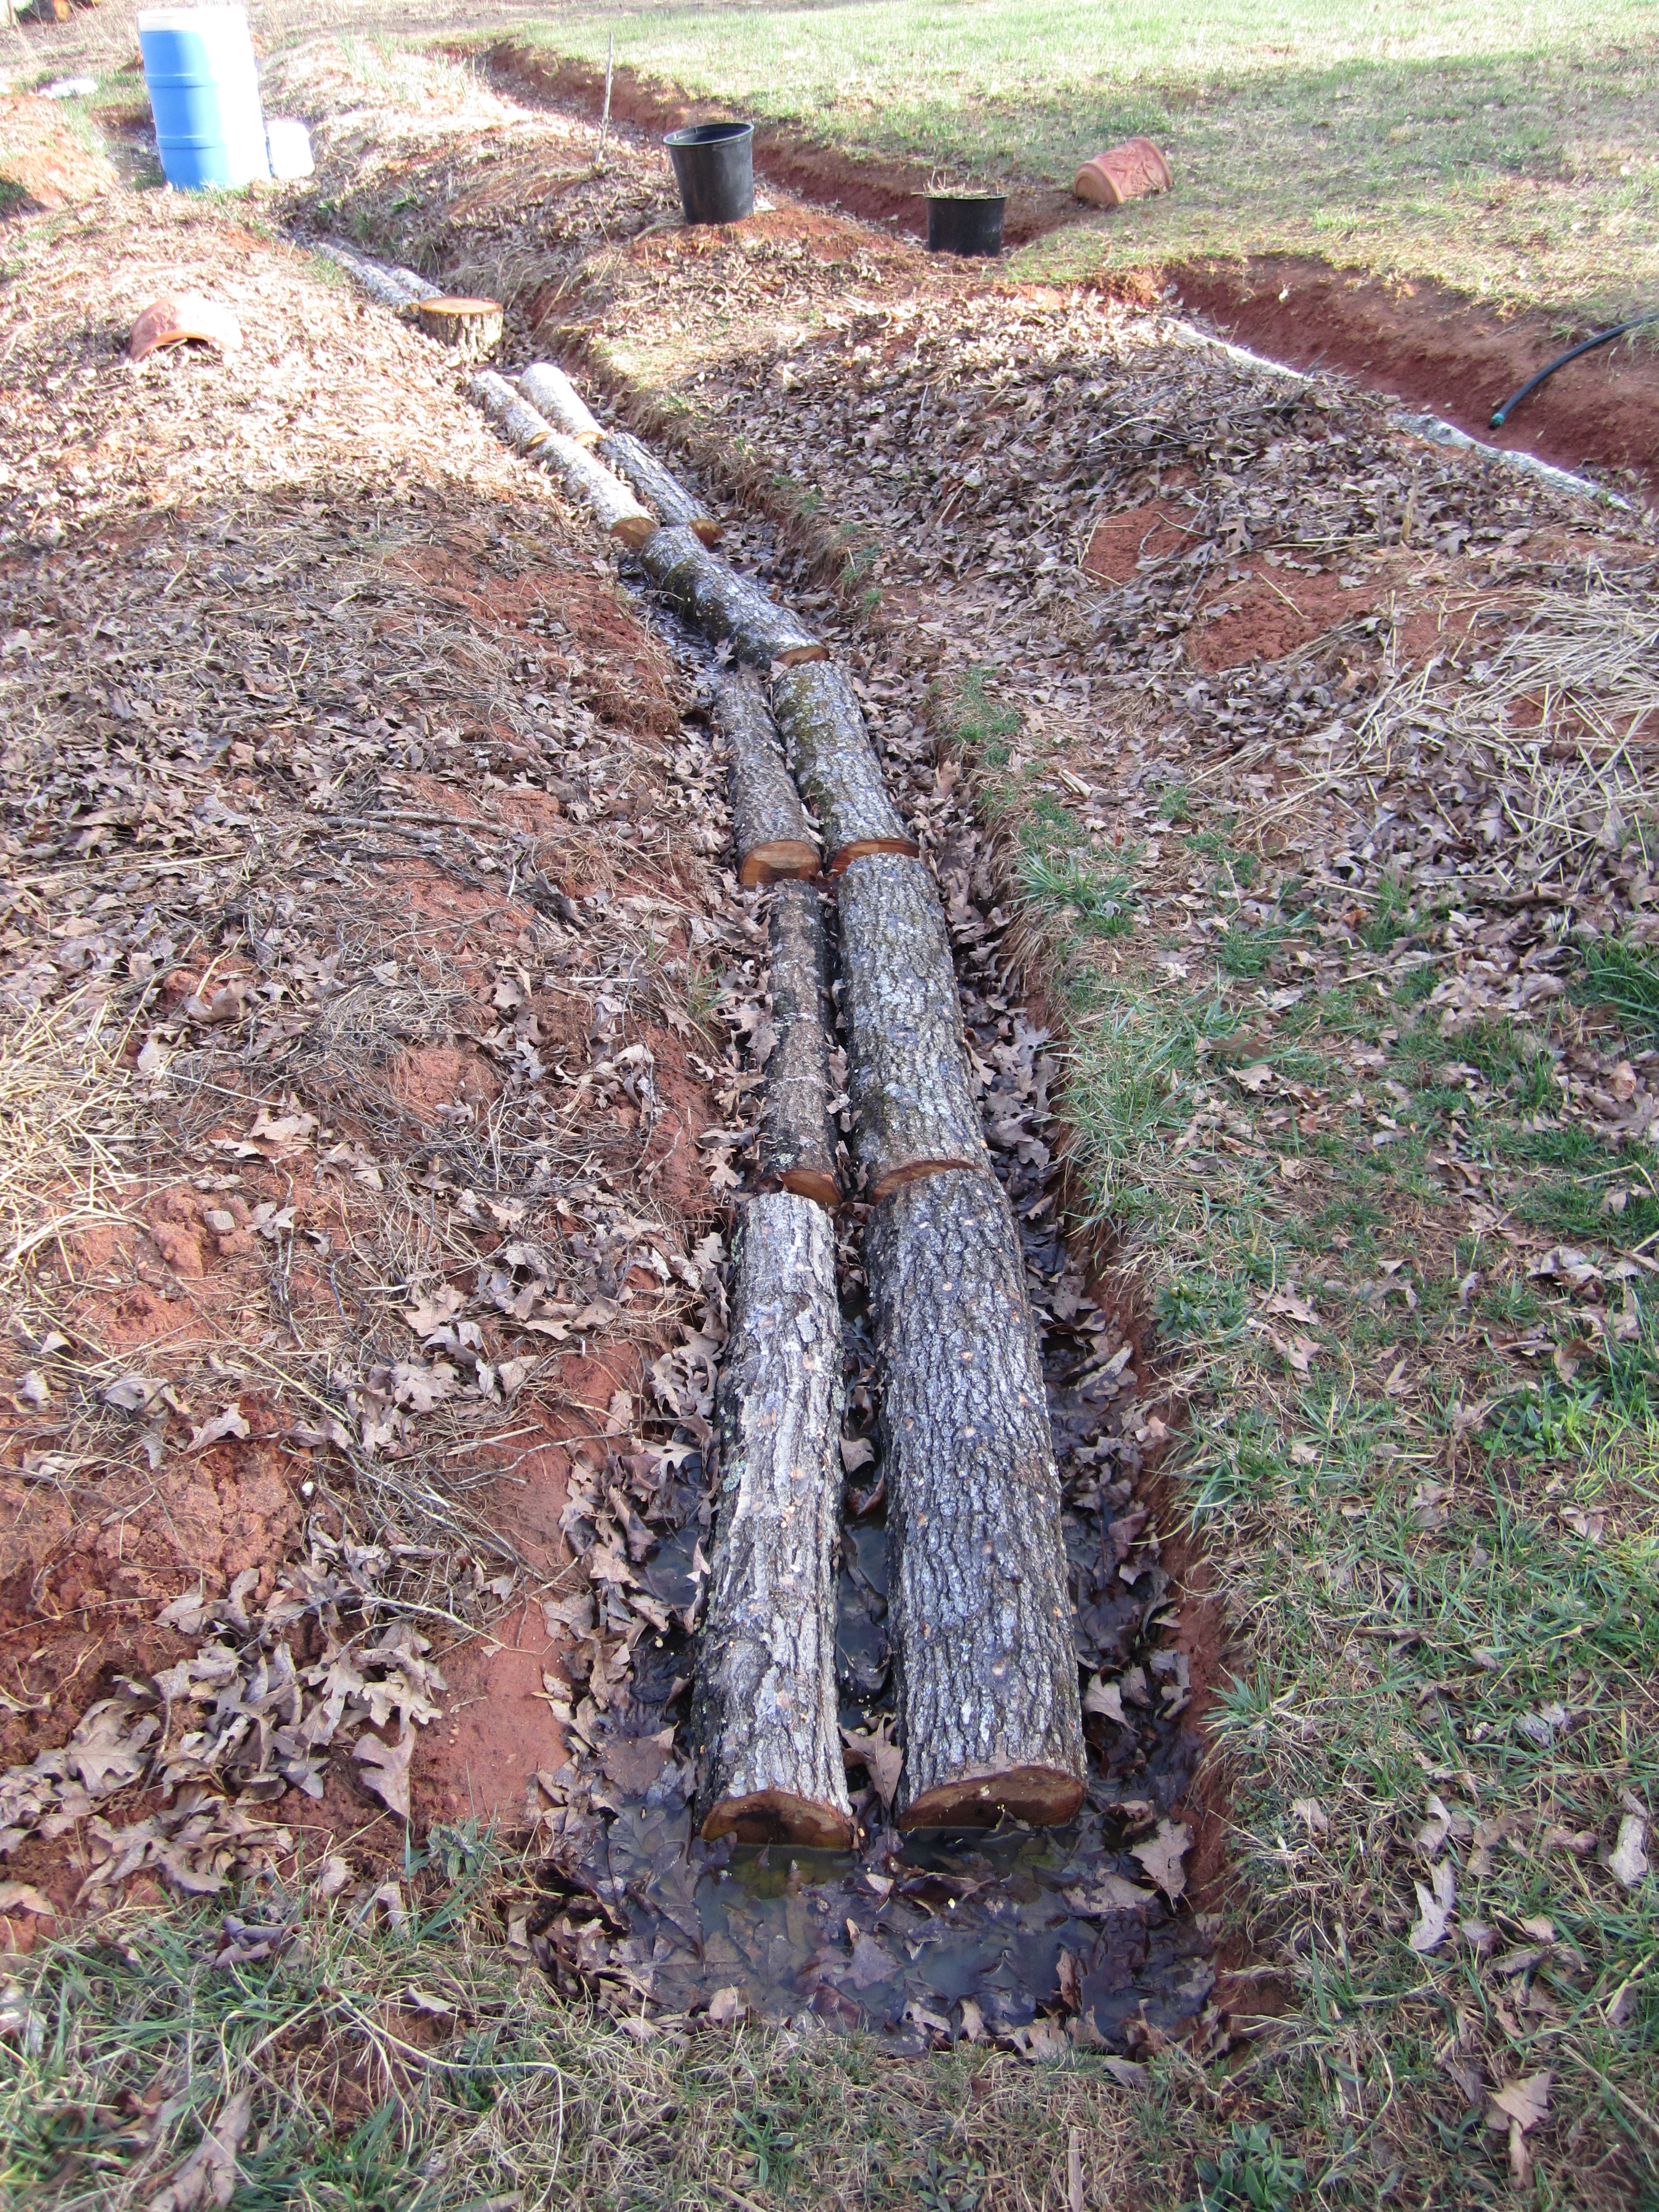
logs soaking in the footpaths of our raised garden beds.
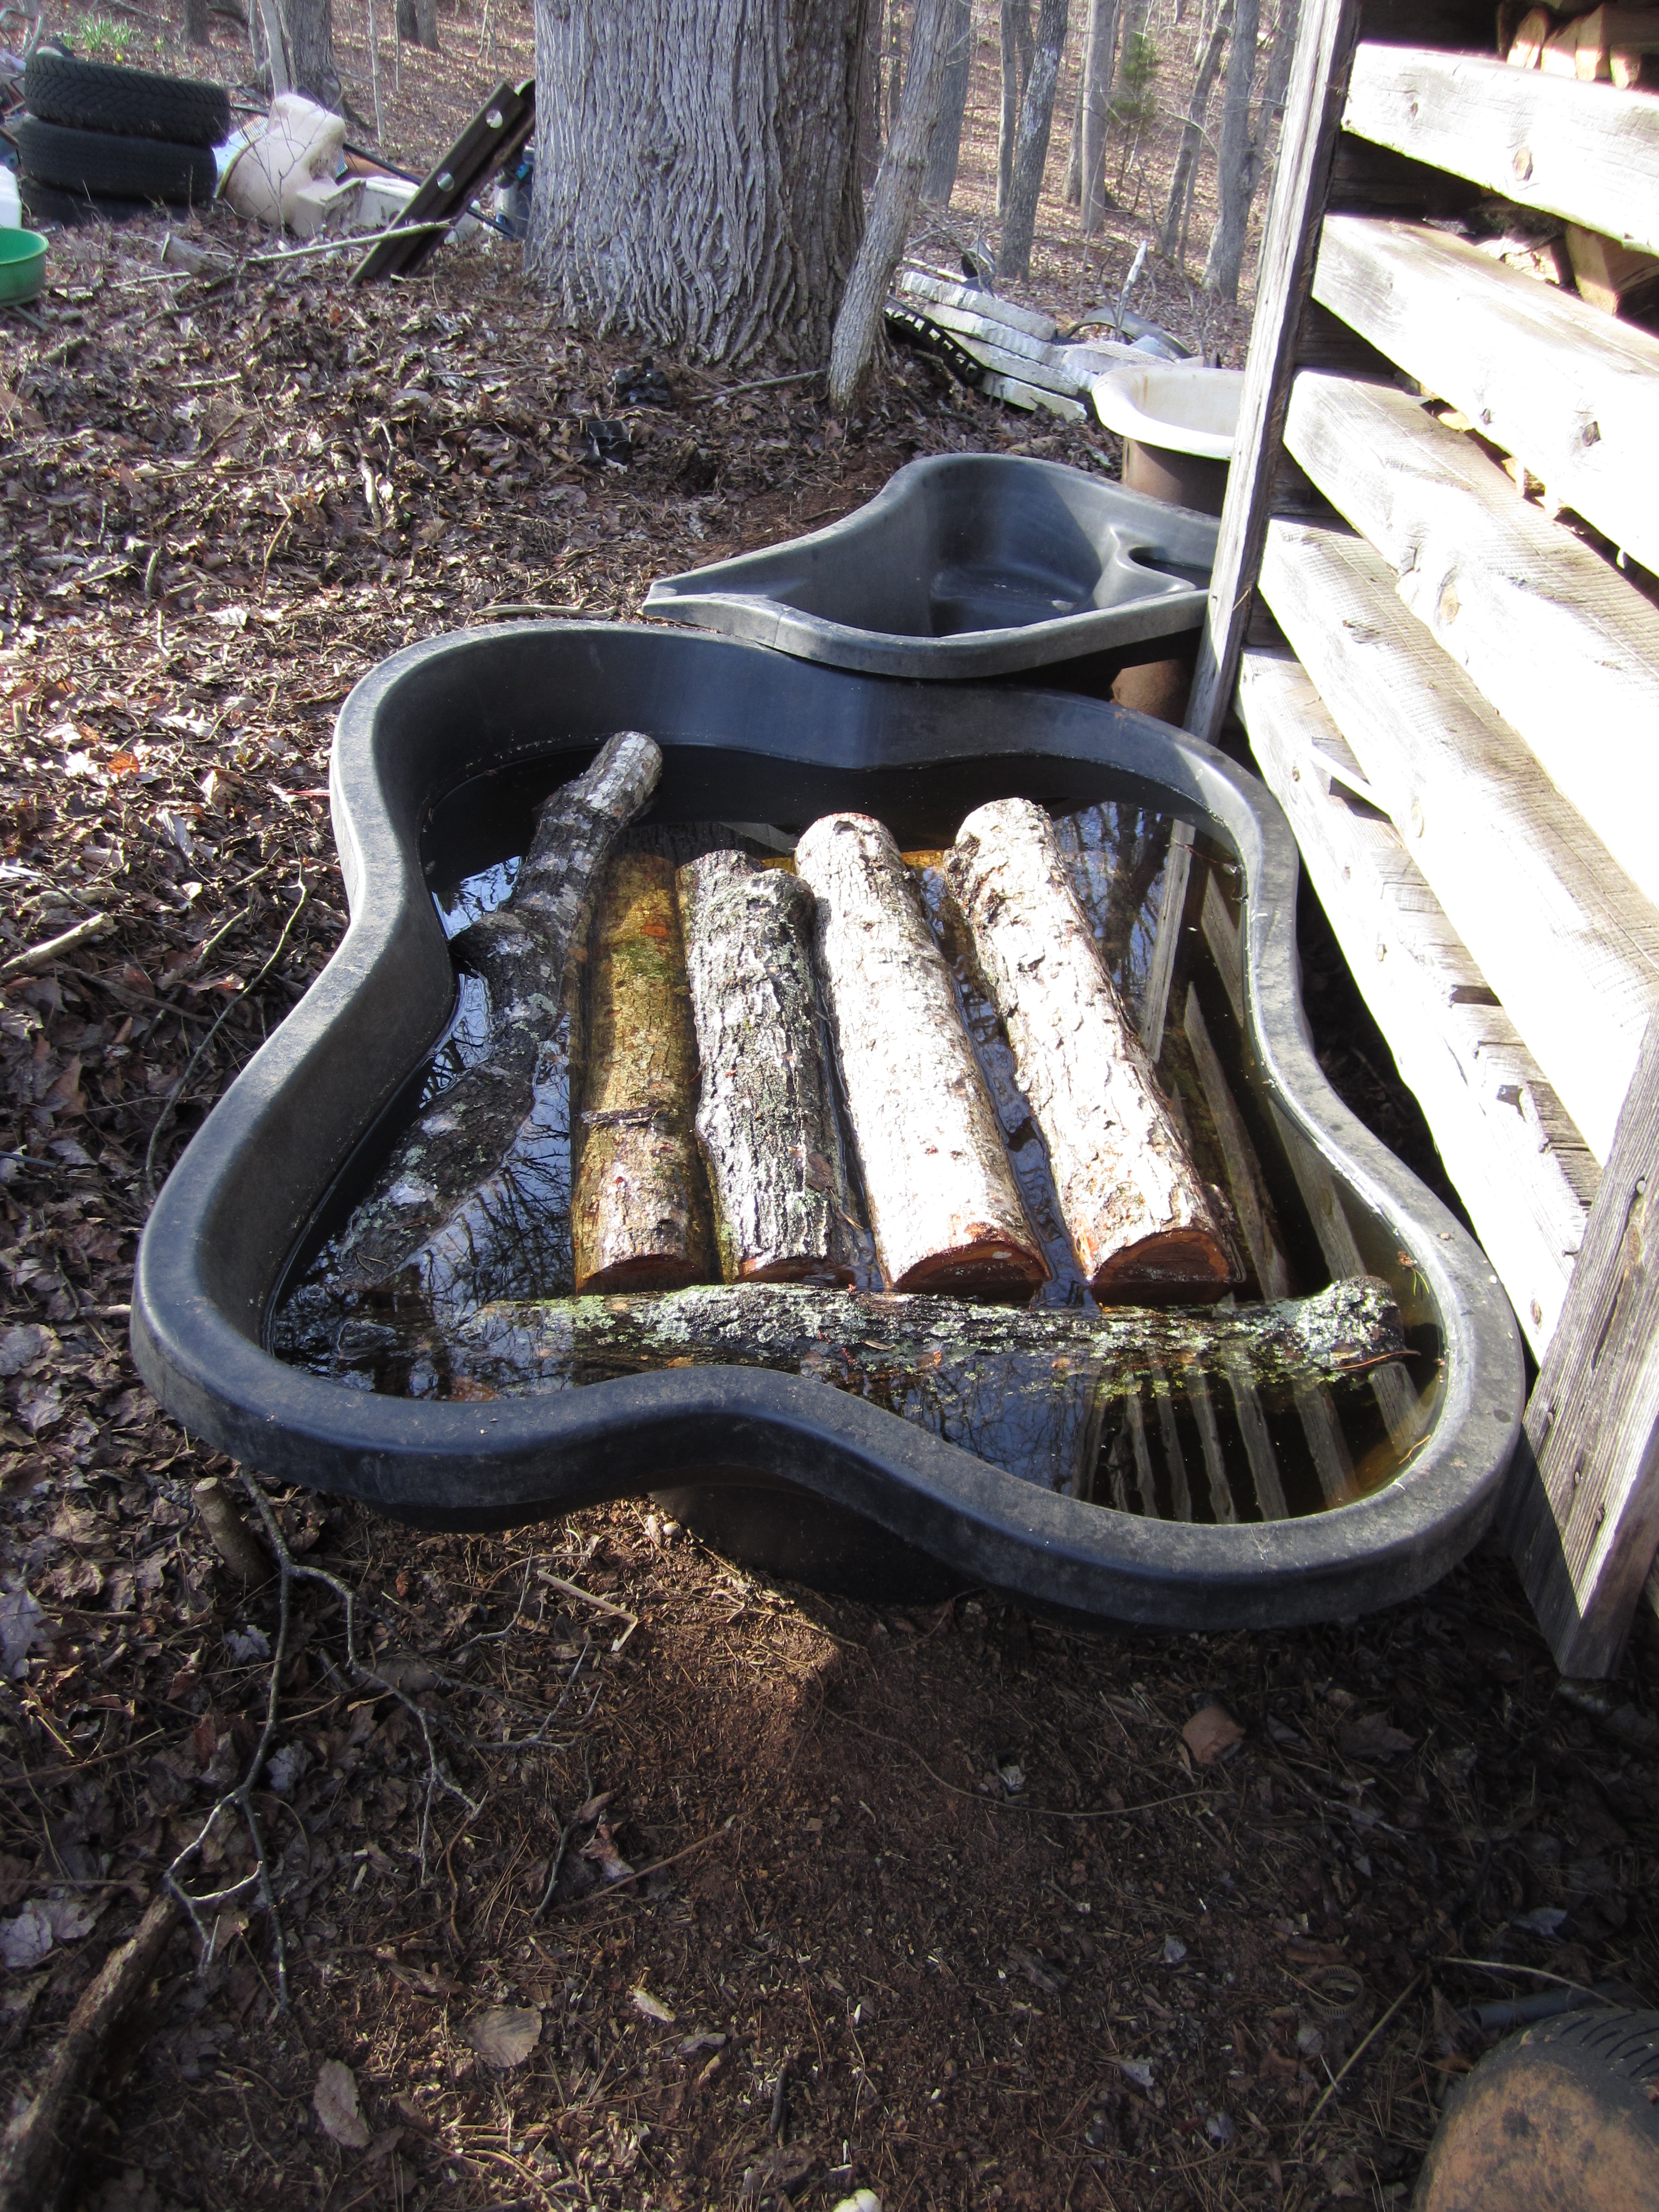
some logs getting a temporary soak in a pond liner.
then i moved the logs (with the help of my wheelbarrow and a good bit of cussing) to their permanent home leaned up against our corn crib structure. my dad and jason had already cleared a space for them, as well as space for 2 old enameled, cast iron bathtubs for use in soaking.
and man, moving the now-wet-and-much-heavier logs was tough. i put between 4 and 6 logs in my wheel barrow for each trip from the paths to the corn crib, and luckily didn’t dump a single load, even though there were a few obstacles along my way! i feel proud. keeping the wheelbarrow from tipping when loading and unloading the logs was the more difficult part, really, since each log weighed between 25 and 70 pounds. luckily, no accidents here either.
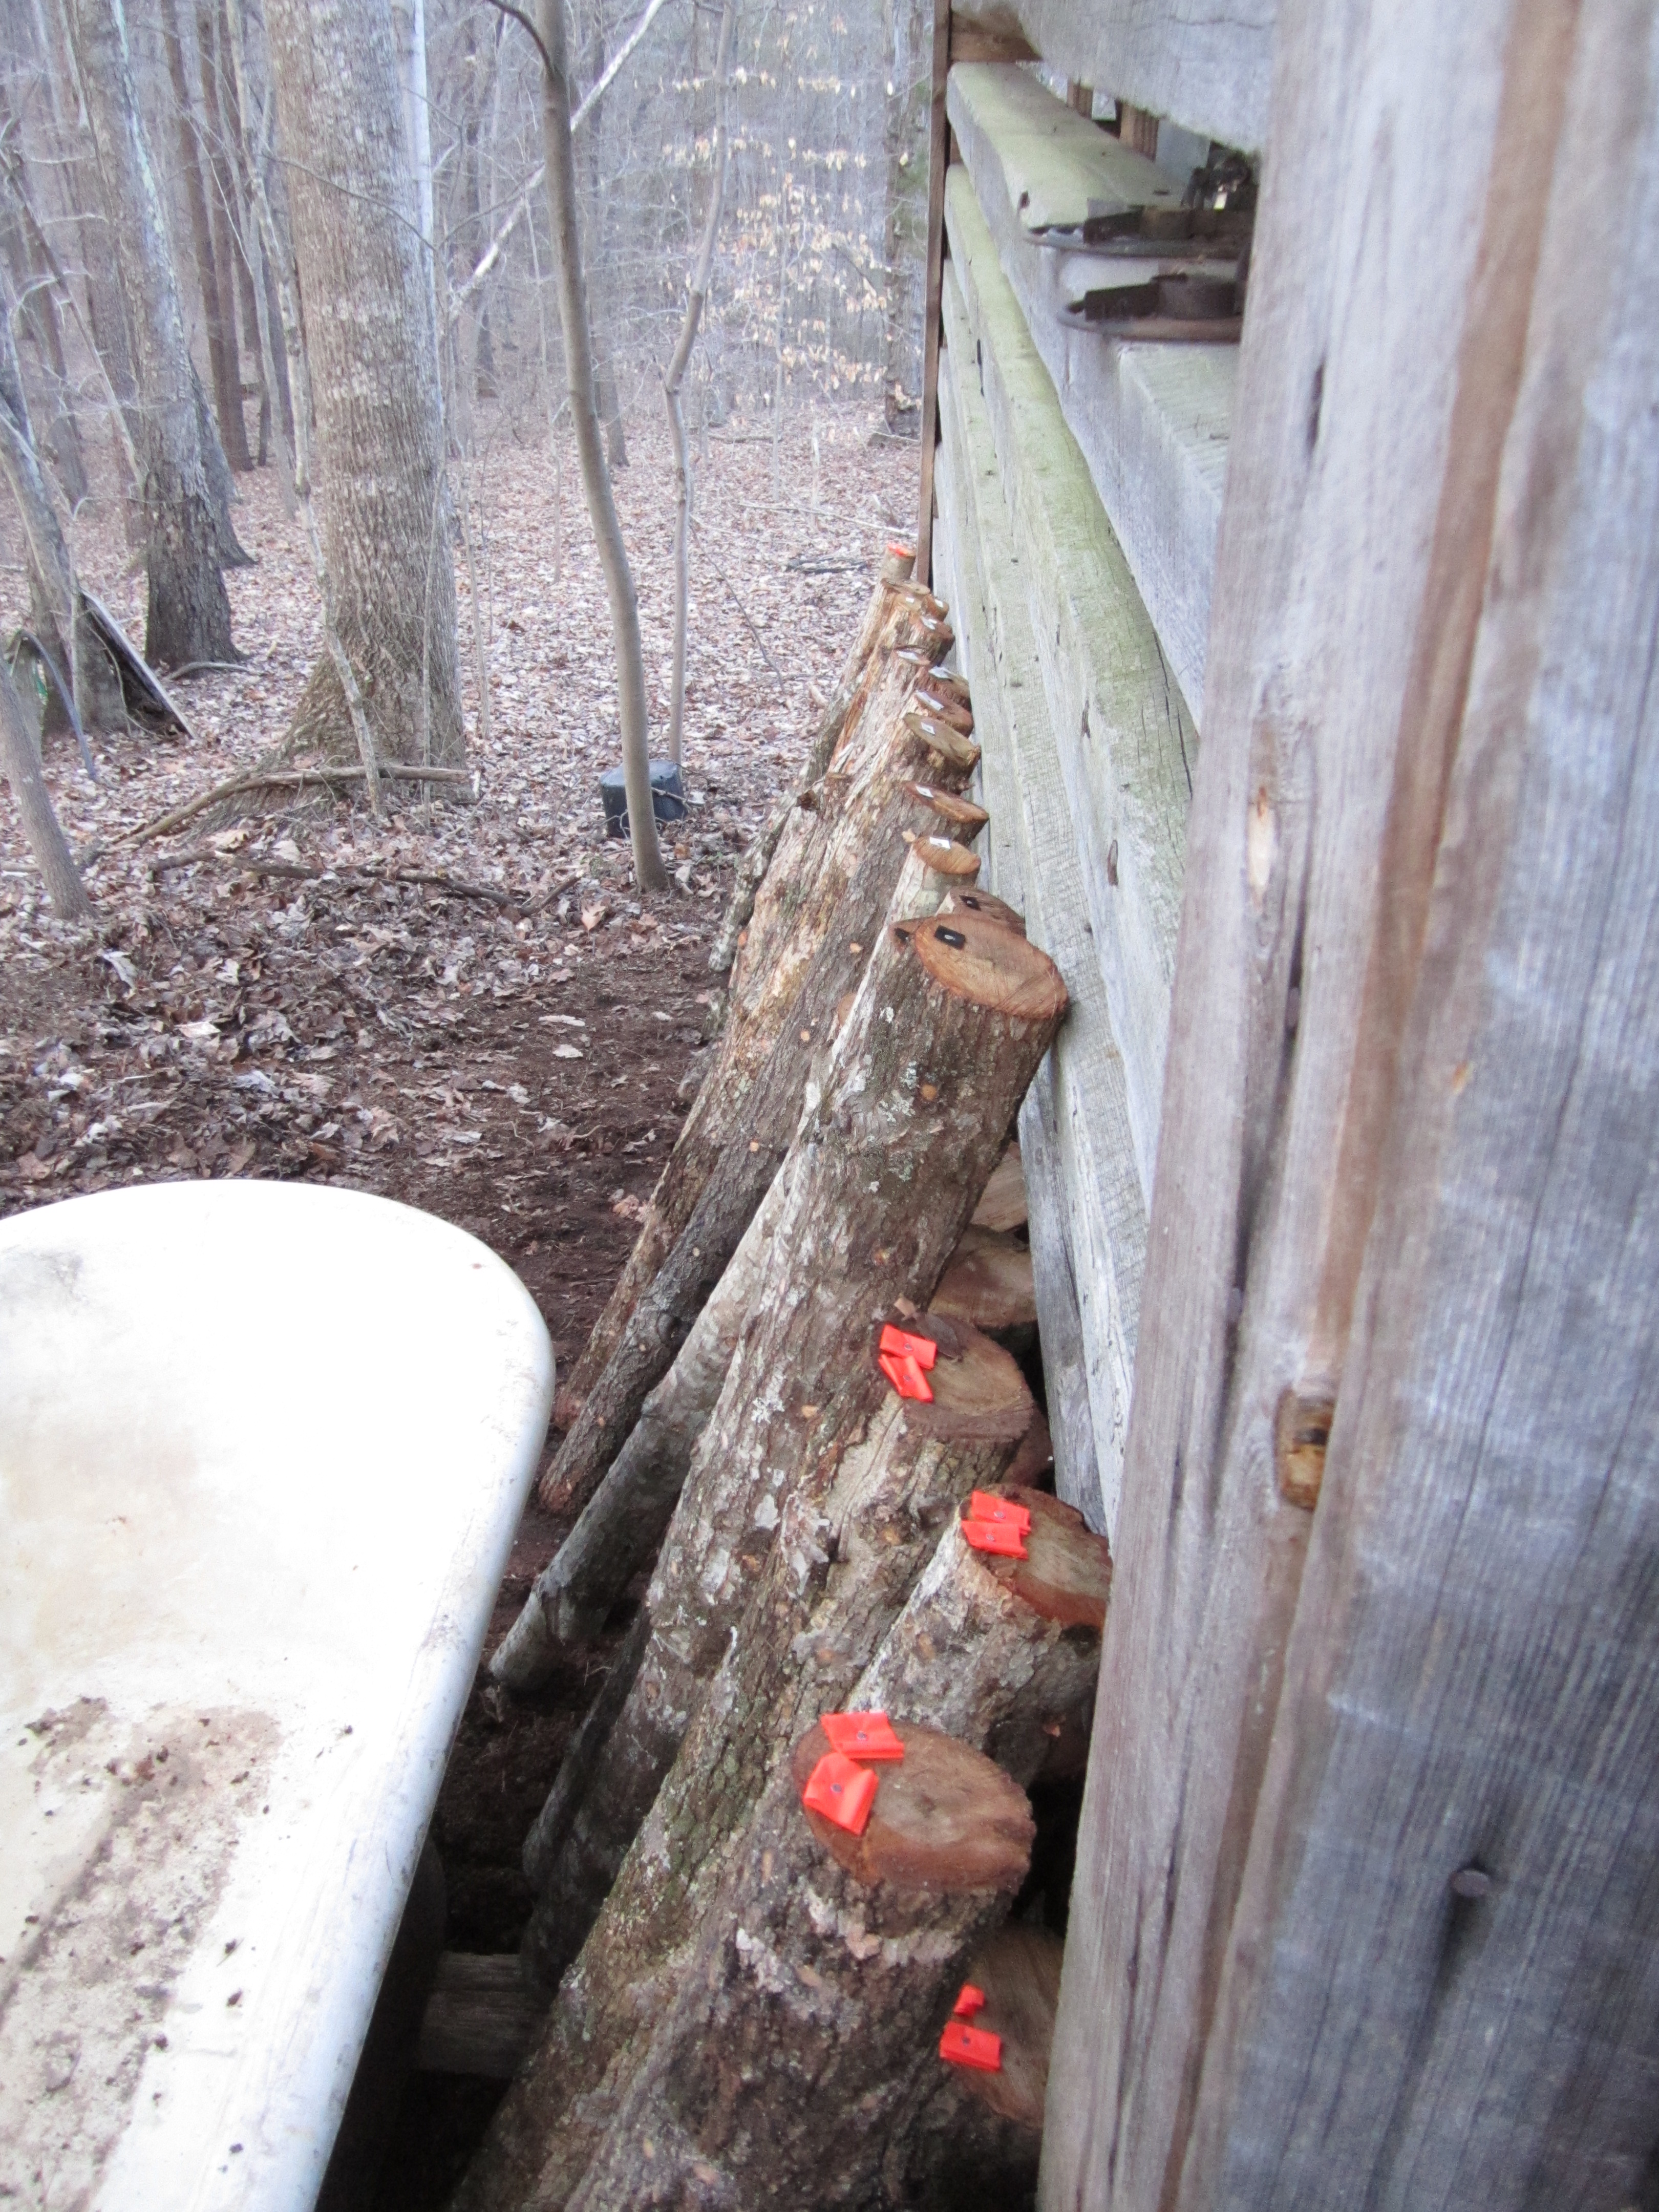
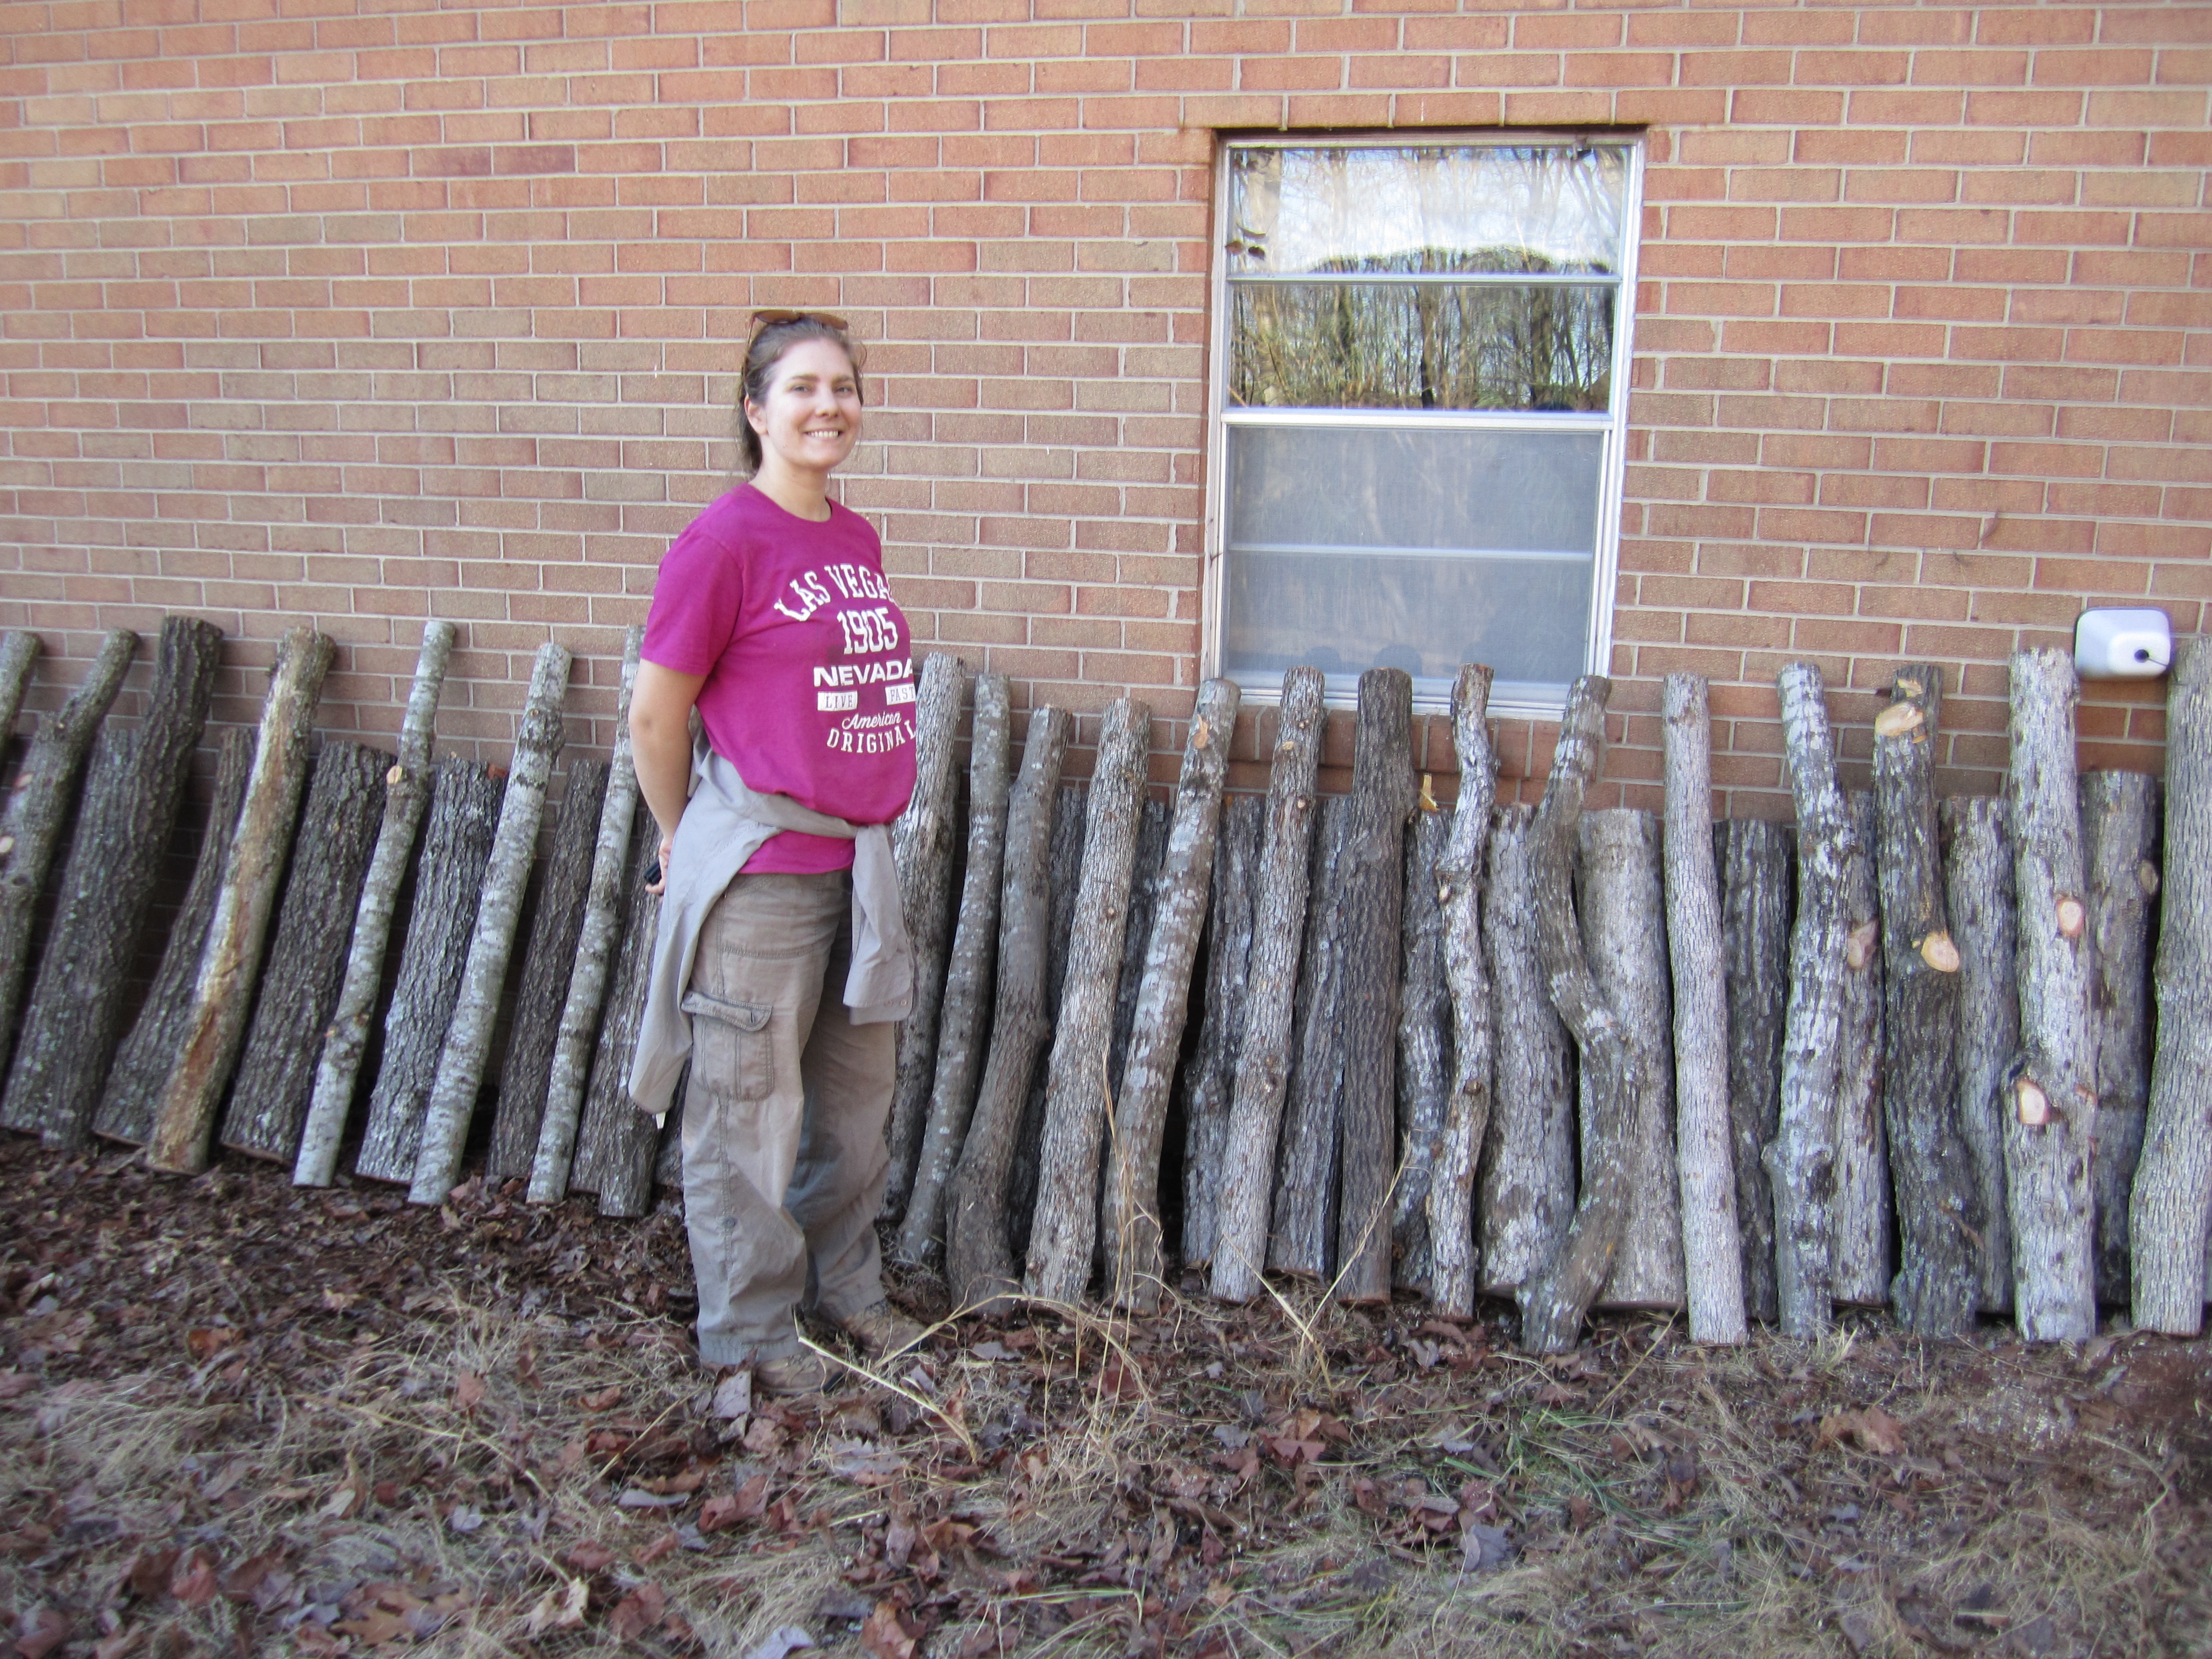
leaned up and labeled logs!
once i leaned all of the logs up against the corn crib, i divided the 50 logs into 4 groups, and labeled these by nailing different colored tape into one end of each log. once we bring the second ceramic tub to the area for log soaking, 1/2 of group 1’s logs will be soaked in one tub overnight, and the other 1/2 will be soaked in the other tub. the logs will be soaked on a rotating schedule so that each of the 4 groups gets a soak every 2 weeks or less often depending on how quickly their bark dries completely out (that’s the sign it’s time to soak them again!).
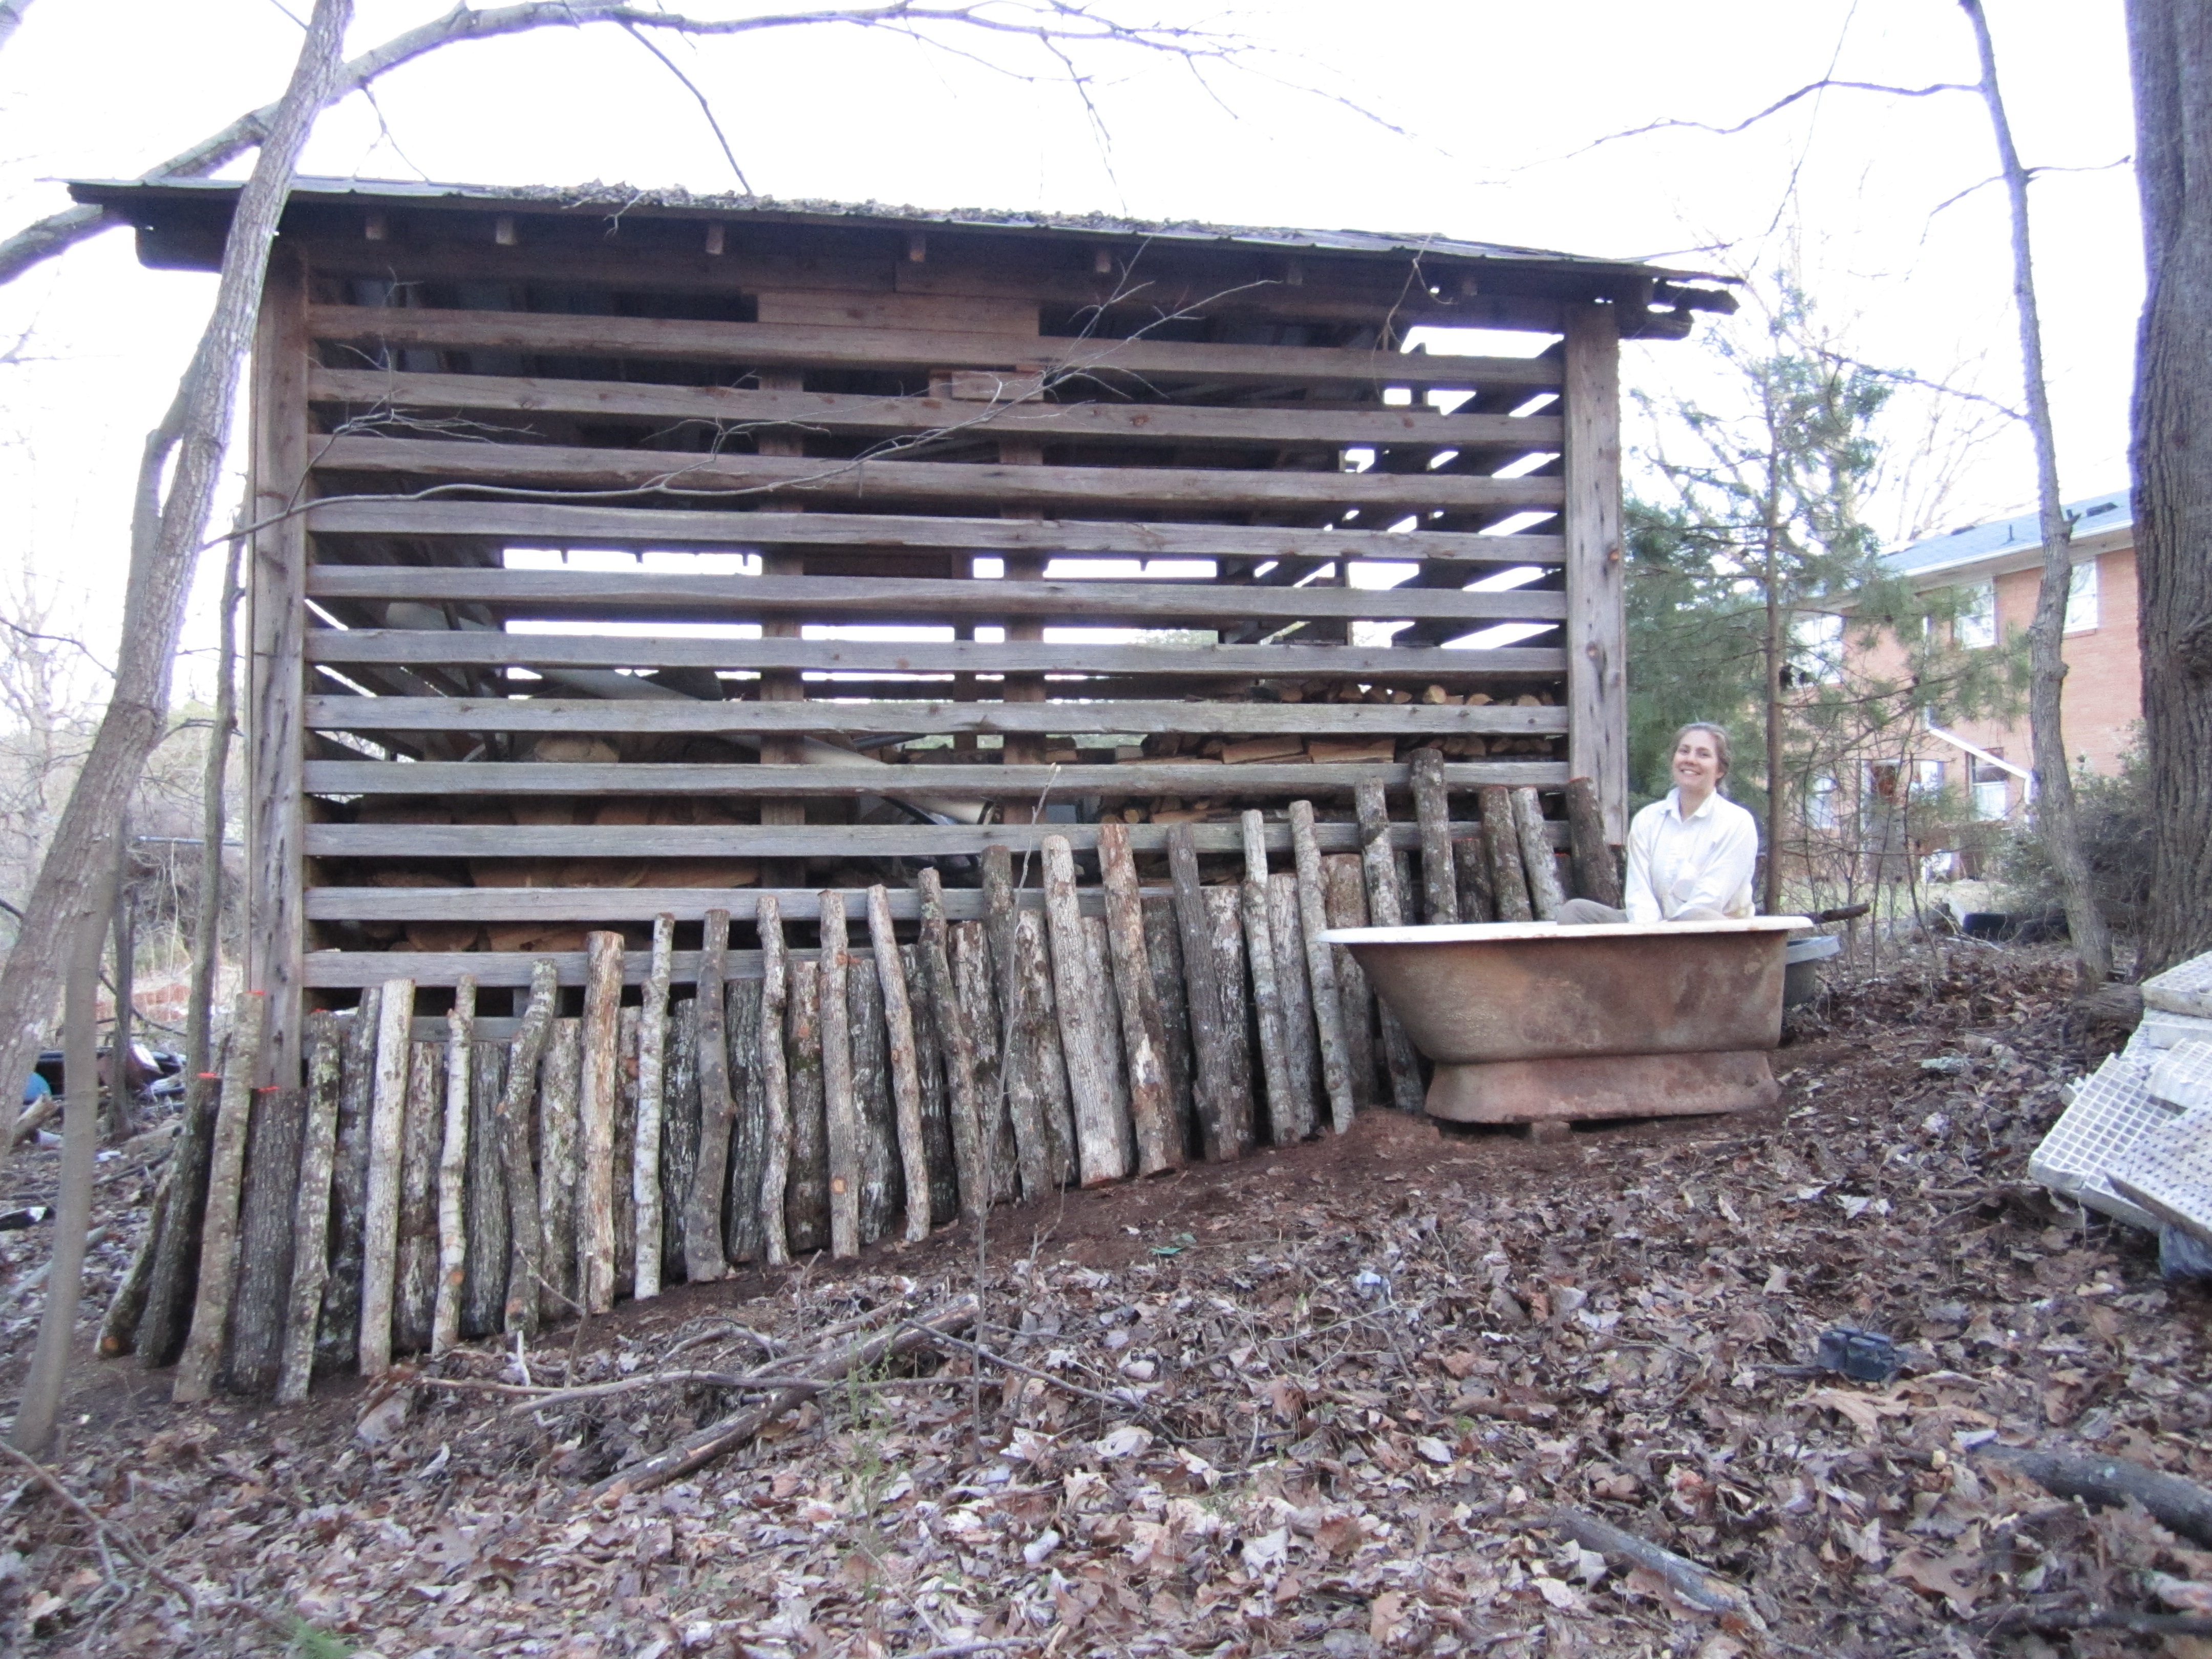
the final product: the logs leaned up by the corn crib (and me in the tub!).
and so, we begin the watering and waiting process. grow, shiitakes, grow!
.:.