KW Homestead

Pasture Raised Poultry & Edible Landscaping Plants Since 2013

Month: January 2015 (page 1 of 2)

Farm Food Friday: Sausage Breakfast Casserole

This recipe is one of Jason’s favorites, and he insists on calling it “eggs” even though eggs are the least of its important ingredients. Oh, boys. :)

It is a variation on my Aunt Jill’s recipe. Here it is (a double batch, of course):

In a pot, cook 2 cups of dried grits (follow the directions on the bag to see how much water you need). Be sure to add salt to the water!

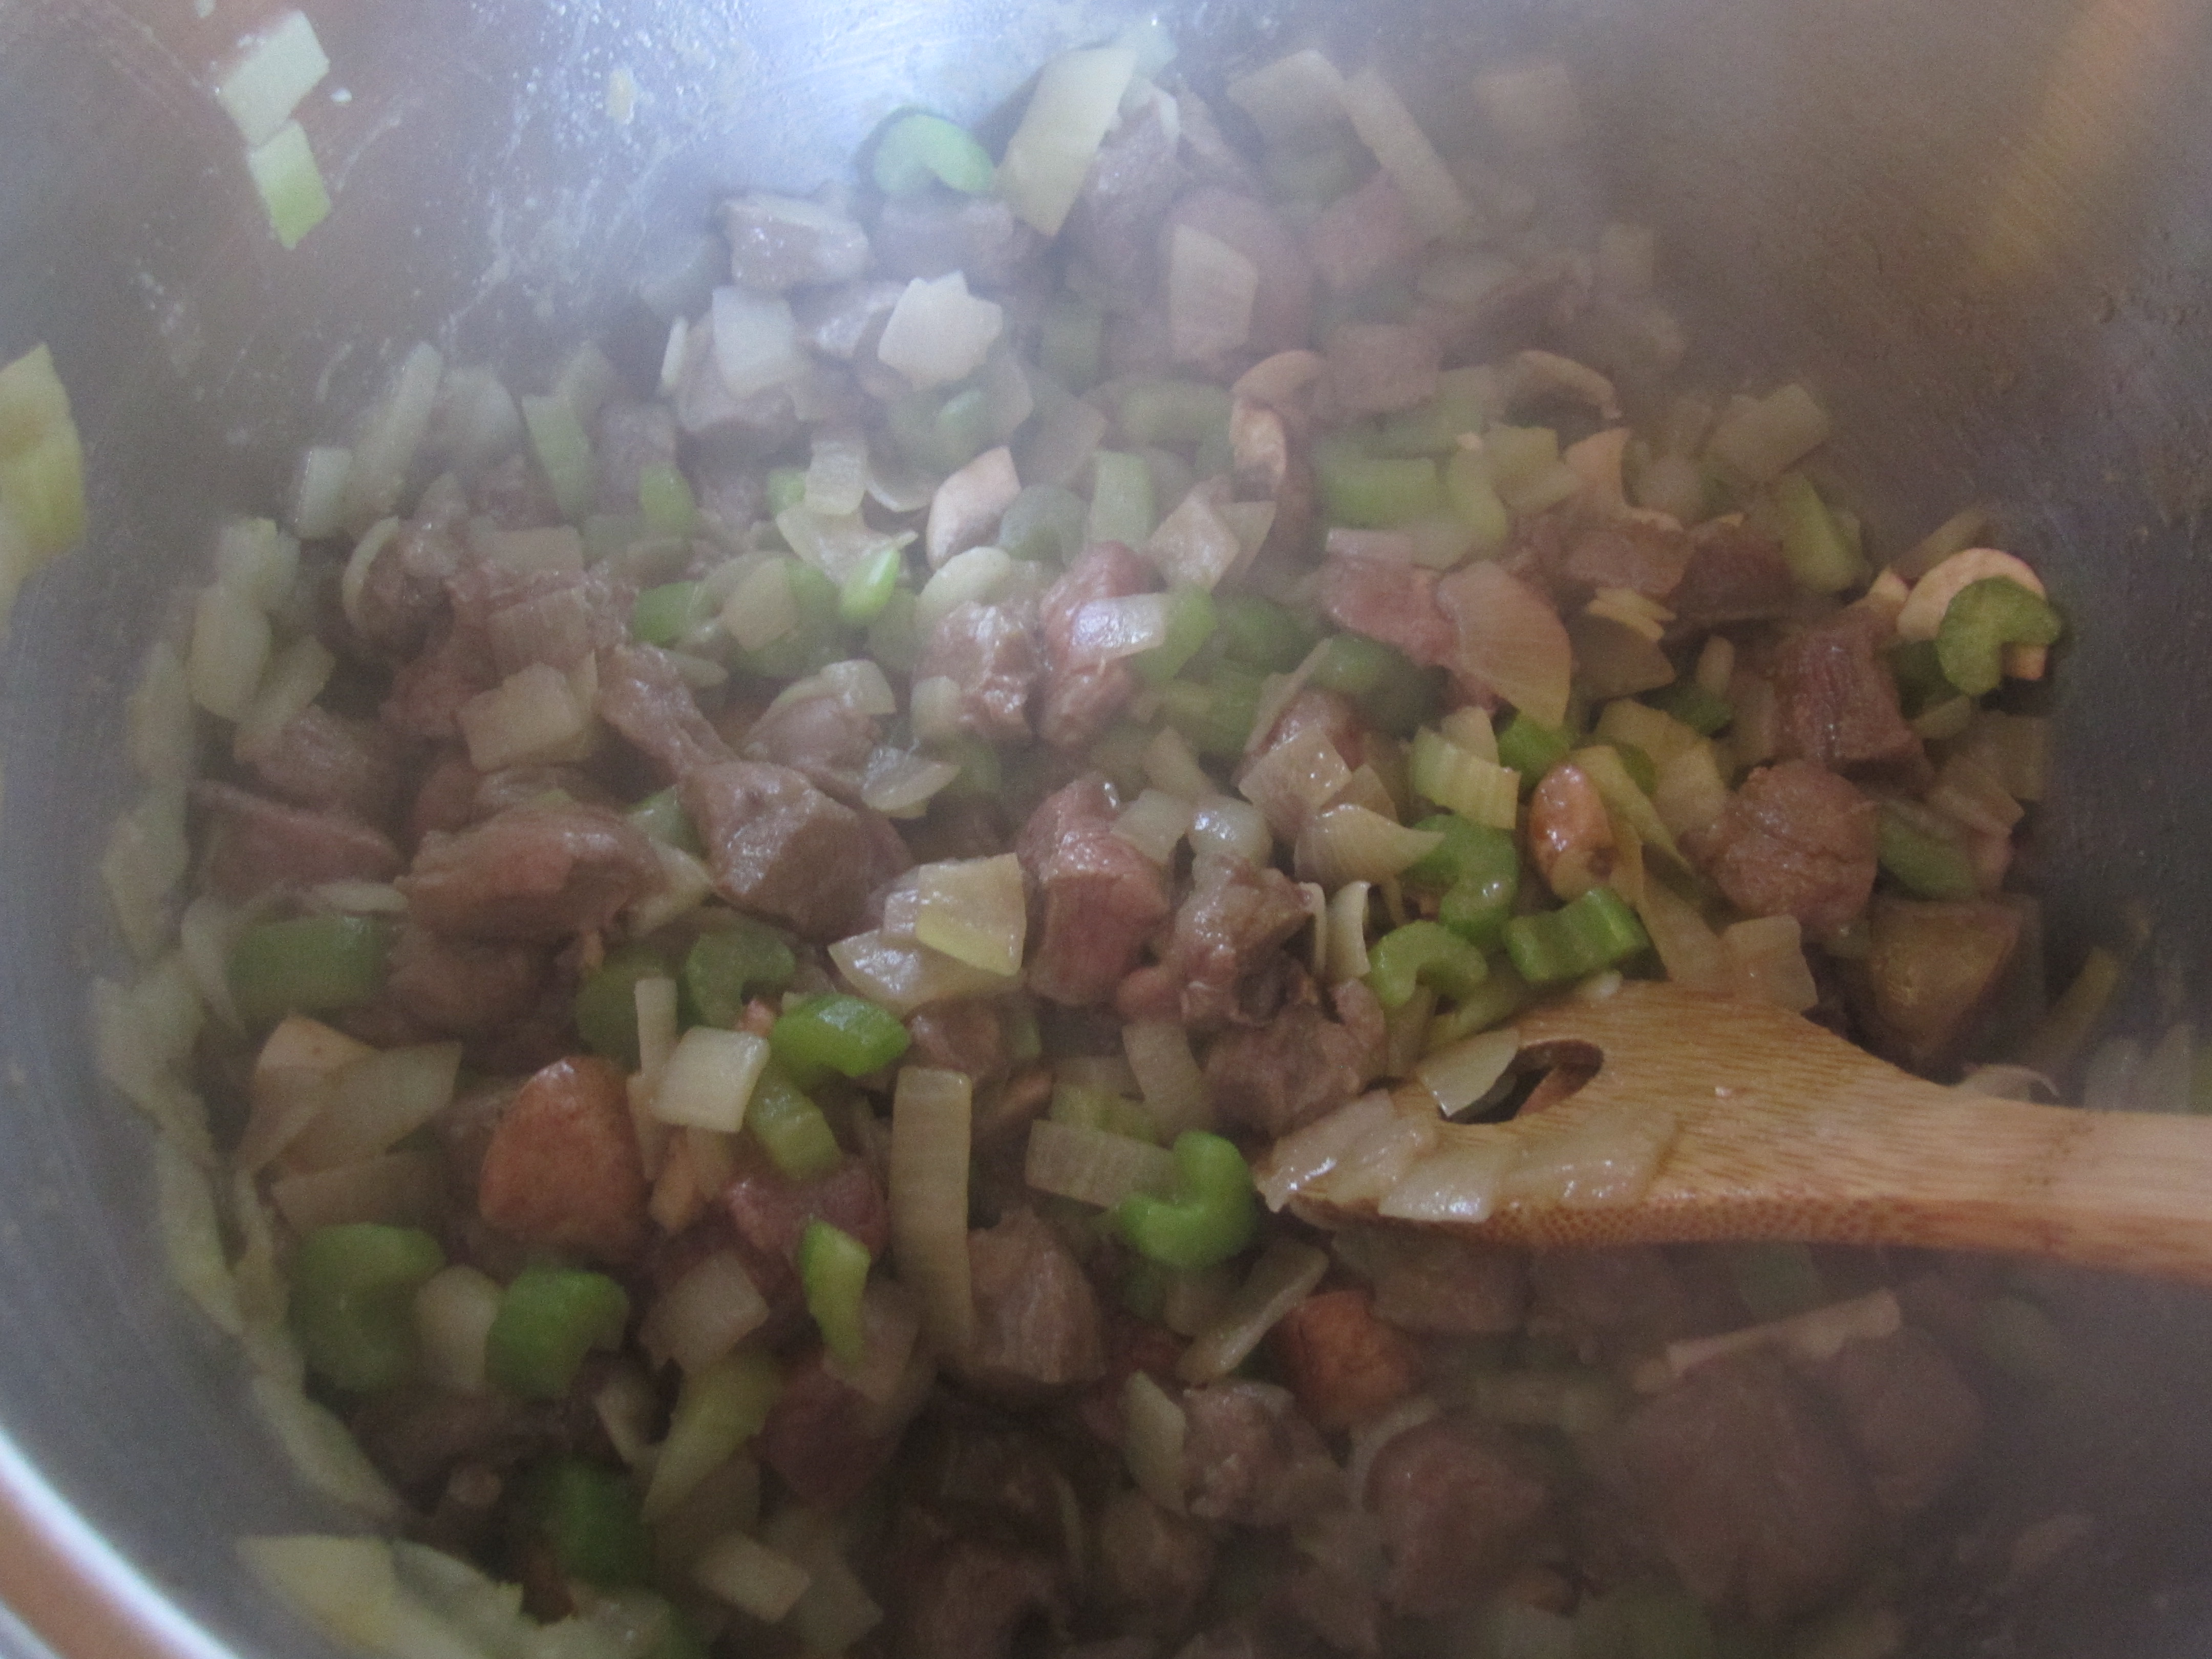
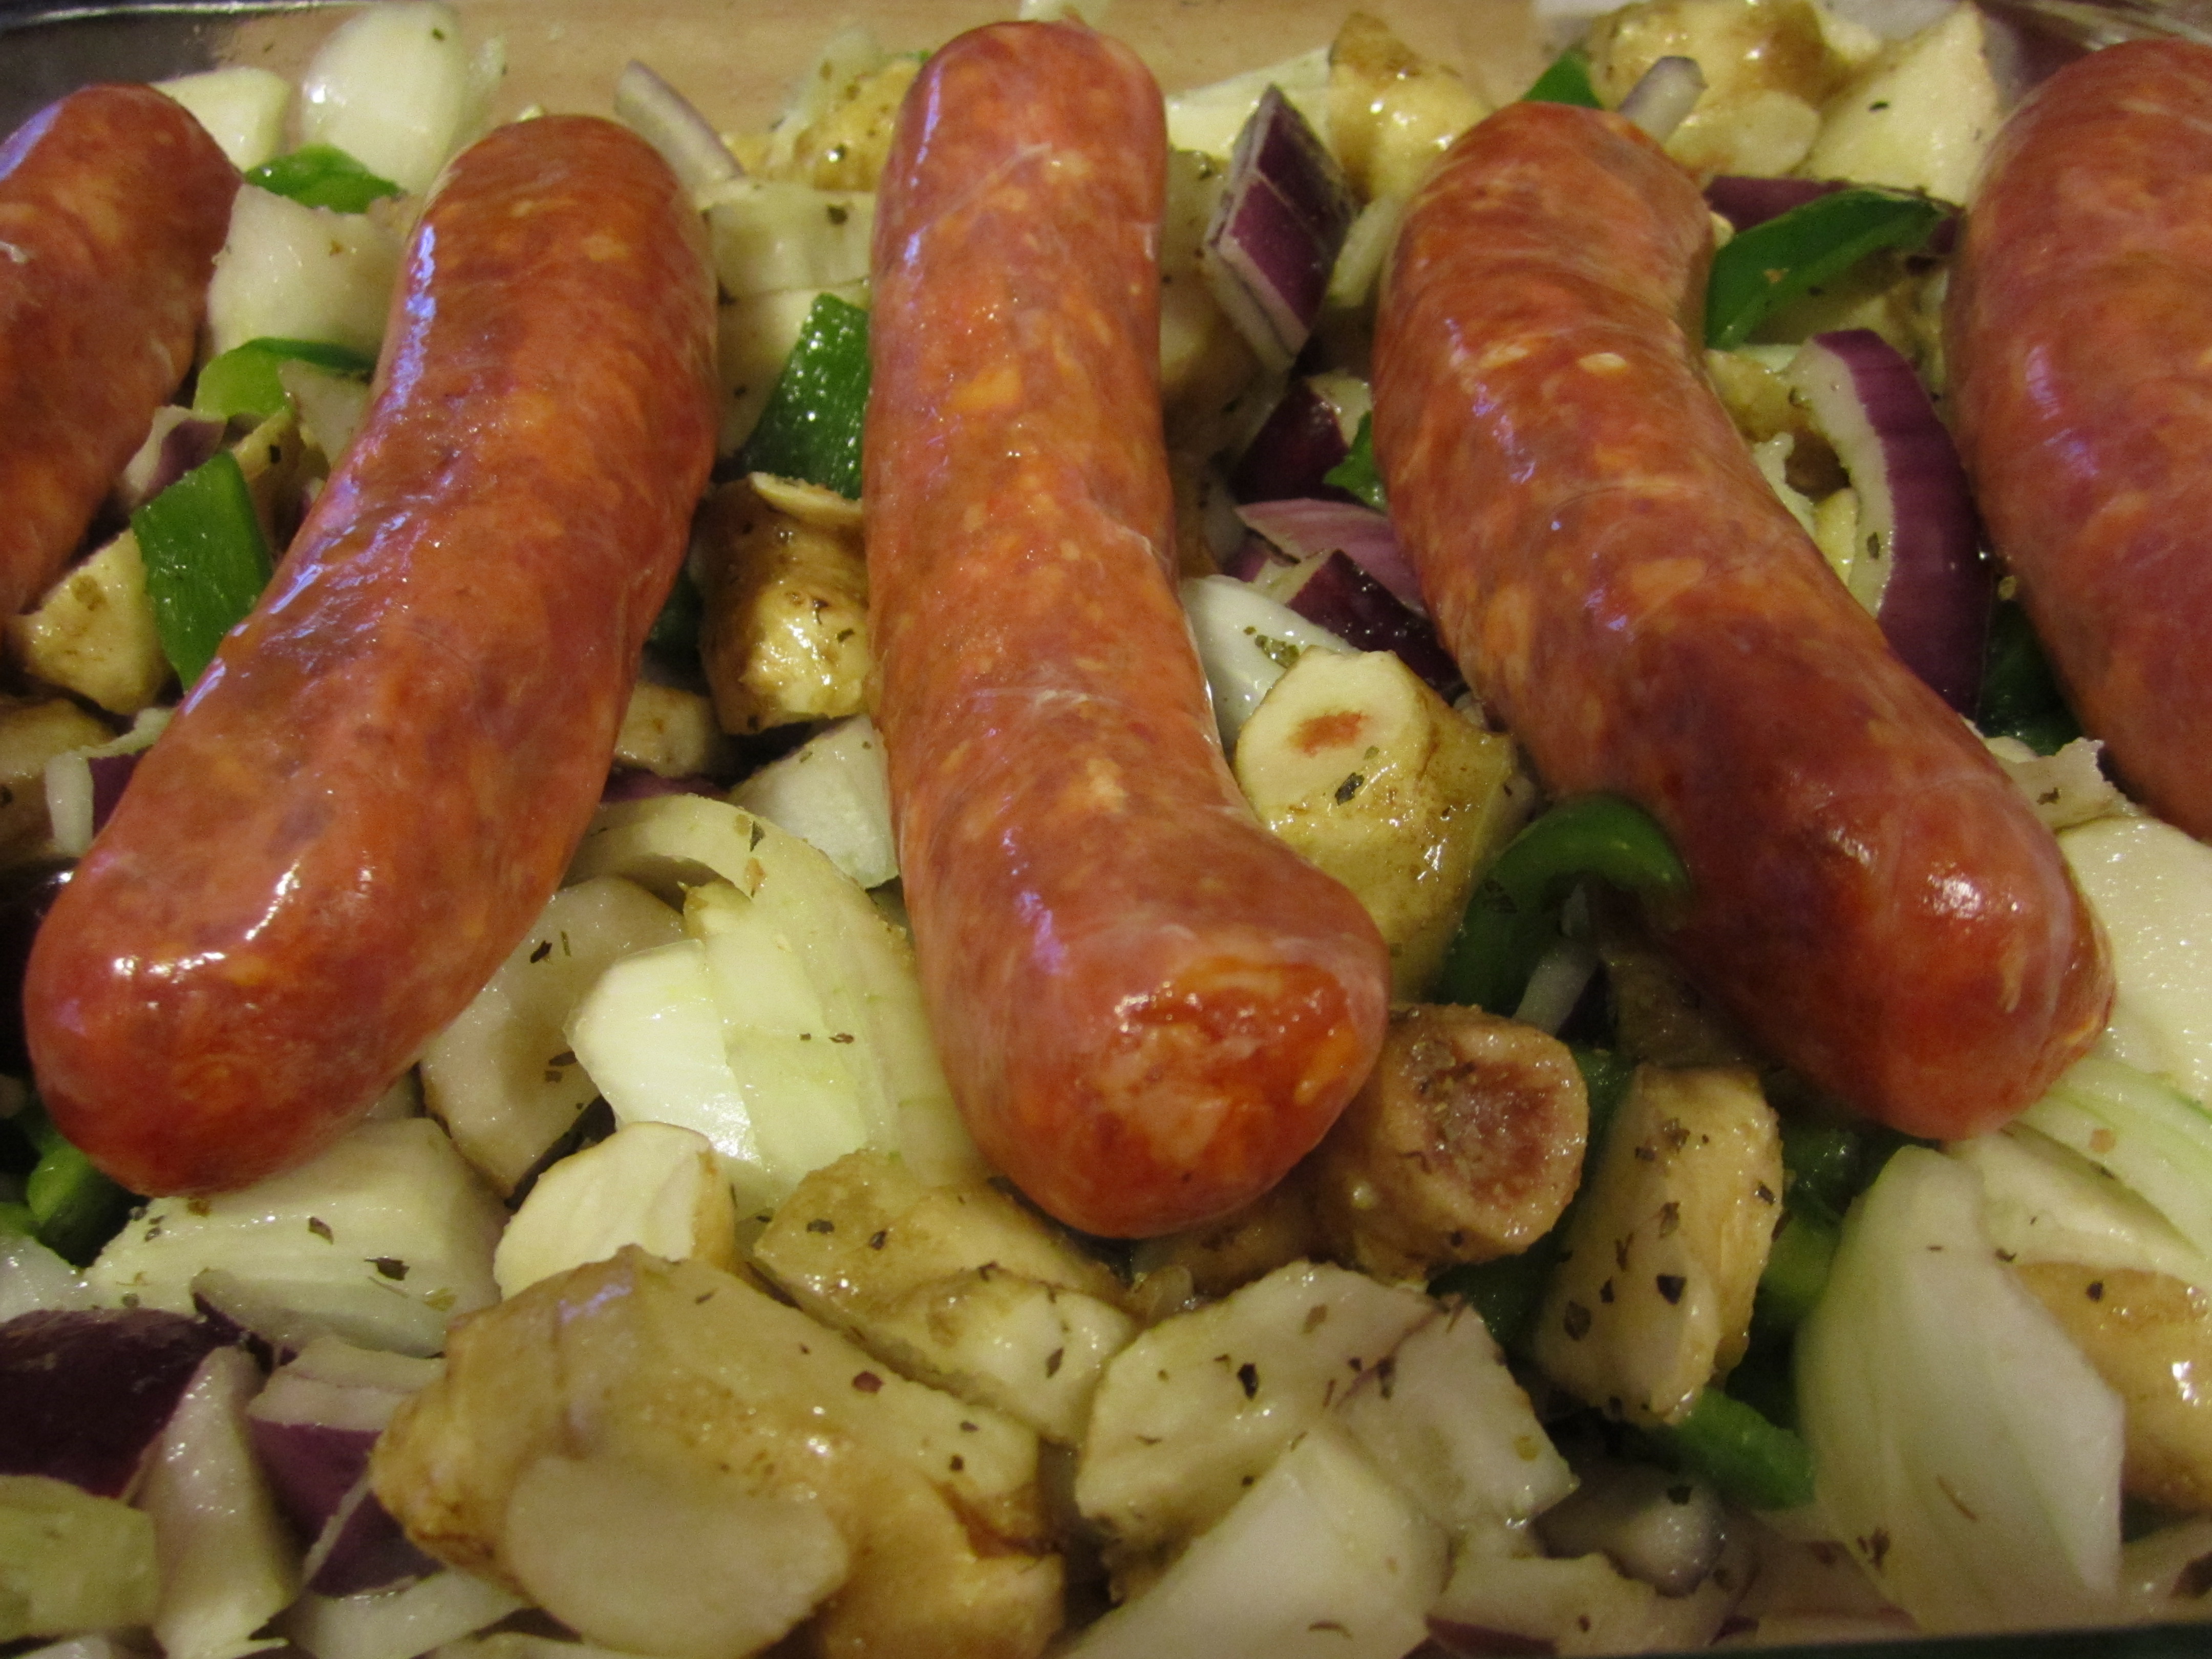
In a large pan, cook 1 or 2 pounds (it’s really up to you, meat-eaters) of Neese’s sausage. Once the sausage is nearly cooked, add a large onion (diced) to the pan. Also add 2 diced peppers.

Then add a lot of sliced mushrooms to the pan. Be sure to add salt, pepper, basil, and oregano (or whatever your favorite spices are).

When all this is done and the grits are also cooked, mix these ingredients and the grits together in a large mixing bowl.

Add 12 ounces of shredded cheddar cheese, 1/2 cup of butter, and 2/3 cups of milk to the warm mix. Stir all of this in thoroughly so that everything melts and blends together.

This is when I also add more of my spices: extra salt, pepper, basil, oregano, and some cayenne peppers for spice! Add more than you think of all of your spices (except maybe the cayenne)!

Beat 6 eggs well, and once the large, hot mixture cools down a bit, stir in the eggs. Be sure that the mix is not so hot that it cooks the eggs!

Butter your casserole dish(es) and pour in the mixture.

Bake at 350 degrees for at least 45 minutes but for less than 1 hour. Enjoy!

P.S. This recipe is so hearty that we usually eat it for dinner. But it’s also so easy to warm up for any quick meal, like breakfast. Just never freeze it! We tried that once and the texture was horrible!!!

.:.

Counting Future Hens and Roosters!

4 weeks ago, when the chicks were 4 weeks old, Jason and I decided to take a tally on how many we thought would be hens and how many would be roosters. At that point, they were starting to grow little combs, but it was harder to tell than it is now at 8 weeks. So far, as well as we can tell, we were right about our guesses!

Before we thought about their sex, we divided them up based on their assumed full-blood or hybrid status. Then we guessed about the males and females within each type.

When we were guessing, we looked at:

  • Comb size and color
    • Males have larger and pinker combs
    • Females have smaller and yellower combs
  • Leg color
    • From what we read about the Barred Rocks, males and females have differnt leg colors. Even though some of the chickens are hybrids and not full-blooded Barred Rocks, we though we could at least use this trait to help us think about the Barred Rocks in the bunch.
    • Males have oranger legs
    • Females have grayer legs
  • Feather color
    • Among the Barred Rocks, males have more white in their feathers, since having “barred,” or “speckled” feathers is a sex-linked trait of which males carry 2 genes while females have only 1.
    • Males are lighter
    • Females are darker
  • Body size
    • Males will grow to be bigger than females, but at 4 weeks guessing based on body size is a lot harder. We still tried, though!

Deciding on the sex of the hybrids was a lot harder than the Barred Rocks, for obvious reasons and for those listed above.

Barred Rock Rooster

Barred Rock Male


Hybrid Rooster

Hybrid Male


Barred Rock Hen

Barred Rock Female


Hybrid Hen

Hybrid Female

These are the numbers that we came up with:

  • 13 full-blood Barred Rocks
    • 7 males (we included Gimpsy in this count–even though he was small-bodied and didn’t have much of a comb–because he had lighter feathers)
    • 6 females
  • 8 Barred Rock and Buff Orpington Hybrids
    • 3 males
    • 5 females

And what do you know? Gimpsy is a boy and we are mostly sure that our guesses were correct. We can’t wait to tell for sure!

This puts our total at 11 hens and 10 roosters. That sure is about a 50/50 split! This means that in a month or so, we’ll have 11 more hens that we’ll raise to be layer hens, 1 Barred Rock rooster for breeding purposes, 1 hybrid rooster for breeding purposes (we’re for sure keeping my favorite, friendly rooster), and Gimpsy–who we’ll probably have to take care of in special ways.

And that means we’ll have 7 chickens in the freezer for eating! Thank you, Mother Nature.

And then, we’ll start the cycle all over again with another batch of eggs…!

.:.


New Dog Food for Bolt

After a period of itchy skin and irrirability for Bolt, we decided that it just had to be someting more than the weather. A few months ago he went through the same sort of “spell” and then seemed to get better… His hair grew back on his back and he seemed less annoyed.

And then out of nowhere, really, he got itchy again and seemed less happy about everything.

There is a chance that he has allergies due to the season, but we really think he needs a new diet, one that is better suited for him! We’ve talked before about homemade dog food for Bolt, but since posting our dog food recipe, we found a dry food that seemed to have healthy, natural ingredients. So, since it was much easier to give him the dry food, we started giving him that (with some supplements and meat sometimes).

During his most recent itchy/annoyed period we realized that something had to be done! So we decided to start from the ground up… With his food!

We checked out Dr. Pitcairn’s Complete Guide to Natural Health for Dogs and Cats again to see if there were any easy diets we could find that would help us determine if he was allergic to any ingredients in regular dog food. We found one that is perfect for us, and really easy to make. We’ve tweaked it a bit ourselves to make sure that he’s getting extra protein and fat (since dogs don’t need any carbs anyway). Dr. Pitcairn calls it the Dog Allergy Diet 1, and for the past few days we’ve been giving him only that. We haven’t noticed if he’s gotten less itchy yet, but he is certainly less irritable!

Bolt the dog

Bolt, Captain of the Clean Plate Cub!

Also, we realized that he really needed a food change when he wouldn’t eat his kibble! He would sit and wait for us to tell him to go to his bowl, but then he wouldn’t go over and eat once we told him to. After a few minutes he would check out the food but then only eat a few bites and go lay down. He wasn’t acting sick in any other ways, so we figured he was fasting since he know the food wasn’t right for him anymore.

This new recipe has him racing to the food bowl when we tell him to go, and eating every single grain of rice! This is great news to us!

Here is our take on Dr. Pitcairn’s Dog Allergy Diet 1:

  • Breakfast:
    • 1 cup of cooked brown rice
    • 1 cup of cooked or raw venison (depending on what we have on hand)
    • 1 tablespoon of olive oil
  • Dinner:
    • 1 cup of cooked brown rice
    • 1 cup of venison
    • 1 tablespoon of melted coconut oil
    • a pinch of holy basil (an herb that promotes calm)
    • 1/8 teaspoon of Vitamin C powder

We’ll also be adding two more things to his dinner plate: a complete multi-vitamin for adult dogs and some bone meal (food grade and safe for dogs), but we’re waiting on these to come in the mail. We give him bones sometimes and we plan to make more bone broth, but just in case, we’re getting bone meal as  a backup if we’re short on bones or broth for a while.

We’ll see how the diet works out over time, but for now we’re feeling much better about him feeling better!

.:.

Farm Food Friday: Jalapeño Jasmine Rice

Tired of having the same old kind of rice with your meals? Well, we certainly were, so we decided to do something about it! We spiced up our rice!

rice

Jalapeño Jasmine Rice!

This recipe came about because we had extra spices in our freezer. We’ve taken to putting different vegetables and herbs in the food processor and then putting the puréed concoction in ice cubes to freeze. Once they freeze, we take them out of the trays and store them in bags. It’s a great way to keep herbs on hand all throughout the year!

Here is the fun and easy recipe for Jalapeño Jasmine Rice (we made a huge pot!):

  • Put 4 cups of beef broth, 8 cups of water, 3 ice cubes of puréed jalapeño, 1 cube of puréed parsley, 1 cube of puréed cilantro, salt, garlic powder, and ground annatto in a large pot. Bring to a boil.
  • Once pot is boiling, add 8 cups of jasmine rice. Stir the pot and turn the temperature on low to medium-low so the pot simmers.
  • After about 20 minutes, check to see that the rice is done, and turn off the heat!

And that’s it! Enjoy!

Yummy!

Yummy!

.:.

Mi Papa

My great grandfather, Juan Aviles, mi papa, passed away yesterday. He lived a long and fulfilling life and left his mark on the world in more than a thousand ways.

Every member of my family was loved by, and in return loved him dearly. His life shaped all of ours, not just as the patriarch of our family, but with his loving smile, tender heart, and funny stories.

Relaxing and Talking on the Porch

Mama and Papa

I have so many wonderful memories of papa. From “marching” on his shoulders around the house when I was a toddler, to chopping down coconuts in Moca. I know that his spirit has guided me to where I am today.

I still cannot walk out in the garden and inhale the smell of tomato vines without thinking of Papa. He planted the seed that eventually sprouted and led to my homesteading and forest-gardening endeavors that make up my life’s passion today.

You had to watch out when Papa started swinging his machete

Memories of feeding the chickens in Puerto Rico, shaking down some grapefruits, and eating ice creams after a huge lunch prepared by Mama are ones I will never forget. Because of these events, these memories, I am who I am today, and I do what I do today,

Me and Papa taking an after lunch nap on the porch in Moca PR

I believe Papa will always be with me, in everything I do, every tree I plant, every tomato I harvest, every chicken that graduates into pollo guisado. Every time I bury my hands in the earth, I will feel and remember him. My children will learn about him and he will never be forgotten.

Maple Sap Ideas

Sap season is here, at least for those of us in the Piedmont of North Carolina. The maples trees in our area have begun the yearly ritual of the sap flow. While we don’t have a lot of sugar maples in NC, and none grow on our land, we do have plenty of red maples. Red maple doesn’t produce as sweet a sap as sugar maple and therefore is a less economical choice for tapping and maple syrup production.

However, syrup production is a time and energy intensive operation that I don’t really have a desire to get into just yet. Something I am interested in is maple water, aka straight maple sap. Maple water is an old concept that has recently been rediscovered by health food companies. It’s essentially the same sap that would be boiled down into maple syrup left unaltered and bottled. The result is a slightly sweet and clear drink with a dose of antioxidants and minerals. Different cultures have used maple sap as a cleansing tonic for a very long time, and it is well known to wildcrafters and foragers as a source of clean water.

maple popsicle

a delicious maple icicle, formed at the end of a trimmed twig

My interest in tapping a few of our red maples is part science experiment (especially considering Emma’s discovery last year of sugarcicles), partly a pursuit of fresh maple water to drink, and part fermentation experimentation. I want to make some maple wine and some maple beer.

I’ve read a few different recipes that use maple sap as a brewing/vinting ingredient and it seems that straight maple sap would yield a fermented beverage clocking in at around 1-3% abv. Now, if you were to either add some sugar or boil this down a bit to concentrate it, you could raise these to more traditional beer and wine levels (FYI: Don’t forget to check out our craft beer review show , Beauty and the Beerd).

Now, in order to get this sap, i’ll have to tap some trees. The standard rule of thumb is not to tap a tree less than 10″ in diameter. We have a few of those on our property, and i’ll probably tap them in the traditional way by drilling a hole in the tree and inserting a tube/tap that drips into a bucket or some other container. But what i’m really excited about is some recent research out of Vermont about tapping smaller trees.They coppiced young maple trees and used vacuum tubing to yield over 10 times the amount of syrup per acre.

I don’t have any vacuum tubes, but this is still interesting because it shows that even smaller trees can yield sap without harming their growth. My idea, and it’s not an original idea, is to try and harvest the sap from twigs and smaller branches on our maple trees. You simply prune off the end of a twig and either attach a tube or plastic bag to the branch to collect the sap. According to gardengrapevine.com, some twig taps can equal the sap production of a trunk tap, and you can do many per tree.

maple sap twigs

a maple twig tap is less invasive and easy to use

This action is less invasive and harmful to the young trees, and actually stimulates growth due to pruning. I’m pretty excited to experiment with it and see how it goes.

Of course, not just maple trees can be tapped, but also birch, walnut, linden, sycamore, and many others. You can see how tree saps, and tree sap beverages can fit nicely into a permaculture system as a late winter activity. By utilizing these saps in for items other than syrup production, which can be costly both in energy and time, even marginal sap producing regions can harvest appreciable yields form their trees, and stack another function into their designs and homesteads.

Cheers!

Thoughts on Splitting Wood

Splitting wood! There may not be another homestead chore that lets you really get in the zone. That focused, thought provoking and rhythmic zone that can only come from the combination of manual labor, pattern recognition and strategic planning.

wood split patterns

chestnut oak; a few perfect splits

There’s just something about the realization of accomplishment after you split a tough, knotty piece of oak in 1 swing, or hit the exact spot where a piece of wood starts to check and it flies apart like cheese that makes you feel good. I don’t know if it’s endorphins or something like that, but it feels damn good.

split pine rails

you can also split longer pieces of wood into rails before sawing to length

That’s not to say that I don’t get tired, frustrated and mad at the odd piece of wood that won’t budge even after it has an axe, maul, and 2 wedges lodged in it, but it balances out in the positive in the end.

Instinctively, splitting firewood leaves you with a reassuring feeling in your heart as you face winter and its potentially icy storms. A stacked pile of split wood is a physical manifestation of security and preparedness. Something you can depend on when the power goes out to keep the family warm.

split wood homestead

The last few days have been great splitting wood, clear, sunny not too warm or cold. Wood splitting is a good cold weather chore because all of the activity warms you up nicely and has you shedding layers in less than no time. I finished splitting the chestnut oak that we felled and bucked last year, and even got started on some windblown pine.

No matter what you are splitting though, always remember to stay safe. One careless swing can do some serious damage to yourself or any innocent bystanders. Keep your feet clear, and take enough breaks to keep yourself focused and not helplessly tired, and in no time you’ll be on your way to a nice stack of security!


Almost Grown Up: 7 Week Old Chickens!

This video gets up close and personal with the 7 week old chickens!

At this point in their development, you can see who the hens will be and who the roosters will be! The roosters have well-developed combs and a few of them are even starting to crow! For most of the chicks, you can tell which are hybrids (crosses between Barred Rocks and Buff Orpingtons) and which are full blooded Barred Rocks.

Check out the video for more info!

.:.

Farm Food Friday: Vegetable Venison Soup

This recipe is one of my favorites… Because it is basically my mom’s vegetable soup recipe with venison added! Yummy!

I recommend using your biggest pot for this one. You can see how big the one we used is:

pot

What a big pot (with a medium-sized tea kettle for scale)!

1.  Begin by adding olive oil to your pot and cutting it on medium-low.

2.  Chop up 3 or 4 onions and approximately 1 head of celery. Add these to the pot with some salt and garlic powder and stir periodically while they saute.

3.  Chop your venison steaks up into small cubes and add them to the pot. Stir often.

soup

Onions, celery, and venison sauteing in the pot with olive oil, garlic, and salt.

4.  Slice 8 ounces of fresh mushrooms and add them to the pot. Also add more salt and garlic powder.

5.  Add tomatoes. We used frozen tomatoes from our garden last year, mostly Cherokee Purples, San Marzano, and Black Plum paste tomatoes, but a few cherry tomatoes found their way in there too! If you are using tomatoes from the store, I would use 2 large cans of crushed tomatoes.

6.  Add 1 small can of tomato paste.

7.  Now add a spoonful or two of honey and some sprinkles of cocoa powder (all of this is to taste). This minimizes the acidic taste from the tomatoes and adds a creamy darkness.

8.  Add spices: paprika, basil,and oregano, and of course more salt and garlic powder!

9.  As the dish begins to simmer, add carrots (I used a little less than 2 pounds of halved baby carrots).

10.  Add 1 large can of greenbeans (we didn’t have any of our own greenbeans left over from last fall).

soup

Adding greenbeans to the pot.

11.  I also like to add even more veggies… Frozen okra and frozen Lima beans (small bags of each) can also go in the pot now.

soup

Adding okra to the pot.

12.  Add 2 small cans of corn.

soup

Corn has been added!

13.  Cook the soup on medium-low for about an hour-and-a-half, and make sure to stir it frequently since this is a very dense soup and can stick to the bottom of the pot if you’re not keeping an eye on it!

14.  Check your soup and add more spices, if needed, and a little bit of soy sauce. Check to see how well softened the Lima beans and carrots are, and if you are satisfied with how done they are (and the spices), add 1 small bag of frozen peas. Stir them in and let the soup cook for about 15 minutes longer.

15.  Check your spices again… And if you like it, then it’s done!!! If not, add more spices!!!

soup

All done! Yummy!

.:.


Sunchokes! A Tasty and Reliable Homestead Crop

This year, in addition to growing vegetables in the garden, raising chickens in tractors and mobile coops, and planting a backyard food forest, we also experimented with some unusual crops. One of these in particular, the sunchoke or Jerusalem Artichoke, was a huge success.

sunchokes permaculture

Sunchokes are both pretty and productive!

Sunchokes are related to sunflowers, but instead of delicious seeds, they form crisp and tasty tubers. These can be dug anytime after frost, and have a slightly nutty and pleasant potatoey flavor. One great thing about them is their lack of starch, and high proportion of inulin. This makes them a great food to help regulate blood sugar issues, and possibly one for diabetics to consider trying. Sunchokes are often found growing along side roads and at the edges of fields and forests. They spread readily from their roots and are a perennial staple crop that requires little care. I think we watered them about 6 times this summer, and they never once looked stressed.

sunchokes harvest

Freshly dug sunchokes!

I dug the first batch of tubers the other day and was pleasantly surprised to harvest about 1 pound of tubers from 1 plant. That’s about an 8 to 1 return.

sunchokes cooking

The tubers are somewhat knobby, which can make cleaning difficult.

Once I cleaned up the knobby tubers in warm water, I chopped them into bite sized pieces and added onions, peppers, basil, garlic, oregano, a healthy amount of olive oil, and to top it all off, some hot Italian sausage. I roasted this at 375 until everything was cooked, and then served it with a runny egg on top. Kind of like a homestead hash. Yum. We usually make this dish with potatoes, but the sunchokes were great in it.

sunchoke recipe

You can use sunchokes in any recipe that calls for potatoes.

Another interesting fact about sunchokes is that you can eat them raw. They are crunchy, and less digestible, but have a refreshing and crisp taste. Other ways to prepare them include frying, boiling, mashing and any other way you cook a potato. You can often find them at health food stores (I know I’ve seen them at Whole Foods) or ethnic markets. They are also fairly prevalent throughout much of the US and if you’re quick, brave, and good with a spade-fork, you can harvest an unlimited amount from wild “roadside stands.”

For us though, we plan on expanding this easy and productive crop to many areas of our homestead. I did notice that it prefers to be planted earlier rather than later in the season, and likes a little bit of shade at some point in the day to keep its roots cool. Our original planting stock was purchased from ebay, but I have seen them for sale at many mail order and online nurseries. We plan on eating all of the larger tubers and using the smaller ones to replant in other areas!


Older posts

© 2024 KW Homestead

Theme by Anders NorenUp ↑