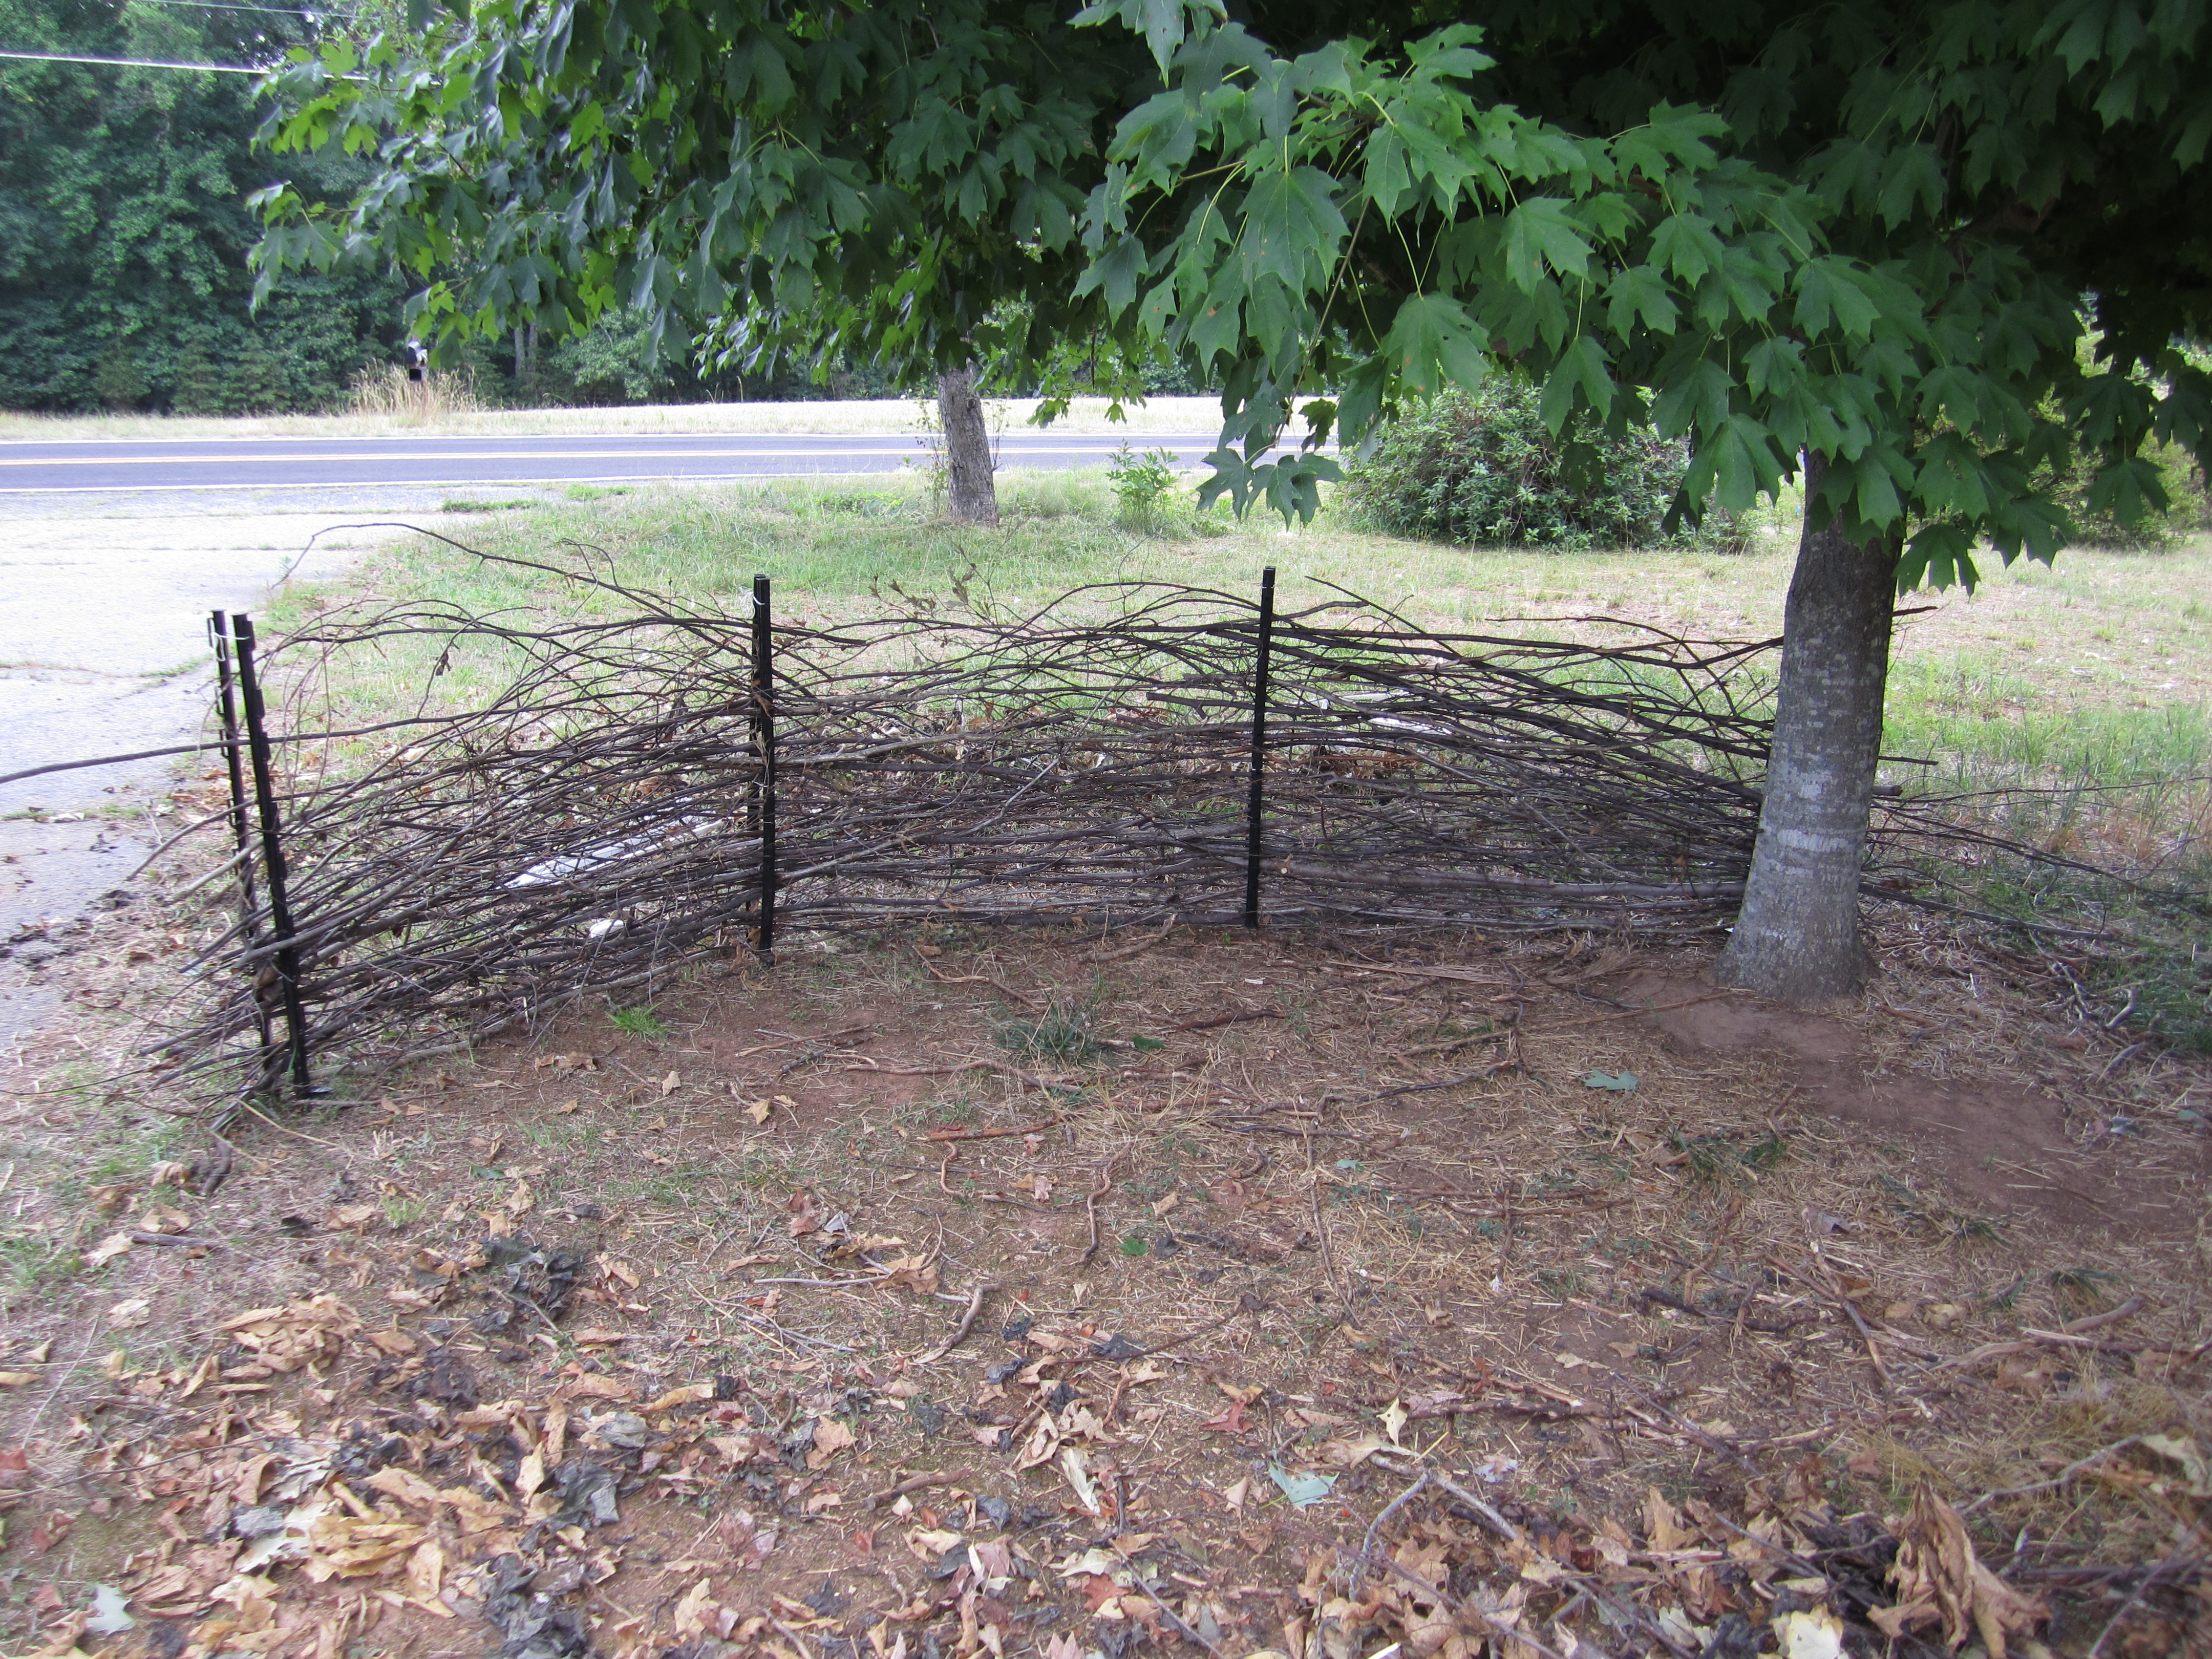
this past weekend my best friend and i held my bridal shower at our house. it was a blast,and it was wonderful to see so many of my family and friends at our home. it was great getting the opportunity to share our house and gardens with these folks, and i loved giving “goose tours” and “garden walks!”
we are getting married on our homestead in late september and i’m currently in the process of designing our wedding invitations, brainstorming party favors, and figuring out the final details about the decor, ceremony, and venue. actually, i spent all of today designing and altering my wedding dress with my mom. fun but also a little stressful (but not because of you, mom!).
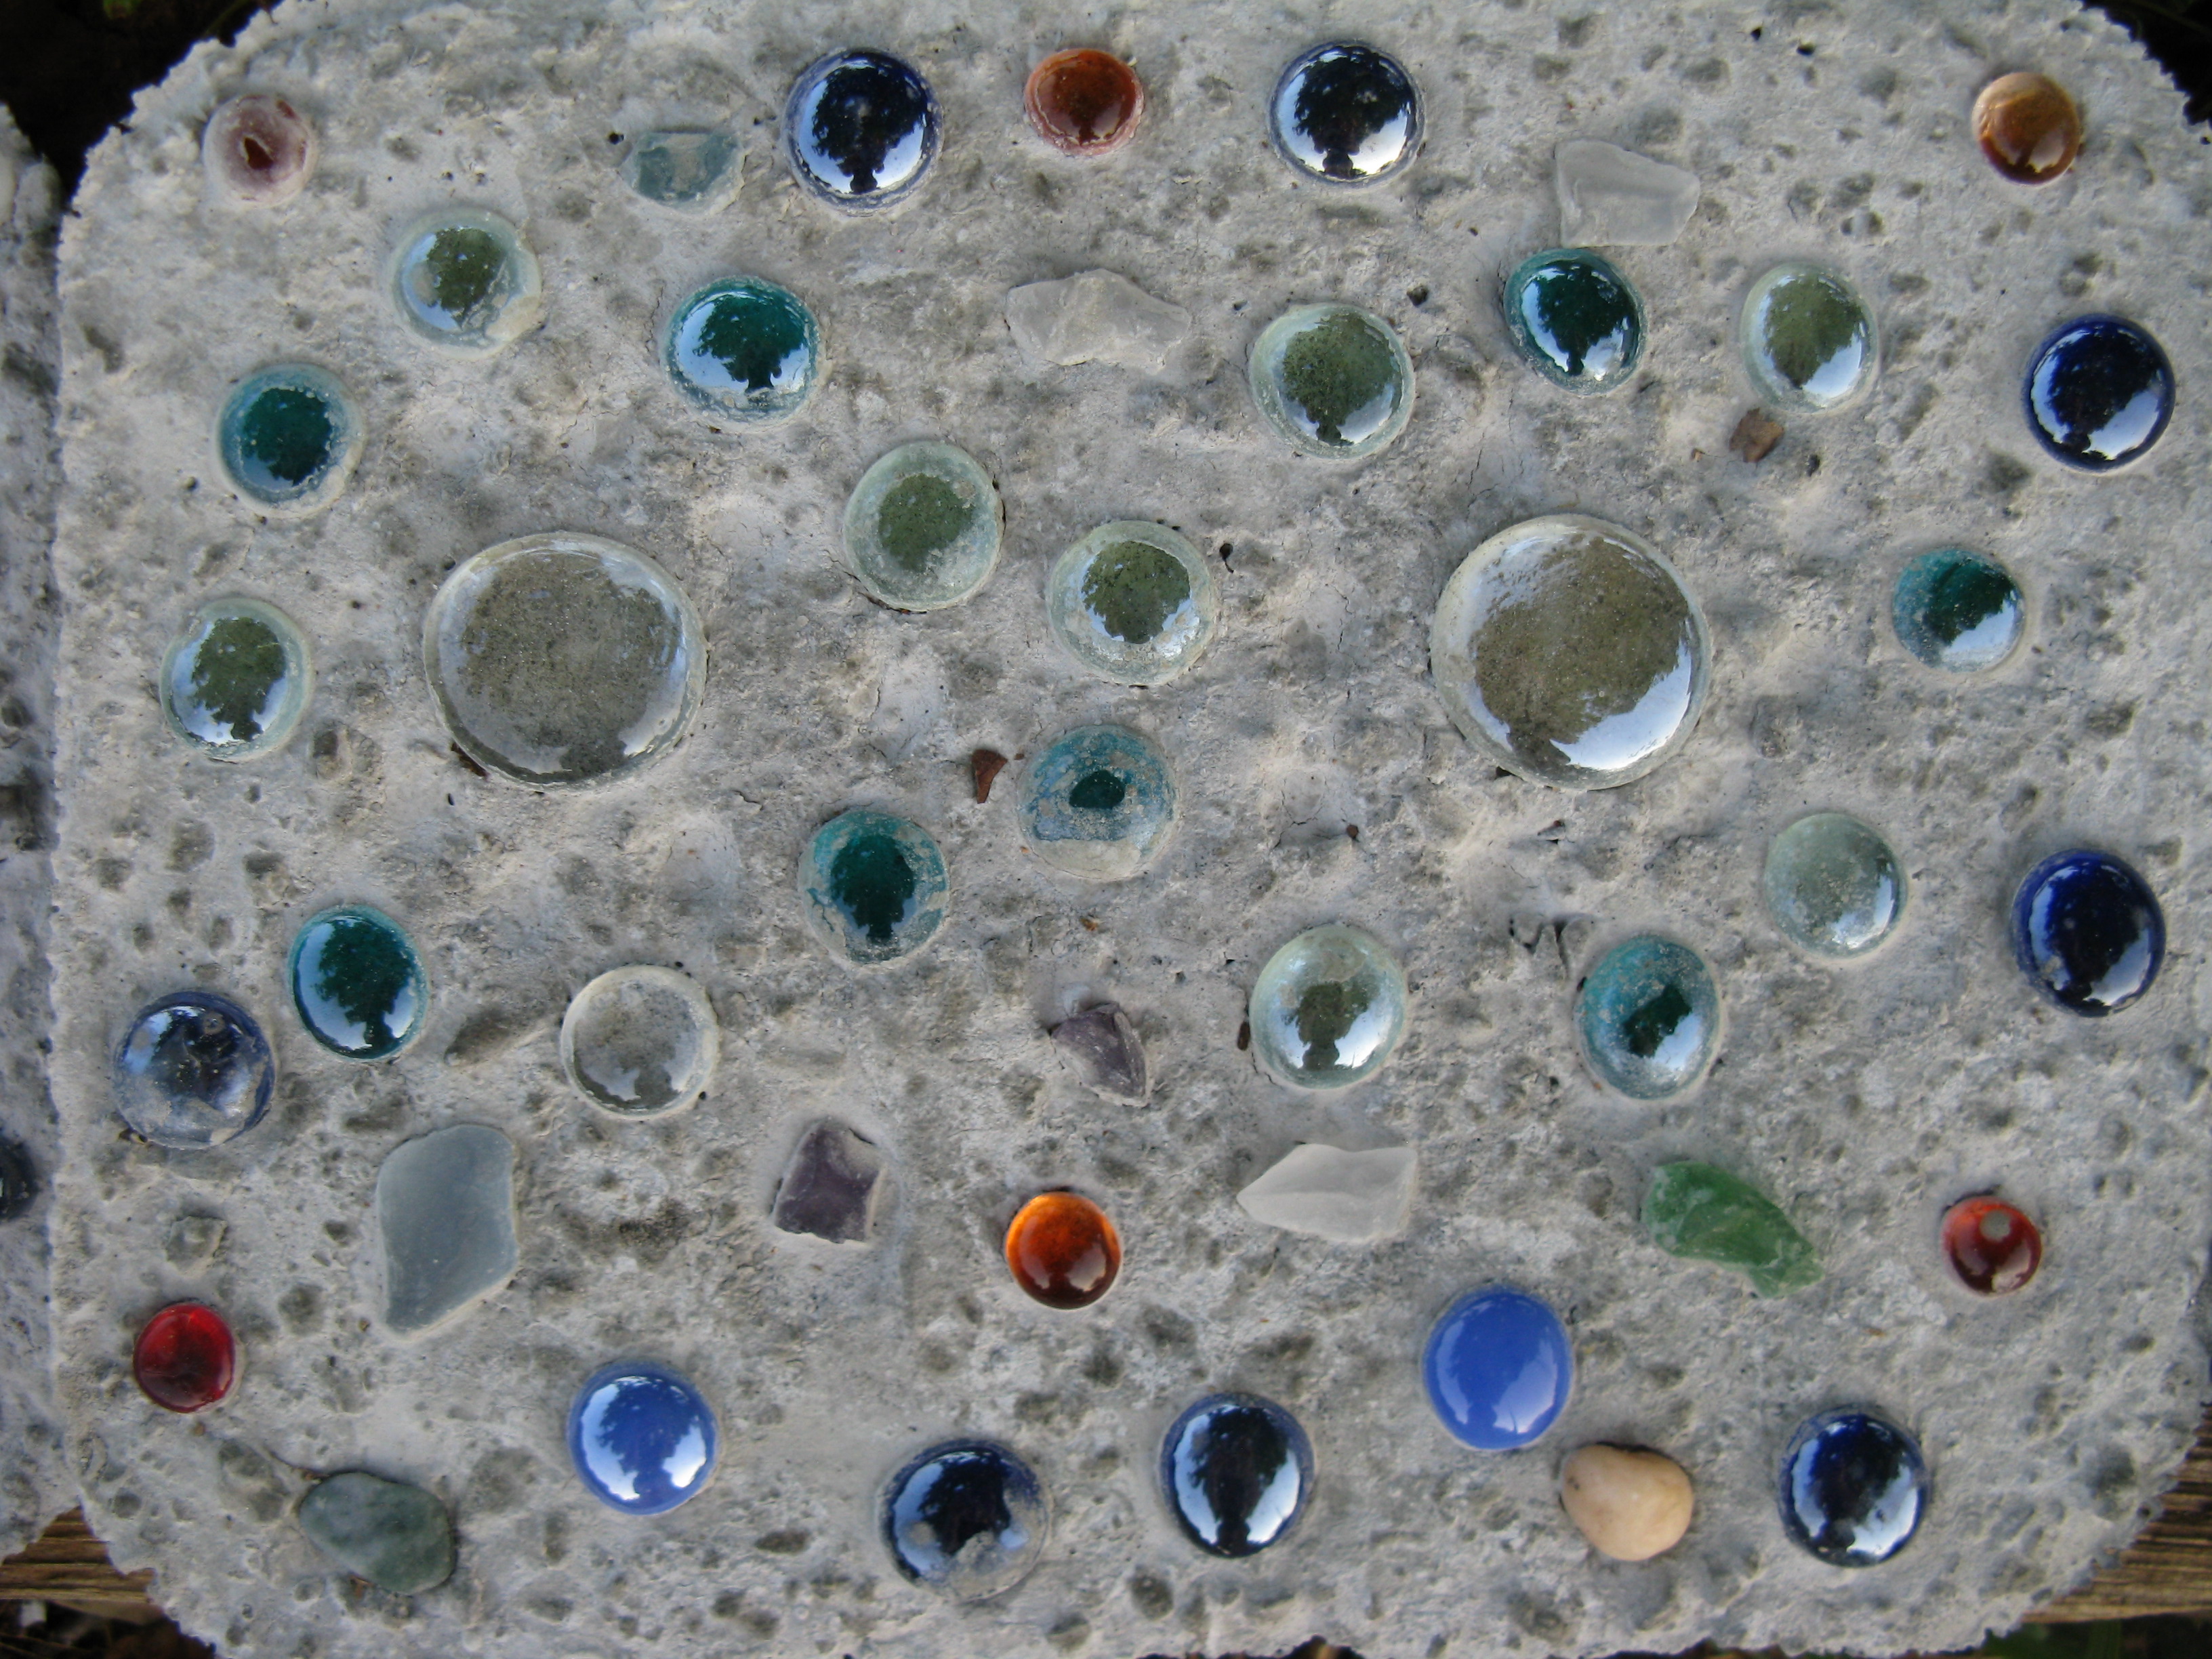
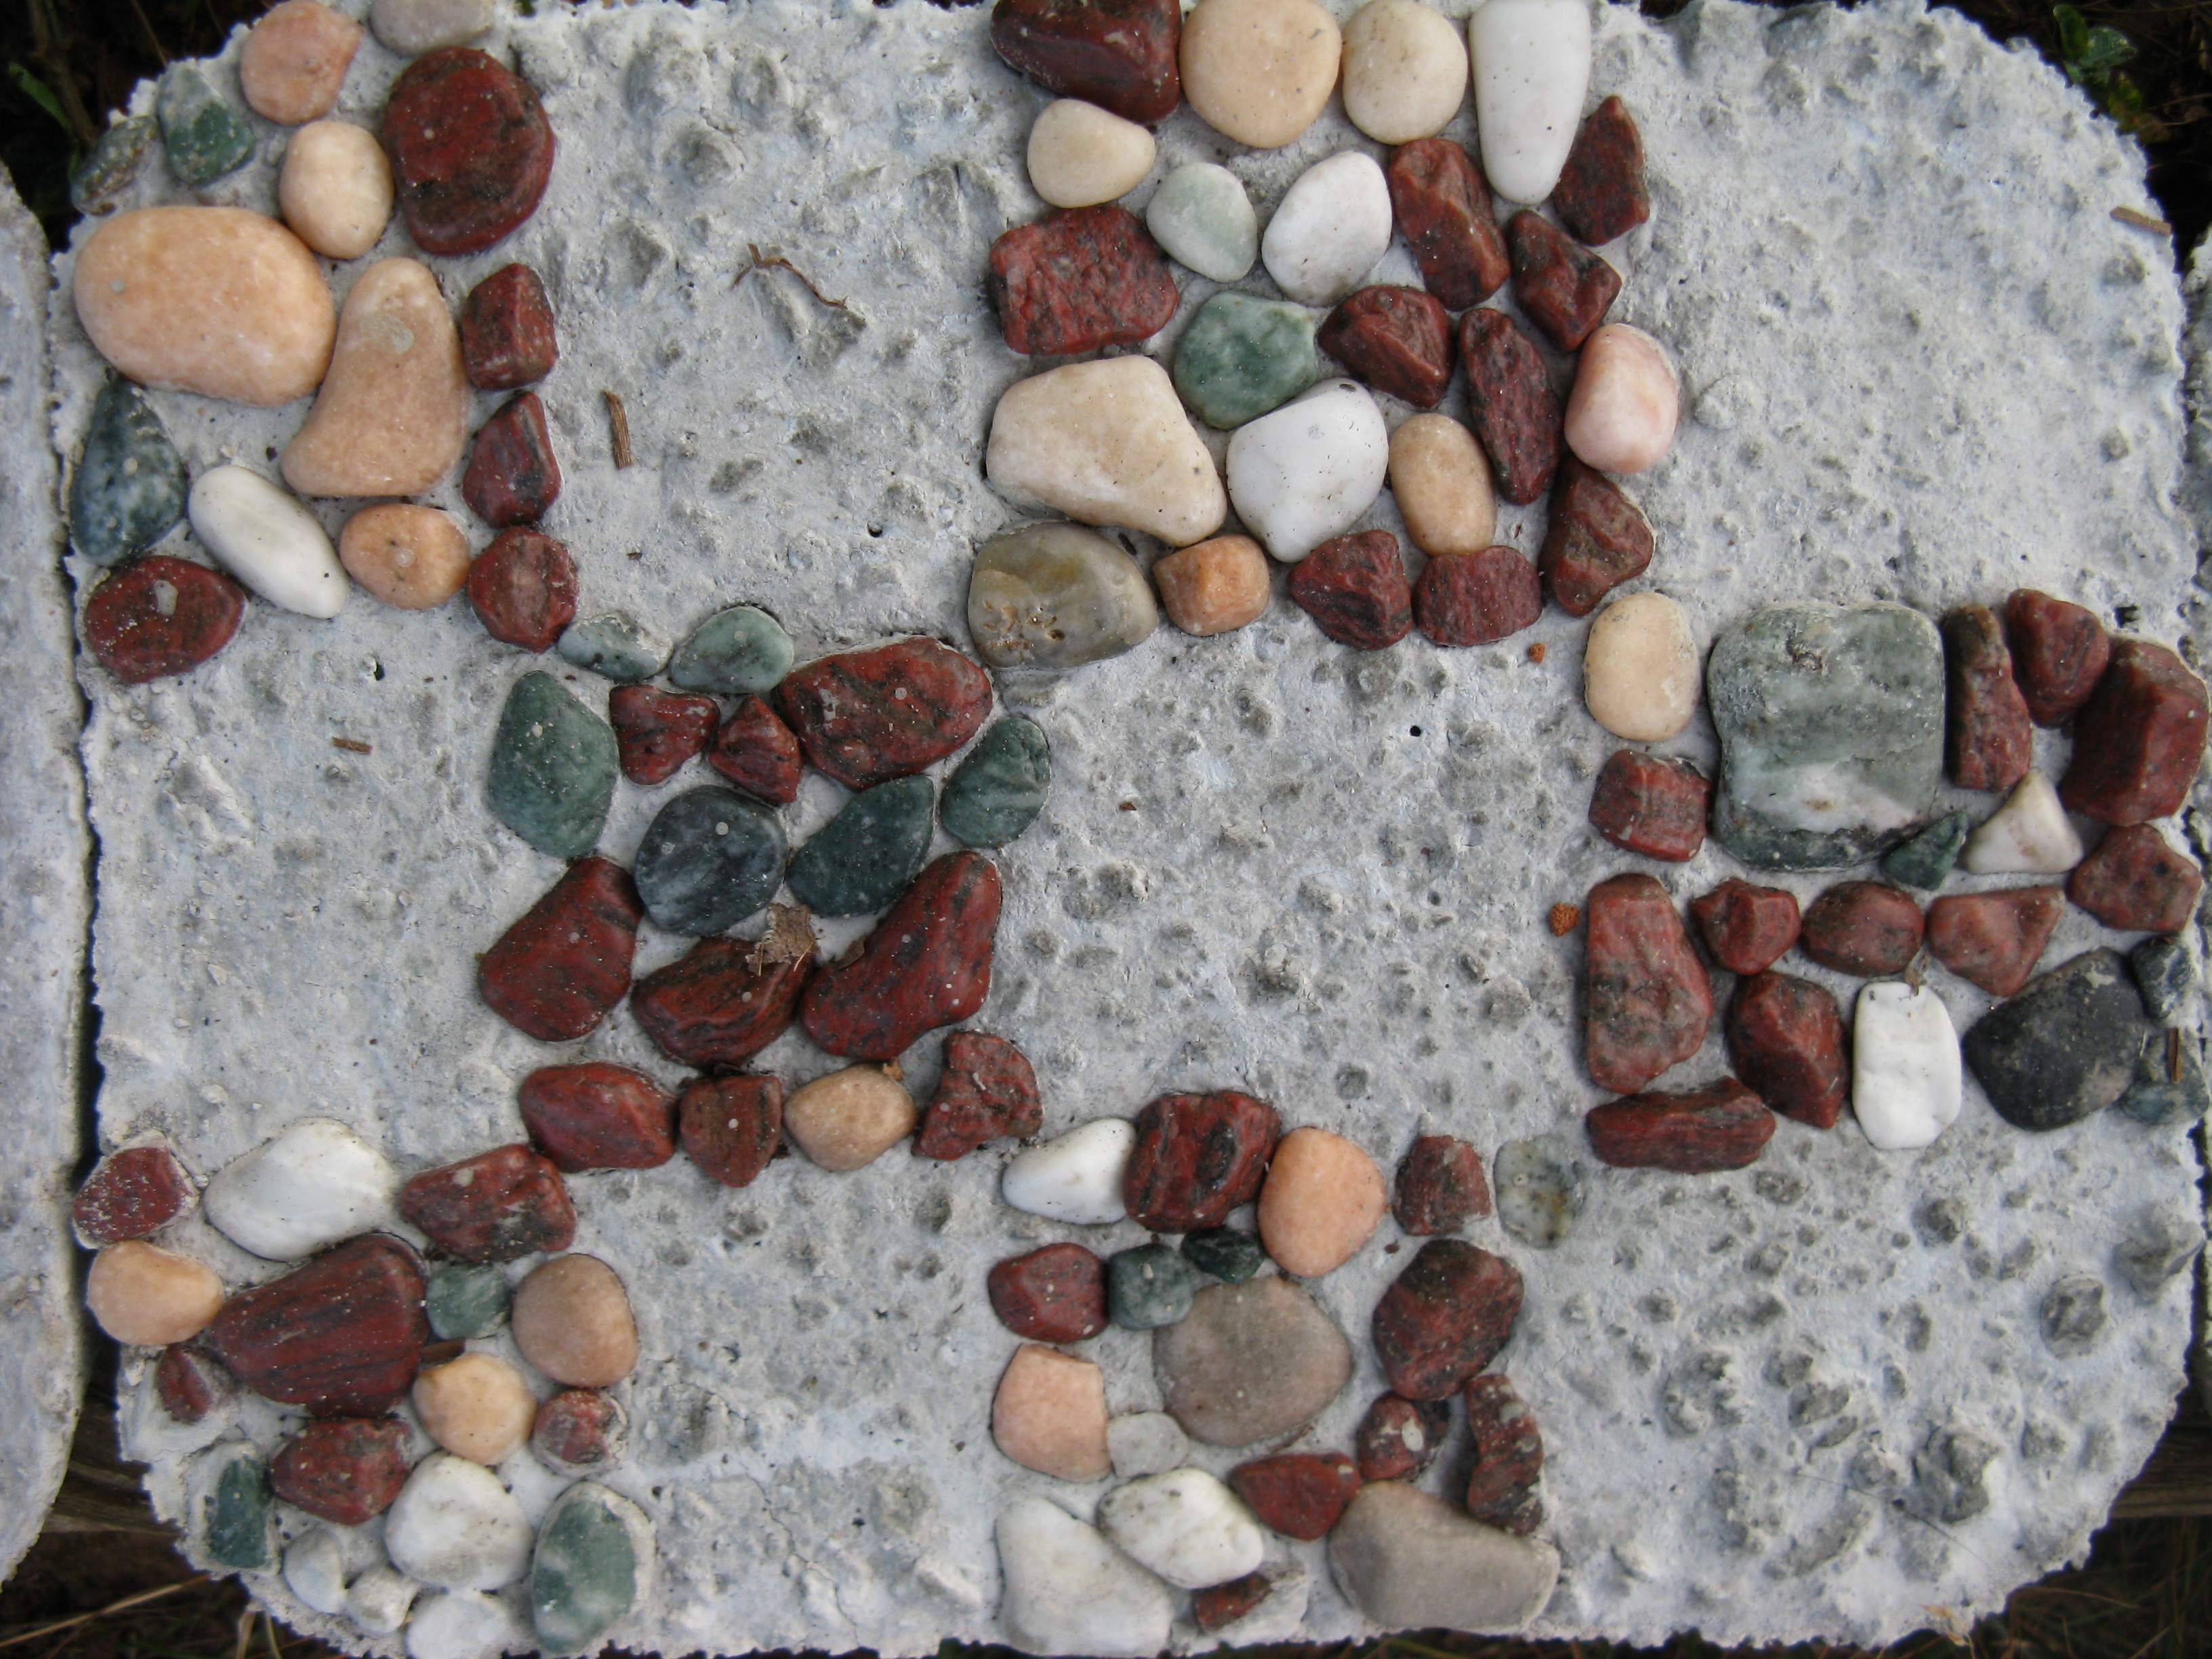
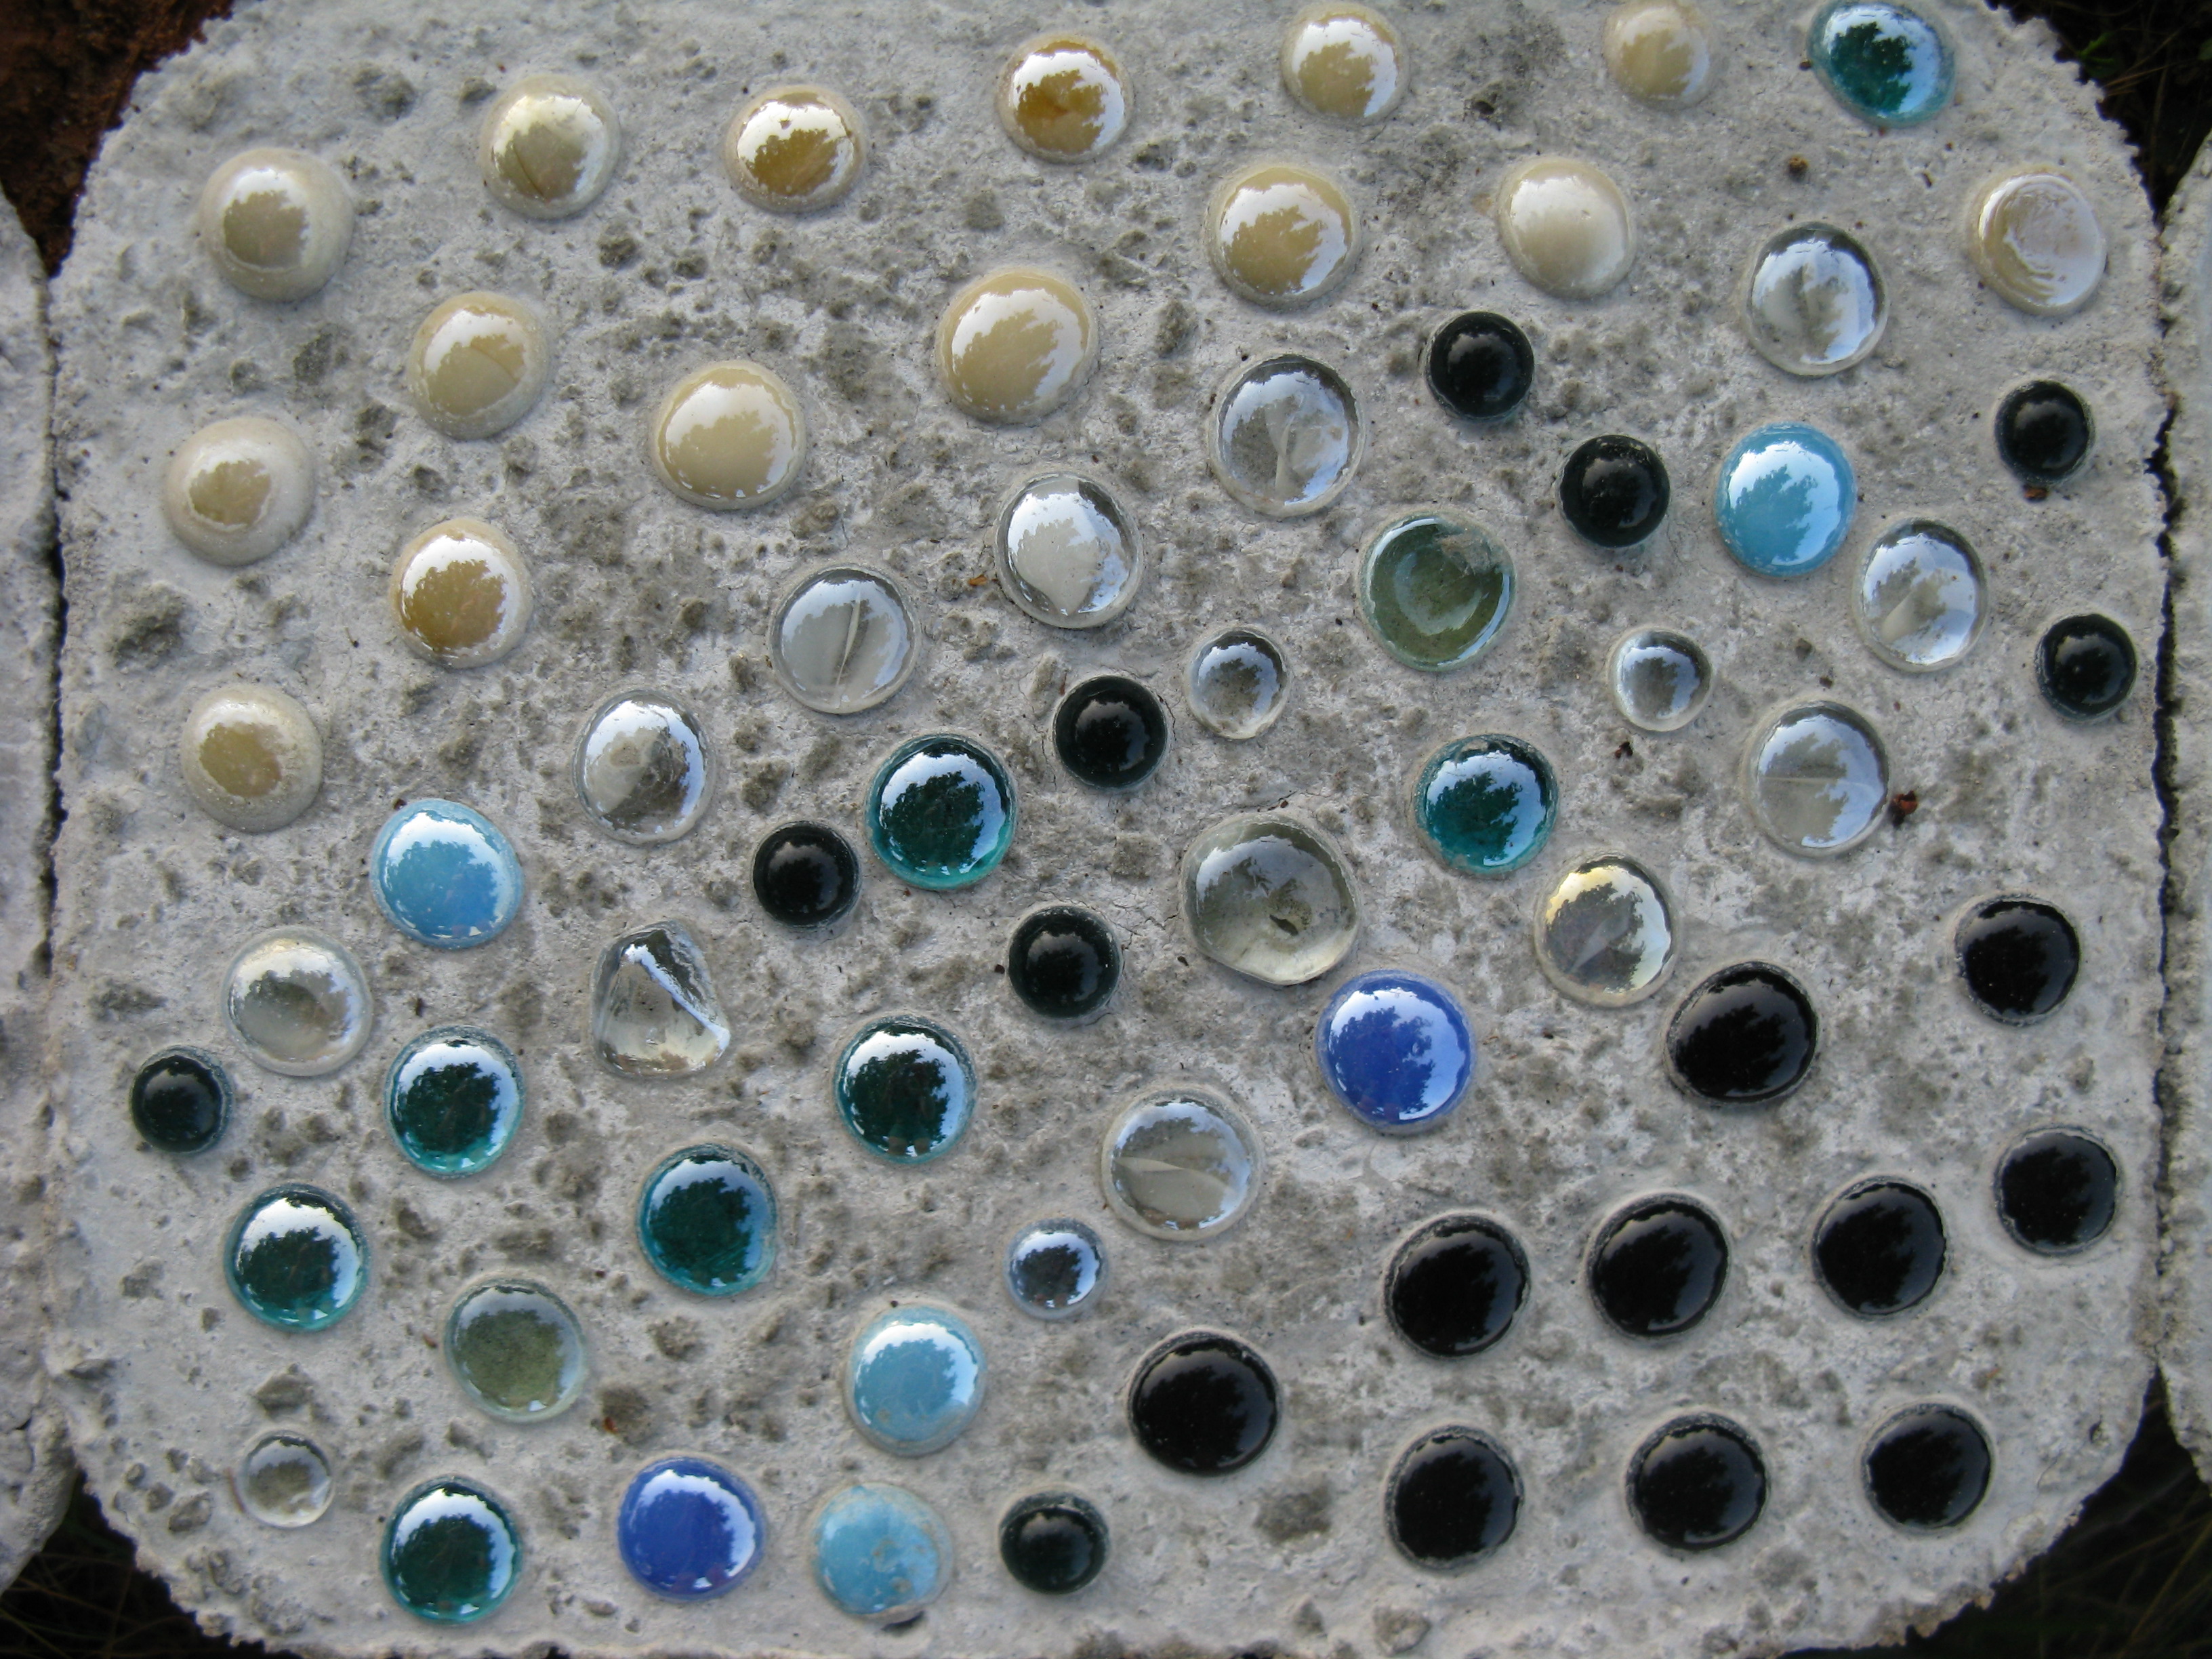
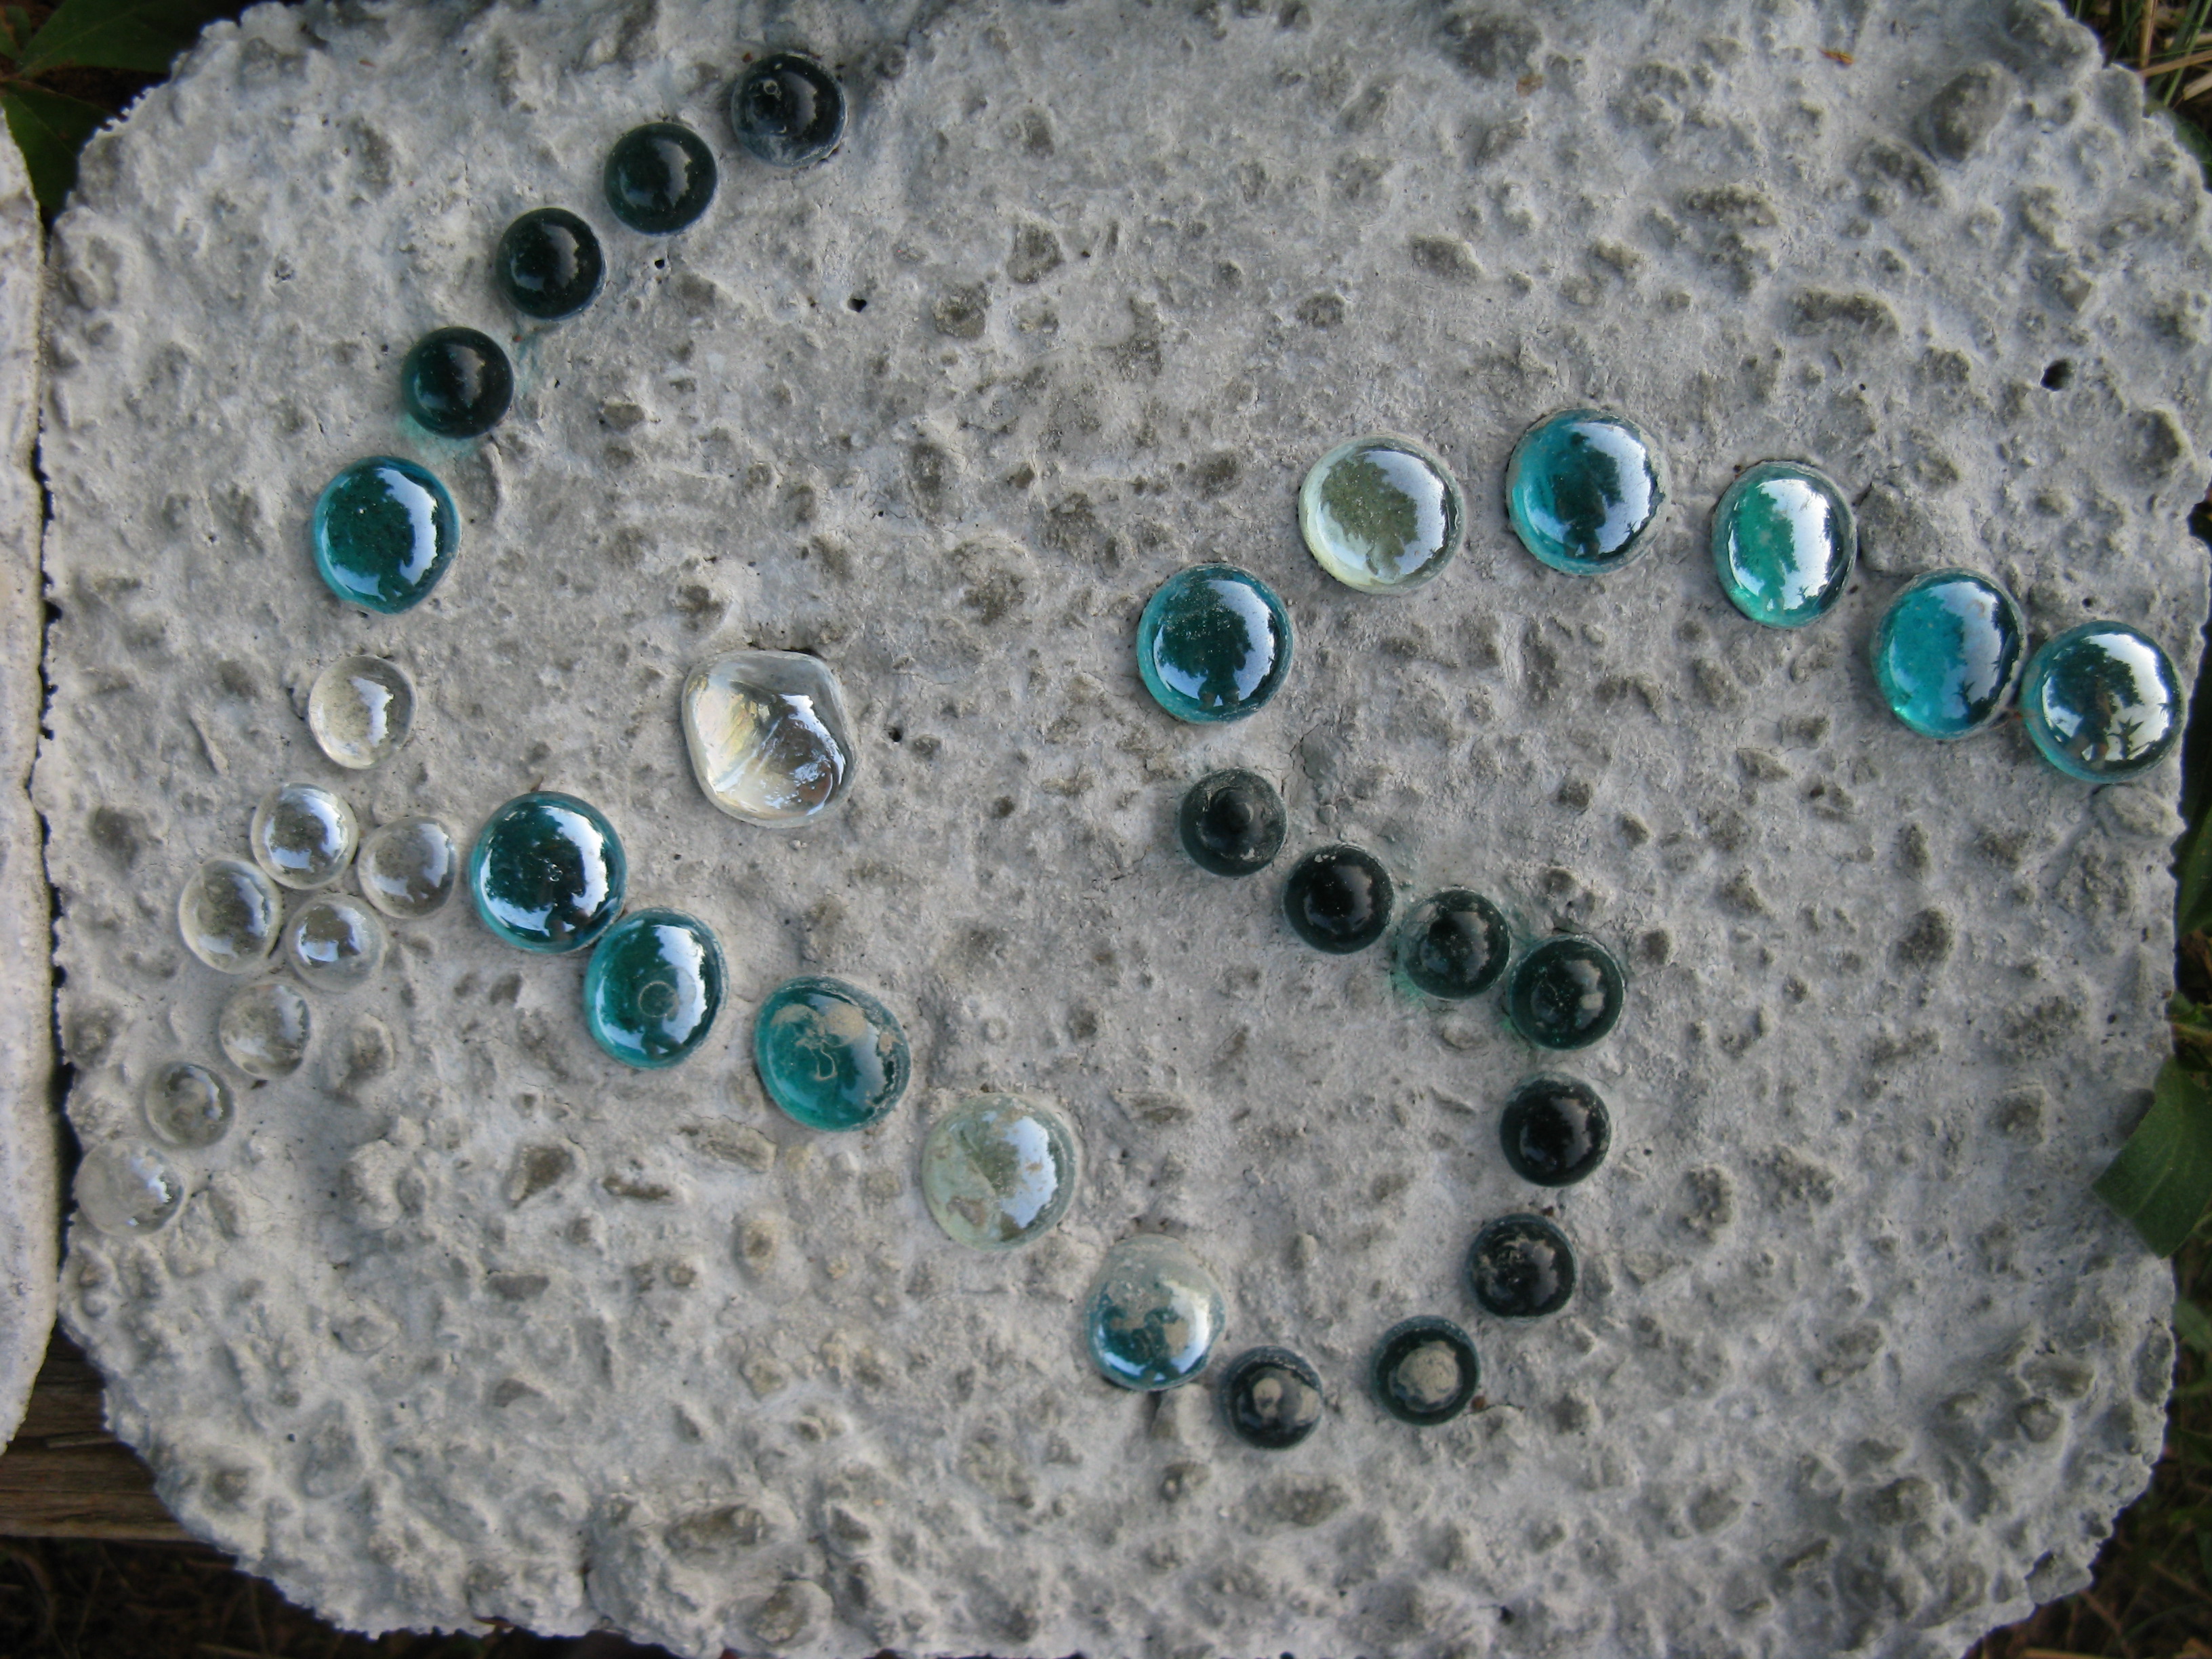
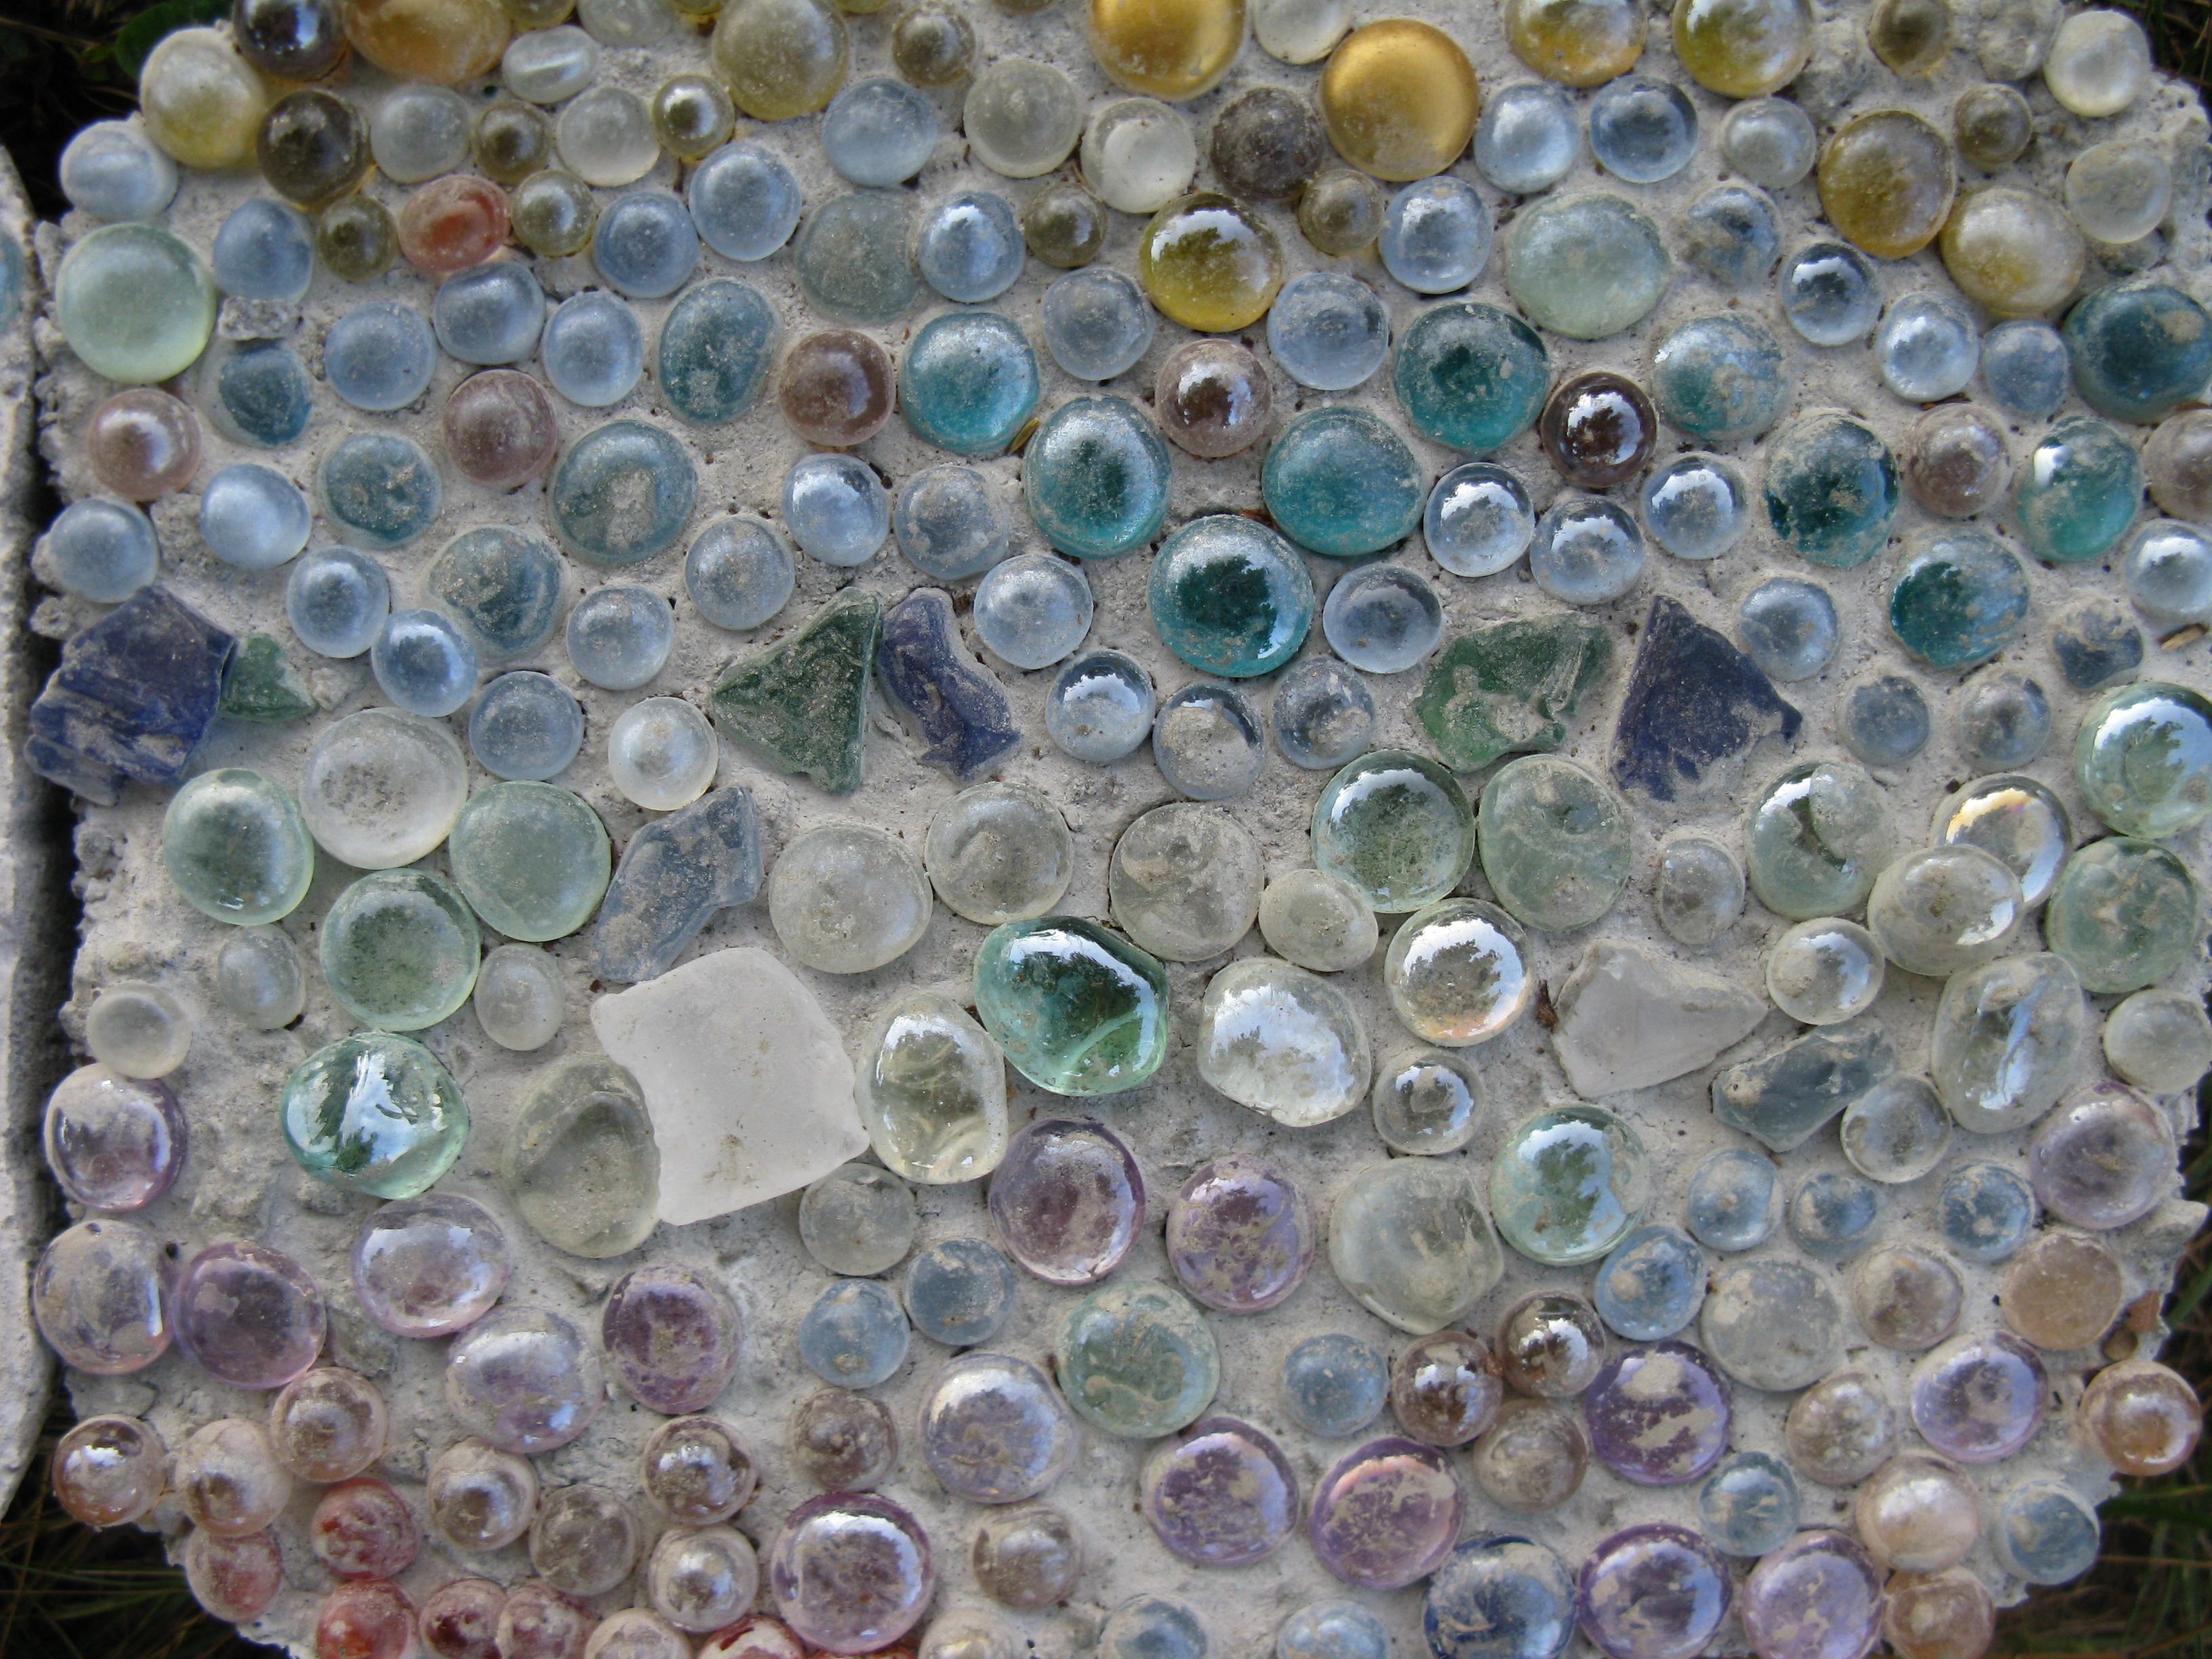
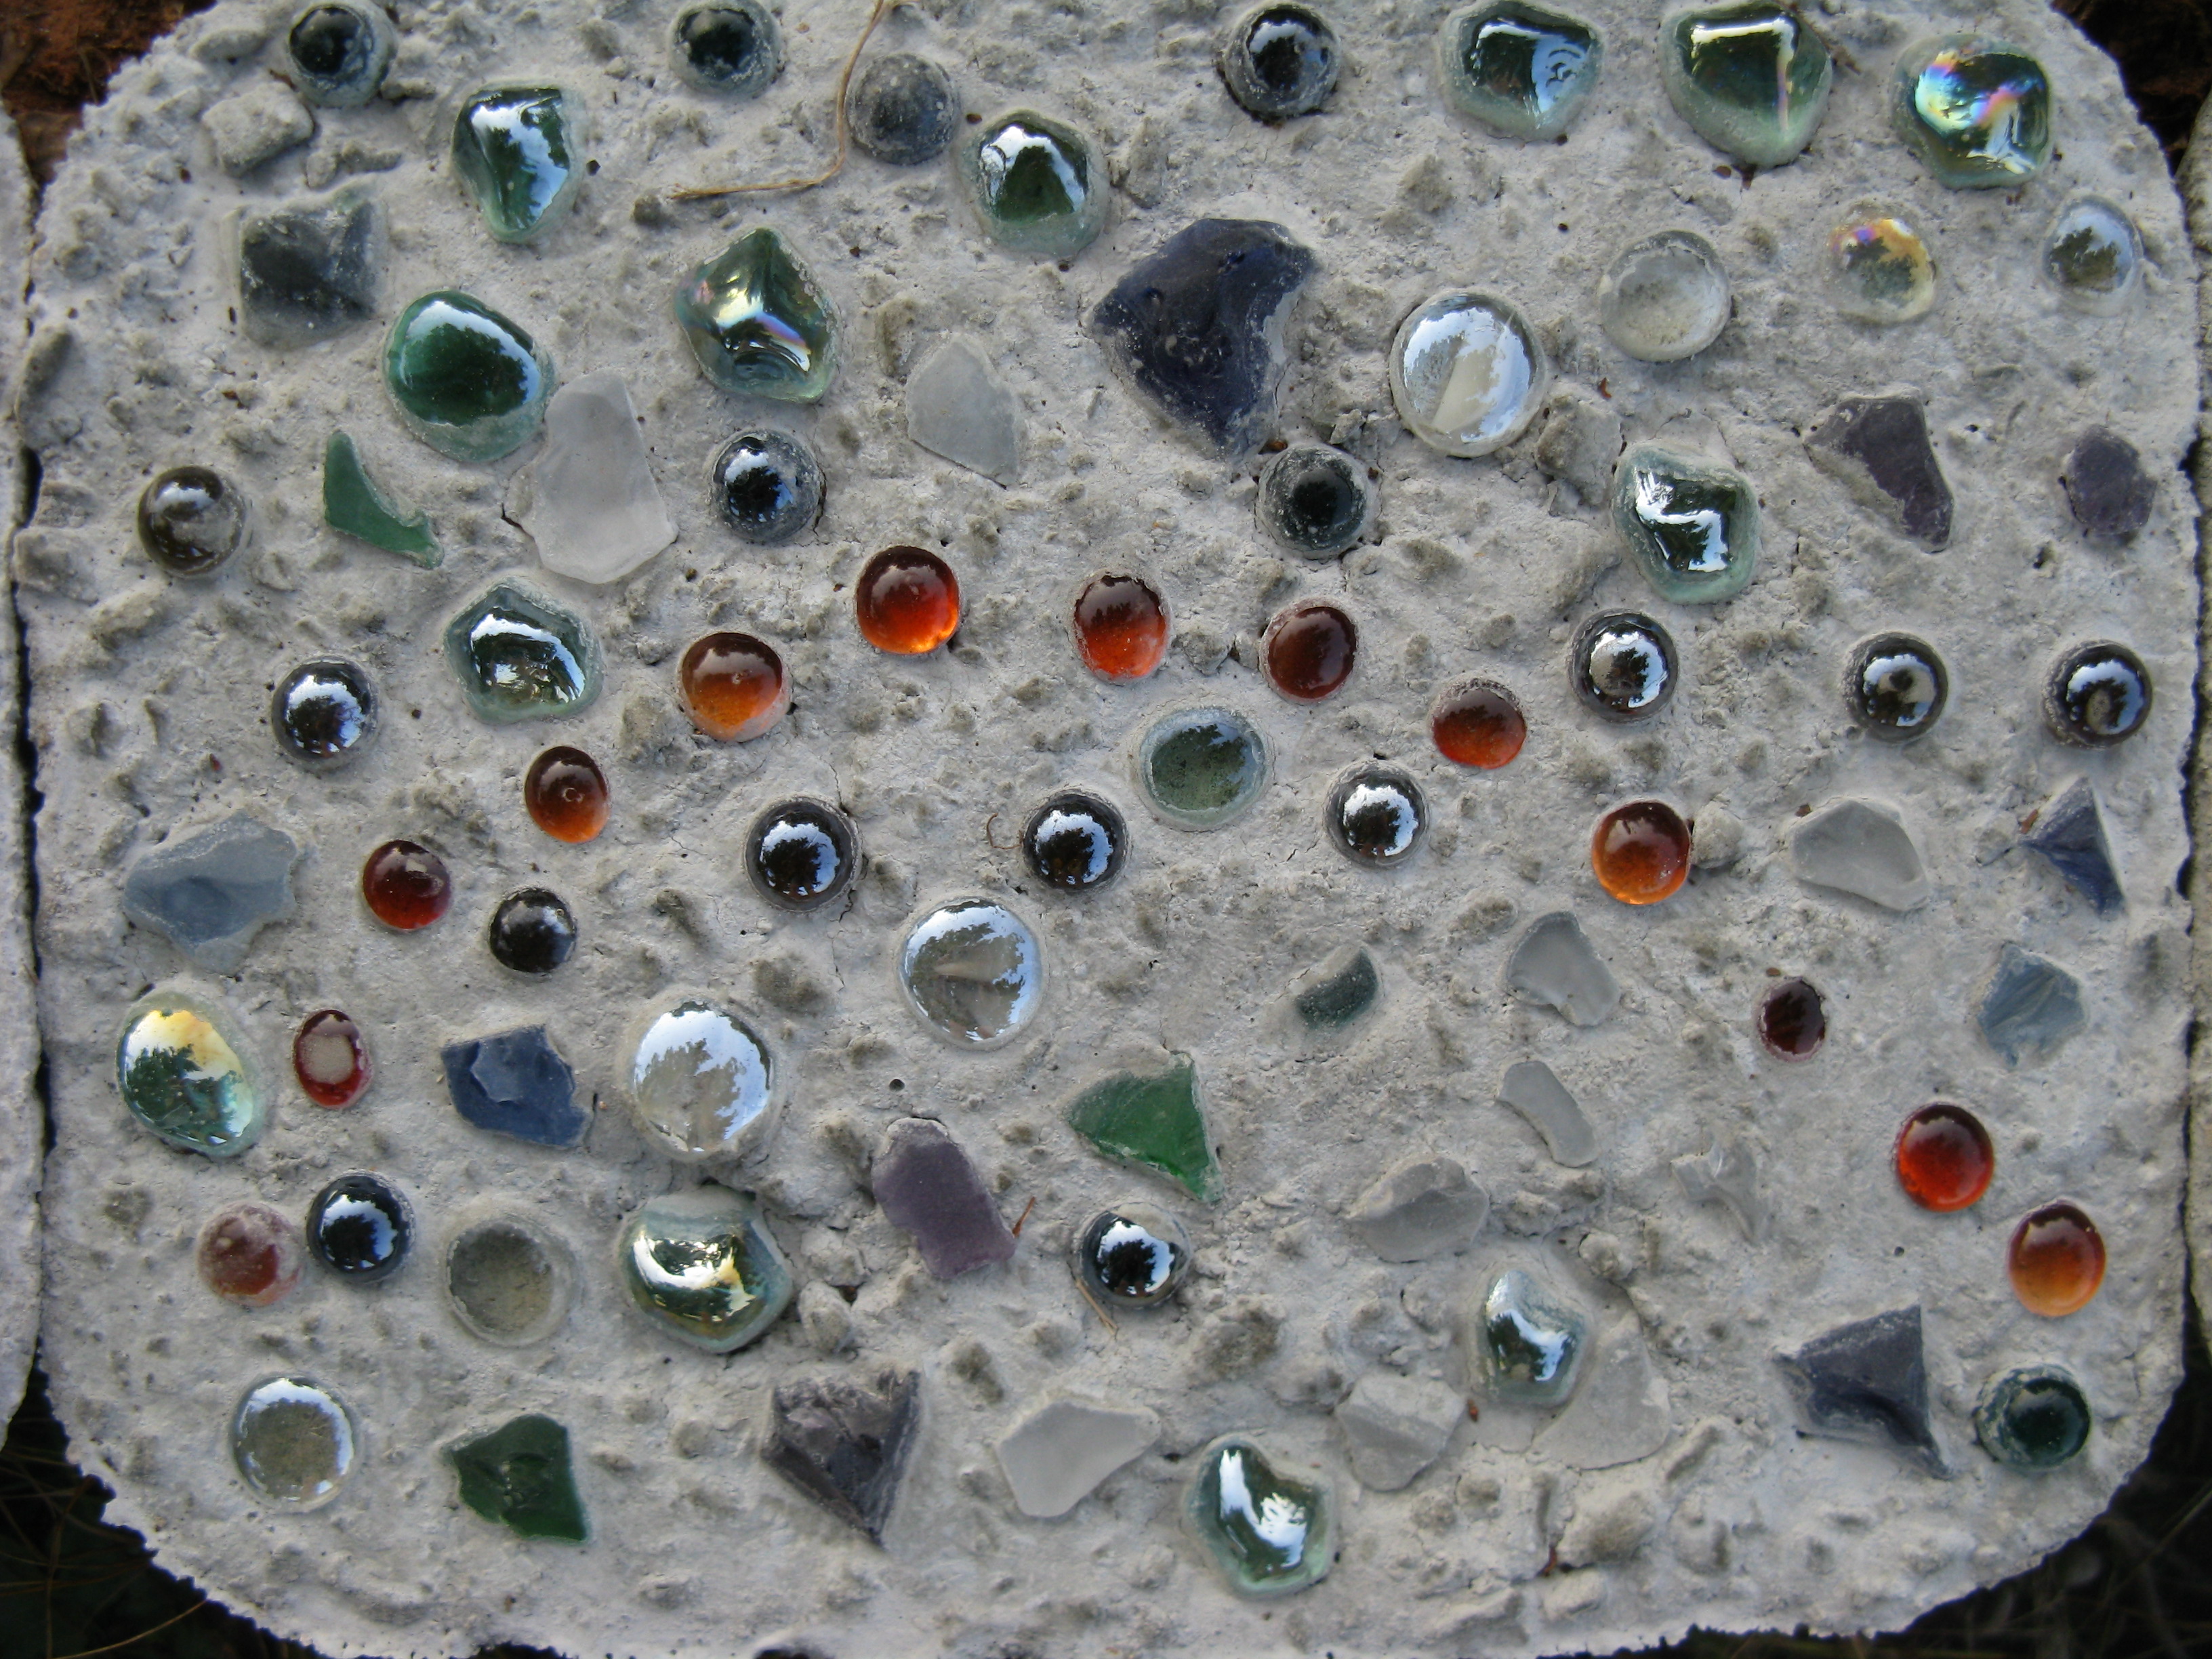
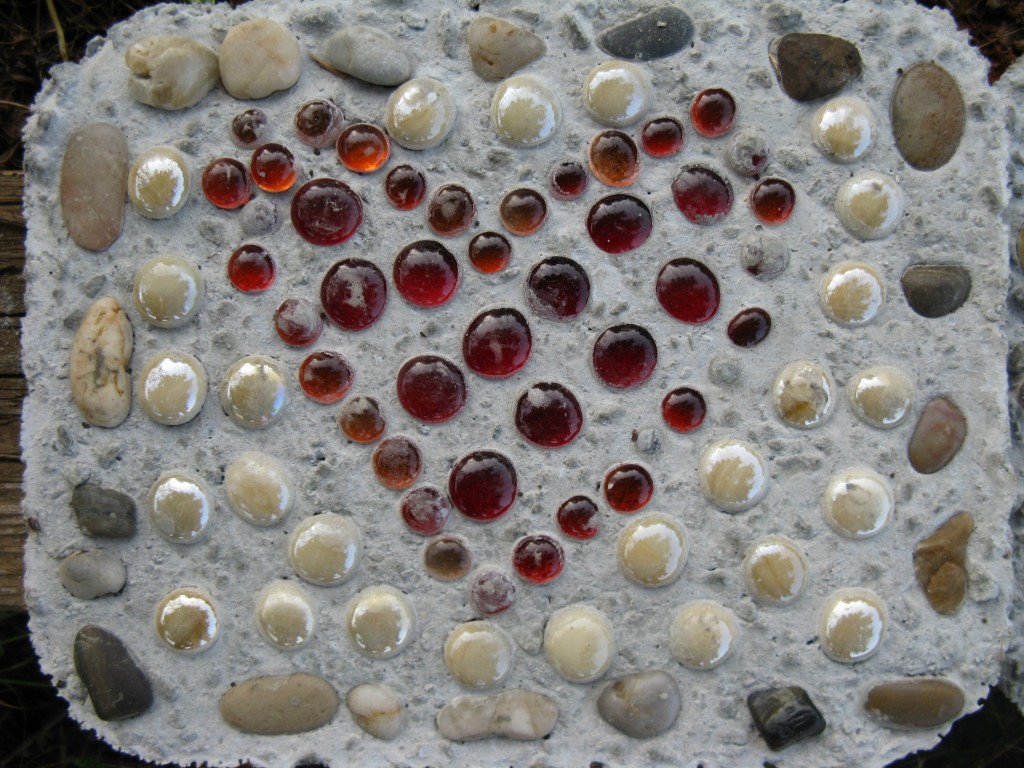
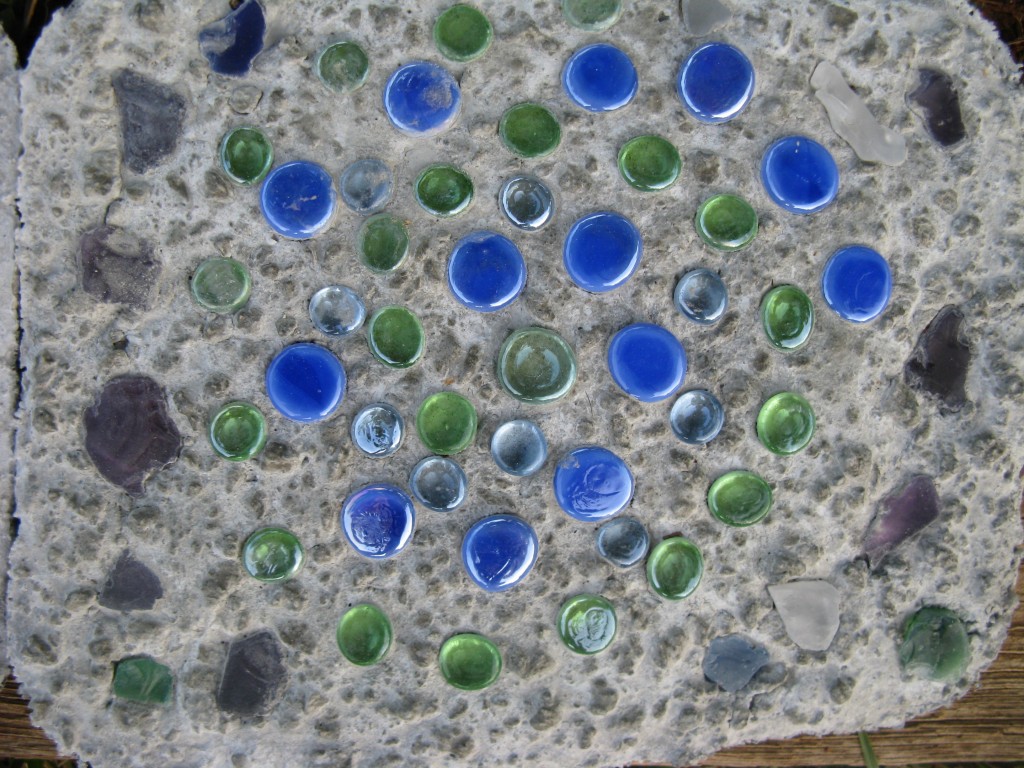
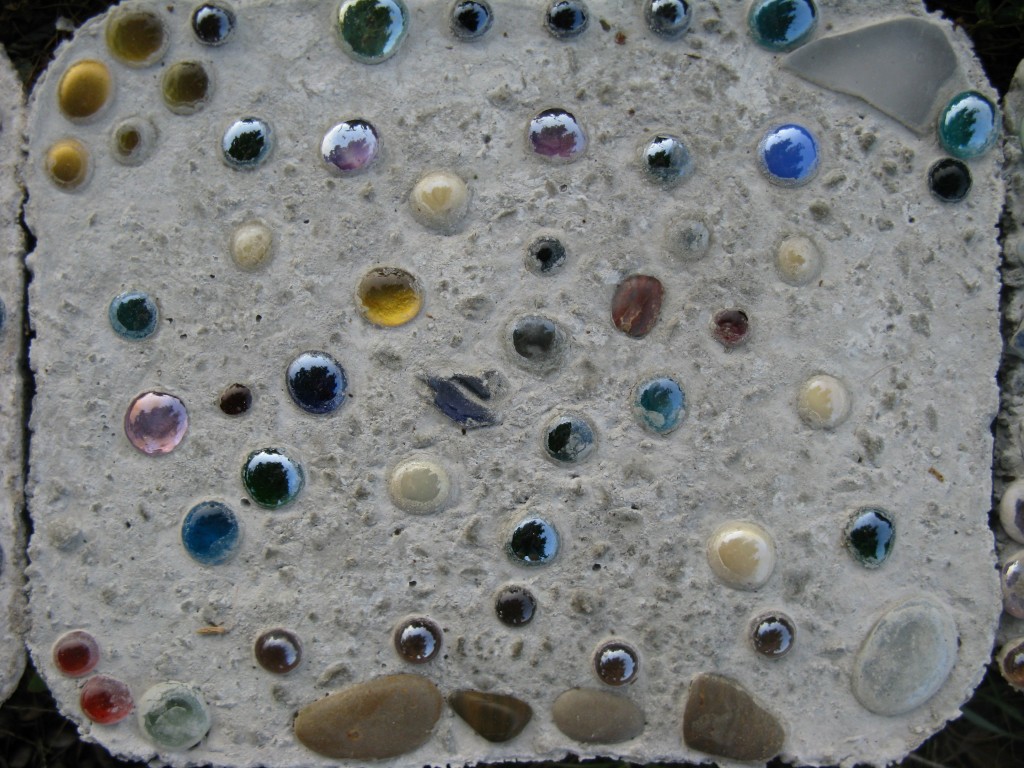
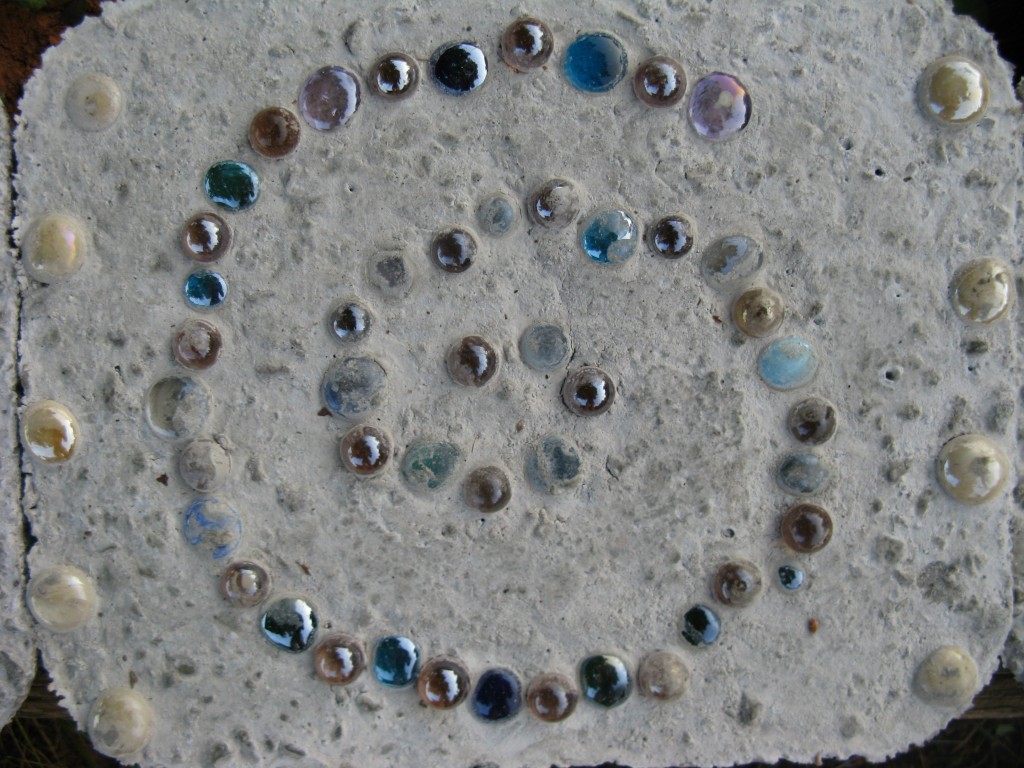
anyway, the shower was great, and this is due in great part to my best friend’s idea for the activity! we really wanted to do something that would fit in here on our land, and something a little more creative than the usual bridal shower games. she had the great, genius idea to make stepping stones out of cement and lovely, colored, glass stones. the stepping stones just finished drying and i’ve removed them from their containers so that can come out in the elements and “face the feet,” although we aren’t yet sure of what we want to do with them permanently. perhaps put them together to make a little grill patio? or use them among the garden as decorations? or lay them out for jason and i to walk on as we walk together to get married? who knows!
the directions/ingredients are simple. all you need to make 16 stepping stones is:
- two 50-pound bags of quickrete
- a cement mixing tray
- a small hoe for mixing
- water
- 16 half-size aluminum casserole dishes
- loads of pretty beads, stones, or whatever you plan to use for decorations!
- aprons and latex gloves for protecting your undoubtedly stylish outfit
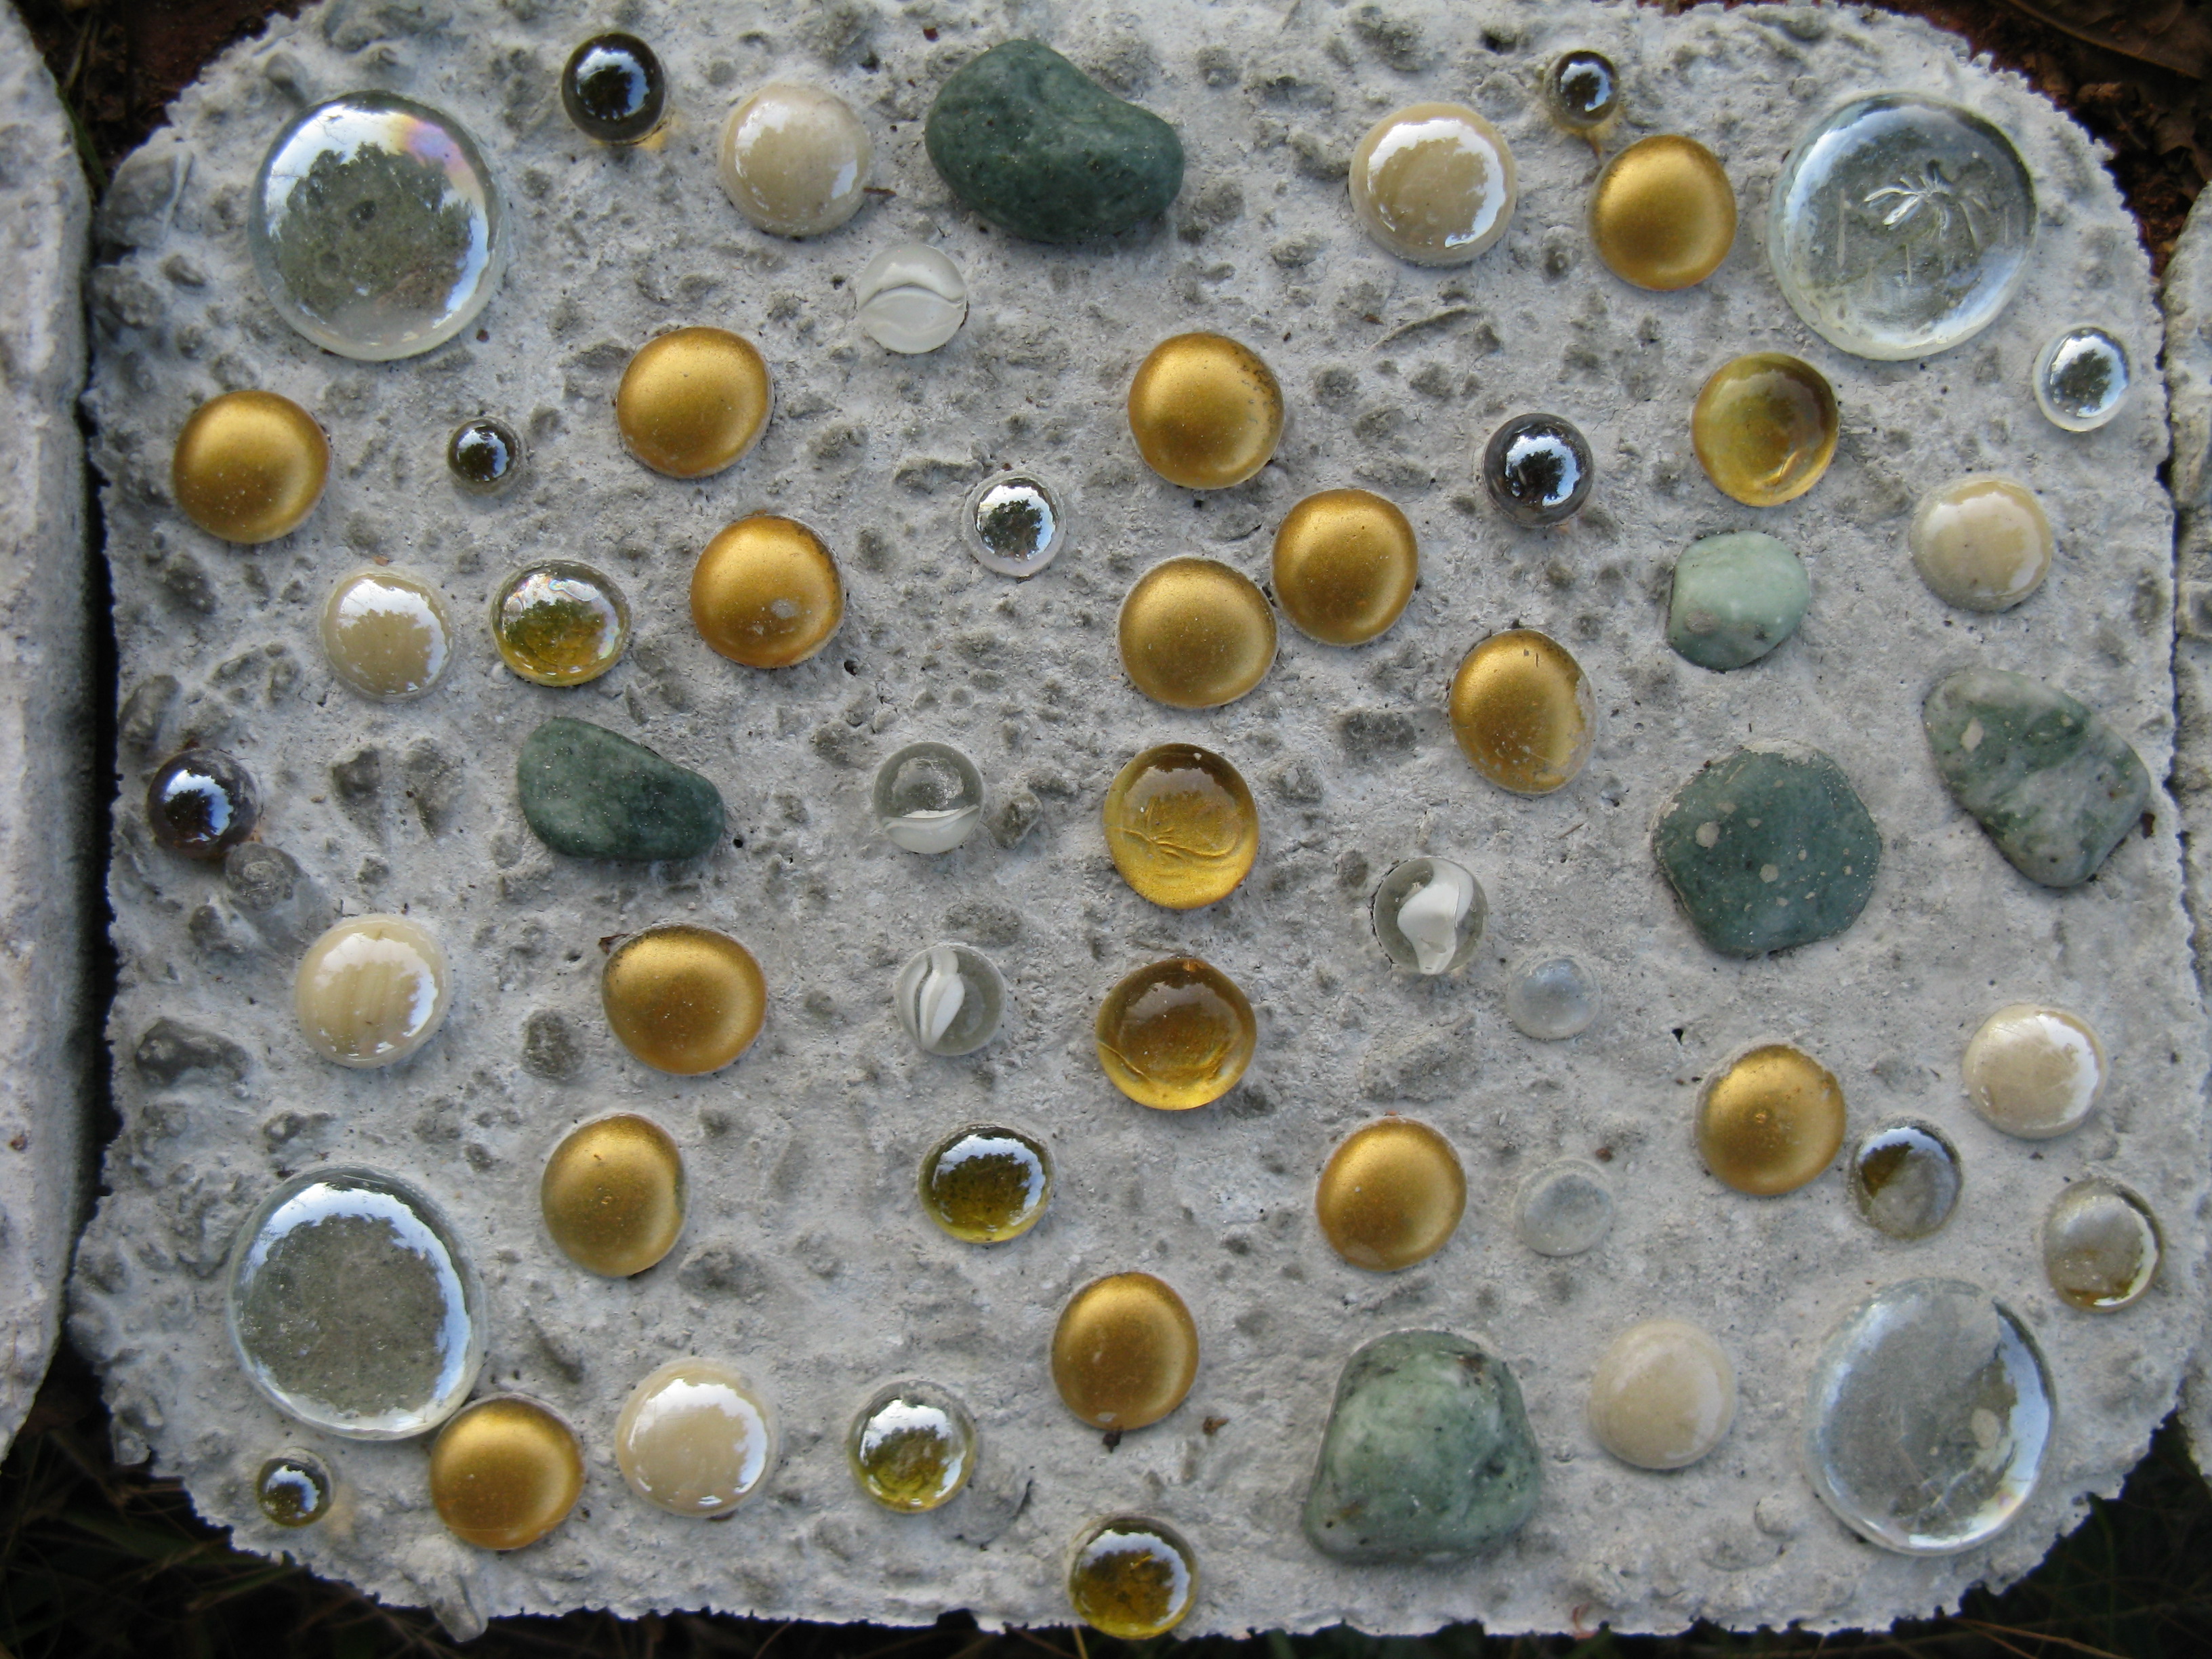
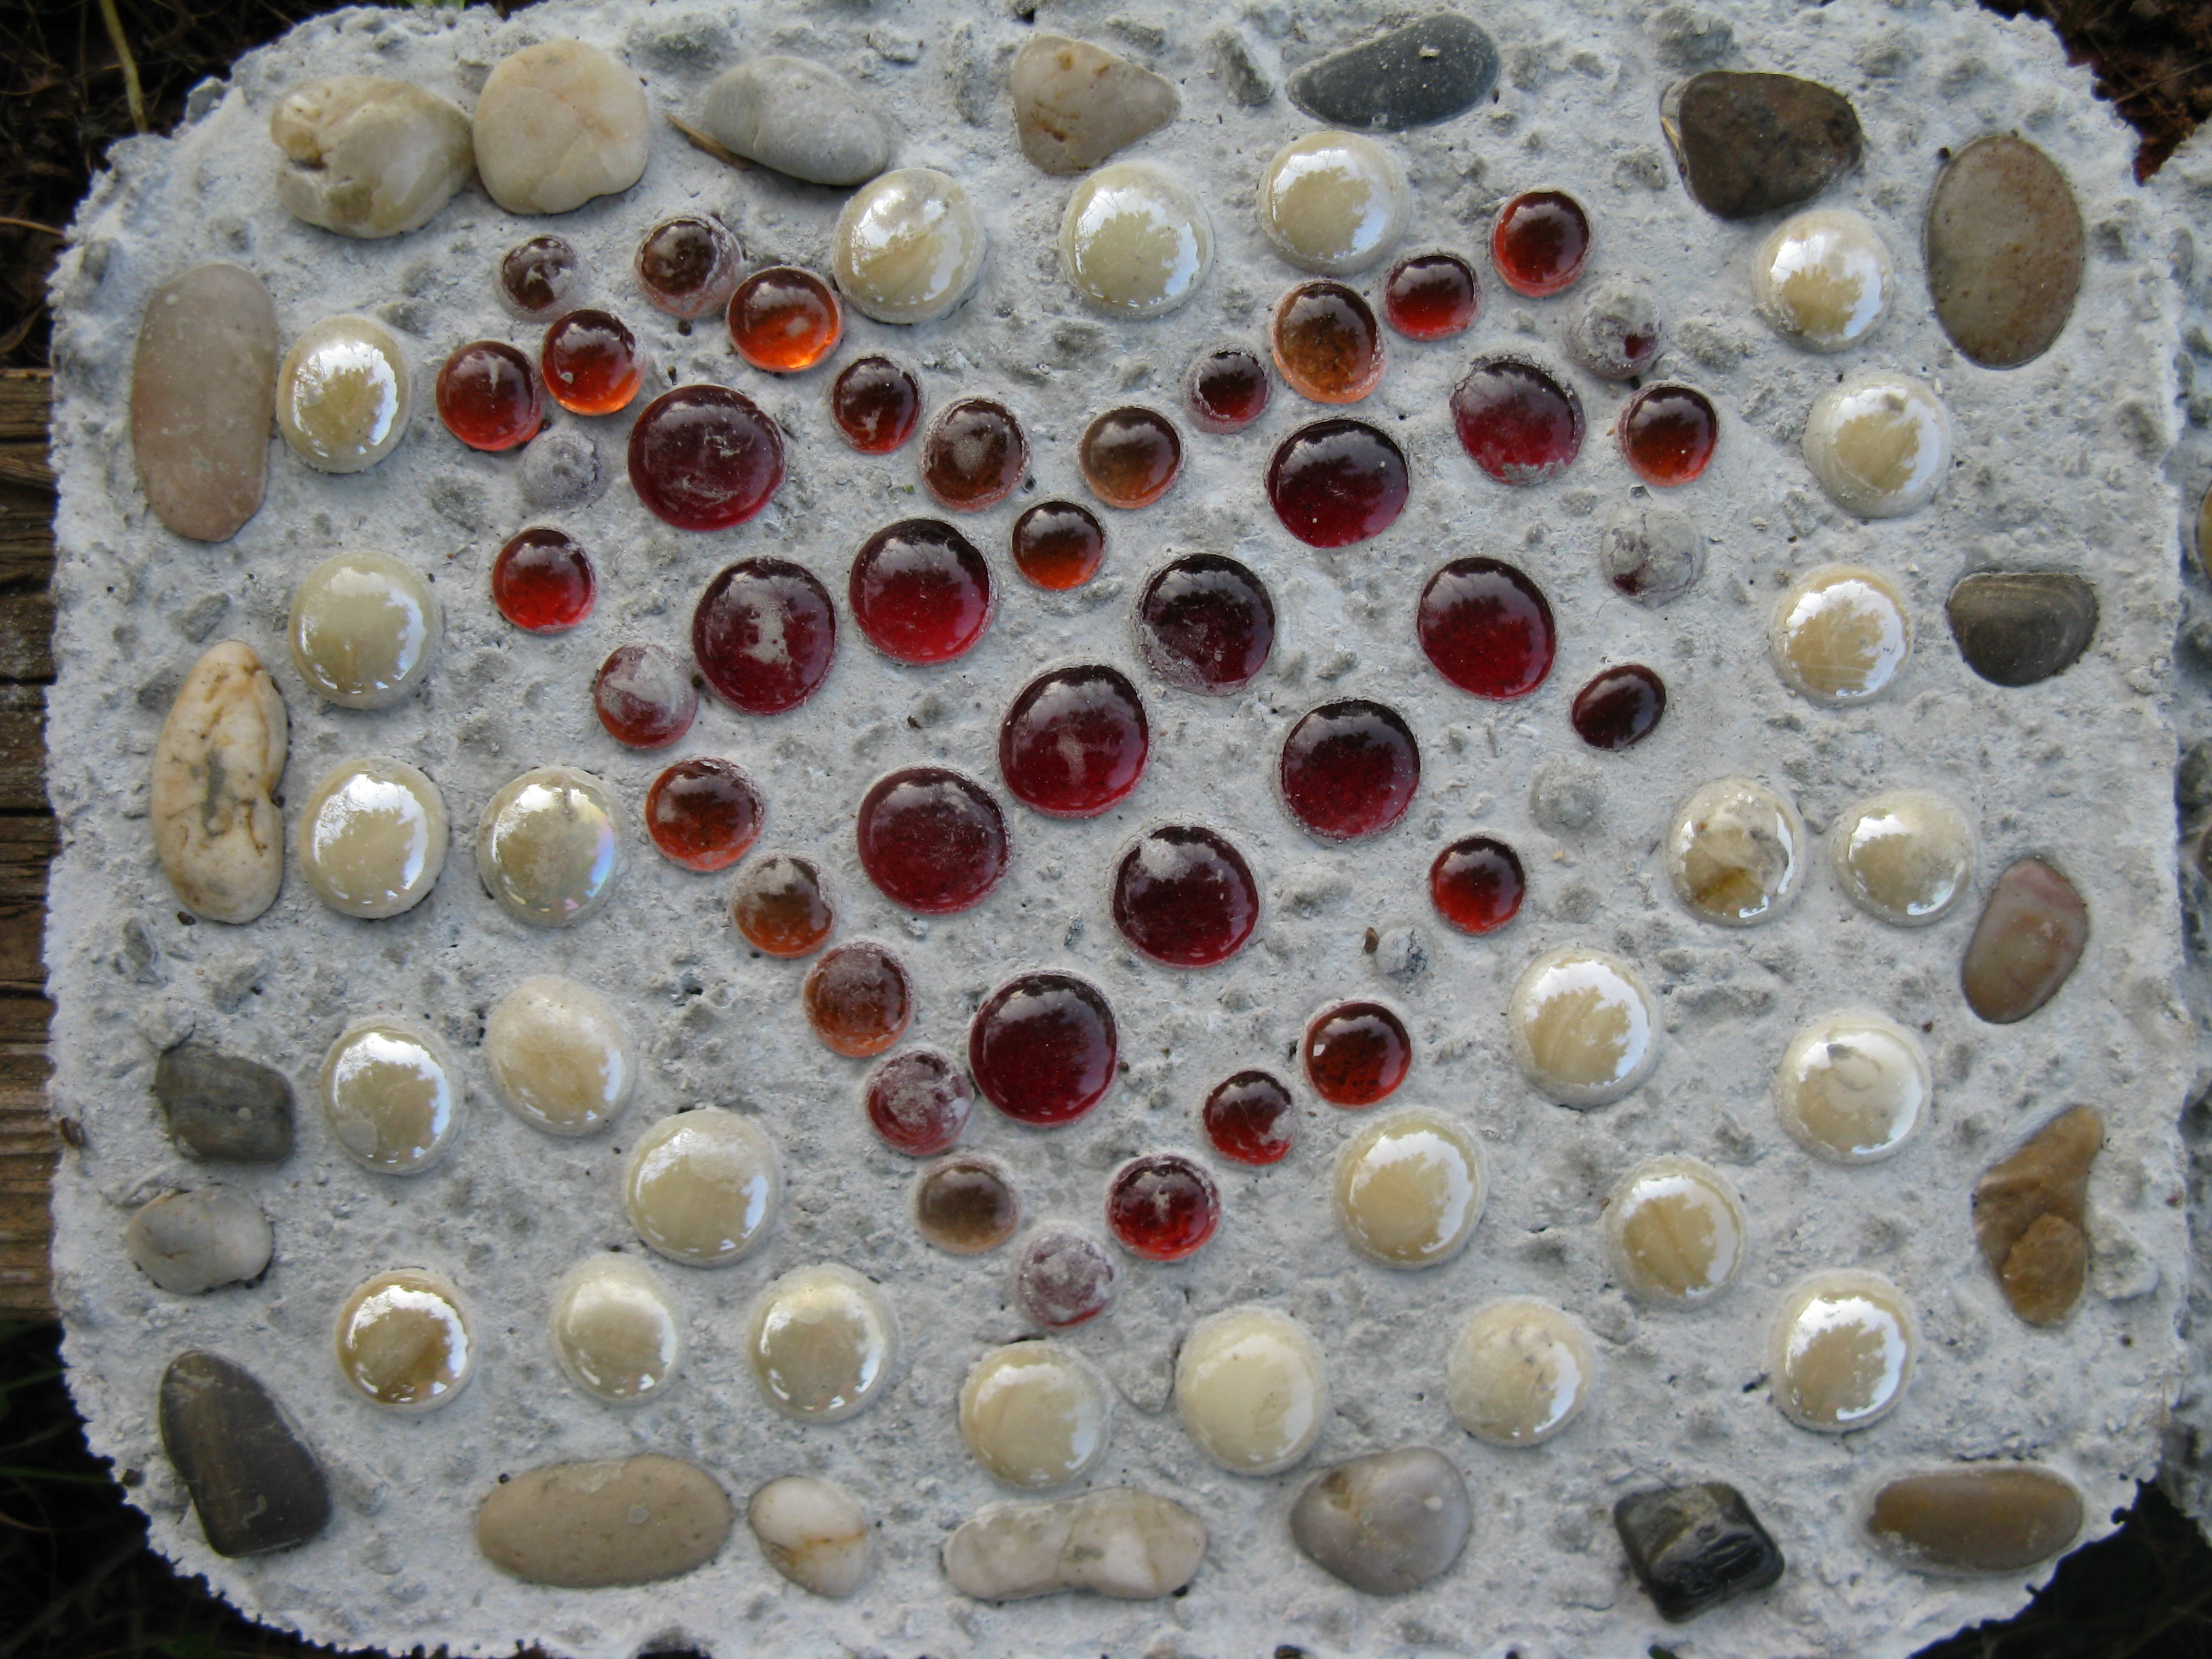
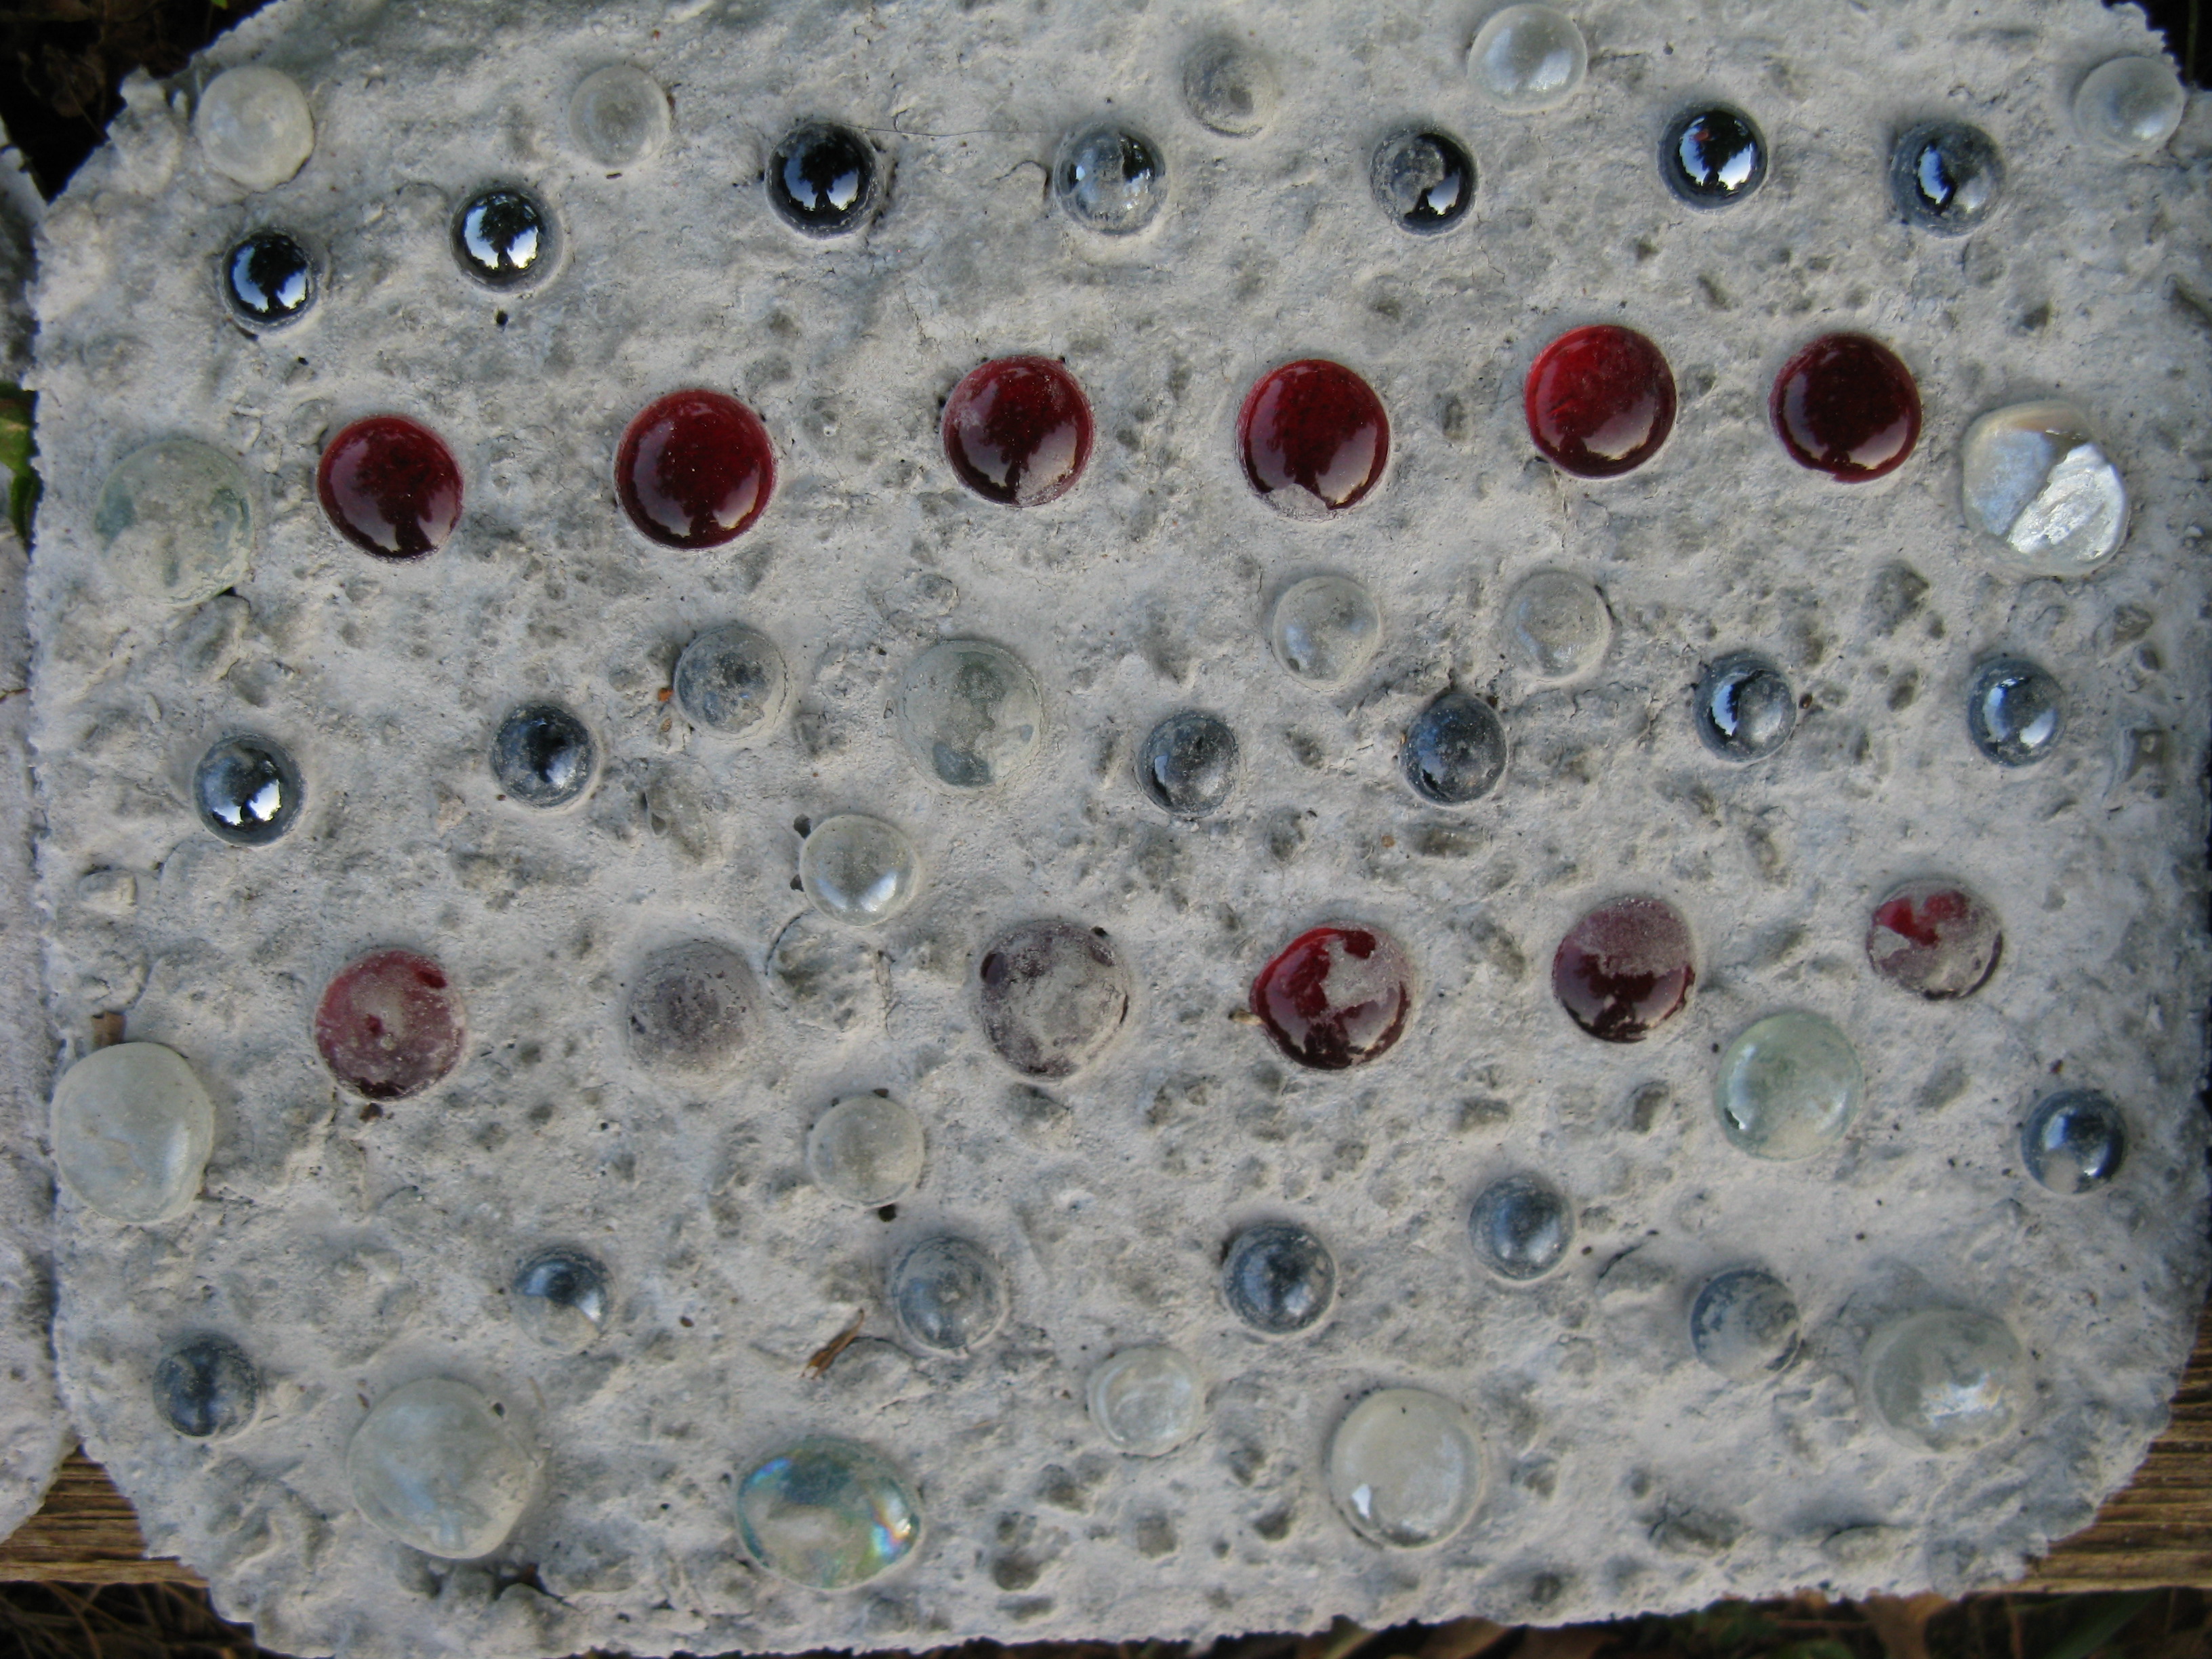
we simply mixed one bag at a time in the pan, adding as much water as we saw fit for the right consistency (porridge, supposedly). then we poured the mix into the pans and smoothed them out on top. some folks let their’s dry a little bit before placing the stones, but it didn’t seem to matter either way… the stones stayed “afloat” enough to be visible in the designs.
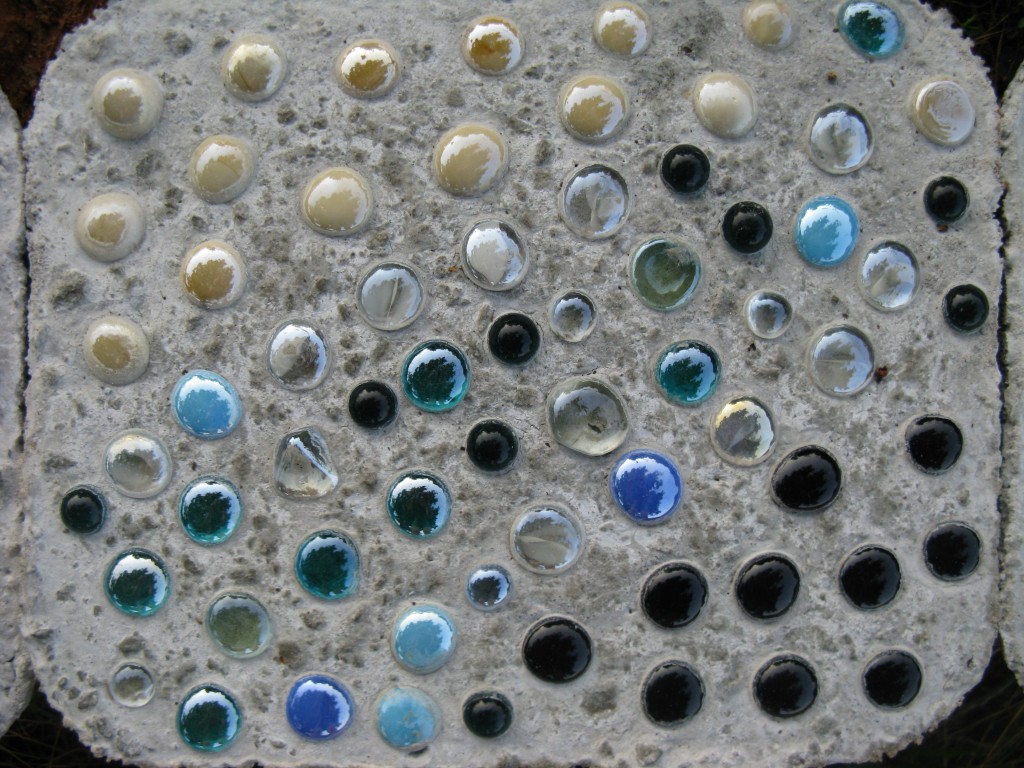
we waited 6 days to remove them from the pans, keeping them out of the rain to make sure that they were fully dry. now they’re out in the free air and here is what they look like:

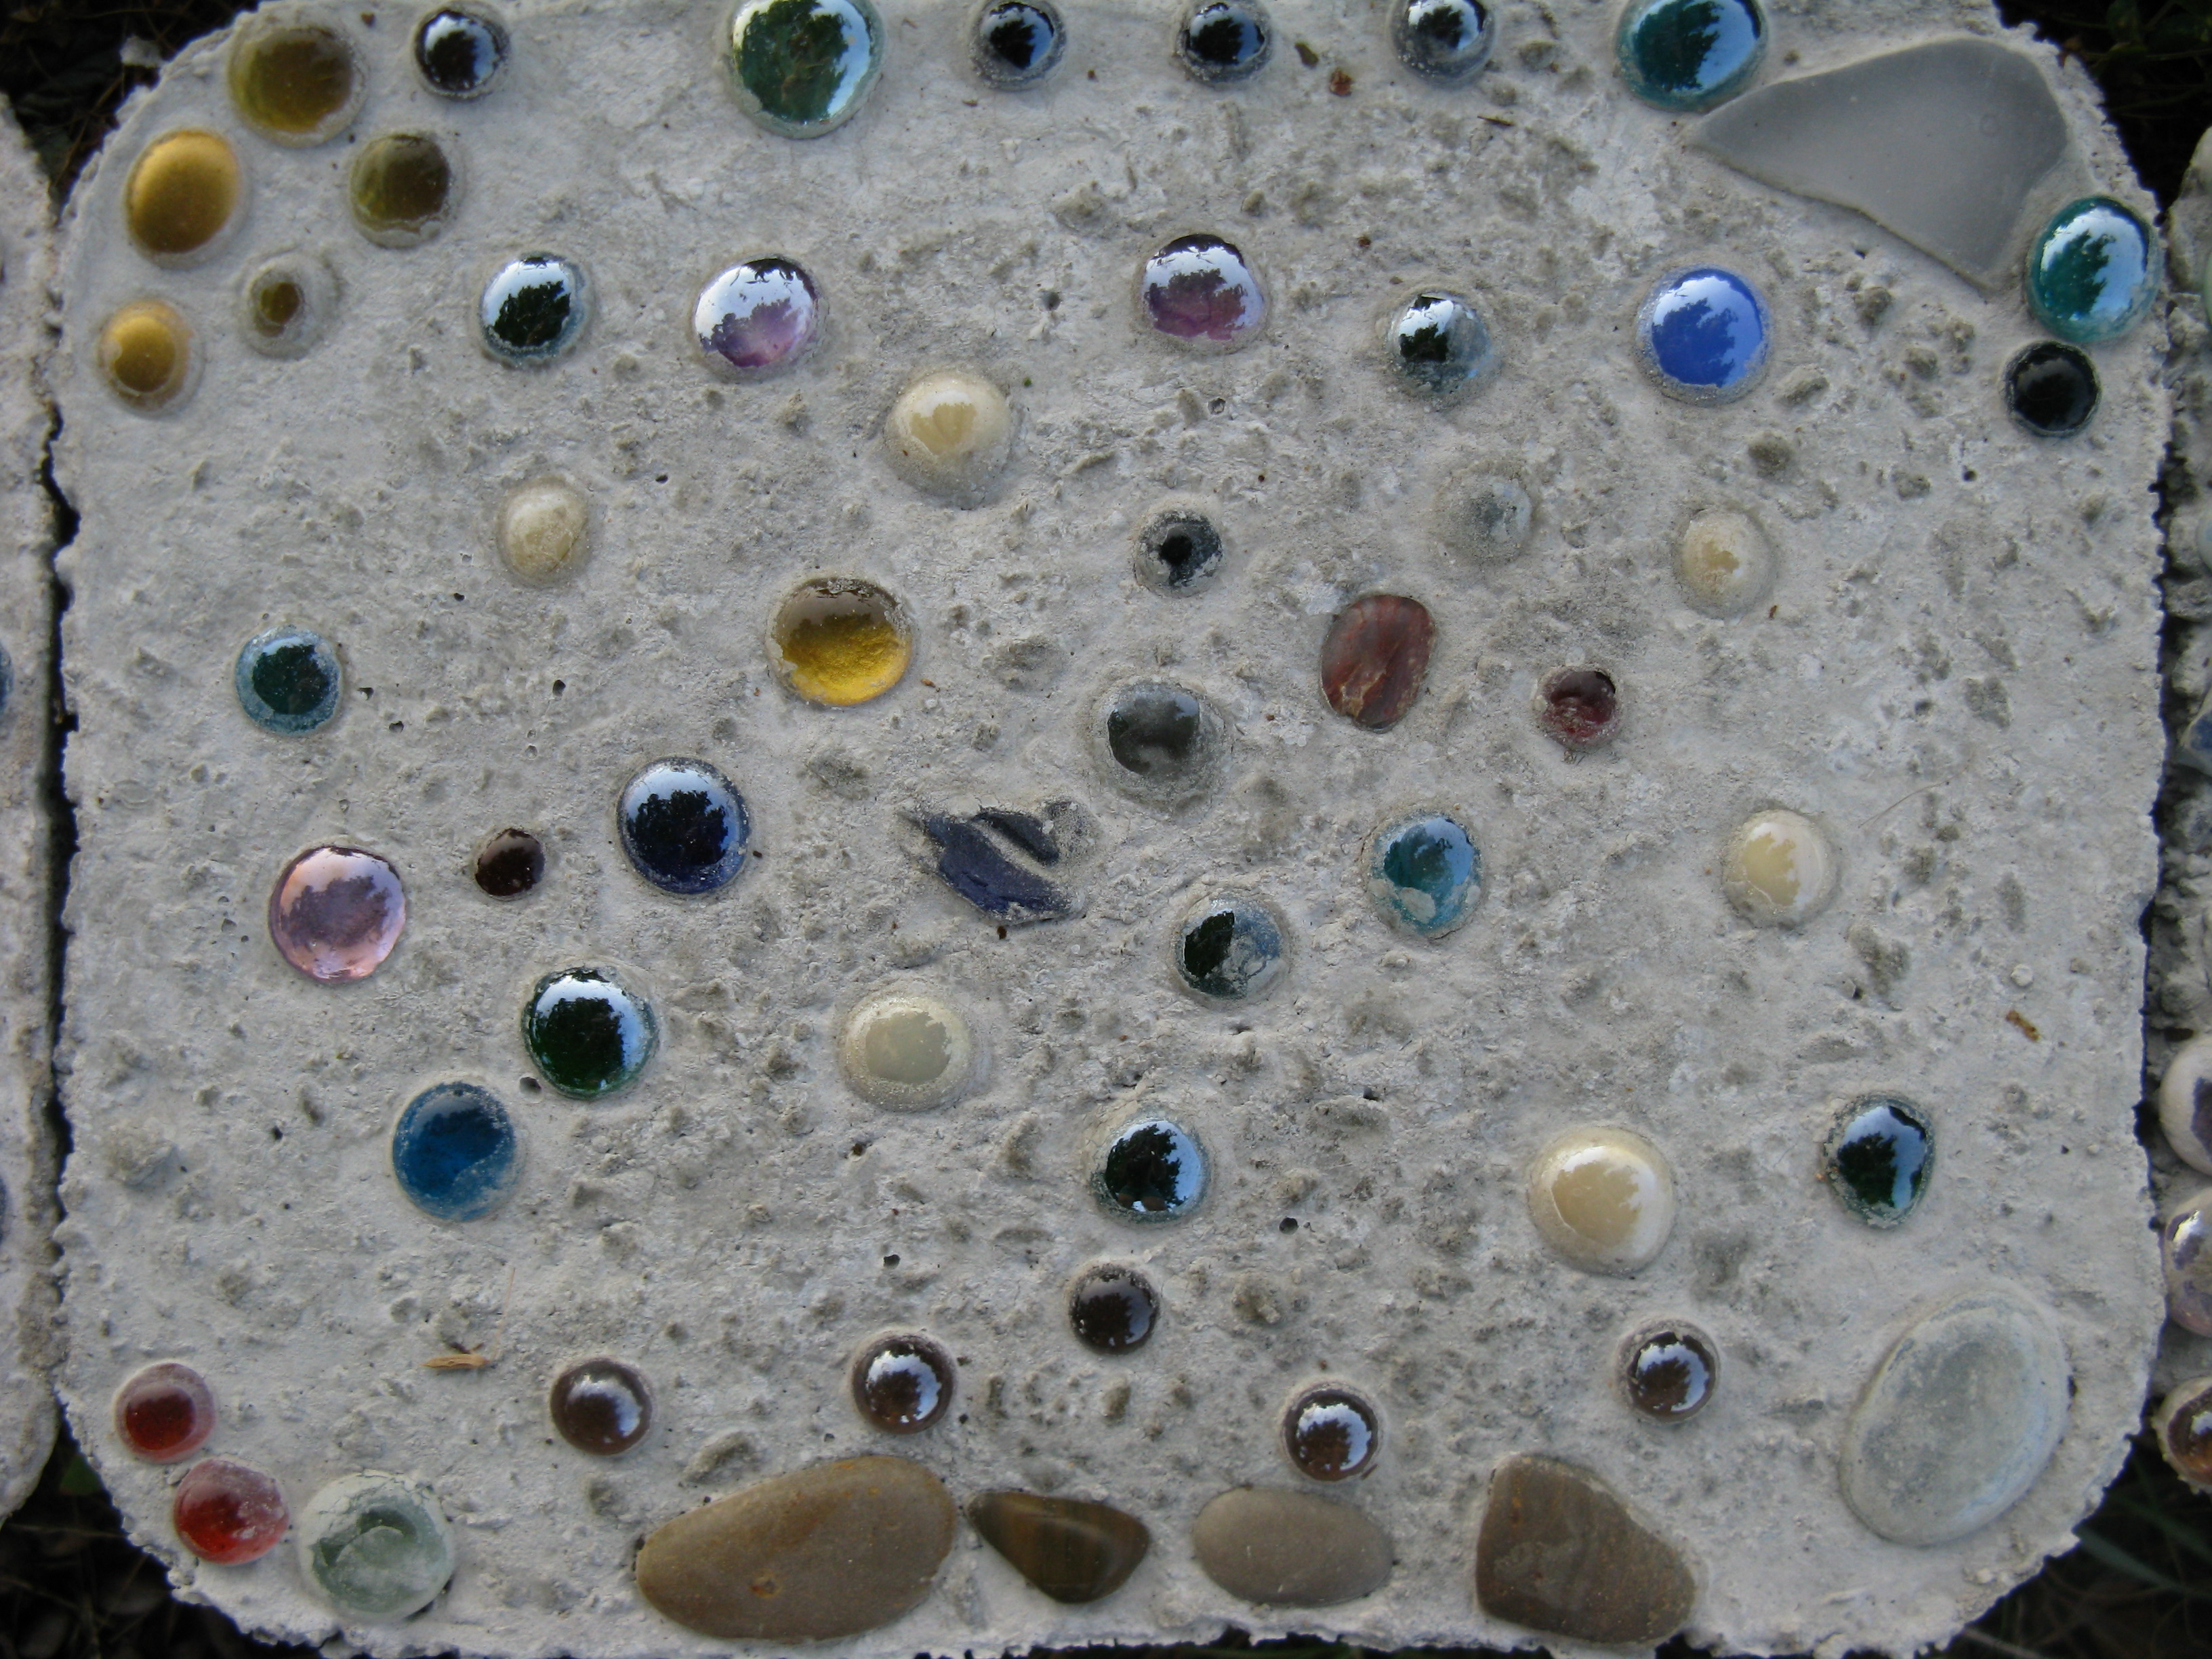
artist: my mom
artists: jason’s mom and aunt
artist: my best friend of 15 years and my “matron of honor”

artist: my grandma
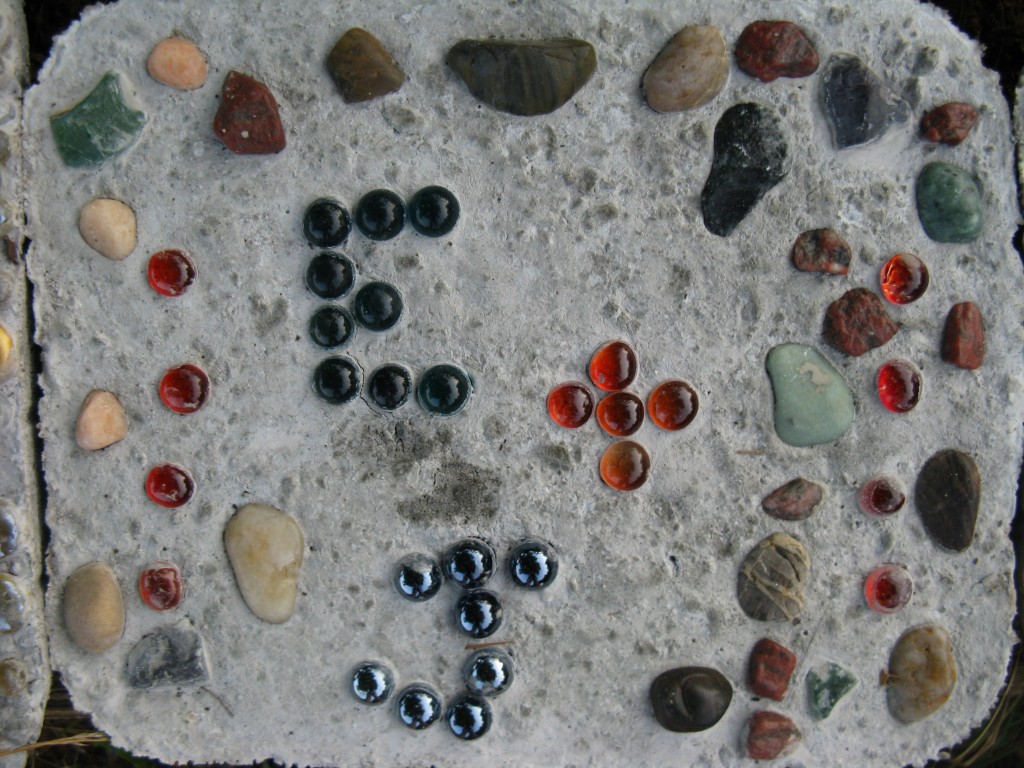
artist: my aunt
artist: my aunt
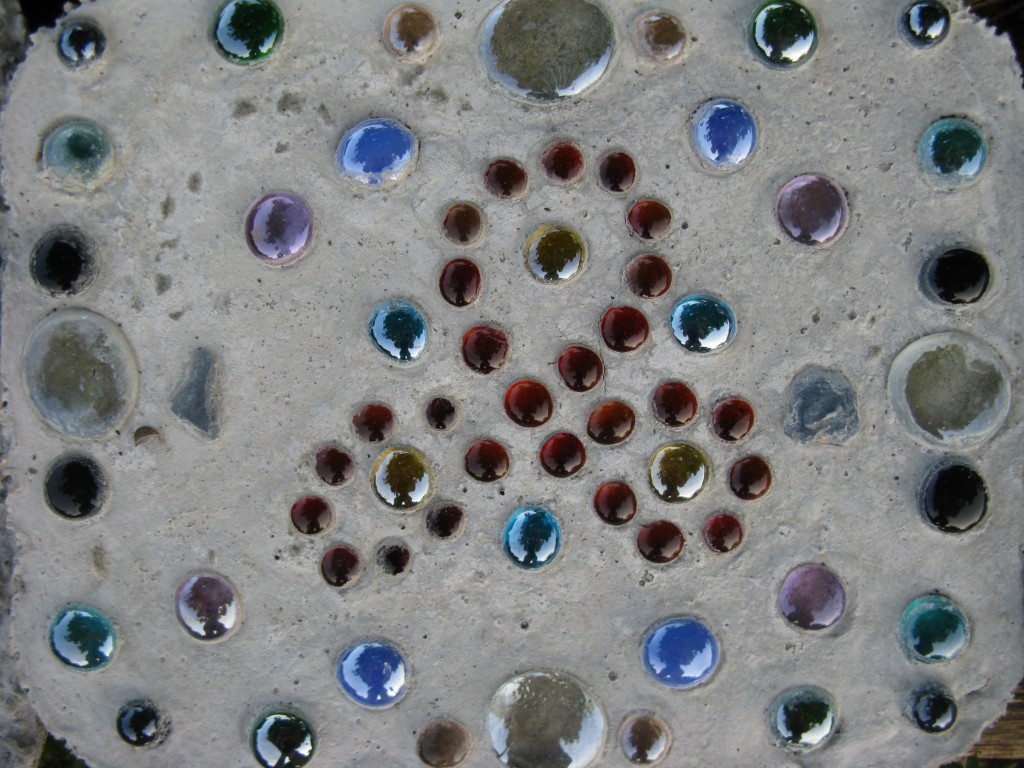
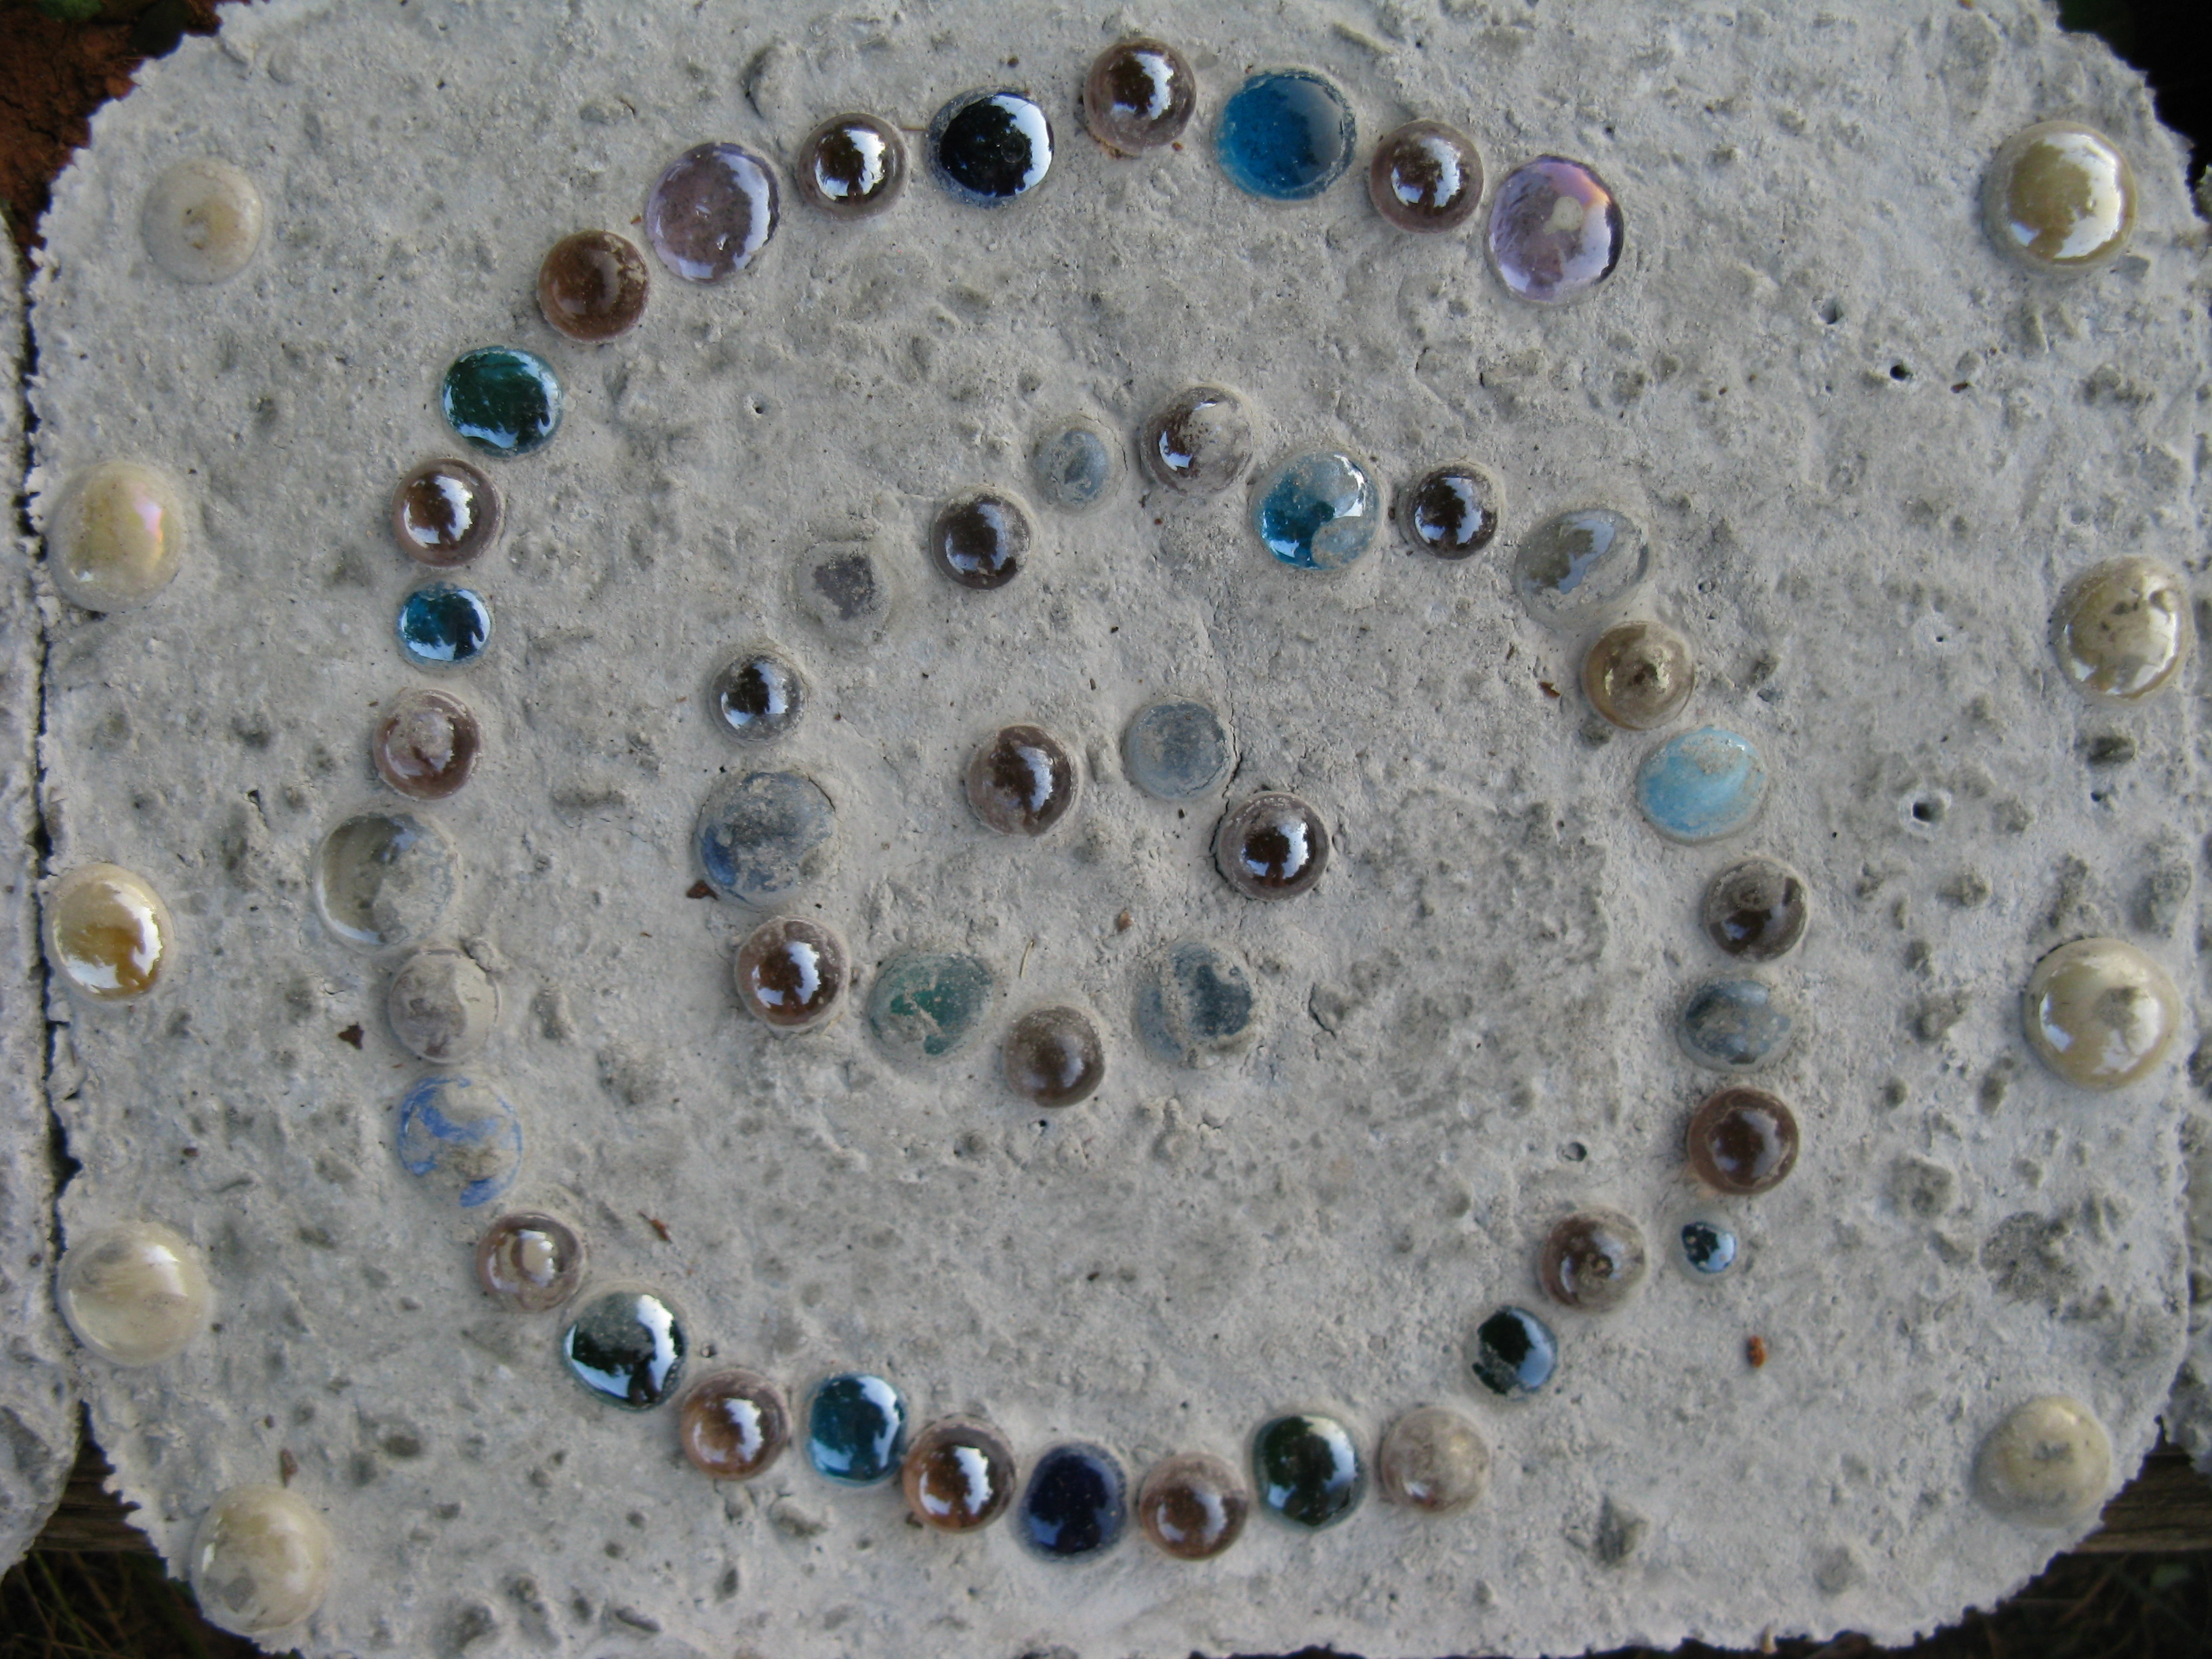
artist: my cousin. can you tell that it’s an irish trinity knot?

artist: my cousin. can you tell that it’s is a hamsa?

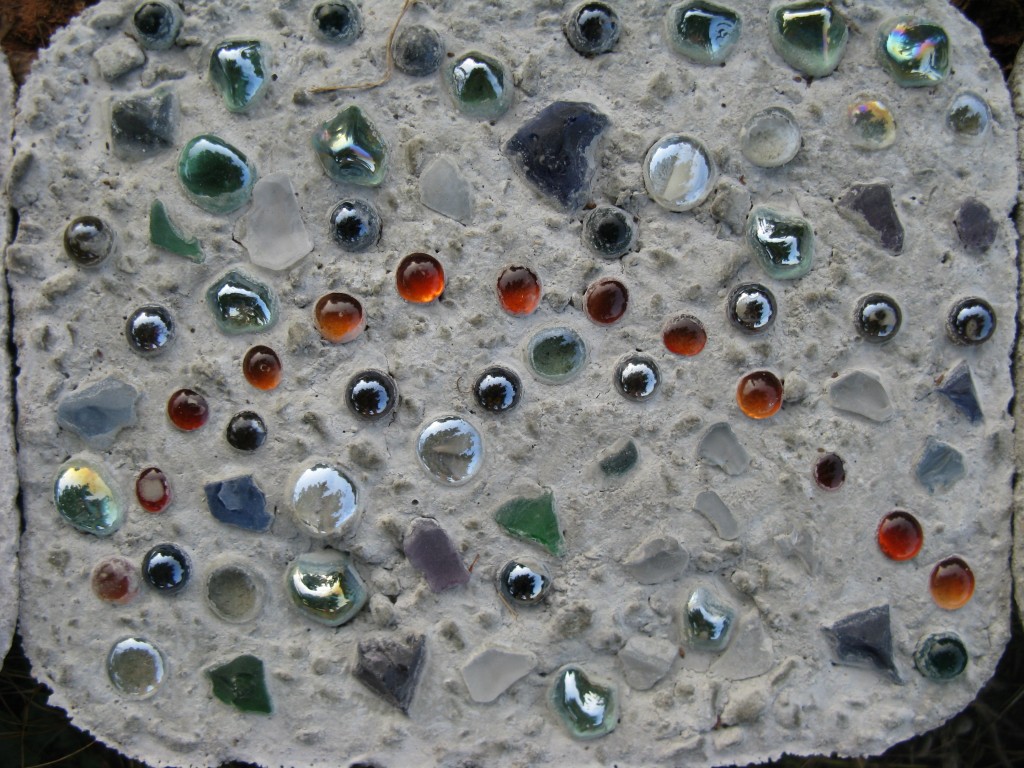
artist: my cousin

artist: my friend of 16 years
artist: my friend of 15 years

artist: my friend of 12 years. can you tell that it’s a unicorn?

artist: my friend of 8 years

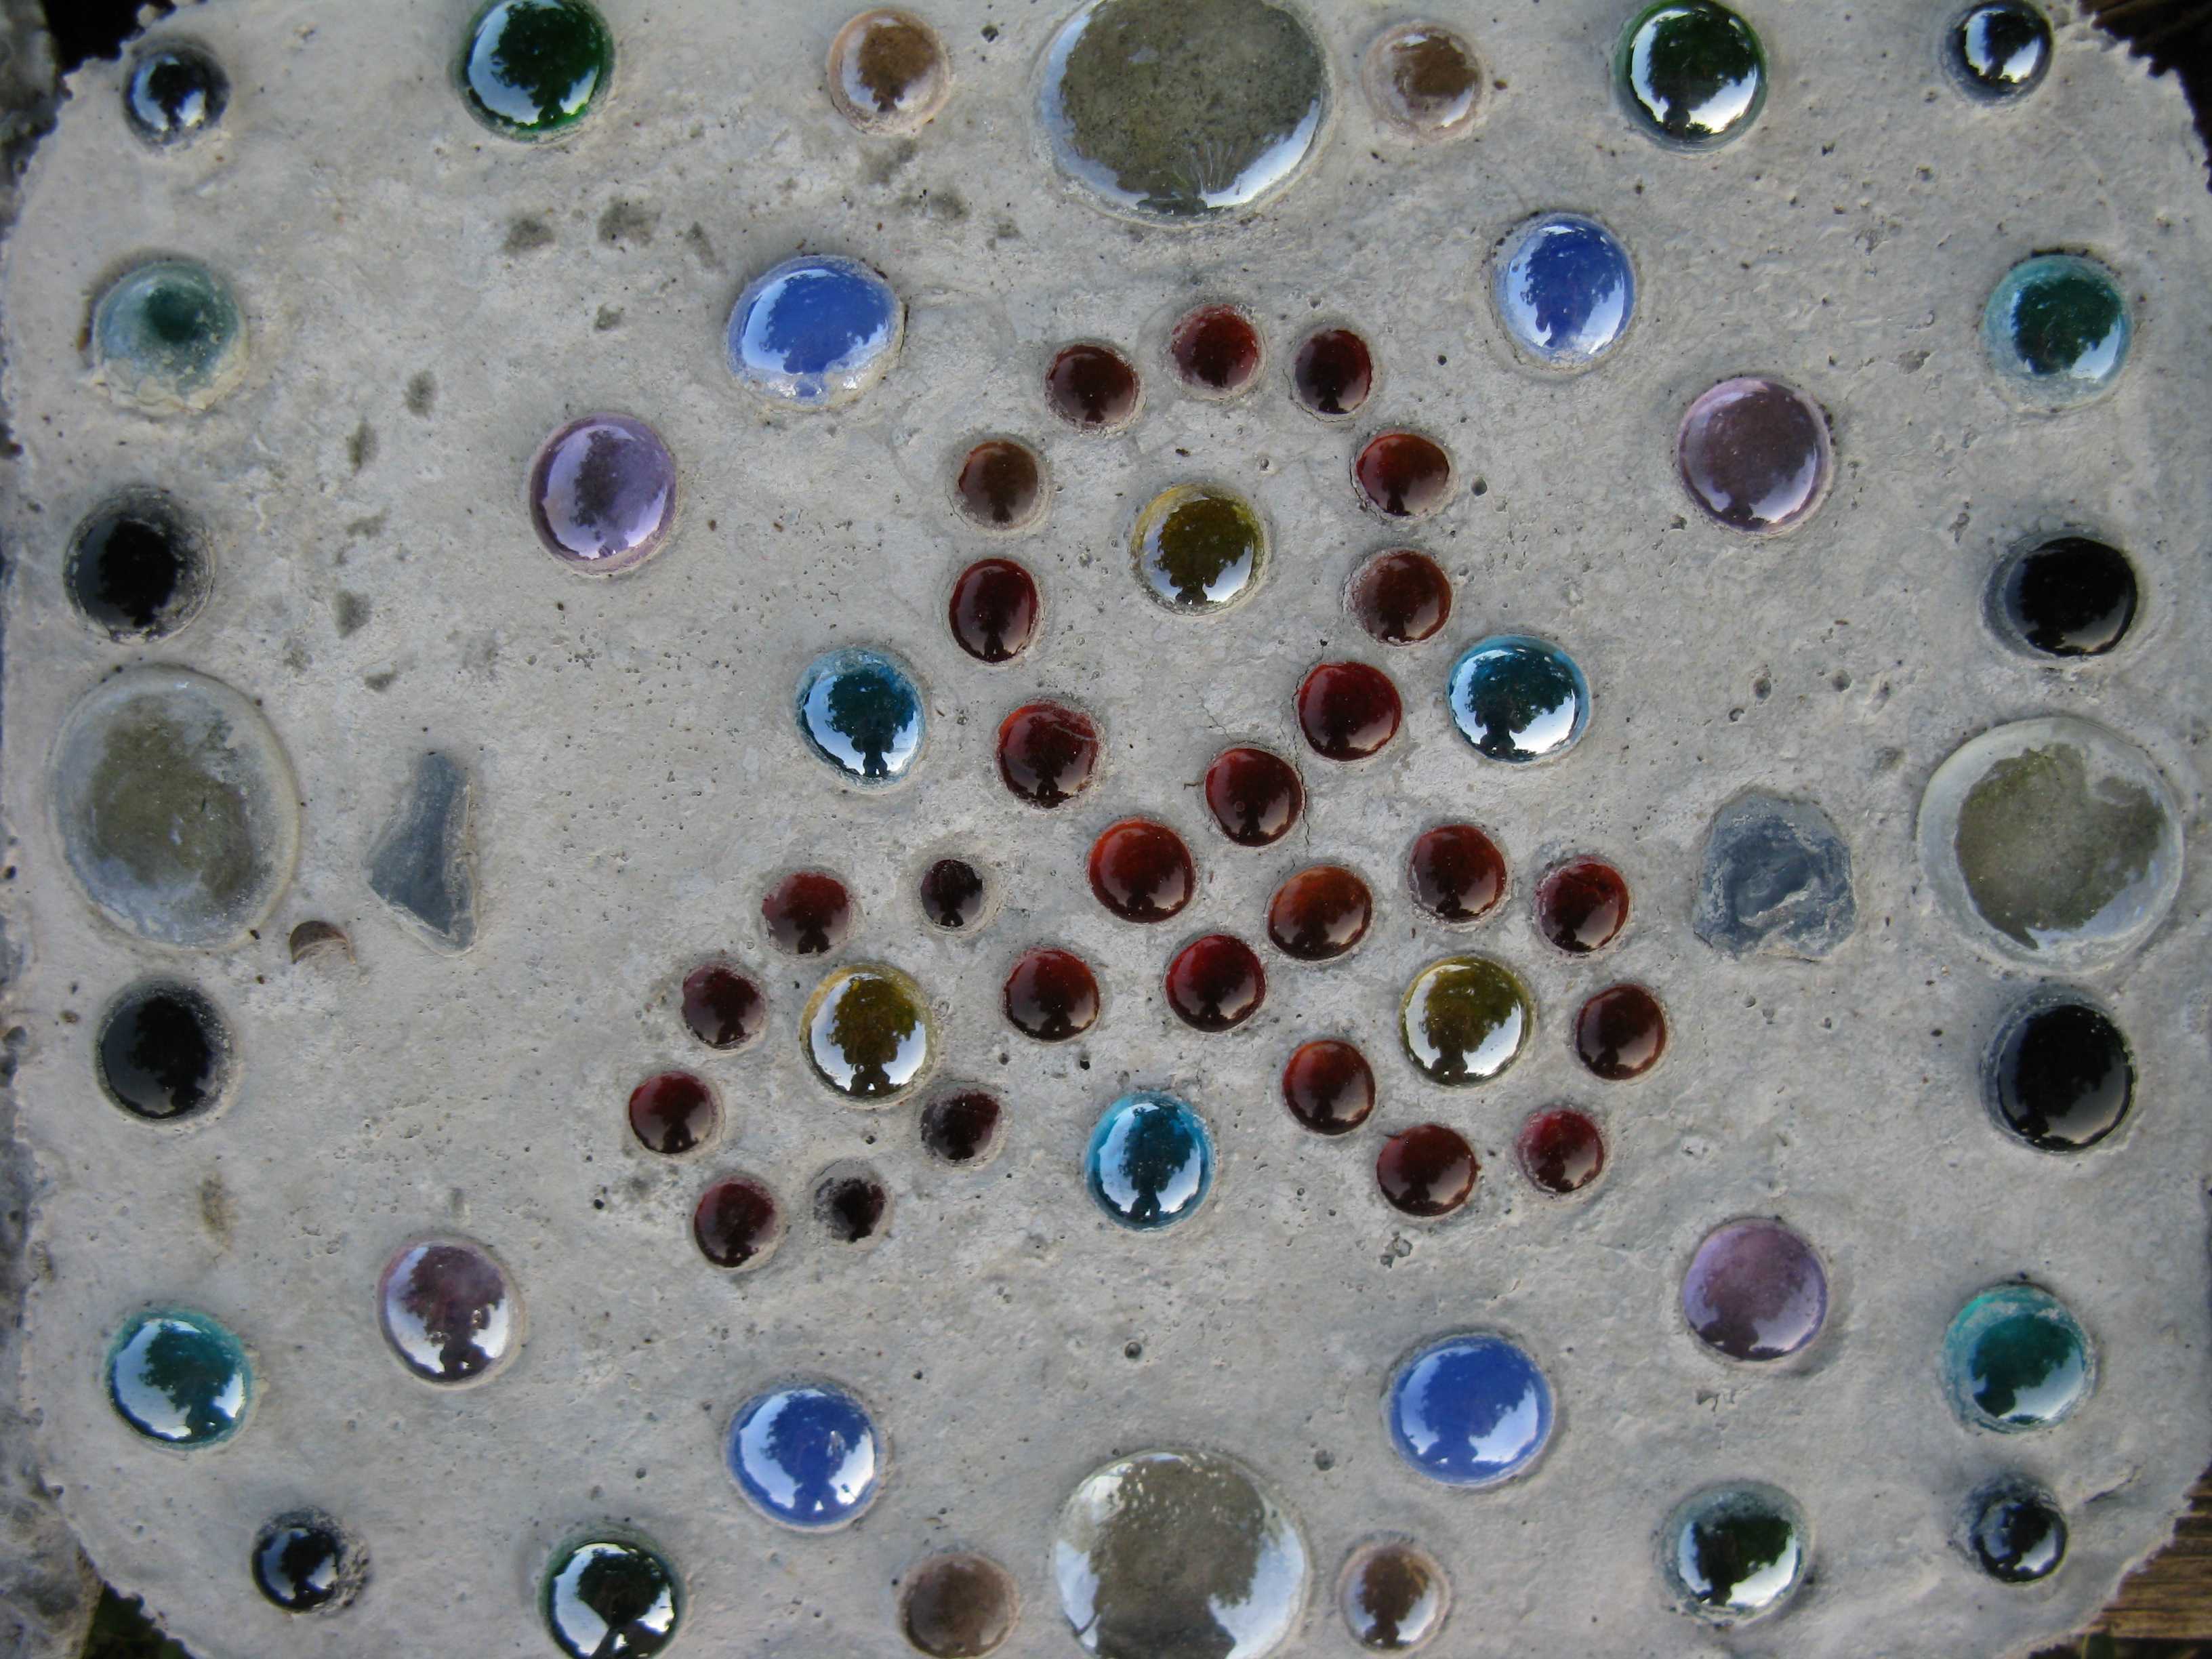
artist: my friend of 7 years. can you tell that it’s two people holding hands?
artist: my friend of 5 years. can you tell that it’s our initials?
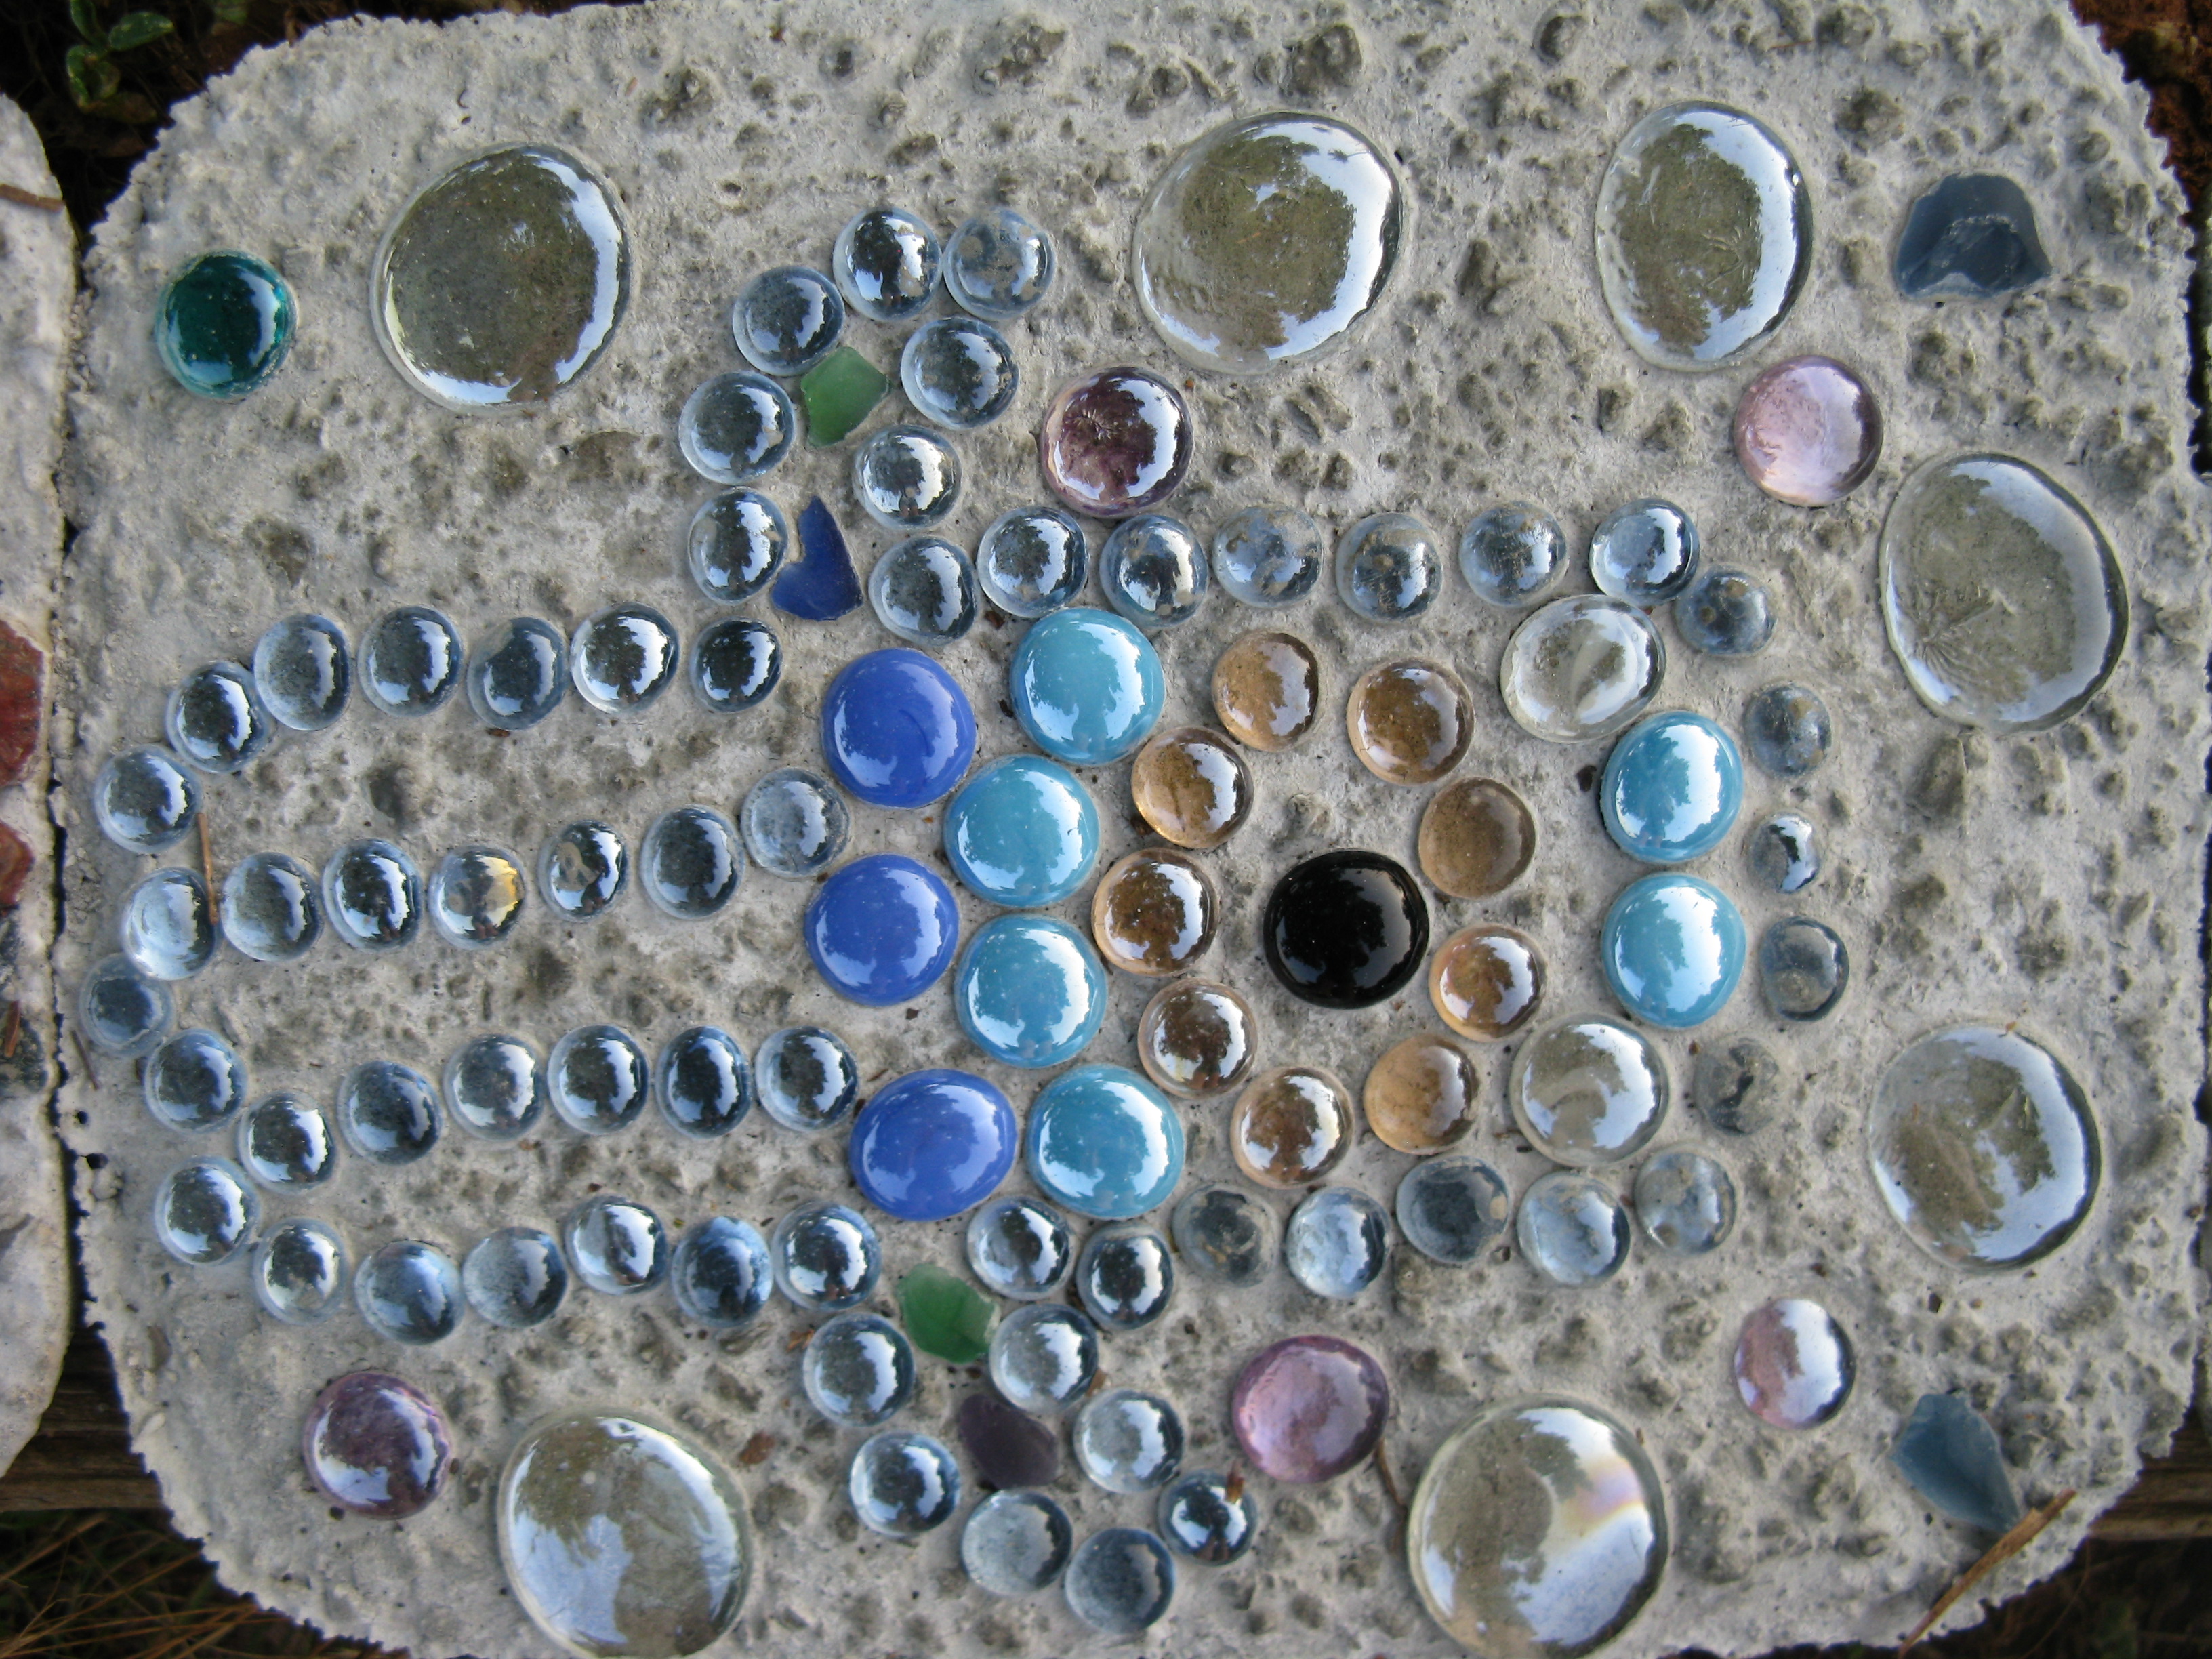
artist: me!
i’m so happy to forever have these as memories from our pre-wedding celebration season! now i’m wondering… should we have this as a possible activity at the wedding? hmmm…
.:.