so, what do you do with 100 eggs?
what a great question! and a “problem” we did not realize we would ever have until just recently. since we get between 12-14 eggs a day, we certainly have a surplus! currently, we have 14 dozen eggs in our refrigerator… and you can imagine the space that they take up.
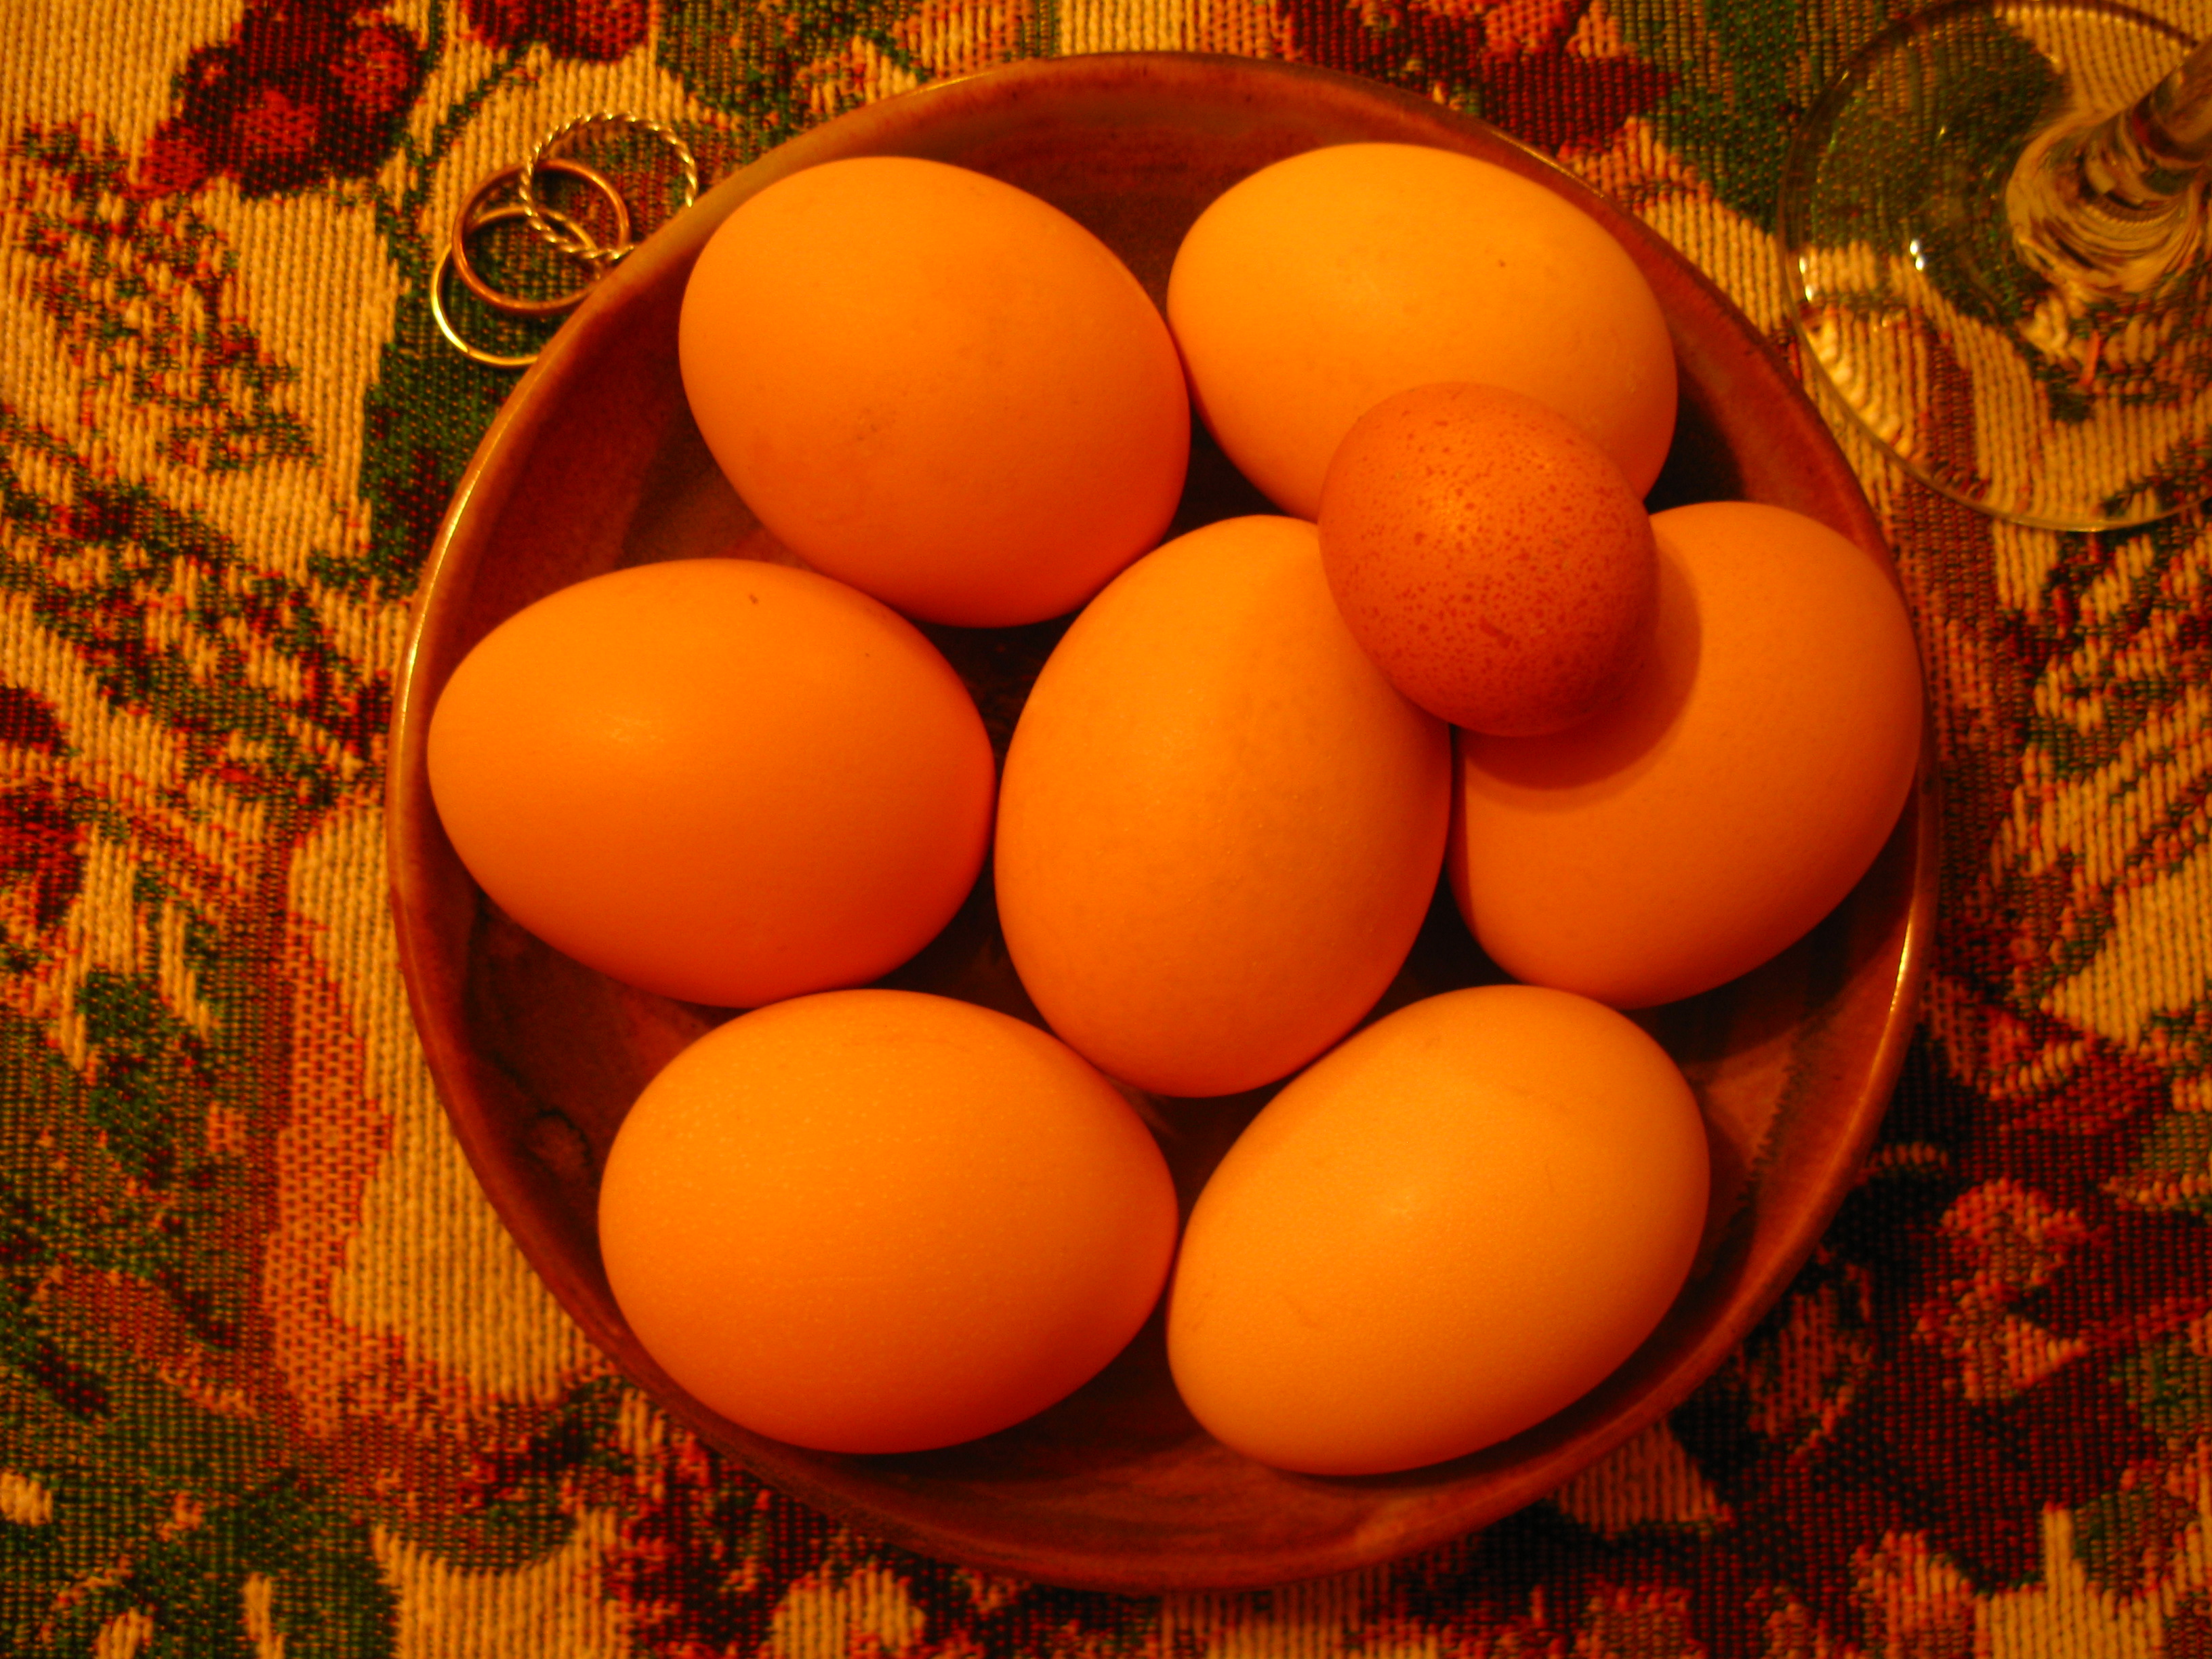
our delicious, orange aurora eggs, waiting to be scrambled for a yummy brunch!
of course, one of the ideal solutions to this “problem” would be to sell every dozen for a profit, but since we haven’t established a customer base yet that isn’t an option right now.
the following is a list of some things we’ve been doing with our eggs to lessen the load. i suggest trying all options if you have a surplus!
- boil them! i boil a dozen every few days and we take about 5 or 6 (between us) to work every day for breakfast in the car or an easy snack.
- bake with them! jason has developed a delicious german pancake recipe (recipe forthcoming) that uses 4-6 eggs. he has also made spaetzle and i often make a delicious breakfast casserole that has sausage, veggies, and cheese (recipe forthcoming).
- give some to the dogs! since we have so many, we don’t need to be stingy about the dogs getting a few eggs throughout the week. whether they are cooked or raw, the dogs love them and it makes bridey eat her dry food all the faster (without eggs she sometimes walks away from her food before finishing up). and bolt gets his eggs with the shell and all!
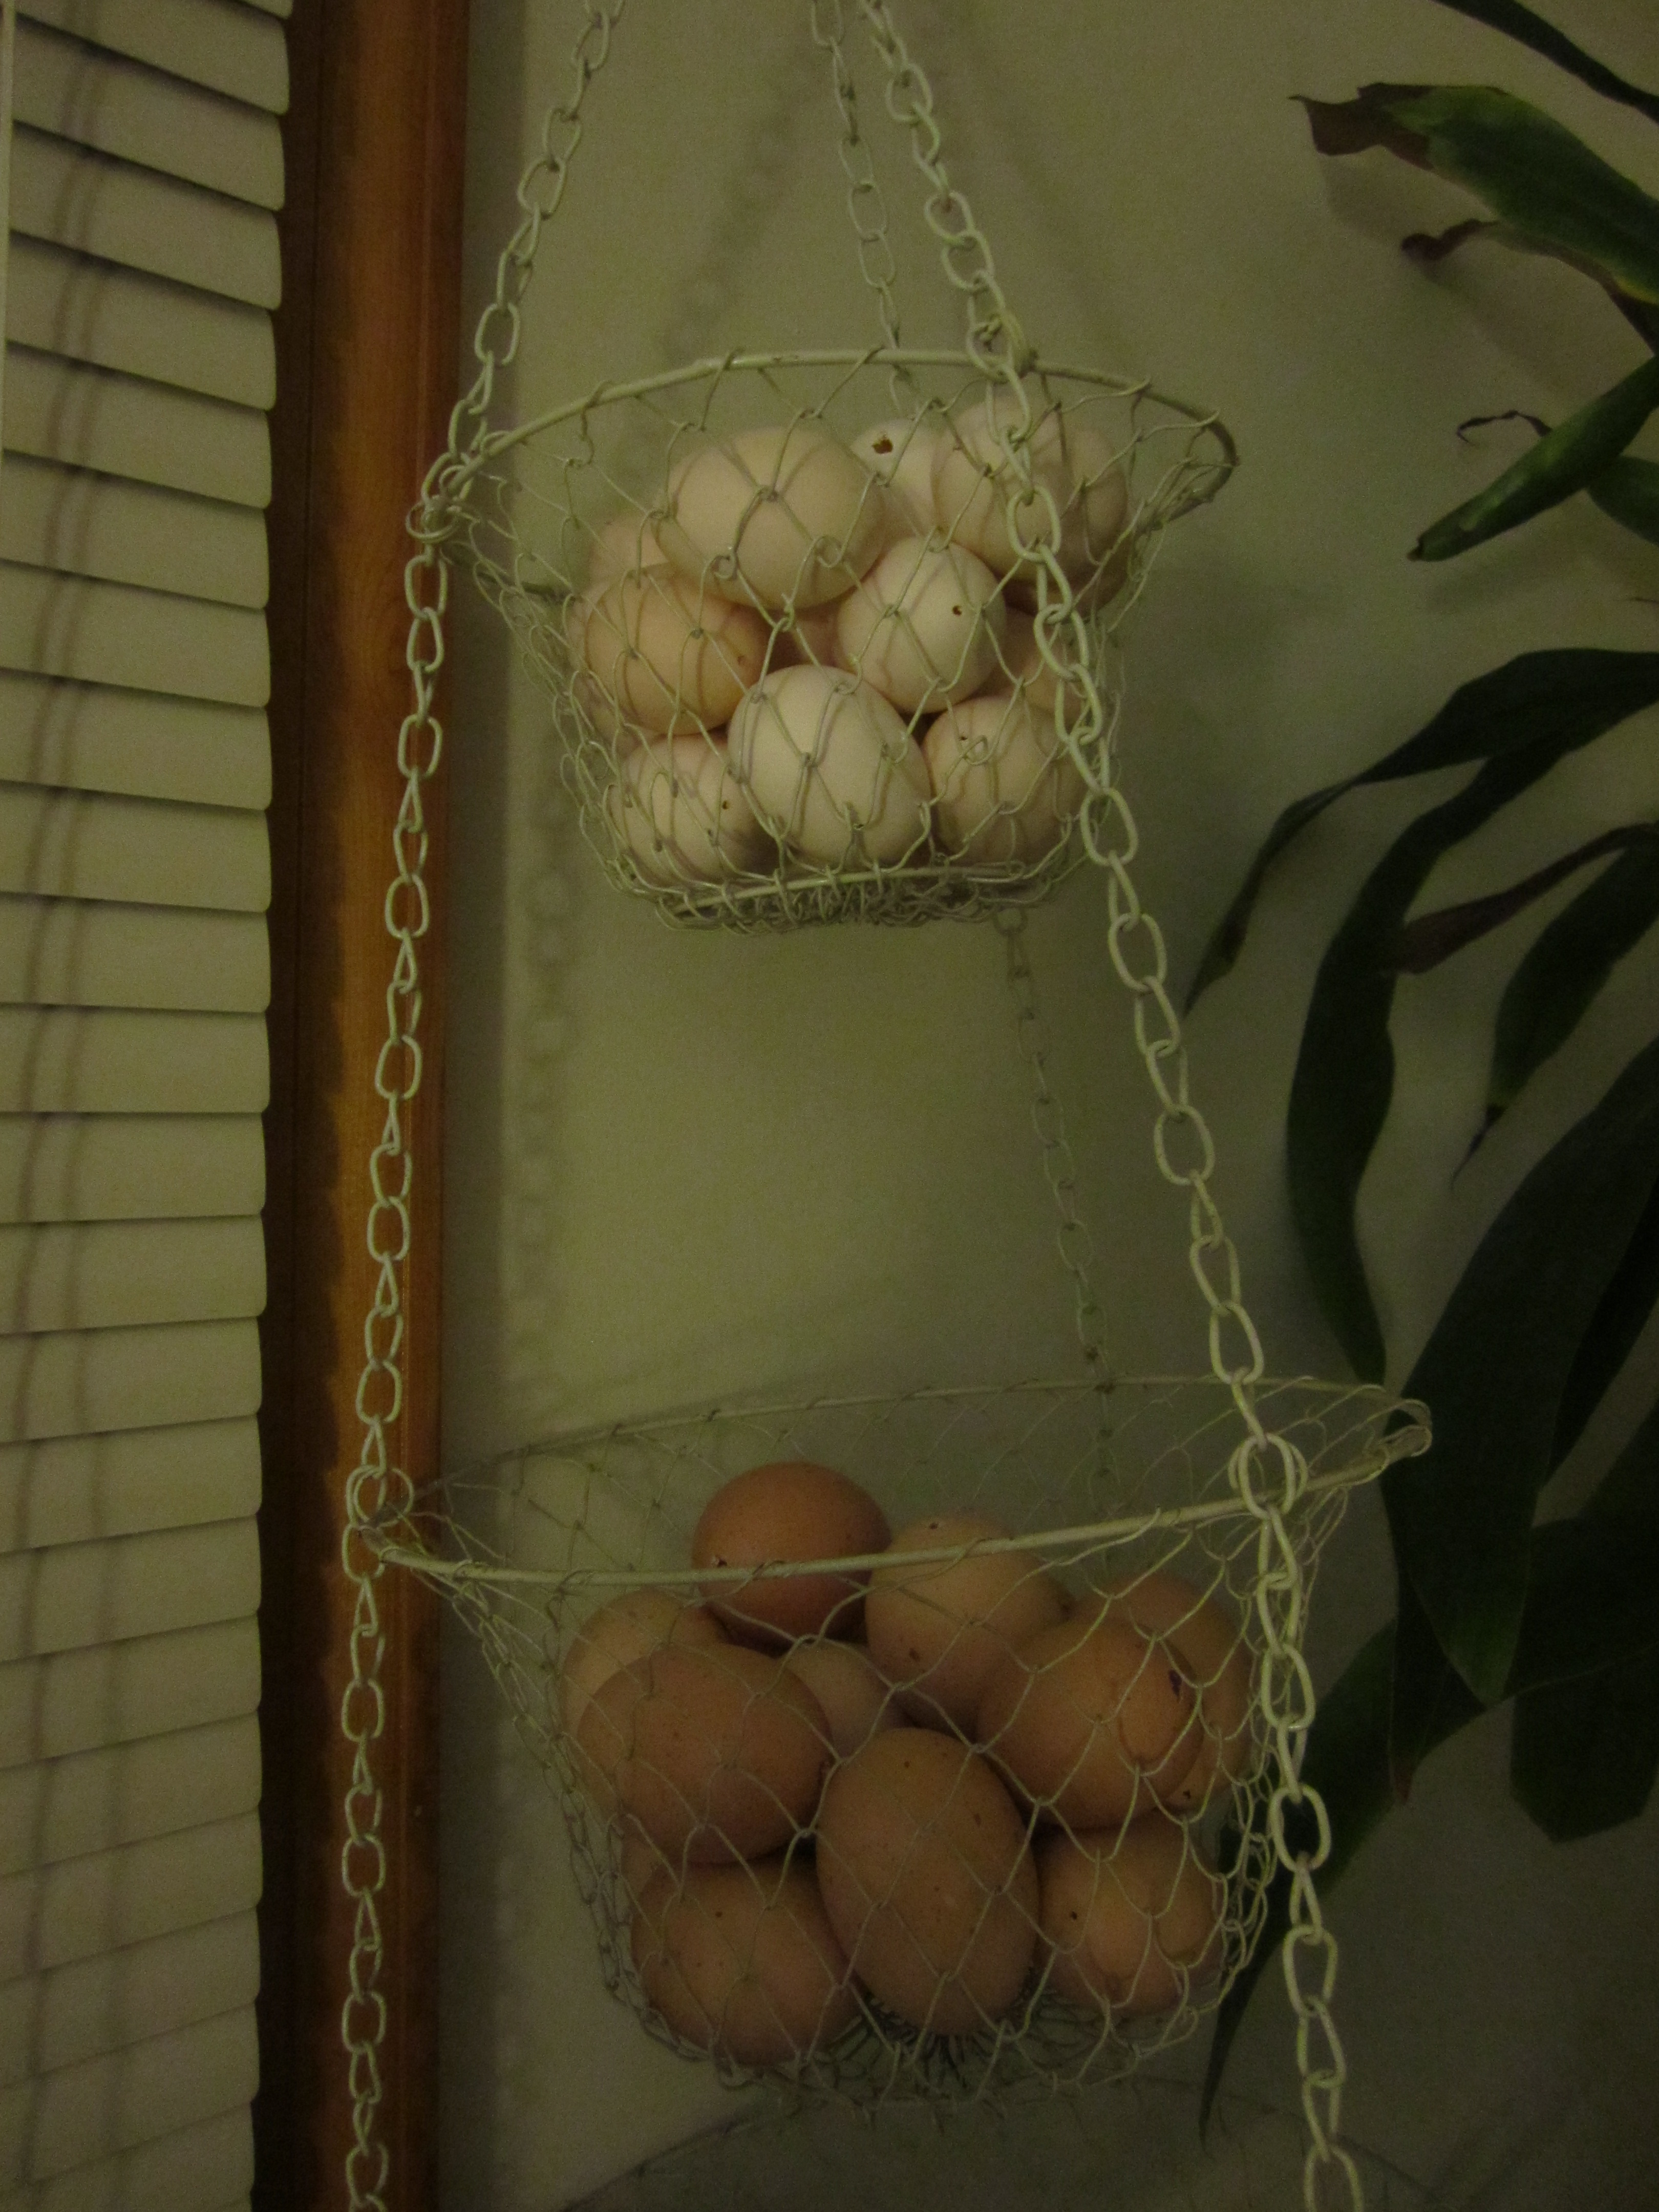
these are all of the eggs that i have thus far blown out for gifts or for future art projects.
- blow them out to save the shell! i have blown out around 30 so far, to save as gifts or for utilizing in future art projects. when i blow them out, i usually do a lot at once, and i time it so that i can use the eggs for baking or feeding to the dogs soon after.
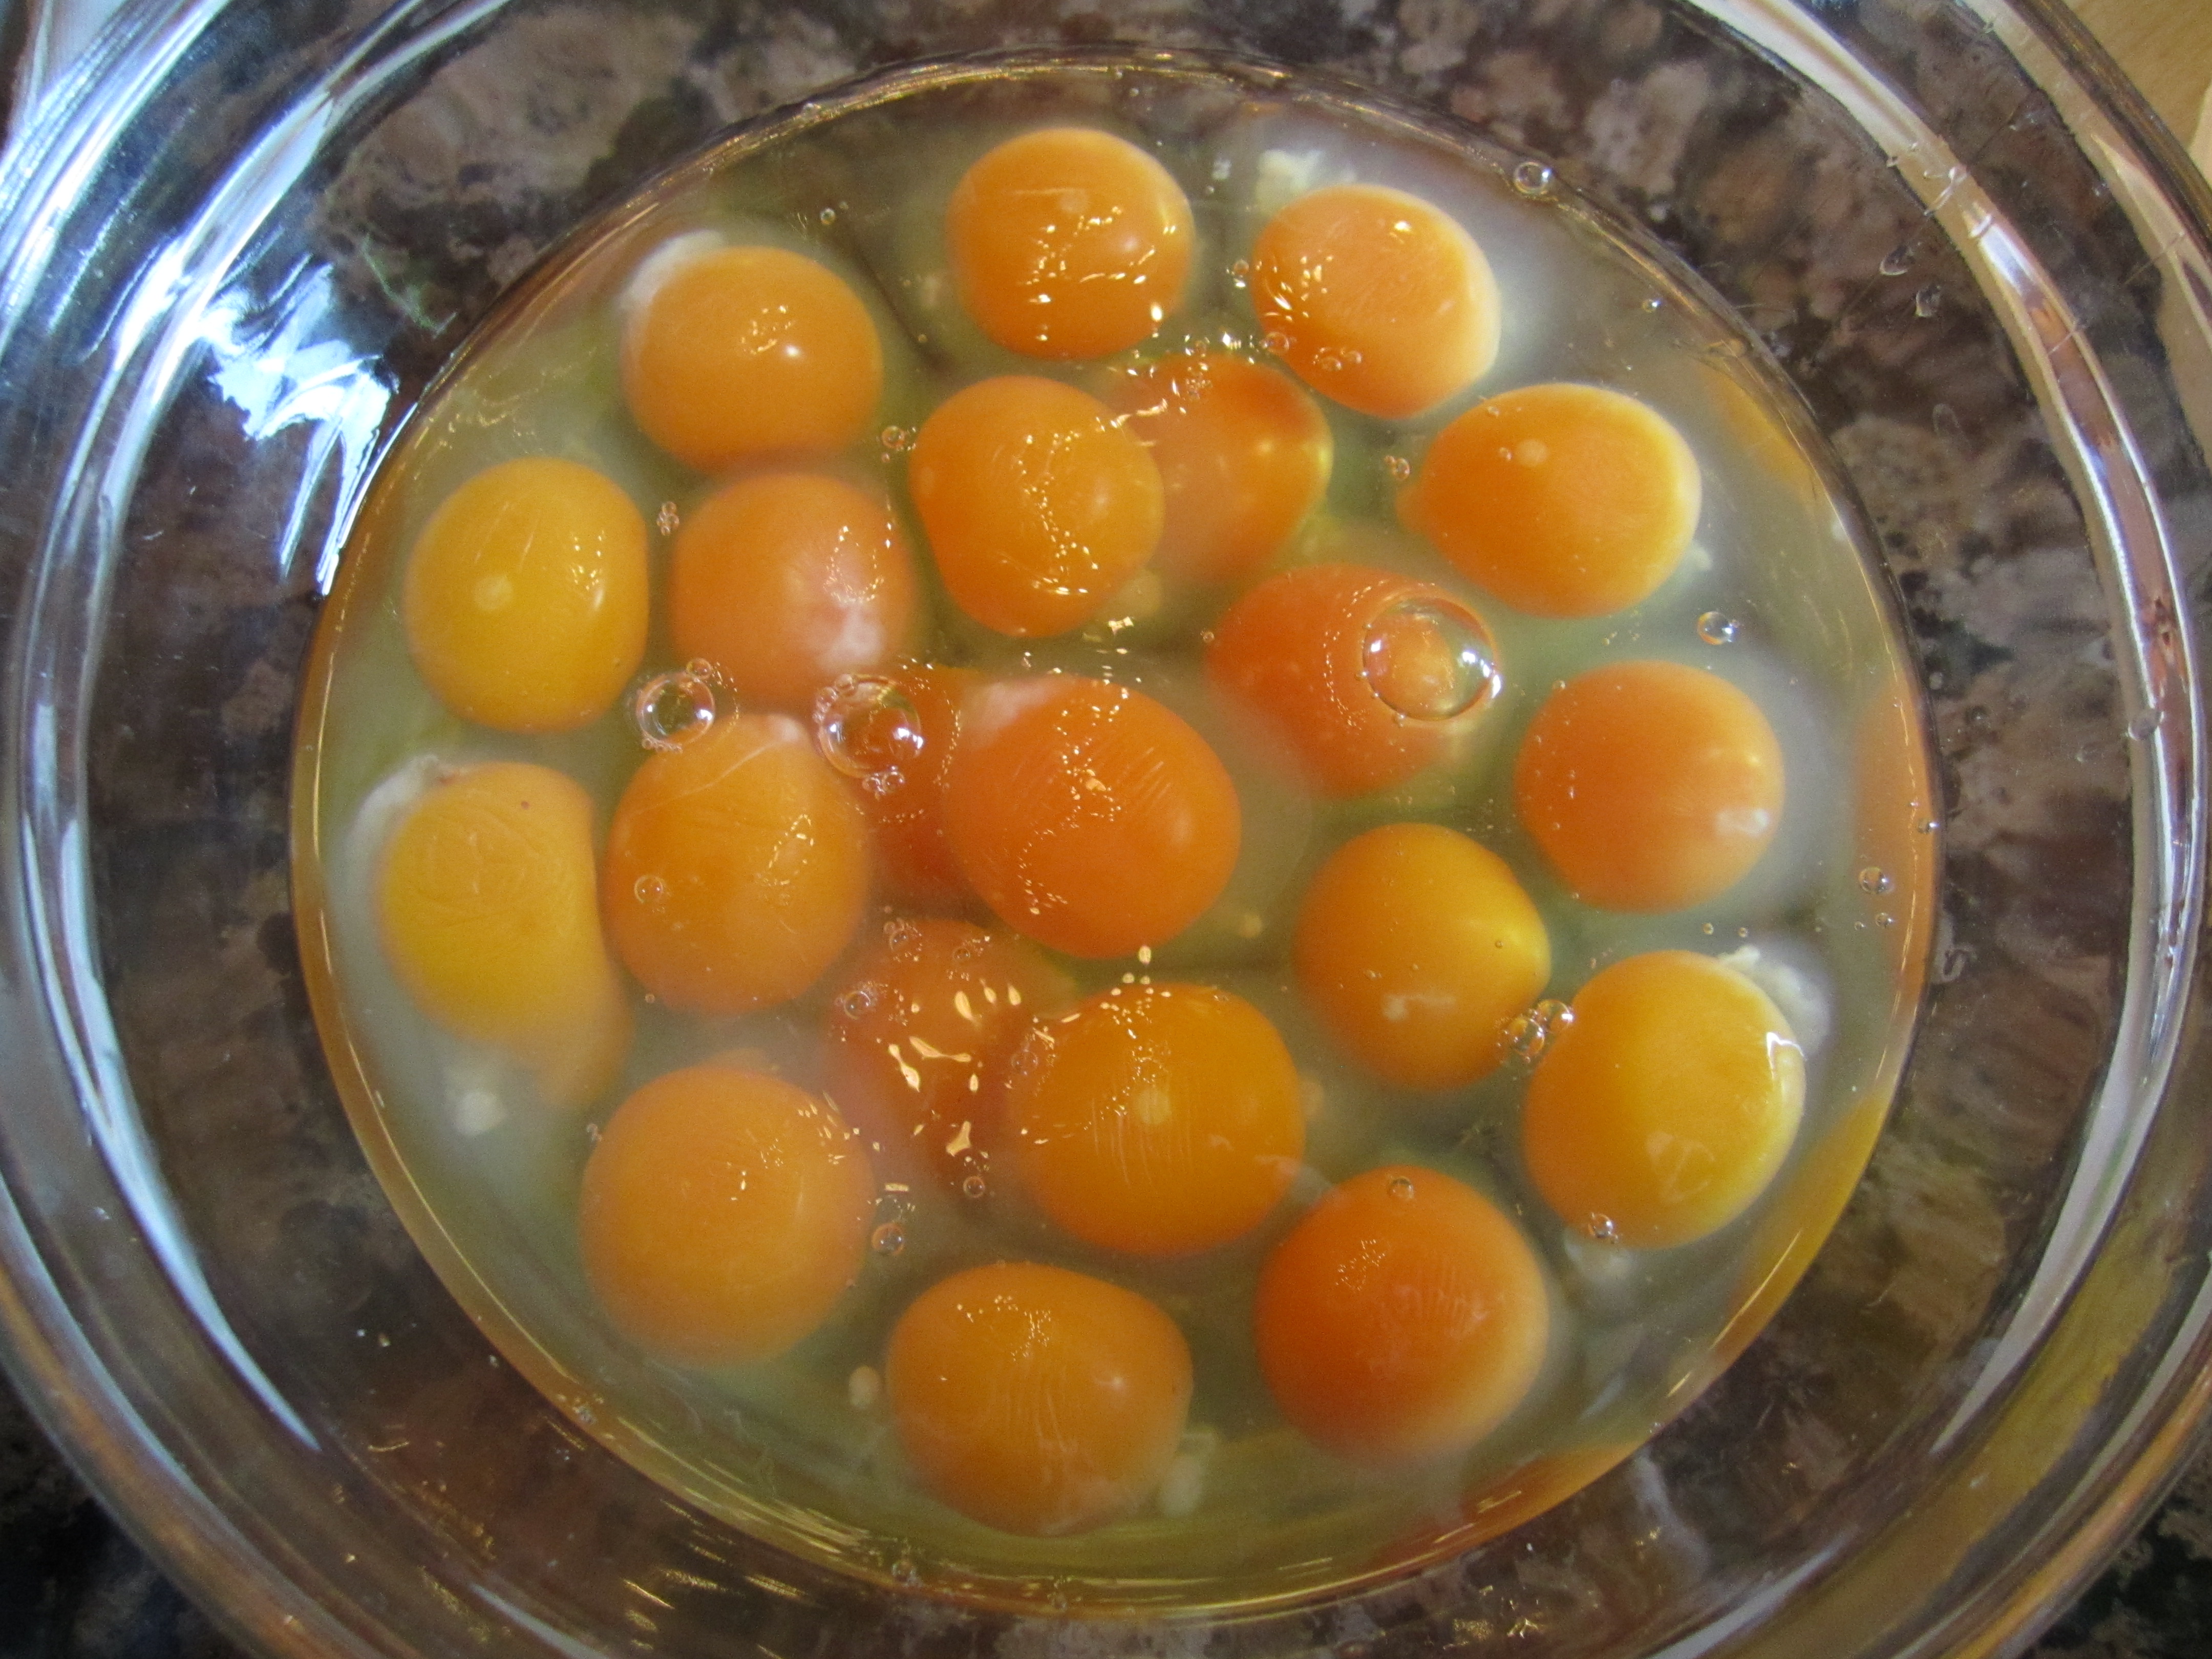
- invite a lot of people over for a meal! jason’s family was in town last week and it felt great to use 14+ eggs in our scrambled egg brunch. it’s also a great feeling to feed our own healthy food to those we love. i think we’ll have to have more people over for brunches in the near future…
- give some away, for pete’s sake! we’ve given away dozens of eggs to our family, neighbors, co-workers, and friends. not only is doing this rewarding because you are giving, but there is a chance that a few of these friends or co-workers might just want to purchase your eggs from you after realizing how how delicious they are!
- freeze them! we’ve not done this yet, but i’ve learned that freezing eggs is a great way to preserve them (if you want to store them longer than 3-6 months in the fridge). just make sure that you have cleaned the eggs first so that when they freeze–and inevitably bust through the shell a slight bit–you don’t have contamination issues on your hands.
- and last but not least… get creative!!! look up new recipes, make up your own recipes and experiment as much as you can with ways to cook eggs. think about it… with a surplus of delicious, hearty eggs, what time is better than now to dive into the new, fresh, and creative?
.:.