A few weeks ago, Jason and I were really excited to complete the first big step in getting our old, junk-filled shed emptied out and fixed up for our ducklings and our turkey poults. Before we were able to start the construction on our grand idea, we enlisted the help of my dad so we could clean out the shed and get all of the crazy junk moved out!
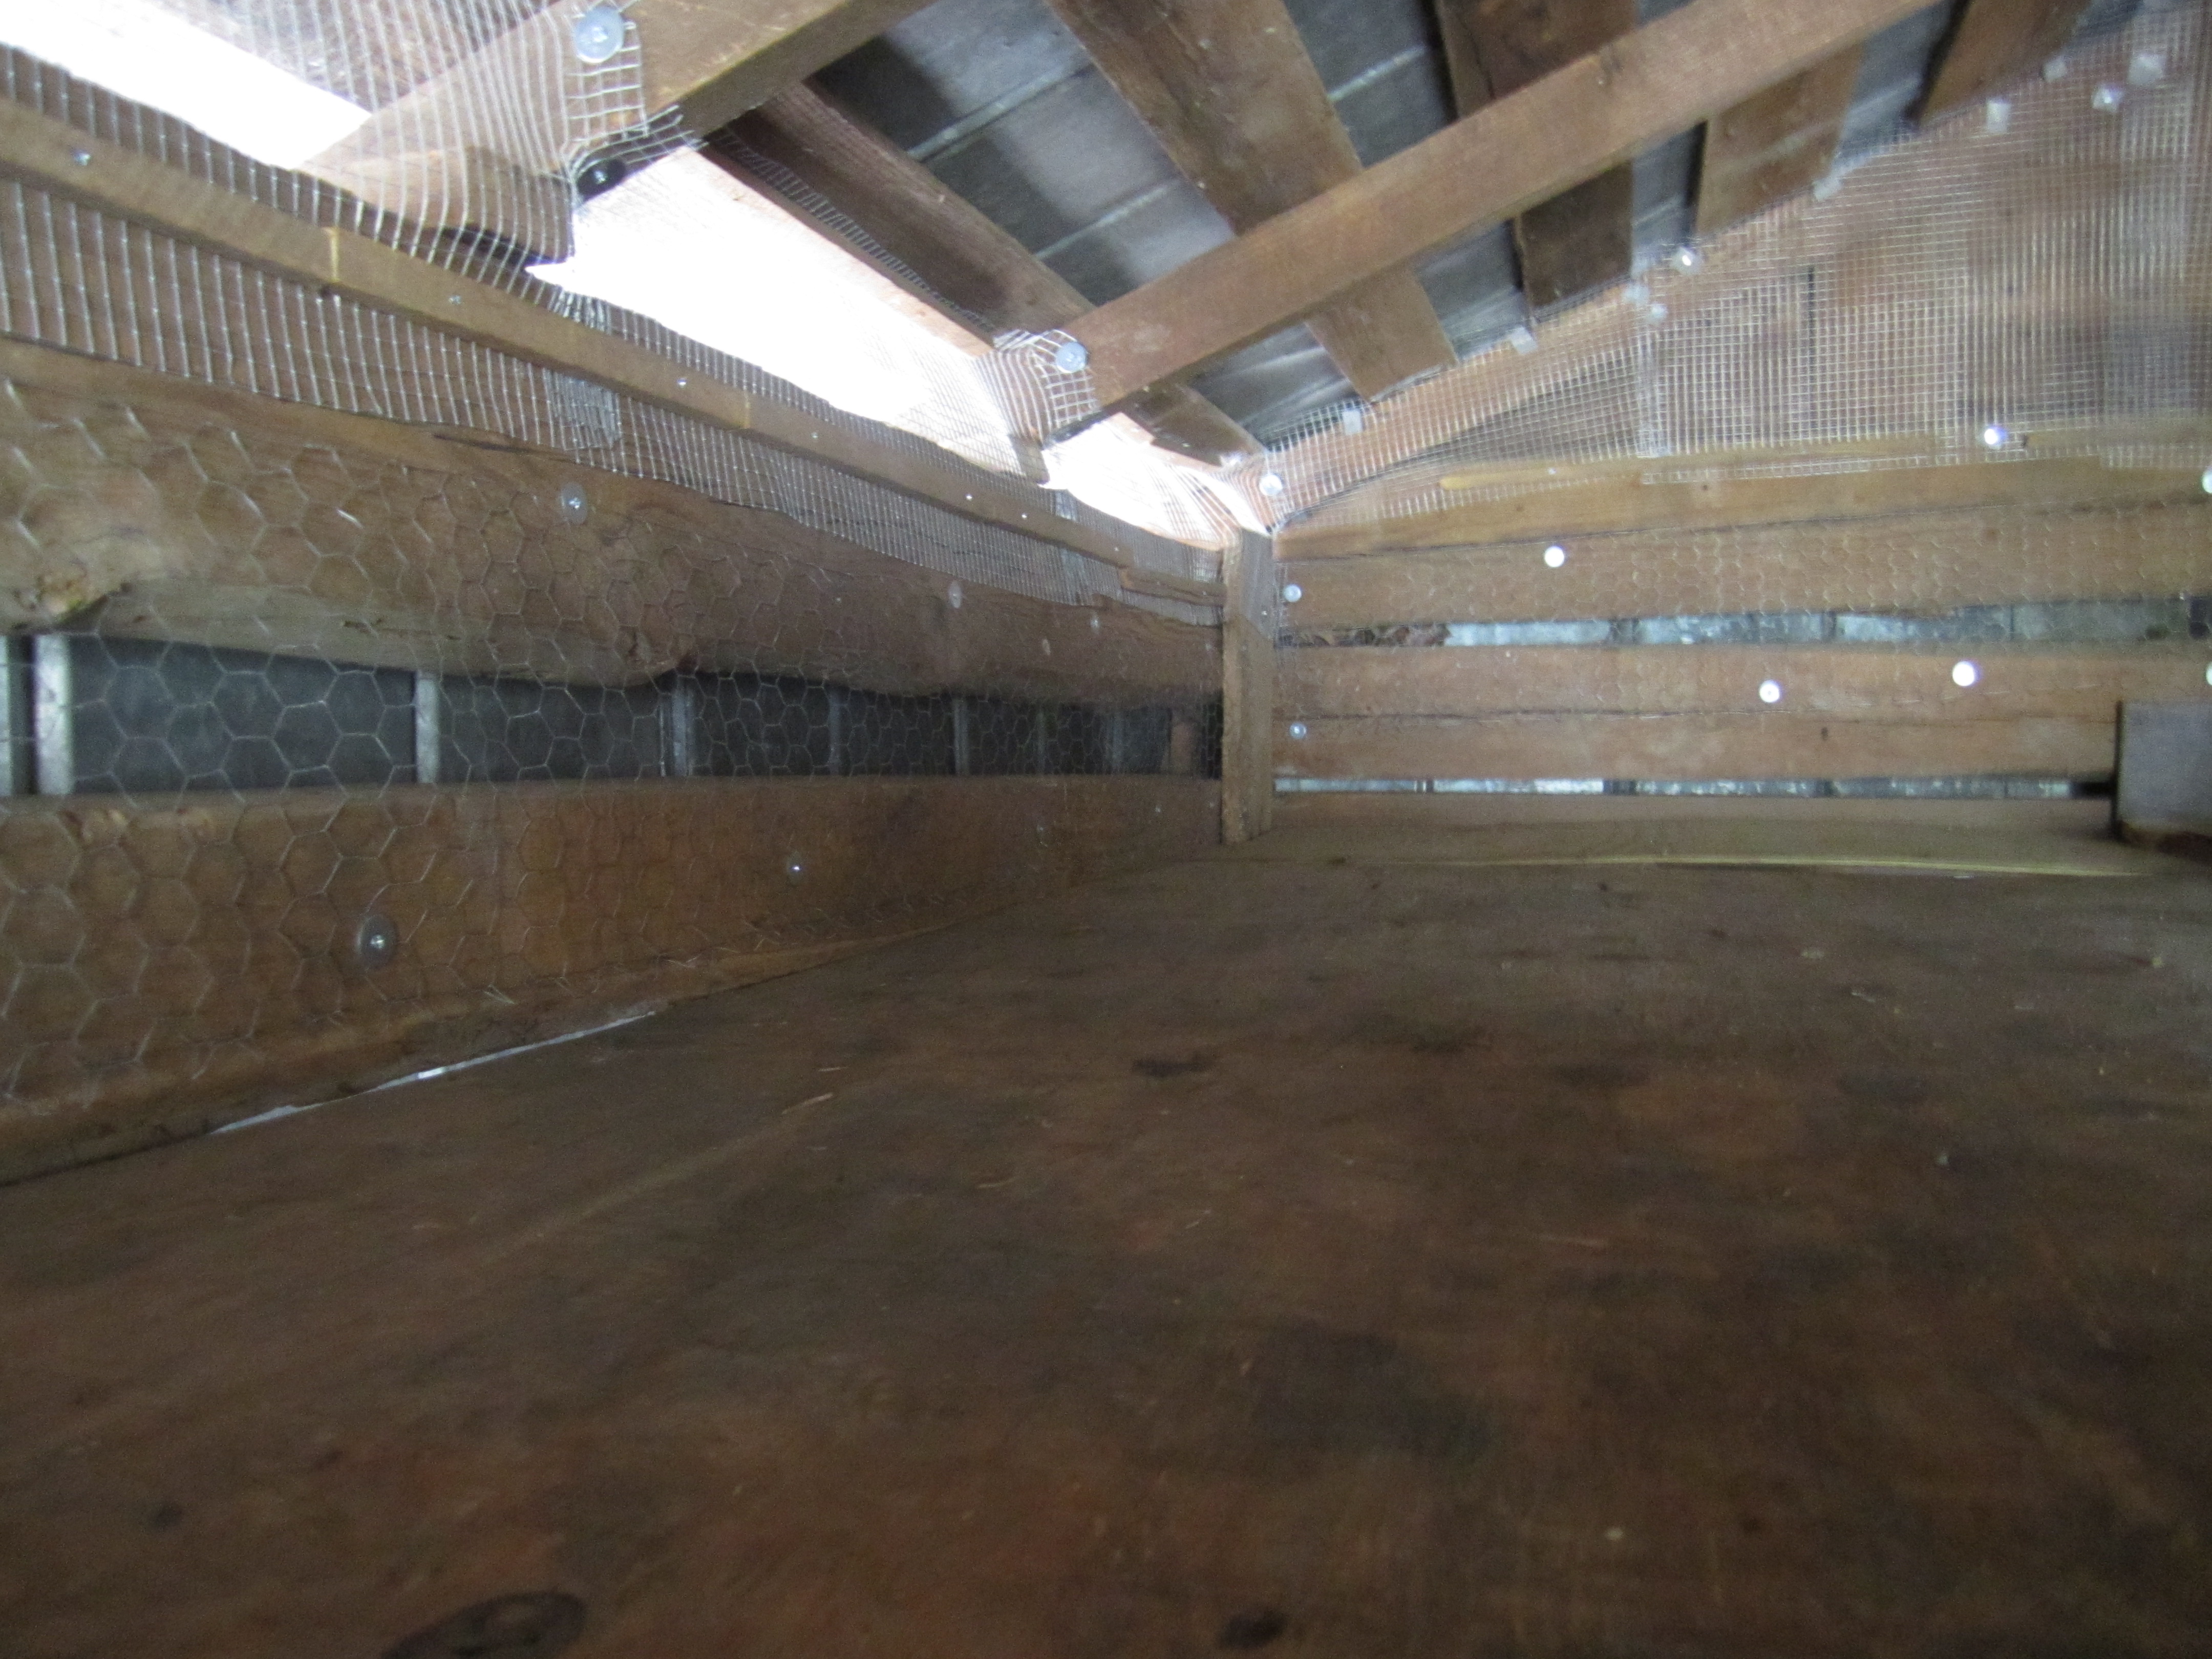
After all of the heavy lifting, sweeping, and cleaning we finally had an empty shed made from old- fashioned pine poles and aluminum siding.
When we peeled the old, stained cardboardish material from the inside of the walls, we found a squirrel’s nest, with 2 babies inside. The mother ran just as I peeled off the cardboard that covered her nest, and darted out of a hole in the roof. We decided to ignore the nest while we worked and to leave it intact, and sure enough, the mother came back overnight and relocated her family.
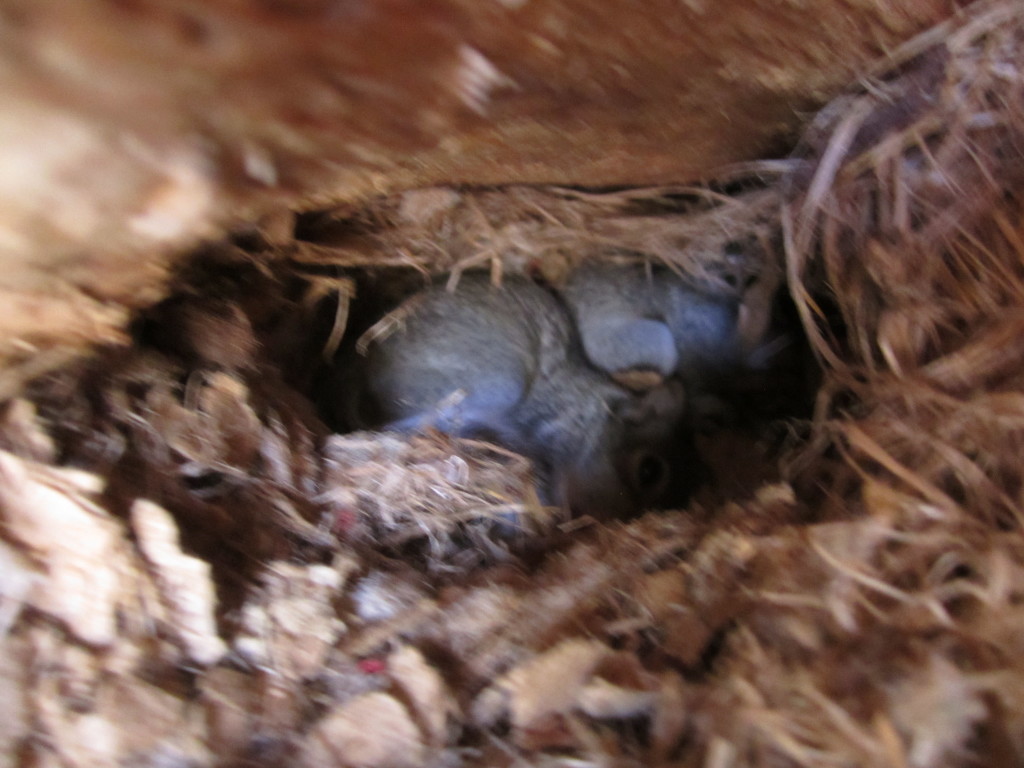
Baby squirrels!
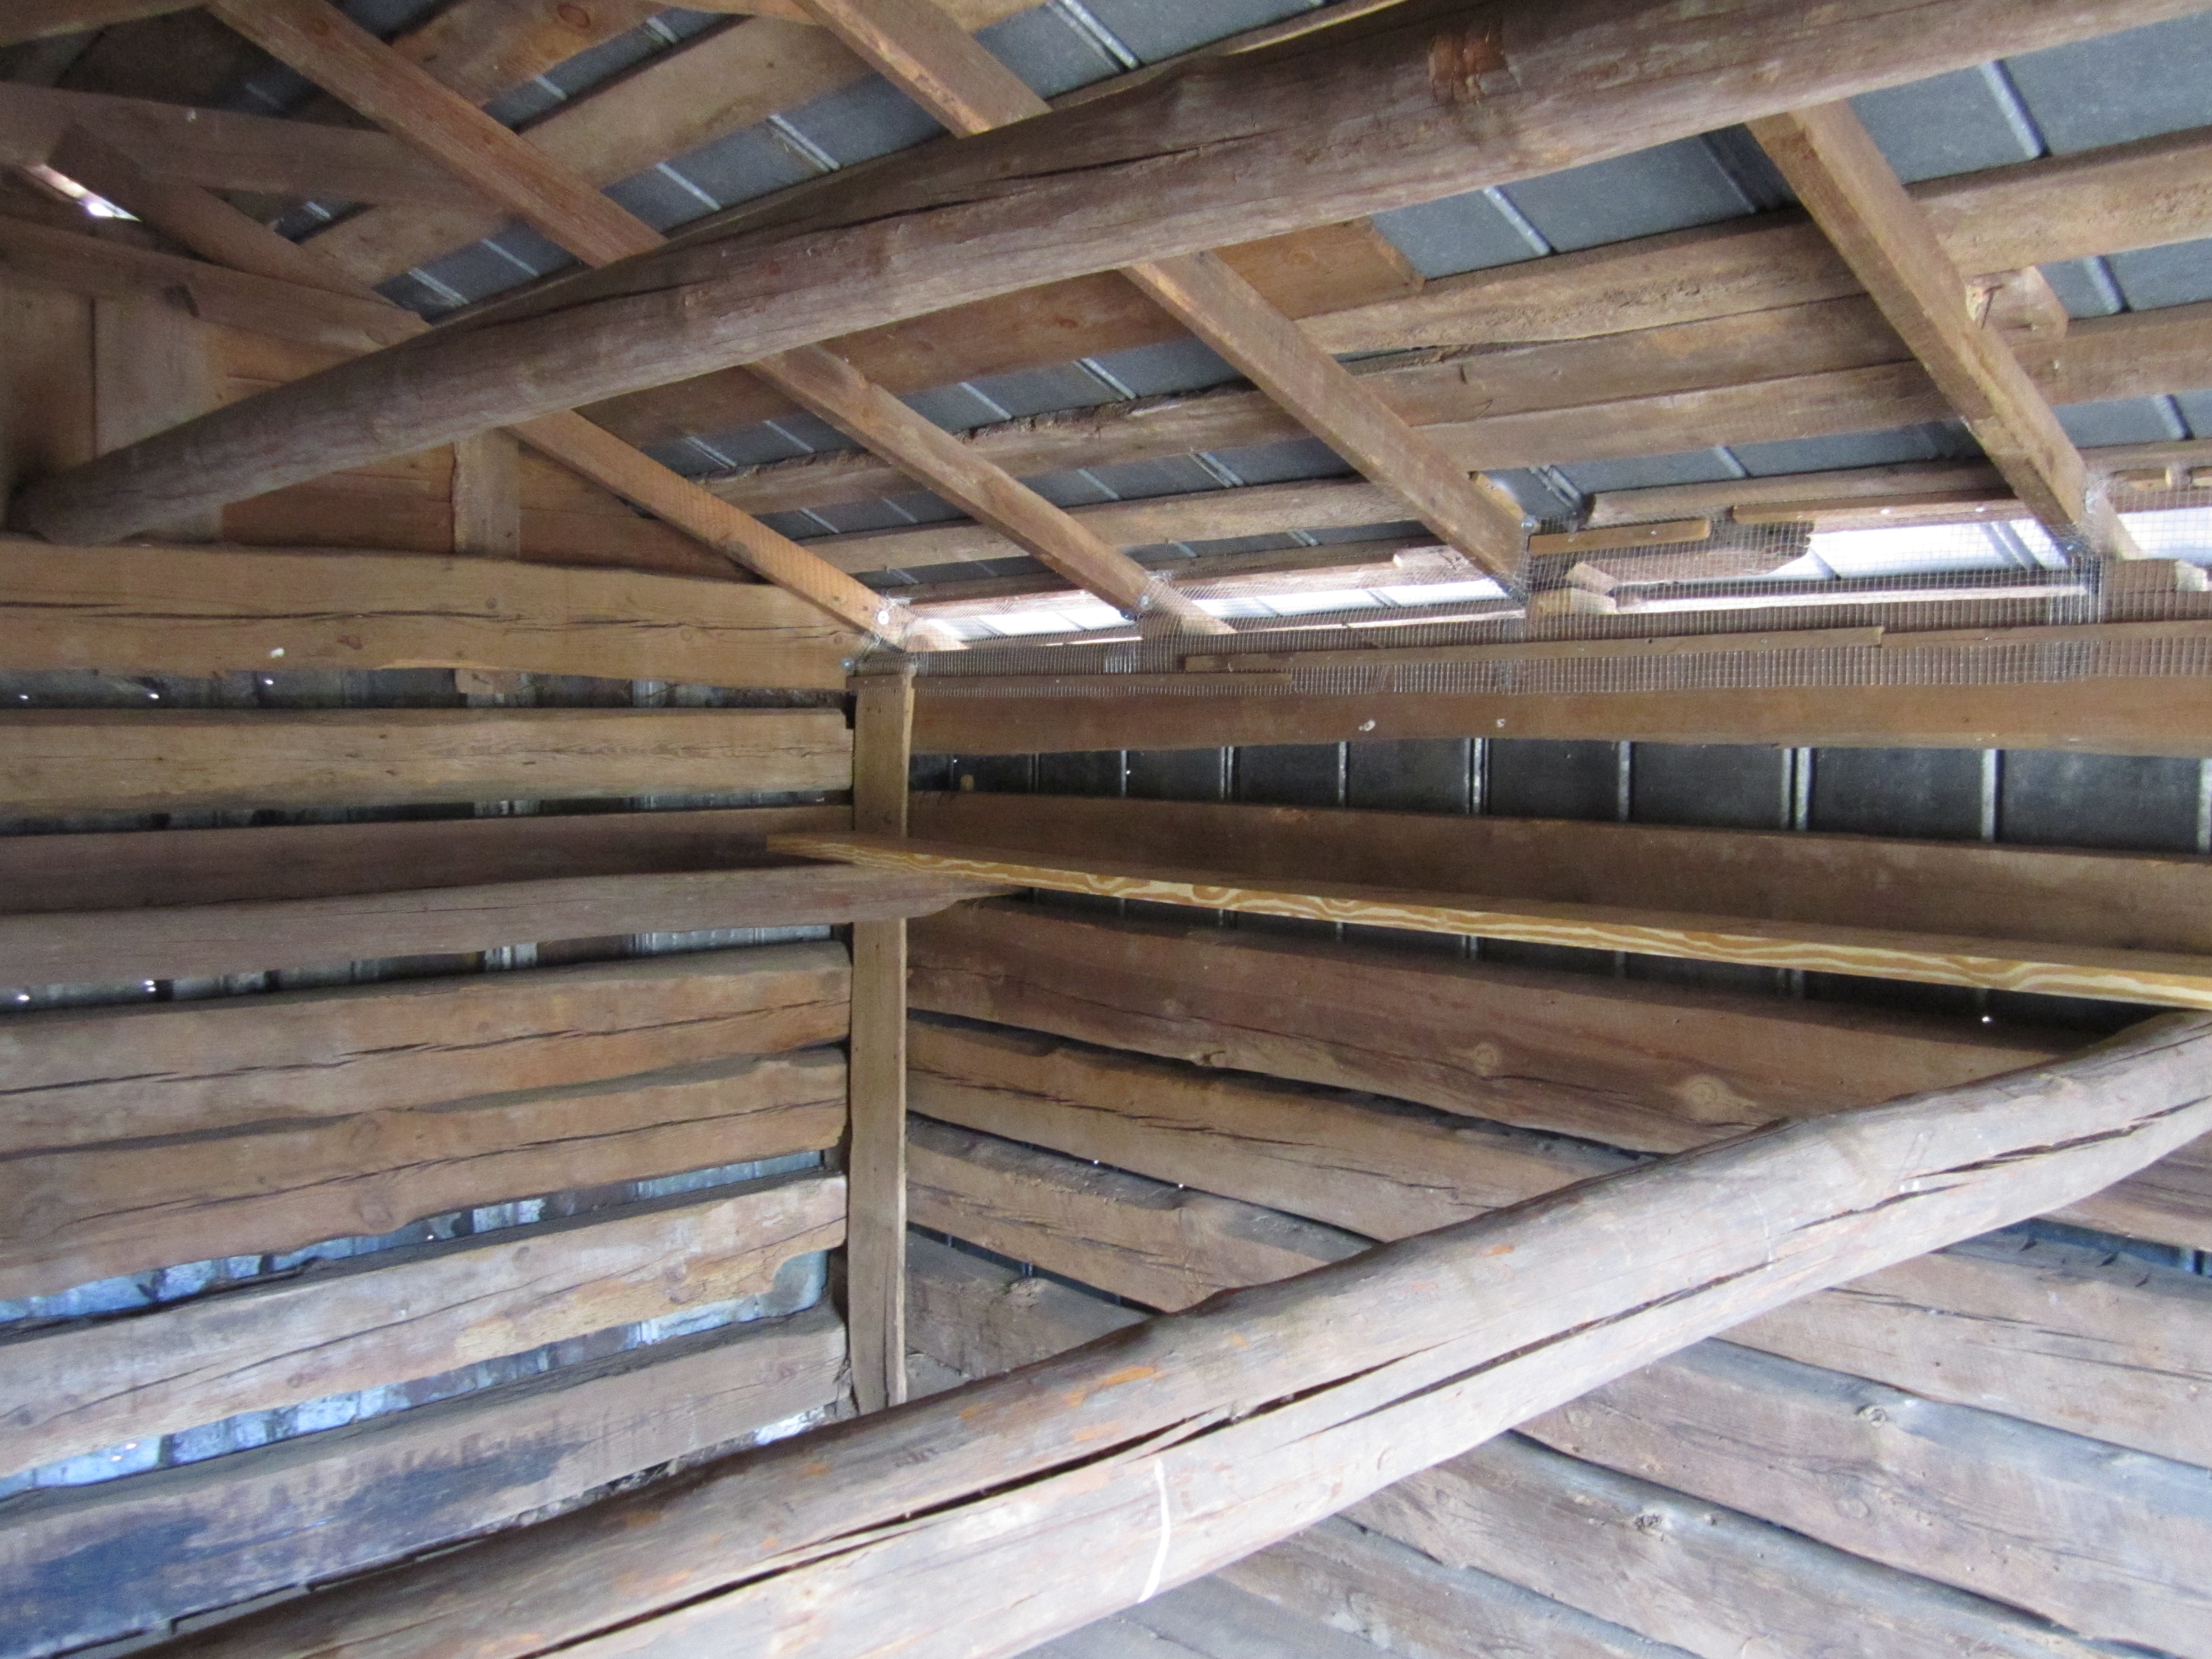
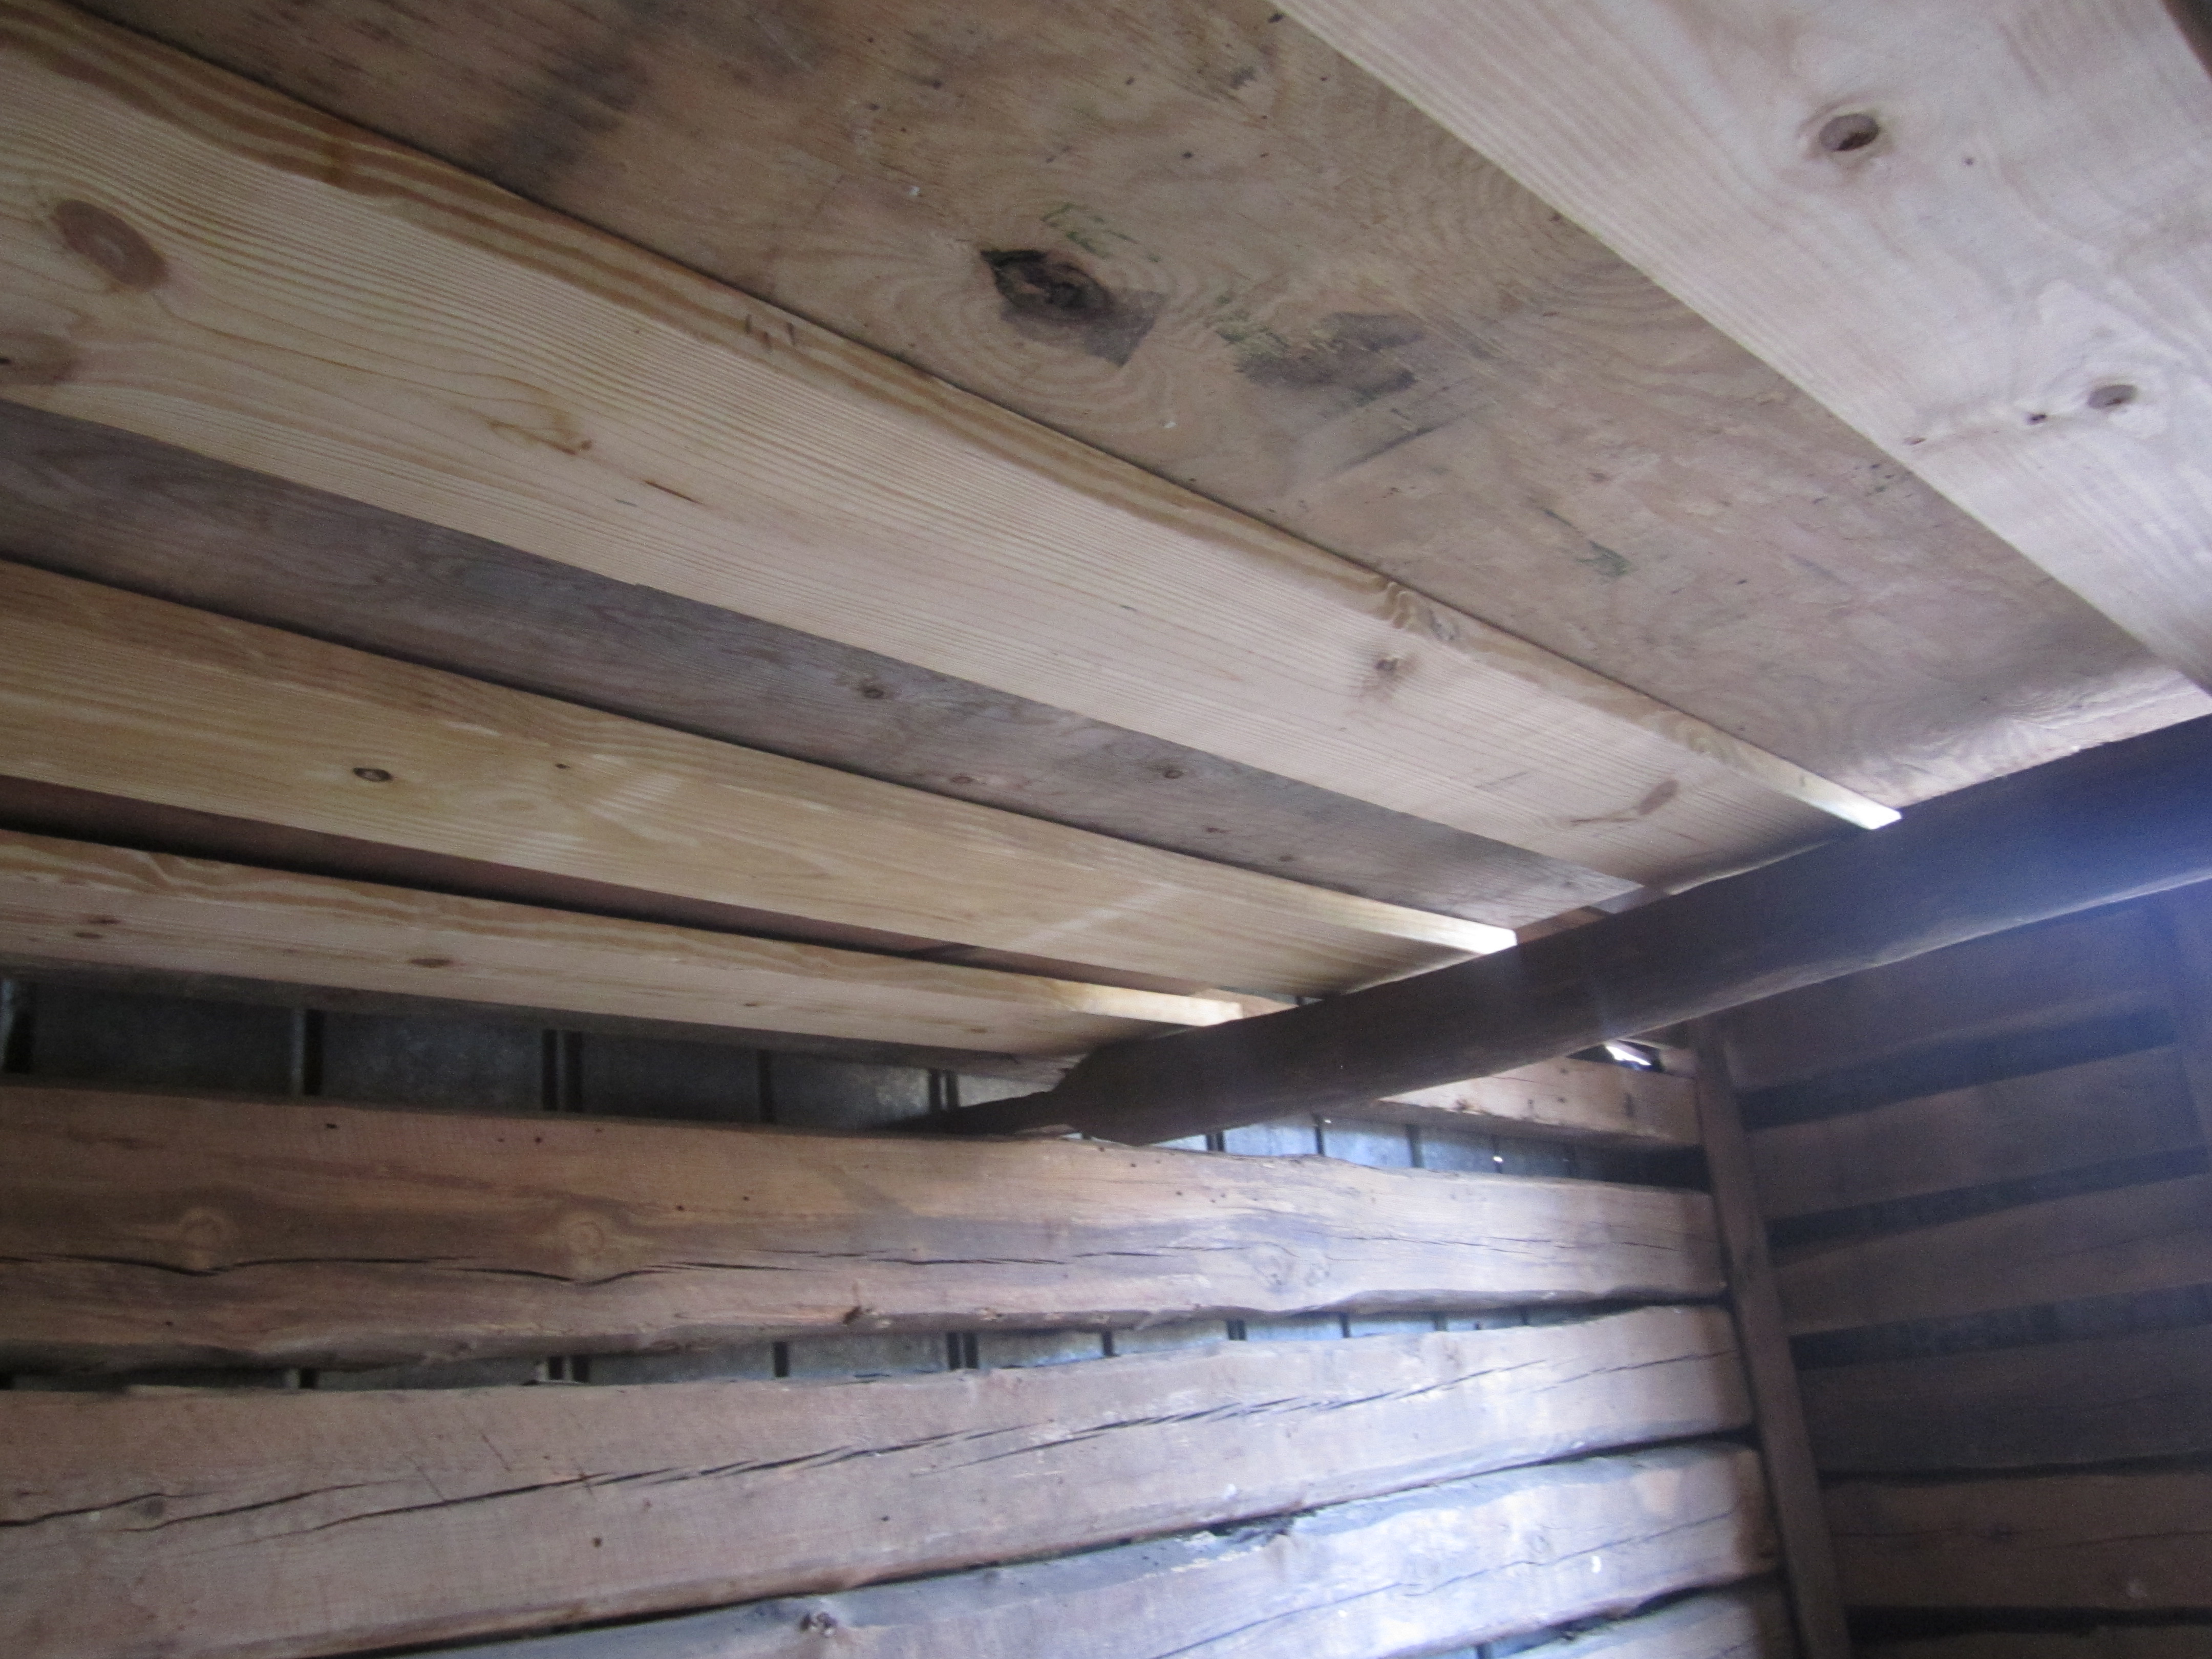
Once the squirrel family moved out, we could start on our construction. We used 2 heavy, pine poles that were made to fit the shed as supports, and added 6 of the 10 foot x 10 inch boards that we covered in cloth and used as seats for our wedding. On top of these supports, we layed down heavy plywood and a couple other miscellaneous pieces of wood to make sure the floor would be solid.

Pine pole supports!
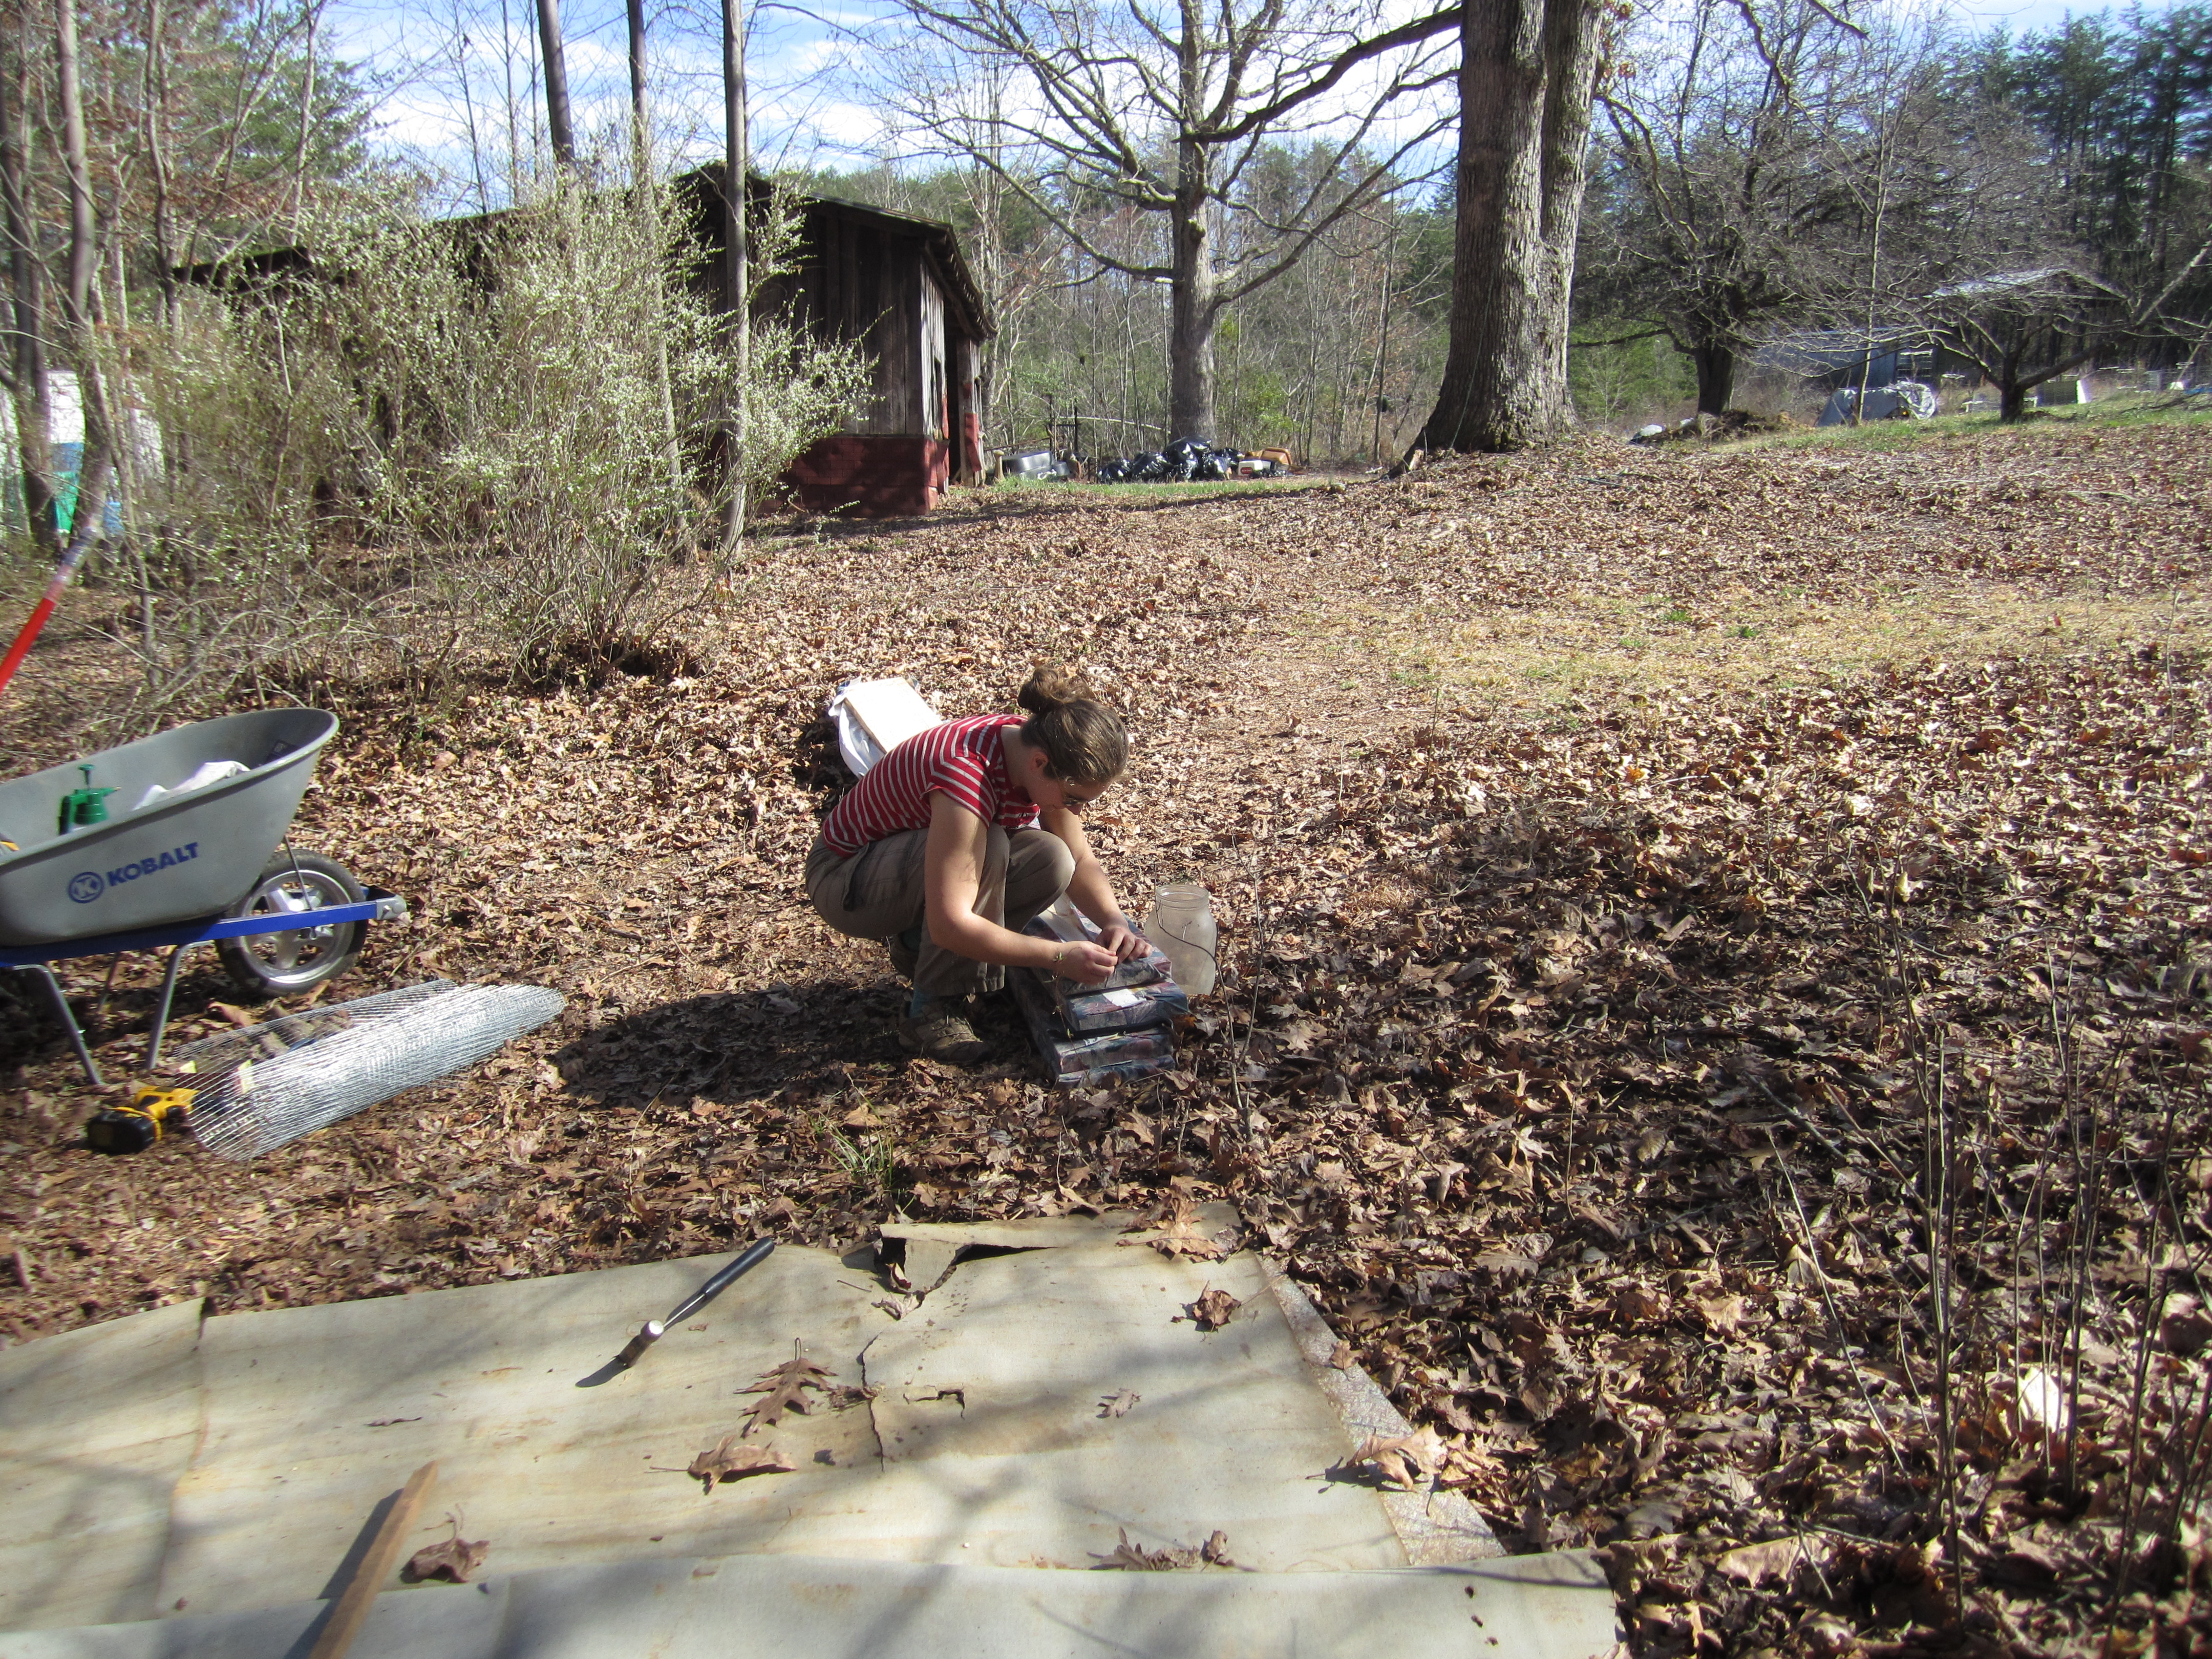
Emma removing fabric from the boards.

The boards go on the pine poles…
- The second story!
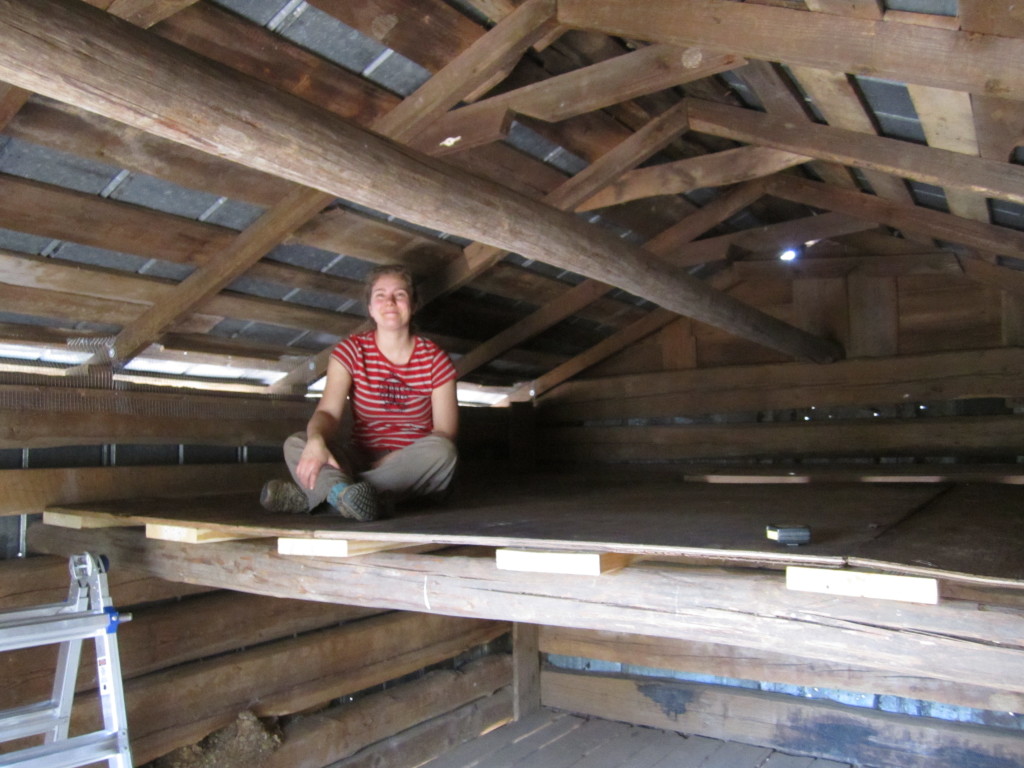
The second story!
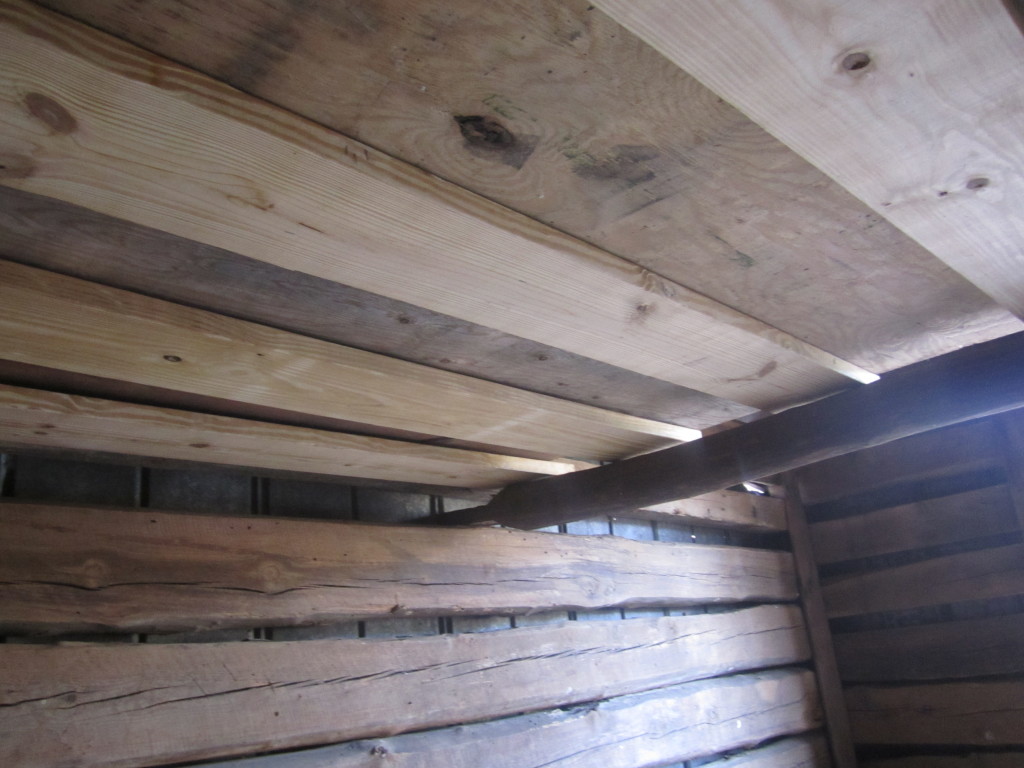
A view from below!
- A view from below!
This created a second story in the shed, about 4 feet high, that will be the turkey loft!
More about the downstairs and about predator-proofing the shed…
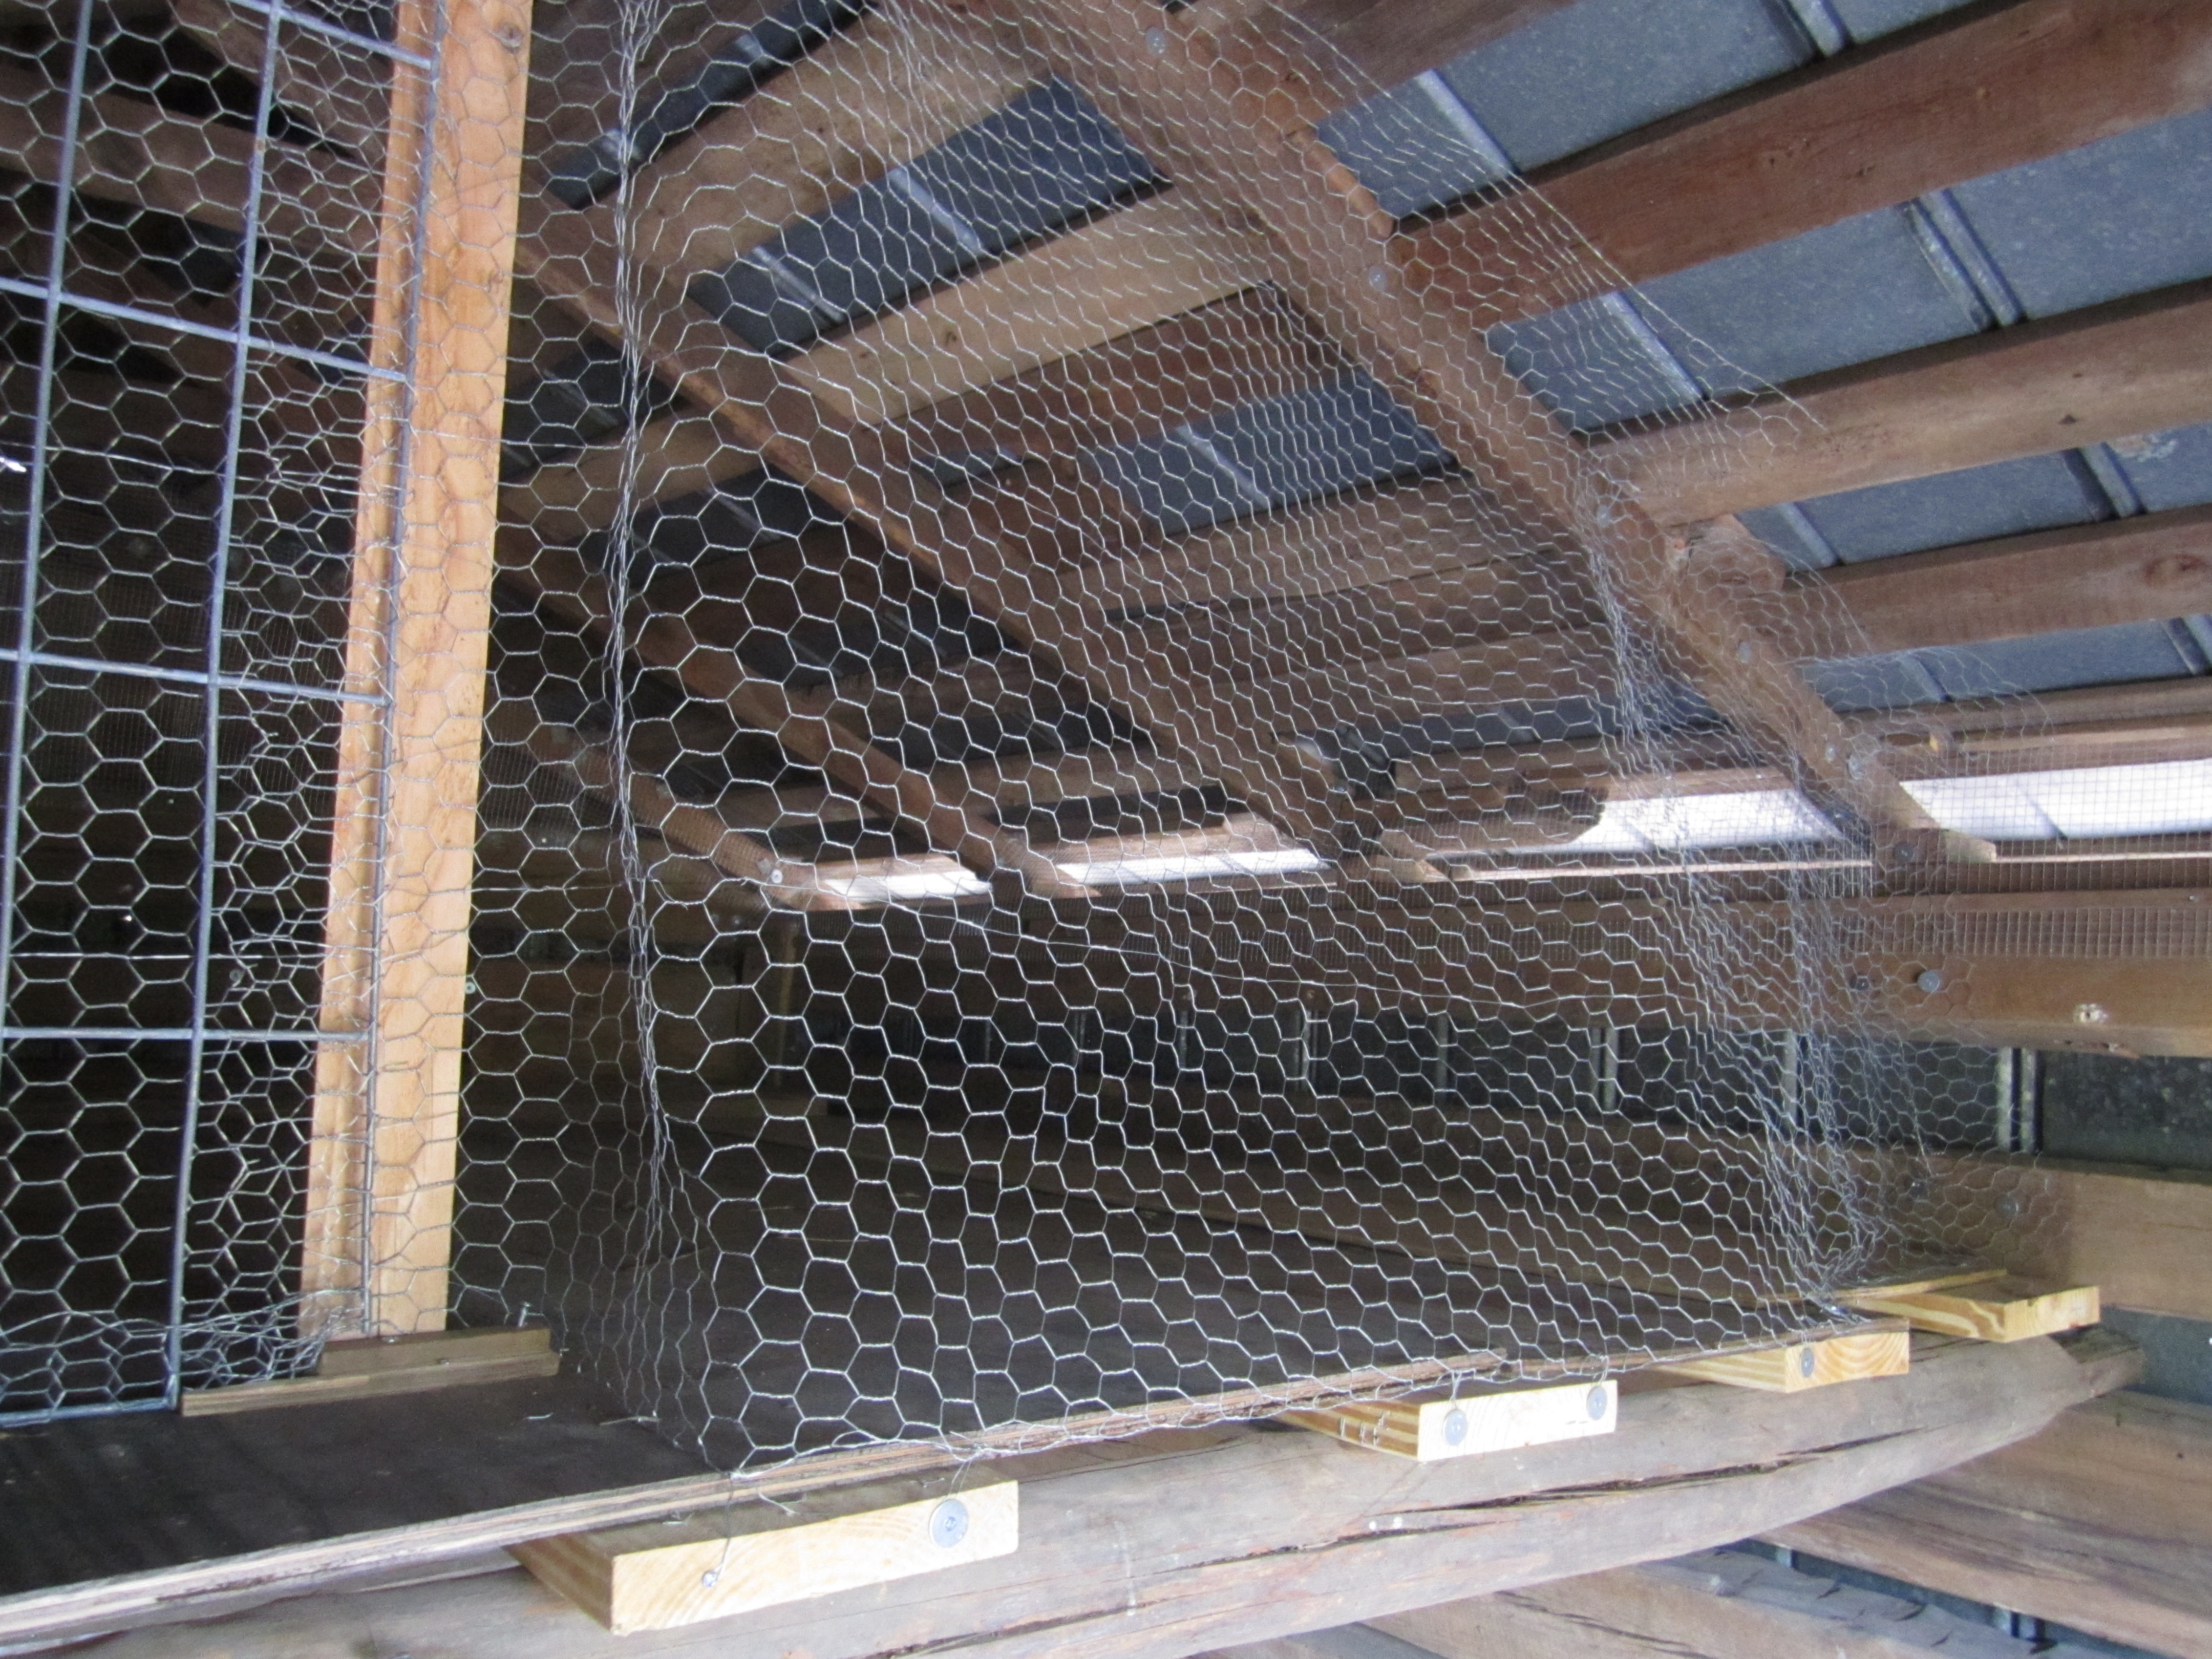
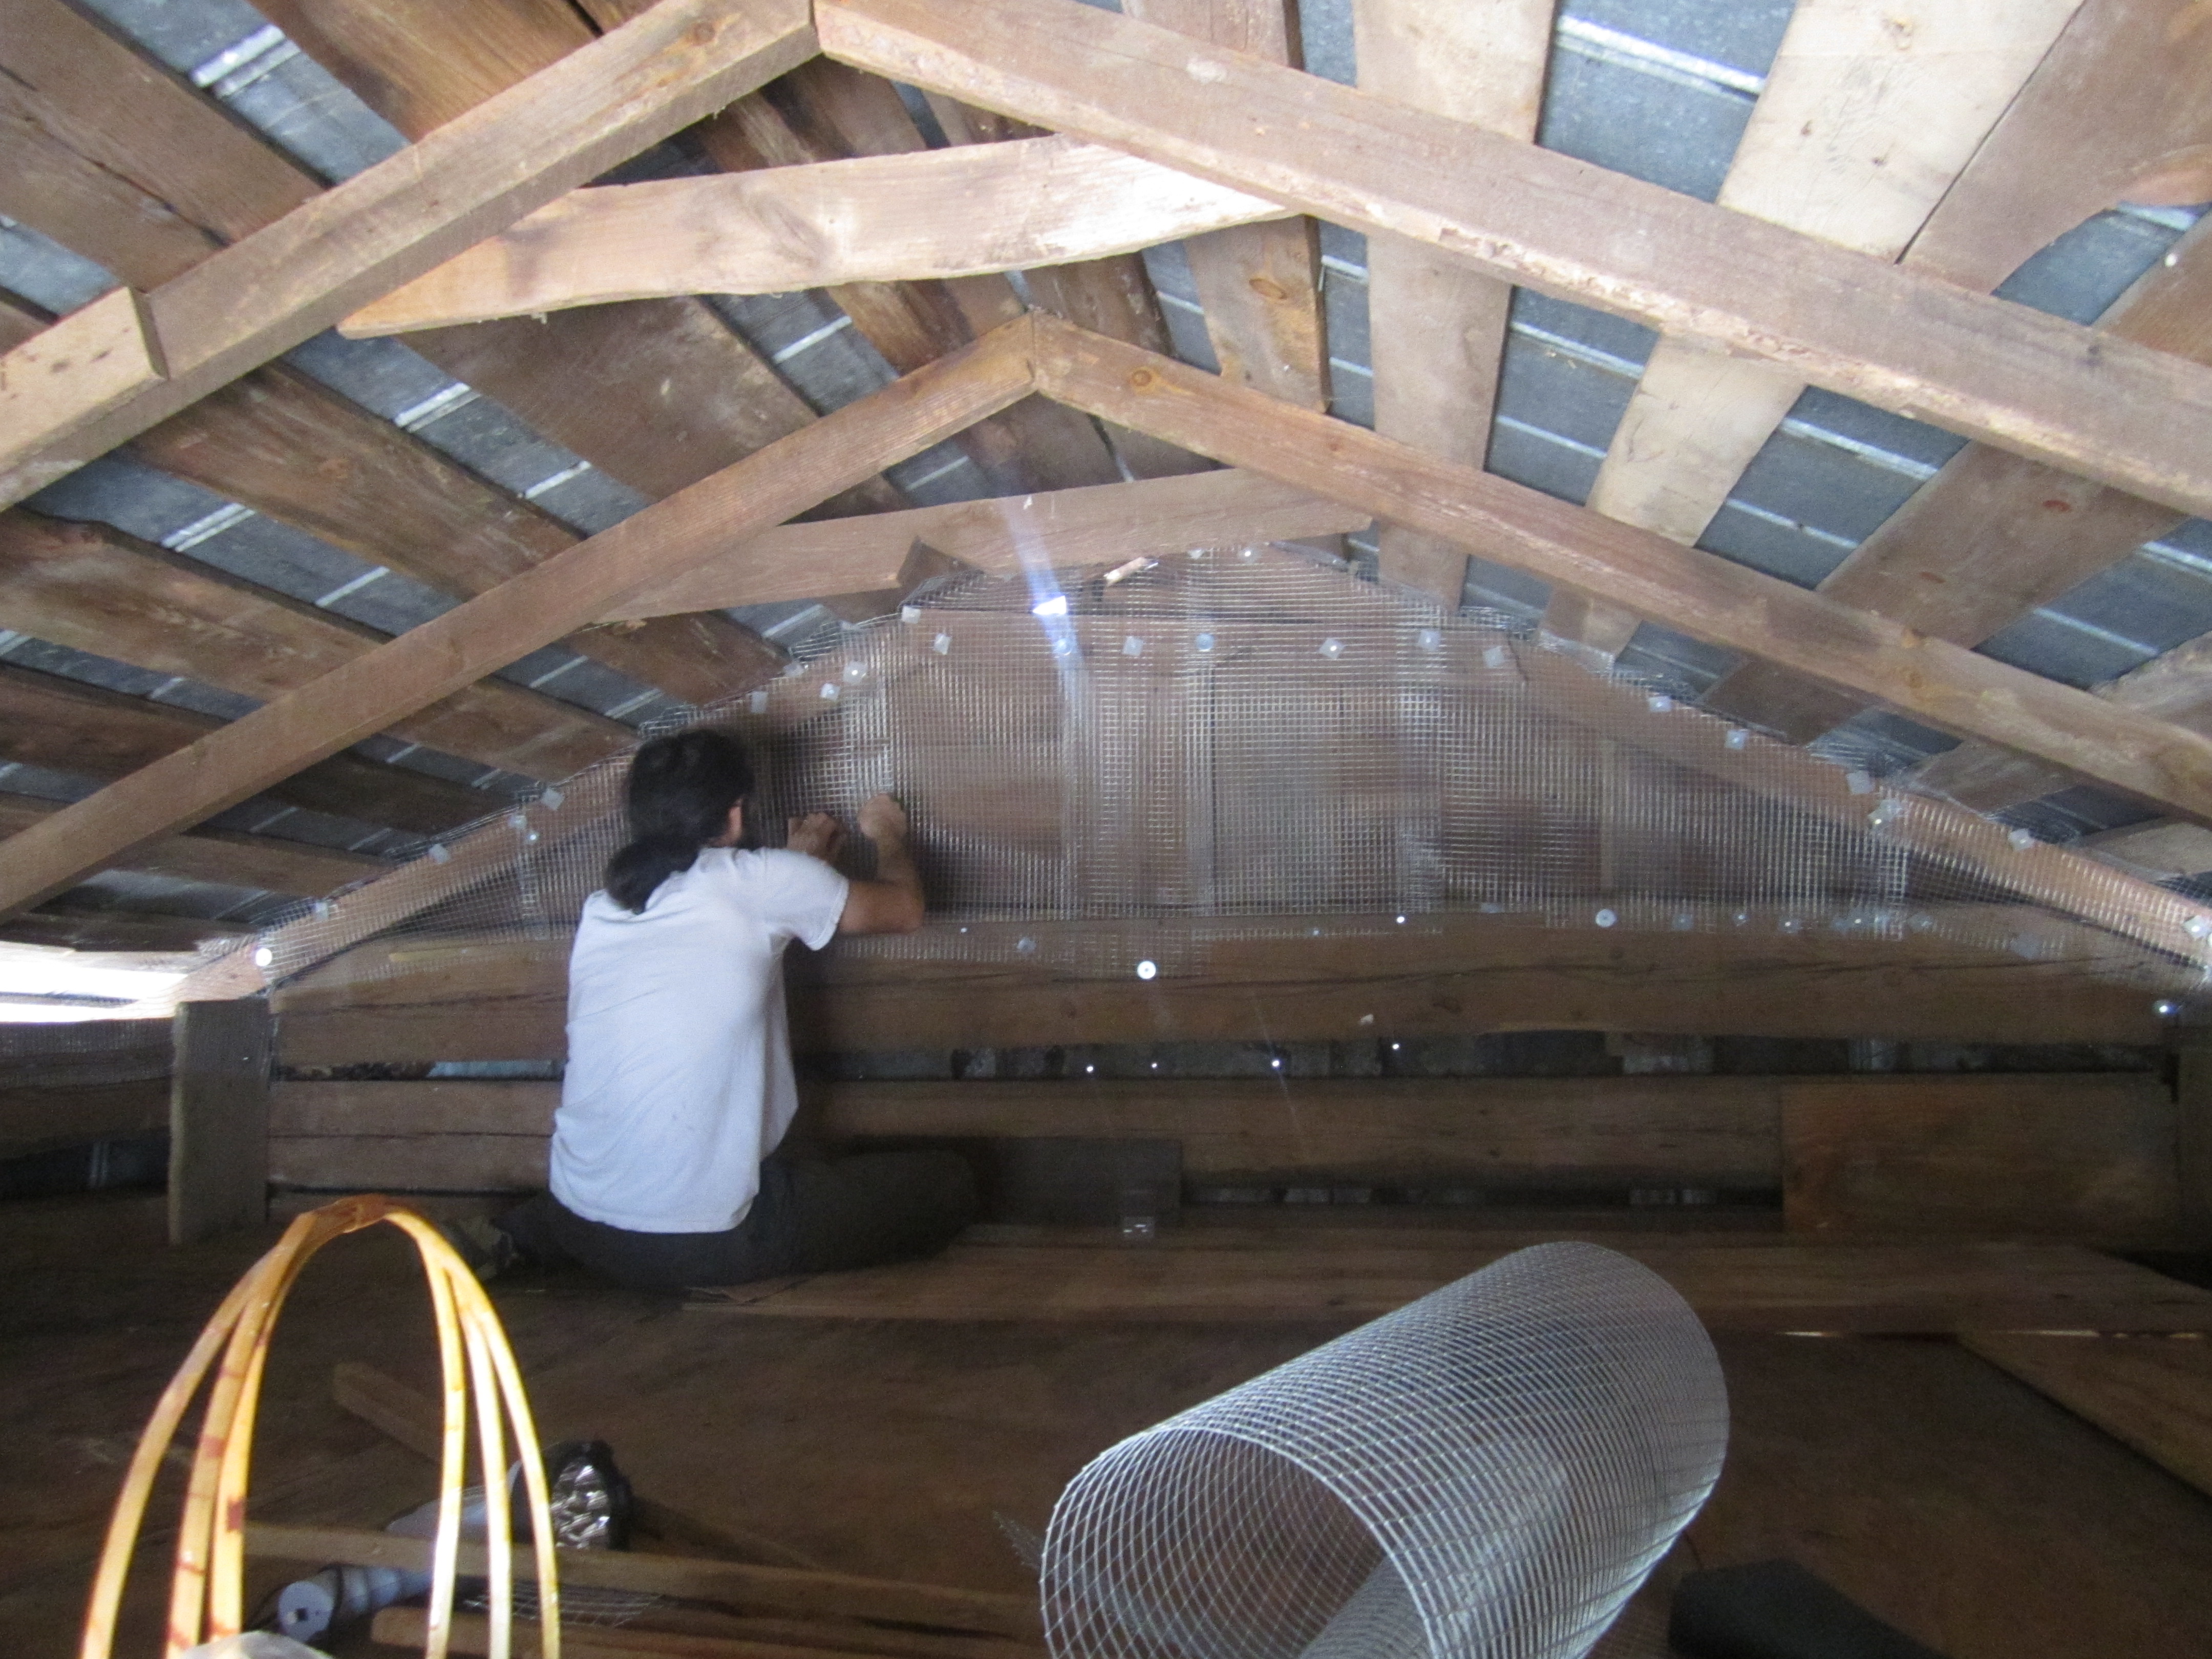
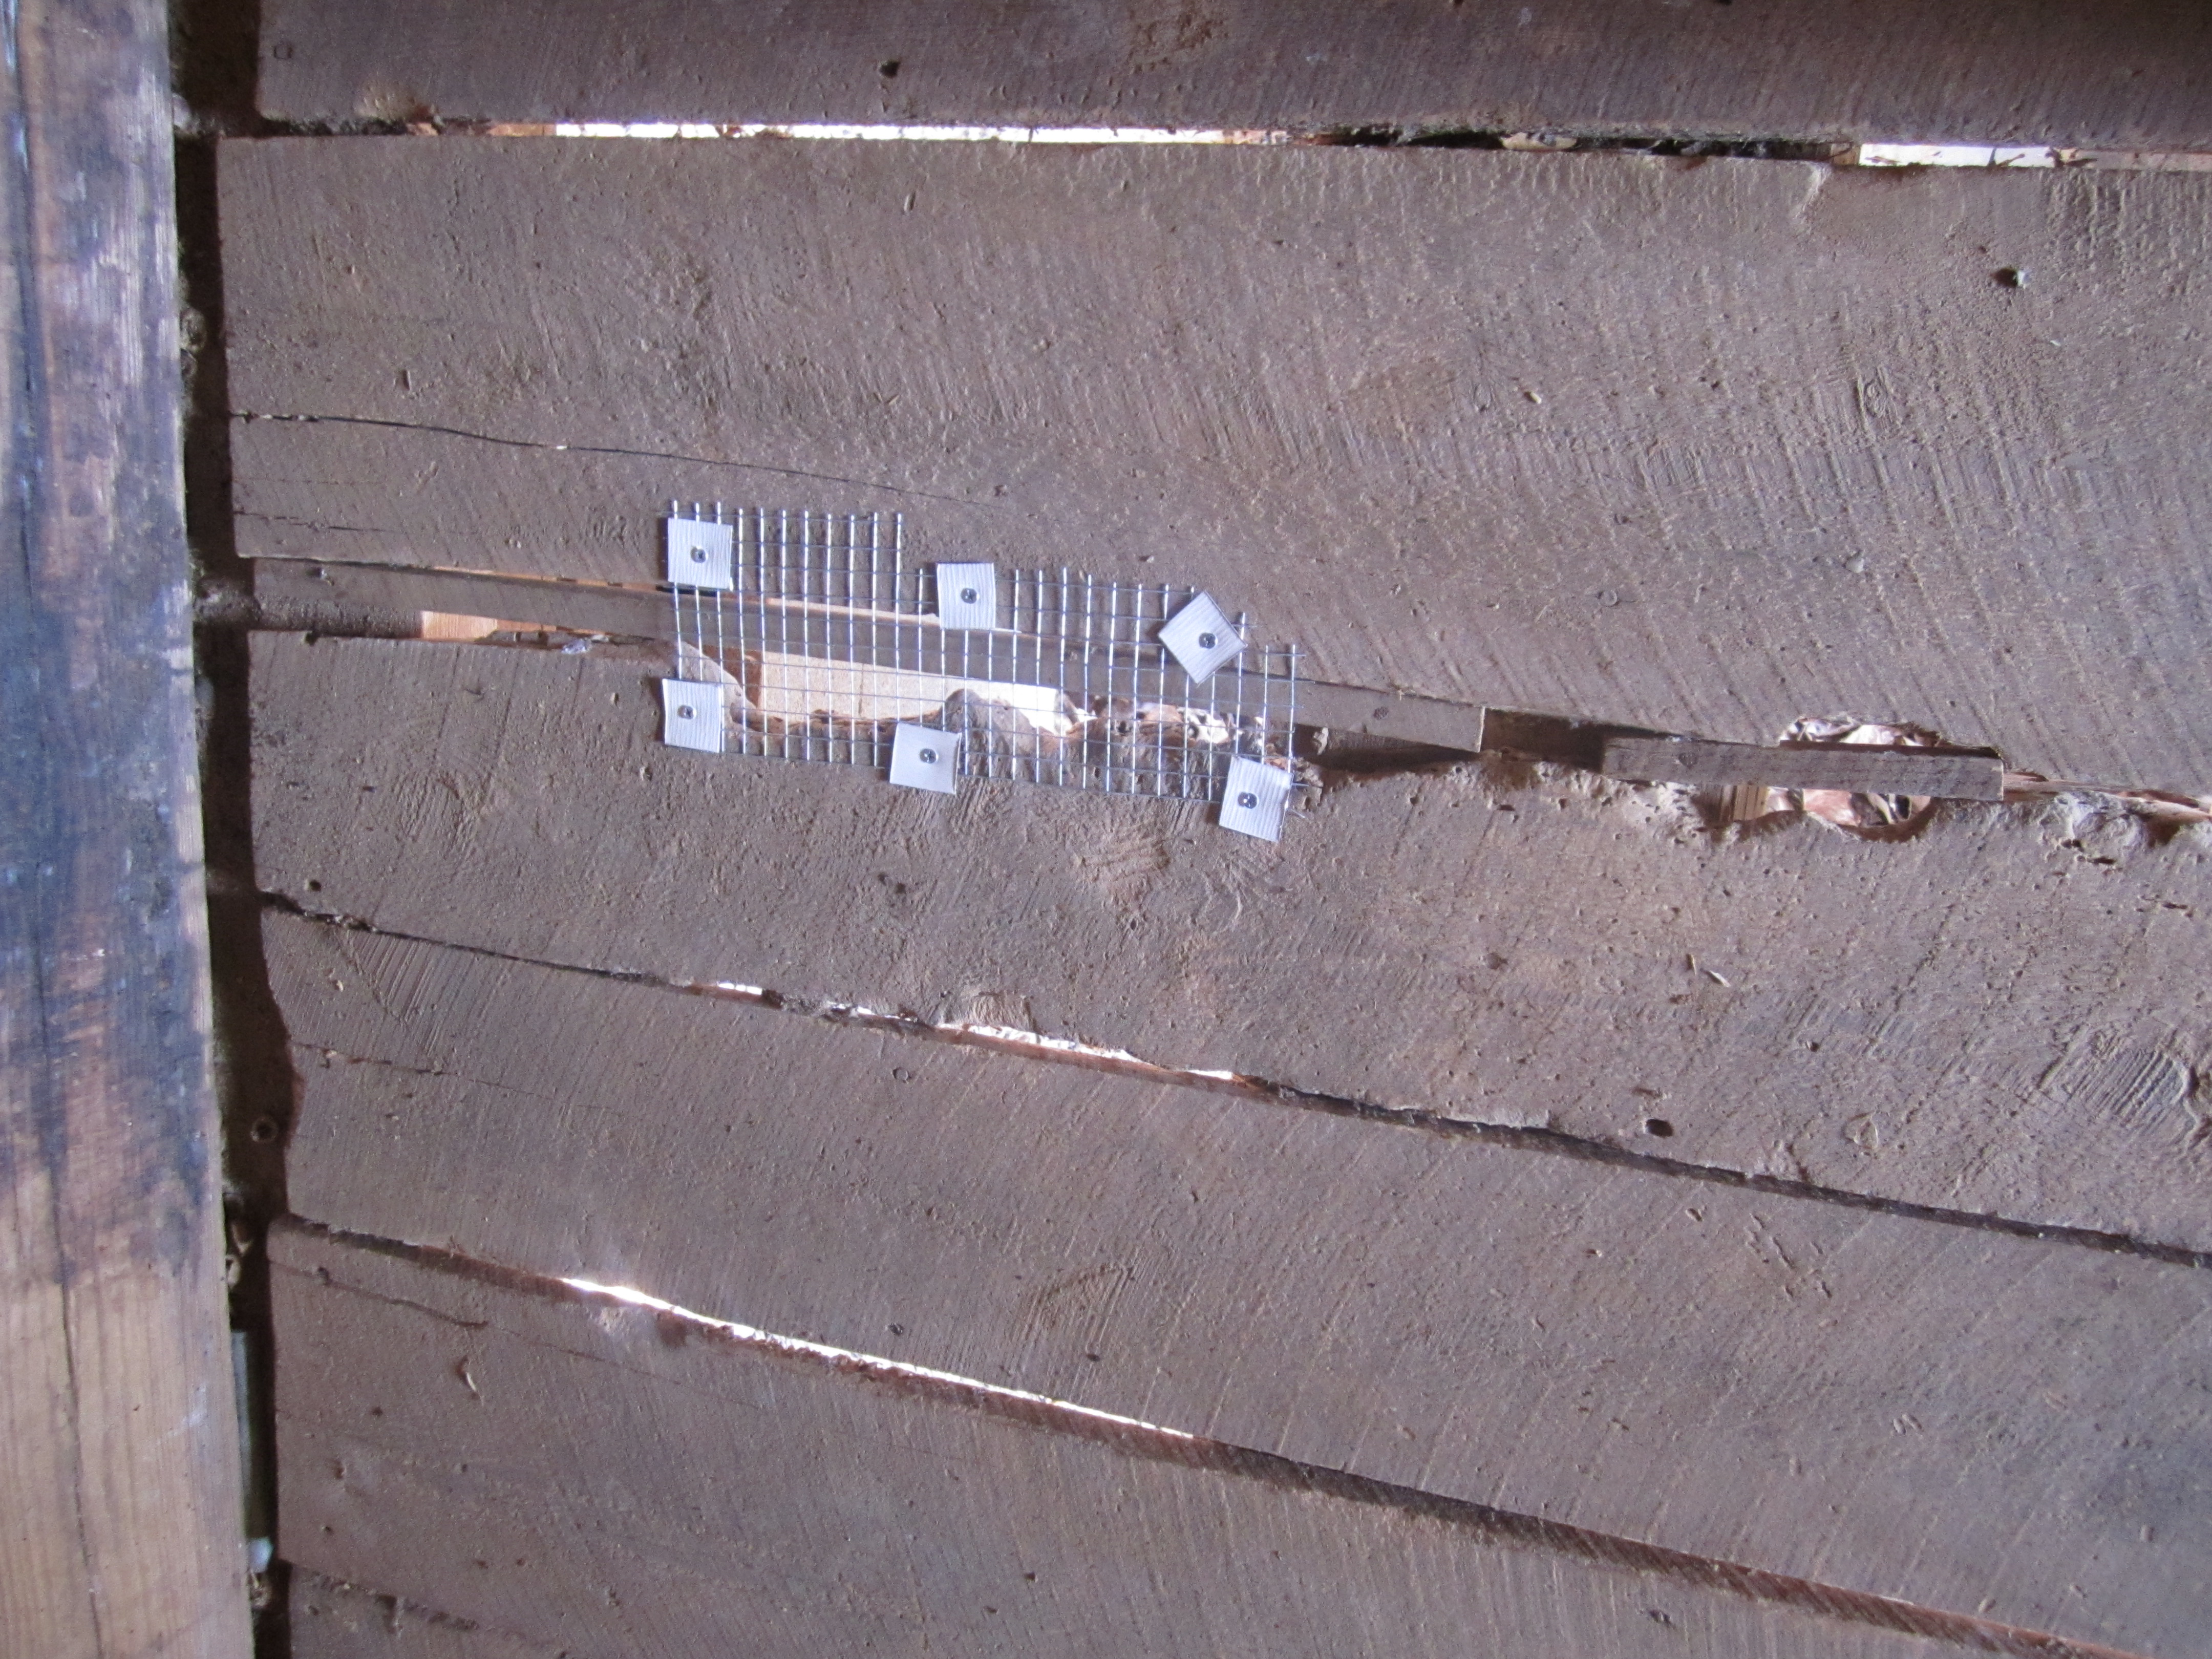
Jason attached pieces of hardware cloth to the natural openings near the top of the building, so they could still provide ventilation and light, but so that no racoons or oppossoms could get in. This took a really long time and lots of energy!
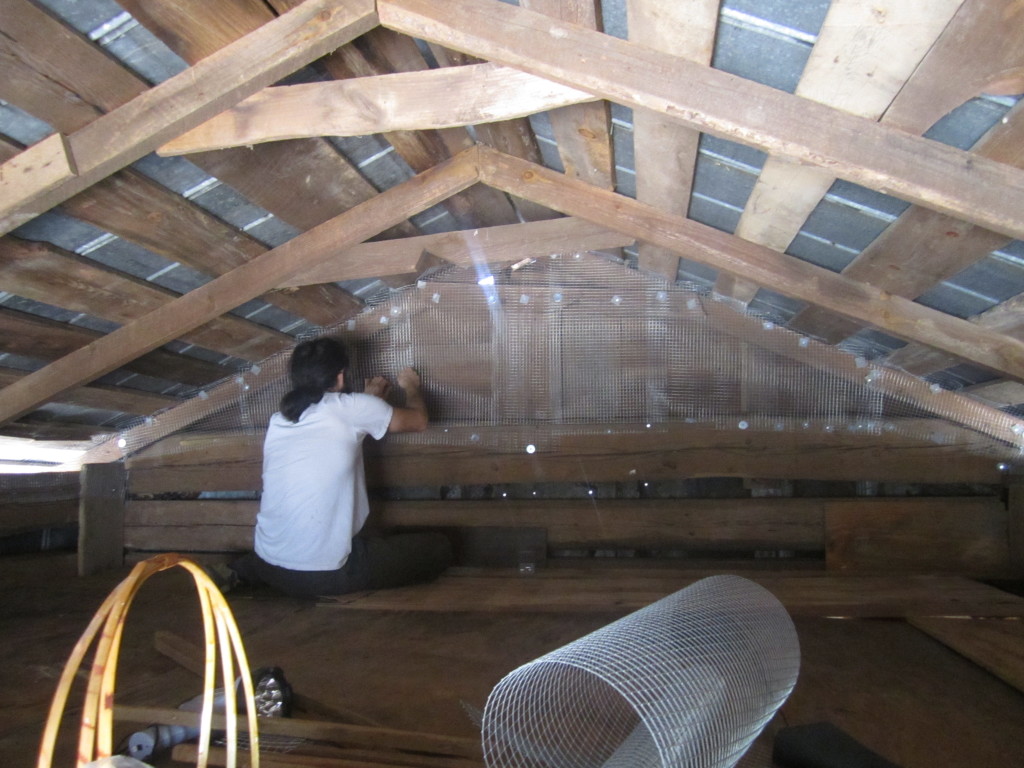
Jason attaches hardware cloth.
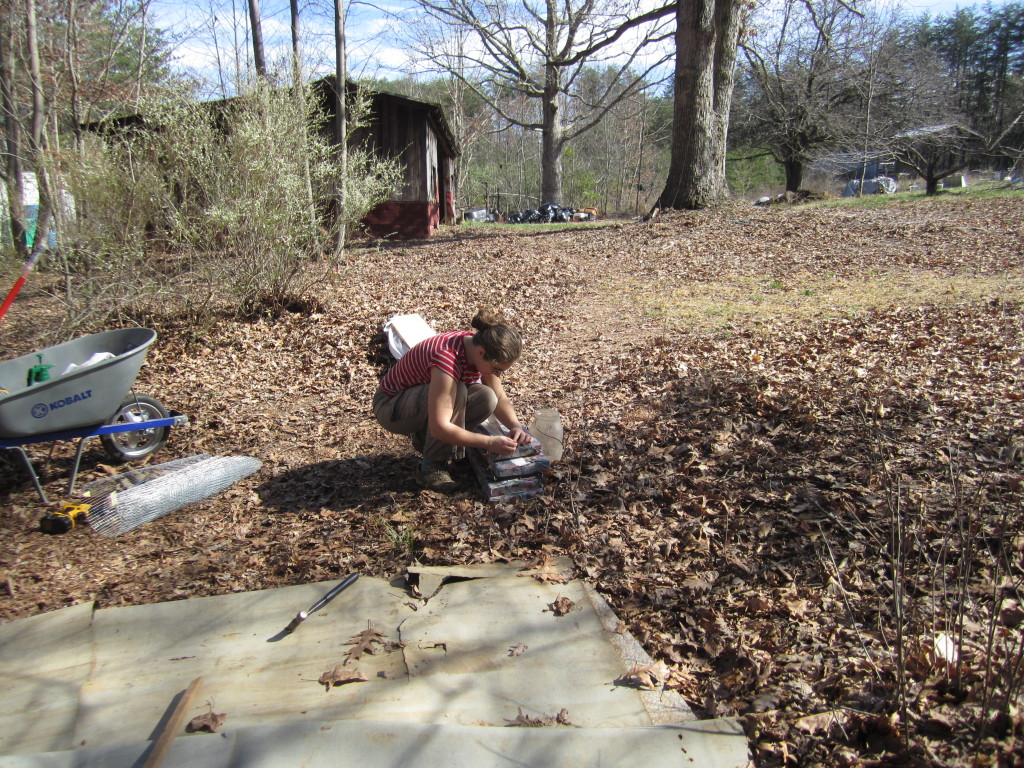
While he did this, I patched holes or gaps in the floor, sometimes with skinny tobacco sticks and sometimes with hardware cloth.
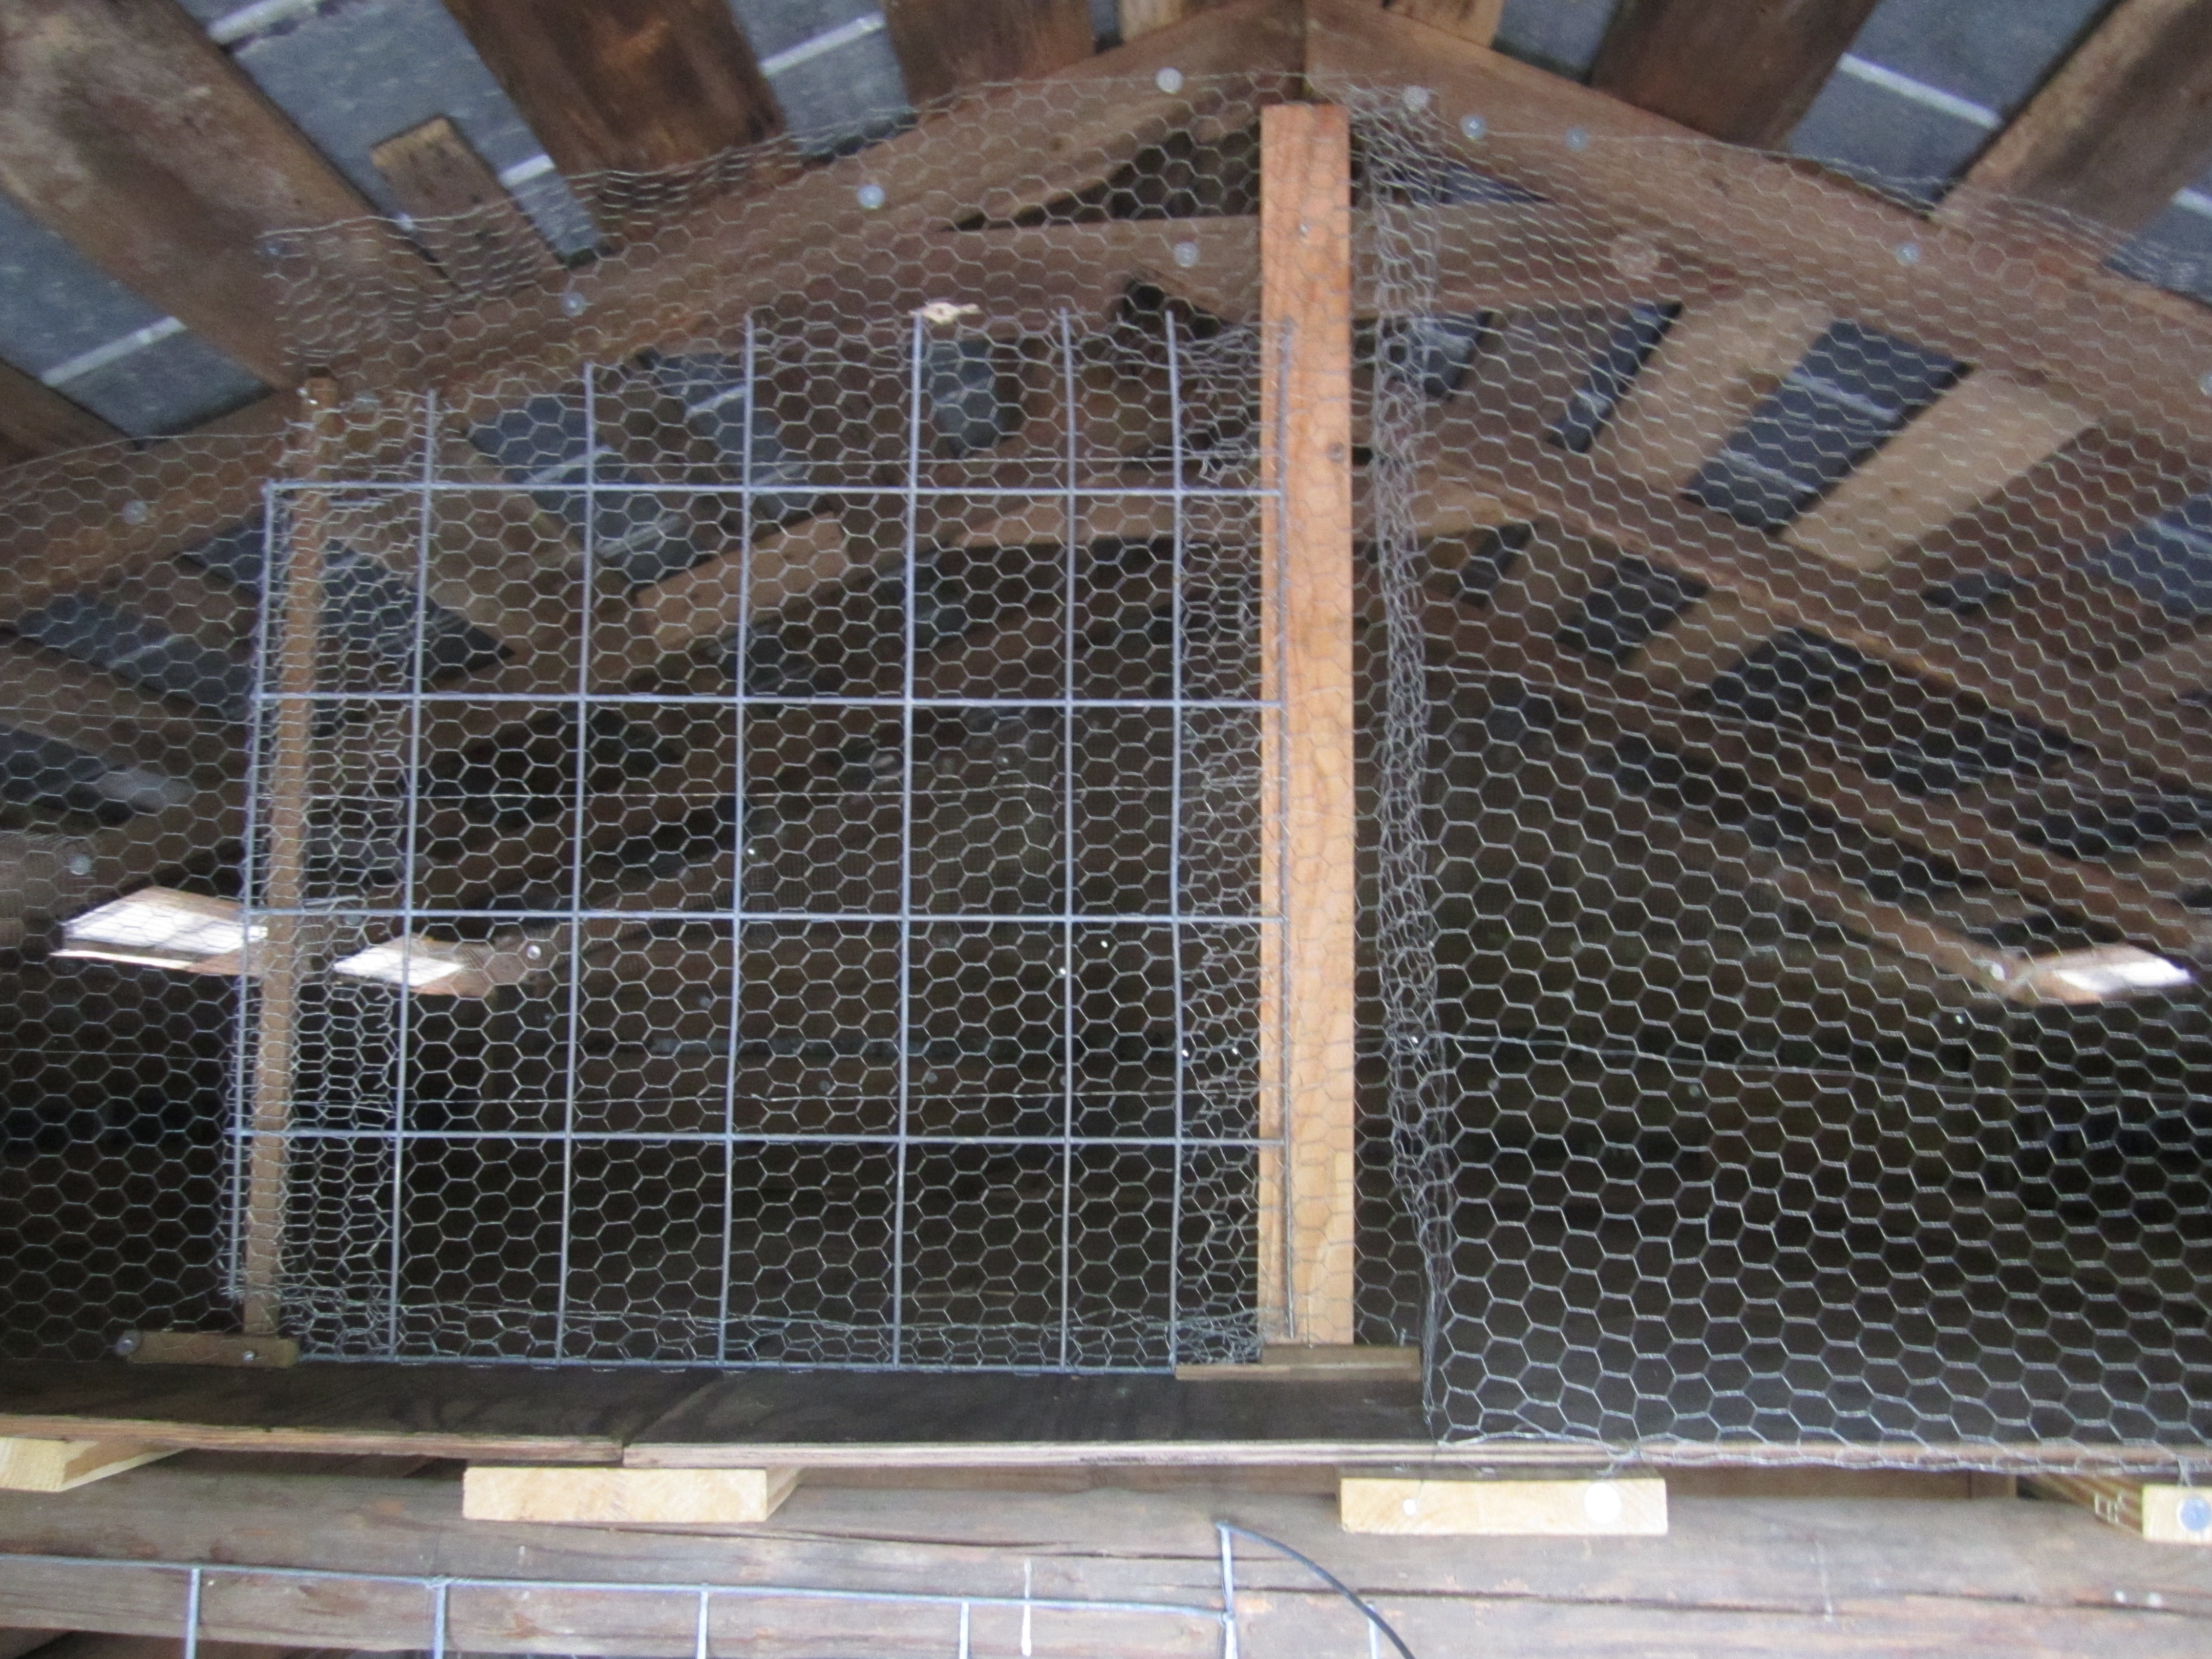
I also made the gate that would keep the ducks from having the entire downstairs area for themselves. The gate blocks off one half of the front, walk-in space so that we can store feed there and have access to the turkey space above.
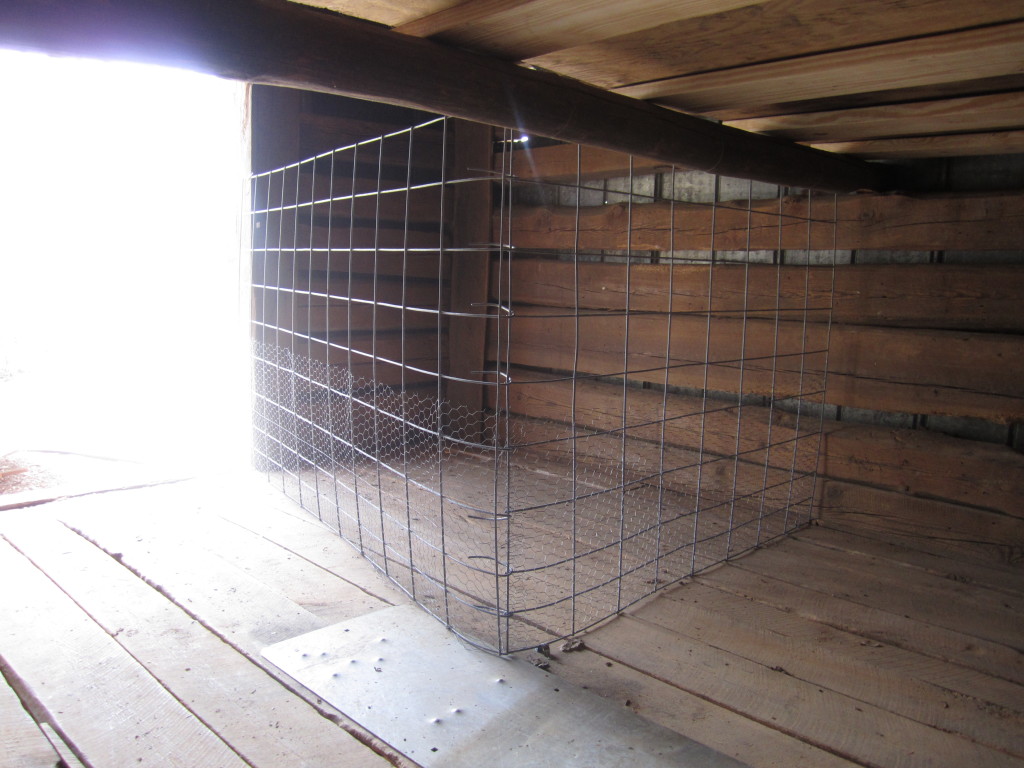
The duck-free space beyond!
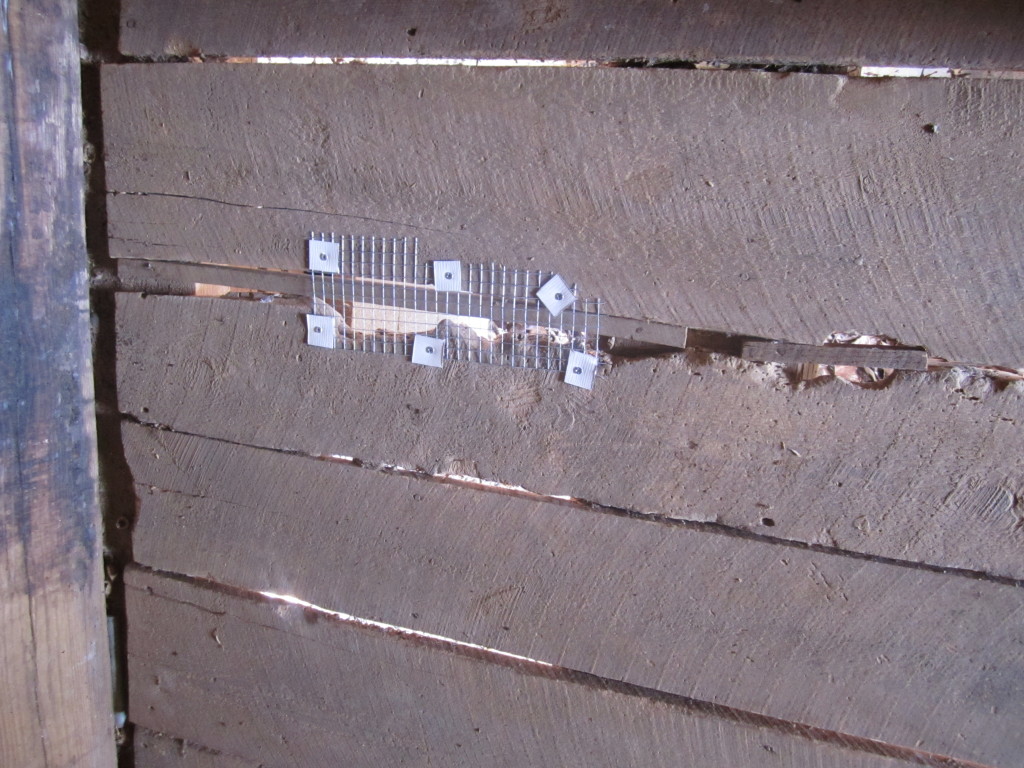
Patching holes.
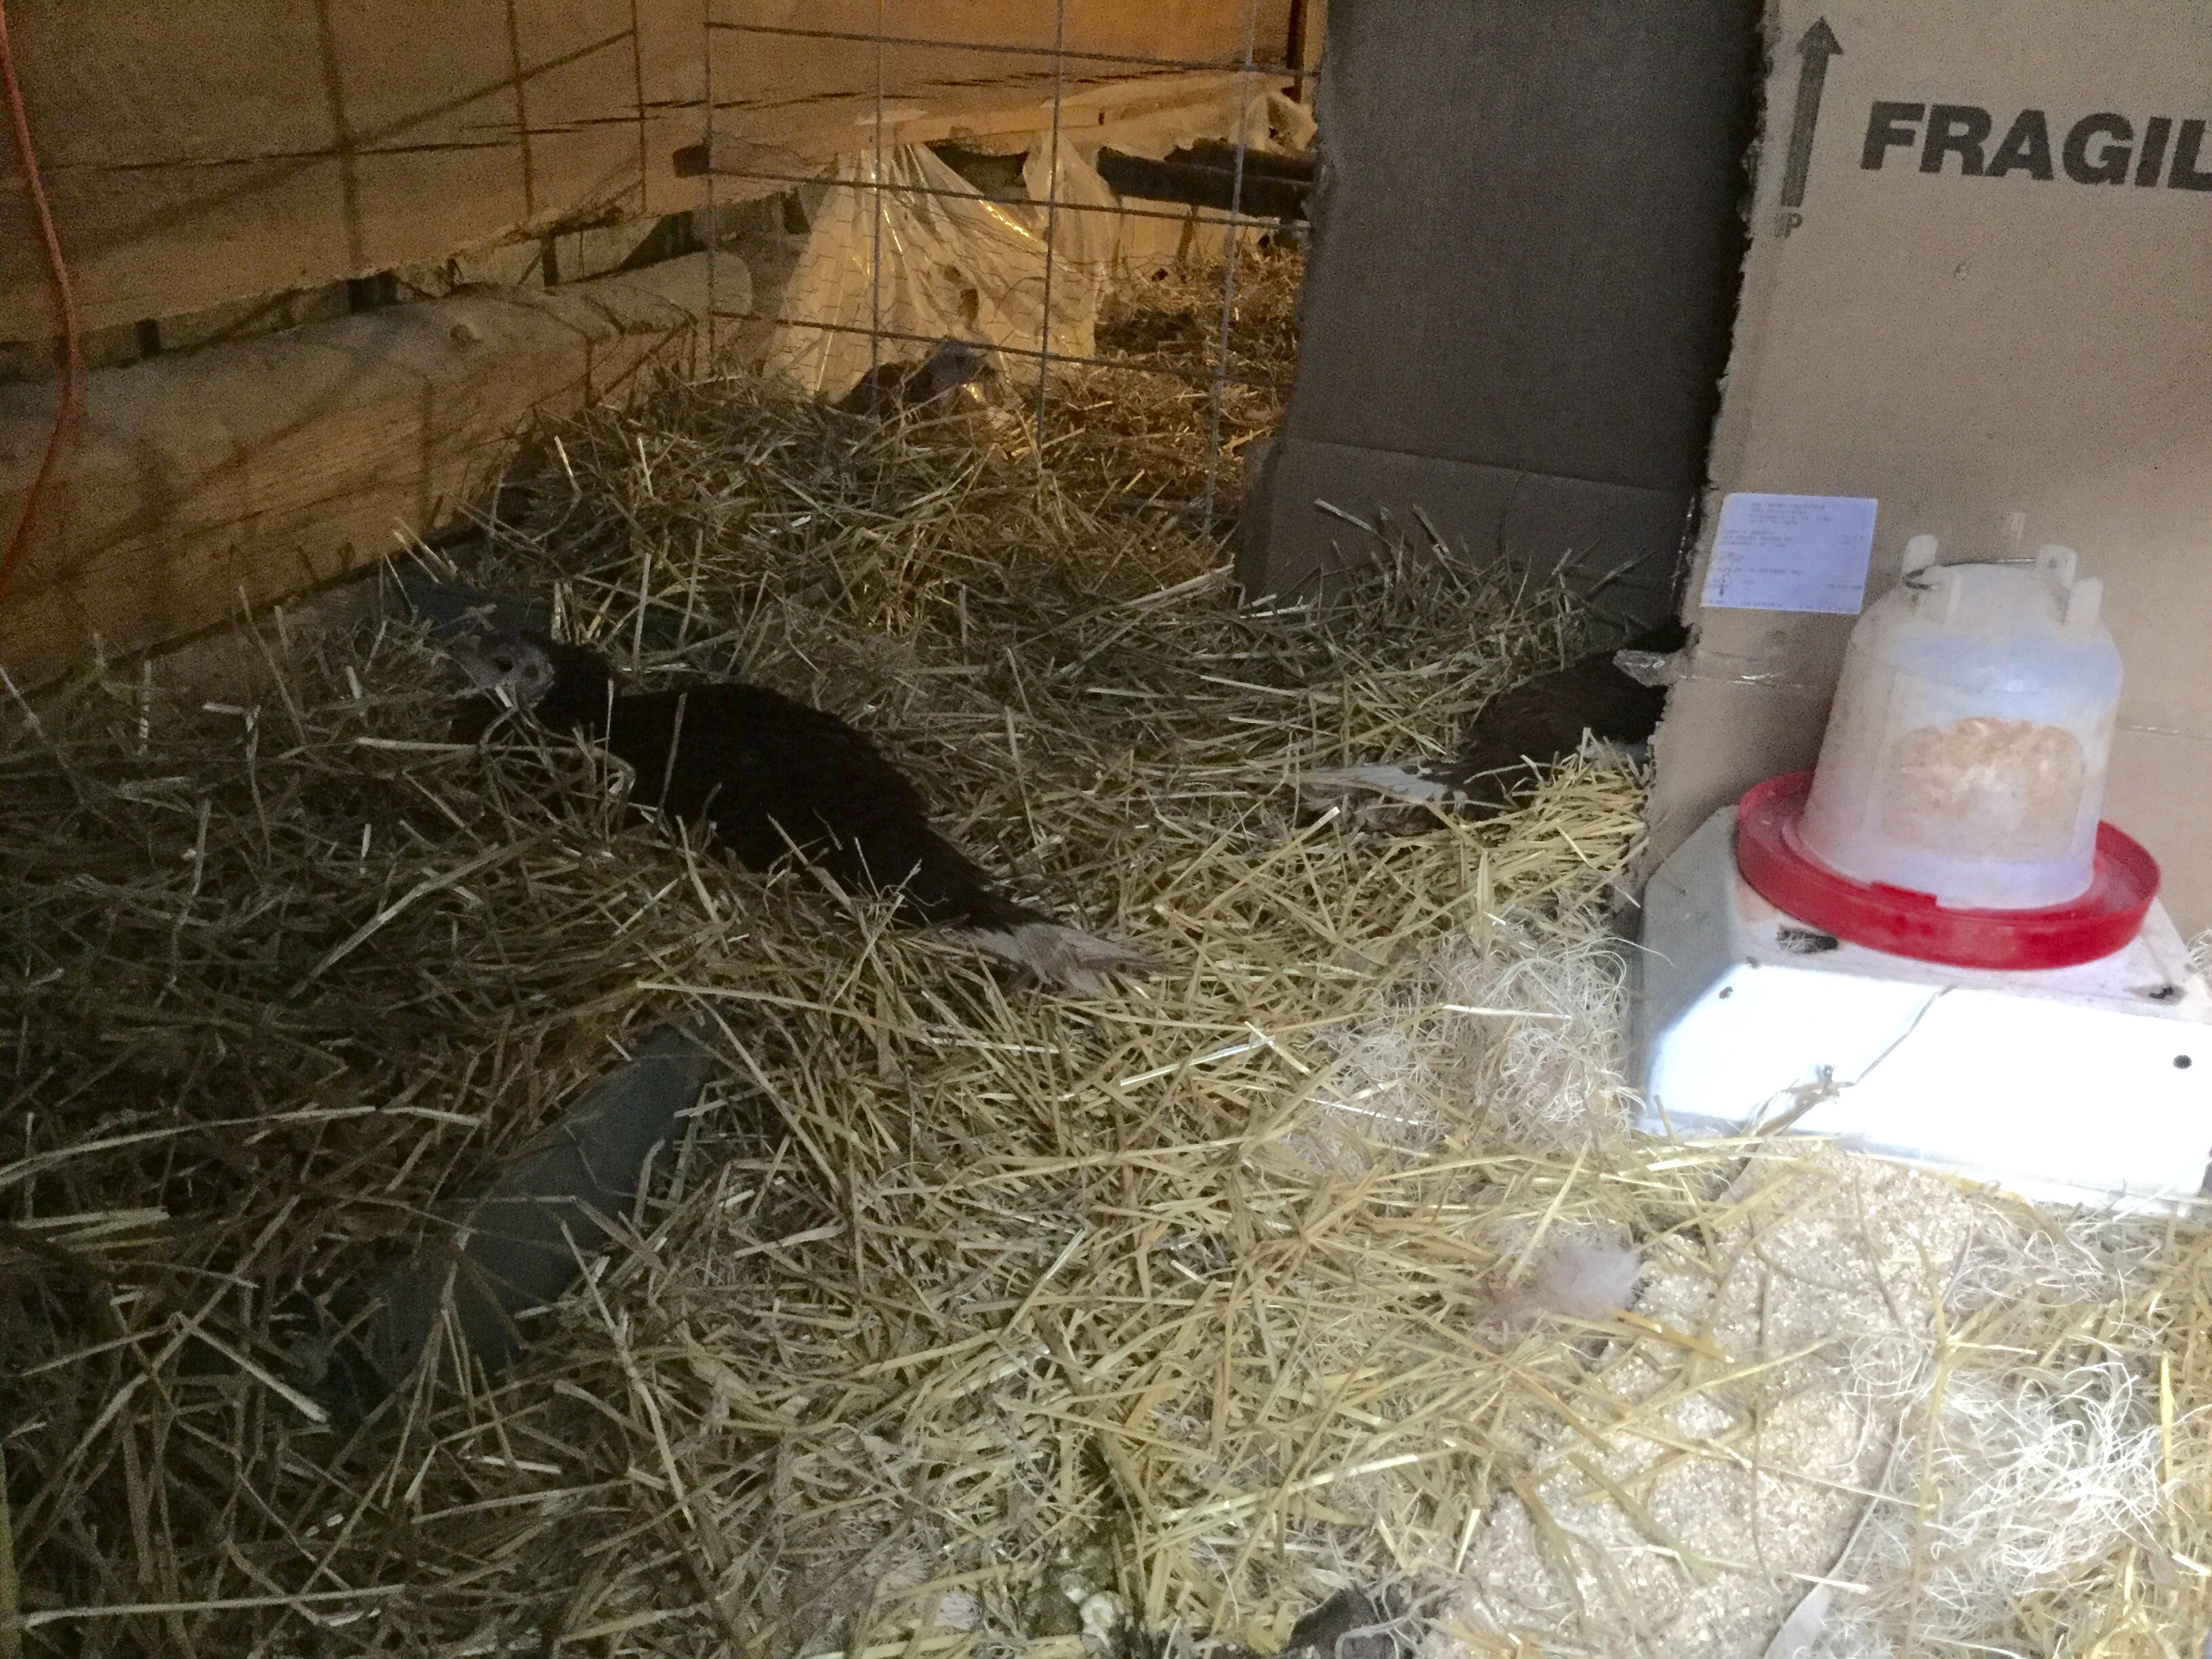
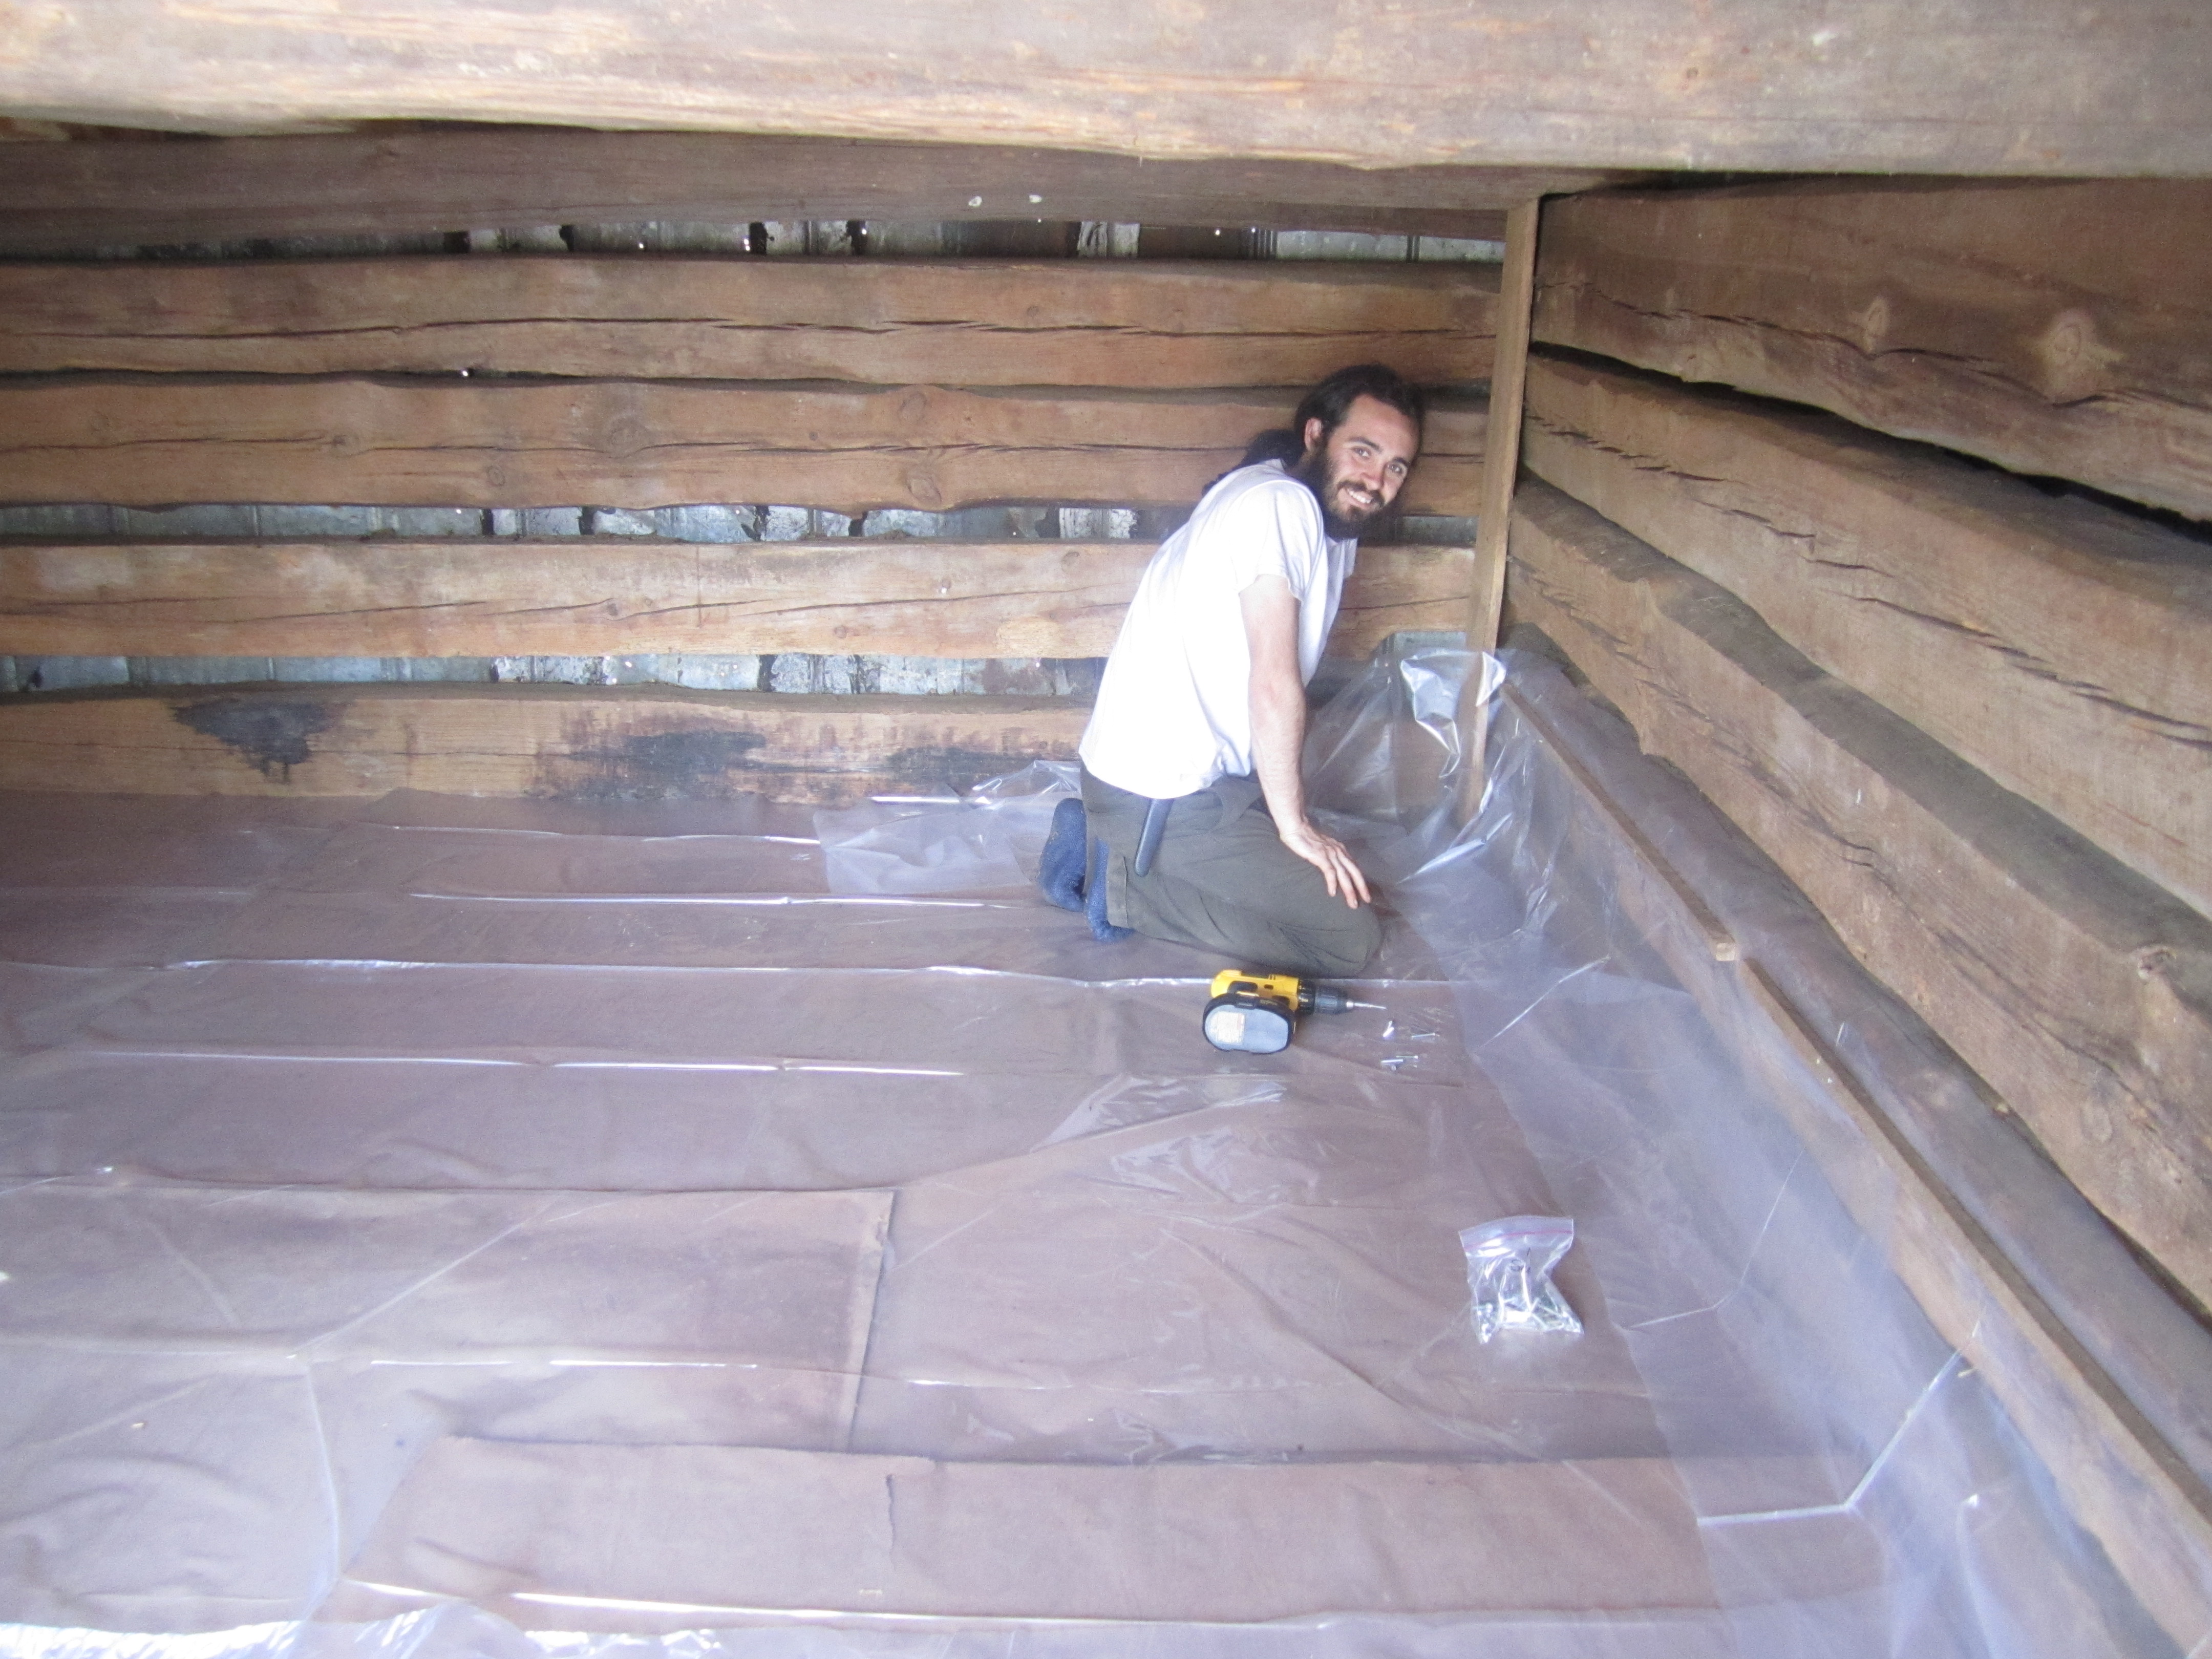
We used the old, cardboardish material to line the floor and on top of that we put a layer of plastic with “skirts” that ran up the walls to protect the wood from duck poop. A third layer was added: more plastic! This way we can be more certain that the duck poop and bedding will be easy to drag out and clean!

Adding plastic “skirts.”
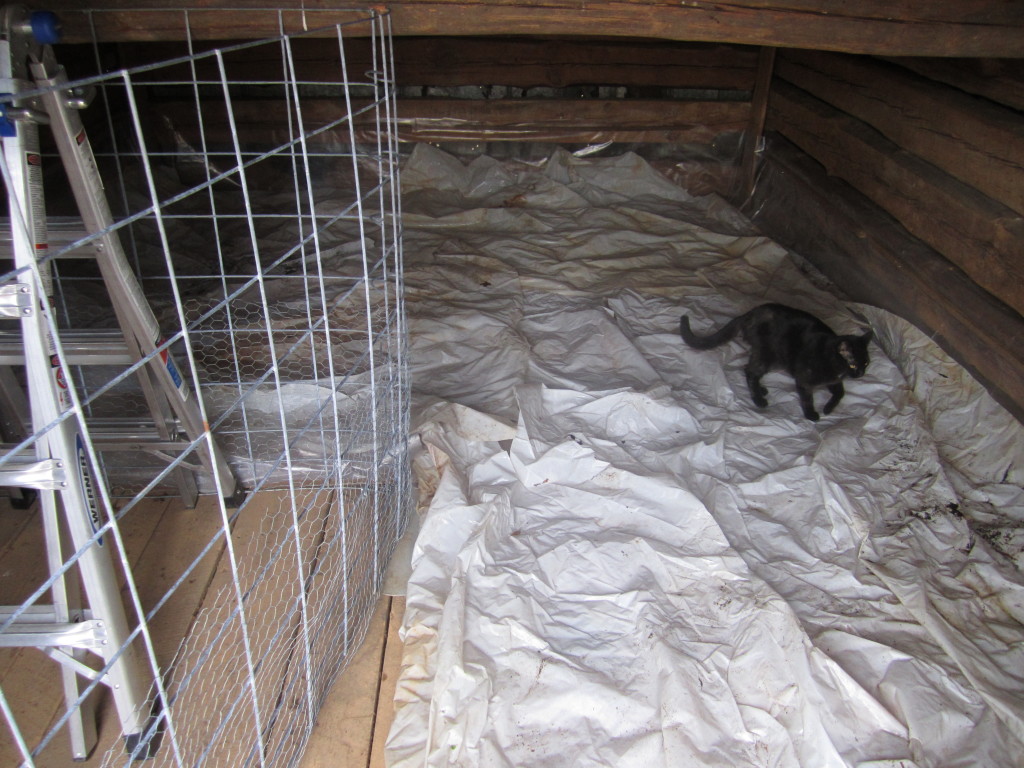
Dodger helps with the last layer of plastic.
One must duck in the house!
When we were finally done with the predator-proofing and the downstairs area, we ready for dinner!
.:.