KW Homestead

Pasture Raised Poultry & Edible Landscaping Plants Since 2013

Month: July 2014 (page 1 of 3)

Easy Ping-Pong Table Base

A while back we were given an awesome ping-pong table top. It’s a full regulation size table measuring 9 feet long and 5 feet wide, and is a great quality table. The only thing we needed to do was construct a base for it to sit on. We threw around a few different ideas; using sawhorses, building a frame out of lumber, screwing it to 4 or 6 legs, but never really came up with anything great. So we forgot about it for almost a year.

ping pong base

But the other day, for some reason, Emma decided that we should finally build that base for our ping pong table. We started brainstorming again, and were about to run to Lowe’s for some building materials when we figured we should check out how stable the table was. We realized that it was very stable just sitting on something, and after a few measurements, we settled on a 6 foot long plastic folding table. The folding table is 29 inches tall, and with the ping-pong table on top, it is just shy of the regulation height of 30 inches.

IMG_2186

This simple solution saved us from having to build a complex base, and allowed us to start playing way sooner than expected. It’s also portable, and able to be broken down completely and put away. But not that we’ll want to put it away because playing ping pong is so much fun!

pickling cucumbers, tomatoes, and greenbeans!

today i spent a portion of the day pickling some our veggies for eating later in the year.

so far, jason has been the only pickling champion in the house so today i decided to try my hand at it.

i did 6 jars of veggies today… 2 jars of arkansas pickling cucumber slices, 1 jar of arkansas pickling cucumber spears, 1 jar of arkansas and white wonder cucumber spears, 1 jar of green tomatoes, and 1 jar of greenbeans.

i did some experimenting with spices, so we’ll see how that goes!

cucumber slices with garlic, dill, and jalapeno slices.

cucumber slices with garlic, dill, and jalapeno slices.

cucumber spears with garlic, dill, and jalapeno slices.

cucumber spears with garlic, dill, and jalapeno slices.

greenbeans with garlic and jalapeno slices.

greenbeans with garlic, jalapeno slices, and dill.

green tomato slices with garlic, thyme, and basil.

green tomato slices with garlic, thyme, and basil.

two weeks from now,  we’ll see how they taste!

.:.


German Egg Pancakes with Fresh Picked Apples

I first came across German Egg Pancakes (Eierkuchen) while searching for a recipe for pancakes with lots of eggs. You see, with a homestead flock of almost 30 chickens we have a surplus of eggs, and sometimes it’s nice to whip something up that can use a dozen or more . So, when I found a recipe for German egg pancakes that called for 6 eggs per 1/2 cup of flour I was pretty excited, and after tinkering around a bit with it, it has become our go to for pancakes.

german egg pancakes with apples

German egg pancakes are thinner and denser than traditional pancakes, but full of flavor and are very filling.

The basic recipe we’ve settled on is:

  • 6-7 eggs
  • 1/2 cup flour
  • 1/2 cup liquid (milk, coconut milk, water, I’ve even used beer in a pinch)
  • 1/2 cup melted butter or coconut oil
  • a pinch of salt

These are all whisked together, and then poured, thinly, into a well greased cast iron pan. A quick fry on each side, and that’s it.

Now, these pancakes are not IHOP style pancakes. They are denser, and way more substantial. 1 or 2 thin pancakes are enough to fill you up, and considering their nutrient profile (high fat, high protein, and low carb) you stay full.  Another great thing about these paleo pancakes are that they are not just for breakfast.

german egg pancakes

A cast iron pan with a little coconut oil is perfect for these thin pancakes.

We’ve had savory pancakes for dinner more than a few times. We’ve made basil pancakes with a golden ale as the liquid and used the base recipe as a tortilla-esque wrap for sausages. Because this recipe calls for such a small amount of flour, it’s easy to substitute alternative flours like almond flour, acorn flour, or cattail pollen for a unique and tasty treat.

For breakfast, milk works best, and about a 1/2 tsp. of sugar. We’ve added cinnamon, vanilla extract, and raspberry yogurt. These can be eaten plain, with maple syrup, honey, or wrapped around bacon.

Today, as we just picked over 30 pounds of an apples from an old apple tree on our homestead, we decided to try some apple pancakes and they turned out great.  I doubled the base recipe and used 14 eggs and 1 cup of flour. After mixing, we shook in some cinnamon and fired up the outdoor stove. After the pancakes are poured in, it’s easy to place thin slices of apple into the batter before flipping.

german apple pancakes

These are great with fresh coffee, raw honey, and real maple syrup. Next time you make pancakes, consider trying these German pancakes, whether it’s for breakfast, lunch or dinner.

apple picking, filling up our bags!

last week jason and i picked all of the apples on our one, mature apple tree. this one we did not plant and it was here when we bought the house and land. it is the very first tree member of our food forest. last year this apple tree did not make apples larger than the size of small crab apples, but this year, after being pruned, it made a great first harvest for us!

our (golden delicious?) apple tree

our (golden delicious?) apple tree

we’re not sure what variety of apple it is, but the apples are very similar in taste and appearance to the golden delicious apples that my parents grow. this year the apples grew to be much larger and they taste wonderful! a little sour and a little sweet–my favorite!

jason climbing the ladder to get to the apples at the top.

jason climbing the ladder to get to the apples at the top.

first we picked the lower apples on the tree, placing them into our picking bags and baskets and afterwards we brought out the ladder to get to the apples at the top of the tree. we were surprised by how many apples were actually hidden on the branches of the tree… we got so many more than we expected!

jason's picking basket.

jason’s picking basket.

my picking basket. a backpack hung over my front makes it easy to place the apples i pick inside. plus, it's practice for being pregnant in the next few years.. ha, ha!

my picking basket. a backpack hung over my front makes it easy to place the apples i pick inside. plus, it’s practice for being pregnant in the next few years.. ha, ha!

after we picked all of the apples, we sat in the cool basement and sorted them, separating the apples with blemishes from those without them. the apples that are the worst shape are in the kitchen now, awaiting their turn to be consumed. other apples with blemishes are in the fridge downstairs, to be eaten before the other refrigerated, blemish-free apples.

after we sorted the apples we weighed them and we got 32 pounds! how exciting!

next on our plate (besides the fresh apples)… german pancakes with apples and apple pie! stay tuned for some of these recipes…

.:.

processing kale seeds for next year

a few months ago we harvested our kale seeds pods after they dried on their stems. today, i spent hours processing the seeds for planting later this year. it was fun (i love doing detailed work with my hands!), but it sure took a while!

kale seed pods stored in a paper bag to dry

kale seed pods stored in a paper bag to dry

our seed pods were stored in a paper bag and i went through the stems one at a time, breaking open each seed pod and pushing and/or scraping the seeds out into a bowl with the broken off pod pieces.

broken off and emptied seed pods after processing

broken off and emptied seed pods after processing

kale seeds, freed from their pods!

kale seeds, freed from their pods!

that was it, really. a simple process but one that takes time and energy. we filled about 1/4 or 1/3 of a sandwich-sized ziploc bag with seeds, plenty for planting this year and the next!

next year's kale crop inside!

next year’s kale crop inside!

we put the spent stems and the still-attached pods into a compost area; perhaps we’ll use them for mulching in the near future!

emptied kale stems and pods

emptied kale stems and pods

and since i found the opened pods to be beautiful, i decided to save them, though i’m not really sure what i’ll do with them yet! i’m thinking a craft of some kind, but who knows?!

empty pods--a future craft?!

empty pods–a future craft?!

.:.

Trellising Cucumbers in the Garden

Our garden is in full production right now, potatoes, tomatoes, and jalapenos are coming in, while the sweet potatoes, oca, and greenbeans are thriving. But one of our most exciting crops this year has been the cucumber. This year we planted three different varieties of cucumbers, Arkansas Little Leaf, Suyo Long, and White Wonder, and they are all doing great in our raised beds on trellises.

cucumber trellis

Growing cucumbers on trellises, or tomato cages, is an efficient and attractive way to garden.

We grow cucumbers on trellises for a few reasons. First, cucumbers are vining plants that love to sprawl and wrap their tendrils around anything they can reach. If left to wander the ground, they take up a lot of space, but by training them vertically, up a trellis, they take up less of a footprint in the garden.

We plant 4 or 5 seeds in a circular depression about 18 inches in diameter. This depression catches rain and irrigation, ensuring that our cukes are always deeply watered. We use the same technique that we use for tomatoes, a cage made of woven wire fencing staked into the ground. We then train the young cucumber plants up onto the cage where they twine and vine their way to the top.

This has a few distinct advantages in addition to being able to fit more plants in less space. By keeping the plants off of the ground, airflow around the leaves is improved and the mildews and diseases that often plaque cucumbers are kept at bay.

cucumbers on trellis

These Arkansas Little Leaf cucumbers have a tendency to stay low and spiral on the trellis, whereas the Suyo Longs grow straight up.

Training the vines upwards also leaves room around the base of the cages to plant herbs, flowers or other vegetables. These interplantings can act as companions to the cucumbers and help to confuse pests. We have sweet potatoes, clover, basil and sage growing under our cucumbers.

By growing cucumbers upwards, on a trellis, we can achieve higher yields, with less pests and diseases, and even grow other crops at their feet. So, next time you’re planting some cucumbers, consider growing them vertically, up a trellis or tomato cage, and make you’re garden more efficient and productive.

what all of us animals have in common…

one thing’s for sure, living with animals on a farm reminds you how much all of us animals really have in common.

when it gets hot and humid outside, we all head for the shade and search out some water. since i just got back from the beach, i spent most of today dreaming about a large body of water to soak in (like a pond!). i also drank tons of water today, which i really needed to add ice cubes to since i spent most of today with my hands in a scalding hot dish-sink. we’ve decided against cutting on the air unless company is visiting; we really like hearing the world outside our windows and having the AC on makes us lazy bums who avoid doing anything outside.

since today was a hot one, and i spent most of my time looking out the kitchen window  at the birds, i was reminded of these common needs we all have in the heat… shade and water!

the chickens were nowhere to be seen when the sun was shining, but as soon as a cloud would cover the sun they would come out of the house for a little exploration. the small white shade cloth that we’ve recently added to our new chicken pen setup provided enough shade during portions of the day for rex and a select group of his ladies to nap in the shade.

the geese spent most of the day sleeping while floating in their kiddie pool, and bolt tried to hog the floor fan that was supposed to be blowing on me while i washed dishes. no doubt if he had been outside he would have been hiding under his shady bush!

all four geese chilling in their kiddie pool together!

all four geese chilling in their kiddie pool together!

bridey drank tons of water and bolt could be heard lapping up water from the upstairs toilet, the downstairs toilet, a downstairs water bowl, and an upstairs water bowl. when it rained later in the day both he and i really enjoyed walking in it to cool off!

so whatever animals you have, mammals or birds, or just your partner (since we humans are animals too), make sure they’ve got plenty of water to drink and shade to hide in!

.:.

Mobile Chicken Paddock Update

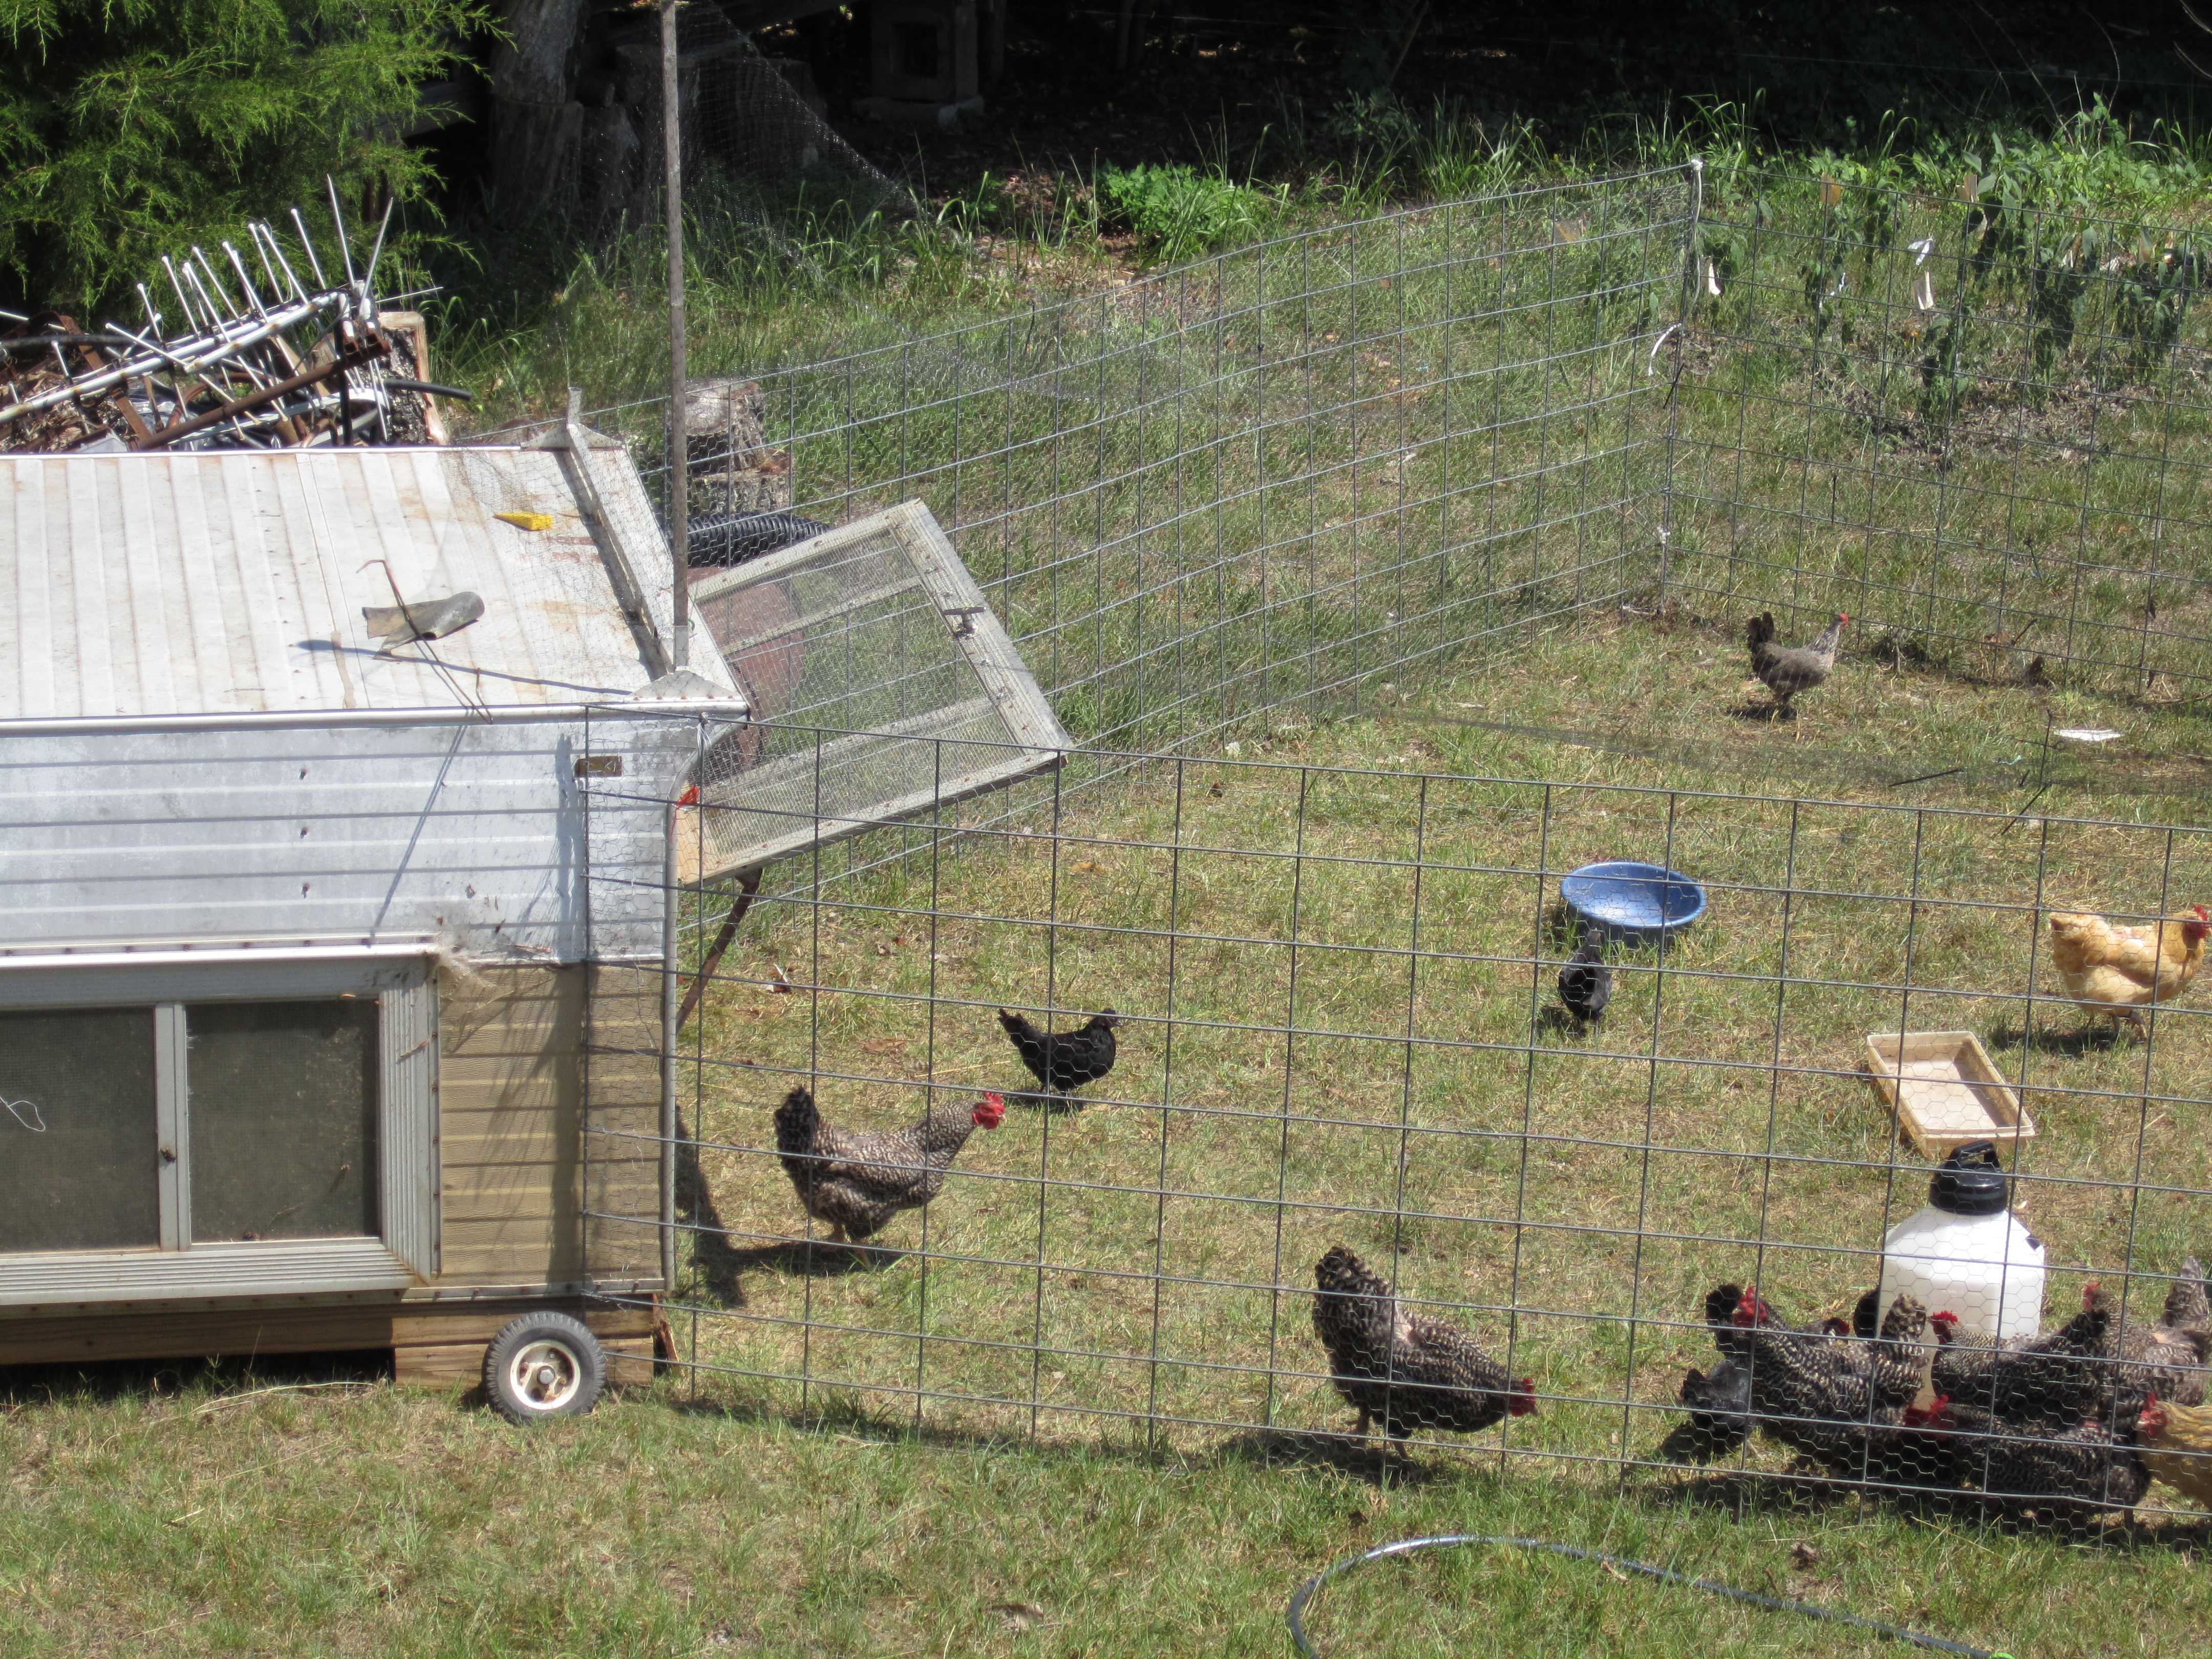
Emma wrote the other day about our new mobile chicken run design, and after moving this system twice I figured I would give an update on its functionality. The chickens have been in this new setup for about 1 week. In our old system, we would typically wait 2 weeks before moving them to a new piece of pasture, but in the past week I have moved them twice. As Emma mentioned, even though the fenced area is half of what it used to be, because the coop is no longer inside, the chickens actually have around 75% of the space they used to have.

mobile chicken coop

the new mobile coop and paddock system is easier to move, which means we move it more often

However, thanks to the redesign, moving the chickens is now a much easier proposition. It can be done at any time of day, and is now a 1 man job. Compare this to the old system where we had to wait until dusk, take down the entire thing, pull up posts, roll up the bird netting, put up the posts and panels, zip tie everything, by this point it was dark, we were frustrated, and we still had to untangle the bird netting and fix any rips that had happened. Not fun, and not a chore we looked forward to. This meant that we often put off moving the chickens, and the would end up staying in the same spot for longer than two weeks. This lead to overgrazing, compaction, and further frustration.

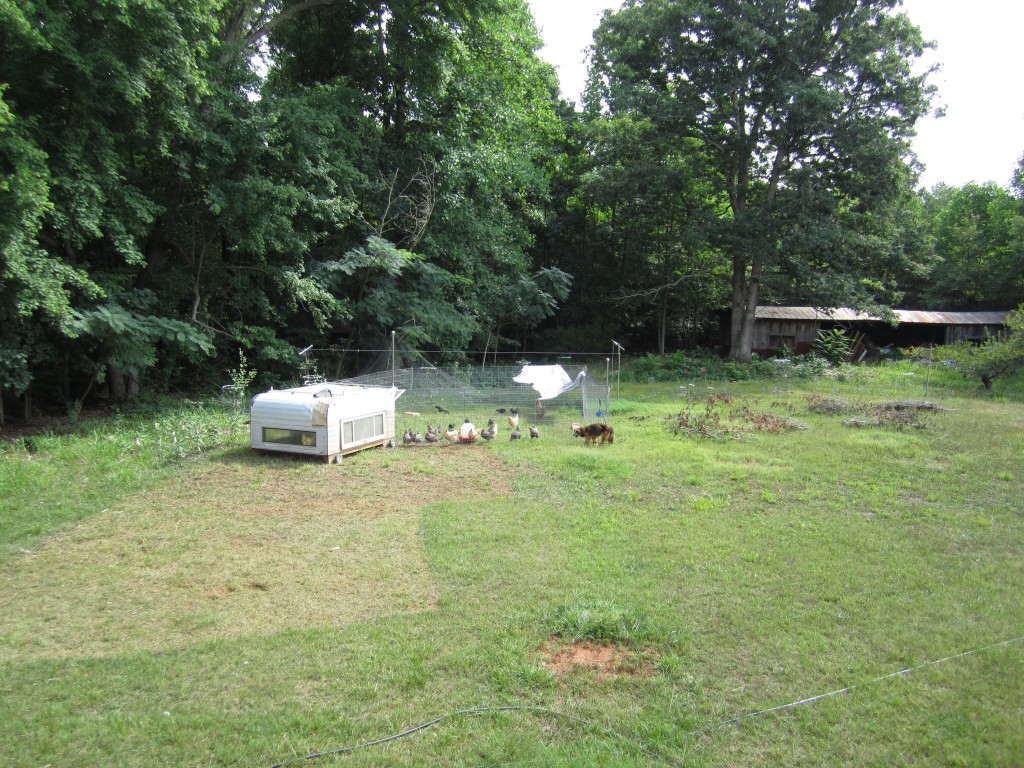
Our new system easily slides to a new spot, and because it is smaller (16 ft. by 16 ft.), it fits easier into tight spaces around garden beds and fruit trees. The hawk netting does not need to come off, there are no posts, and this can all be done at any time of the day. I have already done it twice, and at this rate the chickens will have access to 300% more pasture in 2 weeks than before. This allows us to more easily monitor their behavior and impact on the land, and more efficiently harness their energy toward improving our land, and avoid the harm that comes from overgrazing, all while they enjoy more grass, weeds, and bugs than ever before.

mobile chicken paddock system

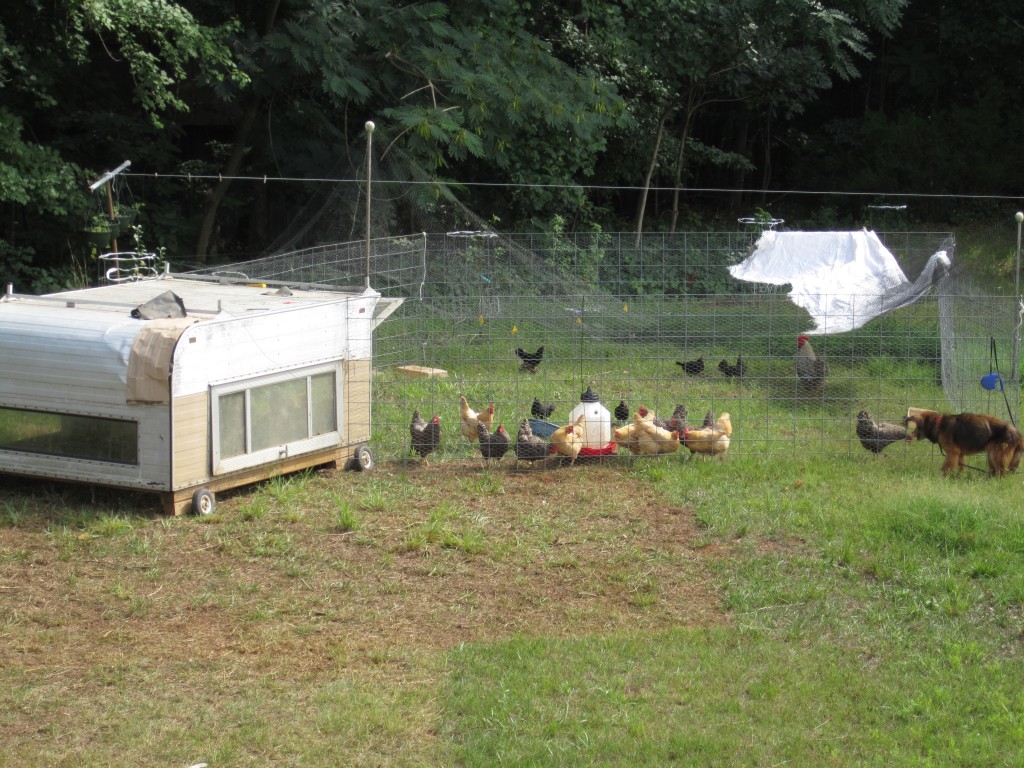
bridey watching the chickens in their new paddock

I think we learned a valuable lesson; that if you design an aspect of your life to be difficult, you will dread and avoid it, and when it doesn’t get done, it becomes harder and harder to catch up. This starts a cycle of stress and frustration that is hard to beat. However, if we design these things so that are easily accomplished, we are more likely to do them. This fits in with the permaculture concept of zones, where you design the elements of your property that need attention everyday (vegetable gardens, livestock, etc.) to be closer to your house where you constantly see and interact with them. For example, if you have to milk goats everyday, don’t put the milking area half a mile away, down a steep gully and then up a rocky hill. If you wan’t to remember to take a multivitamin everyday, don’t put the vitamins in that cabinet that you can’t reach unless you get that stool that’s in the garage.

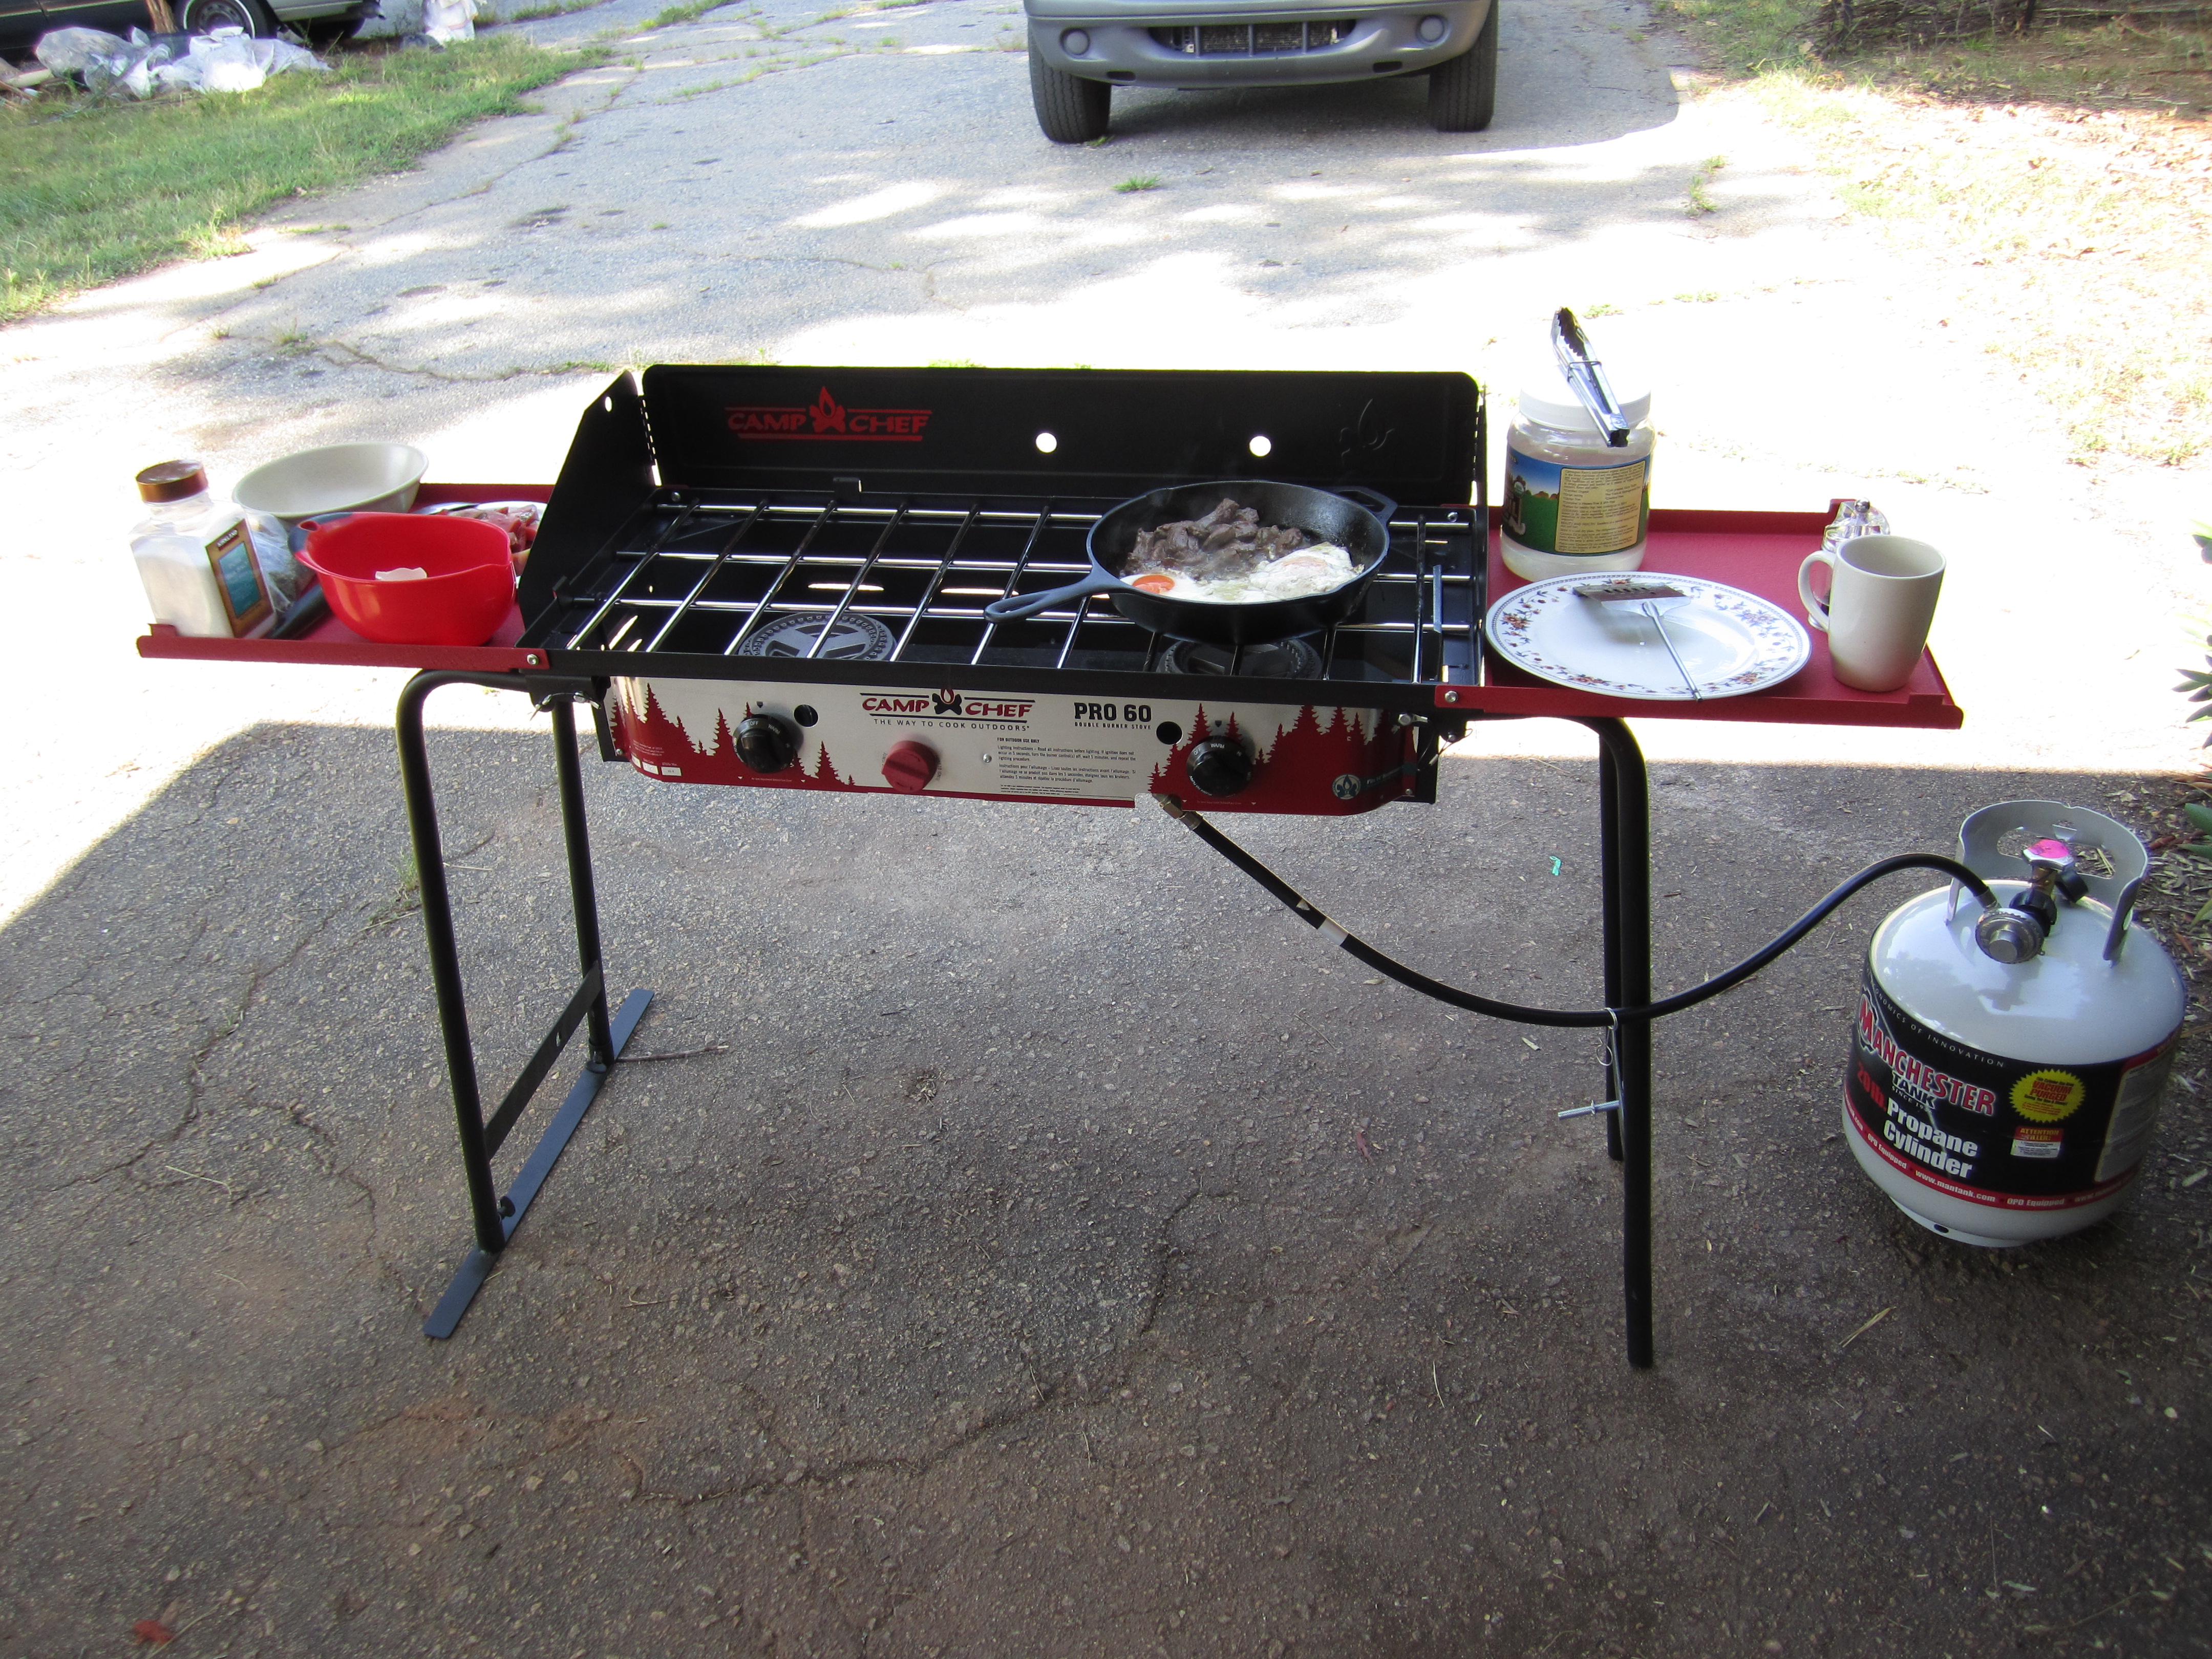
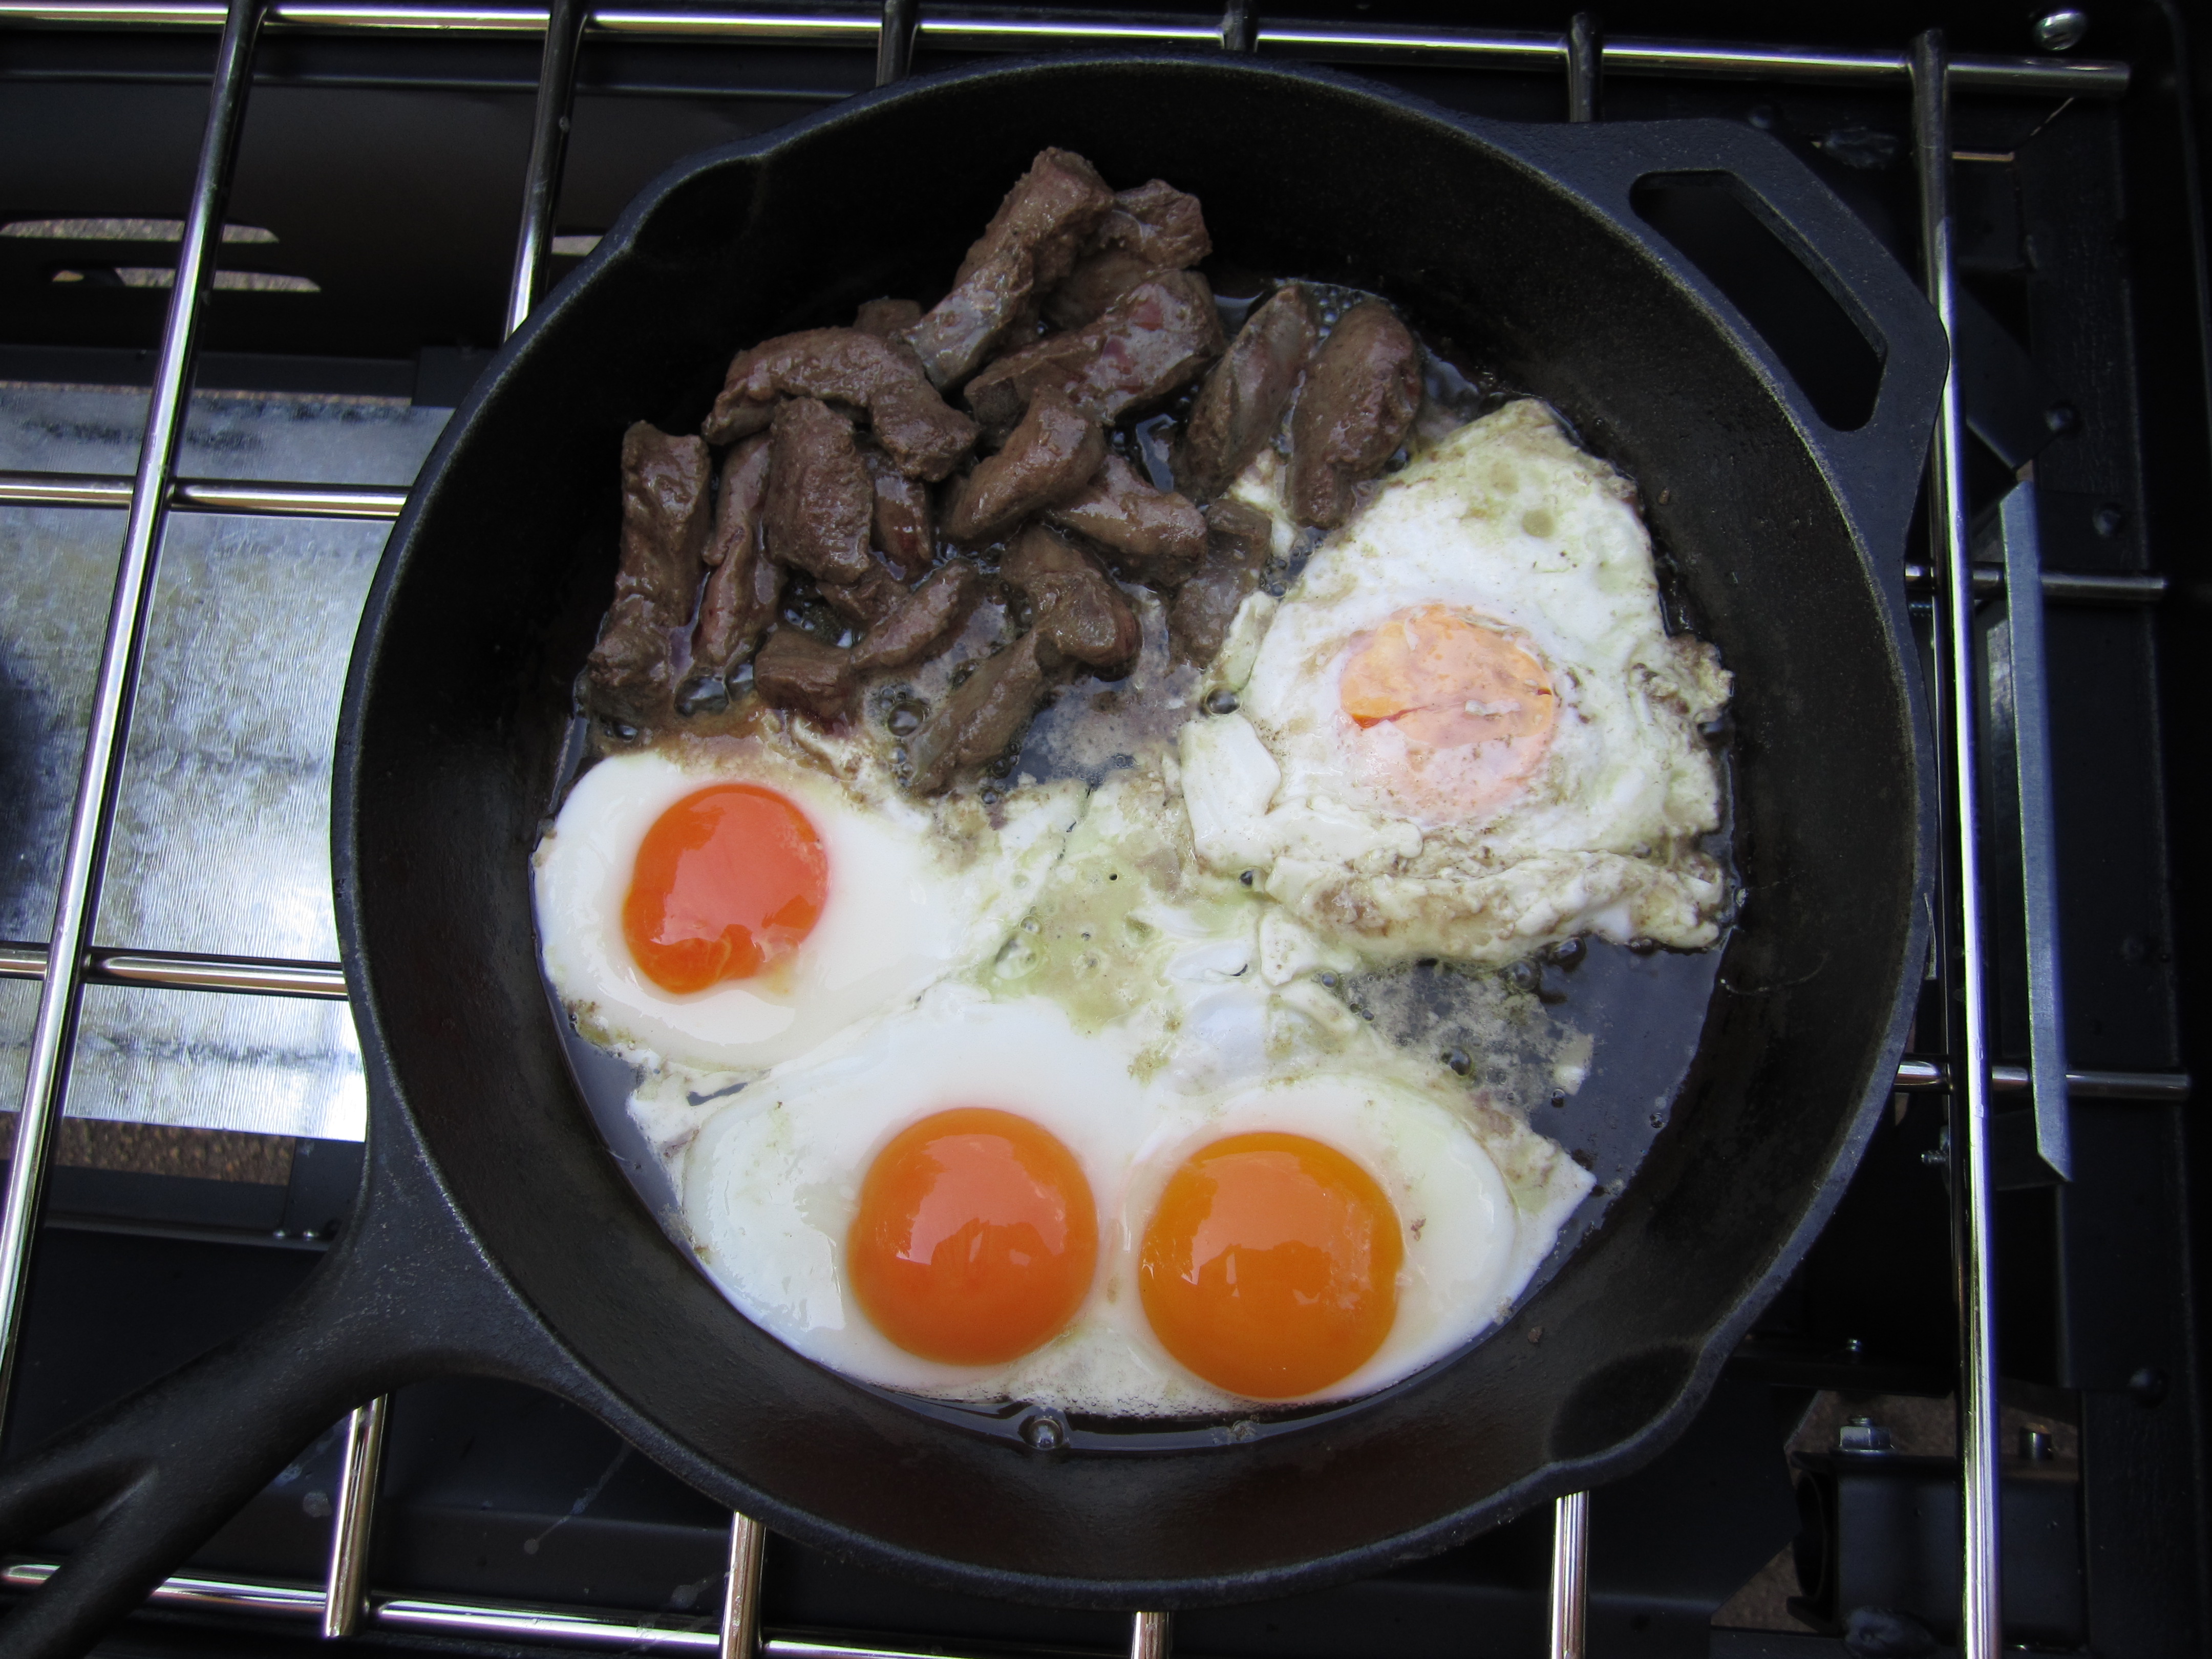
It’s a simple concept, but we all have things that for one reason or another we have made harder for ourselves, whether it’s on a homestead or not. Some of things we can’t change, but the other ones should be designed to fit into our life in a way that enhances it, not make it harder. With thoughtful design, things tend to fit together easier and our life systems function more efficiently, giving us more time to focus on whatever it is we want to focus on, be it writing, working, gardening, or eating delicious eggs from pasture raised chickens.


backyard chickens: finally in the backyard!

hilariously, our “backyard” chickens have never actually been on any of our backyard pasture. for some reason, we started them in the front yard and they never ran out of green spaces to occupy. now, though, after a year of having them, they’ve made their journey to the back. and with that journey came a new way of piecing together their fencing. instead of the usual 6 cattle panels that made up their old chicken pen, we’re only using 4 of those panels, permanently tied together on three of the four corners just like with our goose pen. we also are not rolling their house inside the pen, instead using it as a fifth side that the two unattached fence corners can lean against. the space between the front wheels of the house  and the house itself act as perfect slots for holding the 2 fence pieces in place. one of those connections act as the gate, and all you have to do to get in is lift the fence up and over the wheel and walk on in. bird netting is still draped over the top to deter hawks and escaped chickens, and a metal bar is leaned up against the base of the house to prevent small bantams from escaping that way. we have 2 wooden poles with tennis balls attached to keep the netting up higher and we remove when we move the fence so that the netting won’t get too taut from pulling and rip.

x

our backyard chickens get a newly designed pen!

some of our reason for making this change are:

  • once the chickens go in their house at night and we close them in, we can easily roll the house whenever we want without first disassembling all of the cattle panels and step-in posts that we used to use.
  • once the house is rolled away, we attach the open side of the fence with a clip and can slide it along the same was we slide the goose fence, with the netting still attached. the square shape is really easy to move, we’ve discovered. this also requires no posts at all!
  • since the gate is right by the house it is so much more helpful to be able to set food and snacks on top of that while you walk into the fence. i’ve always found it annoying and difficult to get inside the fence holding buckets of food while chickens walk under your feet or try to fly up in the air to land in your bucket.
  • since the square shape of the pen can be pulled on to be made more diamond-shaped, it will be easier to fit their pen in tighter spots in the the yard (like in and between garden beds and trees).
  • even though the area of their pen has been cut in half, since the house is no longer inside that area, they probably have 3/4 of the actual grassy area that they had before. and since they are so much easier to move now, this is a benefit for them. they’ll probably get moved every 5 days or so (they used to be moved every 2 weeks) and they still get 3/4 of the pasture area that they did before. it a good deal for all of us!
x

our chickens, enjoying their fresh grass.

.:.

outdoor cooking: firing up the grill!

jason’s dad and step mom got us an awesome grill for our wedding and we’ve finally cranked it up! jason bought a 20 pound canister of propane and attached everything and set it up. for now, the grill will be moved in and out of the carport to keep it safe and out of the rain, but eventually we’ll get a grill cover and the whole shebang will end up in our in-progress outdoor kitchen. we also plan to add an outdoor sink in the future kitchen, an earth oven, and of course we’ll be including some of the stepping stones that we made at my bridal shower as part of the area. we’ll also make the area a little more private and hidden from the road by adding one of our wattle fences!

but even now, we are loving cooking outside! one of the reasons having an outdoor cooking area is so great is because it keeps your kitchen cooler in the summer. another is that it encourages spending even more time outside!

we chose the camp chef pro 2 burner propane stove because it had 2 burners and did not have a lot of complicated dials, etc. we also did not choose a grill with a built-in lid because we wanted to use it mostly as a stovetop, rather than a traditional grill. we did also get a camp chef professional barbecue box so that we could do classic grilling on occasion. the grill and the grill box are both lightweight and easy to transport in the event that we travel with them.

the pro 2 burner propane stove.

the pro 2 burner propane stove.

the grill has fold out platforms on each side of the grill (other comparable grills we looked at only had them on one side), which is really important for counter space and holding spices, food, etc.

yesterday, i cooked my first meal on it and it was easy and fun. i grew up with an indoor gas stove (we have an electric one now) and i was impressed by how much heat and power our grill provides even on a low setting. i felt like cooking the meal went much faster than when we cook breakfast inside on our electric stove. i felt safe using it (even though i’d never used a propane grill myself before), and even though you have to be careful not to drip hot oil or grease on your barefoot toes!

breakfast: eggs and venison heart.

breakfast: eggs and venison heart.

we definitely recommend this grill and making an outdoor cooking area of your own!

.:.

Older posts

© 2024 KW Homestead

Theme by Anders NorenUp ↑