KW Homestead

Pasture Raised Poultry & Edible Landscaping Plants Since 2013

Month: November 2014 (page 2 of 2)

Managing Woodlands, Woodlots, and Forests for Fun and Profit

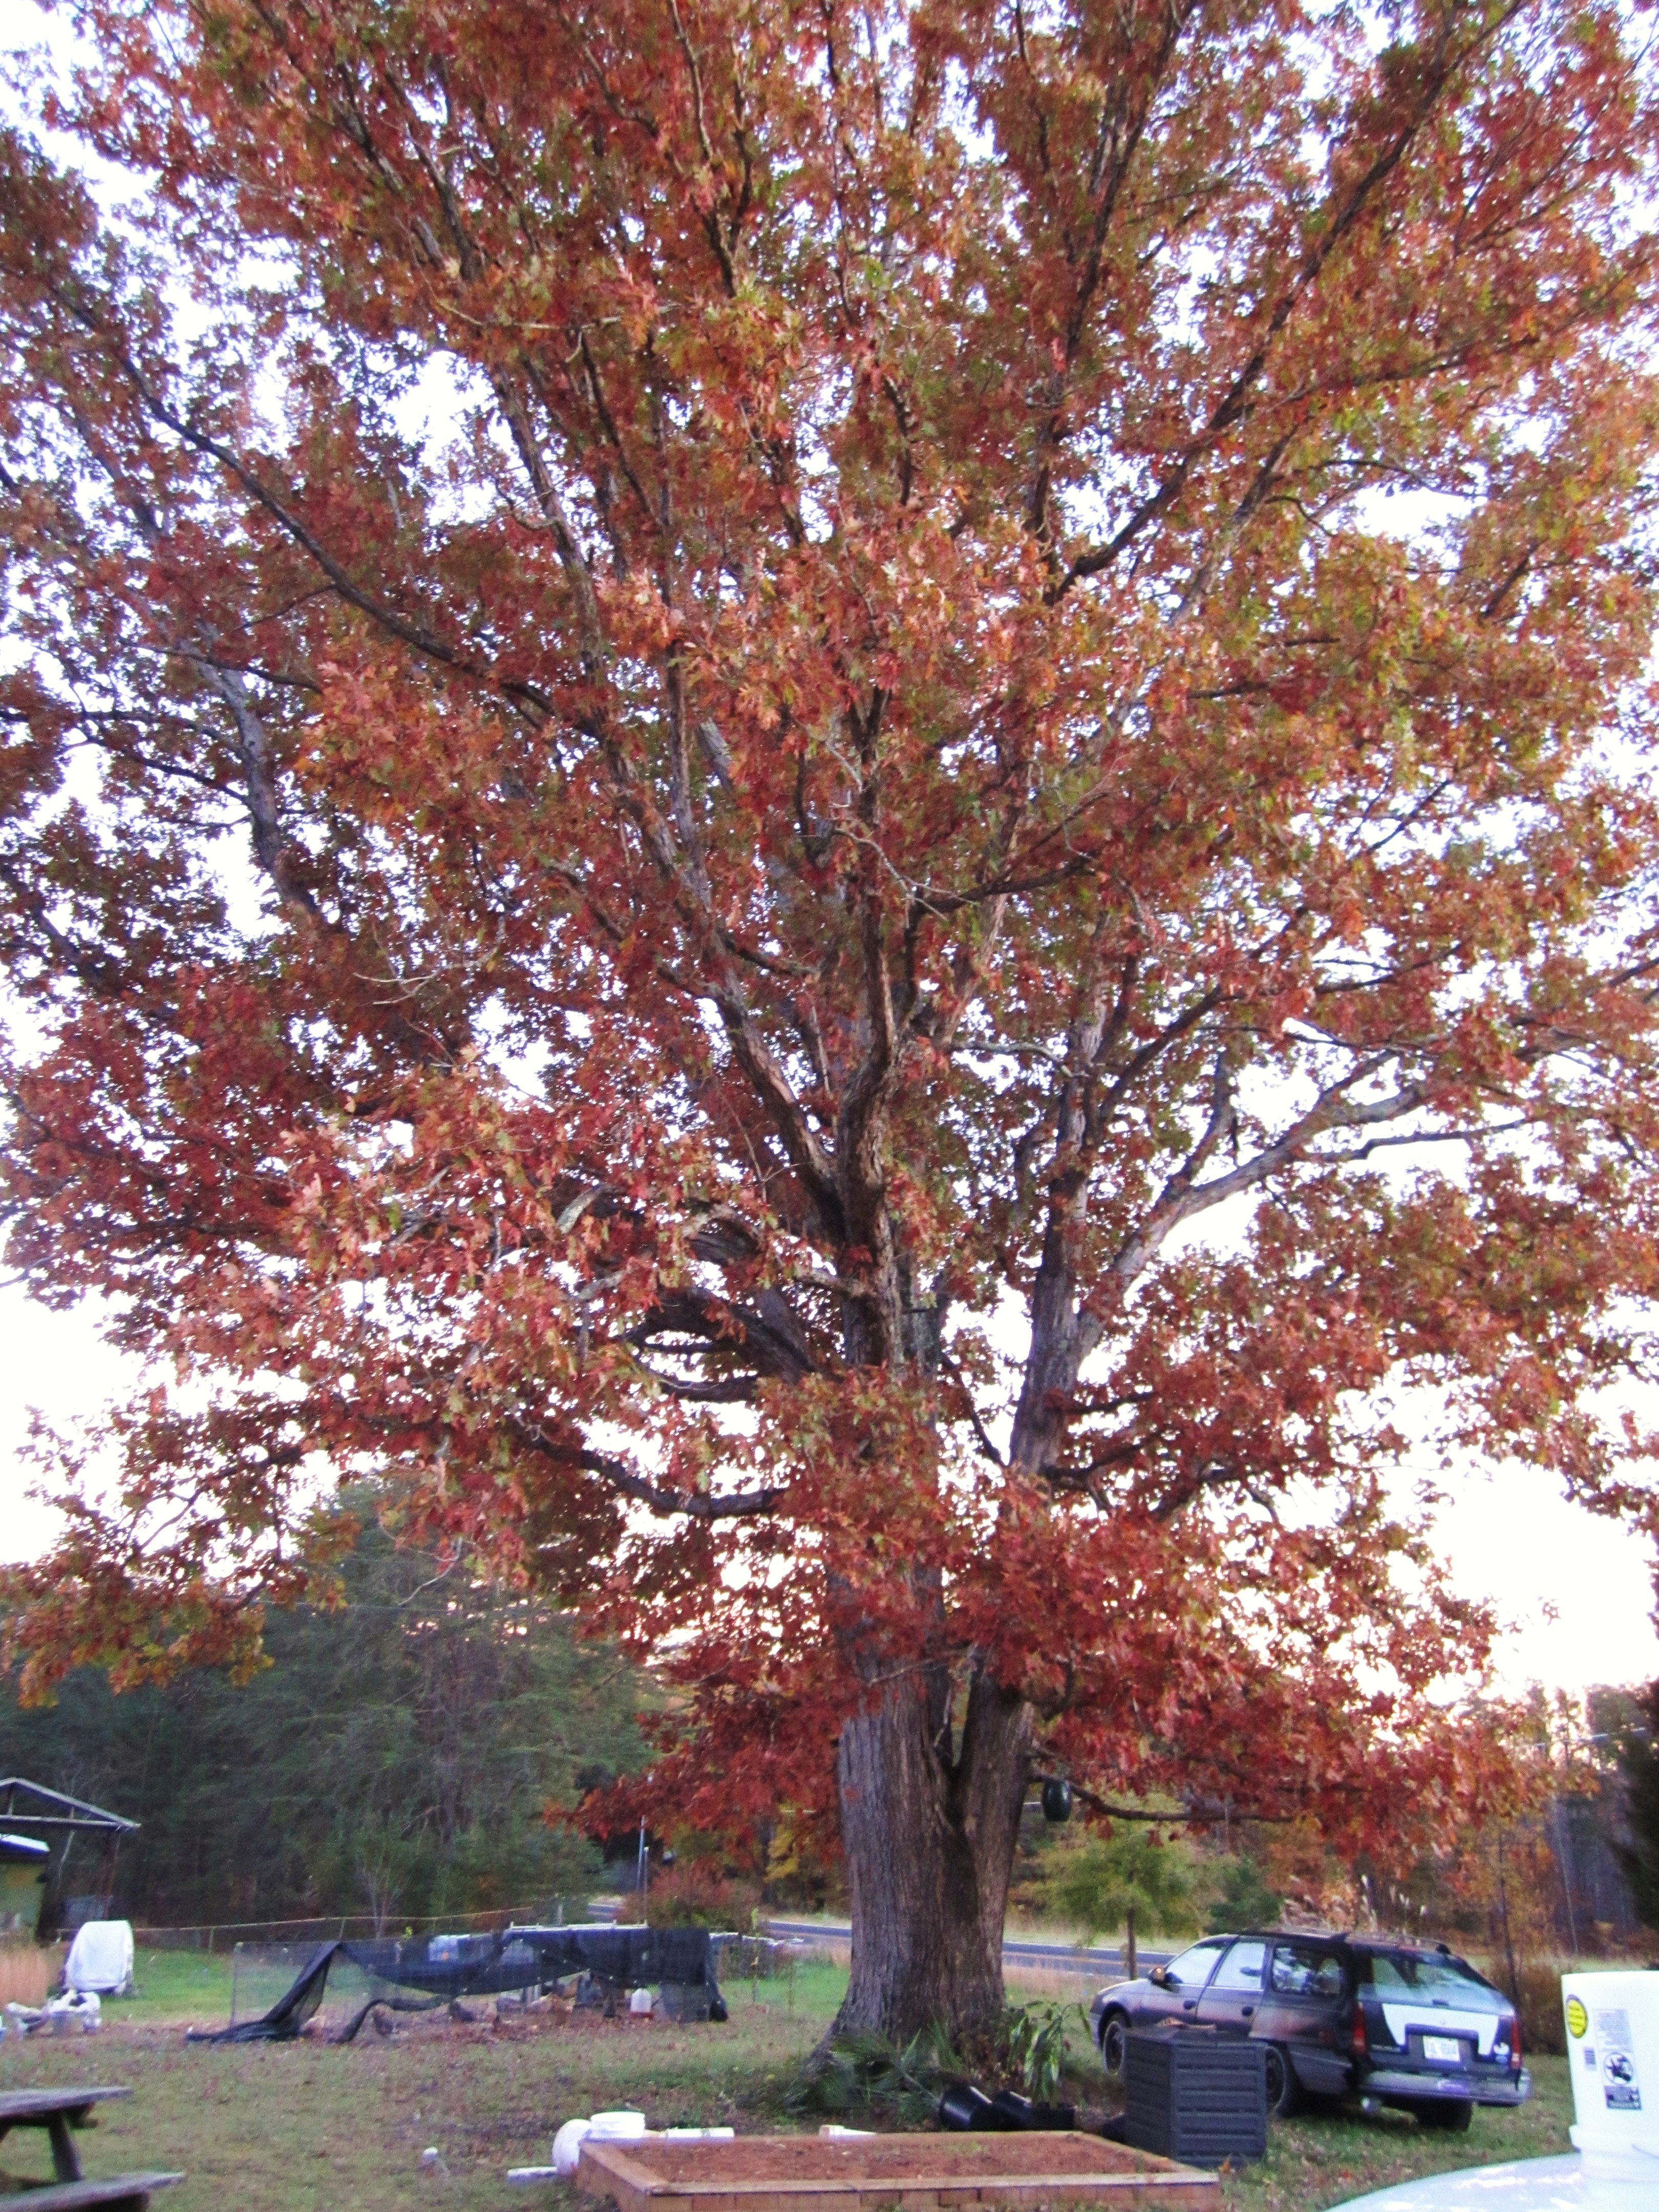
The millions of acres of American Woodlands have, for the last 2 centuries, been mined not managed. They have been stripped, clearcut, set on fire, and replanted with short rotation mono-crops to the point that many of our mature woodlands and forests bear little resemblance to healthy and natural woodland communities.This has been done in the name of short term profits, and while the logging companies and sawmills made-out great, more often than not landowners received a stumpage price way too low, and were left with a degraded and less valuable piece of forest in the aftermath.

clear cut timber permacultre

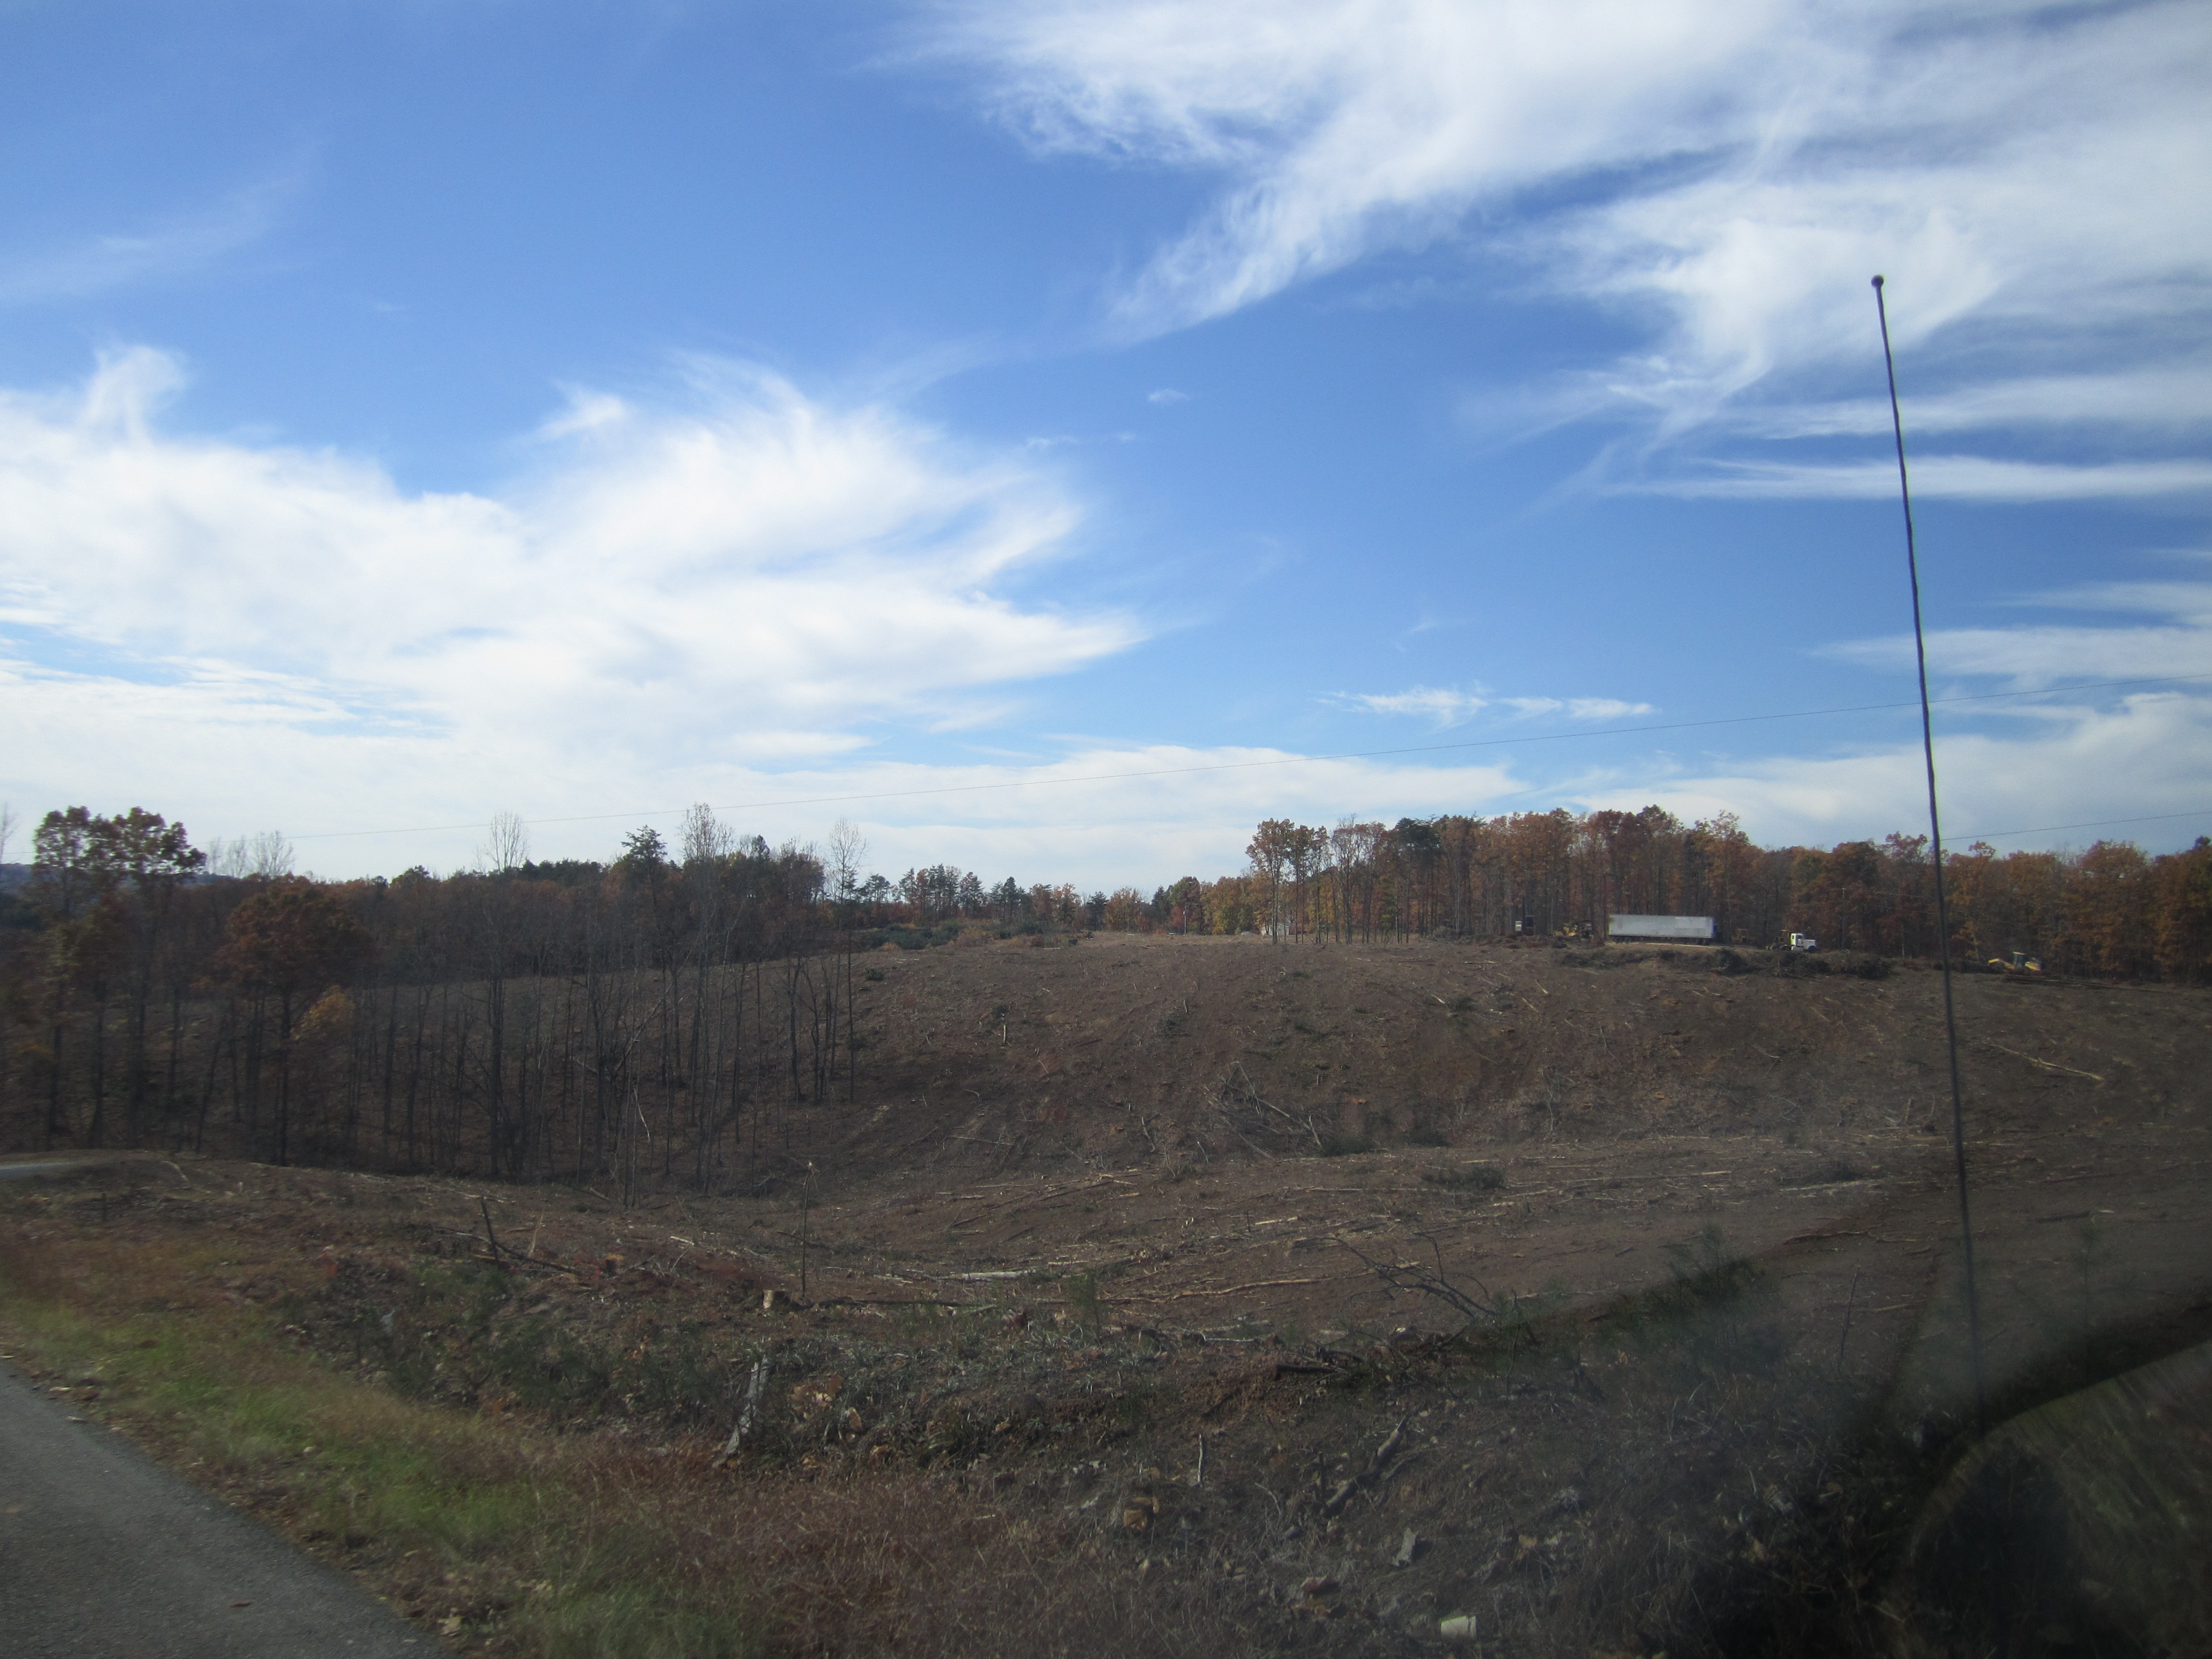
clear-cutting forests is rarely the best form of timber management

It doesn’t have to be this way though. Forests can be sustainably managed and designed to produce income for generations. With proper thinning, forest planning, tree selection, and management techniques, forest owners can ensure that their woodlot is not just a commodity to be firesold to save the farm, but a profitable ecosystem that increases in value over time, and can be passed on to future generations.

To do this e will have to go into these abused forests and asses the damage that countless “highgrading” cuts (a logging practice where all trees above a certain diameter are harvested, leaving the worst adapted and least valuable species standing) have left only stunted, poorly composed timber stands. Sometimes we may need to replant, or perform shelterewood and seed tree cuts to ensure proper forest regeneration, but often some thinning of poor quality trees, which can release trees of higher quality to achieve their full potential, combined with timber best practices like crop tree management, silvopasture, and coppice regeneration can bring degraded and abused forests back into sustainable productivity and profitability.


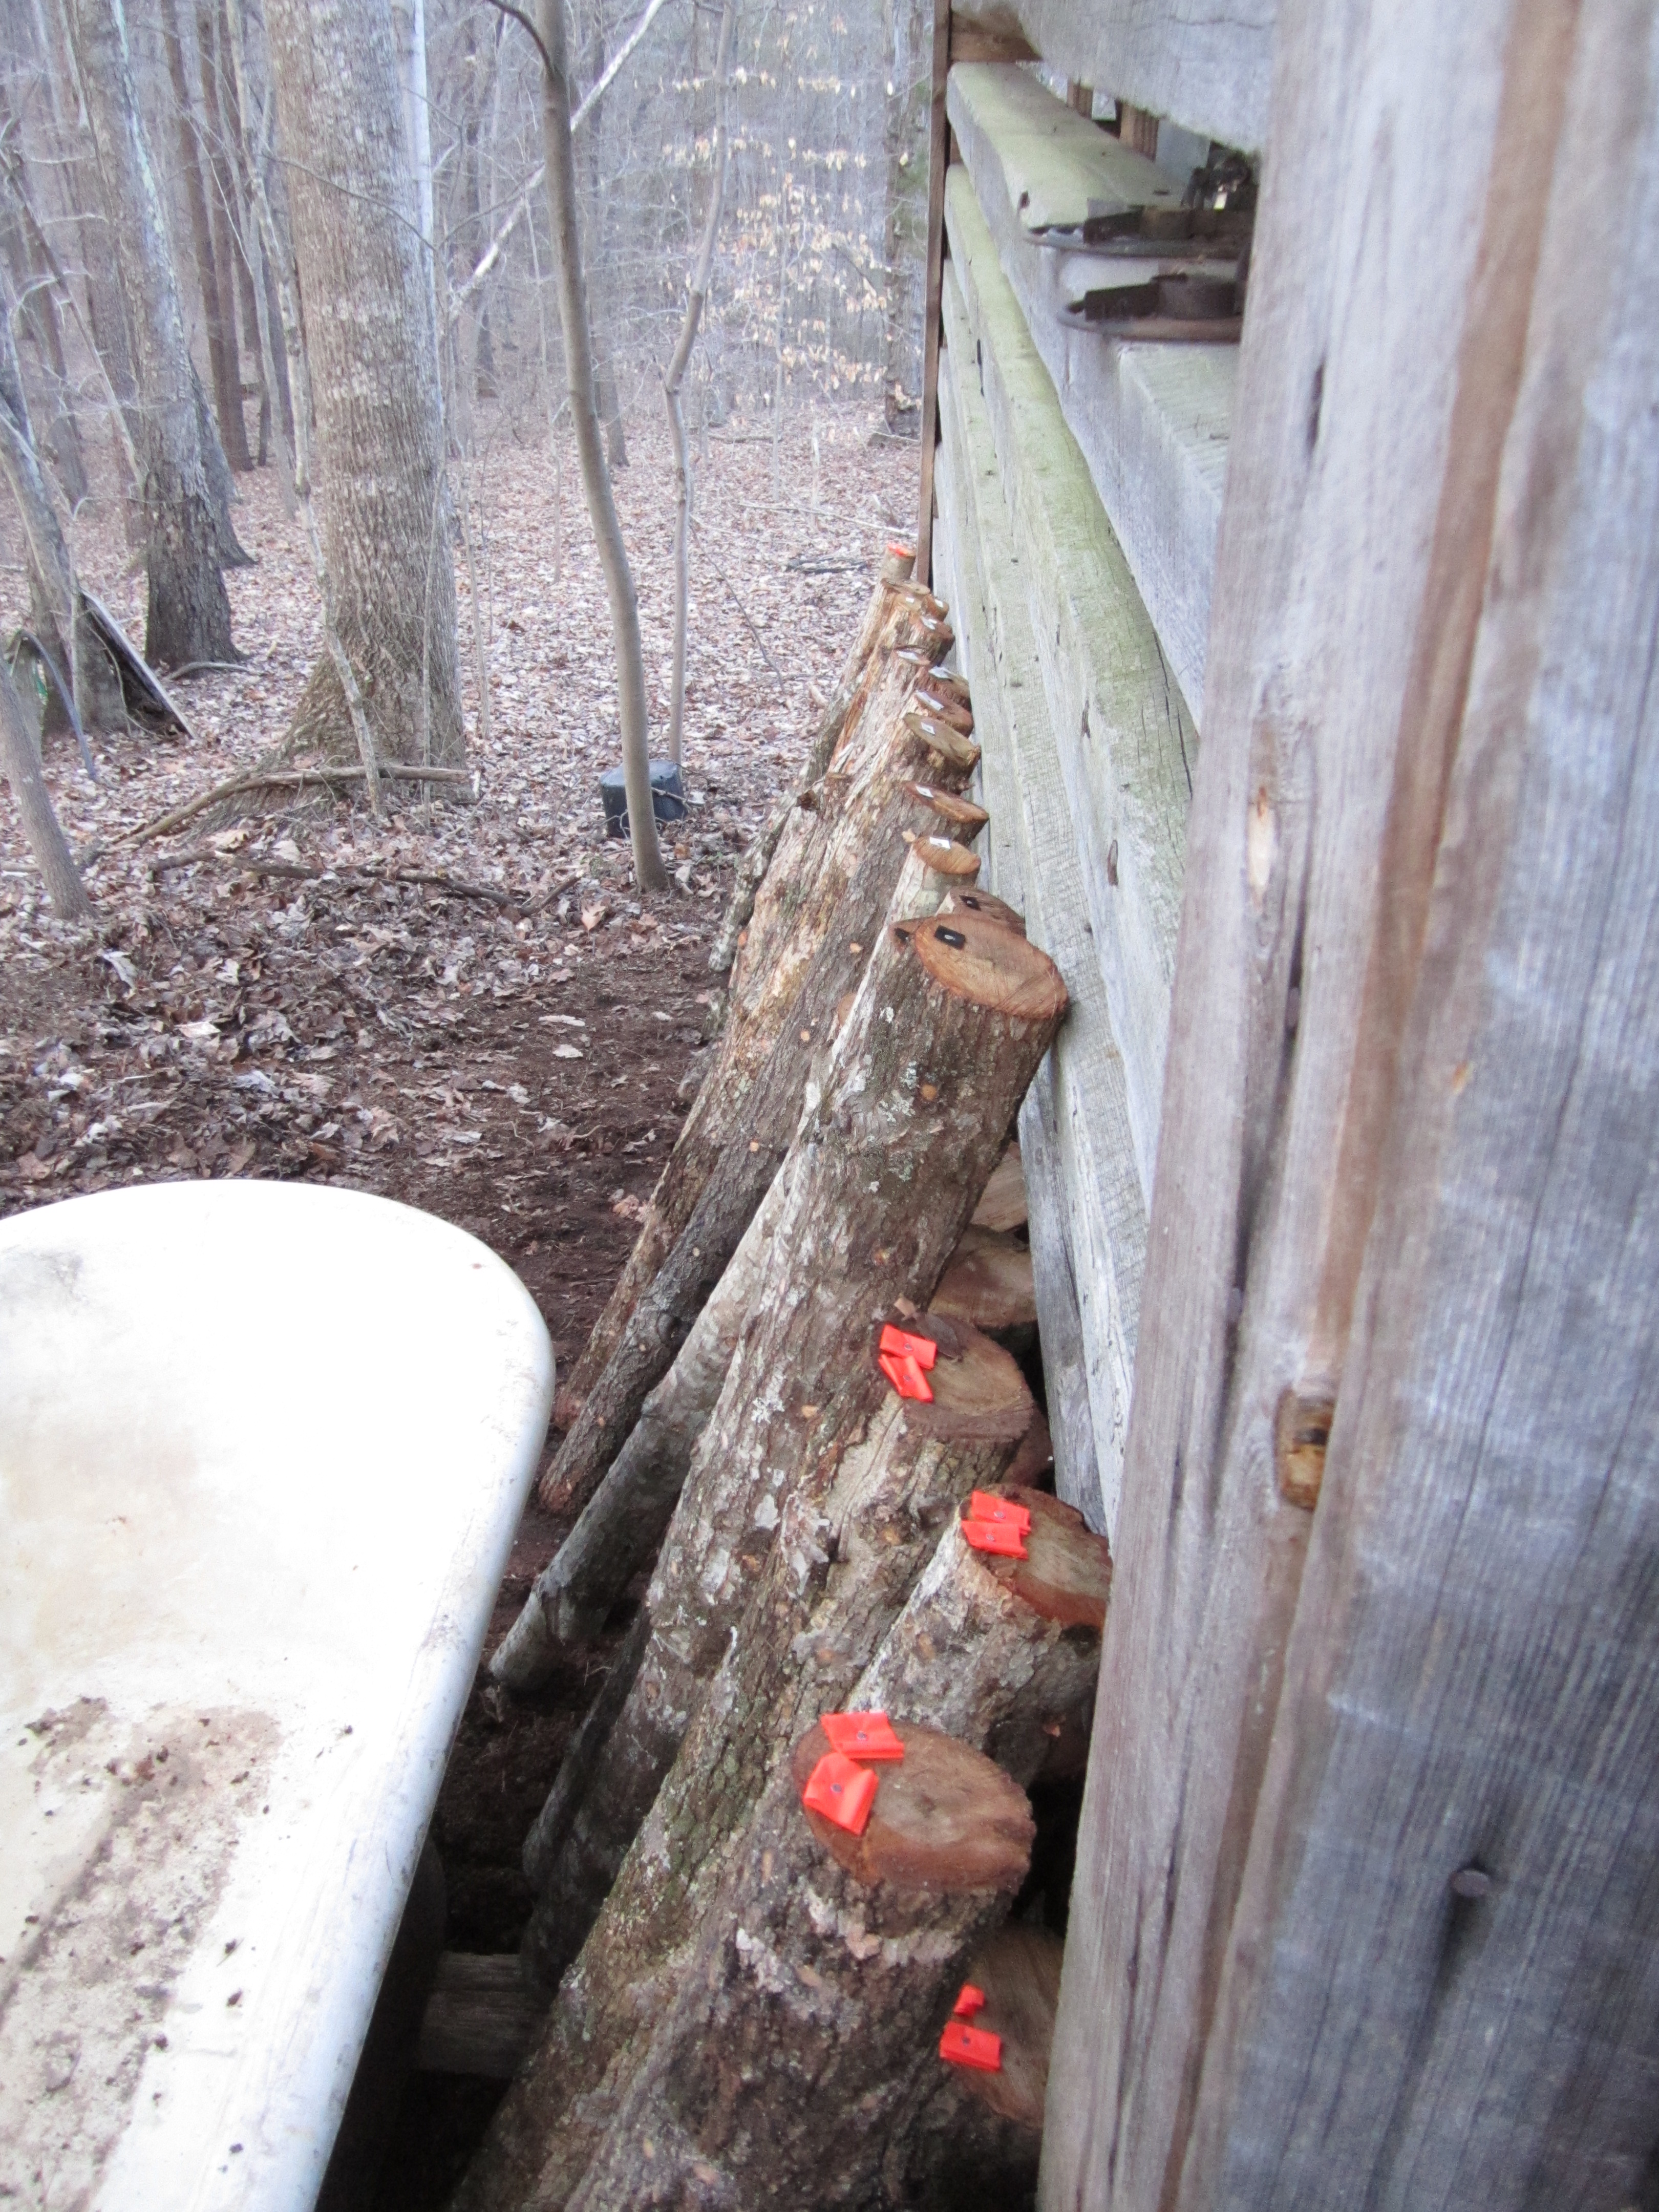
These thinnings wont always be of high enough value for commercial loggers, but this material does not need to be wasted. In fact,it can be extremely profitable. These crooked, small diameter and low value logs can be used for mushroom production on logs, firewood,craft wood, or even be sawed to length on portable bandsaw mills. Other uses can include fence posts,biochar prodcution, hugelkulture, and round timber construction.

logs

small diameter oak logs inoculated with shiitake mushrooms!

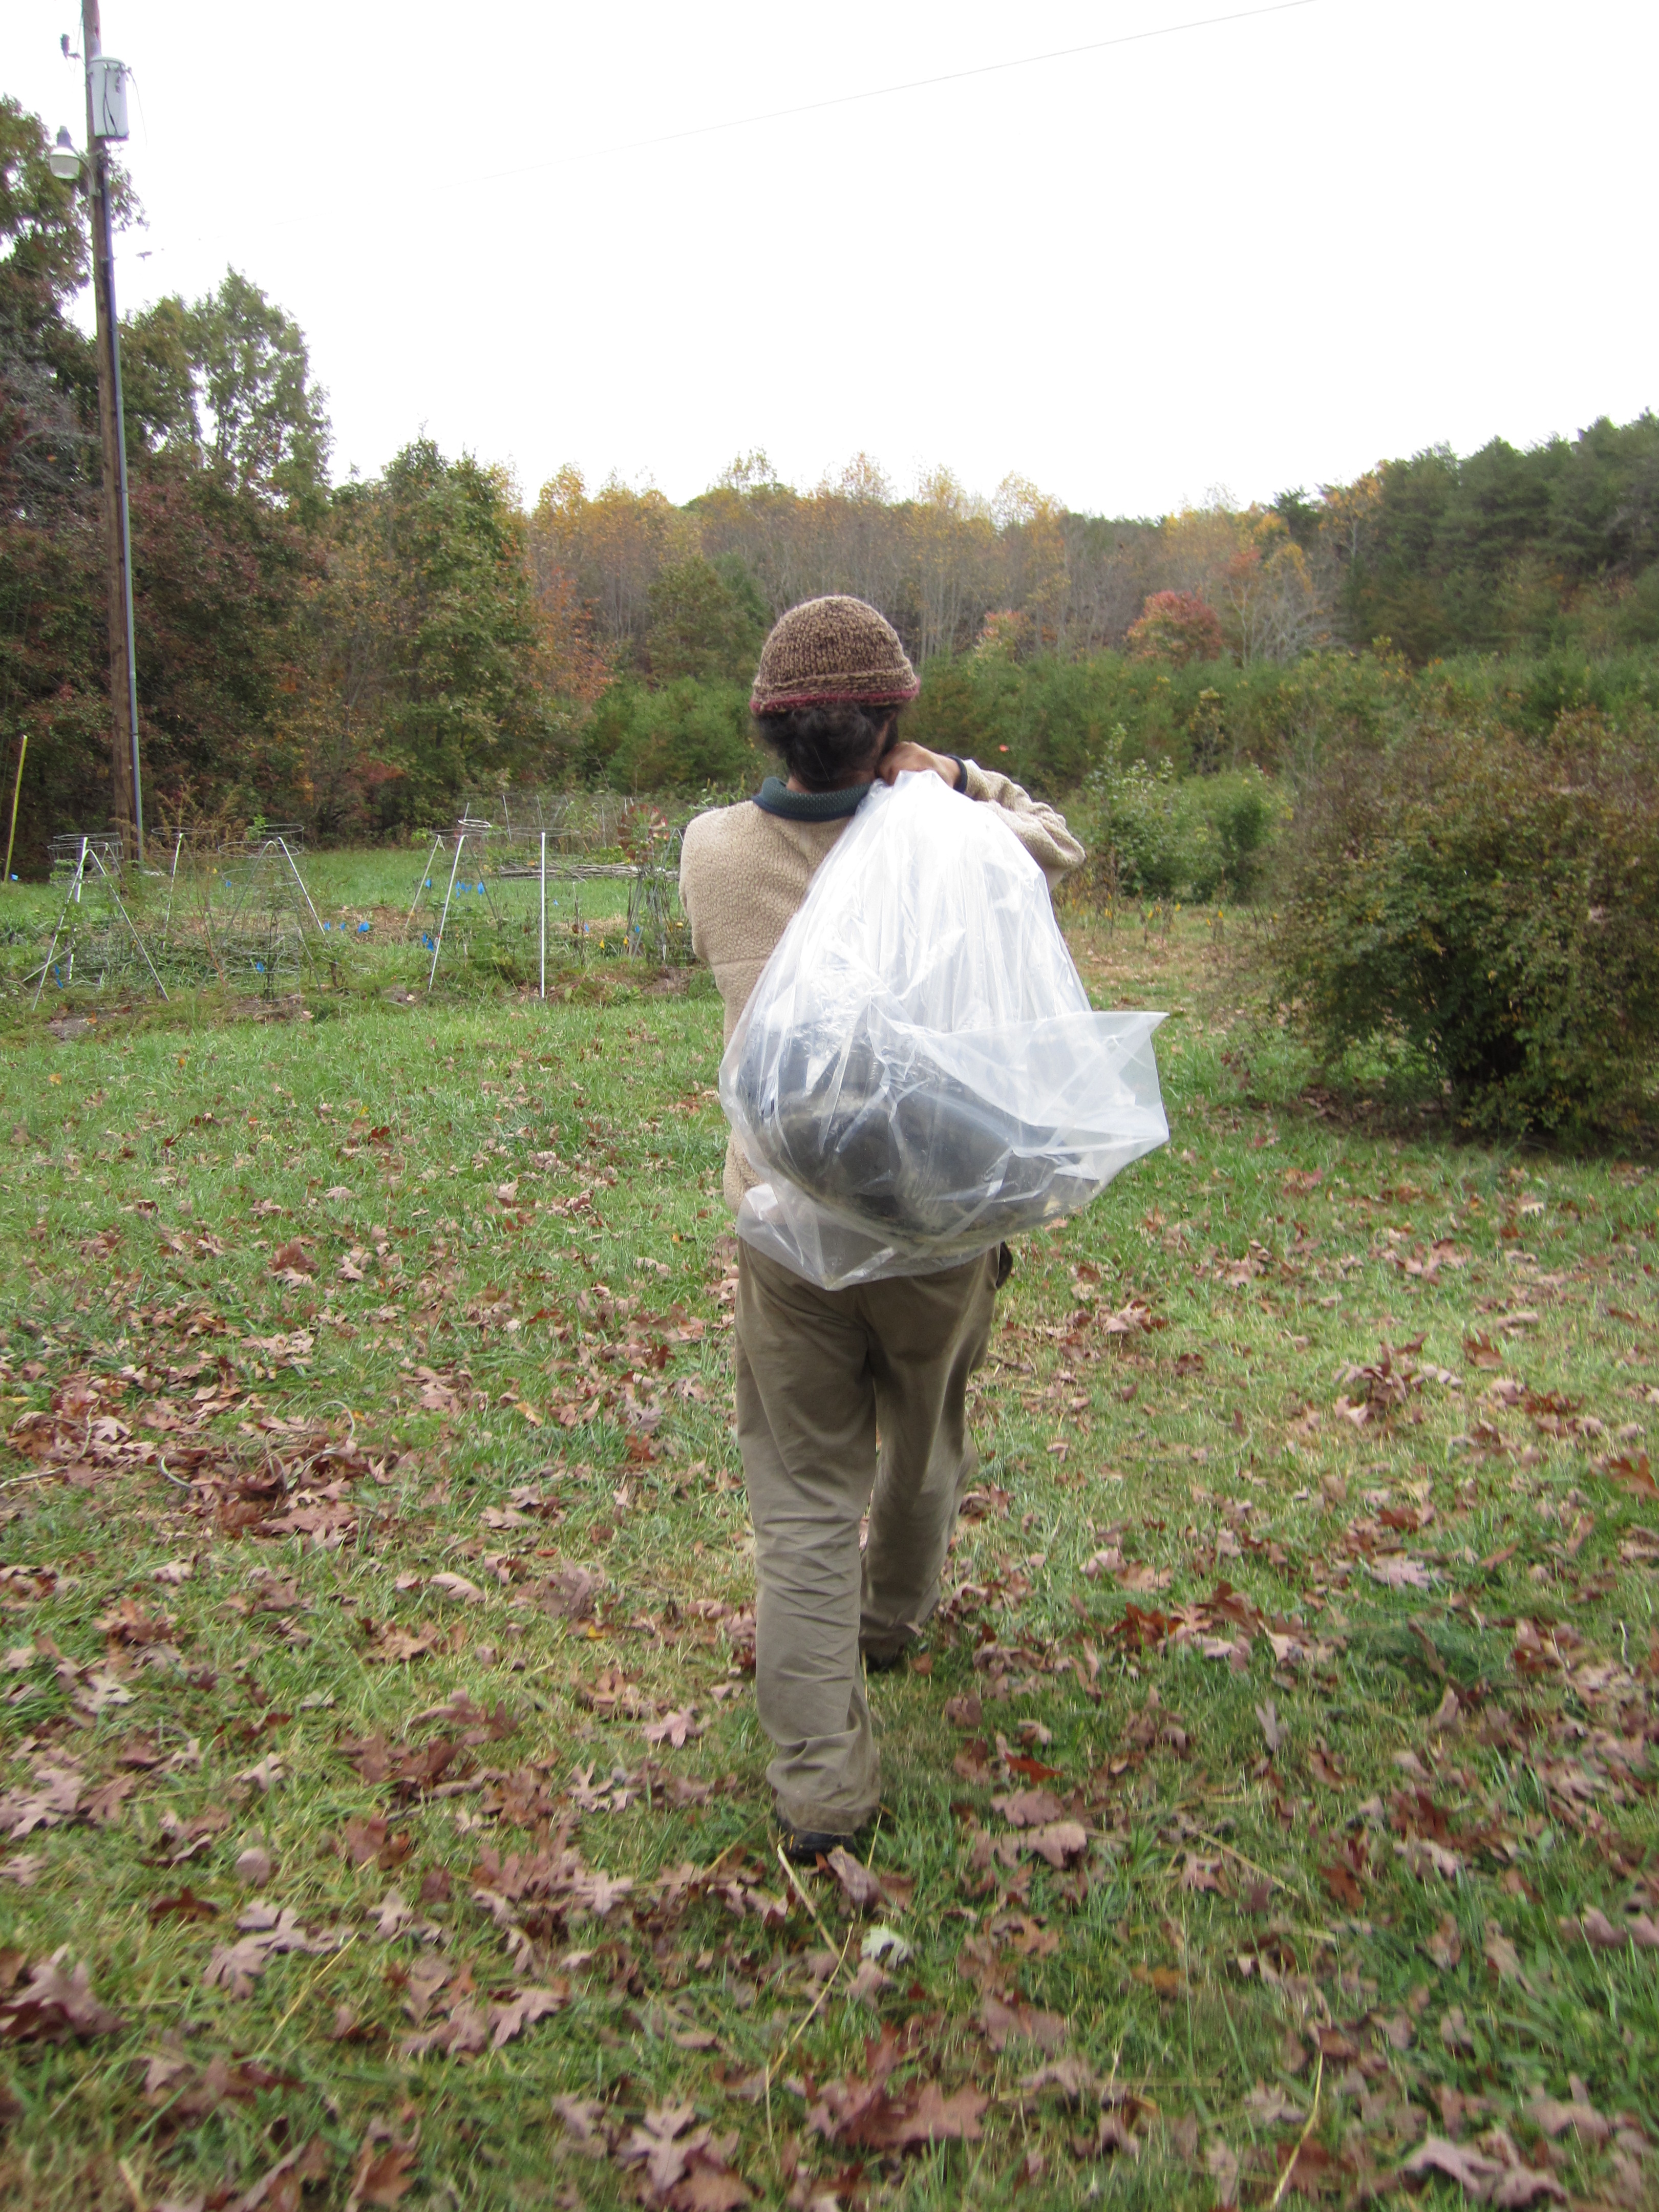
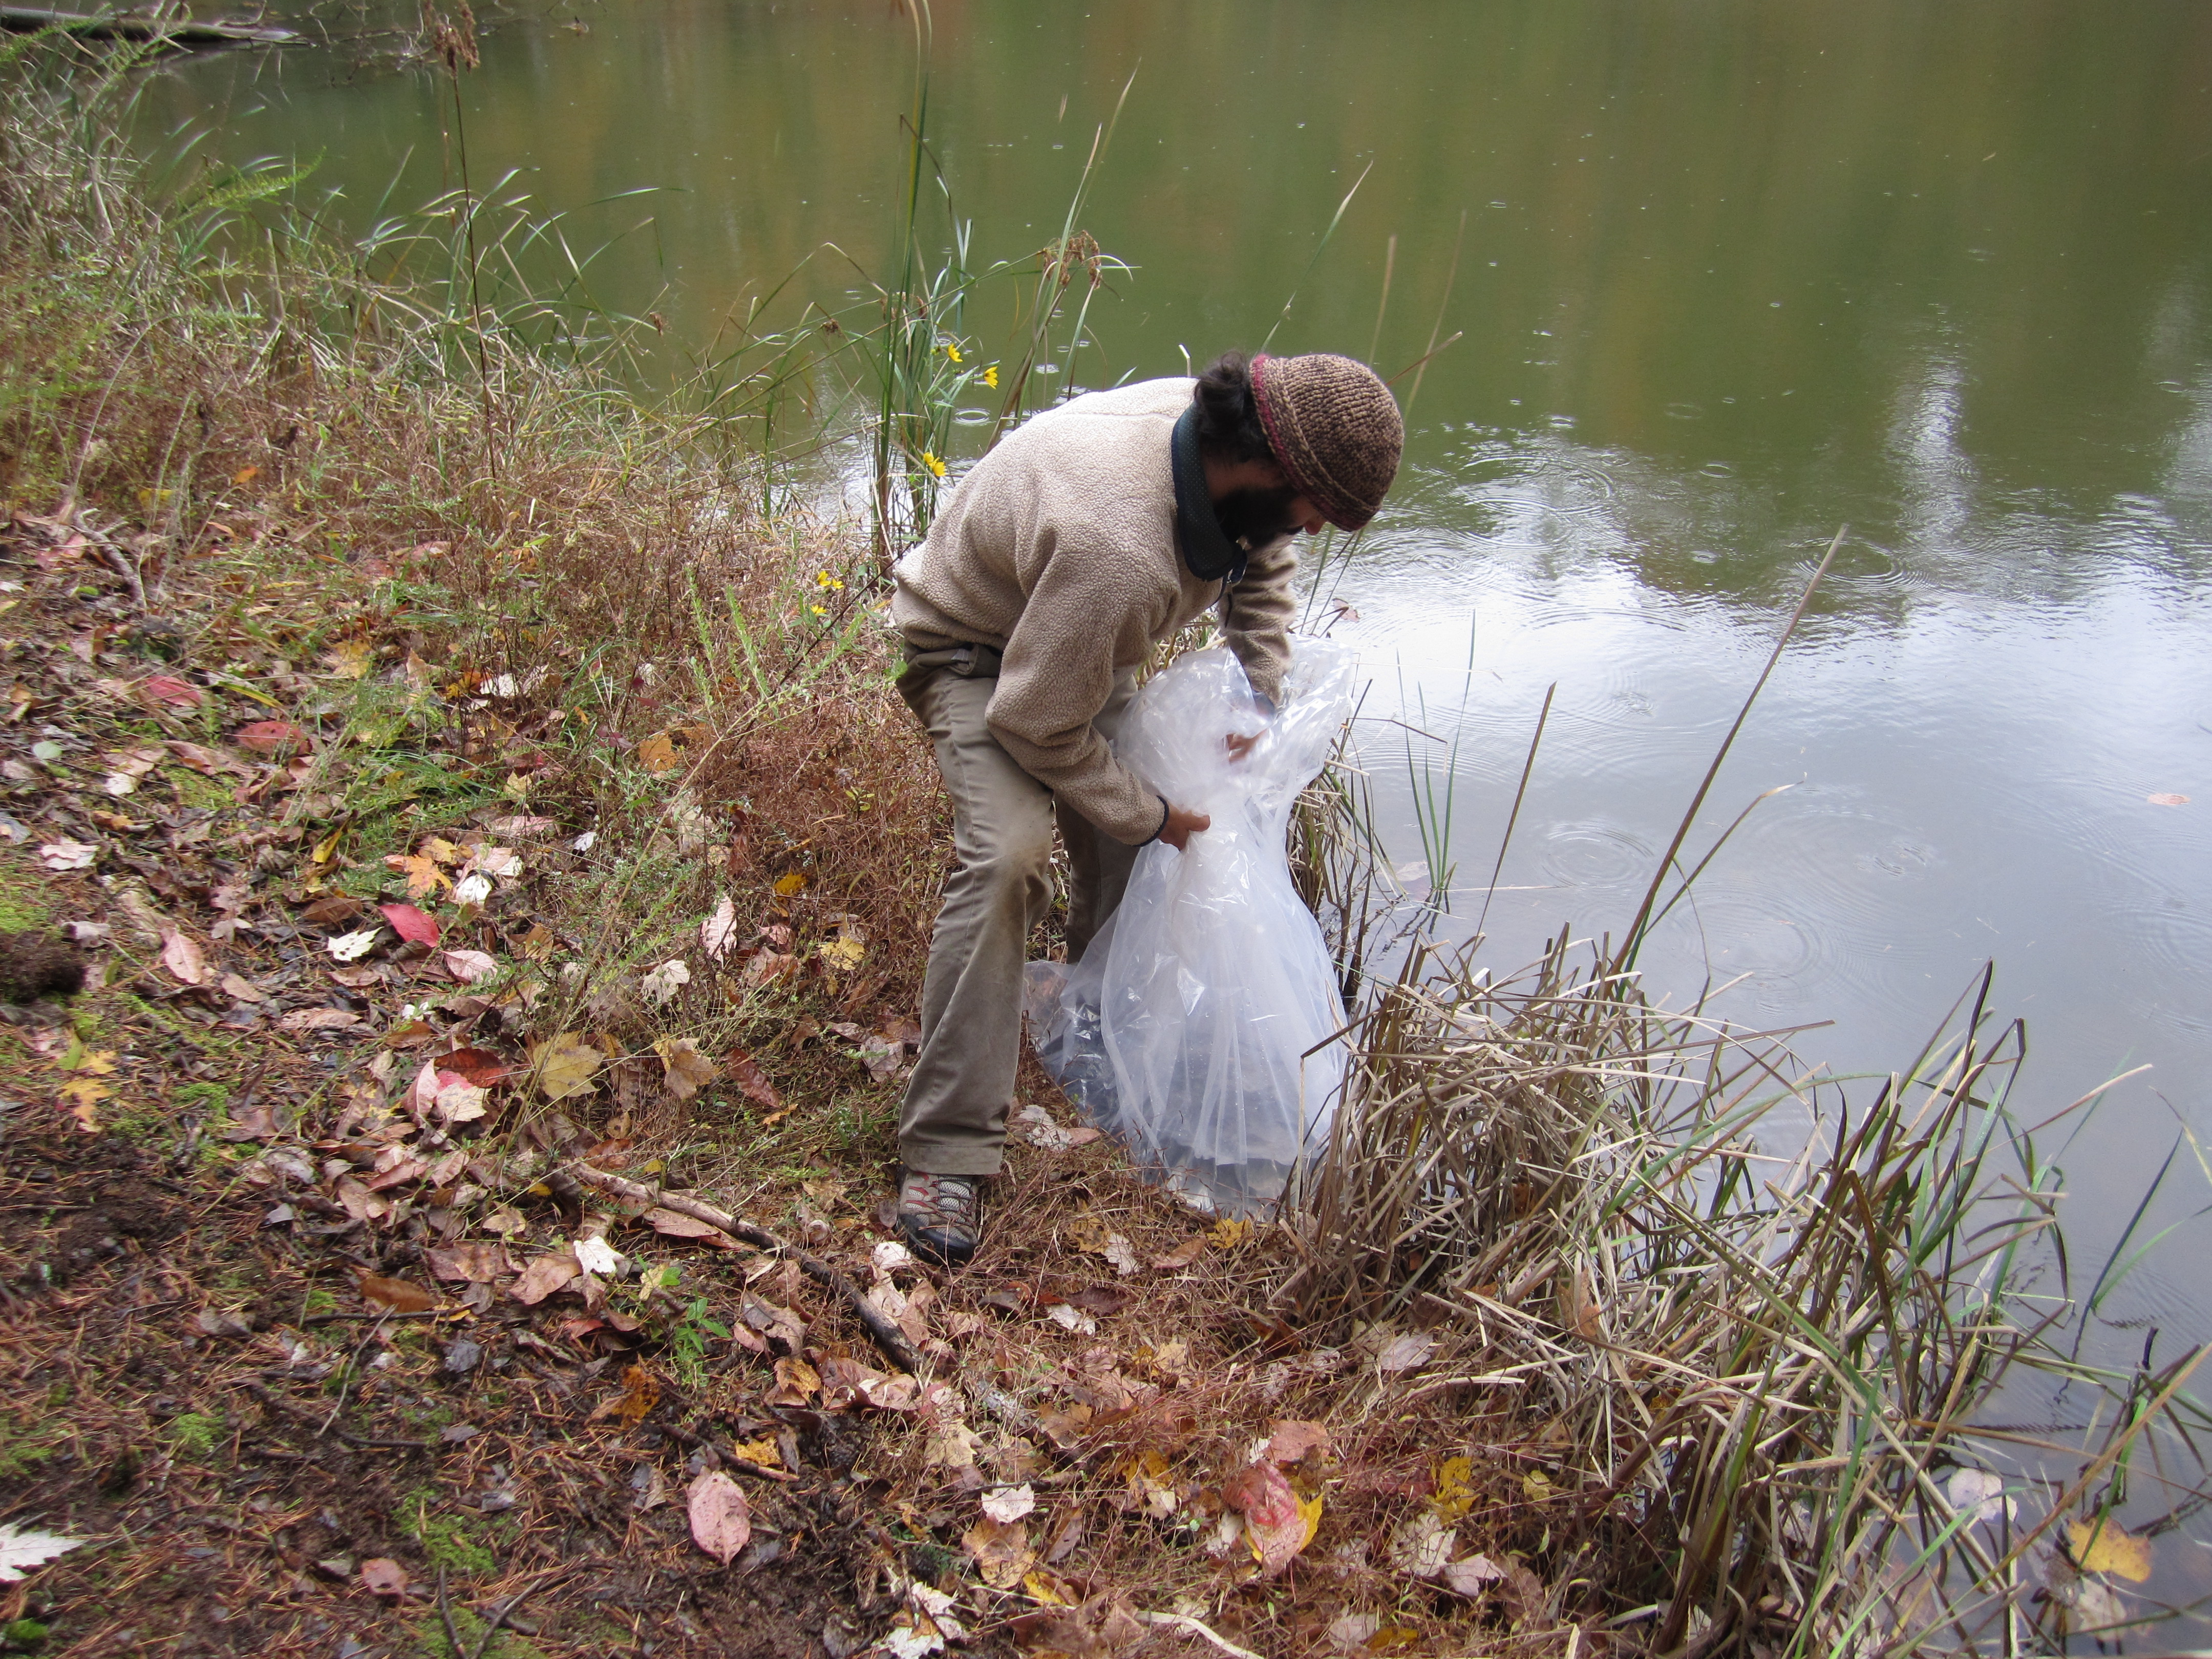
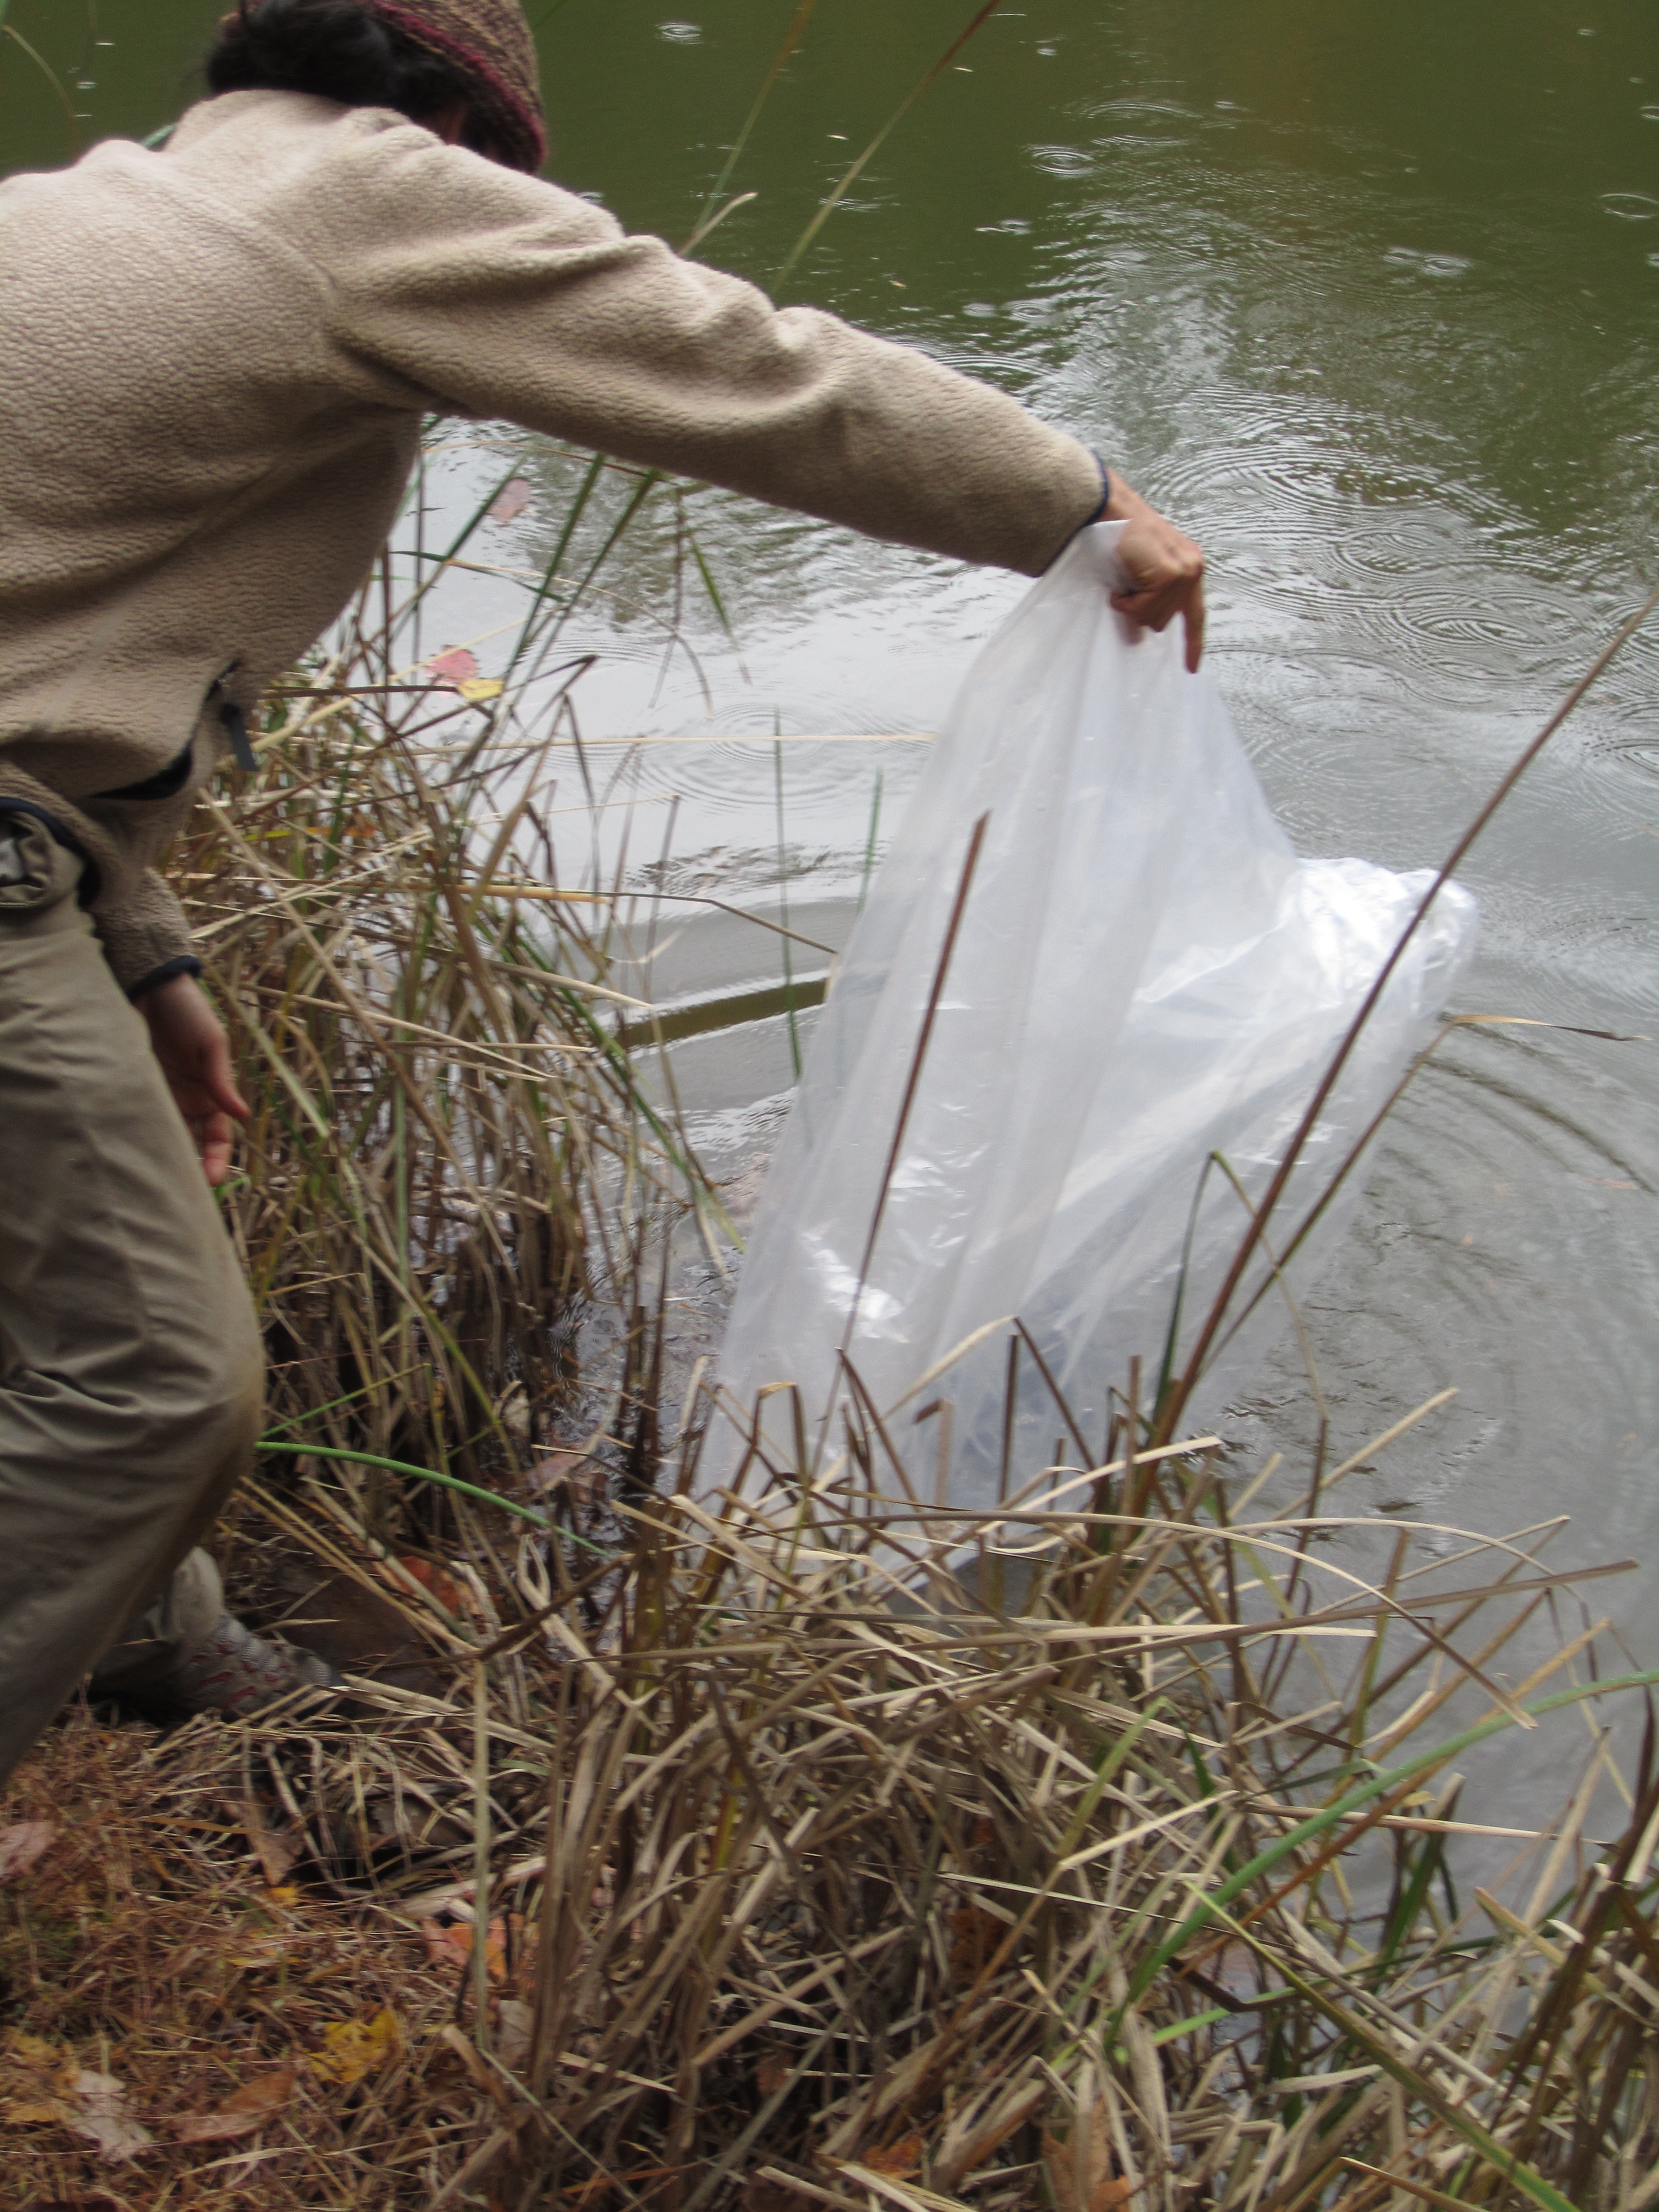
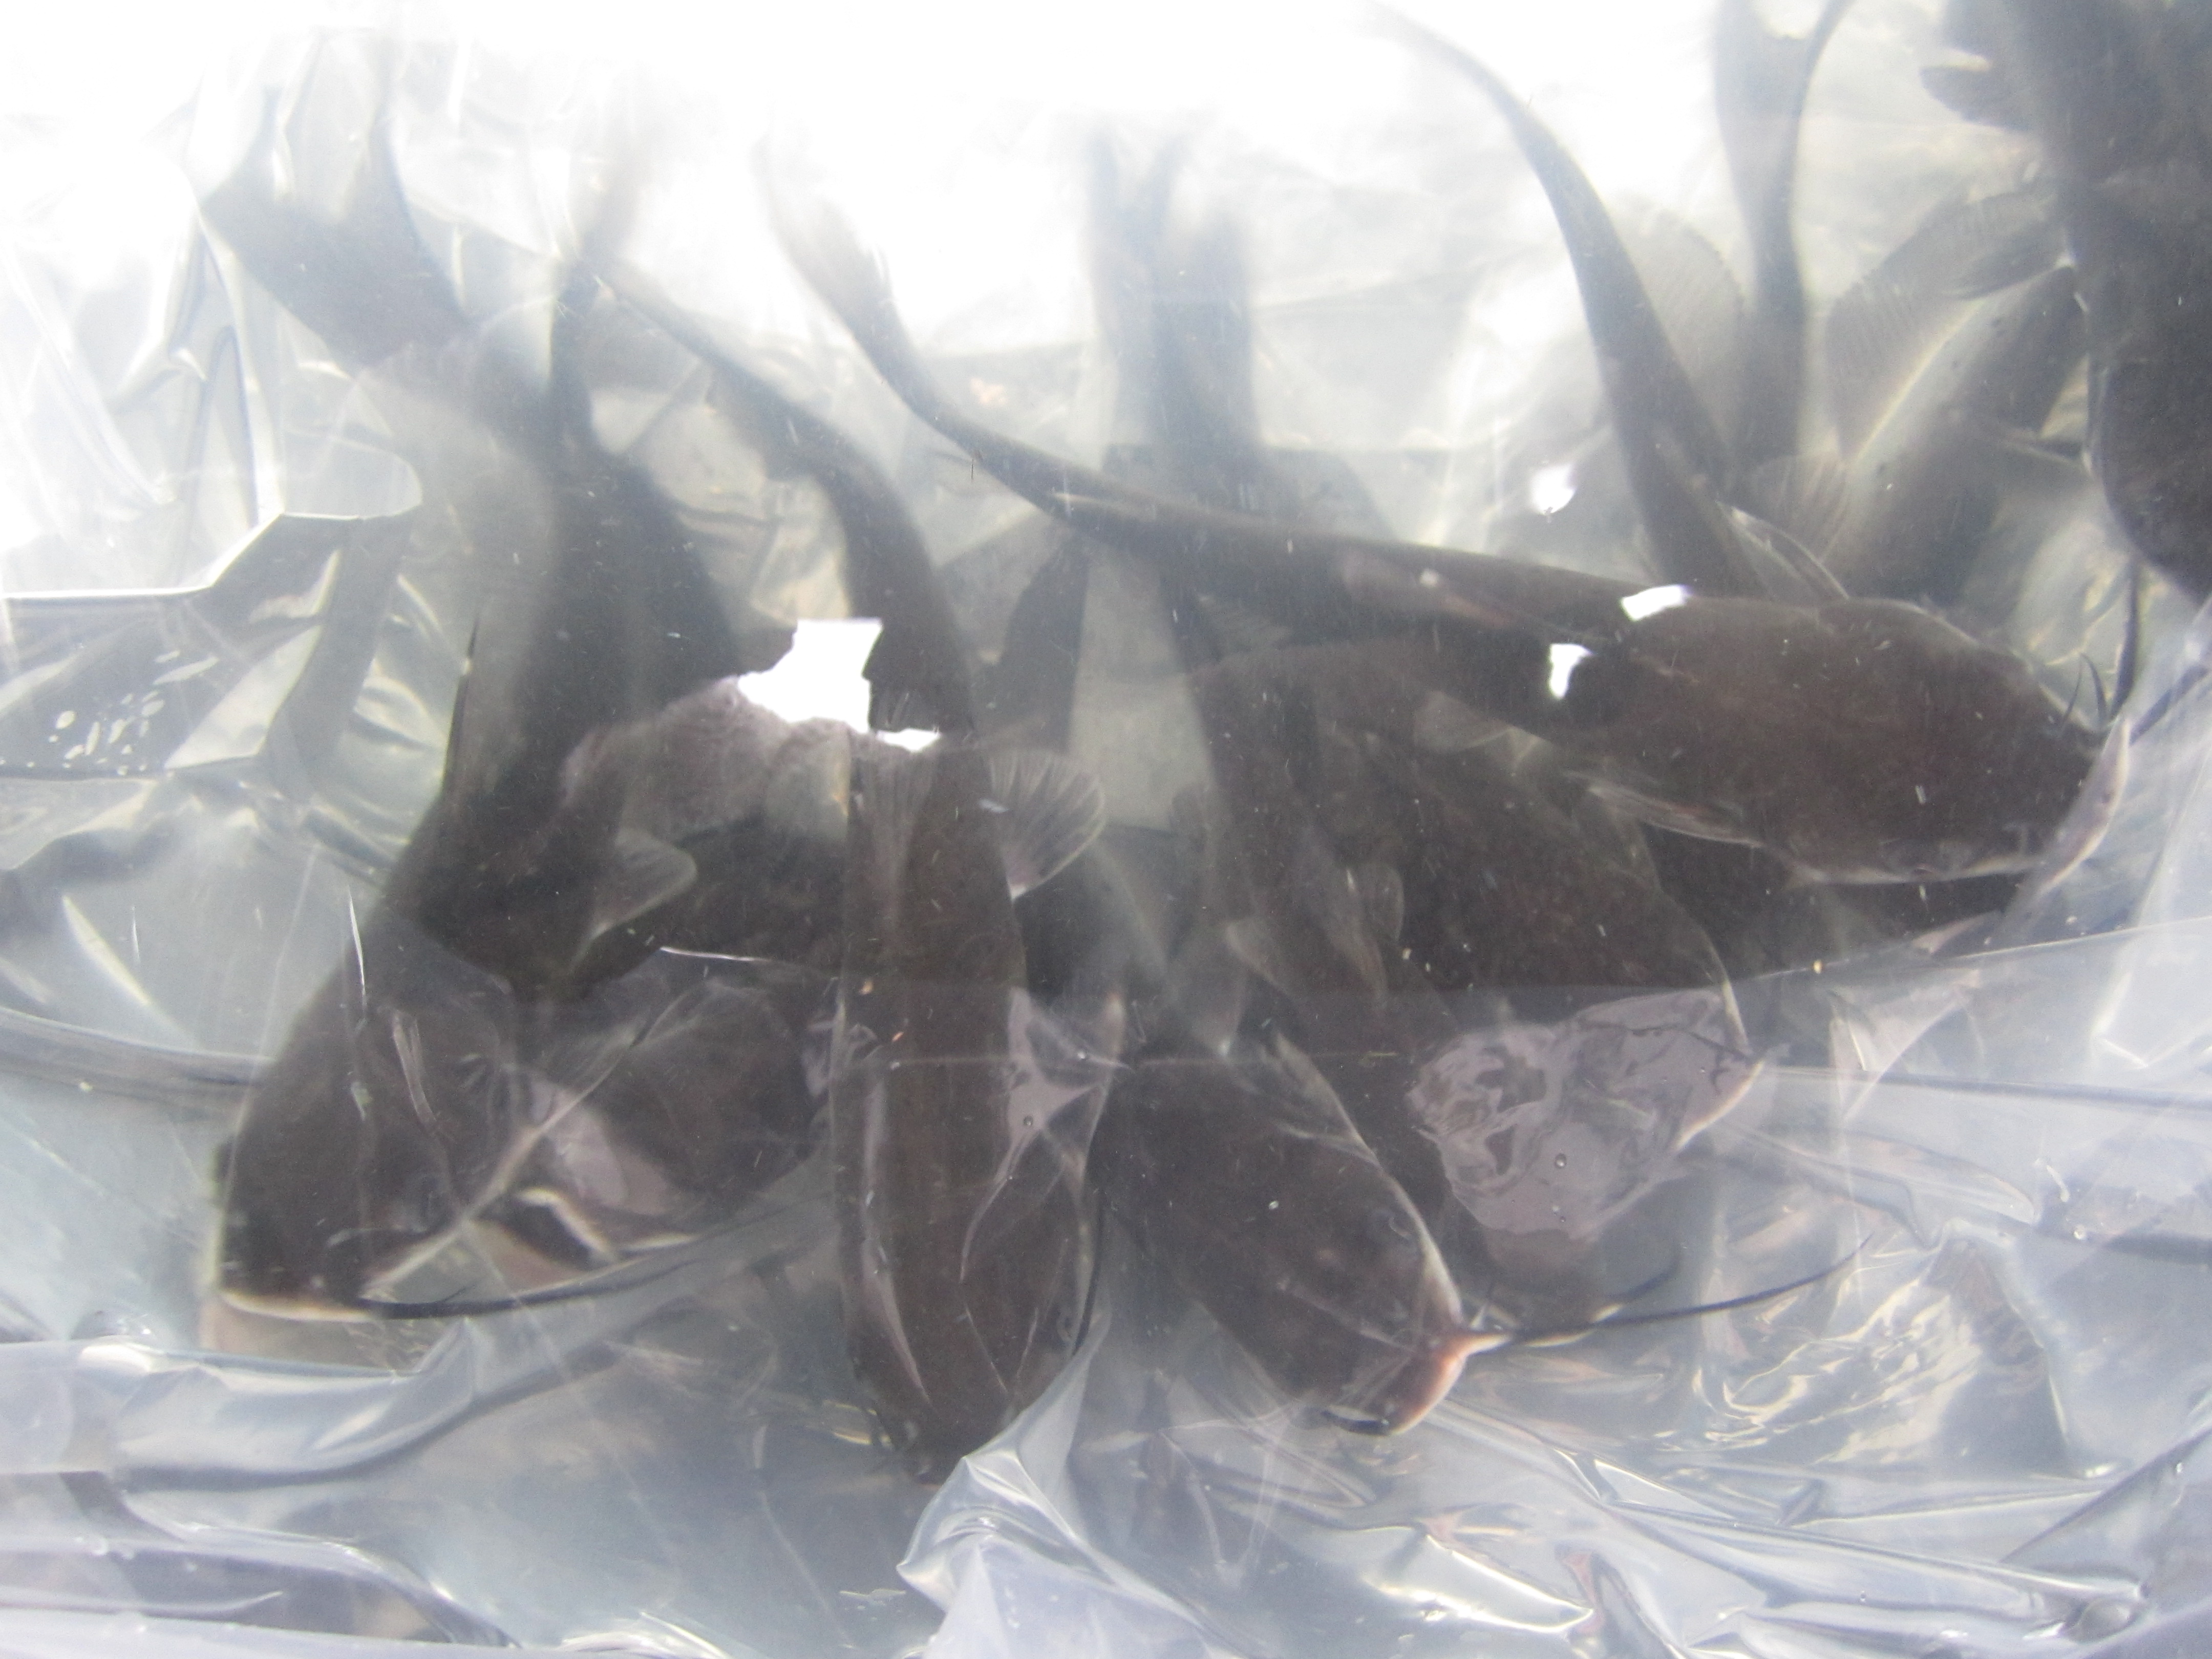
This is where the small woodlot managers have an advantage. It’s one thing to find uses for 2-10 acres of low value wood, but quite another when you are dealing with 1000’s of acres. Smaller forest owners, particularly those who live on the wooded acreage that they are managing, also have the advantage of constant contact and correction. They walk their property every week, sometimes every day and can notice things like diseased, dying and dead trees, and can quickly implement a strategy to deal with them. They can also easily diversify into many avenues of production. It’s very feasible for someone to combine a small shiitake mushroom operation on logs , a coppice grove for crafts, cut a few cords of firewood for home heating, put in a small food forest with edible tree and cane fruits, go hunting a few times a year for turkey, squirrel and deer, all while increasing the value of their timber, property and life.

timber management cruise nc

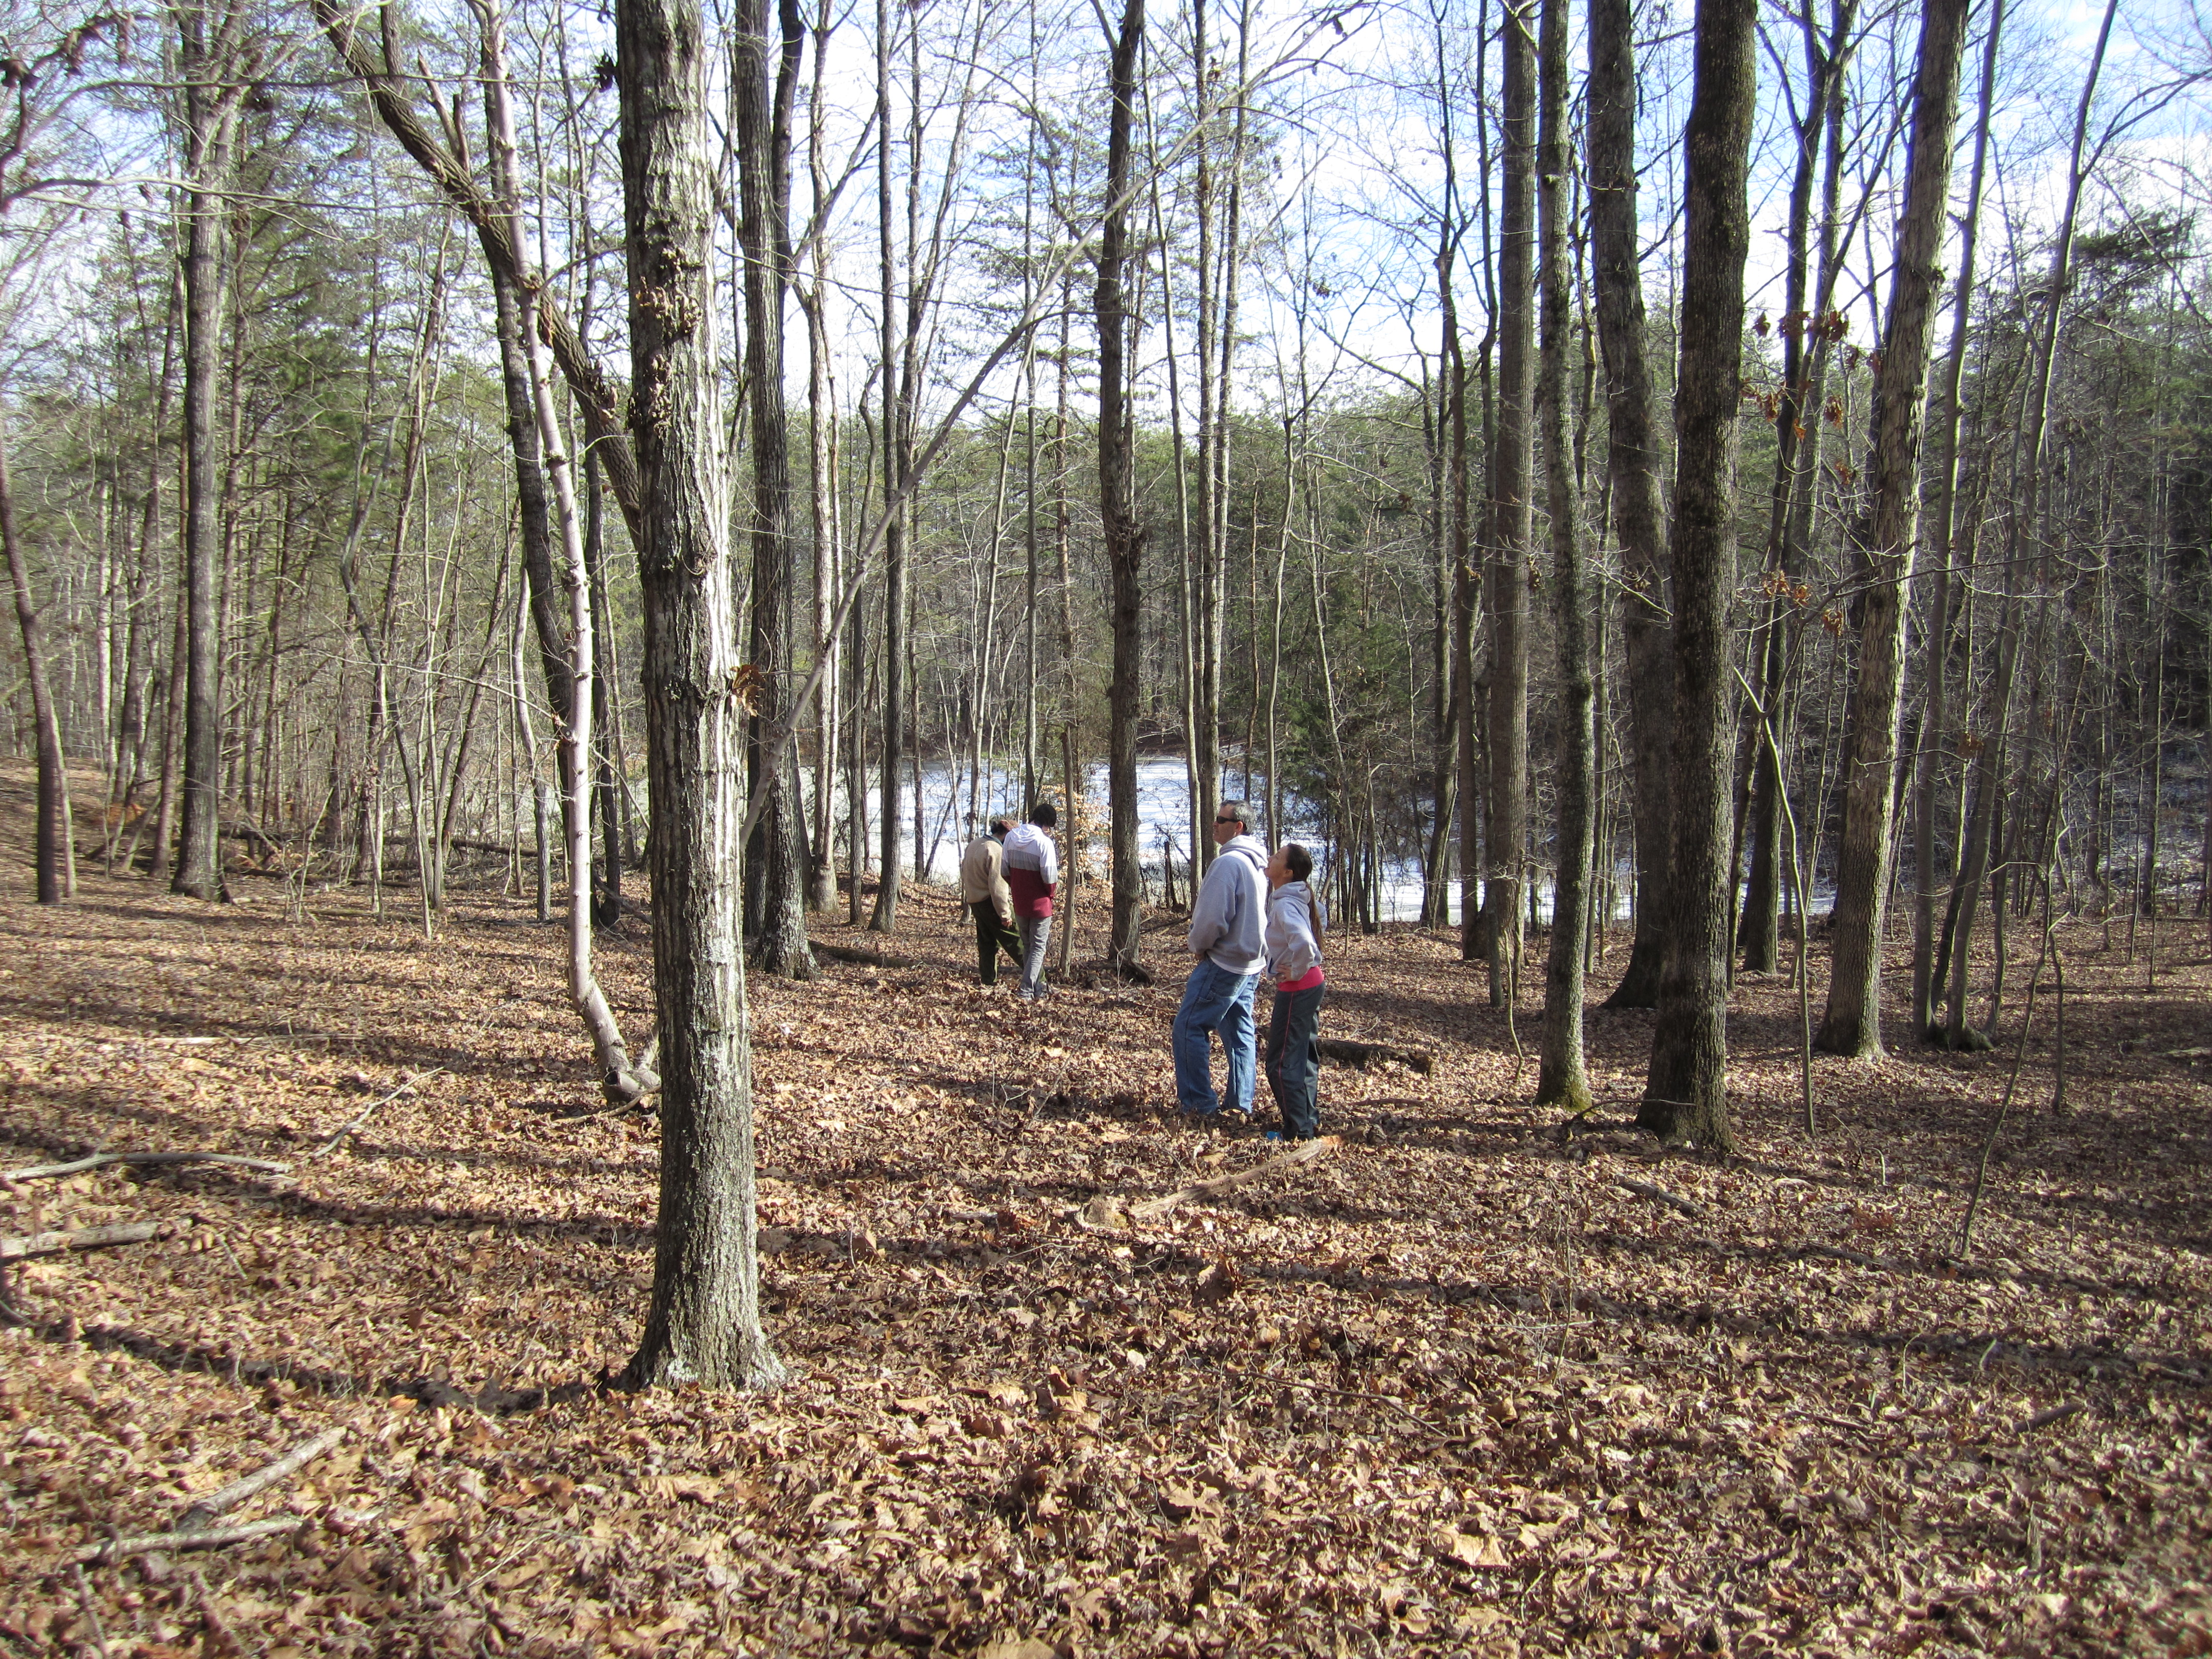
forest owners and managers should observe and interact with their woods in order to come up with goals, and management strategies

This is the key to timber management, the interaction between owner and forest. There cannot be a prescription for management until an owner knows what he/she want’s to achieve with their woodlot. After that, a timber inventory, and then a timber management plan can be created and implemented. From there, it transitions to the long and enjoyable phase of observations and interactions, all tailored to the goals laid out in the beginning. This can lead to many years of productivity, profitability, and sustainability, all from a woodlot that was worth only a fraction of it’s value, but with proper timber management, can be passed down for generations as it wealth accumulates.

incubating chicken eggs 101

the time has come for us to have some babies… 21 chicken babies, hopefully!

we finally broke out our new incubator, the incuview all-in-one egg incubator, that has the ability to keep eggs moist, turn them every few hours, and keep them warm and toasty just like a mother hens’s butt! another really cool thing about the incuview is that it is capable of incubating reptile eggs and many bird eggs, such as chicken, goose, duck, and turkey.

so, this past weekend we decided to incubate 21 chicken eggs (this is the number that will fit in the incubator) so that we can have some new chickens this coming year! we started incubating on sunday and we saved eggs from  last wednesday through saturday to be sure that we would have enough to incubate. these we stored at room temperature, pointy end down. we also made sure to shift them in their tray every day so that nothing inside the egg would begin to stick to the shell or form air bubbles. when sunday came around, we chose the best shaped, cleanest eggs from our collection and placed them end to end in the incubator.

egg incubator

our incubating eggs!

the default temperature fr the incubator is 99.5 degrees, which is ideal for chicken eggs, and the dial measuring humidity is easy to read and understand. i do recommend, however, putting less water in the bottom water tray than you think you need… i poured out a good bit of the water today, and the humidity is still very high inside the device. i’ll be checking the levels again tomorrow and pouring out even more water if the humidity doesn’t drop.

chicken eggs hatch after 21 days of incubation, and the last few days of incubation require a different humidity level in the environment so that as they hatch the chicks don’t get stuck to their shell. our incubator has a setting that allows for this increase in humidity and we can disengage the turning device so that the eggs are not turned during the last few, critical days.

egg incubator

the turning device is the metal rod that you see coming down from the lid of the incubator.

this weekend or sometime next week we will be able to hold the eggs up to a bright light to see which of the eggs are fertilized and which are developing properly. it’s like a chicken ultrasound!

the hardest part of the hatching will be  watching the chicks be born without interfering. it is great that you can see the whole event but since they recommend waiting every few hours to remove hatched and dried off chicks, i’m going to be jumping out of my skin while i wait to hold them!

we’ve decided that once they’re born we’re going to keep them in a pen inside of the basement shower so that they can grow without being molested by bolt and without taking up too much of our basement space. once spring rolls around, we’re going to replace some of our older hens with this new batch, and eat whichever older hens and newer roosters are left.

so, we’re starting off on a new adventure here at kuska wiñasun homestead, an adventure that will hopefully end in many little chicks!

.:.


Blackberry and Raspberry Propagation by Layering

We have plenty of wild blackberries growing on our homestead, so when we ordered cane fruit plants last year for our food forest, we focused on raspberries. We did get 1 type of blackberry though, a thorn-less variety named Chester, known for its sweet, early ripening berries. Because we only have 1 lone plant at the base of  a dwarf apple tree, we figured we should try our hand at layering, an easy method of cane-fruit propagation.

blackberry layering

a chester blackberry ready to be layered

Layering involves digging a small hole by the base of the berry bush and then bending one of the canes down into it. That’s pretty much it. Over the winter, the buried portion of the young cane will start to send out roots, and will develop into a new plant! By bending the cane, instead of snipping off a cutting, the new plant still has access to the old plants more established root network and all of it’s nutrients and water it can absorb from the soil.

layering blackberries

dig a small hole by the base of the plant, about 6 inches deep

blackberry propagation layering

then bury the new shoot, tamp down the soil, and wait until spring!

Come spring, simply cut the cane 6-8 inches from the base of the new plant, and feel free to either dig up and transplant your new black/raspberry or extend the older plant outwards like you would if you were creating an edible hedge, or fedge. This new plant will be exactly like your old plant, except that for the first year it’s leaves will be upside down!! Pretty cool, and a great way to produce more plants for free!

Don’t forget to join our email mailing list and stay updated on all things our ochre way!


Plantain (Plantago): Herbal First Aid in Action!

Here’s a short  video on how I treated an insect sting on my knuckle at work with some plantain today. Plantain is a great medicinal herb that is both very conspicuous and very safe. It’s a well known herb, sometimes considered a weed, that is often found in lawns, nature strips, and parks.

The compounds in the leaves are extremely useful at pulling out toxins and poisons, and old timers have used this wonder plant to treat all sorts of cuts, bites, and envenomations. My sting today was on my knuckle! Ouch! But the plantain (genus plantago) worked it’s magic and after just a few hours I couldn’t even tell which finger had gotten stung! Check out the video for more!

Be sure to join our email mailing list and stay updated on all things our ochre way!


frosted plants and crunchy leaves

a sure sign that fall is here and winter is coming… frost! we had our first frost of the year on november 1st, which was close in date to first frosts of other years. luckily, we were proactive; we watched the weather and were poised to harvest the crops before the frost came in. among the things that we harvested:

peppers

  • jalapeño peppers
  • aji peppers
  • sweet bell peppers
  • cayenne peppers

sweet potatoes (these we harvested after the frost because jason cut off all of the greenery and covered them up with sheets to protect the tubers for a little while longer)

  • red porto rican
  • yellow porto rican (see jason’s post to learn why their name is spelled this way!)
  • korean purple

chia

herbs

and a good thing  we did, too! check out how frosted (and killed and blackened) the peppers became…

frosted peppers

the aji pepper plants after the frost!


frosted peppers

the bell pepper plants after the frost!

some crops do well with a light frost, though. kale is one of them, and the frost even makes the leaves sweeter. our kale is still going strong and we ca’t wait to eat some!

baby kale

baby kale, oh baby!

jason also just put some garlic in the ground, which withstands even the coldest winters like a champ. our oca tubers are still in the ground, too, and they won’t get harvested until after winter is winding down.

i’ve also noticed the lovely trees and leaves on the ground (and since we don’t rake or leaf-blow them around, i get to enjoy their crunch for a while to come (even though they’ve piled up in the carport too!)!

maple tee losing leaves

topless tree… our front yard maple.


oak tree

our front yard oak

leaves in yard

my pile of leaves!!!

.:.

Rhus copallina: Shining, Dwarf, Winged or Flameleaf Sumac

Rhus copallina, or shining sumac, was one of the wild plants on our property that puzzled me for the longest time. I could recognize its distinctive sumac-y look that meant it belonged in the Rhus genus that contains the more common staghorn and smooth sumacs, but it didn’t match any of the pictures I could find of those two species. I was worried for a bit that it might be poison sumac (Toxicodendron vernix) but a quick Google search told me that the best way to tell poison sumac from okay sumac is the color of the berries. Red berries = don’t worry, and white berries = don’t touch/eat/make sumac tea. So, I went on not knowing exactly what the plant was, and being intrigued by its interestingly winged leaflets.

shining sumac

You can easily tell this type of sumac by the winged margins between the leaves.

But then, out of the blue one day while researching different types of permaculture plants, I stumbled across an image that finally made it clear that this sumac was winged sumac. It’s a great plant, with many uses and a strikingly beautiful presence on the homestead, especially in fall. It’s leaves are the darkest, most robust red I’ve ever seen.

But it’s not just a pretty plant! It also, like all of the safe sumacs, has a very high amount of vitamin c in it’s berries. You can soak them in water to pull out the vitamin c, and then freeze the tangy juice and use it like you would lemon juice. It’s also common for people, especially in the south, to make “sumac-ade” or pink lemonade out of the berries as well. I’ve heard of fisherman using a sprig of sumac berries in place of lemon when baking fish as well. In some countries, the berries are dried and ground up to make a spice that adds a red coloring to many dishes, and the pithy stems were often used in pipemaking.

winged dwarf flameleaf sumac

We love the beautiful fall color of Rhus copallina!

Shining sumac can grow in a wide range of climates, from zones 4-10, and can tolerate full sun or partial shade. It really is a pioneer species that thrives on the forest edge, where it leads the advancement of meadow to woods. It spreads by suckers, can quickly fill up an area that has been cleared, and it is often planted as both a wildlife cover species and as a shrub to stabilize soil and prevent erosion. All sorts of birds enjoy the berries, and they help to spread the seeds as well. One more interesting thing about  flameleaf sumac is that it often colonizes after fire events, which makes me wonder if the small stand we have used to be somewhere a burn or brush pile was kept by the previous owners.

In any event, I’m glad to have identified this plant, and even gladder to know that it’s so useful. I have been encouraging it wherever I see it growing, and hope to transplant a few into our backyard food forest this upcoming year and make a bunch of sumac-pink lemonade!


homestead wedding tips: using straw bales and boards to make wedding seats!

when we got married 5 weeks ago, we really wanted to make the whole ceremony, including what would be under our guests’ butts, as representative of jason and me as possible.

we started brainstorming what wedding “gear” we would need early on in the year, but since we were on the fence about whether we should have our reception at our house or another venue, we didn’t commit to renting any seats and tables. this just didn’t seem quite right to us, for some reason. we really wanted to make even this portion of the ceremony personal and “homemade” in some way and so once we decided to hold our reception elsewhere, we felt more open to other ideas since we no longer needed to rent 100 chairs and tables to seat everyone at the house. we decided that the primary seating would be set up for the ceremony, with other seating around the yard. time to get creative…

we thought about things that were important to us, making the seating:

  • fun and homemade
  • meaningful
  • reusable
  • as inexpensive as possible

we settled on wrapping boards in fabric and laying them on top of straw bales in a semi-circle pattern. after doing some shopping around it became clear that the boards that were the best deal for the footage and were also sturdy enough to support 6-7 butts, were 10 foot boards that were 8 inches wide. the store clerk that approached my mom and me as we were measuring our butt sizes and averaging them, certainly was a bit confused.

we also did the math on how many straw bales we would need under each board to make the boards sturdier and less movable, determining that 3 under each board was sufficient. jason found a local farmer and he delivered our bales to us a few weeks before the wedding. it was serendipitous when the farmer showed up and told us that our house and land had been owned by his grandparents. the person who sold us our home was his mother!


we were really excited about using the wood and straw as seats because we knew that we would reuse these materials later; the wood for building or repairing structures, and the straw for mulching beds or providing padding for the chickens’ nest boxes. right now actually, some of the straw bales are weighing down sheets that we’ve laid down in the garden to keep the sweet potatoes from freezing before we harvest them all this week.

we were concerned about wedding guests sitting on bare boards (who knows what could stain a light colored dress?), so we decided to wrap them in colorful fabric. since the wedding colors were loosely “fall colors,” my mom dug out some of her old bolts of fabric and we were able to choose some patterns that suited the wedding colors. my mom helped me cut the fabric to length and wrap the boards tightly. i used a hammer stapler to secure the fabric on the bottom side on the board, and after a lot of stapling and one mashed toe (mine) we had the boards done. two of the boards were wrapped in a different pattern than the others, and these were the two boards placed in the front-right-center and front-left-center of the seating arrangement and meant for our parents and grandparents.

i also placed the awesome stepping stones that we made at my bridal shower on each end of all of the rows, placing the ones made by my mom and jason’s mom, right beside where they would be sitting during the ceremony. they noticed this addition, and it made me feel great that the decorations were made by some of my closest loved ones!

the day of the rehearsal dinner, our family used the board/bale seats as places to sit, eat pizza, and get to know one another.

the day of the wedding, our family used the board/bale seats to watch jason and i walk out of the woods and get married and afterwards the benches were once again seats for sitting and chatting with family. other smaller straw bale seats around the yard were used too, and blankets spread out on the grass served as nice places to stretch out and watch the trees and the garden before the ceremony began.

3 cheers for board/straw bale seats: a homemade, cheap, and reusable option for your own wedding!


fall homestead wedding

photo by heidi’s dad

.:.

Sweet Potato Harvest 2014

Today was a great day to harvest sweet potatoes. The slips we planted months ago have done okay in the garden and it was time to dig them up and see how they made.

geese  sweet potatoes

The goose troop making sure I didn’t miss any sweet potatoes

In preparation for our first frost the other night we cut off the tops off of the sweet potato plants because frost damage enters the tubers from the vine part, and by cutting off the top and leaving the potatoes in the warm ground, we can delay the harvest a few days until it’s more convenient.To add a little bit of extra protection, I covered the sweet potato beds with old bed sheets to keep in a little extra warmth. It definitely worked, and there are no signs of any frost damage.

covering sweet potatoes

cutting the vines off and then covering with a bed sheet can give you a few extra days to harvest your sweet potatoes

We planted 3 different varieties; 1 red porto rican sweet potato (I know, it should be Puerto Rican, but that’s what they call it), 1 yellow porto rican, and 1 korean purple. The porto ricans we grew last year with great success, and the purples were started from tubers from Super G, and international grocery store in Greensboro. They were planted in 4 different locations in the garden. About 1/4 went into one of our new hugelkulture beds, where they were inter-planted with sorghum and cowpeas as a southern style 3 sisters garden. These did the best.

sweet potato varieties

red porto rican, yellow porto rican, and korean purple sweet potatoes

Overall, the yields were not as great as last year, but still okay. We planted them much later than last year, and the fertility in many of the plots were on the low side. Still, we should have plenty of sweet potatoes to last us through the winter and into next year. This means plenty of sweet potato ginger soup! Yes!!

Small Scale Catfish Pond Stocking

How do you stock catfish in small pond? Particularly one that’s not easily accessed from the road or driveway?

Most pond stocking companies offer delivery services for their fish, and have big hoses and tanks to get the fish into your pond. But because our recent batch of twenty five, 8-10″channel catfish was such a small order (they only cost $20), delivery wasn’t really an option. Luckily, the fish company is able to fill up some heavy duty plastic bags with water, and some extra O2. This gives you plenty of time for a short drive, and doesn’t stress the fish out too much in the process.

catfish stocking small pond

Carrying catfish in a plastic bag down to the pond

Once we got home, it was a simple matter of dumping out some of the excess water and then lugging a big ole pile catfish over my shoulder and down to the pond. The fish people had left their tanks open all night, and the water was nice and cold, so we didn’t bother acclimating the fish to our pond water. We just dumped them out.

small pond catfish stocking

almost there…


catfish small ponds

Free to grow and eventually turn into catfish sandwiches

All in all, a very simple chore, very doable for 1 person. each bag had about 12 catfish in it, so it took 2 trips (about 10 minutes). So,if your thinking about stocking your small pond with fish, be they catfish, bluegill, or bass, don’t worry about bagging them up and bringing them if you cant find someone to deliver them. This would work even better with smaller sized fish, and you could probably stock a decent sized pond entirely with bagged fish if you planned it carefully.

We only added the 25 larger catfish because our pond is in pretty good balance, with a somewhat high population of small bluegills and some larger bass.They seem to doing well, its hard to tell, but we haven’t seen any floaters since the pond was stocked 3 days ago.

The Catfish Have Arrived!

A big warm welcome to the 25 newest members of Kuska Wiñasun Homestead!

stocking catfish homestead

channel catfish are great fish to stock in small ponds for both meat and fun

Yesterday we picked up twenty five, 7-10″  channel catfish from Carolina Fish Hatchery and brought them back to their new home, our 3/4 acre pond.They were double bagged, given a shot of oxygen in their water, then placed in 2 of our big plastic totes while we drove home to release them.  They held up well during the hour drive, and so far there are no floaters at the pond.

With some luck, and a diet of small bluegills, they’ll be “eatin’ size” in no time! Stay tuned for more updates on how and why we stocked our small pond with channel catfish!

Newer posts

© 2024 KW Homestead

Theme by Anders NorenUp ↑