KW Homestead

Pasture Raised Poultry & Edible Landscaping Plants Since 2013

Tag: garden (page 3 of 3)

Random Farm Stuff: Spreading Seeds, Mulch, and a Garlic Update

Kuska Wiñasun Homestead is ready for spring. It’s been nice enjoying the winter weather and the change of the seasons, but I personally can’t wait to see those first dandelions and clover blossoms. The maples are budding out, but it’s still cold. We got more snow, ice, and sleet today, and it should continue into the morning.

This constant cycle of freezing and thawing should help the seed mix I broadcast this weekend by improving soil contact and moisture. I sowed a nice mix of perennial herbs, annual grains, and a few random vegetables thrown in for fun. The base of the mix was dutch white clover, a low lying leguminous perennial that fixes nitrogen and feeds the bees and chickens. To that I added a good bit of chicory, some plantain, alfalfa, vetch, and lambsquarter. I also mixed in some oats and wheat, as well as a packet of daikon radish, lettuce, spinach, chamomile, broccoli, cilantro, and old packet of yellow squash.

We’ll see what takes and what doesn’t, but there should be more than enough vegetation in the old chicken pens where I over-seeded the mix. If there are any blank spaces, we can follow up with some amaranth, chia, buckwheat, and some  more lambsquarter after the soil warms up a bit.

seeds homestead

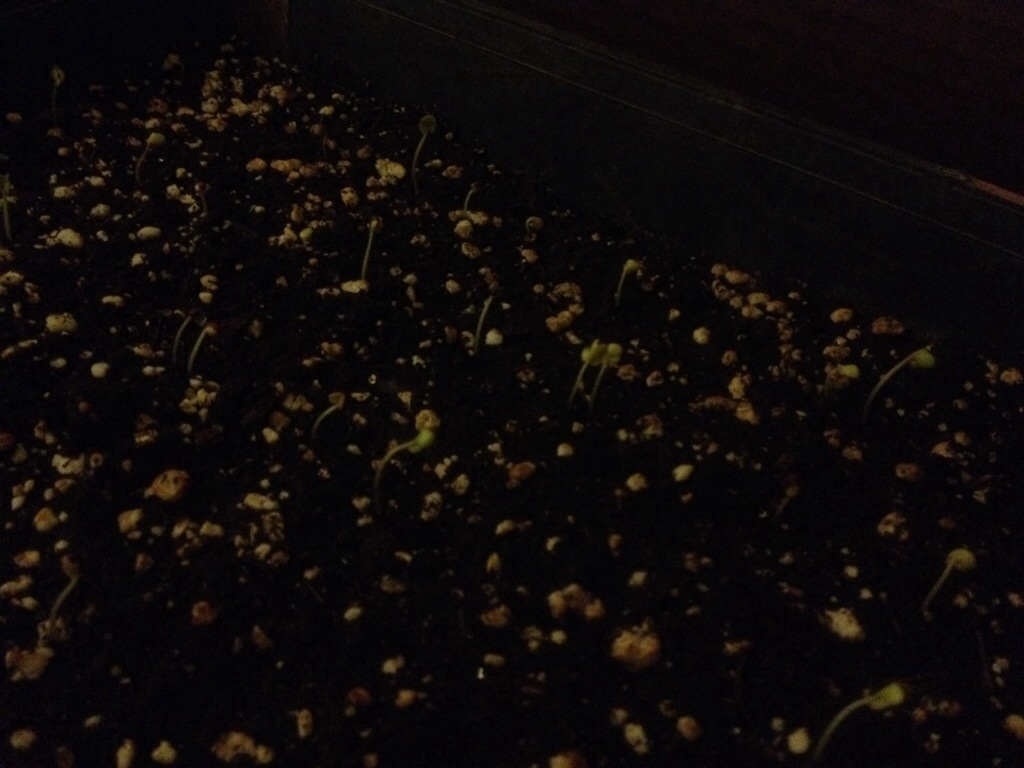
Broccoli and cabbage seedlings starting to germinate.

There’s also been some vegetable seed starting. We have a flat of De Cicco broccoli and White Acre cabbage that has begun to germinate. After they gain some true leaves, and some strength, we’ll transplant them out in the garden for a nice early spring crop, and hopefully get the chance to make some lacto-fermented sauerkraut.

There haven’t been anymore hawk attacks on the chickens but they seem a bit more skittish than usual. We bought a bale of straw today from the feed mill, and they scratched it around all afternoon while they picked out seeds, weeds, and bugs. They’re great mulch spreaders, and a nice layer of manured straw should protect the soil from spring rains, lock up some of the extra nitrogen from the chicken poop, and slowly decompose into wonderful topsoil.

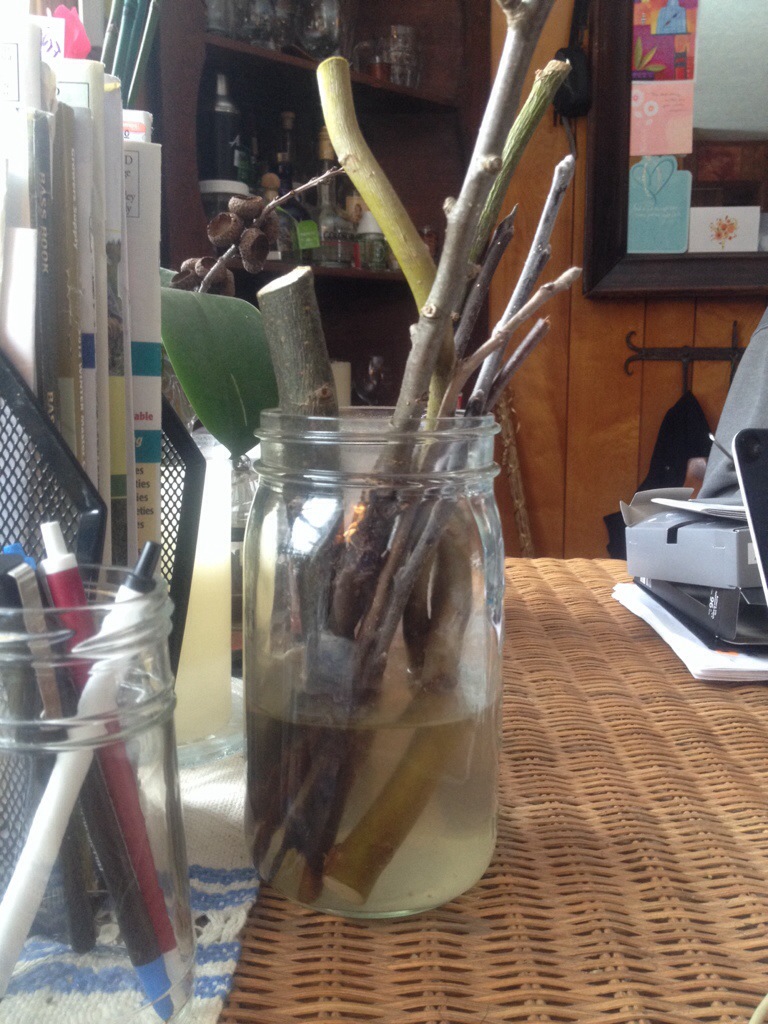
I pruned our dwarf apple trees a few weeks ago and am trying to get some of the cuttings to take root. Apples are normally propagated by grafting, but they can also be grown from cuttings under good conditions. I’m doing a mini experiment, and I have different sizes of cuttings from different trees, some cut below buds, some above buds, and some just tips of growth.

apple cuttings willow

Apple cuttings in water with pieces of willow.

The majority of the cuttings are simply jammed into either our raised garden beds, or into the sides of our garden swales. The rest are on our kitchen table inside the house in a Mason jar filled with water and pieces of willow. The willow contains natural rooting hormones that encourage the growth of root.

The garlic has really perked up the last few weeks. We were worried for a while there that it had gotten too cold too soon for our garlic crop, but that doesn’t seem to be the case. I’ll try to get a picture up soon.
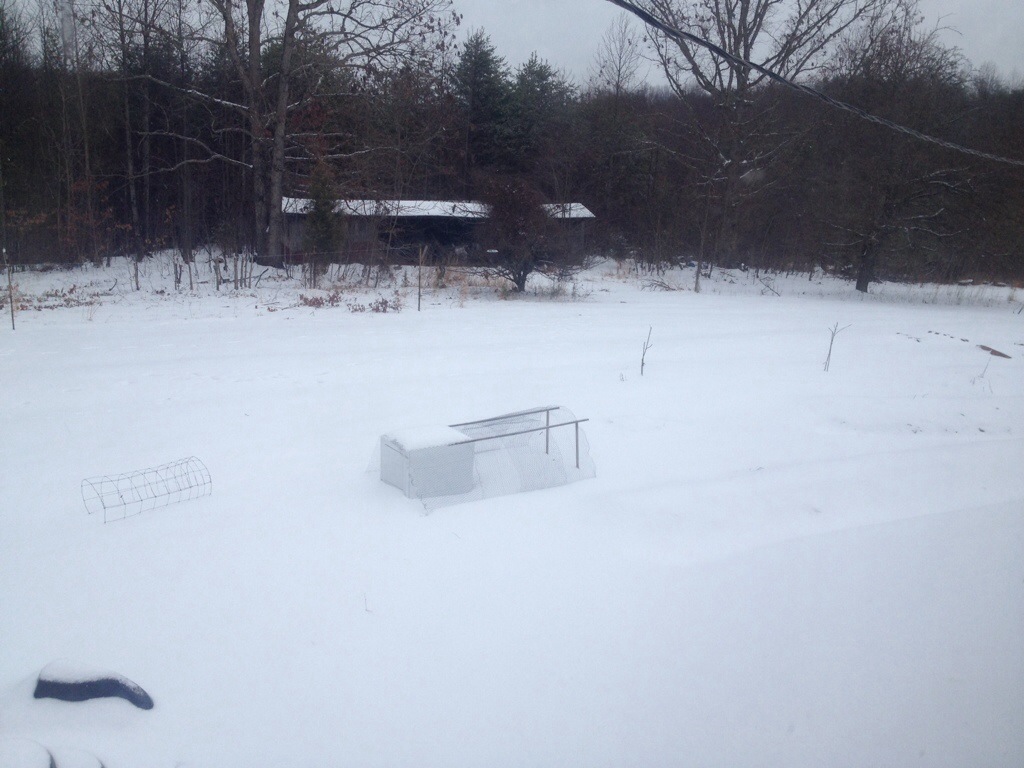
almost completed chicken tractor in the snow

Almost completed chicken tractor in the snow. Those 2 sticks to the right are the dwarf apple trees after a serious pruning.

I’m also almost finished with a new chicken tractor for the bantys. Just a few finishing touches; roost bars, nest boxes, some more chicken wire, and Roosty and his girls will be ready to move in! The timing couldn’t be better, because one of the little hens has gone broody, and wants to sit on eggs and hatch out some chicks! We’ll see, and we’ll keep you updated!
Micro Pond Update

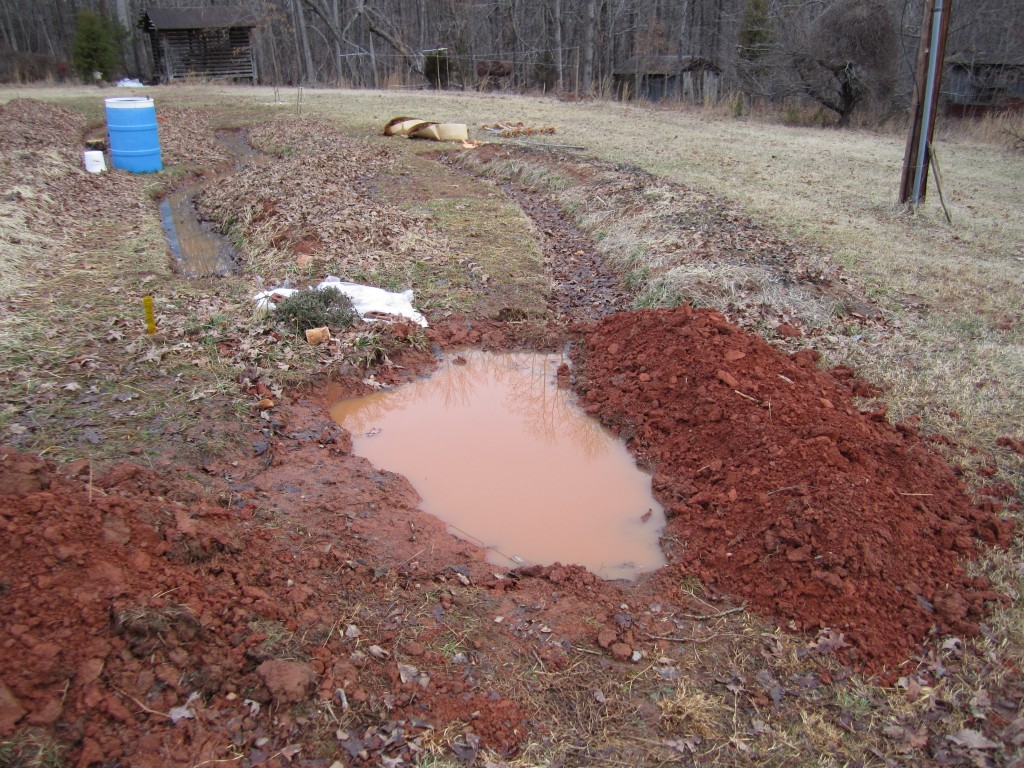
We got some rain on Saturday, just a little but it was enough to completely fill the pond I started to dig. It’s 3 feet at the deepest spot, probably holding close to 300 gallons of water, and has a large catchment area that includes at least two of our garden swales.

hand dug pond permaculture

Our small pond full of water after 1 morning of rain

It’s muddy, and I’m not sure if I want to line it or not. The positives of lining it are better clarity and less leaking through the sides and bottom. The positives to an unlined pond are less materials, easier installation, and increased water filtration in the surrounding soil. We’ll see.

The small pond will create a unique habitat and micro-climate near our garden which will attract all sorts of beneficial wildlife like frogs, lizards, dragonflies, and birds. These helpful characters will help control insect populations, giving our crops a better chance to make it to harvest. The water in the pond will also act as a temperature regulator, helping to moderate both hot and cold conditions. The water in the pond will also be available to use for irrigation, and during heavy rain events will backflood into our most downhill garden swale.

This small, hand dug pond will make our garden more efficient and increase the amount of edge. By slowing down and storing more energy/water, we increase the productivity of our system in an ecological way and are able to obtain yields that were unavailable to us before. All these, and many others, are reasons to consider adding a small pond to your garden if you don’t already have one. If you do have one, how is working? What sorts of interactions and consequences have you observed?

Hand Dug Pond: Stage 1

First off, happy birthday Heidi!

Today felt like spring. I was excited and invigorated, so I decided to do some outdoor chores.

I pruned our dwarf apple trees, and started my apple propagation by cuttings experiment (more on that another day). While walking around the yard and enjoying the weather, I revisited an idea I had about digging a small garden pond near our raised beds.

hand dug pond

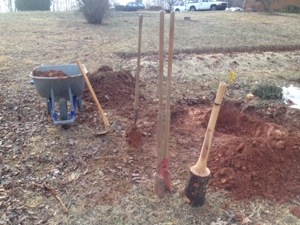
Some of the tools I used to dig our micro garden pond.

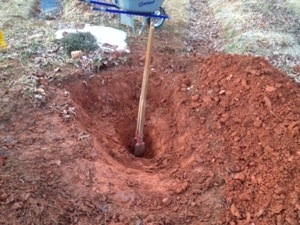
I’ve researched and Googled tiny ponds a few times, and I just felt like trying. I used a few different tools; a shovel, mattock, maul for tamping, and some post hole diggers, as well as a wheelbarrow. I moved from one tool to the next depending on what worked best at the time, for about 3 hours, and the end result is a nicely shaped, roughly 5 ft. diameter oval pond that is 3 feet at the deepest below ground level.

I’m not yet sure if I will impound any water with a dam, but I did separate the topsoil from the subsoil, which is primarily mineral rich clay.

hand dug pond

The beginnings of our new 5 ft. diameter and 3 ft. deep tiny pond.

There are a few options for the final layout of this small pond, and It has the potential to interact with all of our garden swales. I may even have it completely surround our yaupon holly onto an island. We’ll decide soon.

I learned a few things today, that hand digging a micro pond is not that difficult, and that you can accomplish significant water capture very quickly. Also, don’t overload your wheelbarrow in muddy conditions. It will get stuck and tear up the land, or worse fall over and spill it contents in the wrong place. This concept would apply to bigger earth-movers as well in any other permaculture mainframe installation.

I’ll keep you updated on the hand dug pond, and I recommend getting out there and playing in the mud. You can really, really learn a lot about your land when it’s up to your chest!

Planning an Edible Fedge, or Food Hedge

What is the best way to delineate and divide your property? With the cost of fencing so high, and the move back toward the traditional practices and wisdom of our ancestors, more and more homesteaders and small farmers are once again looking at hedges and hedgerows as a sustainable and productive solution.

A hedgerow can last forever, just look at the countryside in England or Ireland where some hedges are centuries old, and can provide food, fodder, fuel, and medicine, as well as protection from wind and nosy neighbors. The type of hedge I want to to talk about is an edible food hedge, or a fedge.

Hedgerows

European Countryside, divided by hedgerows C. Kurt Thomas Hunt

Traditional hedges in Europe consisted of hazelnut, chestnut, willow, holly, and other small trees and bushes including roses. These hedges divided property, mainly grazing paddocks, and were coppiced for fuel wood on 5-20 year rotations. They also were a source of browse for livestock, and helped to stabilize the landscape by acting as both windbreaks and organic matter traps.

Hedges and fedges should be a part of any homestead, and are a valuable technique in any permaculture design. The key to a good edible hedgerow is plant selection. Shrubs work well here, especially those that spread from the roots, like hazelnut, and those that can be easily propagated by layering, like figs and cane fruit. Some examples include:

  • elderberry
  • currants and gooseberries
  • blackberries, raspberries, and other cane fruits
  • Siberian pea shrub
  • high bush cranberry
  • Russian olive
  • goji berry
  • yaupon holly
  • blueberry
  • aronia
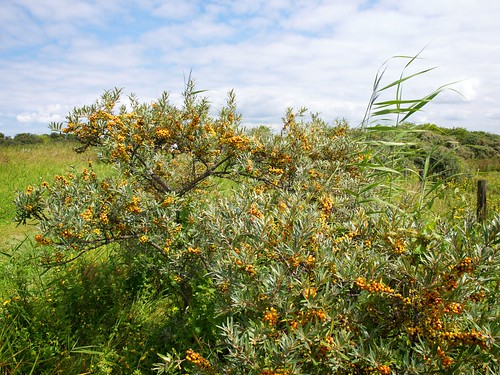
  • sea buckthorn
sea buckthorn sea berry hedge

Sea Buckthorn, or Sea Berry, makes a nice edible hedge with nutritious orange fruits. C. ednl

Some trees work well in a hedge too, but they should be small trees, with a low branching habitat. Species that coppice, or grow back from the stump after cutting, are very well suited to hedges as well. Some worthy examples are:

  • black locust
  • chestnut
  • black alder
  • honey locust
  • and some pines

The herb layer in a fedge can’t be forgotten, and is easily filled with herbaceous support species and dynamic accumulators like comfrey, yarrow, and dandelion, and ground covers like clover and wintergreen. The addition of a hedge creates two micro-climates depending on its orientation, one on each side, that should be utilized with perennial or annual herbs, flowers, and vegetables.

When planning a hedge, make sure to space your plants properly to ensure a good thickness with no gaps between planting. One option is to plant species that can be easily propagated further apart than desired in the future, and then propagating them outwards season by season until the fedge is filled in and impenetrable.

When filling in gaps of fedges, look to smaller, more shade tolerant plants like yaupon holly, and currants to finish off any holes in the vegetation. The finished product should last forever with very little maintenance except some pruning, harvesting, and propagating when one or another plant dies.

Because of its diversity, an edible hedge of many species shouldn’t succumb to fungal or disease outbreaks and be completely wiped out. This diversity also provides habitat for an immense number of beneficial insects, which not only patrol the hedge, but the surrounding gardens, orchards and food forests as well.

So take look at your property. Can a fedge run parallel to that fence? Can one enclose your vegetable garden, or divide your pasture into paddocks for cell grazing? A diverse food hedge can bring many benefits to you and your property, and should be considered in any edible landscaping project.

Working on the Garden Swales

The snow and rain held off today so after researching a few options on chicken feed, I suited up and headed out to our main garden to work on some things that have been on my winter homestead chores list.

I’ll start with a brief bit on our garden design. We have our raised beds laid out on contour. This means that they follow the pattern of the ground and are not arbitrarily straight. The purpose of this is to harvest the runoff of the upper yard into small garden swales that are in front of each bed.

hand dug garden swales

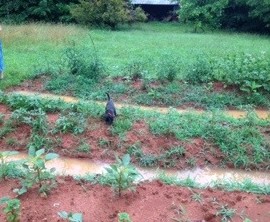
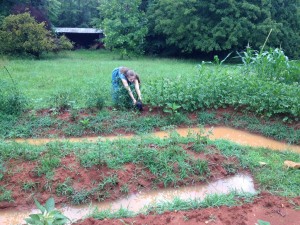
Bolt trapped between our small garden swales after a heavy rain.

Swales are a tried and true permaculture technique, and are basically level ditches on contour that stop runoff in place, and hold that water instead of letting it erode away our soil. Because the bottoms of the swales are not compacted, they allow water to infiltrate into the ground and slowly spread downhill. This water is then available to the surrounding plants and can greatly reduce irrigation needs, and increase soil fertility.

Our small hand dug garden swales were put in last spring, and have performed well. After big rains, they fill up and slowly release their catch, just as planned. However, some of the swales are not working perfectly, and I set out today to do some maintenance.

One of the problems is that water is not spreading uniformly across the swale, and that certain areas are holding water for longer periods than other. These swales are not level.

permaculture garden swales

Garden swale maintenance.

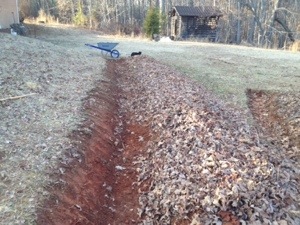
So today I grabbed a shovel, a hand hoe, and a 4 foot level and leveled the bottom of one of the uphill swales meticulously. It was quite a bit off level, maybe 6 inches to a foot over the entire length of the swale. Now it should fill as expected, and let water seep in evenly across the bed.

I also have noticed that the uphill side of some of the swales, or backcut, have eroded somewhat this winter with mini landslides. This happened because when we installed them, we left a steep backcut that was almost vertical, instead of a gentle sloping one. Not a huge deal, but I worked on that some, trying to allow the water a gentle path into the swale. I think the newly exposed soil would be a great place for some clover, plantain, and chicory though.

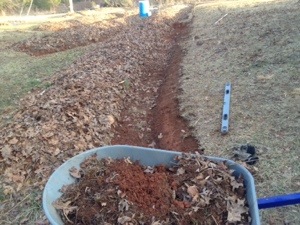
One of the benefits of the swales that we have experienced that I hadn’t thought of, is their mulch catching ability. I knew that swales can act as deposition features, catching organic matter and eventually filling in to ground level over time, but I didn’t realize that our swales would gather such an enormous amount of leaves from our huge oak tree at the top of the hill. This made for an easy time of mulching the winter garden, as I just scooped them out of the ditch, and up onto the beds.

mulched beds permaculture

Level swale, gentle backcut, and mulched bed. Nice.

That is one thing I want to be better at this year: mulch. Mulch keeps moisture in the soil, regulates temperature, and eventually breaks down to feed both plants and microbes. Mulch also hinders weed growth, and protects soil from heavy rains and other erosive forces.

Lastly, I scooped out the last of a batch of manure tea we had fermenting. Only the dregs remain, and I’ll need to add some more water soon to get it brewing again. Nothing like the smell of month old manure tea. We smelt it every time we went outside after I disturbed it. MMMmmnnn. Smells like healthy soil!

Winter Homestead Chores: Spring Garden Planning

In my other posts on winter homestead chores, I talked about taking the time to enjoy the season and recuperate from a busy year of homesteading and adding to the farm’s energy security by splitting wood for the woodstove. In this post, I’d like to talk about a more forward looking aspect of winter on the homestead. Planning next year’s garden.

Planning Next Years Garden

Emma Picking Puppies from the Garden Last Summer

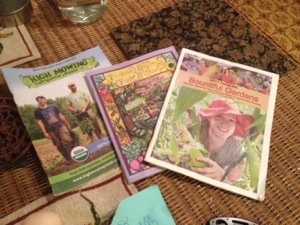
This is a great time to start pouring over seed catalogs, looking for both the tried and true garden favorites and some new varieties, species, and heirlooms to experiment with. Many companies offer free paper catalogs, as well as online versions to help you sort through the massive number of vegetable and fruit seeds for the garden. Some of the ones on my desk are High Mowing Organic Seeds, Southern Exposure Seed Exchange, and Bountiful Gardens. These all specialize in heirloom vegetable seed, and always have something new and interesting to really get you salivating for that first planting and harvest.

Spring Garden Planning

Some of our favorite places to find new seeds

In addition to vegetable seeds, it’s also a good time to look at different fruiting trees, bushes, and shrubs. Some are best grown from 1-3 year old plants, and others do well as seed. Some of these plants, like hazelnut and elderberry, require a period of cold stratification if started from seed, so these are best ordered in late fall or early winter. Others, like Paulownia, readily germinate in spring conditions without a stratification period. Some plants have very specific and difficult stratification requirements and are best grown from cuttings or plants, like Yaupon Holly, which needs up to a year of warm conditions, followed 3 months of cold before it will germinate.

Once you have your have seeds, you want to check your weather conditions and average last frost date to determine when you can start transplanting your veggies into the garden. Working back from these numbers, and taking into account the frost hardiness of the veggies in question, you can figure out the best time to start your seeds indoors so that you’ll have the healthiest plants possible.

Pumpkins gardening

Start your seeds now to grow gigantic pumpkins like this!

Certain species are very frost and cold tolerant, such as many brassicas like cabbage and broccoli, and can be started and transplanted out very early in the year. Again, this depends on your climate.

Winter is also a good time to figure out where certain crops will be grown in the garden. For instance, tomatoes, potatoes, and other veggies in the nightshade family should not be grown in the same spot year after year. By practicing crop rotation, certain diseases and pest cycles are broken, and the result is healthier plants and better yields. Any good garden guide or encyclopedia–a great one on our shelf is Rodale’s Encyclopedia of Organic Gardening–will have all the information on rotating crops, and how long between plantings certain plants require before being planted in the same spot.

Potatoes Crop Rotation

We planted our potatoes late, but they still did well. We definitely won’t plant them in the same spot, though.

Finally, winter is great time to go over your garden notes–everyone should have a garden notebook–and remember what did well and what didn’t. What vegetables stored longest? Which varieties tasted best? What do you need to plant more of? Less of? Were certain things planted too late? All of these tidbits and recollections allow the organic gardener to finetune their garden into exactly what they want it to be, because gardening is a never ending lesson, and winter is a great time to study.

sweet potatoes: jewels of the soil

we have been eating so many of our sweet potatoes this winter, both baked as warm, delicious snacks, or made into my delicious sweet potato ginger soup.

this fall, we had a sweet potato yield of about 12o pounds. this is more than we expected since, frankly, we didn’t really know what to expect because this was our first time growing them.

the recommended planting dates for sweet potatoes in our region are may 15-june 15 and our plants went in the ground on june 11, 2013. the 100+ plants were given to us by my father, and jason planted them 3-6″ deep in two of our raised beds. each plant was 12″ apart within rows, and 36-42″ apart between rows.

the first harvest day: halfway harvested and halfway to go

the first harvest day: halfway harvested and halfway to go

within a few months, the vines went crazy and flourished. we had a small issue with a groundhog who was trying to munch on the vines, but jason dealt with that effectively.

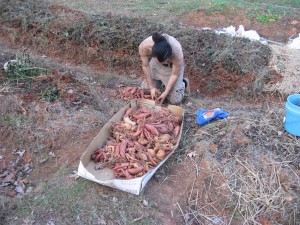
since the average number of days until maturity for sweet potatoes is 105-135 days, we decided to wait until the later end of that spectrum, hoping for larger potatoes. i harvested the first half of the sweet potatoes in mid-october and jason and i harvested the other half together at the very end of october.

jason, placing freshly dug sweet potatoes in a box

jason, placing freshly dug sweet potatoes in a box

since the first frost of fall was on october 22, we cut all of the sweet potato vines off at the ground the night before to make sure that the frost wouldn’t run into the ground and damage the potatoes. this meant that the potatoes sat in the ground for about a week without their vines, which is not a cause for alarm. still, the sooner you harvest the potatoes after cutting off their vines, the better.

i harvested the first half on a harvest day, according to blum’s farmer’s and planter’s almanac. i also encountered a black widow while i dug up the vines, and learned later that black widows love sweet potato vines more than many other hiding spots. be aware while digging up your potatoes of all kinds!

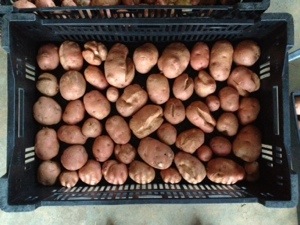
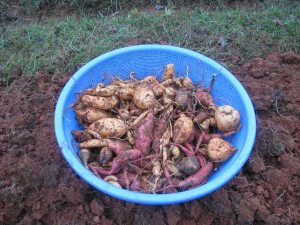
the first harvest: a bushel of potatoes waiting to be cleaned and sorted

the first harvest: potatoes waiting to be cleaned and sorted

neither day that we harvested was sunny, so we did not leave them outside in the sun to cure. instead, we wiped as much dirt off of them as possible, sorted them by size (keeping the tiny potatoes for bolt to eat as treats), and stored them in our guest bedroom/farm room.

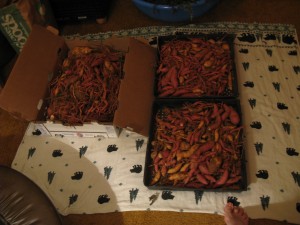
sweet potatoes sorted into crates

sweet potatoes sorted into crates

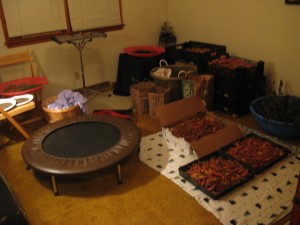
our harvest, stored in the farm room

our harvest, stored in the farm room


we’ve stacked them in multi-tiered, open-air crates to help with the curing and drying process. currently, 3 months later, most of the potatoes continue to store well and we intentionally choose the iffy ones to use first when cooking and baking.

we are proud of our first sweet potato crop and in 2014 we plan to plant even more sweet potato plants than last year! this year, when may comes, we’ll be ready to get those plants in the ground even earlier!

.:.

Hugelkulture: Which Wood is Best?

What kind of wood should I use for my hugelkulture or wood-core bed? Whichever you have access to. With a few exceptions of course.

This question seems to come up all the time after someone discovers the benefits of rotting wood in a hugelkulture bed and permaculture garden. Is pine okay? Oak? Softwood vs. Hardwood, alleopathic woods, fresh or dead? The list goes on, and I’ll try and answer some of the most common ones today.

Maple Hugelkulture

Maple filled hugel bed by of Paul Wheaton at permies.com

First, a general rule.

Use whatever wood you have easy access to.

Now, an exception to that rule.

Don’t use alleopathic or rot resistant woods like cedar, black walnut, and black locust.

Okay, that makes it easy. Pine is okay for hugel beds, so is oak, maple, sweetgum, apple and most any other species of tree around.

That includes softwood species as well. These trees, like pine, will typically rot faster than hardwood trees in a hugelkulture mound. This can be good or bad depending on your garden design, and your wants and needs. Sepp Holzer, the father of Hugelkulture, uses primarily softwoods on Krameterhof in the Alps because those are the trees most readily available.

For example, a hugelkulture bed that is used to support and establish a perennial system of trees, shrubs, and bushes, can be made of quicker rotting wood. This is because once the wood is completely decomposed into rich hummus, the deep roots of the plants are so well established that the benefits of the hugel mound are less needed and appreciated by the system at large.

But what about acidity? Isn’t pine acidic?

Yes and no. Pine trees, especially in the Eastern United States, are often found in old fields and clearings as a pioneer species. Their needles are full of ascorbic acid (vitamin c) and can acidify soils. This is useful in some circumstances, around acid lovers like blueberries and azaleas, but can be detrimental in other areas if allowed to swing the pH too far to the acid side.

So, you should avoid pine trees in your hugelkulture raised bed, right? No, while pine needles are acidifying, the wood is not, and neither are the brown needles. Pine is fine, just don’t fill your bed with bales of green needles.

black walnut hugelkulture

Black walnut and hugelkulture do not mix
Photo courtesy of Jim Linwood

Okay, what about these alleopathic trees that should be avoided in the garden? These are plants that for one reason or another (usually to provide an ecological advantage) inhibit the growth of nearby plants with chemical warfare. The most famous of these is black walnut, which secretes juglone, a chemical only a select number of species can tolerate. Pecans also secrete juglone, though not as much as black walnut.

Some other plants to avoid are the cedars, and black locust which is highly rot resistant and composed of high levels of fungicidal components, not the best combo for a hugelkulture or woody bed. These woods are also generally higher value woods and have many other uses, such as firewood (black locust firewood may be the best firewood available), cooking and smoking, furniture making, wood carving, and fence posts.

So, what is best material for a hugelkulture bed? Whatever you have lying around–it will all rot–some just at a different pace than others. The most important thing is to not over analyze it and start digging, because regardless of the wood chosen, it takes time to start to decompose and harvest nitrogen before you can see the effects of the wood core in your garden or permaculture system.

What woods have you used in your hugel beds? Let us know in the comments if some worked better than others in certain applications.

our garden: just the beginning

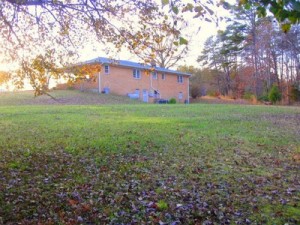
since we moved to our new, 16 acre land in march of 2013, we’ve added the first portion of our backyard garden. it took time and effort, but all of the work has been rewarding and all the fruits of our labor (vegetables, really) have been delicious!

the picture below shows what our yard looked like before we started digging…

backyard before garden

a picture of the backyard of our home a few months before we purchased it in march of 2013

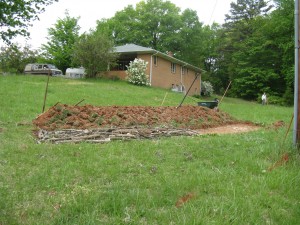
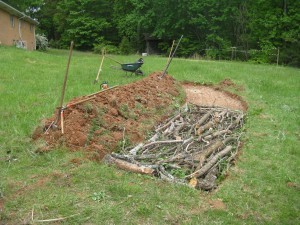
and here is the first step we undertook in building the beds:

hugelkultur experiment

digging the first, and most downhill bed

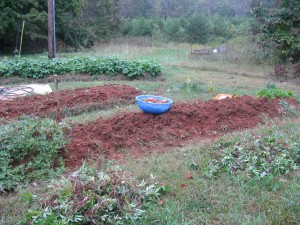
since we wanted raised beds, first we dug down about 8 inches and scooped the soil out. as you can see from both pictures, we decided to line a portion of this bed with small, felled trees and dead brush. this was jason’s hugelkulture project and he wanted to experiment with how much the slow rotting and decomposition of the wood would benefit the roots of the plants growing above. the portion of the bed that is unfilled was later filled with leaf mold from the woods. this was my project: i wanted to see how the decomposing leaf mold would benefit the plants in much the same way as the decomposing wood. after filling the ditch with these materials, we layered all of the dirt on top and dug out an adjacent path (also about 8 inches deep) and placed that dirt on top too.

making a hugelkultur raised bed

the base of the bed–half filled with small trees

the reason for the half-and-half bed liner was simple: i wanted to do it one way and jason wanted to do it another way. so, we compromised and split the bed in two. this way, he could have it his way, and i could have it my way!

later in the season we planted tomatoes, peppers, basil, amaranth, chia, squash, potatoes, corn, sweet potatoes, and various other crops. considering that we started everything much later than desired, the garden made quite a bit for us this year (much more on this later).

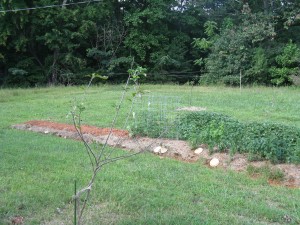
you can see our small dwarf apple tree in the foreground of the the picture below, and the tomato cages; we use woven wire bound in cylinders and pinned to the ground with bent electrical piping (my father’s tried and true method).

the first season's planting in our garden

the first season’s planting in our garden

our sweet potato vines really took over and yielded around 120 pounds of “wild man candy bars,” as my father calls them. you can see the lush vines in the second nearest bed.

raised beds with sweet potatoes, chia, peppers and tomatoes

the first season’s planting in our garden. you can see our barn in the background.

all in all, it was a great year for our first garden together. we learned something about compromise and also what you do when groundhogs threaten to eat all of your sweet potato vines…

i also documented each of the planting and harvest dates for our crops and whether or not each crop was deemed a success or a dud.

i will be posting the calendar that we followed this year and the outcome of our different plantings soon. this way, perhaps we can start a dialogue about planting and harvesting in our region!

.:.

Newer posts

© 2024 KW Homestead

Theme by Anders NorenUp ↑