KW Homestead

Pasture Raised Poultry & Edible Landscaping Plants Since 2013

Tag: recipes (page 3 of 4)

Farm Food Friday: Vegetable Venison Soup

This recipe is one of my favorites… Because it is basically my mom’s vegetable soup recipe with venison added! Yummy!

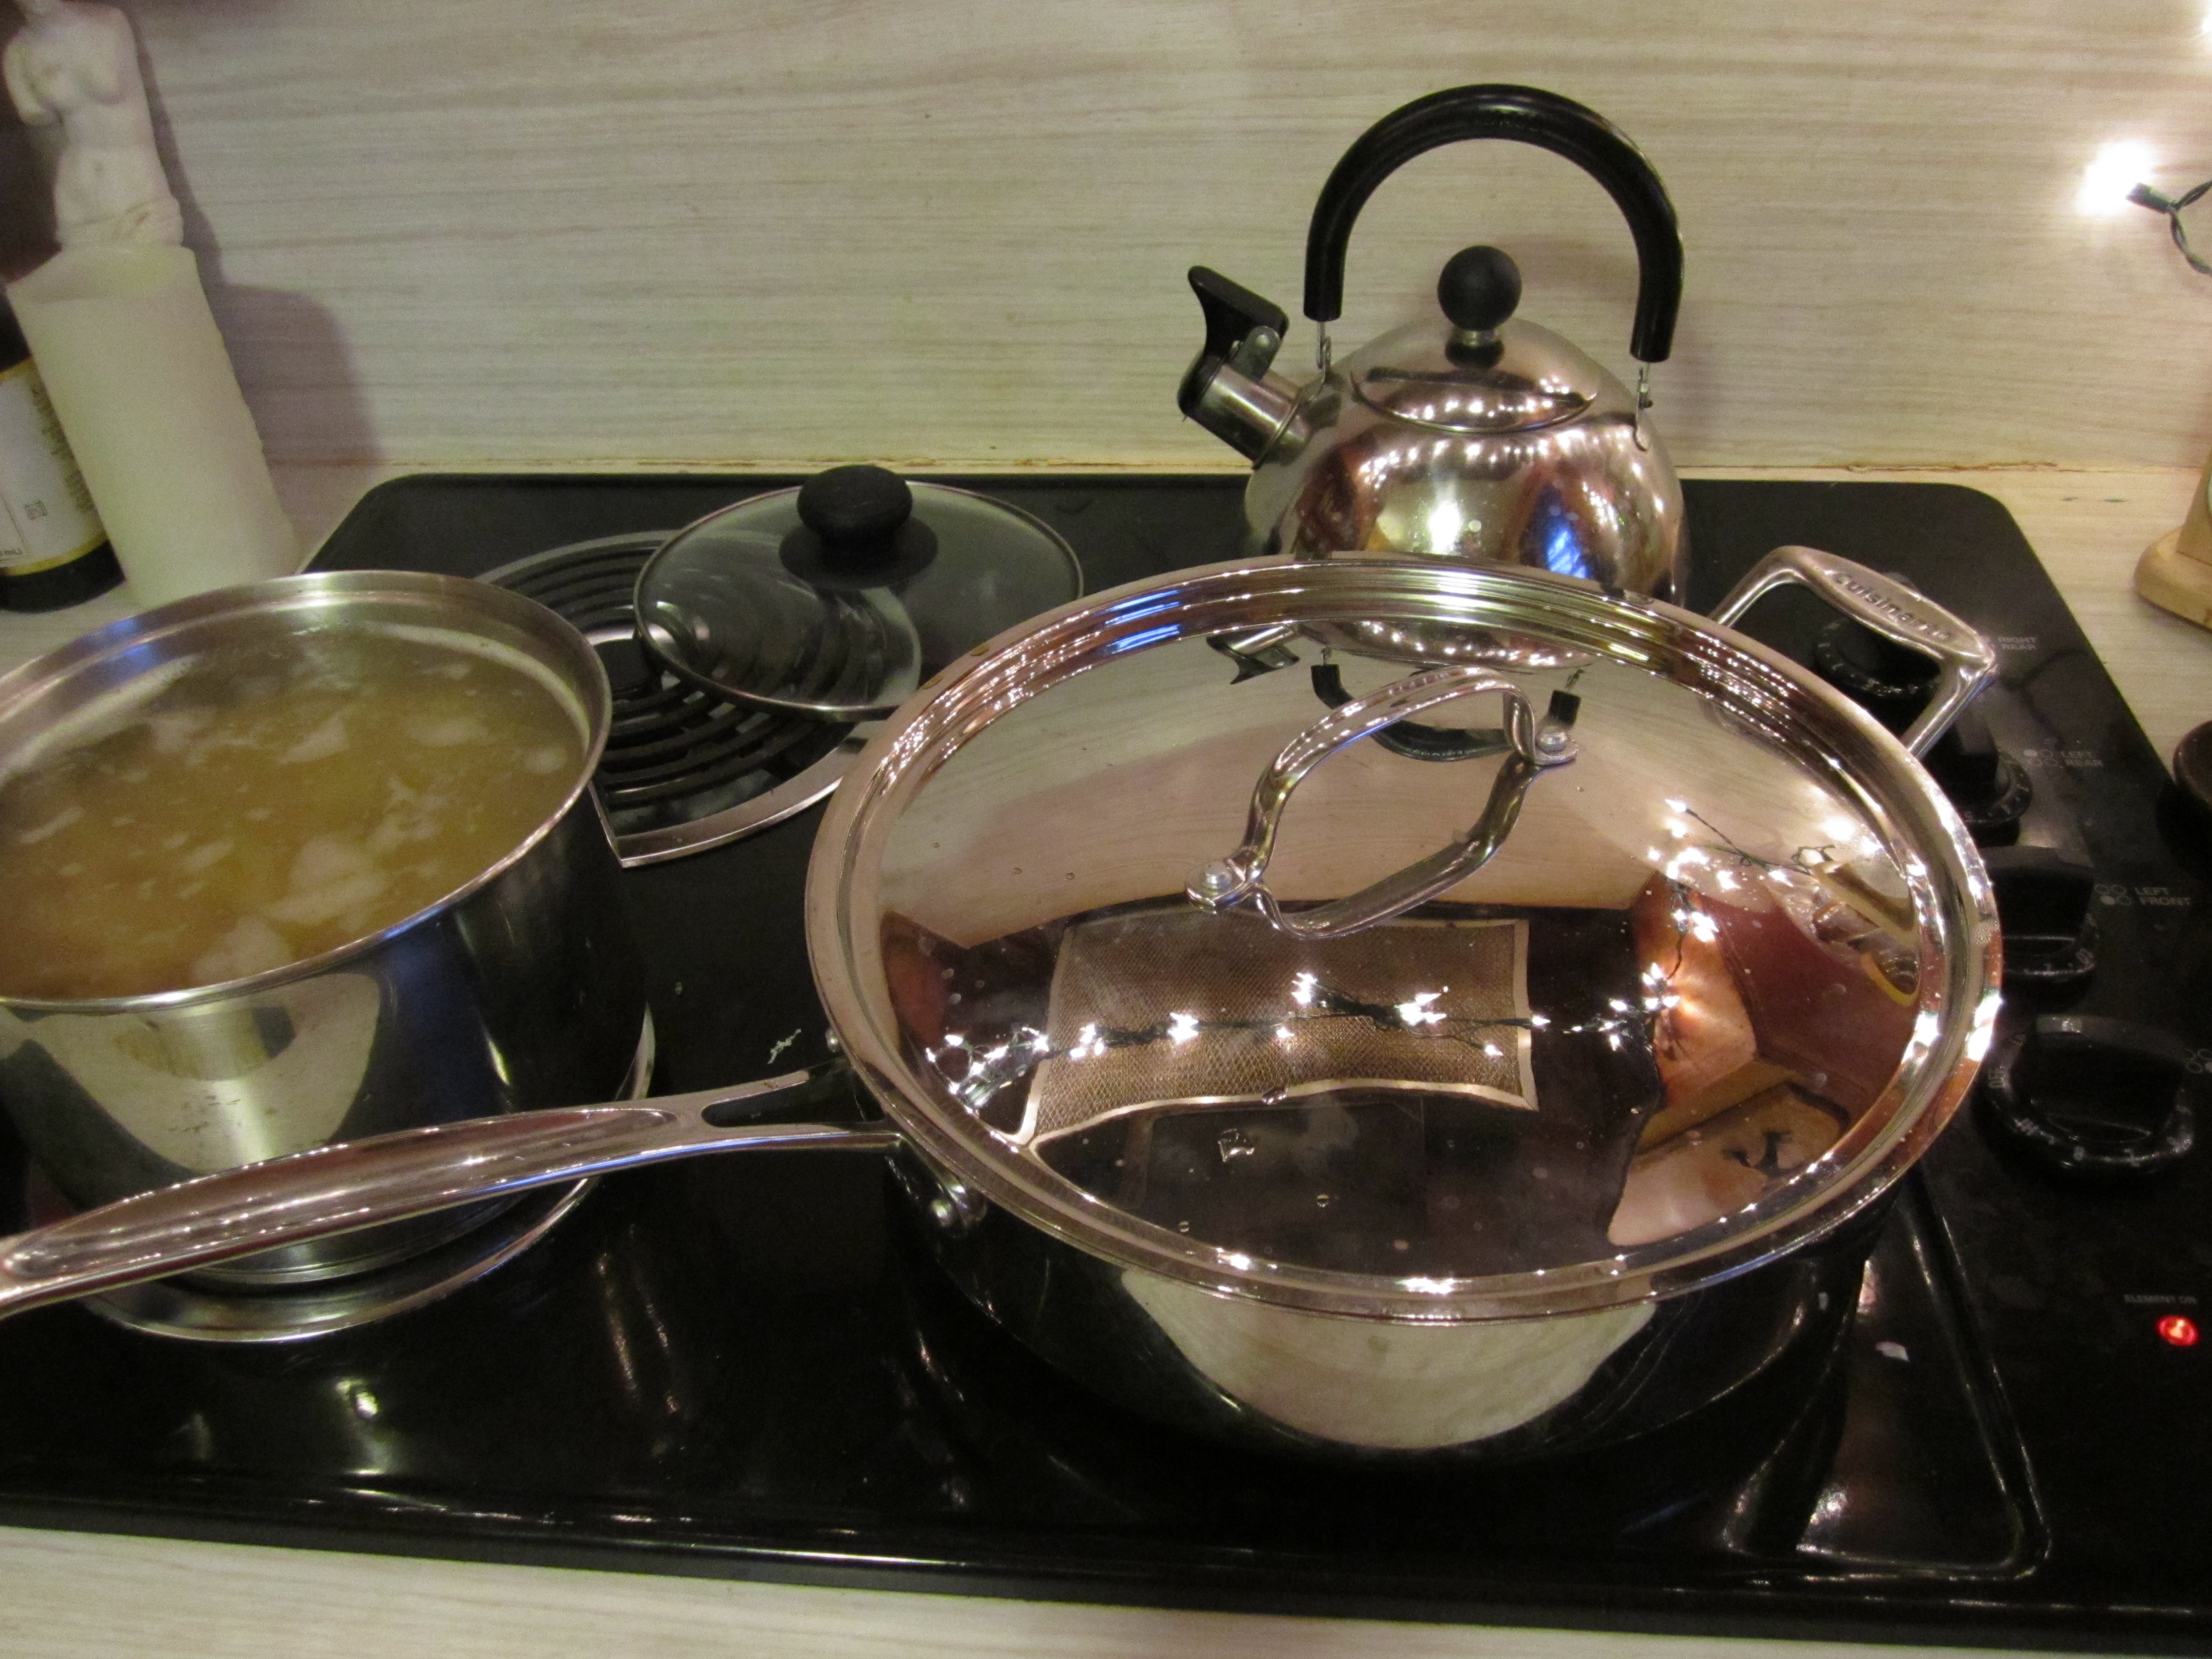
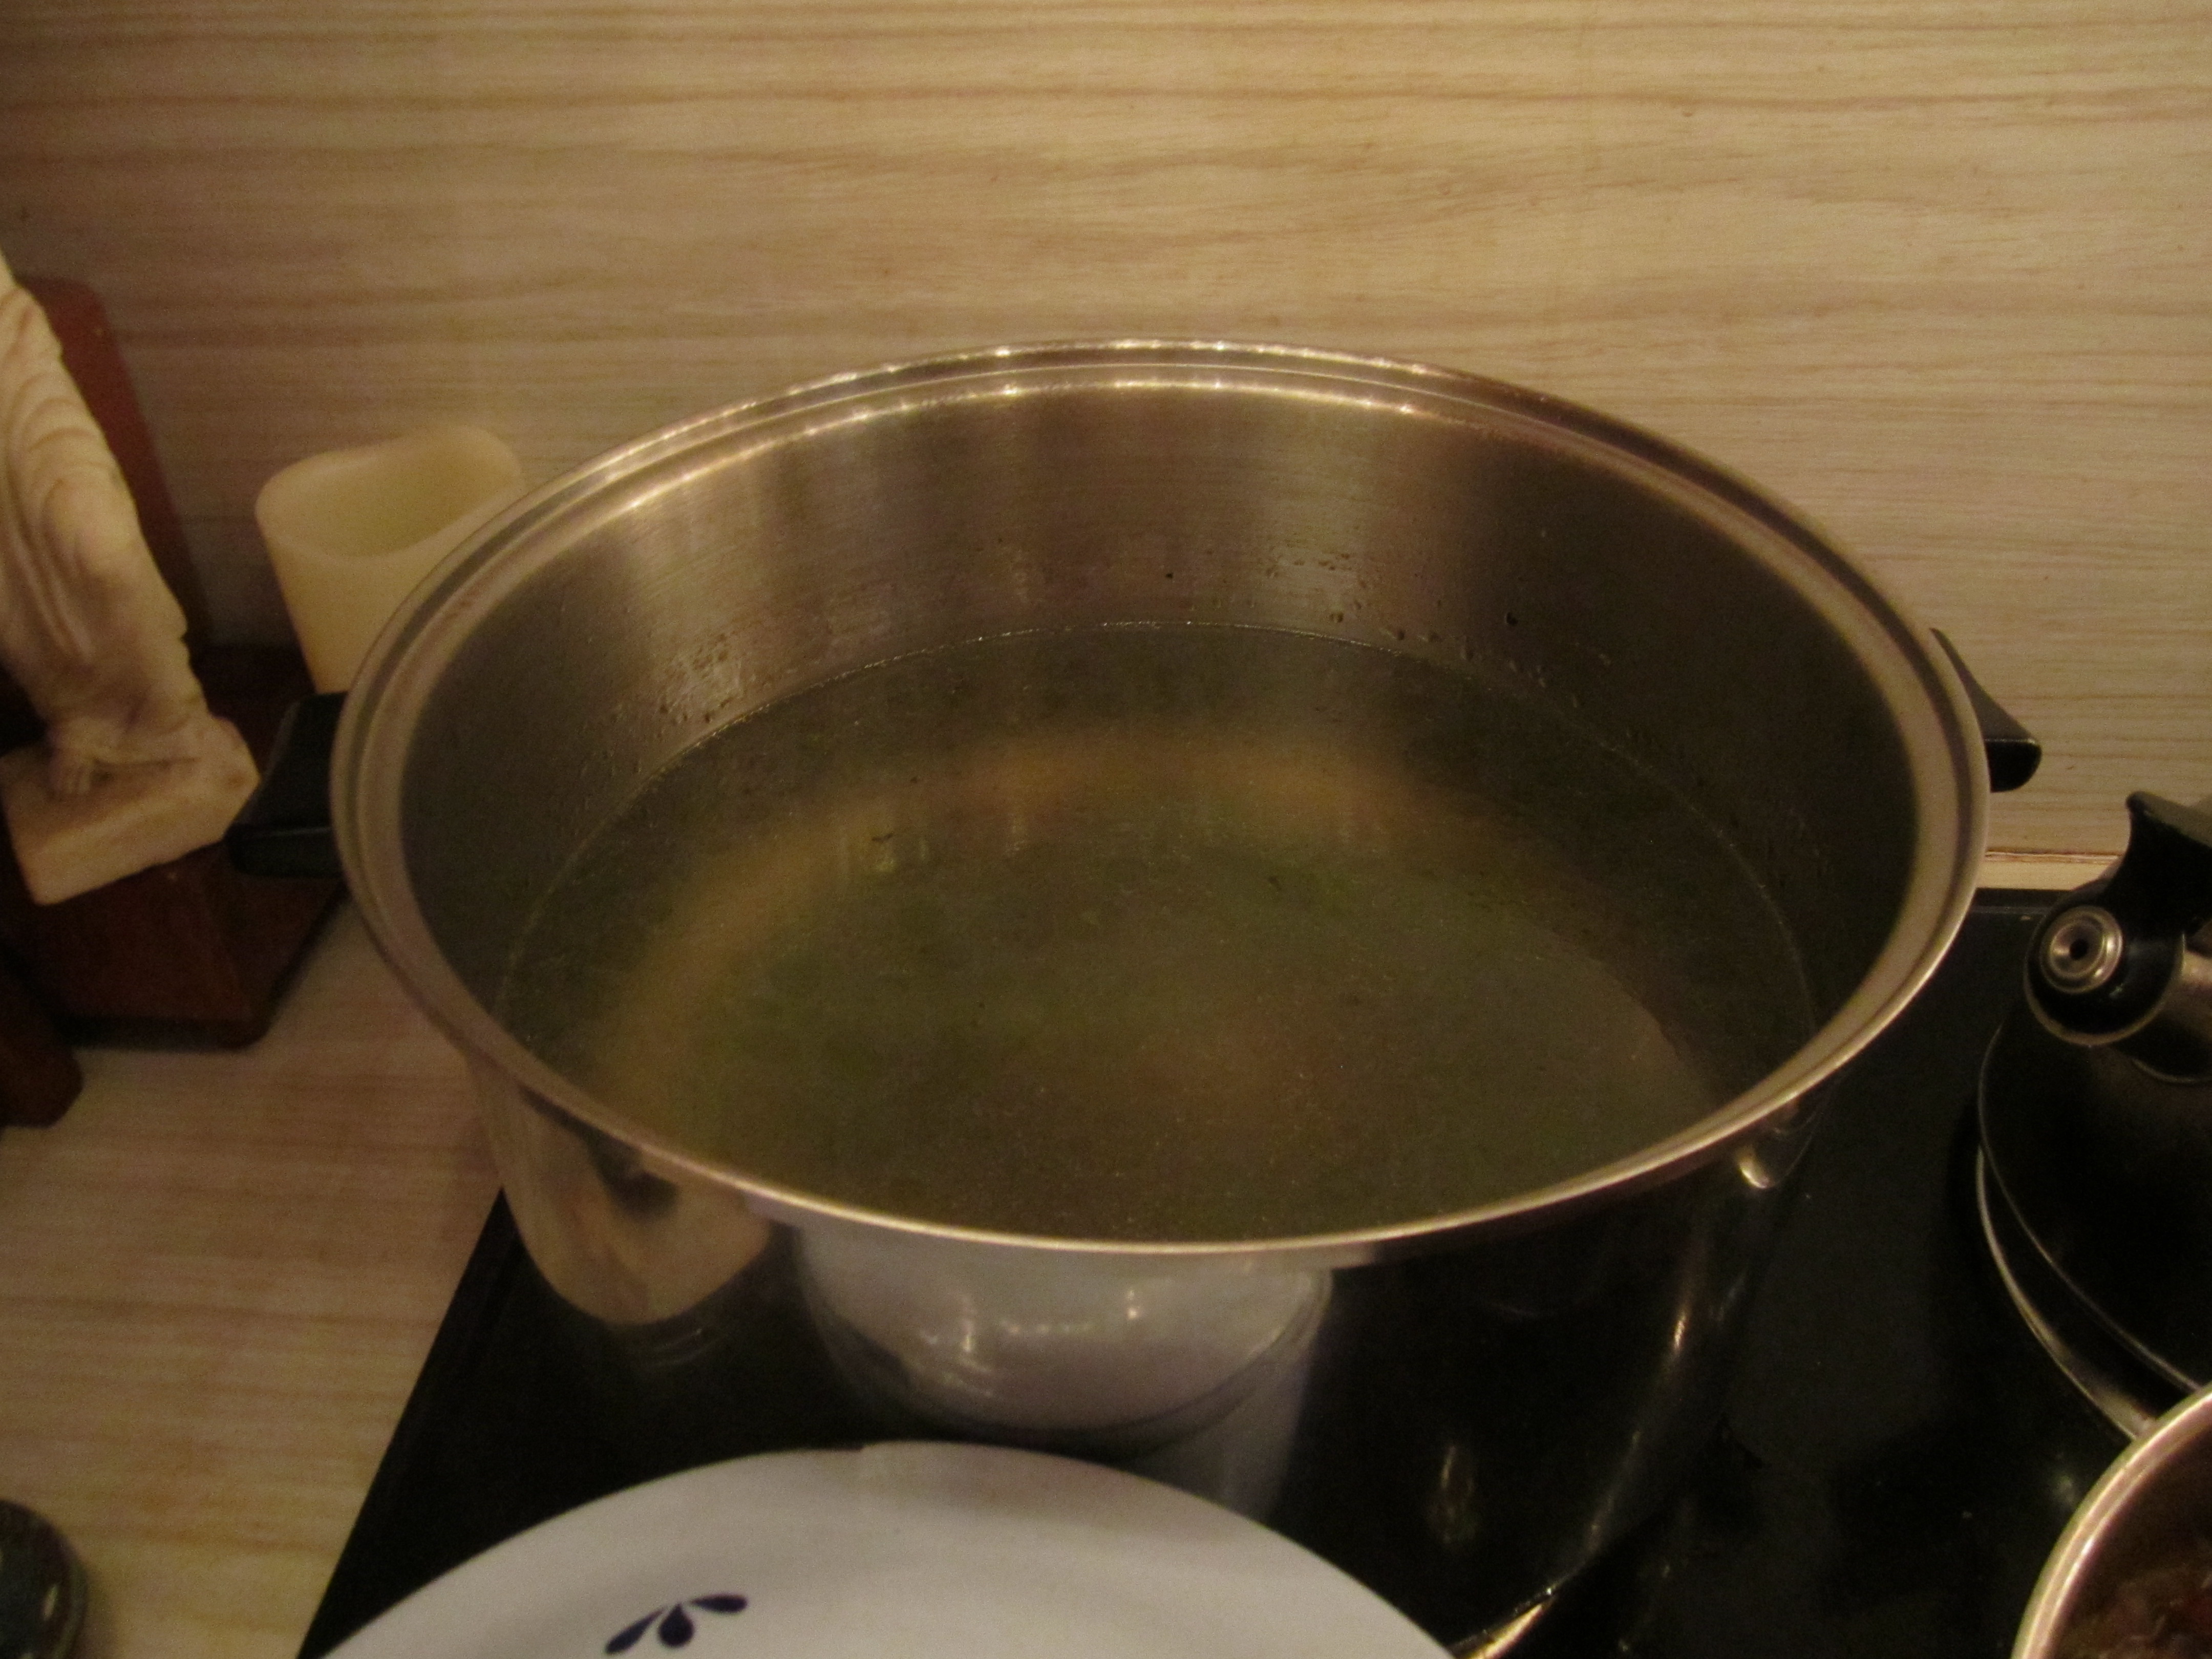
I recommend using your biggest pot for this one. You can see how big the one we used is:

pot

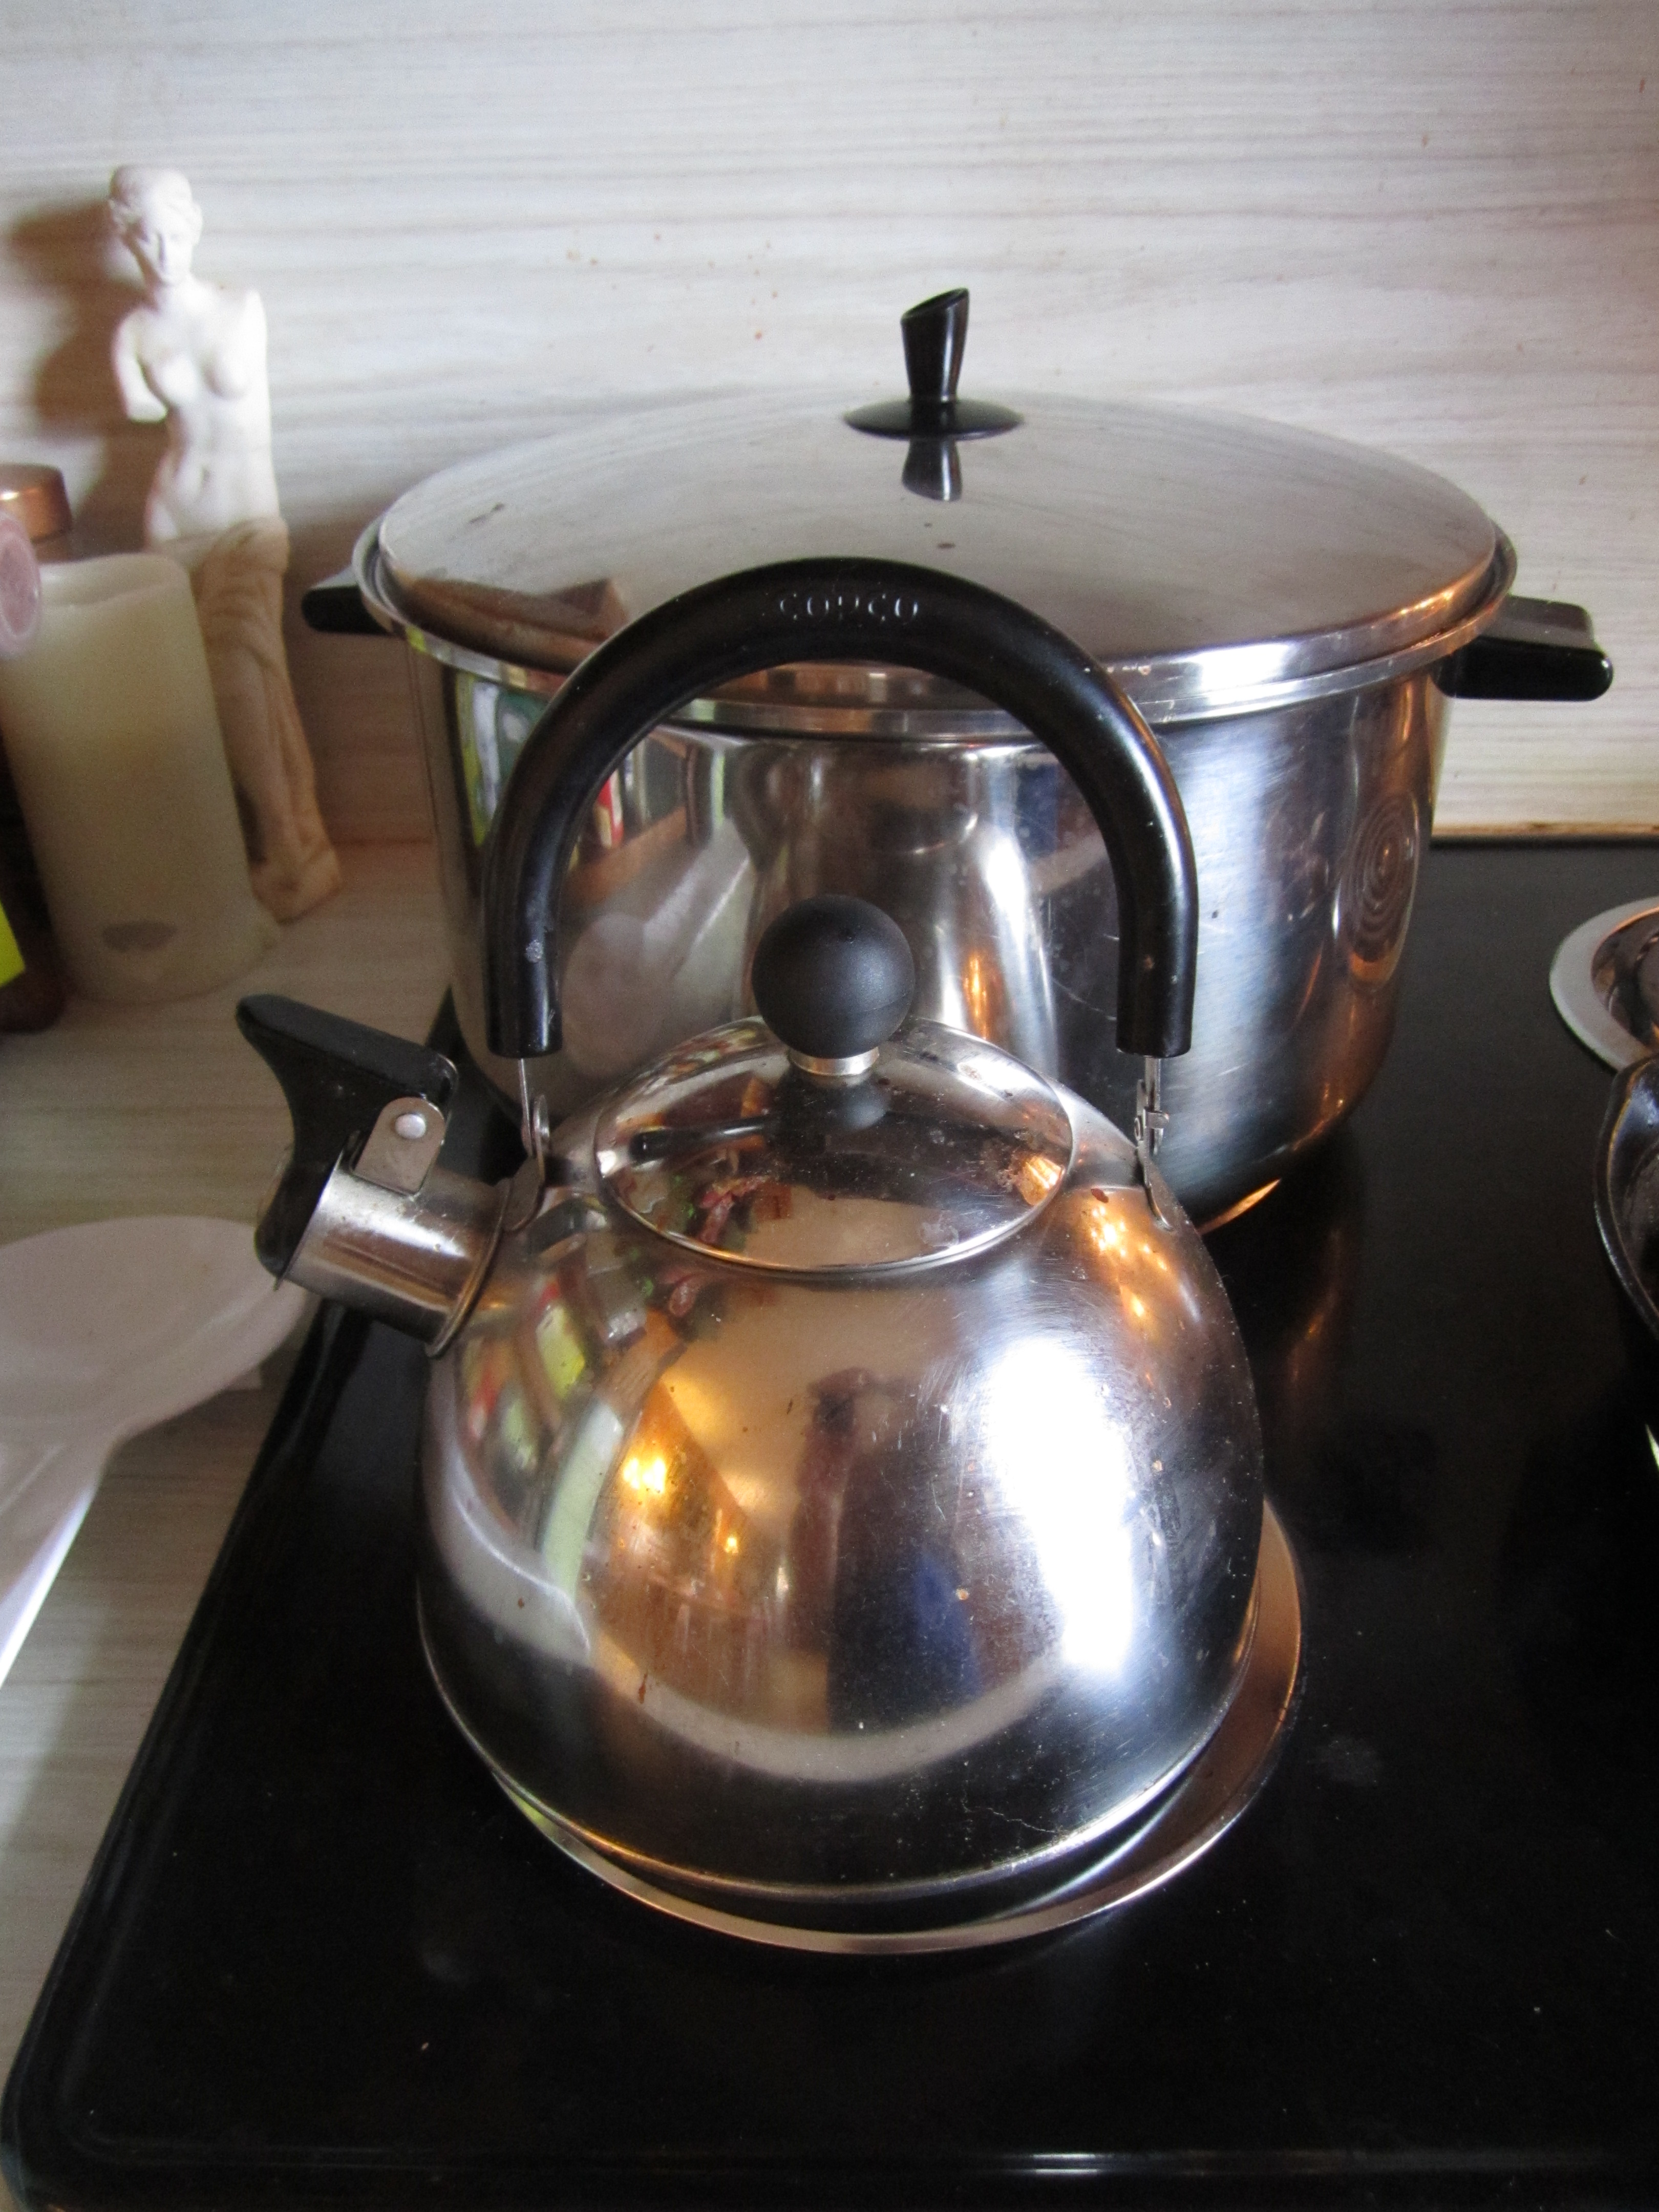
What a big pot (with a medium-sized tea kettle for scale)!

1.  Begin by adding olive oil to your pot and cutting it on medium-low.

2.  Chop up 3 or 4 onions and approximately 1 head of celery. Add these to the pot with some salt and garlic powder and stir periodically while they saute.

3.  Chop your venison steaks up into small cubes and add them to the pot. Stir often.

soup

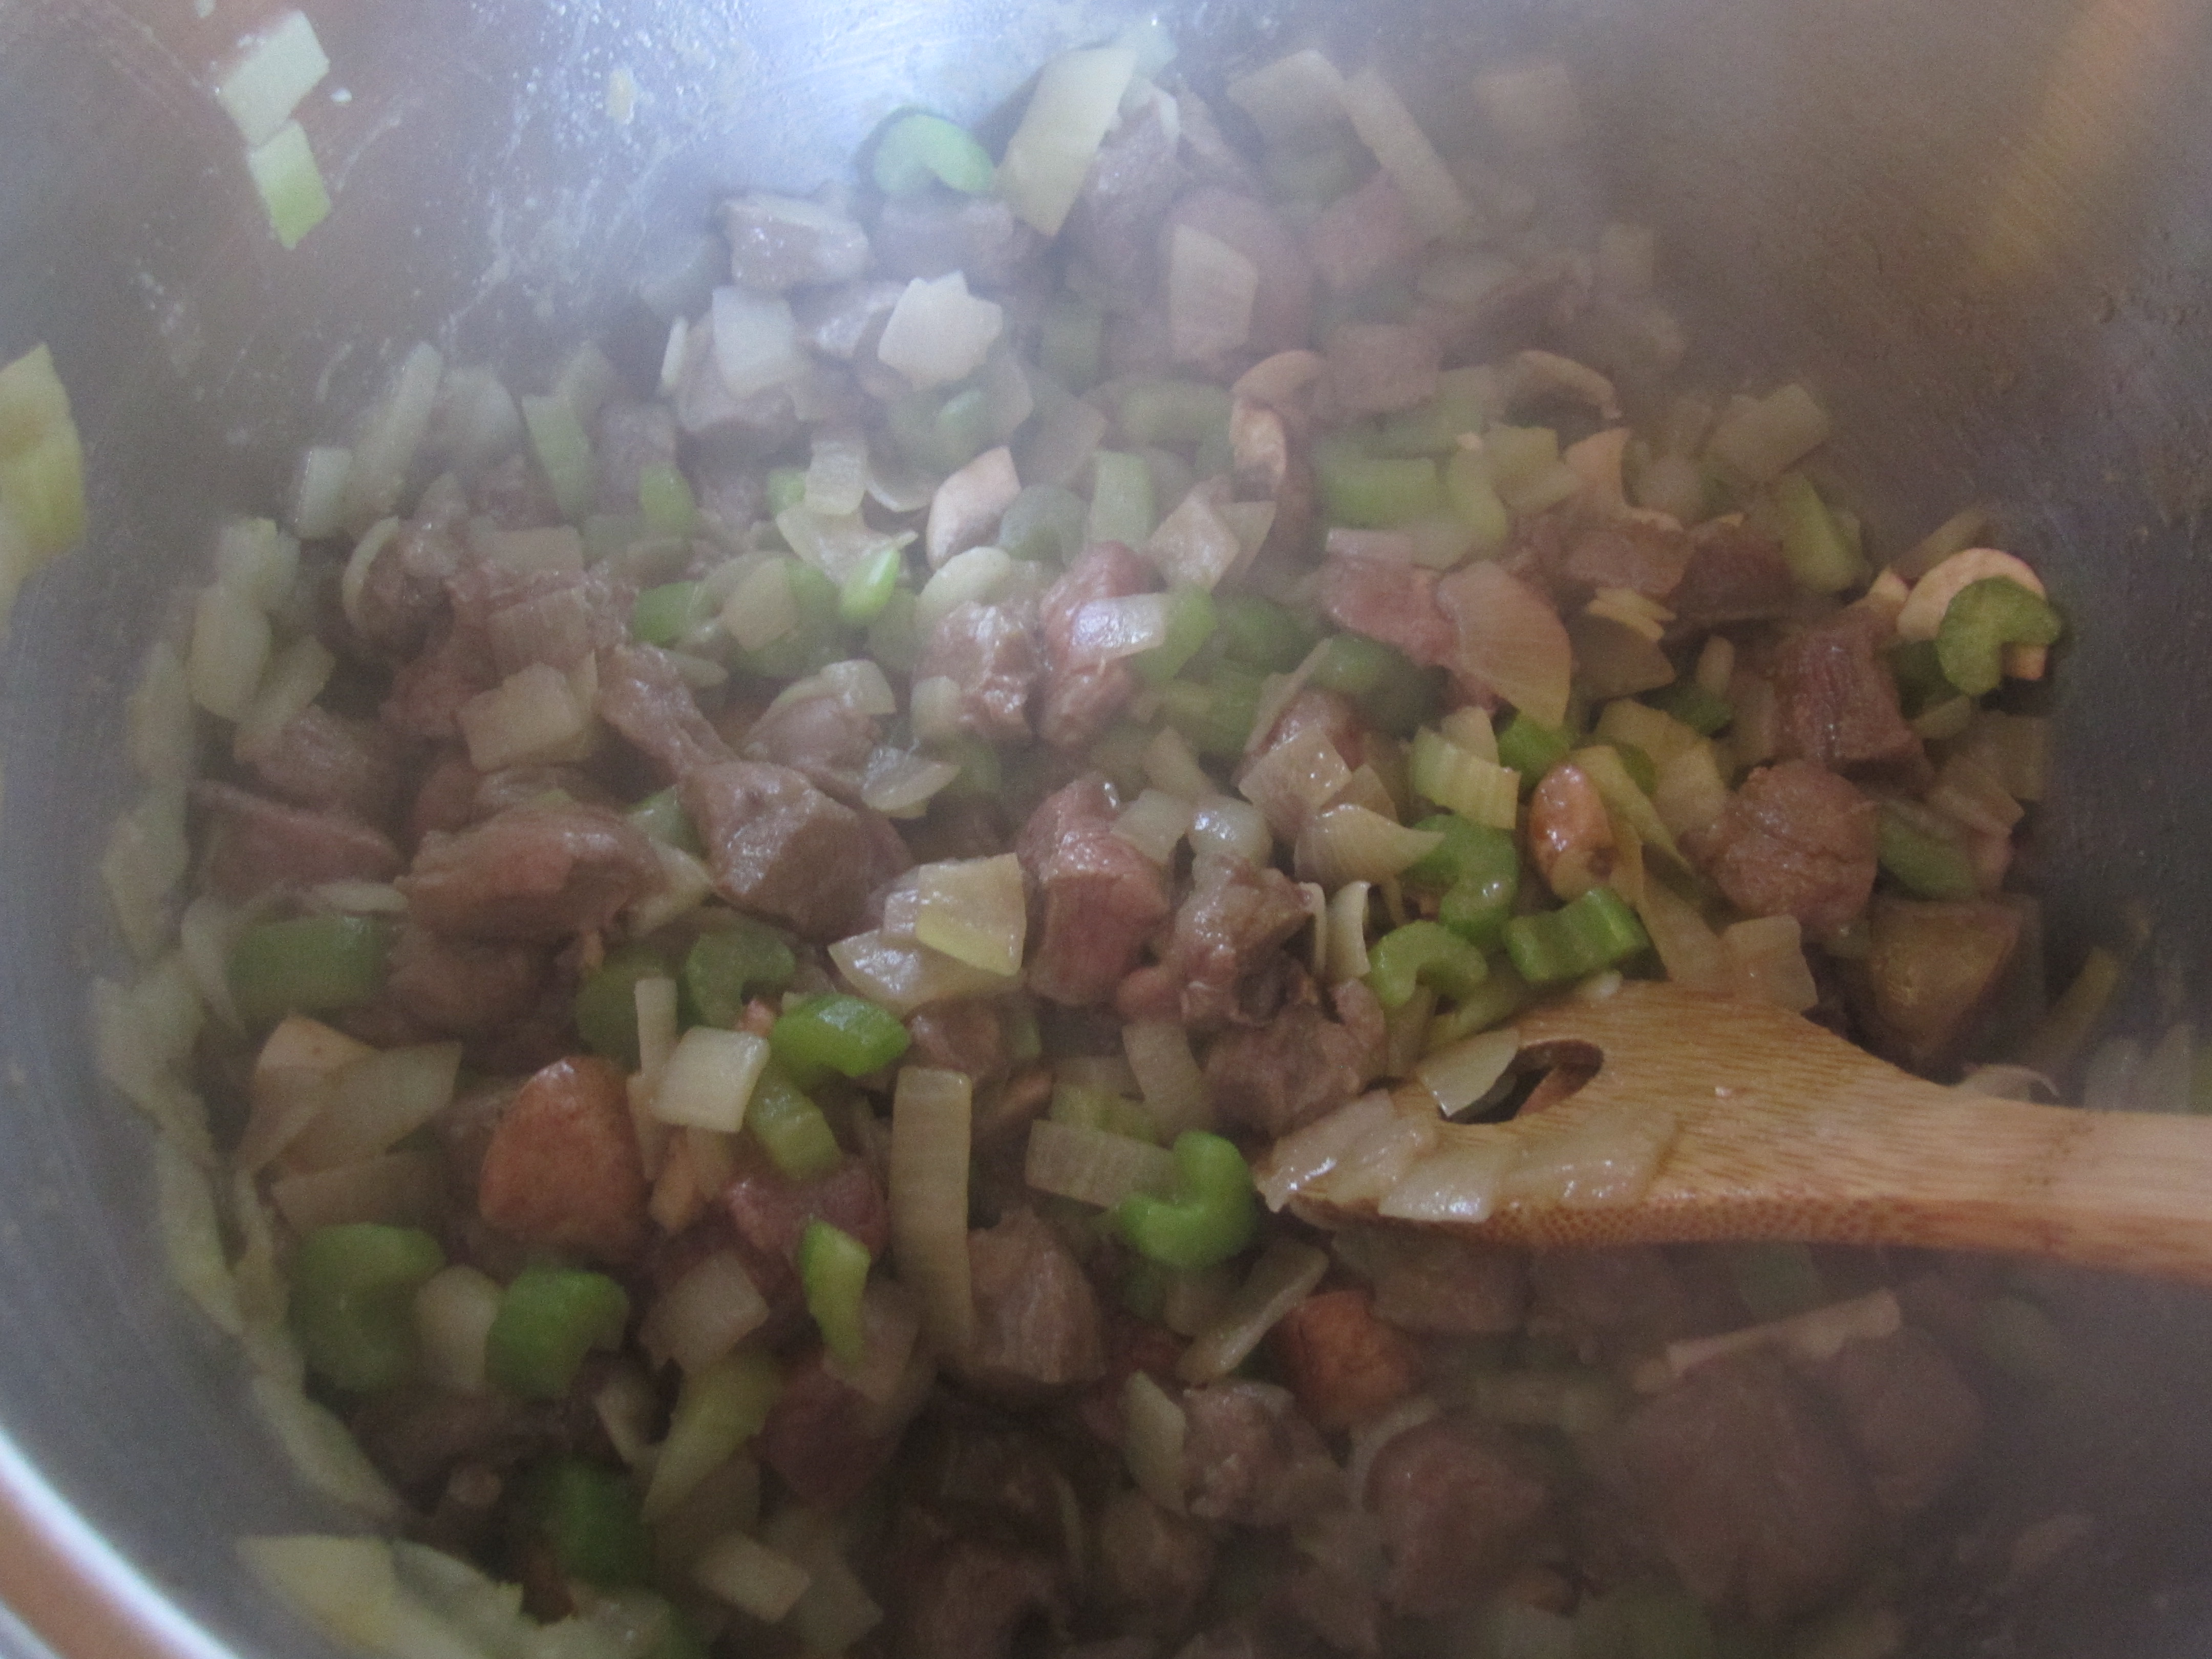
Onions, celery, and venison sauteing in the pot with olive oil, garlic, and salt.

4.  Slice 8 ounces of fresh mushrooms and add them to the pot. Also add more salt and garlic powder.

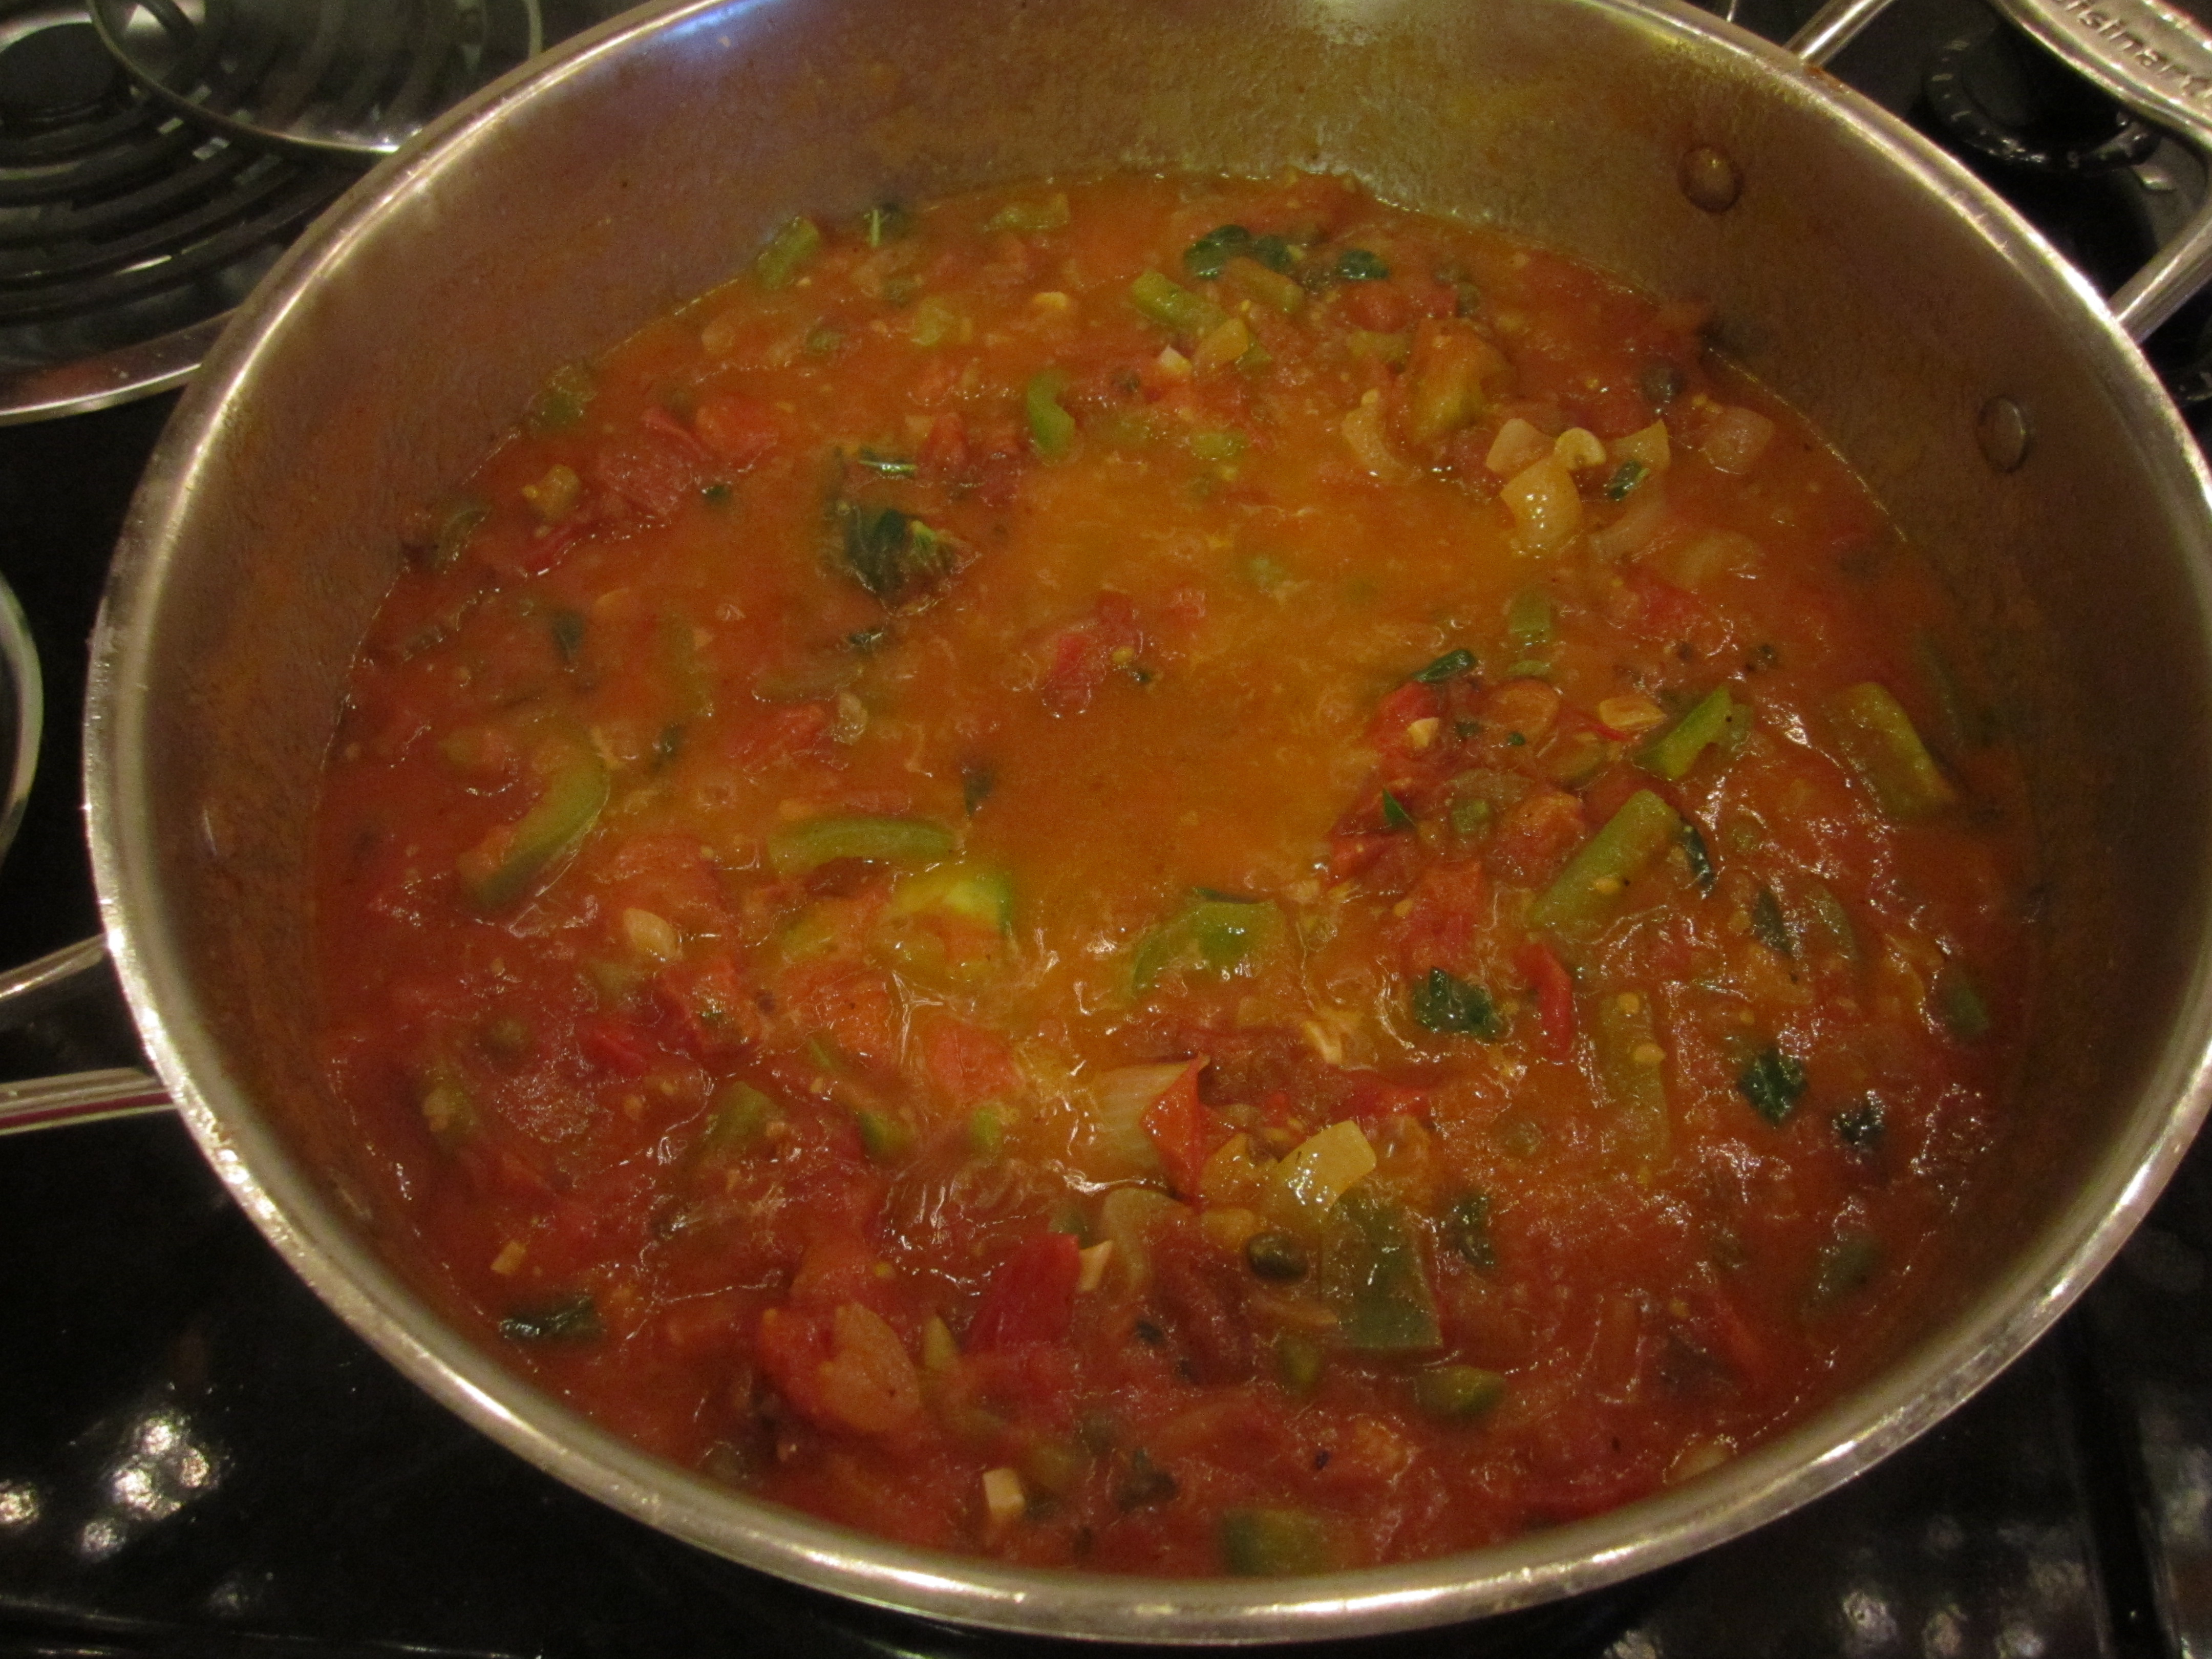
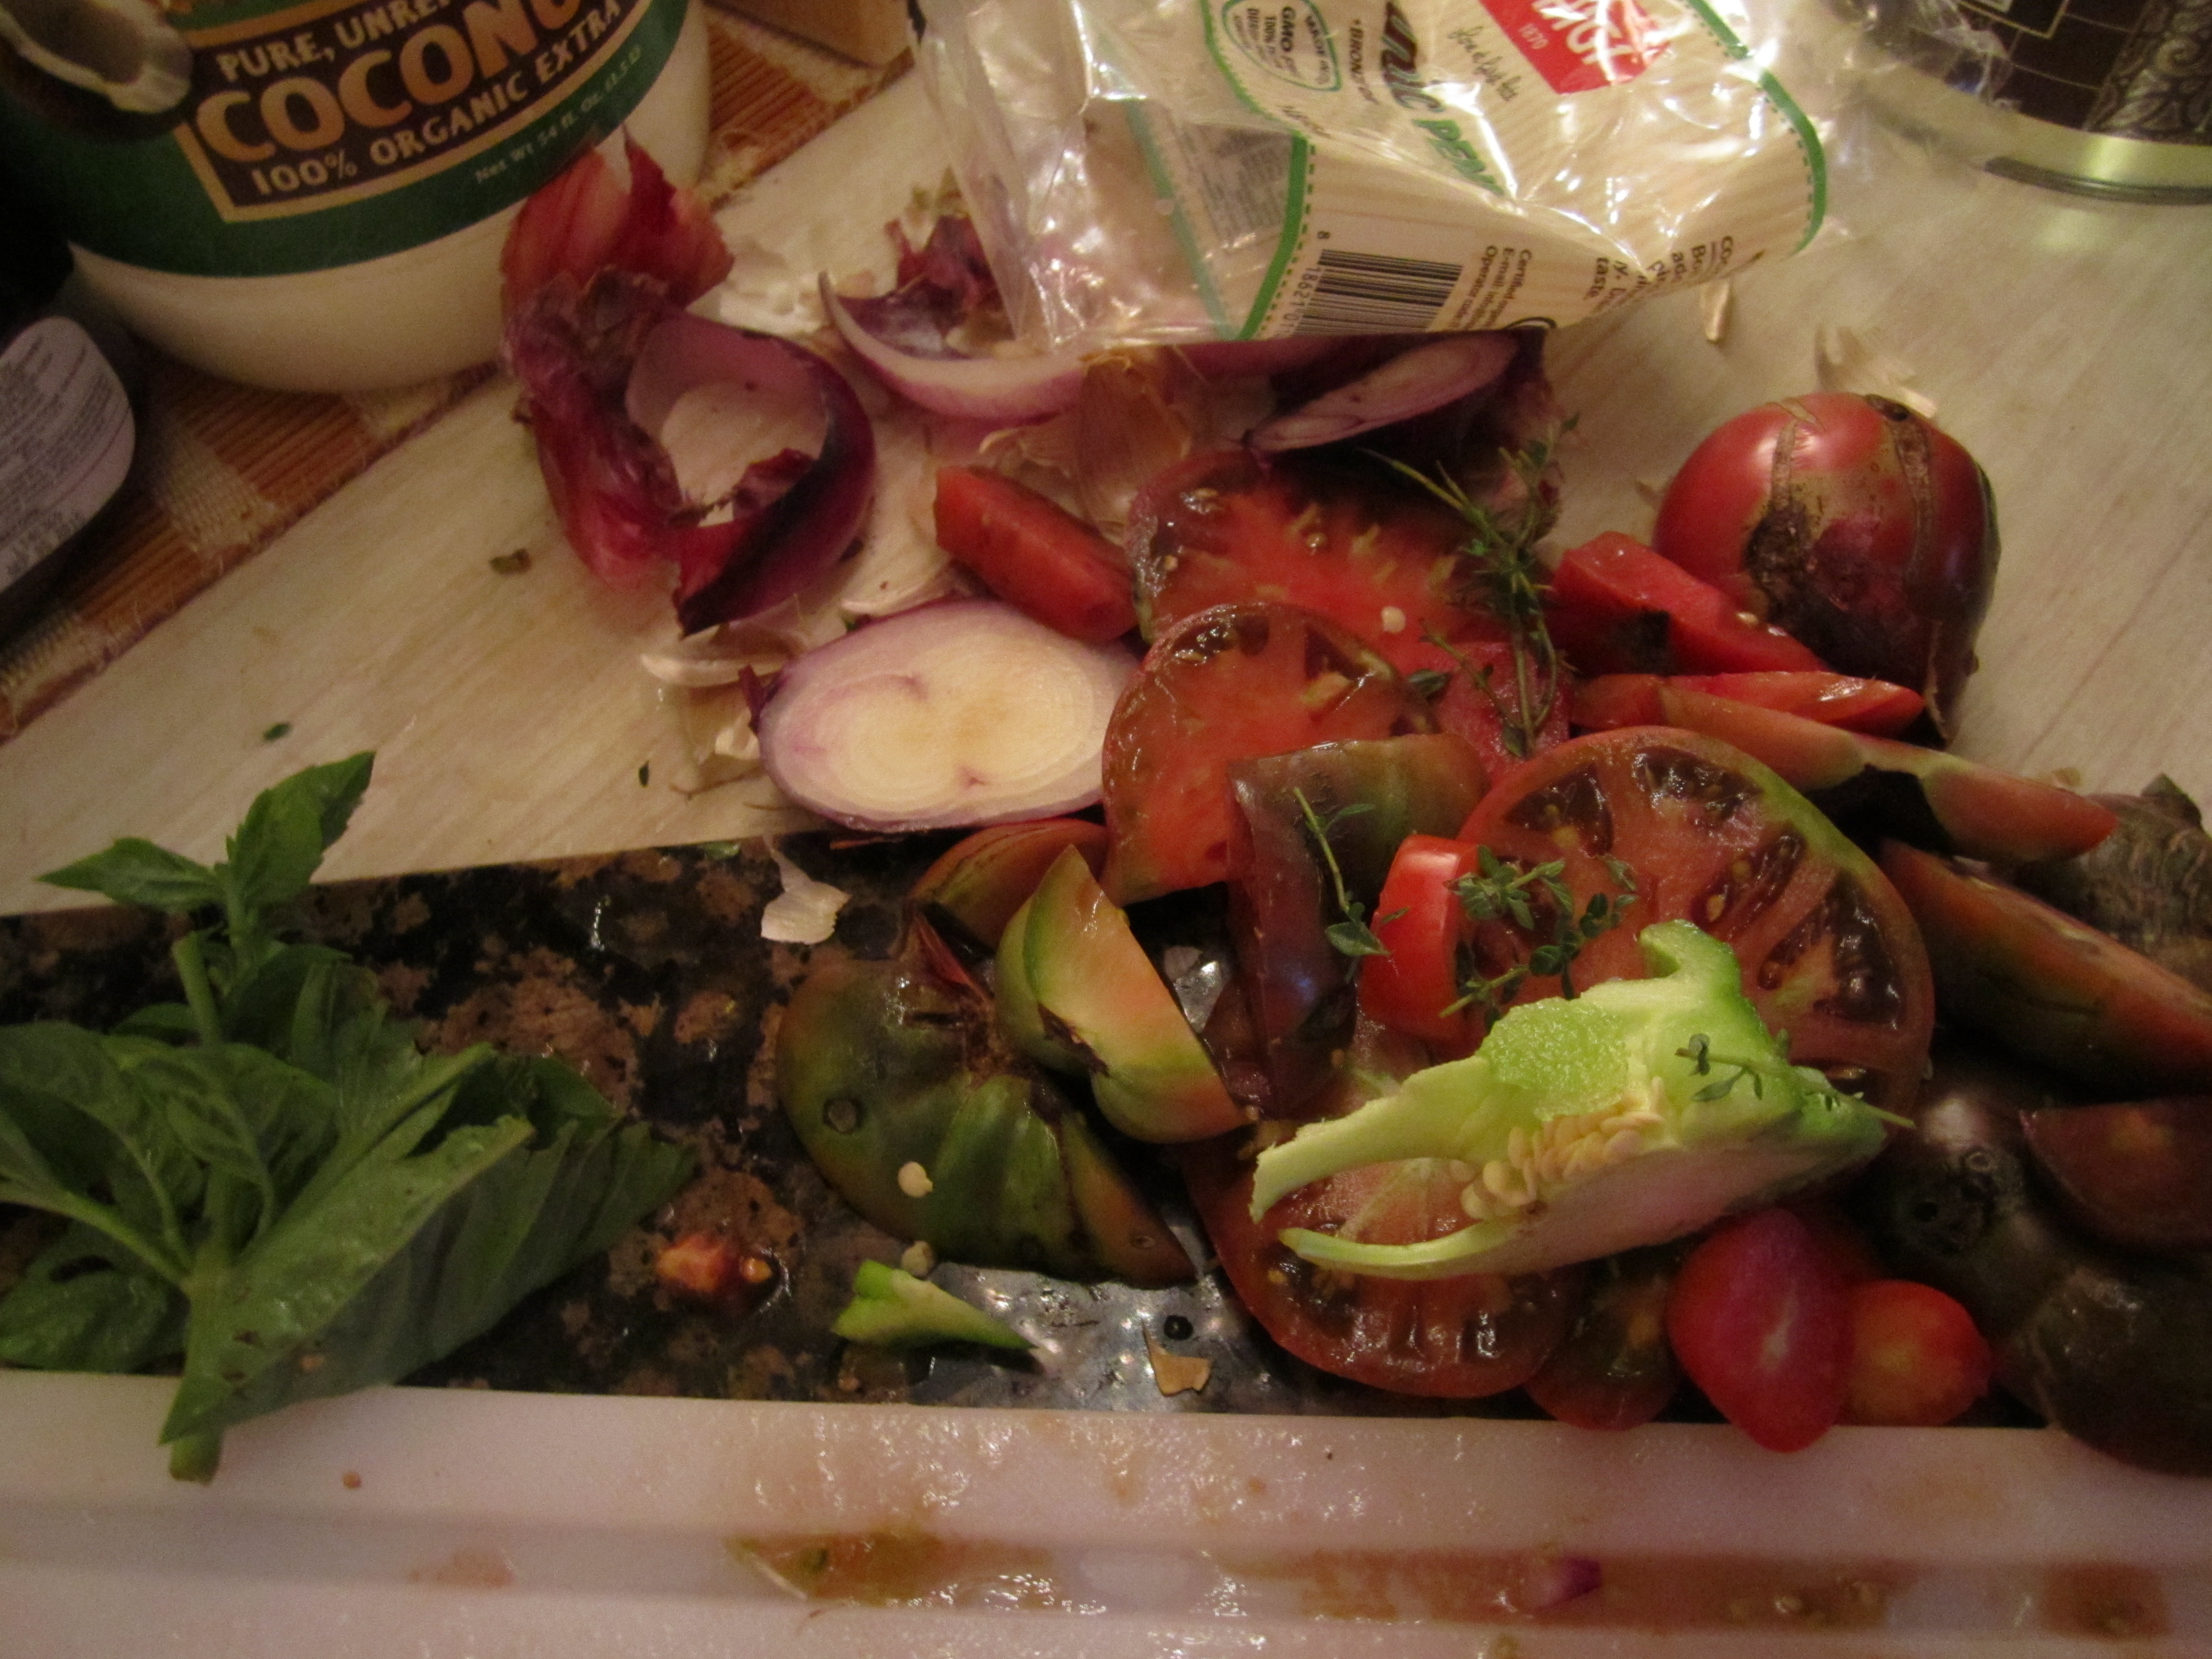
5.  Add tomatoes. We used frozen tomatoes from our garden last year, mostly Cherokee Purples, San Marzano, and Black Plum paste tomatoes, but a few cherry tomatoes found their way in there too! If you are using tomatoes from the store, I would use 2 large cans of crushed tomatoes.

6.  Add 1 small can of tomato paste.

7.  Now add a spoonful or two of honey and some sprinkles of cocoa powder (all of this is to taste). This minimizes the acidic taste from the tomatoes and adds a creamy darkness.

8.  Add spices: paprika, basil,and oregano, and of course more salt and garlic powder!

9.  As the dish begins to simmer, add carrots (I used a little less than 2 pounds of halved baby carrots).

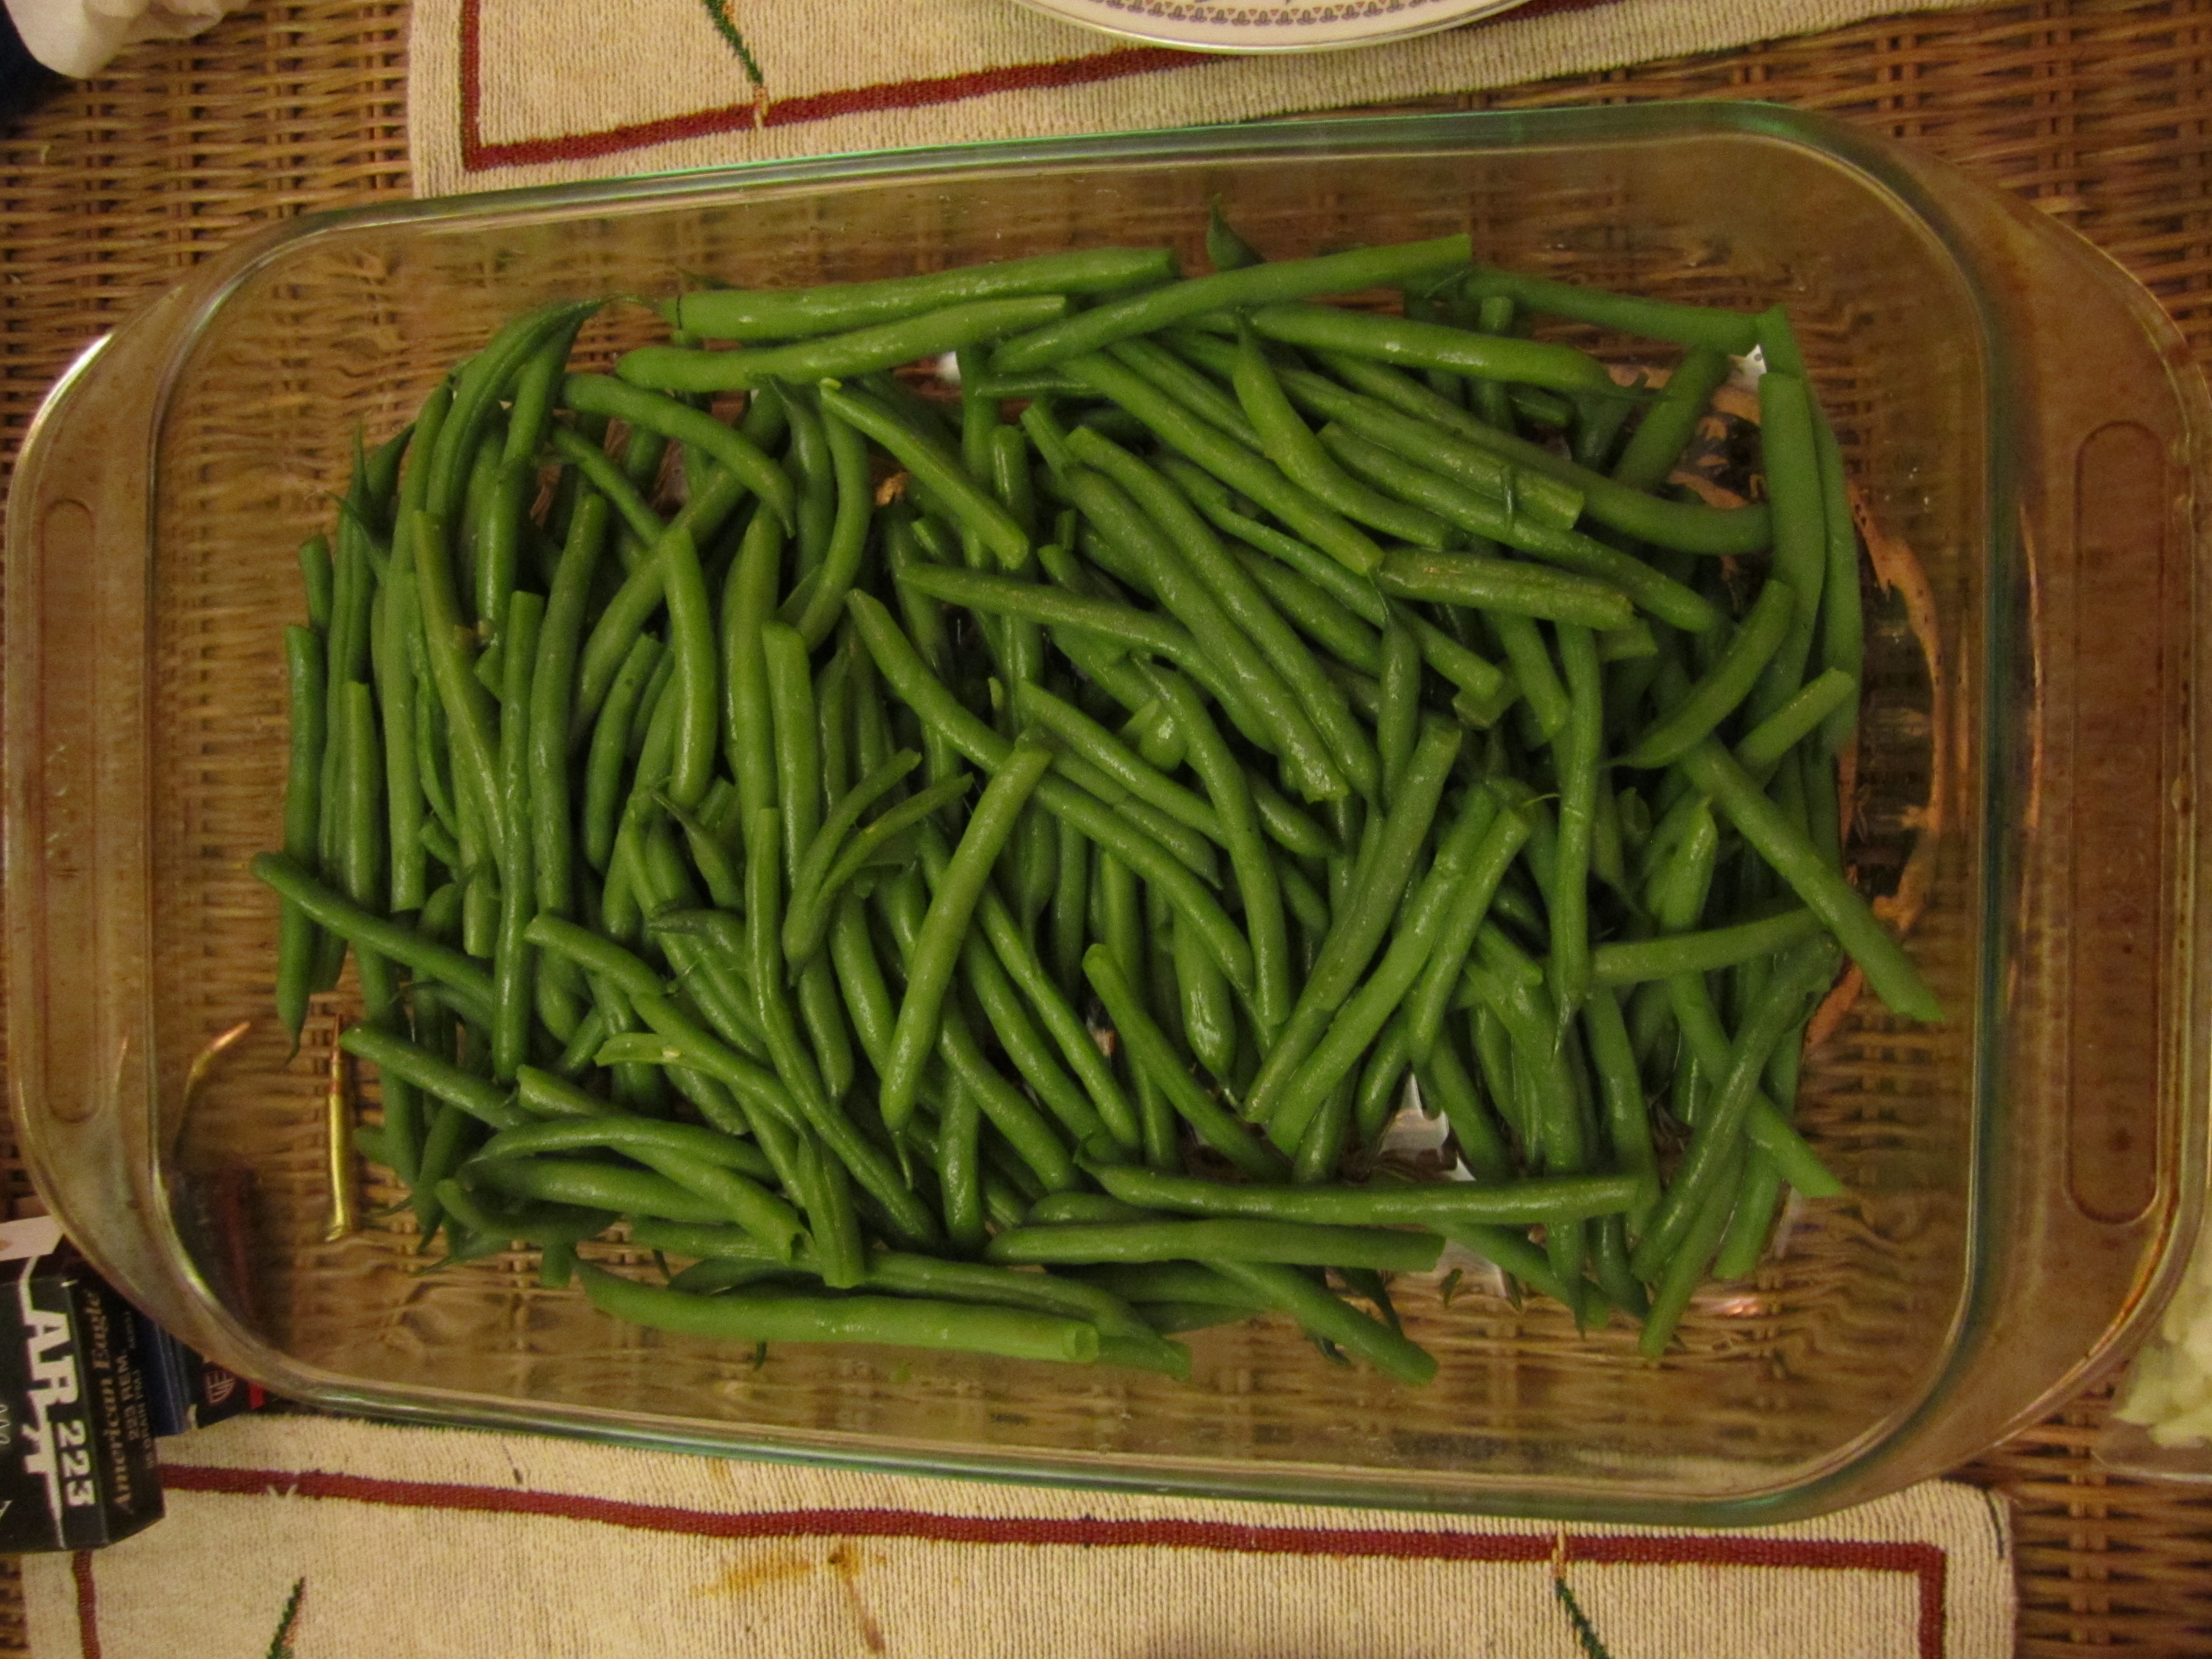
10.  Add 1 large can of greenbeans (we didn’t have any of our own greenbeans left over from last fall).

soup

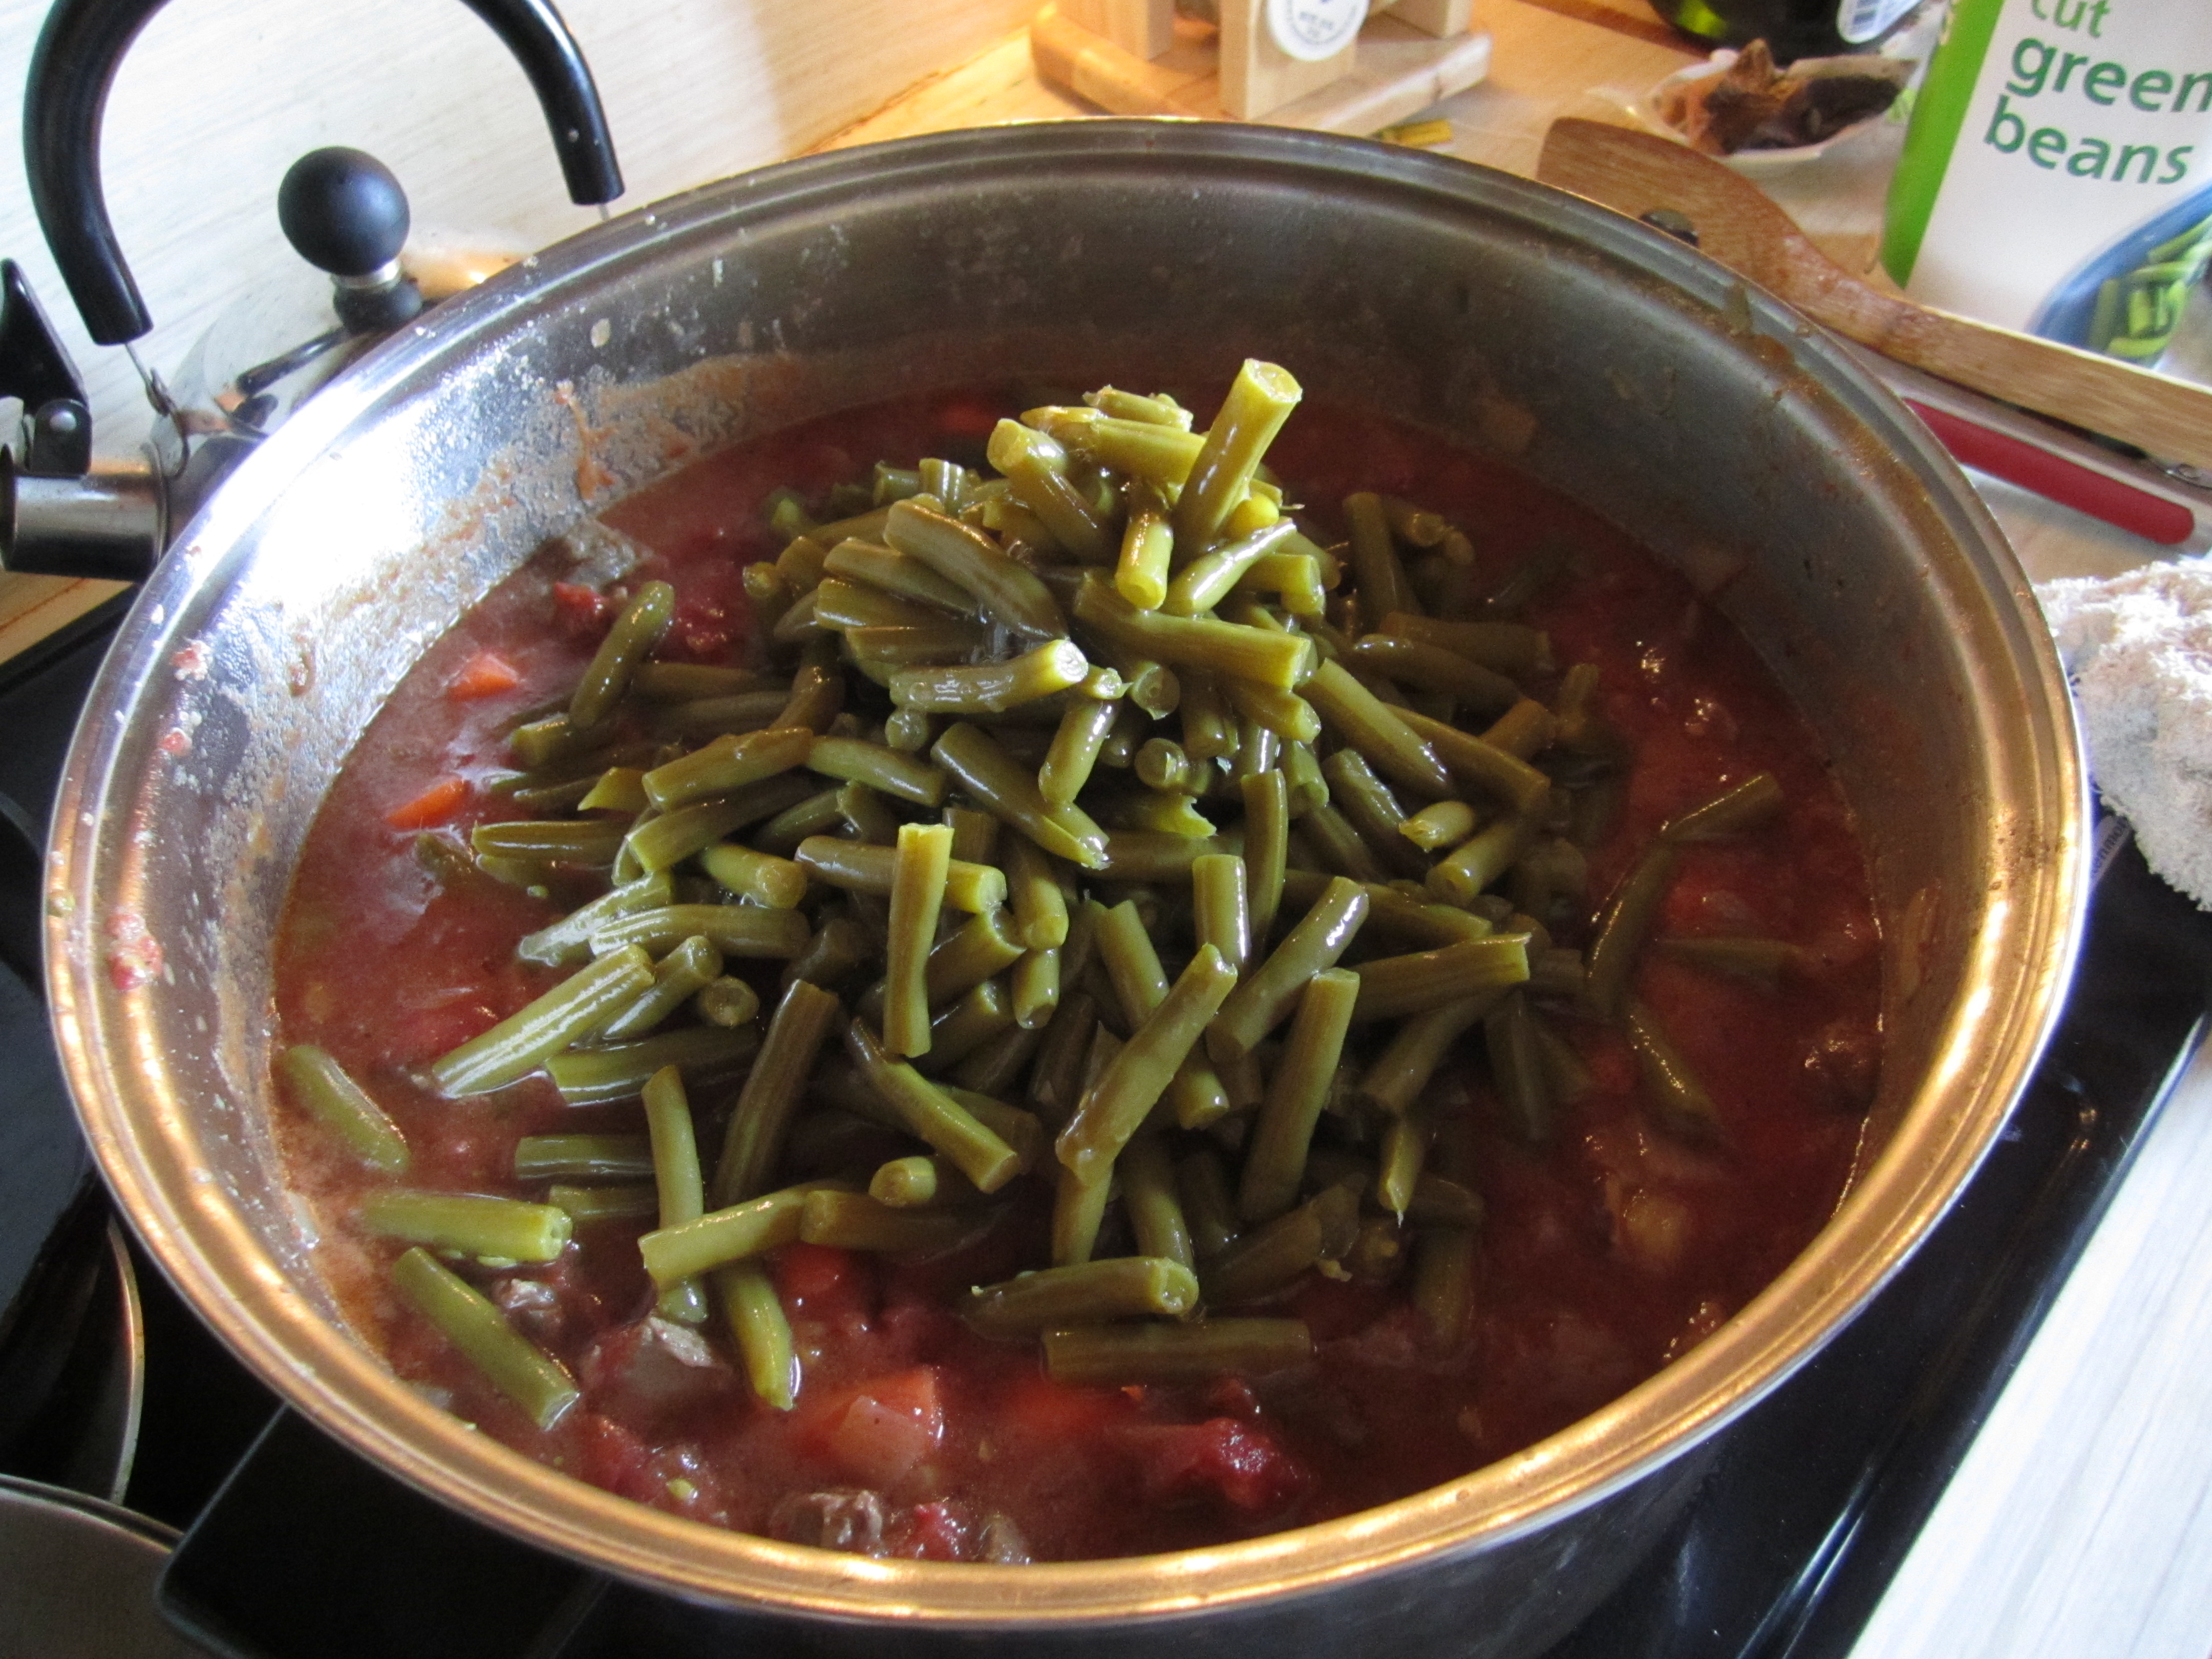
Adding greenbeans to the pot.

11.  I also like to add even more veggies… Frozen okra and frozen Lima beans (small bags of each) can also go in the pot now.

soup

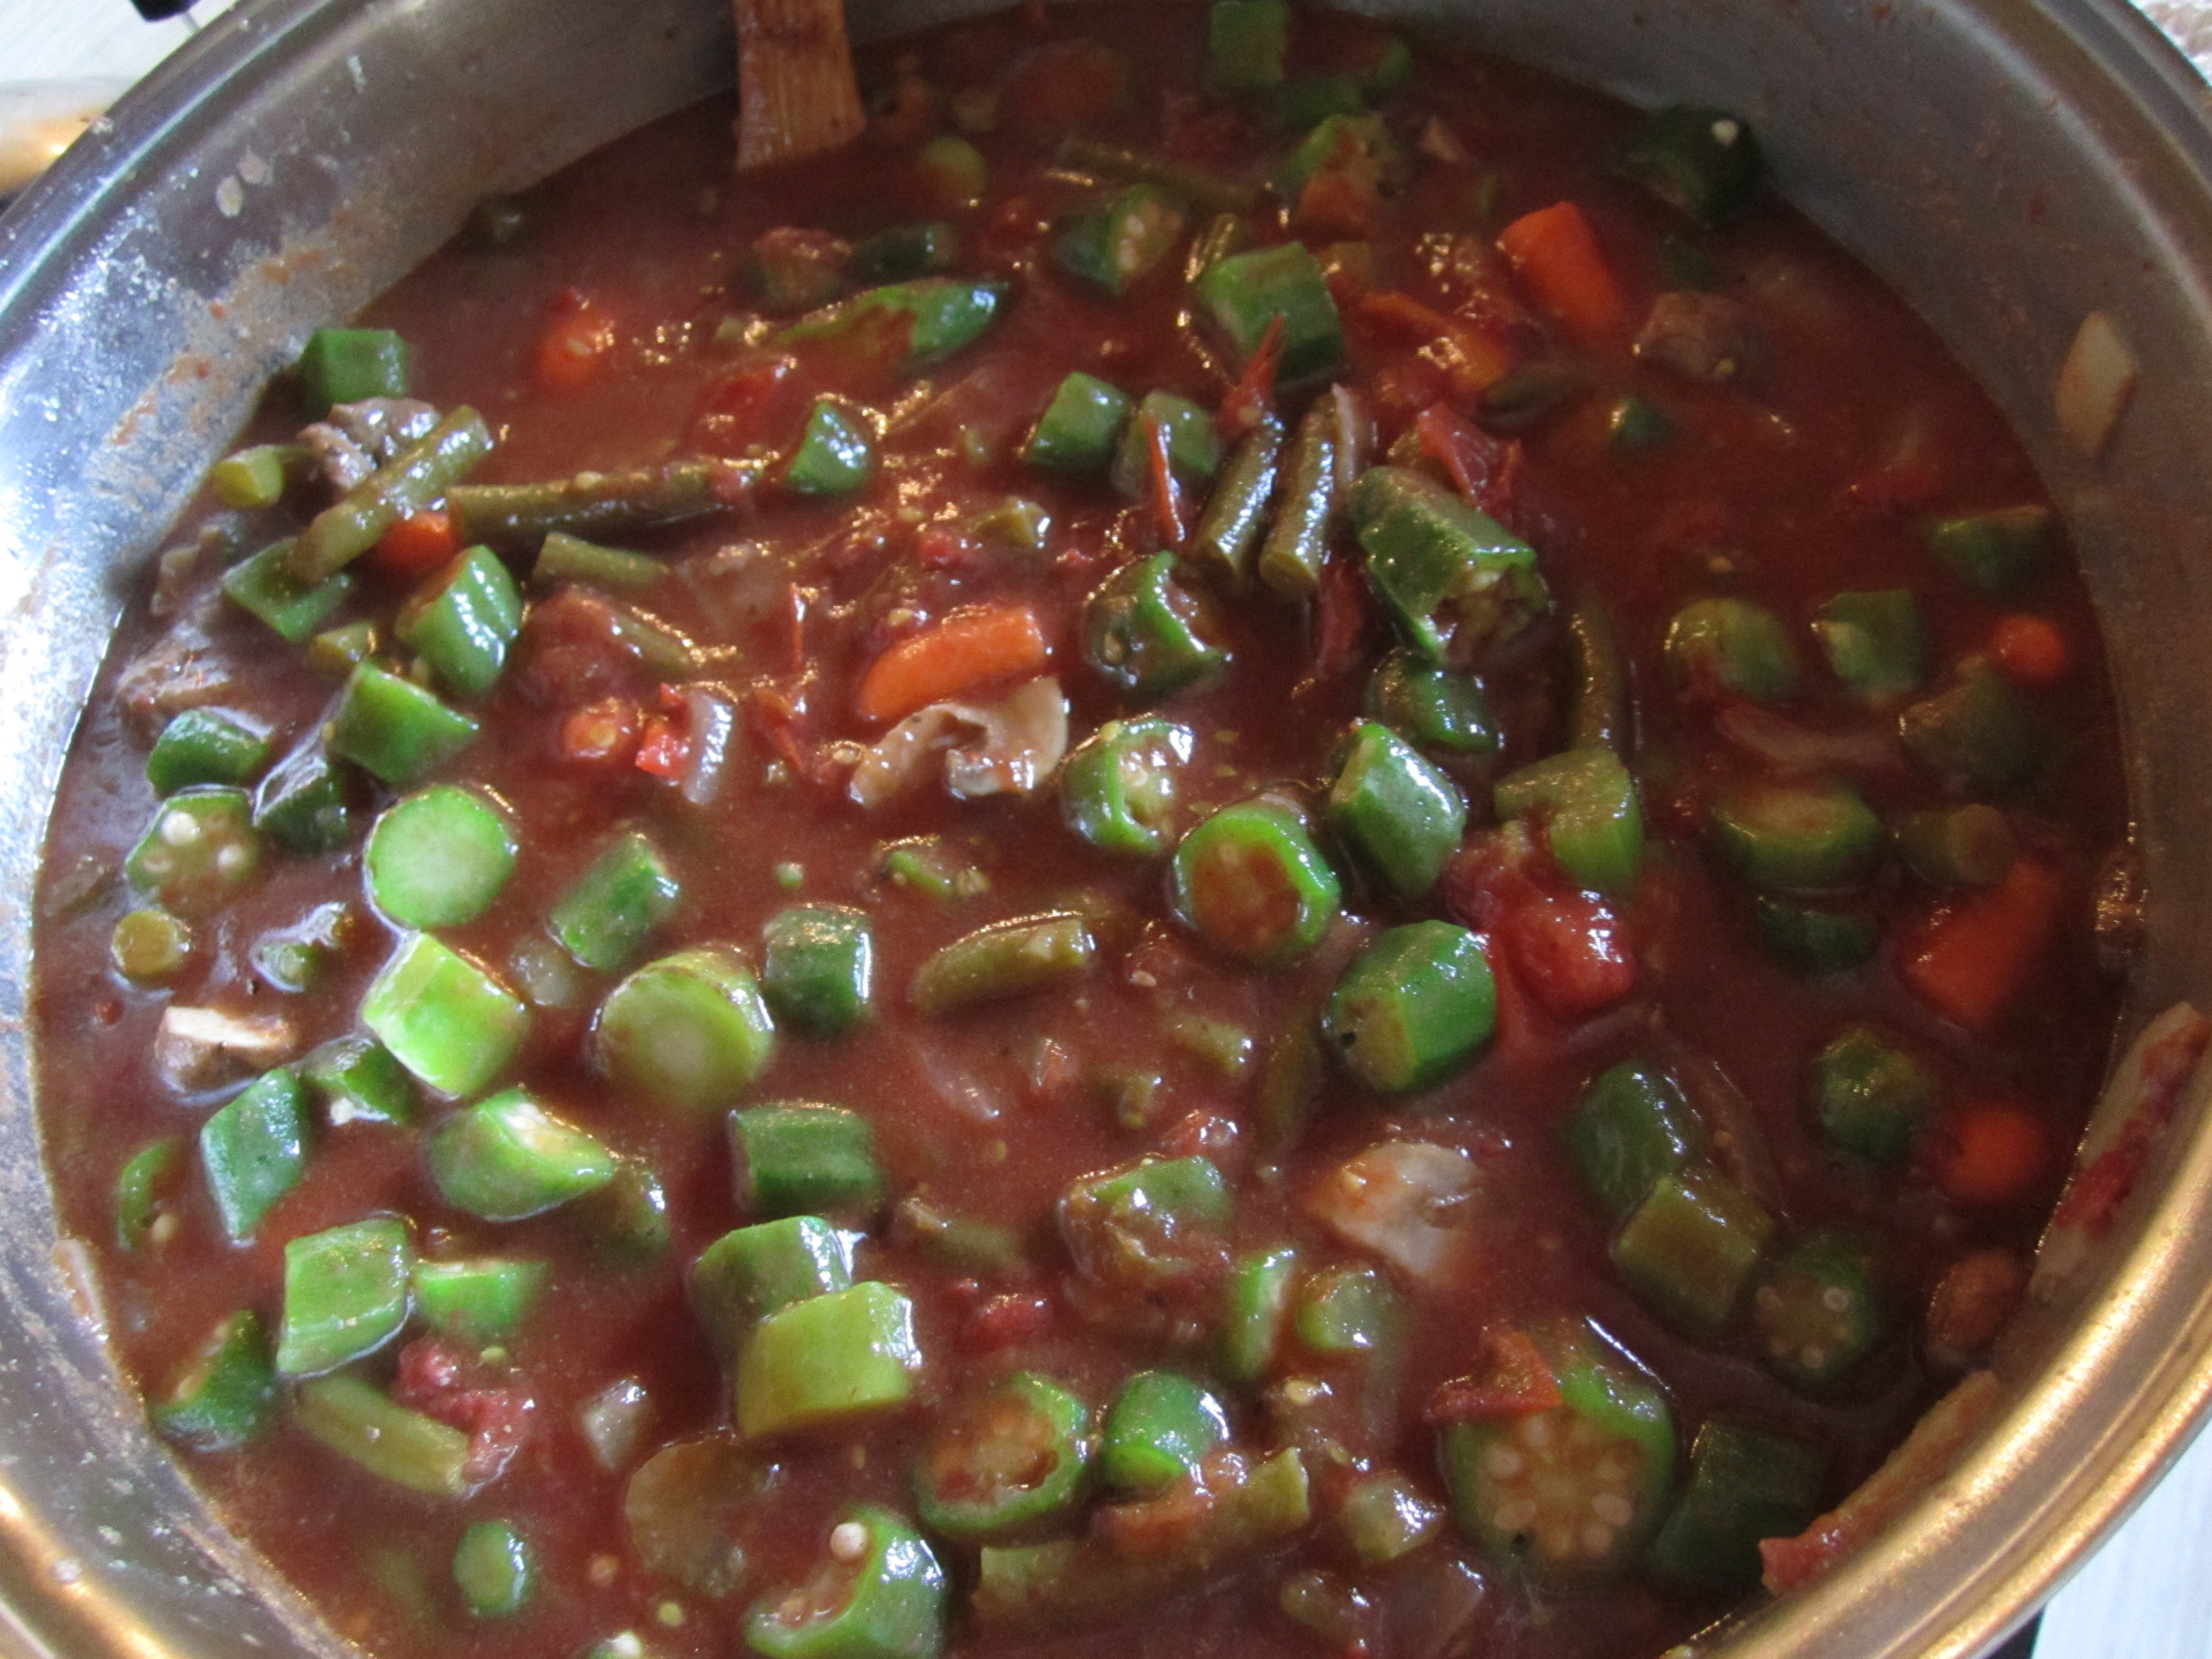
Adding okra to the pot.

12.  Add 2 small cans of corn.

soup

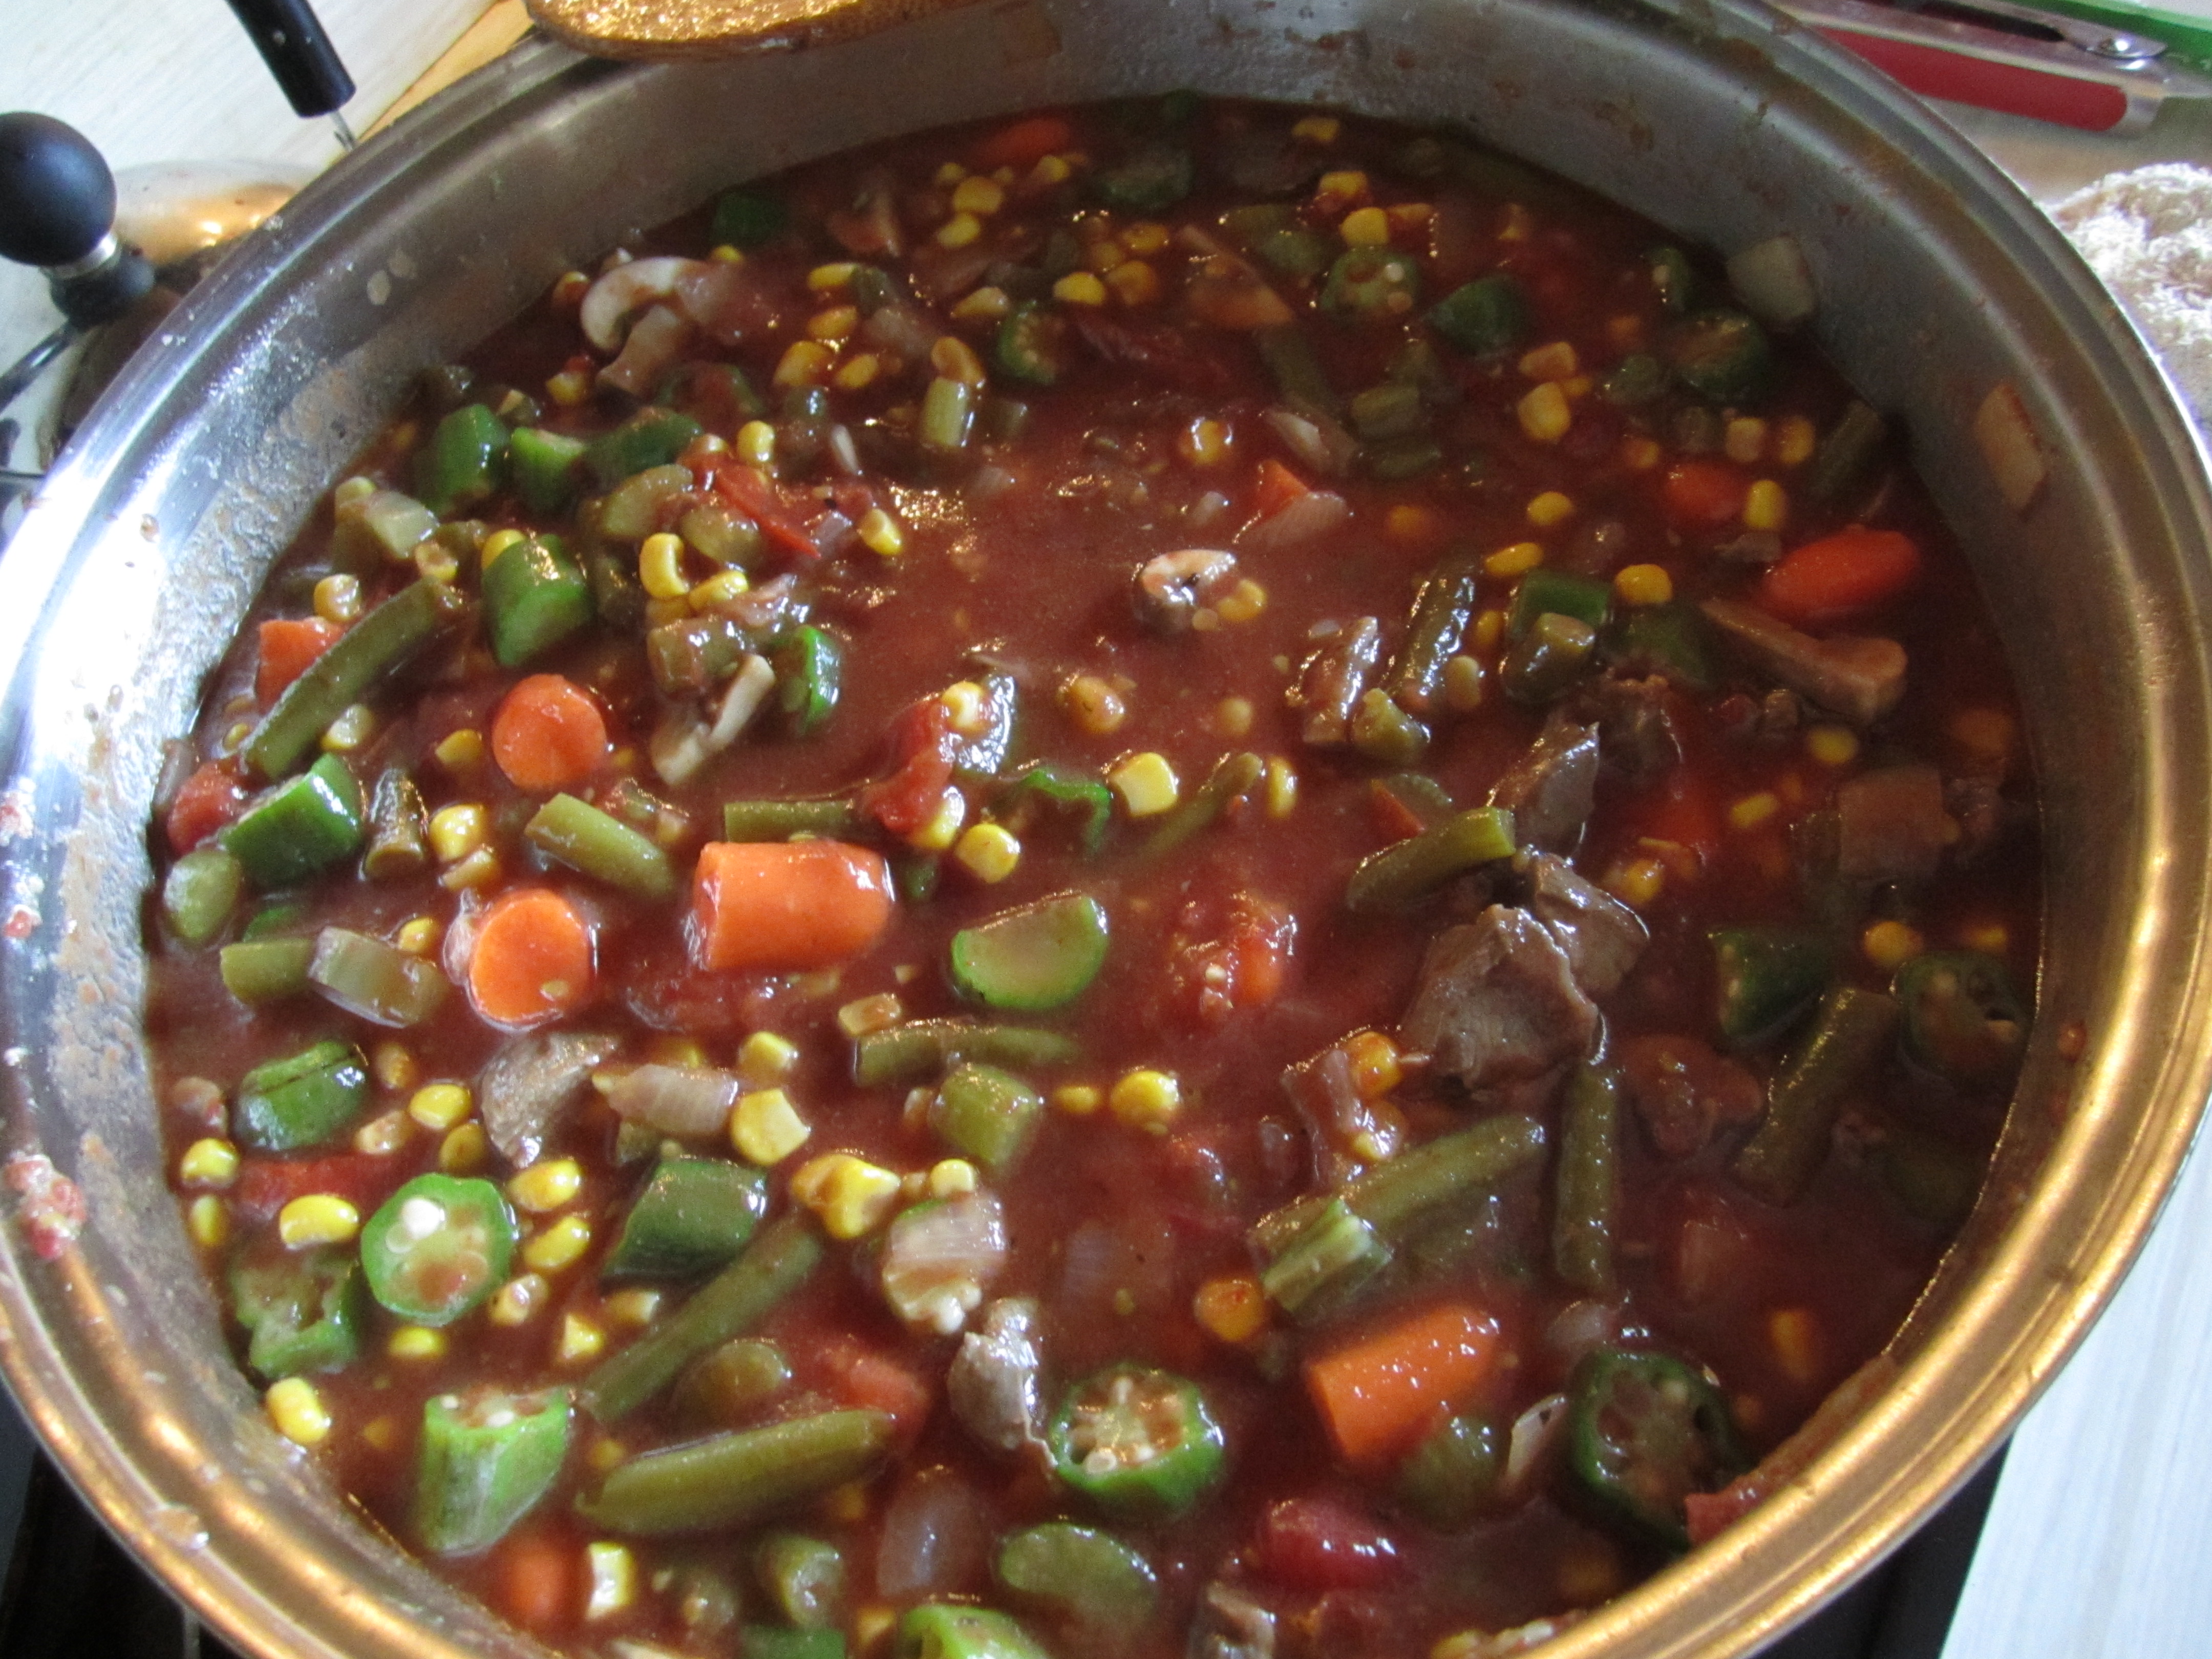
Corn has been added!

13.  Cook the soup on medium-low for about an hour-and-a-half, and make sure to stir it frequently since this is a very dense soup and can stick to the bottom of the pot if you’re not keeping an eye on it!

14.  Check your soup and add more spices, if needed, and a little bit of soy sauce. Check to see how well softened the Lima beans and carrots are, and if you are satisfied with how done they are (and the spices), add 1 small bag of frozen peas. Stir them in and let the soup cook for about 15 minutes longer.

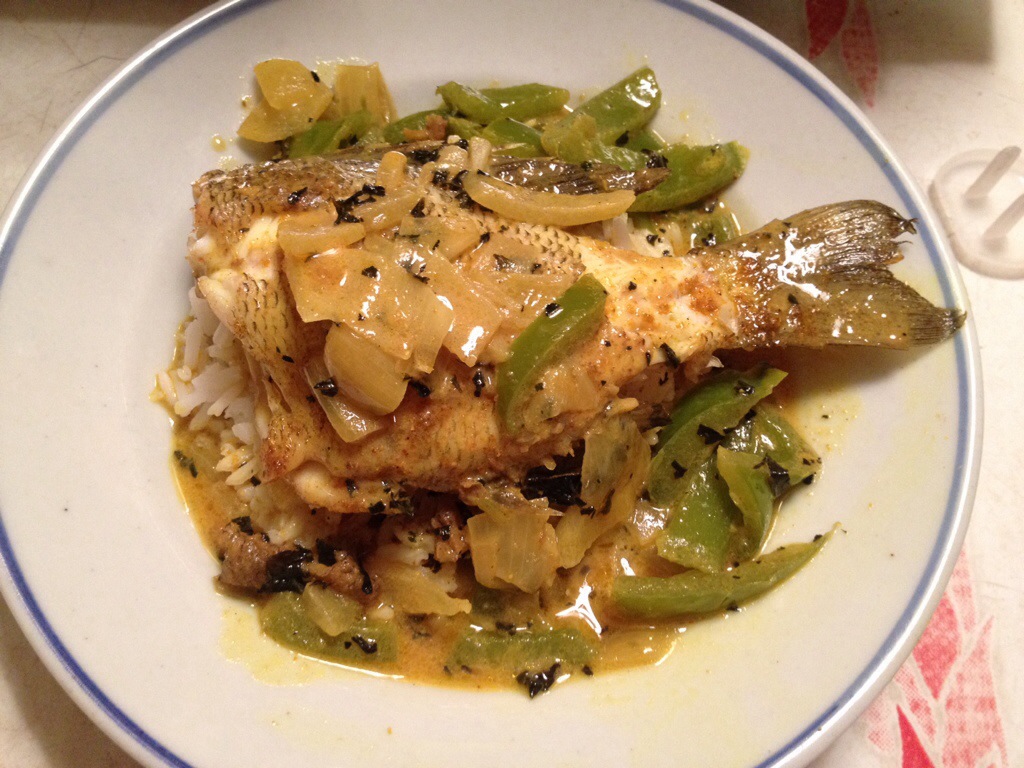
15.  Check your spices again… And if you like it, then it’s done!!! If not, add more spices!!!

soup

All done! Yummy!

.:.


Sunchokes! A Tasty and Reliable Homestead Crop

This year, in addition to growing vegetables in the garden, raising chickens in tractors and mobile coops, and planting a backyard food forest, we also experimented with some unusual crops. One of these in particular, the sunchoke or Jerusalem Artichoke, was a huge success.

sunchokes permaculture

Sunchokes are both pretty and productive!

Sunchokes are related to sunflowers, but instead of delicious seeds, they form crisp and tasty tubers. These can be dug anytime after frost, and have a slightly nutty and pleasant potatoey flavor. One great thing about them is their lack of starch, and high proportion of inulin. This makes them a great food to help regulate blood sugar issues, and possibly one for diabetics to consider trying. Sunchokes are often found growing along side roads and at the edges of fields and forests. They spread readily from their roots and are a perennial staple crop that requires little care. I think we watered them about 6 times this summer, and they never once looked stressed.

sunchokes harvest

Freshly dug sunchokes!

I dug the first batch of tubers the other day and was pleasantly surprised to harvest about 1 pound of tubers from 1 plant. That’s about an 8 to 1 return.

sunchokes cooking

The tubers are somewhat knobby, which can make cleaning difficult.

Once I cleaned up the knobby tubers in warm water, I chopped them into bite sized pieces and added onions, peppers, basil, garlic, oregano, a healthy amount of olive oil, and to top it all off, some hot Italian sausage. I roasted this at 375 until everything was cooked, and then served it with a runny egg on top. Kind of like a homestead hash. Yum. We usually make this dish with potatoes, but the sunchokes were great in it.

sunchoke recipe

You can use sunchokes in any recipe that calls for potatoes.

Another interesting fact about sunchokes is that you can eat them raw. They are crunchy, and less digestible, but have a refreshing and crisp taste. Other ways to prepare them include frying, boiling, mashing and any other way you cook a potato. You can often find them at health food stores (I know I’ve seen them at Whole Foods) or ethnic markets. They are also fairly prevalent throughout much of the US and if you’re quick, brave, and good with a spade-fork, you can harvest an unlimited amount from wild “roadside stands.”

For us though, we plan on expanding this easy and productive crop to many areas of our homestead. I did notice that it prefers to be planted earlier rather than later in the season, and likes a little bit of shade at some point in the day to keep its roots cool. Our original planting stock was purchased from ebay, but I have seen them for sale at many mail order and online nurseries. We plan on eating all of the larger tubers and using the smaller ones to replant in other areas!


Lobster of the Woods: Cooking Lion’s Mane Mushroom

After researching our lion’s mane mushroom find, Emma and I felt safe enough to harvest the mushrooms and eat them. But what is the best way to cook and enjoy a lion’s mane? Well it seems that the internet agrees that frying them in butter until browned is the best way to experience their delicate texture, and lobster like flavor. Sounds good to us!

cooking lion's mane mushrooms

Lion’s Mane Mushrooms are both a delicacy and a medicinal powerhouse

After cutting the mushrooms off close to the bark of the standing dead tree, we trimmed off some of the dirtier pieces, and shook off any remaining debris. We then sliced the mushrooms and started heating up some butter on the stove.

sliced lion's mane

Sliced Lion’s Mane, ready to be fried in butter and garlic

To the melted butter we added a few cloves of chopped garlic to infuse a little more flavor into the dish. Once the butter was nice and hot, in went the sliced mushrooms.

lion's mane cooking

The hairs crisp up, while the mushroom absorbs the butter! Yum!

We gave them a good fry on each side, and because the mushrooms are so absorbent and soaked up so much of the butter, we needed to add more butter to the pan.

sauteed lion's mane mushrooms

Nice and browned, these lion’s mane mushrooms have a delicate seafoody flavor and amazing texture.

After about 3-5 minutes, it was time for the first taste test! Delicious! The lobster/scallop flavor was not as intense as I expected, but rather a subtle and interesting note. We figured out that the mushrooms had absorbed a little too much butter, and so we pressed some out of them with paper towels. This made a big difference and allowed us to experience more of the unique texture of the lion’s mane. It’s hard to explain, but the contrasts between the hairs, and the almost rubbery texture of the inside makes for an amazing culinary experience.

lion'smane mushroom how to cook

This batch was a little over. The hairs were very crisp, but the delicate flavor was overwhelmed.

We fried the mushrooms in batches, and our last batch was a little over done. Lesson learned, don’t overcook these mushrooms. The flavors and textures are subtle and delicate. Nothing more is needed than a quick saute, and a pinch of salt. Well, maybe a glass of wine too.


farm food friday: homemade cherokee purple tomato sauce!

we’re finally back with another edition of farm food friday, and this recipe, once again, is all about tomatoes. i know we’ve been on a posting kick about tomatoes lately, but once you have one of our cherokee purples you’ll understand why…

the other day we made some homemade tomato sauce, and although i’ve frozen a ton of tomatoes for sauce ingredients, we had enough fresh ones to make use them for our sauce.

ingredients (keep in mind that you should add as much as you desire for each of these):

using our awesome new sauce pan (it's still shiny!).

using our awesome new sauce pan (it’s still shiny!).

directions:

  • we used our new, huge, awesome sauce pan to be sure we made a lot!
  • saute sliced garlics in olive oil and then add onions
  • once these have cooked for a few minutes, add your sliced/diced cherokee purple tomatoes (from the garden); cut the heat to medium
  • as this cooks begin boiling your water for the pasta
  • add capers, sriracha sauce, and salt and pepper to taste
  • let it cook down more, being careful to stir it often so the thickening tomato doesn’t stick to the bottom of the pan and burn
  • add sliced and diced bell peppers (our’s were from the garden)
  • add lemon thyme and basil (also from the garden)
  • continue letting it cook down and add a few pinches of parmesan cheese to thicken the sauce and make it a bit creamier… this also adds bite.
delicious cherokee purple tomato sauce!

delicious cherokee purple tomato sauce!

as i’ve mentioned before, cherokee purples are sweeter tasting and less acidic, so i find that there is no need to add anything to the sauce to tone down natural acidity. that makes this dish a delicious and easy-to-make meal any day of the week!

and the great thing about cooking in our kitchen: there’s always leftover scraps to feed to our flock of chickens!

this recipe's scraps... chickens here we come!

this recipe’s scraps… chickens here we come!

next up… making more of this sauce and freezing it in ready-to-go containers.

.:.

Homemade Homestead Pizza!

In my post about some of the differences between living in the country vs the city (which include thinking that anywhere other than rural Stokes county = the city), I mentioned that it took us a whole year before we  found a pizza place that would deliver to our house. While delivery pizza is great for nights you just don’t feel like cooking, nothing beats a homemade pie crisp and fresh from the oven.While we haven’t yet made our own pizza dough, we do use either frozen pizza doughs from the store, or more often, tortillas.

homemade pizza garden

a fresh tortilla, with sliced cherokee purple tomatoes and california wonder peppers is a great base for garden pizza

But the best part about homemade pizza is that you get complete control over your toppings. No having to split, or compromise with friends or significant others about meat lovers vs. veggie supreme. This especially holds true with tortilla, “personal pan” pizzas, where each person gets their own pizza to create and eat.

garden pizza

add some jalepenos…

garden pizza homemade

and some onions and chorizo…

Some of our favorite toppings are the ones we pick fresh from the garden. Tomatoes, basil, bell peppers, mushrooms, onions, and jalepenos all make great pizza toppings. Add some sausage, or chorizo, and some garlic olive oil, and your in for a fun night.

homemade pizza from the garden

add some olive oil, cheese, and salt and pepper to taste, than bake until golden brown at 375

We use thick slices of homegrown cherokee purple tomatoes instead of tomato sauce, and a light sprinkling of Parmesan cheese. A little salt, and a drizzle of oil really brings it all together, and makes it all but impossible for any leftovers to survive.

garden pizza

yum!

Garden pizza! A delicious way to save some some money and get a full helping of nutrient dense veggies form the garden! No, the chickens won’t be eating any of this pizza!


German Egg Pancakes with Fresh Picked Apples

I first came across German Egg Pancakes (Eierkuchen) while searching for a recipe for pancakes with lots of eggs. You see, with a homestead flock of almost 30 chickens we have a surplus of eggs, and sometimes it’s nice to whip something up that can use a dozen or more . So, when I found a recipe for German egg pancakes that called for 6 eggs per 1/2 cup of flour I was pretty excited, and after tinkering around a bit with it, it has become our go to for pancakes.

german egg pancakes with apples

German egg pancakes are thinner and denser than traditional pancakes, but full of flavor and are very filling.

The basic recipe we’ve settled on is:

  • 6-7 eggs
  • 1/2 cup flour
  • 1/2 cup liquid (milk, coconut milk, water, I’ve even used beer in a pinch)
  • 1/2 cup melted butter or coconut oil
  • a pinch of salt

These are all whisked together, and then poured, thinly, into a well greased cast iron pan. A quick fry on each side, and that’s it.

Now, these pancakes are not IHOP style pancakes. They are denser, and way more substantial. 1 or 2 thin pancakes are enough to fill you up, and considering their nutrient profile (high fat, high protein, and low carb) you stay full.  Another great thing about these paleo pancakes are that they are not just for breakfast.

german egg pancakes

A cast iron pan with a little coconut oil is perfect for these thin pancakes.

We’ve had savory pancakes for dinner more than a few times. We’ve made basil pancakes with a golden ale as the liquid and used the base recipe as a tortilla-esque wrap for sausages. Because this recipe calls for such a small amount of flour, it’s easy to substitute alternative flours like almond flour, acorn flour, or cattail pollen for a unique and tasty treat.

For breakfast, milk works best, and about a 1/2 tsp. of sugar. We’ve added cinnamon, vanilla extract, and raspberry yogurt. These can be eaten plain, with maple syrup, honey, or wrapped around bacon.

Today, as we just picked over 30 pounds of an apples from an old apple tree on our homestead, we decided to try some apple pancakes and they turned out great.  I doubled the base recipe and used 14 eggs and 1 cup of flour. After mixing, we shook in some cinnamon and fired up the outdoor stove. After the pancakes are poured in, it’s easy to place thin slices of apple into the batter before flipping.

german apple pancakes

These are great with fresh coffee, raw honey, and real maple syrup. Next time you make pancakes, consider trying these German pancakes, whether it’s for breakfast, lunch or dinner.

homemade cranberry fruit leathers

we recently busted out our new, fantastic food dehydrator, which was a bridal shower gift from jason’s amazing aunt and uncle!

we’ve used it for tons of things so far: sweet potato shreds, celery, greenbeans, pigeon peas, kidney beans, tomato paste, and venison jerky! delicious!

we’ve also started making our own fruit leathers and they are phenomenal. the only flavor i’ve made so far is cranberry. here’s the recipe:

i cook the cranberries down the exact same way my mom does when making cranberry sauce for thanksgiving, so this is her recipe, actually. i’ve just turned it into fruit leathers.

all 9 trays in the dehydrator get filled up when i start with 2 pounds of frozen cranberries. i cook these down on medium in a large saute pan. as they cook i add 1 cup of sugar and 1 cup of water. i also add a couple splashes of lemon juice to tone down the tart cranberry flavor. just these simple ingredients and you have the perfect fruit leather recipe!

i advise you to leave a lid on your concoction as it cooks so that your kitchen doesn’t end up splattered with pink dots! once you decide that most of the cranberries have cooked down, i cut it off and let it cool for about an hour. afterwards, it gets blended to smoothness in our food processor and gently spread onto saran wrap sheets laid out on top of the dehydrator trays.

a sheet of cranberry fruit leathers fresh out of the dehydrator

a sheet of cranberry fruit leathers fresh out of the dehydrator

all 9 sheets of fruit leather, waiting to be sliced

all 9 sheets of fruit leather, waiting to be sliced

your dehydrator should have directions telling you how thick to spread the jelly and how long to set your machine for, but i usually just eyeball it. i’ve notice that the fruit leathers i’ve made so far take between 6-8 hours and need to be peeled off of the saran wrap and flipped over at least 4 hours into the drying process.

after they are done, they get cut into serving size slices and stored in a container of some sort. putting them in the fridge will make them last longer but ours are out on the counter since i know they will get consumed in the next few days… we just can’t get enough!

stacks of serving size fruit leathers slices. dare you not to eat 20 at once!

stacks of serving size fruit leathers slices. dare you not to eat 20 at once!

.:.

the greenbean season begins: greenbean water!

time again for greenbeans!!!!

(for some background information about why i insist on writing greenbeans instead of green beans, click here)

what a wonderful day it is! the greenbeans that we cooked tonight did not come from our garden, actually, but from my father’s garden. our greenbeans went in a little later than his did and we shouldn’t be getting any from our plants for a week or so. we almost waited until ours came in to eat any, but we just couldn’t resist my dad’s offer of about 5 pounds of delicious, homegrown greenbeans!

we cooked all of them tonight, cooking them the way we usually do… boiling them in water with a dash of salt and olive oil or coconut oil. we’ve determined that it is a waste of time for us to snap them into “manageable” sized pieces since we enjoy them best whole, with just the stems snapped off. we usually serve them in a glass casserole dish because the beans fit in there perfectly and a dish that has a lid makes for excellent fridge storage.

freshly served, steaming greenbeans doused with coconut oil and salt!

freshly served, steaming greenbeans doused with coconut oil and salt!

when we serve the steaming hot greenbeans we add a dash of salt and drizzle some coconut oil over the top. so delicious! rarely do we use forks when eating such treasures and relish in picking up one at a time with our fingers and munching away! we’ve found that cooking the greenbeans without snapping them also makes for much better greenbean sandwiches with dill mayonnaise (it sounds bizarre but they are fantastic!). the long greenbeans rarely fall off of the bread this way.

an amazing bi-product of boiling the greenbeans is the pot liquor that is left behind. some foods, such as various greens, leave behind a liquid that is not beneficial and even harmful for you to drink. not greenbeans! greenbeans leave behind a pot liquor (we call it greenbean water) that is rich with the nutrients of the greenbeans, in a concentrated form!

greenbean water, still in the pot. though it may look funky, we promise it tastes amazing!

greenbean water, still in the pot. though it may look funky, we promise it tastes amazing!

this might also sound bizarre but it is delicious! we save the greenbean water in the fridge and drink it, sometimes adding a little bit of soy sauce for extra flavor. such extra flavor is not required, by the way, because greenbean water (if you’ve added salt and one of the above-mentioned oils) is already refreshing and even creamy. you can feel the nutrients as you drink it.

cheers to that! perhaps we could toast with greenbean water sometime during the wedding?

.:.

Pan Fried Bluegill with Coconut Curry Sauce

I went fishing at the pond and the water was low and clear. I caught plenty of 12 inch bass, and a handful of nice sized bluegill. The bass were released to eat as many small bluegill as possible and encourage larger ones, but the hand-sized sunnies ended up in the frying pan. After a quick gut and scale, I sprinkled some salt, pepper, cayenne, paprika and curry on the fish and fried them in coconut oil until nice and crispy.

curry bluegill

Coconut Curry Bluegill with Jasmine Rice


I then removed the fish and added a lot more curry powder and some more coconut oil and fried some onion. Next came some green pepper and then a handful of our dried basil and some garlic. After this cooked a bit, I added equal parts coconut milk and chicken stock until I had a little more sauce than I wanted to end up with. I cooked this down until it thickened up a bit, then spooned it over the hot fish and warm jasmine rice. MMM… good.

bluegill curry

Yeah… It was good.

Bluegill, bream, perch, sunfish, or whatever you want to call them are some of the tastiest and sweetest whitefish around. It also helps that the best thing you can do for a bluegill population is to harvest as many as possible so that their growth isn’t stunted. So get out there with some worms and bring some bluegills home!

Venison Stew with Sweet Potatoes and Garlic Scapes

Tonight we ate dinner out on the porch and watched the fireflies. We ate a version of our savory venison stew, but this time I added a bunch of our freshly cut garlic scapes, and a couple of sweet potatoes from last year’s garden.

venison and sweet potato stew

Venison stew with sweet potatoes and garlic scapes

It was dark out when I took the picture, and we ended up eating out of plastic tuppeware to save on dish use, but it tasted great. The garlic scapes added a great flavor to the broth, and the sweet potatoes were delicious with the tender venison roast. A green pepper, white onion, a healthy splash of red wine, beef broth, and some sage and oregano rounded out the soup, and made for a great meal out in the cool Stokes County air. Yummm!!

Older posts Newer posts

© 2024 KW Homestead

Theme by Anders NorenUp ↑